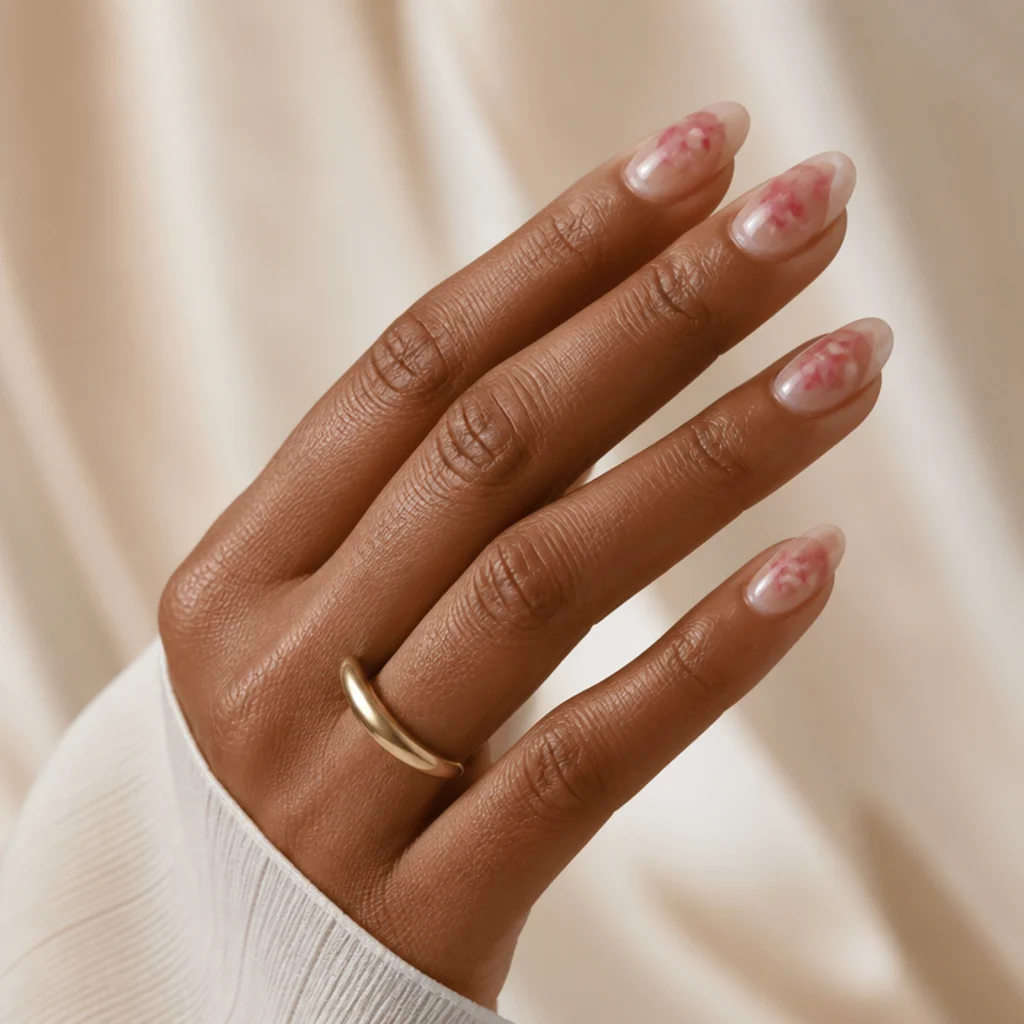
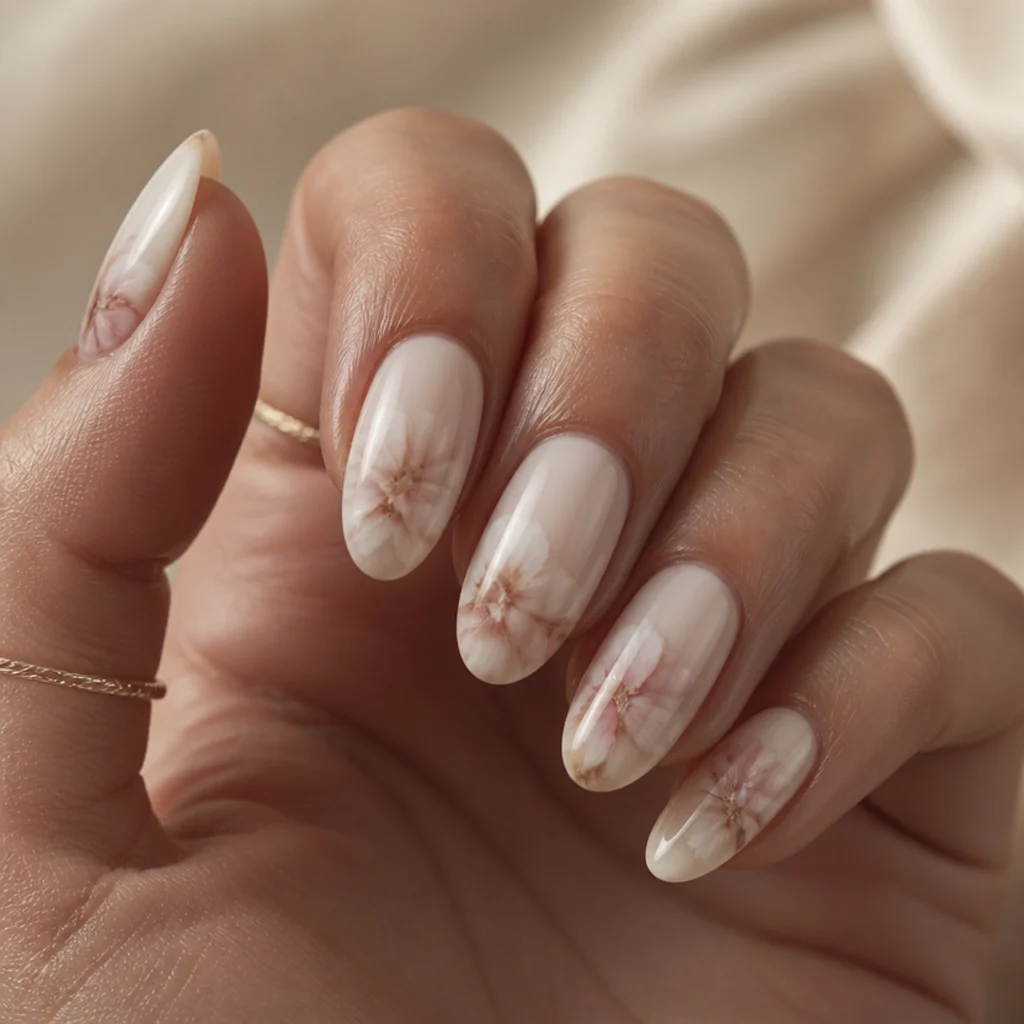
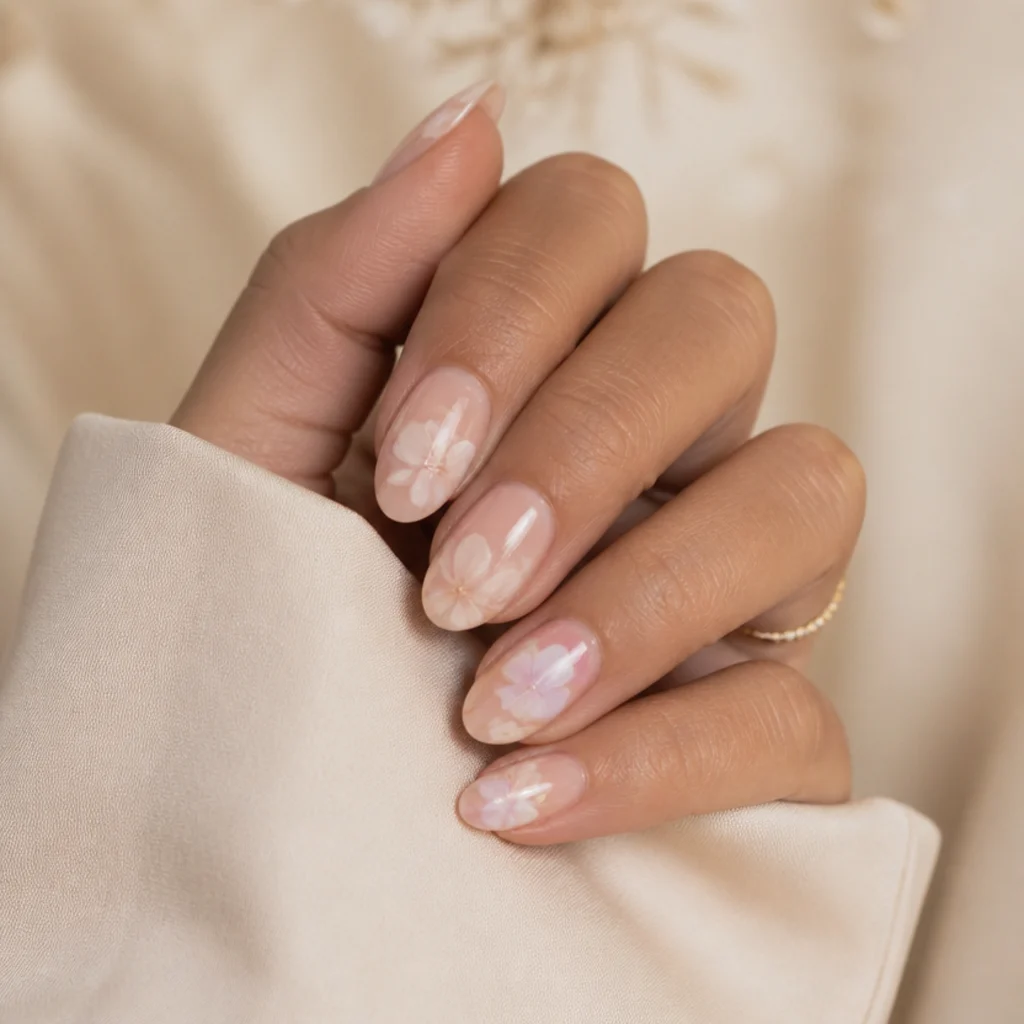
5 Blooming Gel Nail Mistakes to Avoid
Blooming gel turns a flat coat of color into soft, watercolor feathering, but it's a chemistry trick with a narrow margin for error. Get past the five slip-ups below and you're steering the diffusion instead of fighting it, so every set reads intentional and clean right to the sidewall.
 Edited by Lena Rose · Published July 11, 2026 · 13 min read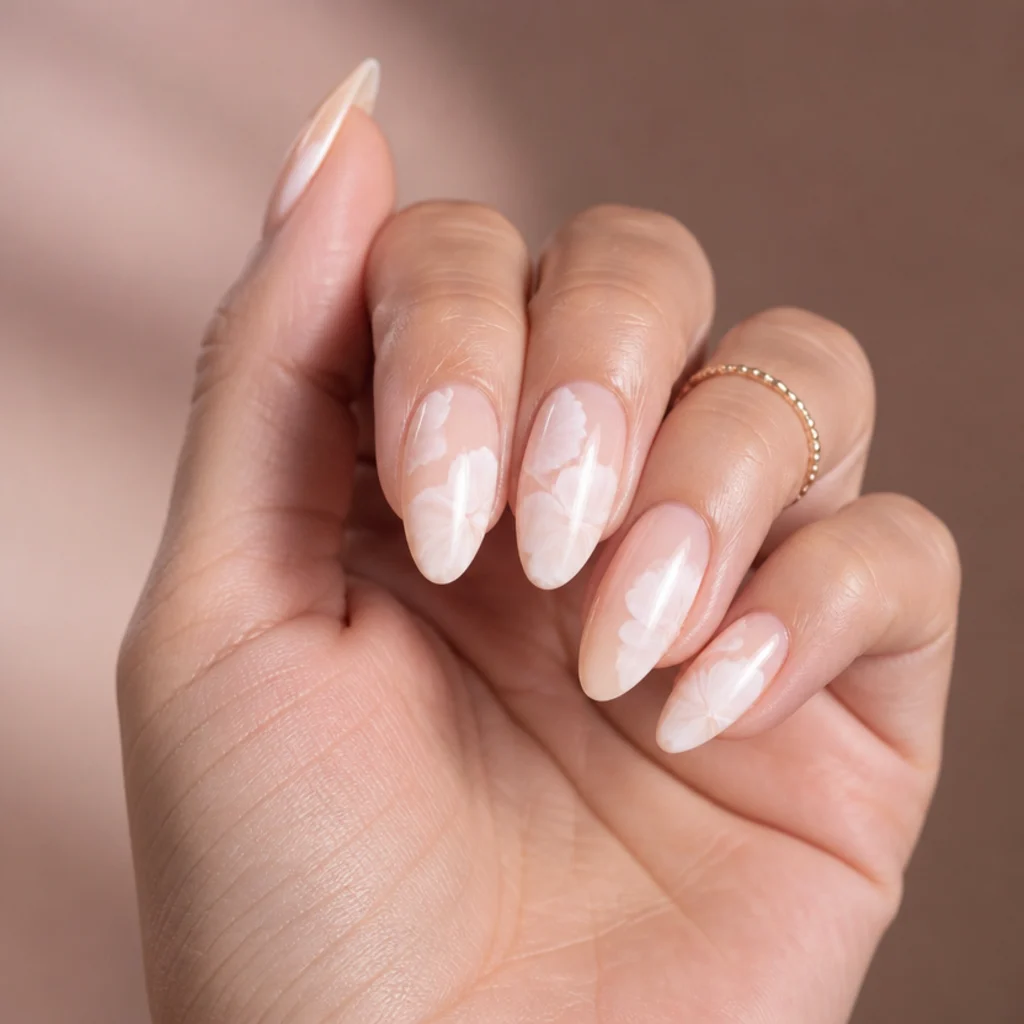
Quick Answer
- Best for: anyone drawn to airy, diffused looks, watercolor florals, marble, smoke, ombre, and feathered accent nails
- Who might skip it: fans of sharp graphic lines, tight French tips, or anyone who wants a fast, foolproof one-coat manicure
- Maintenance: standard gel upkeep, a fill around two to three weeks, a full removal and reset by four
- Difficulty: intermediate; the pigment control and the cure-timing window take three or four practice nails to feel natural
- Cost: a dedicated blooming gel runs roughly the low-to-mid teens; a salon set with custom bloom art typically adds a design surcharge over a plain gel manicure
- Wear time / longevity: two to three weeks with proper prep and a full top-coat seal
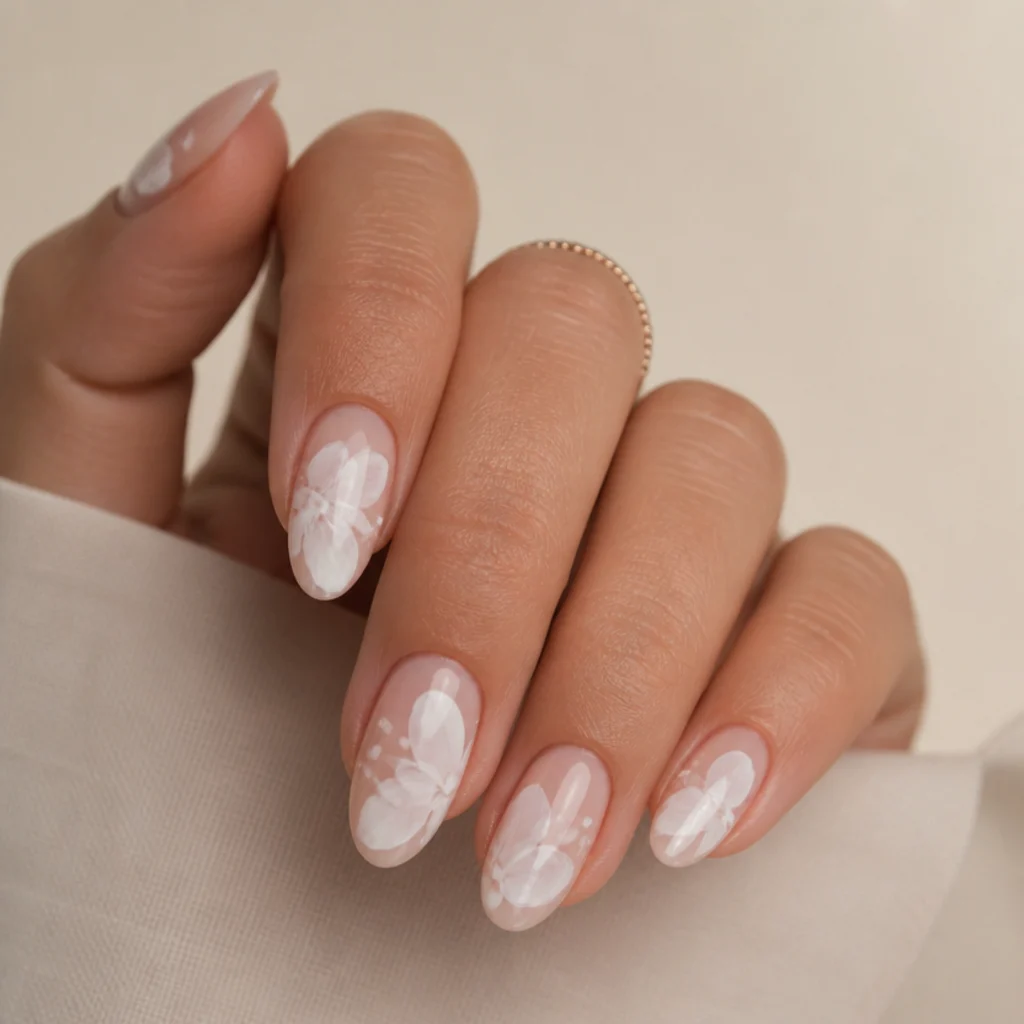
- Standout variation: sheer white blooming gel nail art over a warm nude base for a soft, cloudy, hand-painted finish
- How to ask your nail tech: request a "blooming or watercolor gel technique," show two saved references, and confirm they seal with a full-coverage top coat
In This Guide
Blooming gel is a clear, low-viscosity medium that stays chemically active until you cure it, so any pigment dropped on top keeps migrating and spreading into that soft, feathered halo people love. It rewards restraint and punishes guesswork in equal measure. Nail the amount, the timing, and the pigment consistency, and you get airy white blooming gel nail art that looks hand-painted. Miss on any one of those and you're left with harsh streaks, flat stamped blobs, or a gray, cloudy wash no top coat can fix. Beginners tend to blame the gel for problems the pigment or the lamp actually caused. In reality, nearly every blooming gel failure traces back to one of a small, repeatable set of mistakes. Each section below breaks down a common misstep, the chemistry or technique behind it, and the specific fix, so whether you're attempting a delicate blooming gel french tip, ambitious blooming gel 3d nail art, or your first easy blooming gel nail art accent, you can troubleshoot before it sets under the light.
01Flooding the Nail With Too Much Blooming Gel {#one}
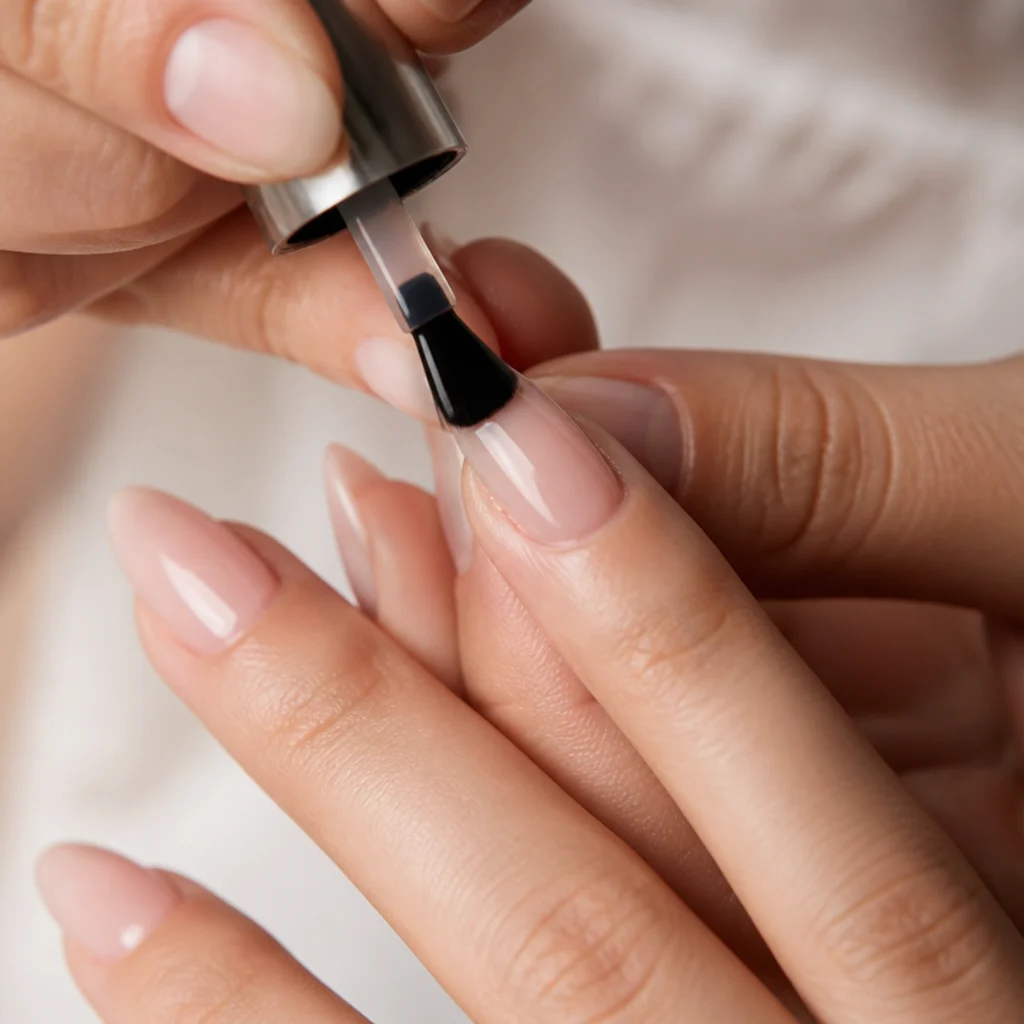
Treating blooming gel like a builder or base coat and drowning the nail in it is the single most common mistake. A thick, puddled layer holds too much liquid on the surface, so any color you drop in loses its structure and races toward the cuticle and sidewalls, pooling wherever the gel self-levels. Aim instead for a thin, even veil, just enough to give the pigment a wet channel to travel through without swimming in it. Wipe the brush against the bottle neck before you start so you're placing product, not flooding it, then float the coat level across the apex so color radiates symmetrically instead of sliding to one edge. A wider nail bed needs slightly more coverage to reach the sidewalls; a narrow oval needs less. Try this test: on a scrap tip, brush your normal amount, then remove roughly a third and bloom both, so you can see how little product actually gives the cleanest halo. If you're new to this, a single diffused accent nail is far more forgiving than a full flooded set, so ask your nail tech for one bloomed feature nail beside plain gels while you build the muscle memory.
02Curing at the Wrong Moment {#two}
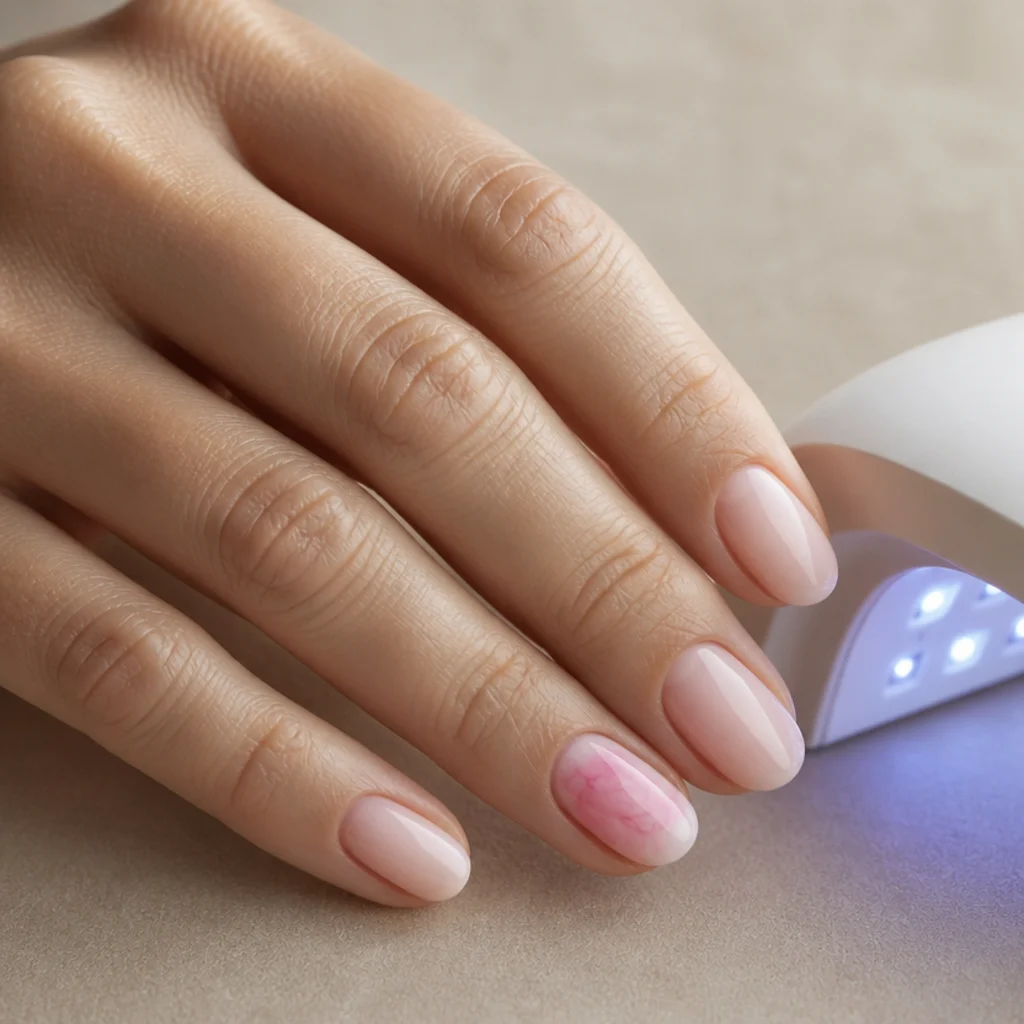
Timing makes or breaks a blooming gel design, because curing is what freezes the diffusion in place. Flash it under the lamp too early and the pigment locks mid-spread with hard, unfinished edges and no feathering. Wait too long and gravity keeps dragging the color until it bleeds off the free edge or collapses every distinct tone into one flat pool. The bloom needs a short working window, usually one to two minutes, to open and soften before you commit it, and that window shifts with room temperature, layer thickness, and how sheer your pigment is. Watch the color creep and blur under good light, then cure the instant it hits the shape and softness you want, not a beat later. Every gel formula reactivates at its own pace, so swatch yours on a practice stick and time the bloom with your phone, so you know its exact rhythm before committing ten nails to it. When booking out, ask your nail tech which lamp wattage they use, since a stronger LED shortens that window noticeably.
03Using Pigments That Are Too Thick to Spread {#three}
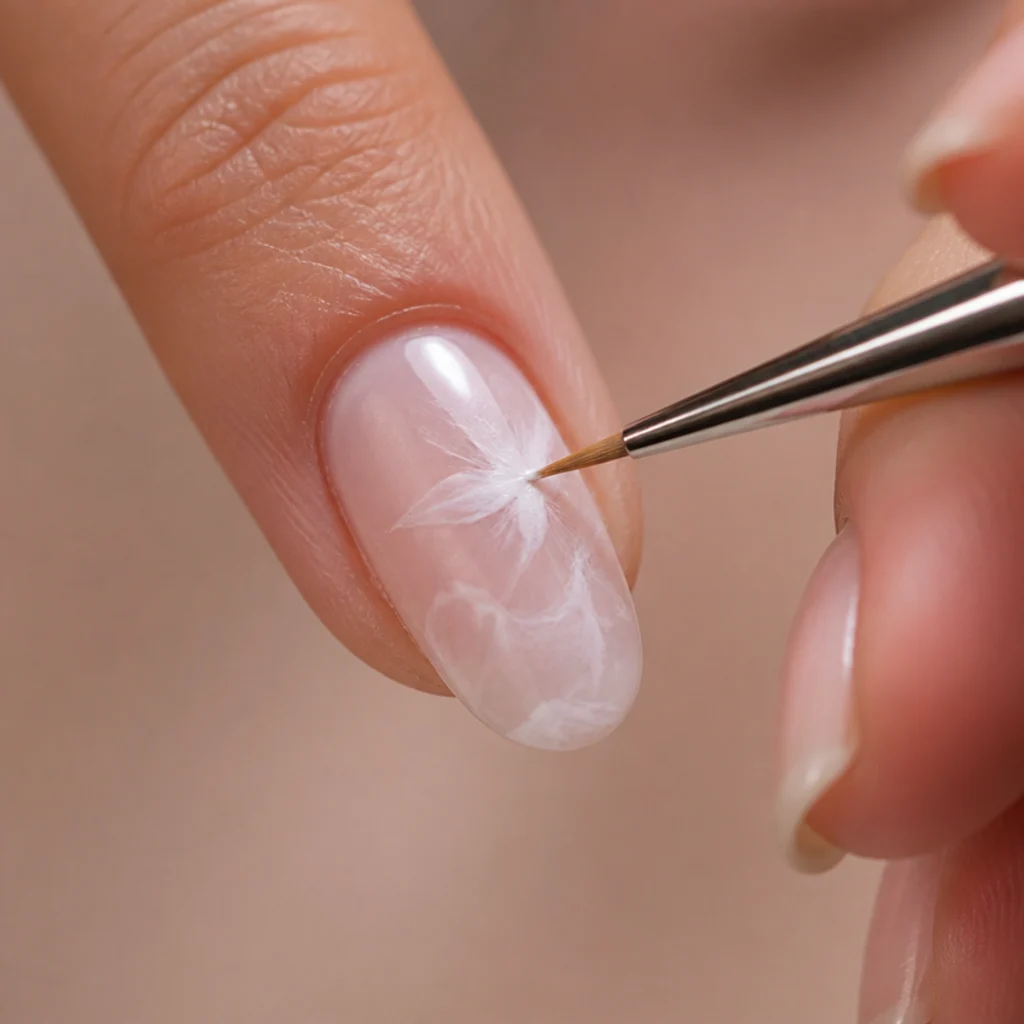
Blooming gel can only move a pigment loose enough to migrate through it, so viscosity is the hidden variable behind most "my gel won't bloom" complaints. Dense, heavily pigmented gel polishes and thick acrylic paints sit on the surface as stiff, immovable dots, because their binder is too heavy to disperse. Reach instead for fluid, low-density colors: alcohol inks, watercolor-style pigments, or a gel polish thinned a touch on your palette with a drop of clear. Sheerness matters as much as fluidity, especially for white. A translucent white feathers into soft clouds, while a fully opaque white stays a hard chalky spot no matter how good your timing is. Load the brush lightly and place small, deliberate touches instead of dragging heavy strokes, then let the gel carry the color outward rather than forcing coverage. Pre-test each shade in a dot on scrap acetate first: anything that beads and holds a crisp circle is too thick to bloom well. For a custom color, ask your nail tech whether they can dilute a shade to blooming consistency instead of swapping it out entirely.
04Skipping a Clean Base and Sealing Layer {#four}
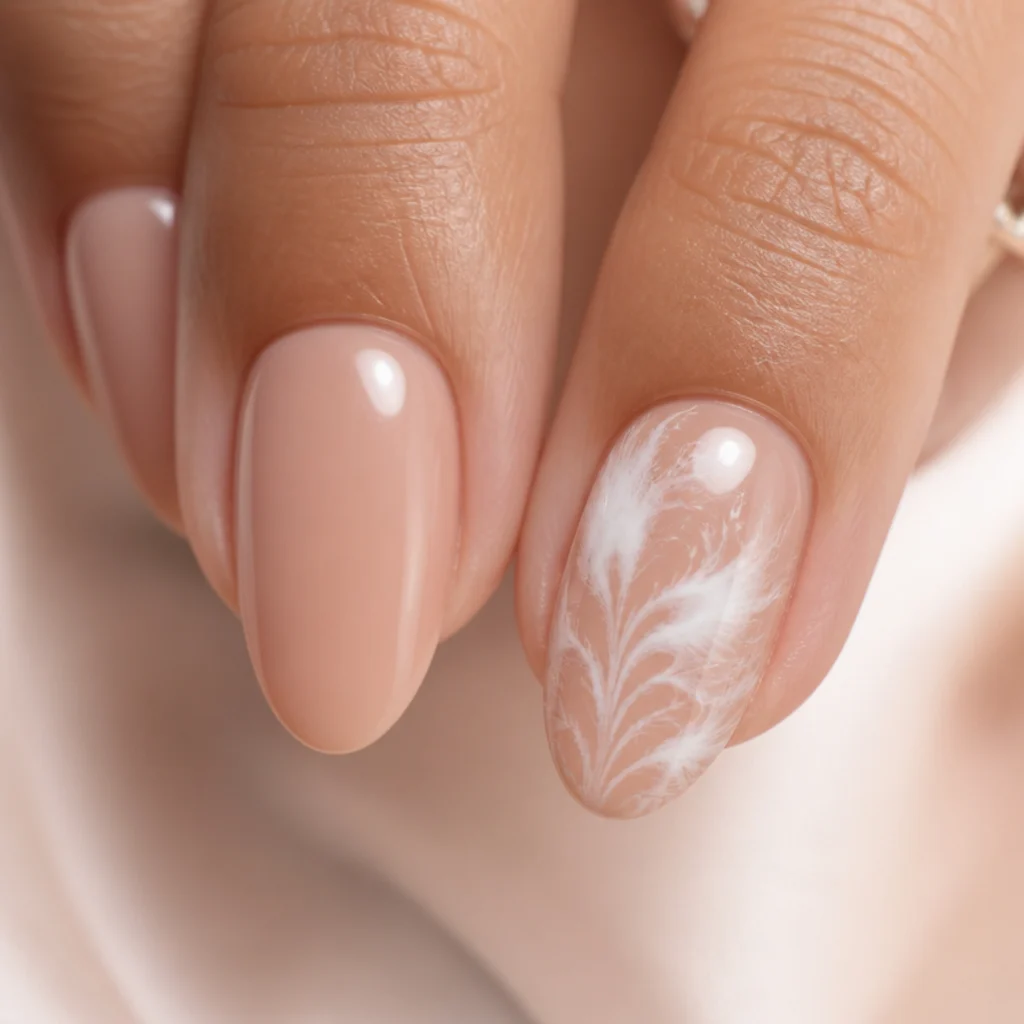
A beautiful bloom still fails without proper bookends on either side of it. Applying blooming gel over an oily, dusty, or under-cured base causes lifting, patchy spreading where the gel beads away from residue, and early chipping at the edges. Prep thoroughly: dehydrate the plate, cure a thin base fully, and confirm it's tack-free before you place a single drop, since any inhibition layer left behind will throw off how the color travels. On the finishing side, a raw bloomed layer is fragile and smears at the lightest touch, so it has to be locked down. Once the design is cured and set, seal it with a top coat using a floating, barely-there stroke, gliding over the pigment instead of dragging it into streaks. For dimensional blooming gel 3d nail art, build and cure your raised florals or texture after the flat bloom has set, then top-coat the whole nail together so it wears as one even, glossy surface. Wipe the brush and work cuticle-to-tip in a single pass per stroke. If you want raised elements, ask your nail tech to layer them over a fully cured bloom rather than into wet color.
05Overworking the Design Until It Turns Muddy {#five}
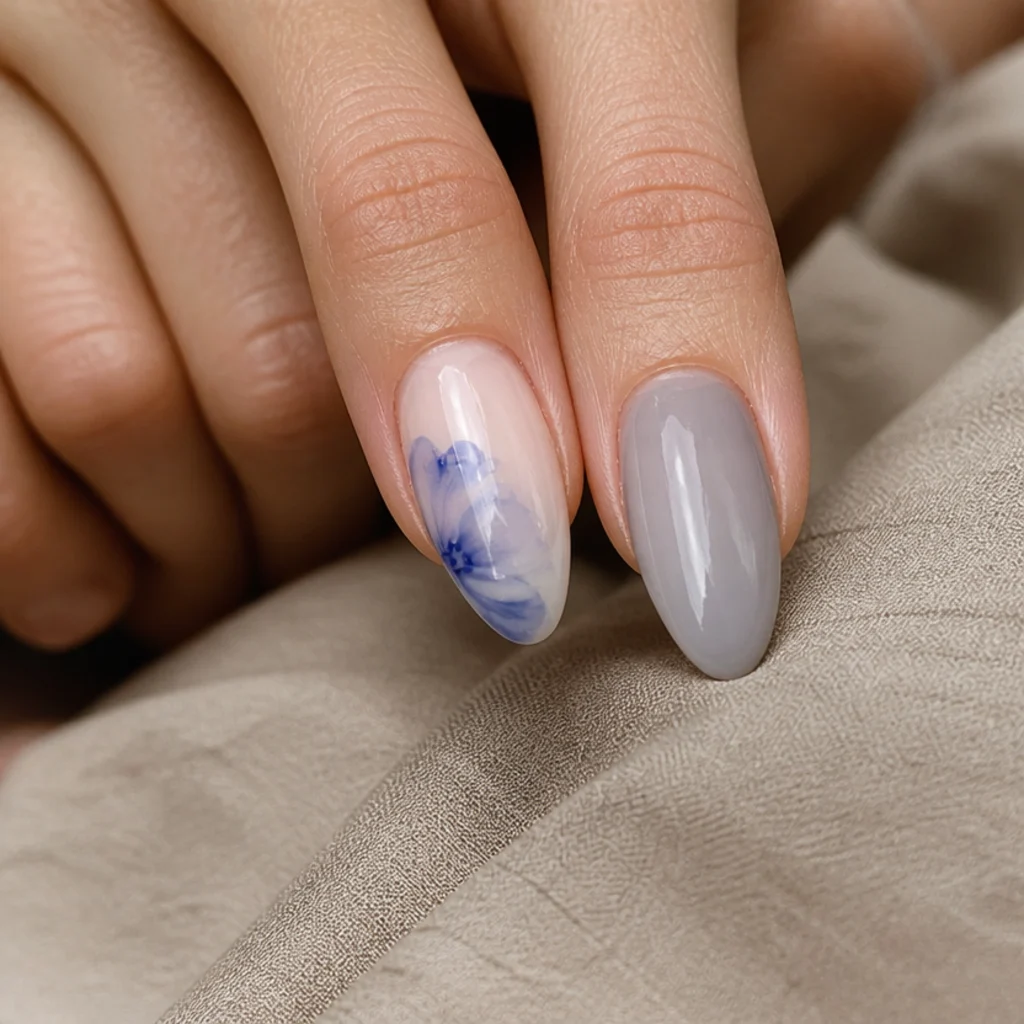
Blooming gel almost always looks best the moment you're tempted to keep going. The instinct is to add more color and dab at the spread to fix it, but every extra touch breaks up the diffusion and blends your distinct tones into a flat, grayish wash, the telltale sign of an overworked nail. Once the pigment is placed, step back and let the gel do the moving; resist the urge to re-brush a bloom that's already traveling nicely. When you're layering multiple colors, cure a thin locking layer between them so each shade stays crisp and readable instead of merging into sludge underneath. Plan negative space on purpose, since the unpainted, airy areas are what make a bloomed design read as delicate rather than crowded. Set yourself a two-touch limit per nail, then cure; busyness is your cue to stop, not to add one more stroke. If you love a denser watercolor effect, ask your nail tech to build it across two cured layers rather than one overworked pass.
Pro Tips from the Editor
- Warm the bottle briefly in your hand before use; a slightly warmer blooming gel is more fluid and spreads more evenly than one straight off a cold shelf.
- Keep a lint-free brush loaded only with clear gel nearby to gently steer a bloom back toward center if it drifts, rather than adding more pigment to compensate.
- Test the exact base-plus-pigment combination on a swatch stick first, since sheer white blooms differently over a warm nude than over a cool gray or bright white.
- Cap the free edge on your top coat, not on the bloom layer, so you seal the wear point without smearing the design.
- Work in a dust-free zone and cure with clean hands; a single fiber or fingerprint oil in the wet gel shows up magnified once the color diffuses around it.
- For French-style blooms, place color just above the smile line and let it feather downward, so the diffusion softens the tip line instead of erasing it.
- If a nail turns muddy, don't chase it; cure it flat, then add a thin fresh bloom layer on top instead of trying to fix wet, over-mixed color.
How to Choose / Get the Look
Start by matching the design to your comfort level and the effect you actually want. If you're still learning, keep it to one or two accent nails in easy blooming gel nail art, then scale up once your cure timing feels reliable. Choose a base that flatters the bloom: sheer nudes and soft blush tones let white blooming gel nail art glow, cool grays sharpen smoke and marble effects, and a crisp white base suits a delicate blooming gel french tip where color feathers just below the smile line. Nail shape matters more than length here. Almond and oval give feathered designs the surface room to breathe and radiate, while short squares crowd fast, so favor negative space if your nails run short. Match pigment to intention too: fluid sheer shades for airy clouds, slightly more saturated ones for defined watercolor florals, and always thin before you thicken. If you're booking a pro, bring two or three saved references, ask specifically for a blooming or watercolor gel technique since not every tech offers it, confirm they seal with a full top coat, and settle on flat bloom or raised blooming gel 3d nail art before they start.
| Look | Best nail shape | Base color | Pigment style | Difficulty |
|---|---|---|---|---|
| Airy accent cloud | Almond, oval | Sheer nude | Sheer white, fluid | Beginner |
| Blooming French tip | Square, squoval | Crisp white | Soft pastel, thinned | Intermediate |
| Watercolor florals | Almond, coffin | Blush, cool gray | Multi-tone, layered | Intermediate |
| 3D raised bloom | Coffin, ballerina | Any cured base | Sheer flat plus builder | Advanced |
Frequently Asked Questions
What actually is blooming gel?
It's a clear, low-viscosity gel medium that stays chemically active until cured, so it reactivates and disperses any color placed on top, letting pigment spread into a soft, watercolor-like halo before you lock it under the lamp.
Why won't my colors spread?
Almost always one of three things: the pigment is too thick to migrate, the blooming gel layer is too thin or already partly set, or the base still has residue interfering. Use a more fluid color, a slightly more generous clear layer, and always work while the gel is fresh and wet.
Can I do a blooming gel french tip at home?
Yes. Paint and cure a clean tip line, apply a thin blooming gel layer over and just above it, then touch sheer color into the tip so it feathers downward. Cure the moment the diffusion softens the smile line to the look you want.
How long does a blooming gel manicure last?
With thorough prep and a full top-coat seal, expect roughly two to three weeks, on par with a standard gel set, before you need a fill, and about four weeks before a full removal and reset.
Does blooming gel work without a lamp?
No. It's a true gel product and needs a UV or LED lamp to cure. Air-dry lacquers and regular polishes can't set it, and leaving it uncured will only smear the design.
Why does my white blooming gel look chalky instead of soft?
You're likely using an opaque white, which sits as a dense spot instead of dispersing. Switch to a sheer or translucent white and place small touches so it blooms into clouds rather than a hard chalky patch.
Can I layer multiple colors without them turning gray?
Yes, but cure a thin locking layer between each color so the tones stay separate. If you blend wet color on wet color without curing between, the pigments over-mix into a muddy gray wash.
Do I need a special brush for blooming gel?
Not a specialized one, but a clean, fine synthetic liner or detail brush gives you the most control for placing small pigment touches, and a separate lint-free clear-gel brush lets you steer a bloom without contaminating your colors.
Is blooming gel the same as watercolor or aquarelle gel?
They overlap heavily; "watercolor" and "aquarelle" usually describe the diffused effect, while blooming gel is the clear activating medium that creates it. Product names vary by brand, so check that a bottle is meant to spread pigment rather than just being a clear builder.