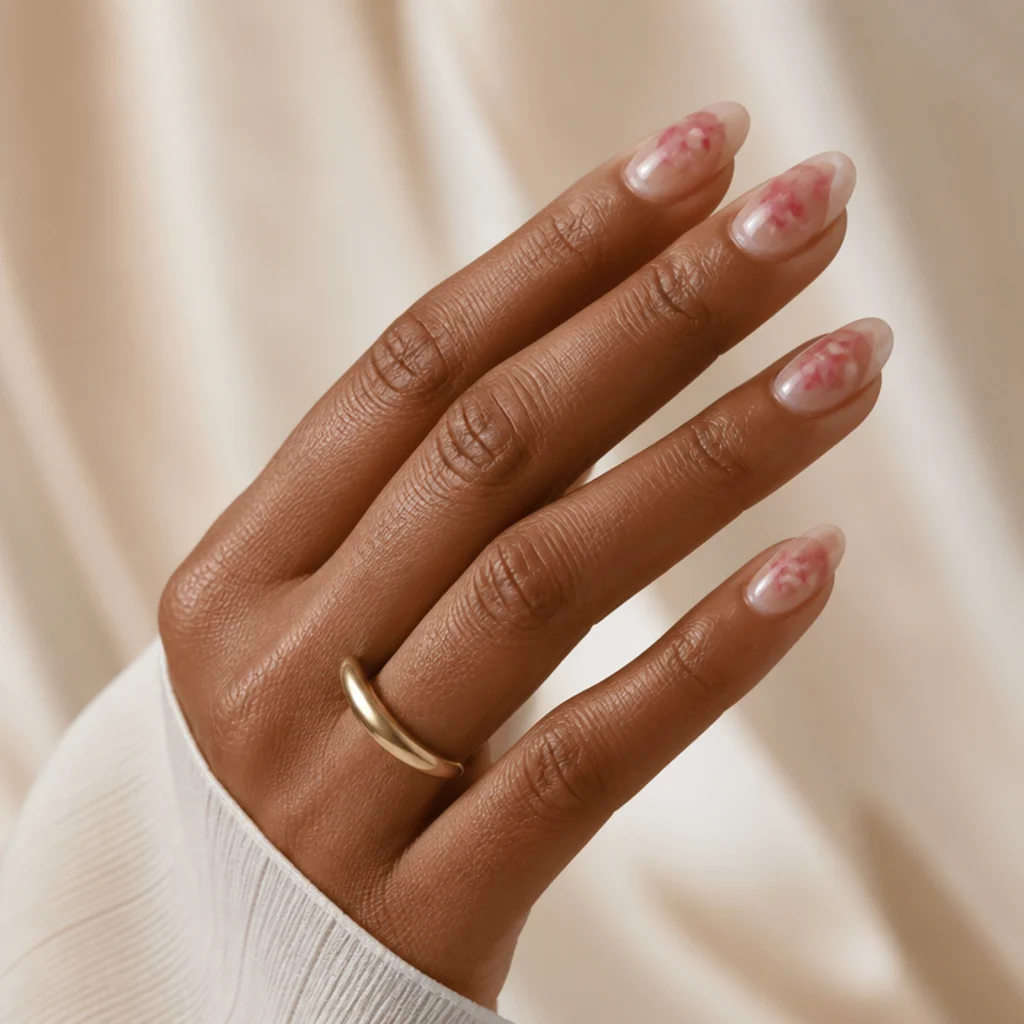
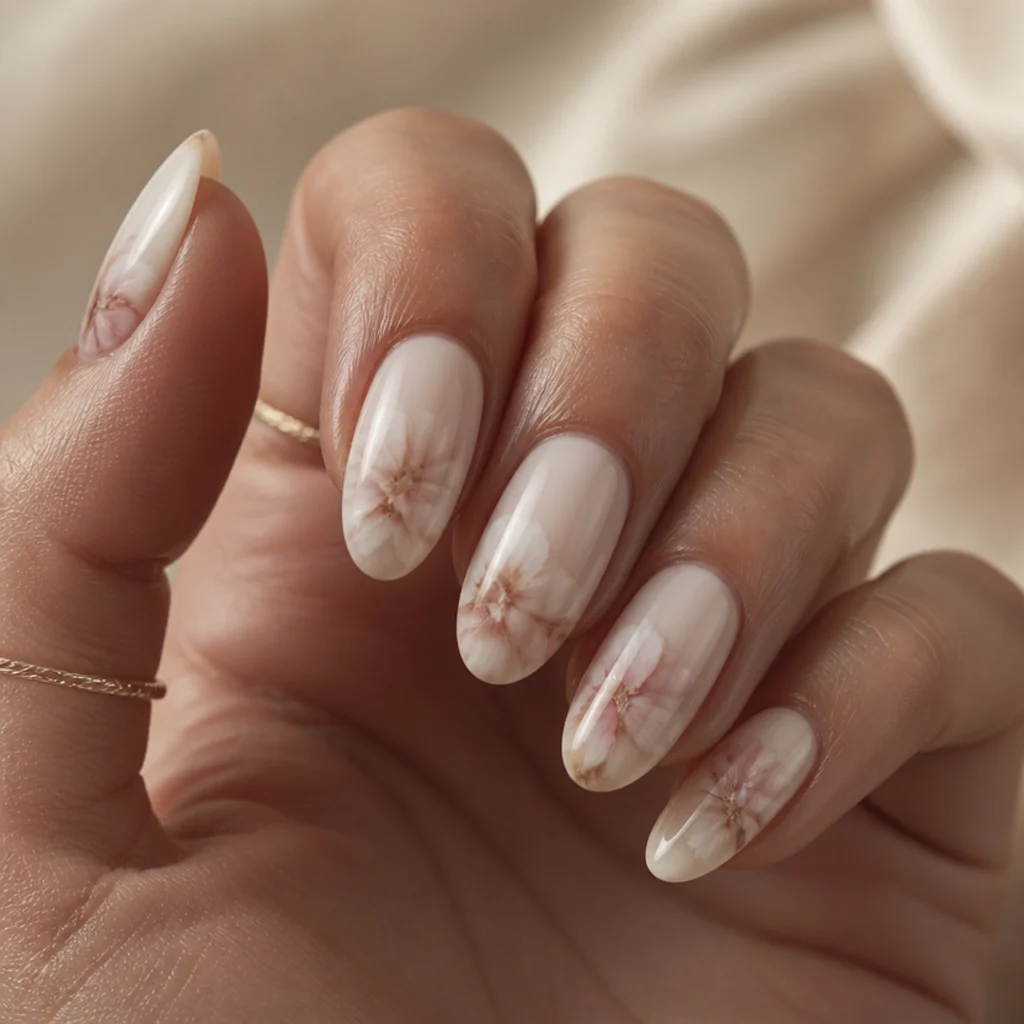
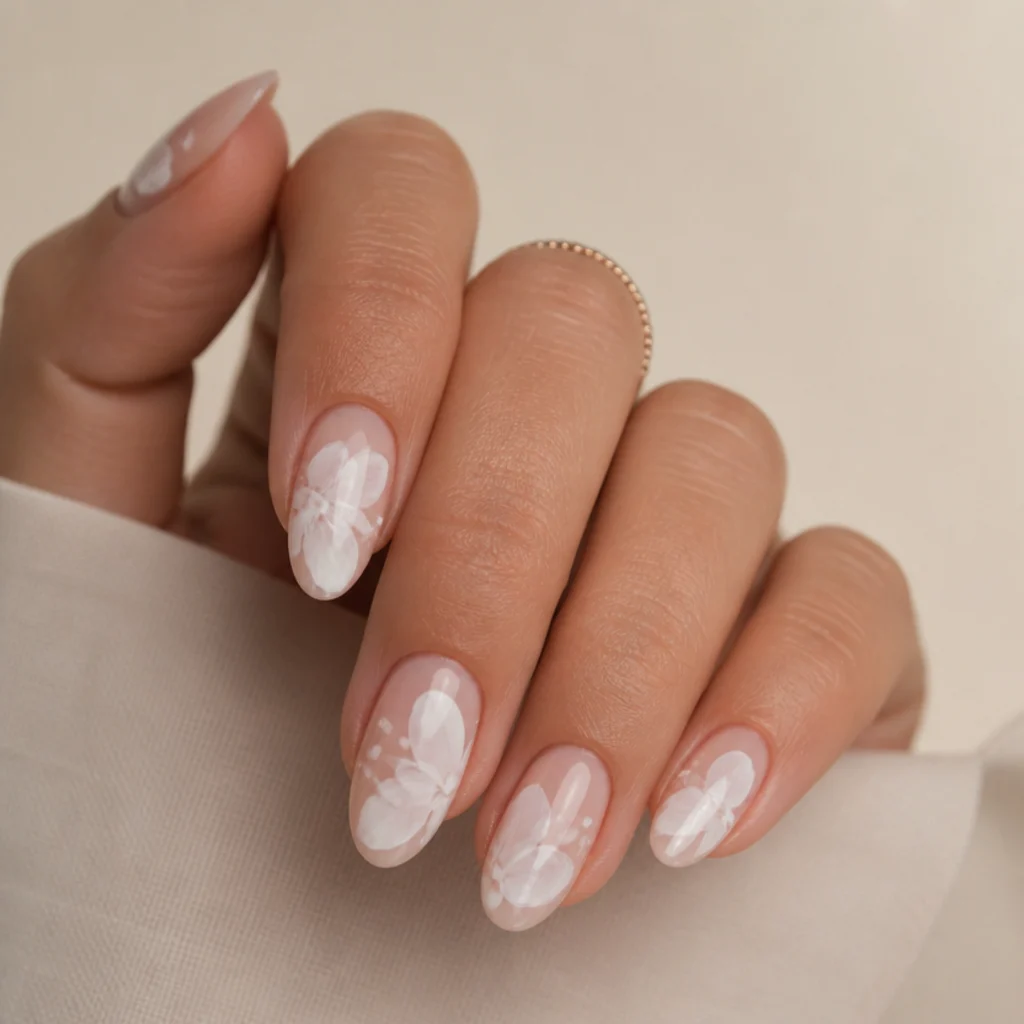
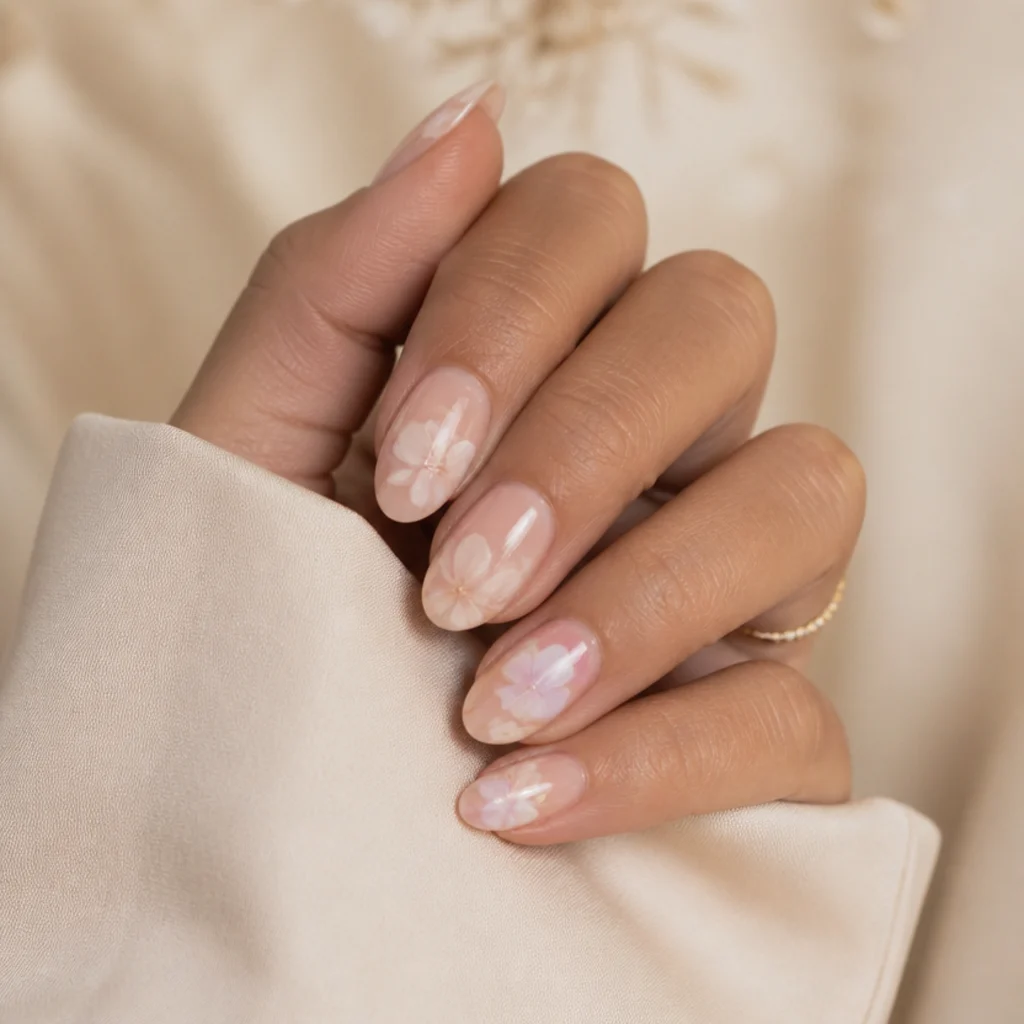
15 Steps to Blooming Gel Nail Art at Home
Blooming gel turns one drop of pigment into a spreading watercolor haze that looks like freehand artistry you never had to paint. This walkthrough breaks the chemistry, the timing windows, and the pro corrections into 15 repeatable steps, so you build clean, controlled designs on your own nails instead of muddy accidents.
 Edited by Lena Rose · Published July 11, 2026 · 26 min read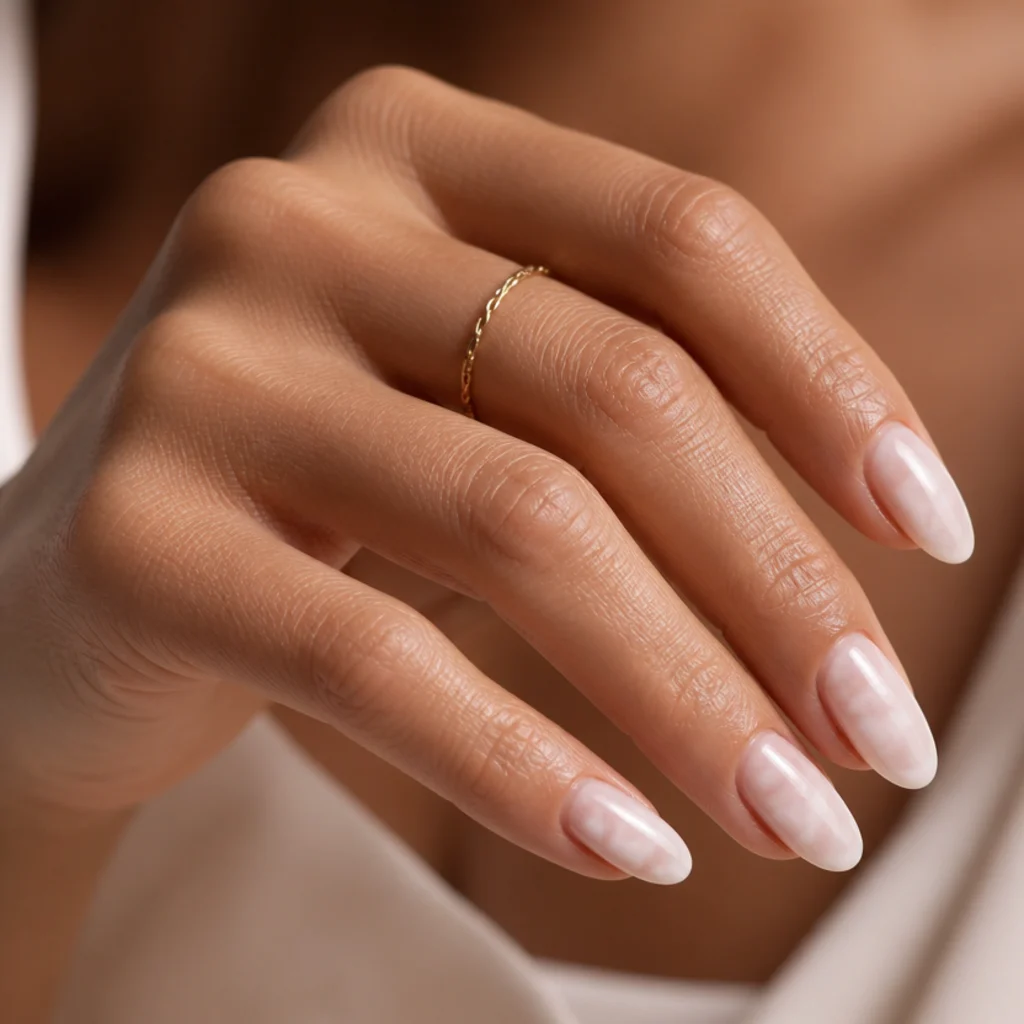
Quick Answer
- Best for: Anyone who wants a soft, painterly finish without freehand skill; flatters every skin tone, and works on almond, squoval, coffin, and short round shapes.
- Who might skip it: People who prefer crisp graphic lines, need a five-minute manicure, or do not own a UV or LED lamp, since blooming gel cannot air-dry.
- Maintenance: Standard gel upkeep; expect 2 to 3 weeks, with an optional top coat re-gloss around week two if the shine dulls.
- Difficulty: Beginner to intermediate; placement and timing carry the skill, not brush control.
- Cost: Roughly a mid-range starter outlay for gel, pigment, top coat, and a lamp, then a low per-set cost once you own the kit; premium blooming gels sit at the higher end.
- Wear time / longevity: 2 to 3 weeks of wear when edges are capped and the base is well prepped.
- Standout variation: A white blooming gel french tip that dissolves into the nail instead of stopping at a hard smile line.
- How to ask your nail tech: Ask for "blooming or watercolor gel" by name, show a saved photo, and specify base shade, bloom density, and whether you want tips or full-nail florals.
In This Guide
- Gather Your Blooming Gel Kit
- Prep and Shape the Natural Nail
- Apply and Cure the Base Coat
- Build Your Base Color
- Understand How Blooming Gel Works
- Apply the Blooming Gel Layer
- Do Not Cure the Blooming Gel Yet
- Drop In Your White Color
- Let the Bloom Spread
- Guide and Shape the Design
- Create a Blooming Gel French Tip
- Add 3D and Layered Accents
- Cure the Finished Design
- Seal With Top Coat
- Clean Up and Care for the Set
Intro
White blooming gel nail art has a quiet pull: one point of pigment blossoms into a diffused cloud, giving you watercolor washes, feathered french tips, and abstract florals without the steady hand freehand painting demands. The mechanism is simple: a clear, uncured gel medium lets pigment migrate on contact through surface tension, so your real skill is placement, viscosity awareness, and timing, not draftsmanship. That's why it's one of the most beginner-forgiving techniques in nail art, even though it reads as salon work.
It flatters almost everyone, though it especially rewards longer almond and coffin shapes that give the bloom room to open into full florals. Go tone-on-tone (white over milky nude) for a soft daytime look, or high-contrast (white over charcoal or navy) for something graphic. This guide walks through 15 concrete steps, from building your kit to sealing a glassy watercolor finish, and it covers what people search for around this technique: blooming gel french tips, blooming gel 3D nail art, and easy blooming gel nail art for first-timers. None of it needs salon training, just patience, a swatch nail, and respect for the timing window. Work in a well-ventilated space and follow your product's instructions.
01Gather Your Blooming Gel Kit
{#gather-your-blooming-gel-kit}
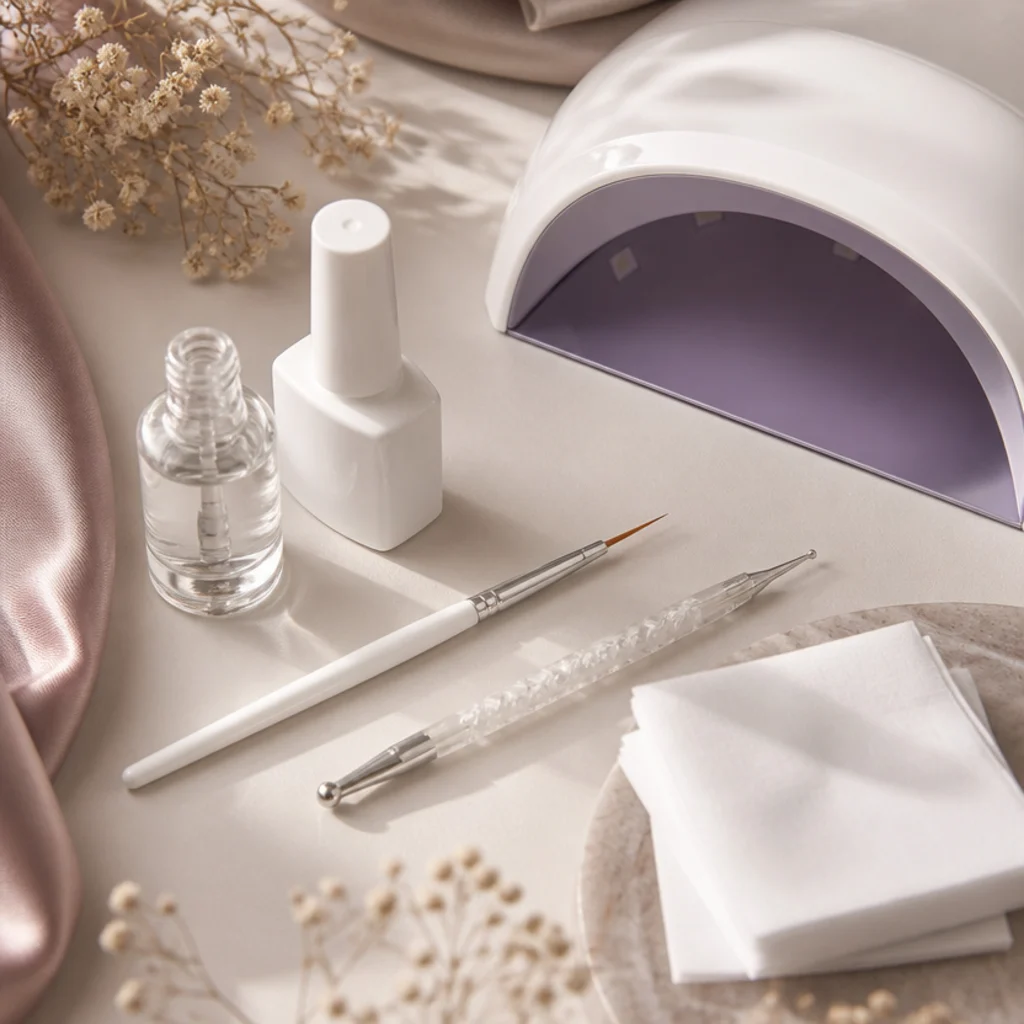
Lay everything out before you touch your nails, because this technique punishes hesitation once you start. Your core kit: a clear blooming gel (sometimes sold as watercolor, aquarelle, or spreading gel), a gel base coat, a well-pigmented white gel polish or gel paint, a no-wipe top coat, and a UV or LED lamp with enough wattage to cure fully. Add a fine liner or detail brush, a dotting tool with two head sizes, lint-free wipes, a wooden orange stick, and a gel cleanser. The effect is time-sensitive, so keep your tools closer than you would for a standard manicure. Prioritize a high-pigment titanium white — sheer or "milky" whites dissolve into the clear gel and kill the contrast that makes easy blooming gel nail art pop. Viscosity is the other variable to check: a thinner blooming gel spreads faster and softer, a thicker one holds tighter shapes. If you're shopping in person, ask your nail supplier for a medium-viscosity blooming gel as a versatile first bottle.
02Prep and Shape the Natural Nail
{#prep-and-shape-the-natural-nail}
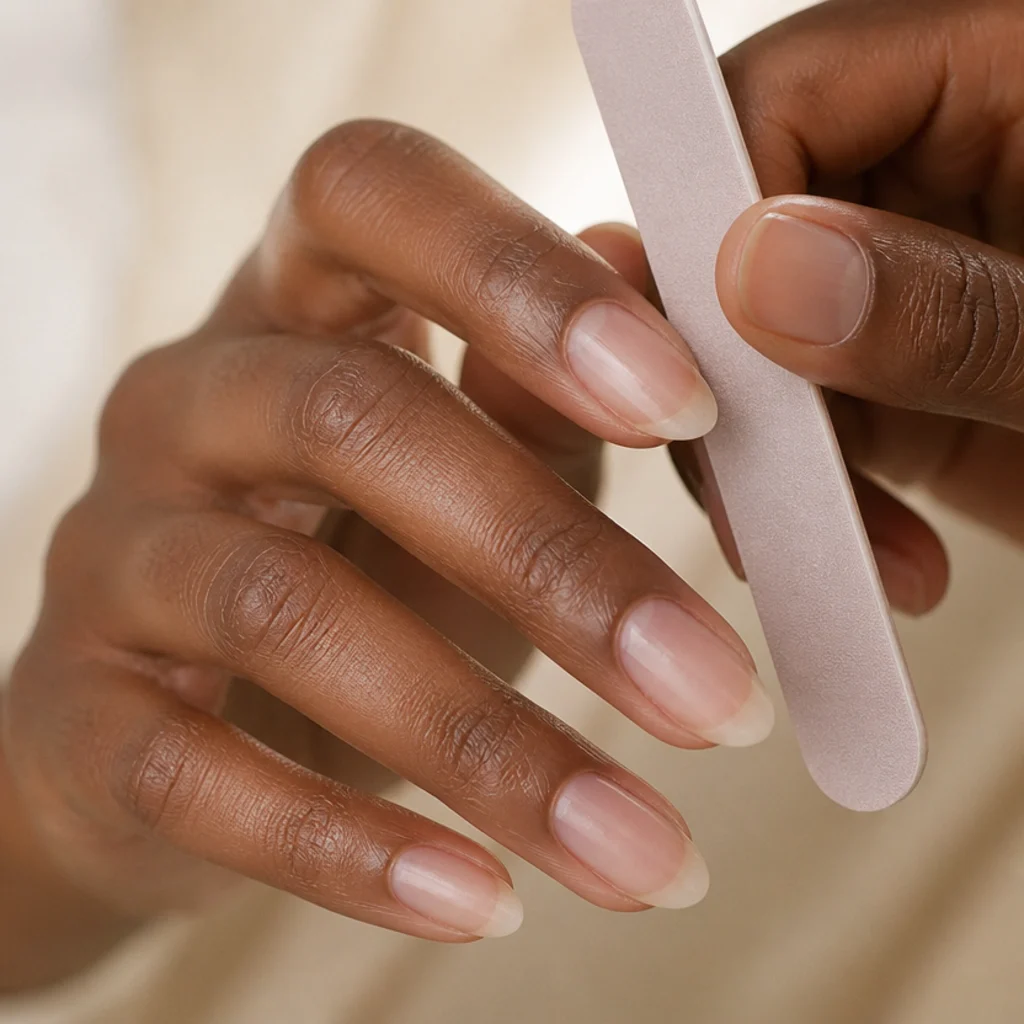
Great gel art starts with unglamorous prep, and lifting almost always traces back to a step skipped here. Push back cuticles with a wooden stick after a warm soak, gently clear the eponychium, then shape each nail to your silhouette: almond and squoval give blooms room to open, coffin flatters full florals, short round keeps designs compact and clean. Lightly buff the plate with a 180-grit or higher buffer to break the shine so the base grips, then wipe with a dehydrator or 91 percent isopropyl to strip oils and dust. Don't over-file the plate — you want microscopic texture, not thinning, which weakens the nail and invites peeling. Match your prep to your nail type: oily nail beds benefit from a second dehydrator pass, while thin or bendy nails hold up better with a thin builder-gel base underneath for support. Ask your nail tech for a bonder or acid-free primer recommendation if you struggle with day-three lifting.
03Apply and Cure the Base Coat
{#apply-and-cure-the-base-coat}
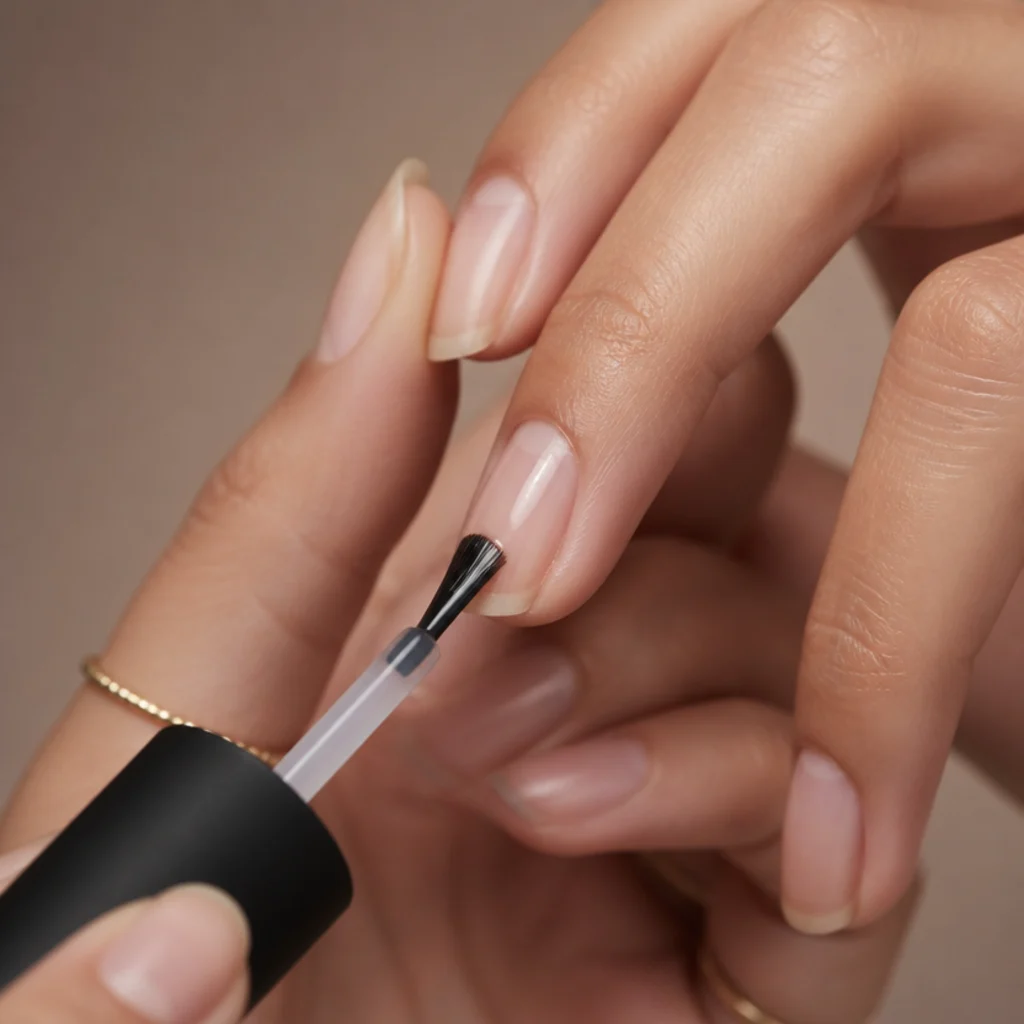
Brush on a thin, even base coat and cap the free edge to seal the tip against chipping and lifting. Keep it light — a flooded base pools in the cuticle gutters and lifts by day three, and it can flood the sidewalls too. Float the brush rather than pressing, then cure for the time your product specifies, usually 30 to 60 seconds under LED or up to 120 under older UV. This layer is the adhesion foundation everything else bonds to, so the edge cap isn't optional. A properly cured base also acts as a stain barrier, which matters with saturated white pigment: if pigment seeps into an unsealed plate it can leave a faint gray shadow after removal. Pro tip: run the brush along the free edge underside as well as the top for a full wrap seal. Ask your supplier for a rubber base if your nails flex a lot, since it cushions movement and reduces cracking.
04Build Your Base Color
{#build-your-base-color}
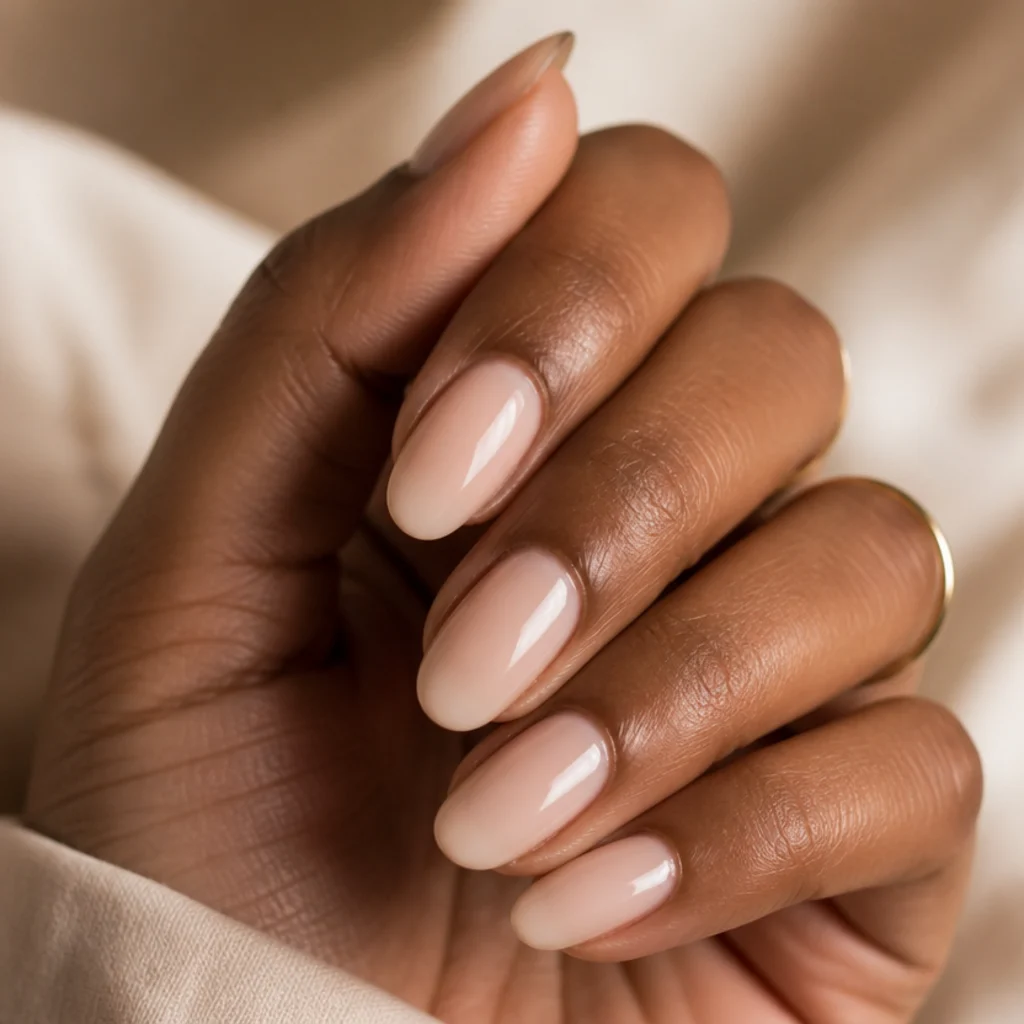
Blooming reads best over a defined background, so pick your canvas now, since it sets the whole mood of the design. A sheer nude, milky white, or soft blush lets white blooms glow with an airy softness, while charcoal, navy, or deep berry turns the same white bloom graphic and high-contrast. For undertone harmony, warm skin tones flatter over peachy nudes and caramels, cool tones over rosy or lilac-tinged nudes. Apply one or two thin coats of your chosen gel, curing fully between each, until the shade is even and as opaque as you want. Avoid thick single coats — they wrinkle, shrink, or cure unevenly at the core. The bloom sits on top of this base, so keep it a touch restrained rather than busy. A milky-white base is the most forgiving starting point, since it hides minor bloom overspread. Ask your colorist or nail tech for a "cool milky nude" if you want that tone-on-tone french look everyone saves to Pinterest.
05Understand How Blooming Gel Works
{#understand-how-blooming-gel-works}
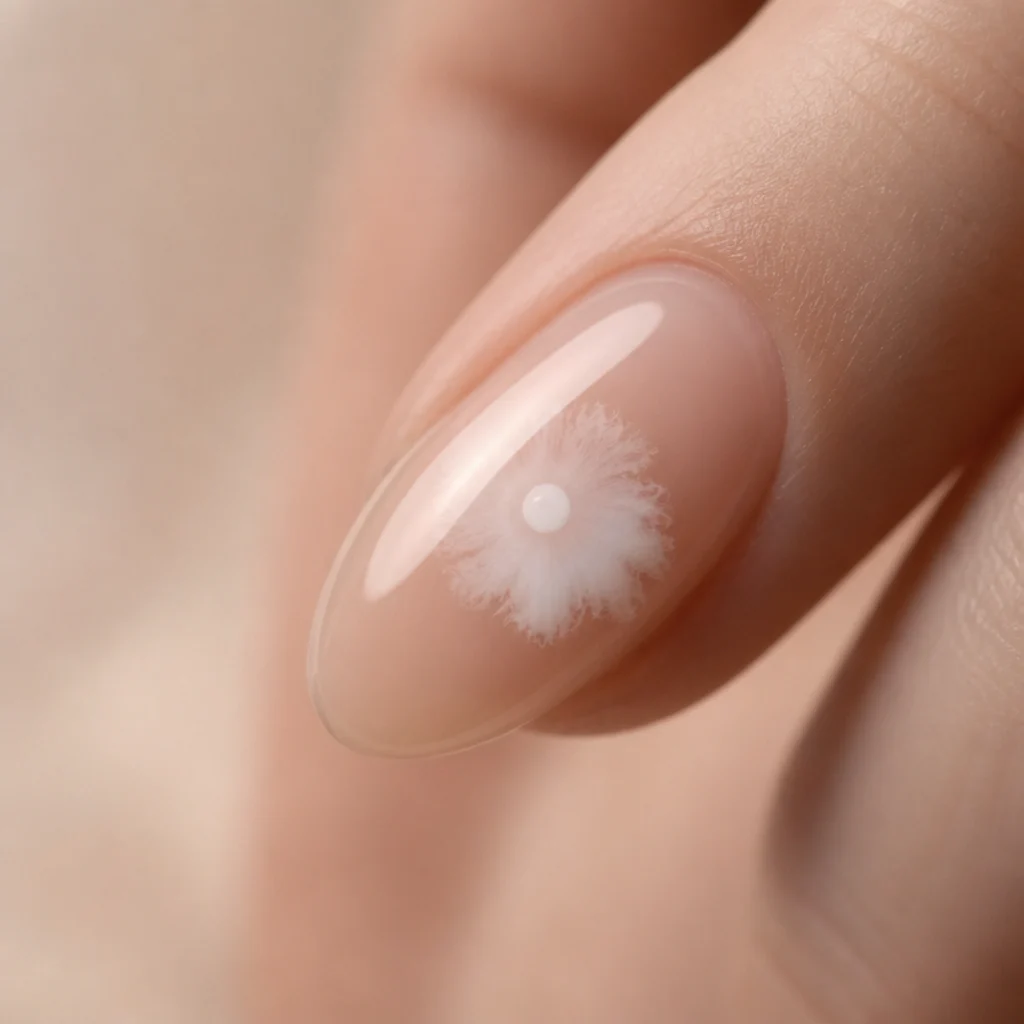
Take a minute to learn the mechanics — understanding them is what separates control from chaos. Blooming gel is a clear, uncured medium. When you place pigmented gel on top of that wet film, surface tension and the solvent carriers pull the pigment outward into the signature feathered halo. Three variables govern the result: how wet and thick the blooming layer is, how much and how concentrated your pigment is, and how long you wait before curing. More clear gel plus thinner pigment gives a wide, soft, low-contrast spread; less gel plus concentrated pigment gives a tighter, sharper shape. Temperature and product age matter too — a warm room and fresh gel spread faster than a cold room or an old, thickened bottle. The reaction is time-sensitive and product-specific, so always run a swatch on one nail or a practice tip first to clock your kit's speed. Pro insight: think in "bloom seconds," the window from placement to full spread, and write yours down.
Save this to Pinterest to keep the timing notes handy while you practice.
06Apply the Blooming Gel Layer
{#apply-the-blooming-gel-layer}
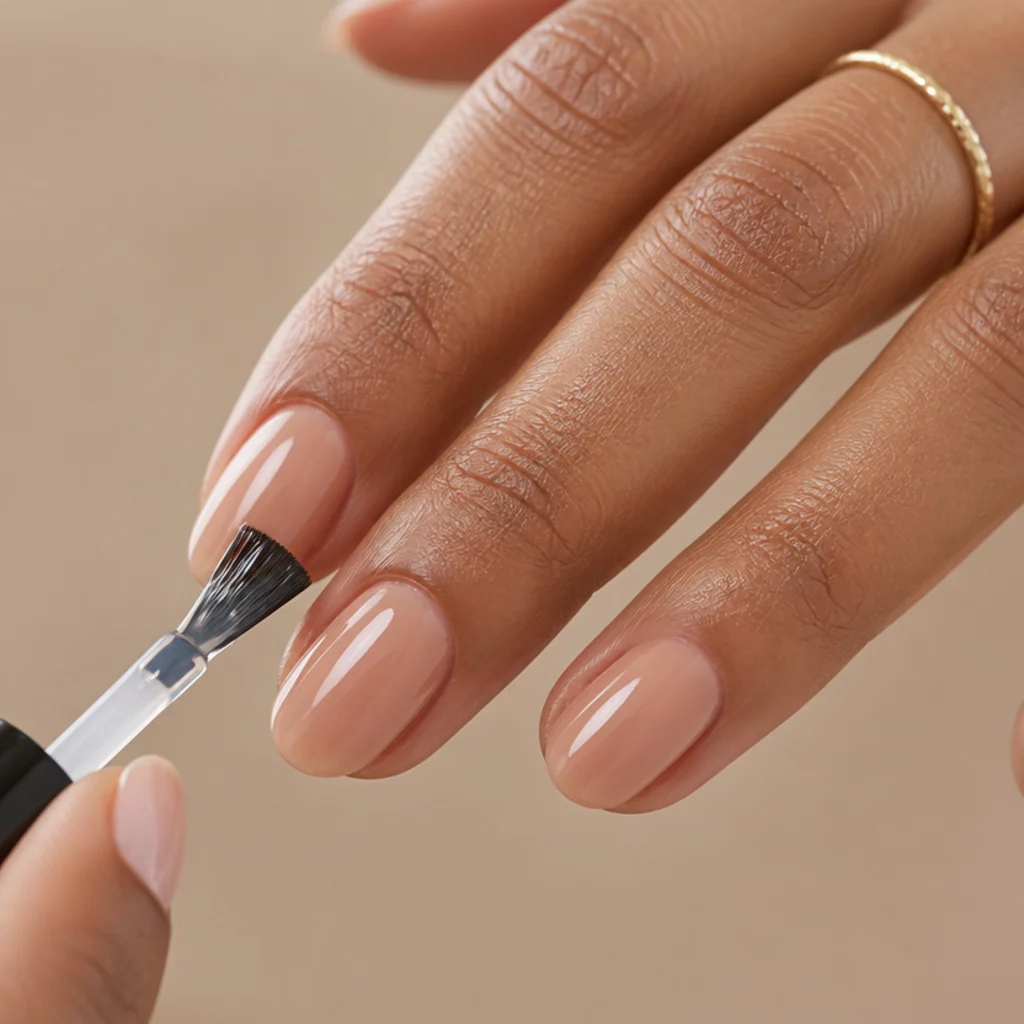
Brush a thin, even film of clear blooming gel over your cured base color, keeping coverage consistent edge to edge and into the corners. Any dry patch or thin spot acts as a wall — pigment stops there and leaves an abrupt, unnatural border instead of a gradient. Don't cure this layer. The goal is one uniform wet film that becomes the highway your color travels along, so aim for medium thickness rather than a starved or flooded coat. Work only one or two nails at a time, never all ten, since the gel's spreading power fades measurably as it sits and starts to self-level and set. Build a rhythm for a full set: bloom two nails, place pigment, guide, then move on before reactivity drops. Pro tip: reload your brush and re-float the film if more than 30 to 45 seconds pass before you place pigment. Ask your supplier whether your blooming gel is self-leveling, since that changes how thick to apply it.
07Do Not Cure the Blooming Gel Yet
{#do-not-cure-the-blooming-gel-yet}
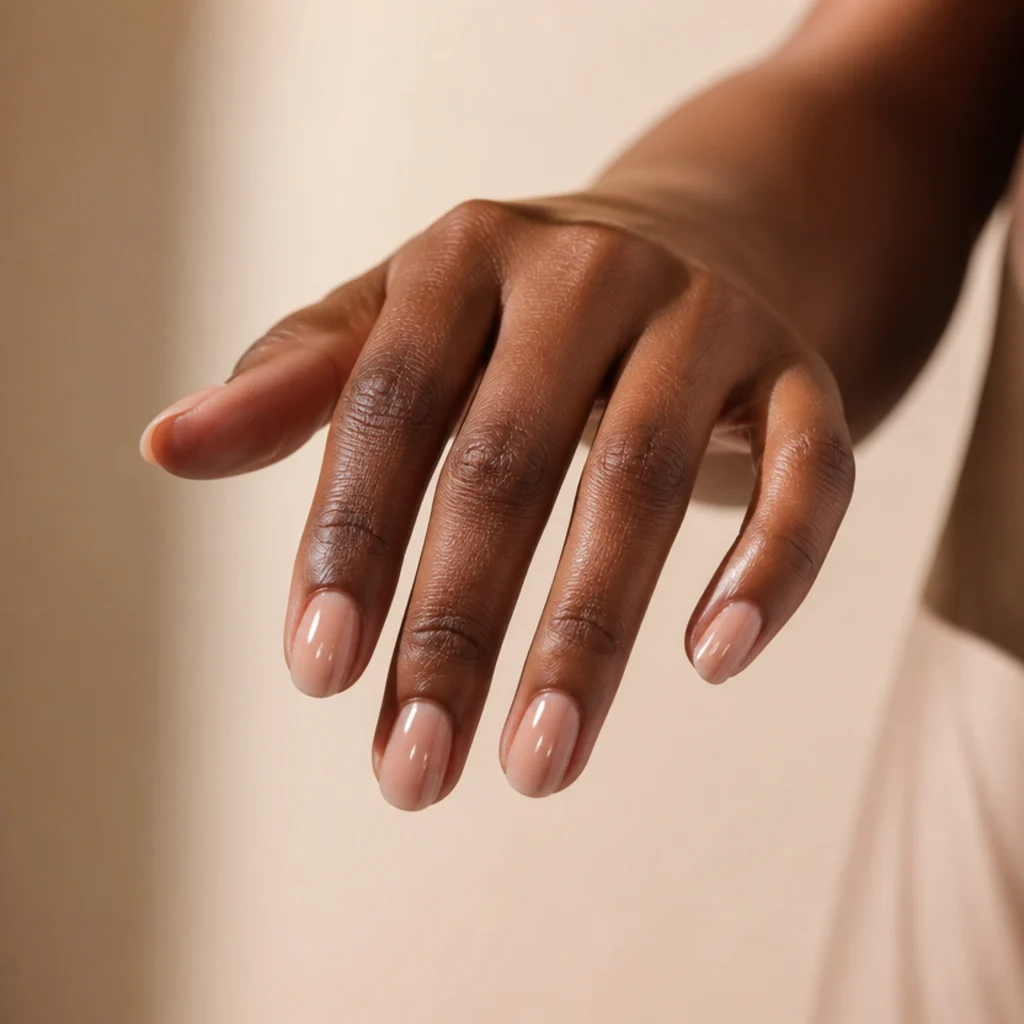
This gets its own step because premature curing is the single most common failure in the whole process. The bloom only happens while the clear gel is wet and uncured. The moment you flash it under the lamp the surface hardens, and any pigment you add afterward sits as a flat, hard-edged dot with zero spread. Keep your hand away from the lamp during this window, and know that strong direct sunlight or a bright UV-heavy work light can partially set the surface over time, so avoid working right next to a window on a bright day. If you do cure it by accident, don't scrap the nail: wipe nothing, just float a fresh thin blooming coat on top and try again, though expect the second spread to be a touch softer and less mobile. Pro tip: turn your lamp away from your workspace while placing pigment so an accidental foot-pedal or auto-sensor trigger can't ruin a nail.
08Drop In Your White Color
{#drop-in-your-white-color}
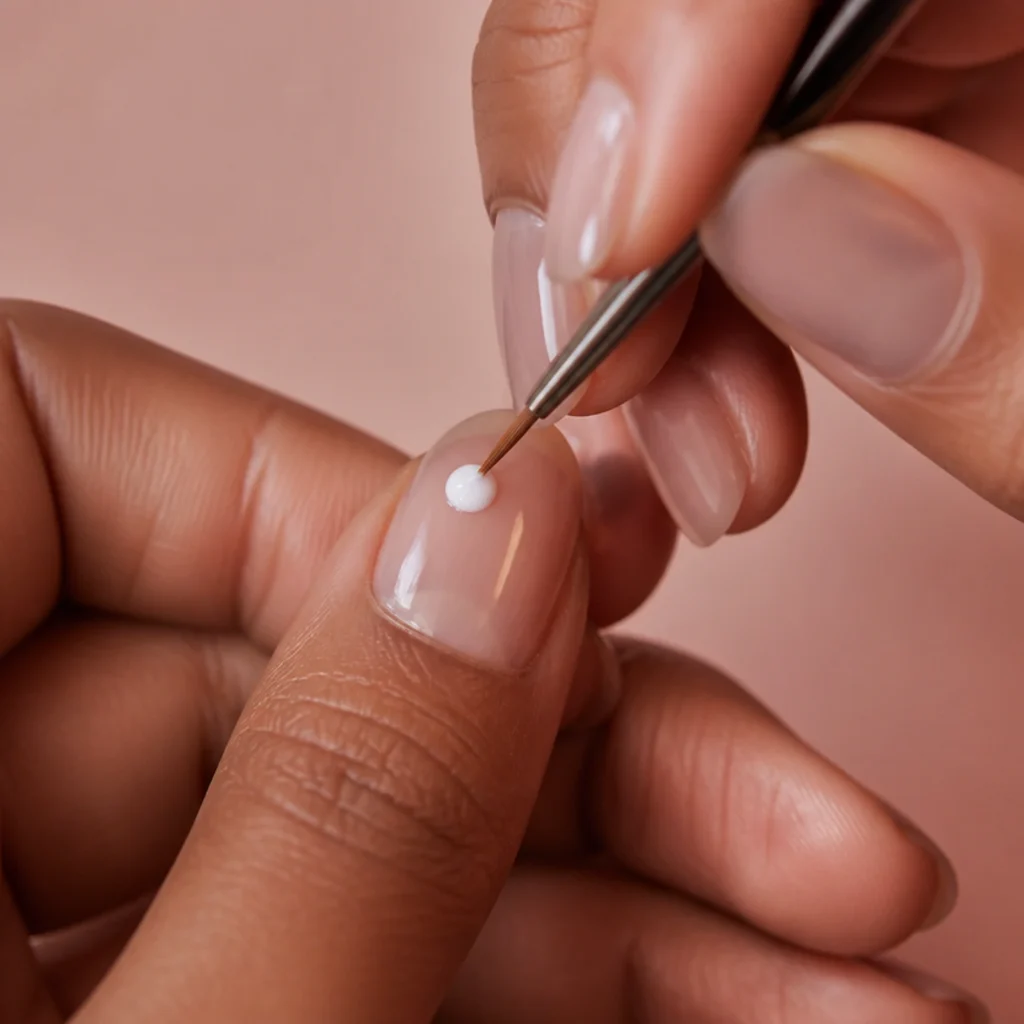
With the blooming layer still wet, load a fine liner brush or dotting tool with your opaque white and touch it lightly to the surface. Let the tool kiss the gel rather than press into it, which preserves the spread. Start small — you can always add more pigment, but you can never pull spread color back. Placement is the whole design: a dot near the cuticle blooms toward the free edge, a thin line across the plate feathers into a soft band, three staggered dots create an abstract watercolor field, a cluster at one corner reads as an off-center floral. Concentration controls contrast, so use an opaque titanium white to keep the bloom visible as it thins toward its edges. For a first set, cap yourself at two or three placements per nail and let the gel do the artistic labor. Pro tip: keep placements a hair away from the sidewalls, since pigment spreads outward and can flood the cuticle wall if you start too close.
09Let the Bloom Spread
{#let-the-bloom-spread}
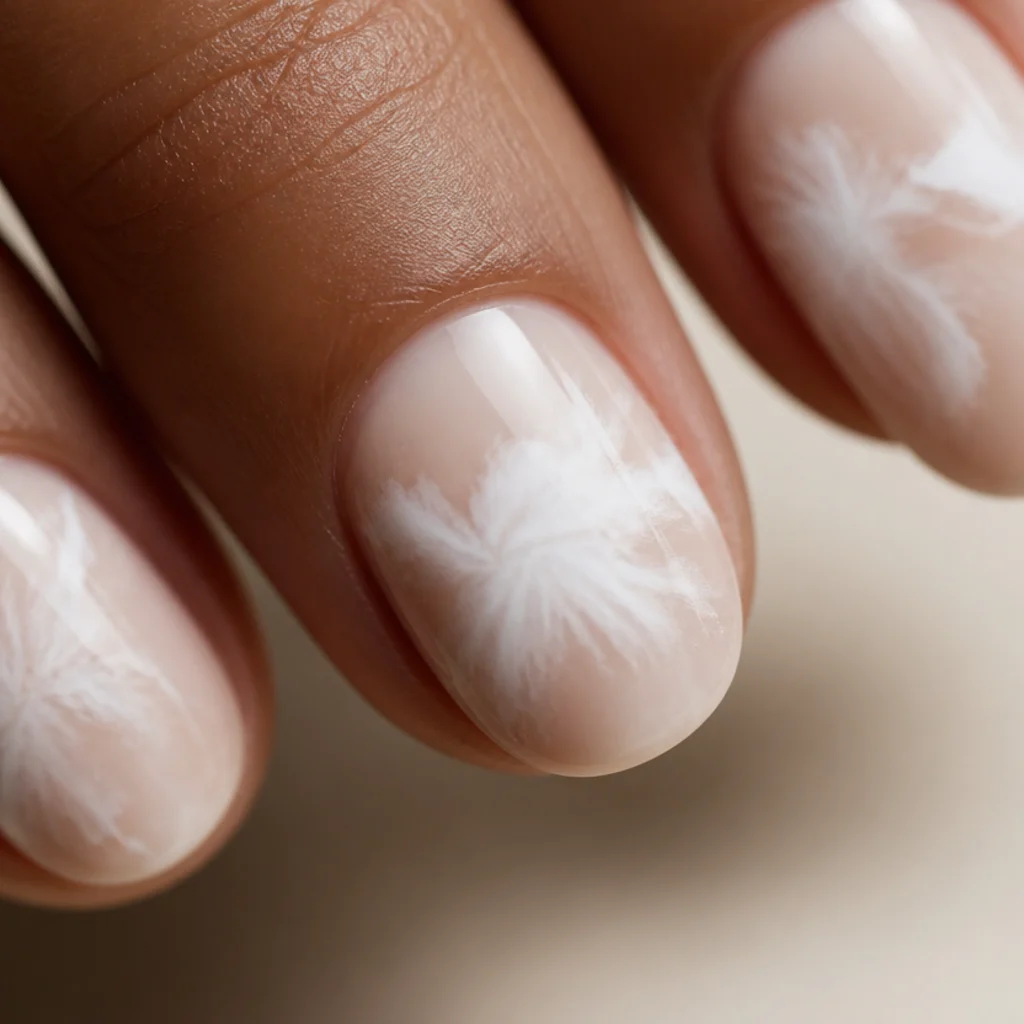
Now patience earns its keep. After placing your white, stop and watch: the pigment feathers outward on its own, softening hard edges into a gradient halo over anywhere from a few seconds to about a minute, depending on your product, room temperature, and film thickness. Don't touch, poke, or overwork it during this window — let the reaction run its full course or you'll smear the softness you came for. Read the outcome like a diagnostic: if the spread stalls almost immediately, your blooming layer was too thin or already setting; if it runs wild and blurs the whole design into a gray wash, you used too much clear gel or too little pigment. Logging these results on your test nail teaches you exactly how your kit behaves, so the next set is dialed in. Pro tip: if one nail blooms much faster than the last, your film cooled or thinned, so re-float a fresh blooming coat before placing pigment on the next.
10Guide and Shape the Design
{#guide-and-shape-the-design}
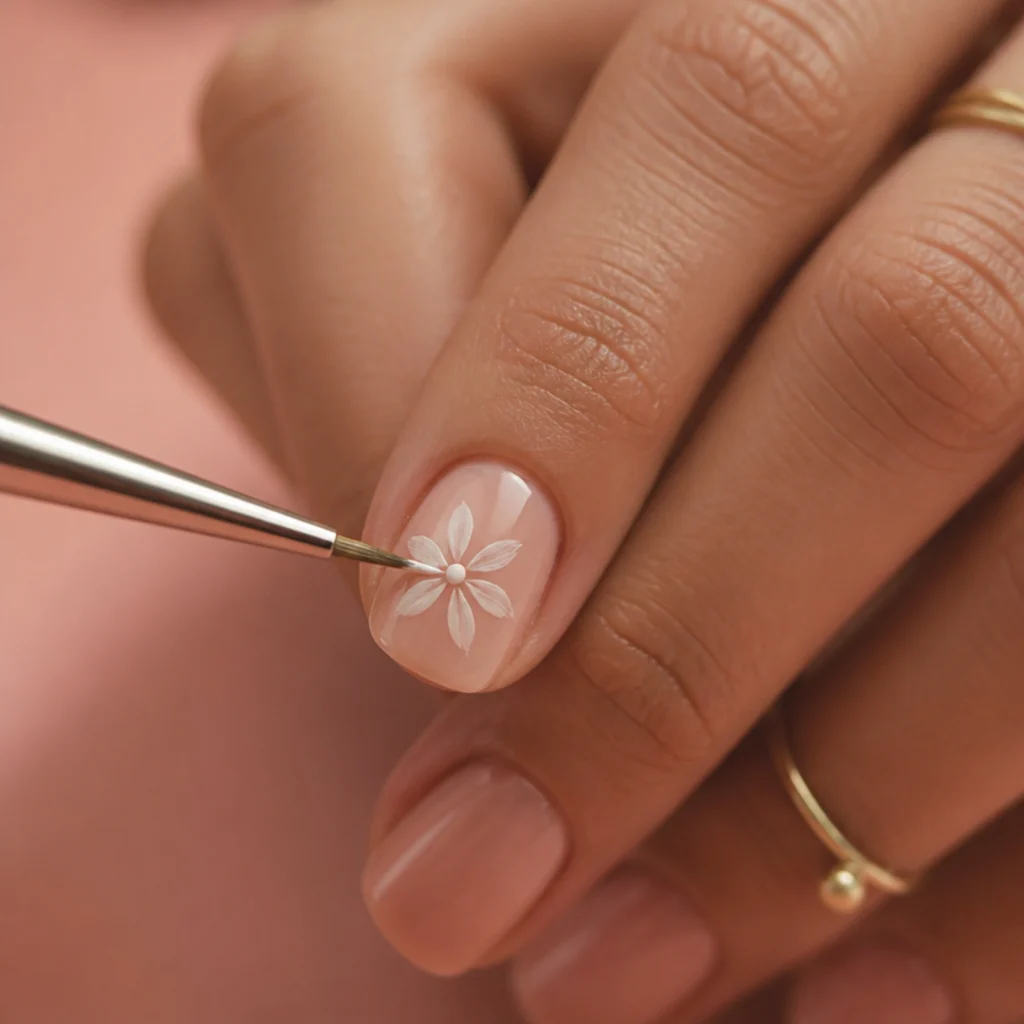
You're not entirely at the gel's mercy — while the bloom is still moving, you can direct it. Take a clean, barely damp brush and gently coax the pigment: pull petals outward from a center dot for a five-point floral, drag a soft comet tail for movement, or nudge a stray edge back to keep an abstract shape balanced. Use a whisper-light hand; heavy dragging deposits pigment and kills the diffused quality that defines the look. This deliberate steering is how easy blooming gel nail art becomes intentional instead of accidental. Wipe your brush on a lint-free wipe between every move so you're guiding color, not adding it. For symmetrical florals, work from the center outward and mirror each motion petal by petal to keep the flower even. Pro tip: hold the brush almost flat and use only the very tip, letting capillary action pull pigment rather than pushing it. Ask your nail tech to demo a "one-stroke petal pull" if you want to see the motion in person.
Save this to Pinterest for the petal-shaping trick.
11Create a Blooming Gel French Tip
{#create-a-blooming-gel-french-tip}
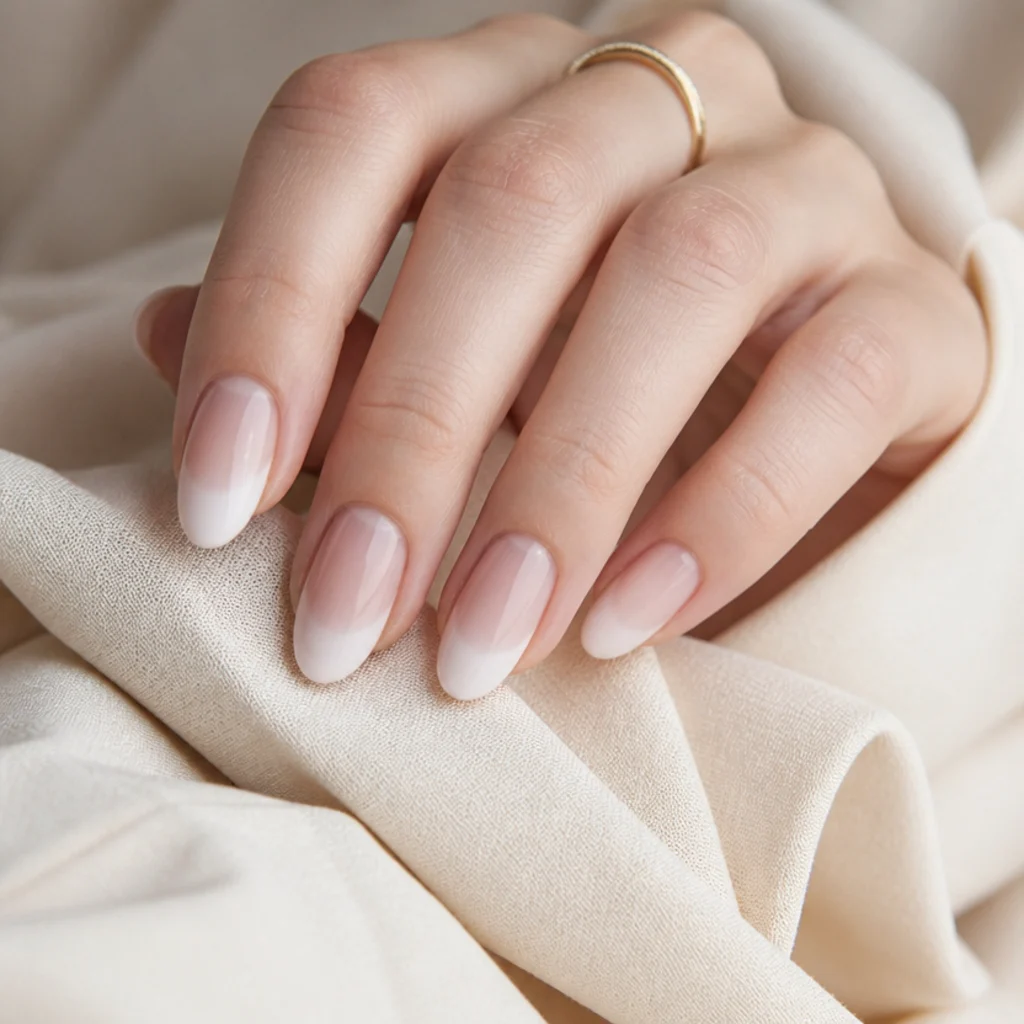
For a modern blooming gel french tip, skip the crisp painted smile line and let the bloom create the fade for you. Over your wet blooming layer, lay a band of opaque white along the free edge, then let it feather down into the nail for a diffused, airbrushed tip that looks salon-expensive. This approach is forgiving by design: since the edge is meant to blur, it hides slightly uneven placement that a traditional french would expose. Scale the tip depth to your nail — a shallow 2 to 3 millimeter band suits short or round nails, while a deeper fade flatters long almond and coffin shapes and elongates the finger. Keep the band thin in pigment near its inner edge so the fade stays gradual instead of stopping in a ghost line. Pro tip: place the pigment slightly below the very tip and let it bloom up and over, which gives a softer crest than painting the edge directly. Ask your nail tech for a "diffused" or "smoked" french if you want this instead of a classic line.
12Add 3D and Layered Accents
{#add-3d-and-layered-accents}
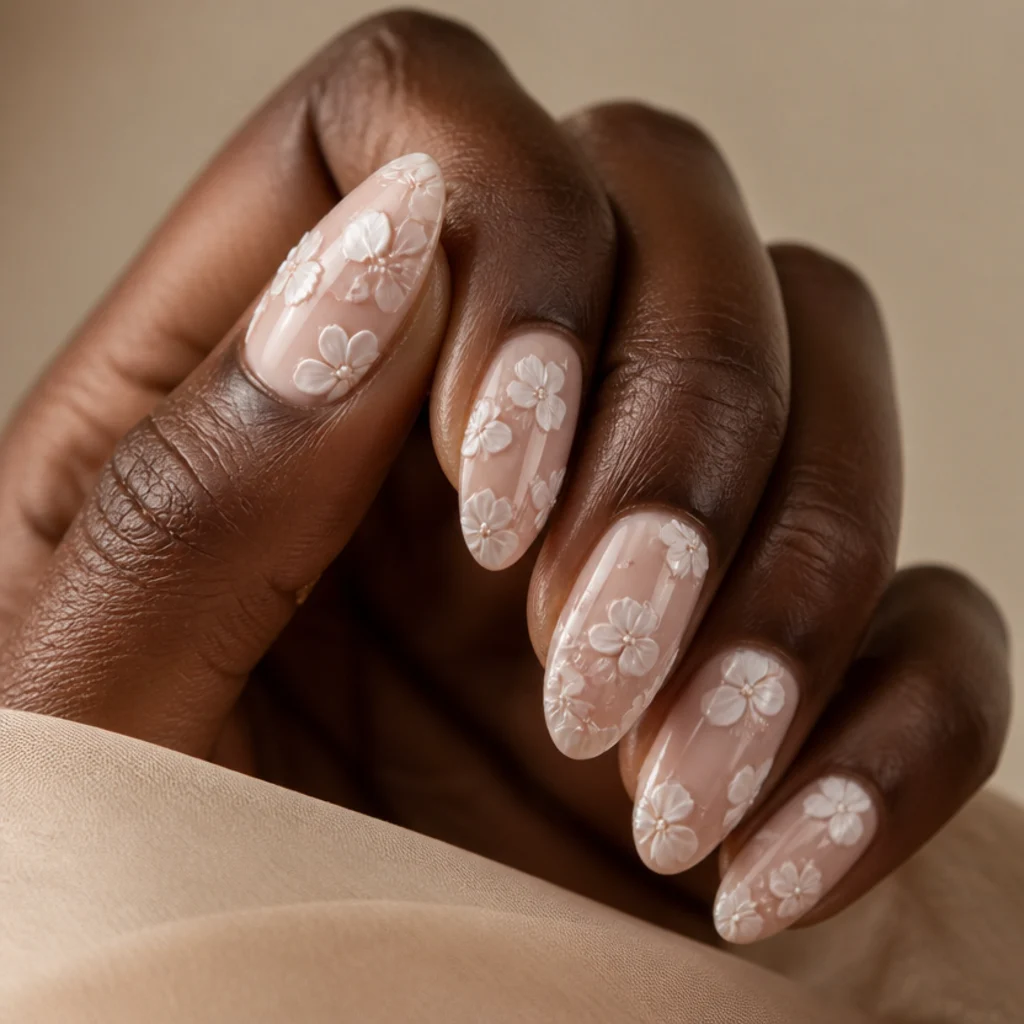
To move into blooming gel 3D nail art, pair the flat watercolor bloom with raised, light-catching elements. Once your bloomed layer is fully cured, switch to a thicker builder gel or a stiff gel paint to sculpt small dimensional petals, dots, fine vein lines, or a raised floral center, curing after each element so it holds its shape. The soft bloom underneath acts as a painterly background while the raised accents add texture that photographs well. Restraint matters here: keep 3D elements small, deliberate, and few, or they overwhelm the delicate spread and the nail starts to look crowded instead of custom. Cluster the dimension in one zone, like a single corner flower, and leave the rest of the bloom to breathe. Pro tip: cure 3D petals at a slight angle for the first flash so they set with a natural lift instead of lying flat. Ask your supplier for a "non-wipe, high-viscosity builder" for the cleanest sculpted edges that won't slump before curing.
13Cure the Finished Design
{#cure-the-finished-design}
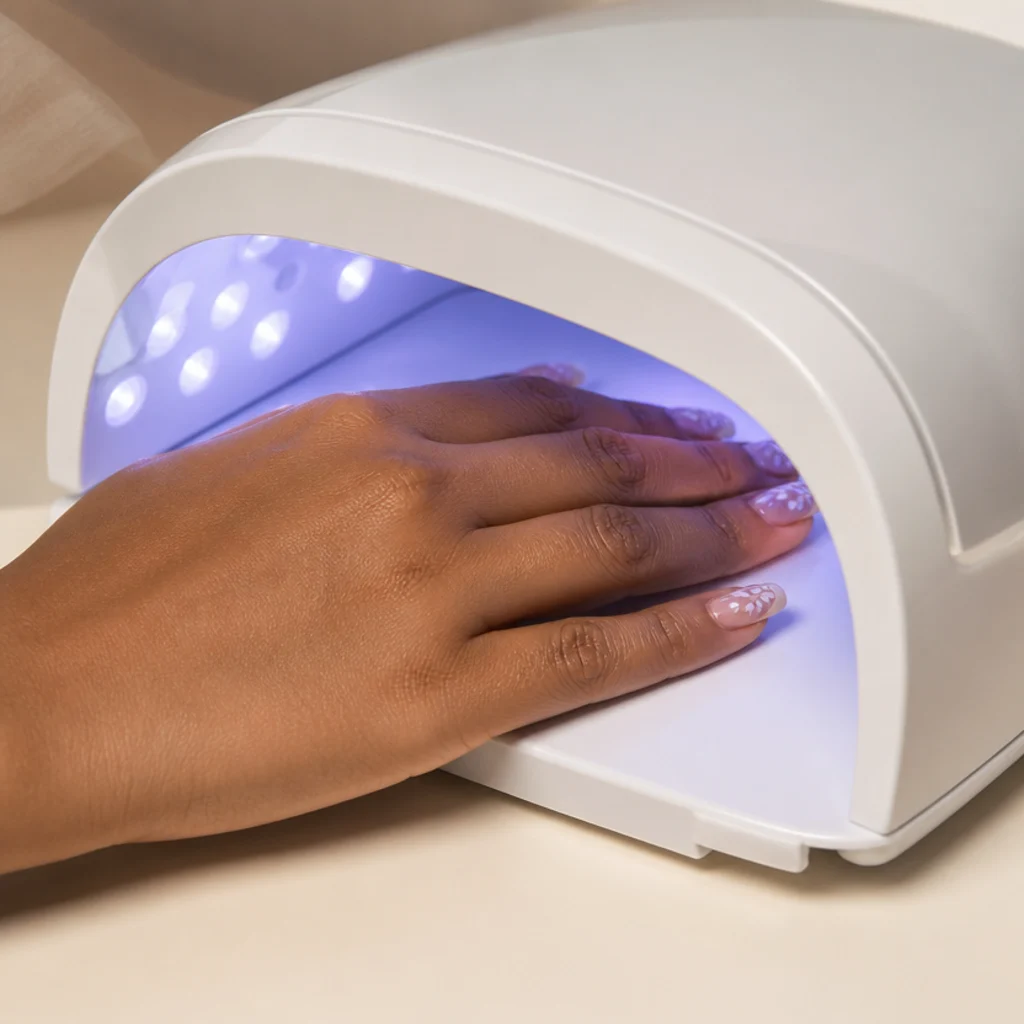
Once every nail's spread and shaping looks right, cure the whole design under your lamp for the full recommended time. Only commit once the bloom has completely stopped moving, since curing locks it in permanently. Center each nail flat inside the lamp so it sets evenly — a tilted finger leaves the shaded edge soft and tacky — and check that your thumb, which often sits at an odd angle, gets full exposure. If you built the set nail by nail, you can cure in stages, but confirm each one is fully set, not just surface-firm, before moving on to top coat. Under-curing here shows up later as denting, cloudiness, or a design that smears when you seal it. Pro tip: give designs with thicker builder-gel accents a second full cure cycle, since dense areas need more energy to cure all the way through to the core. A complete cure now is what keeps the final two steps smudge-free.
14Seal With Top Coat
{#seal-with-top-coat}
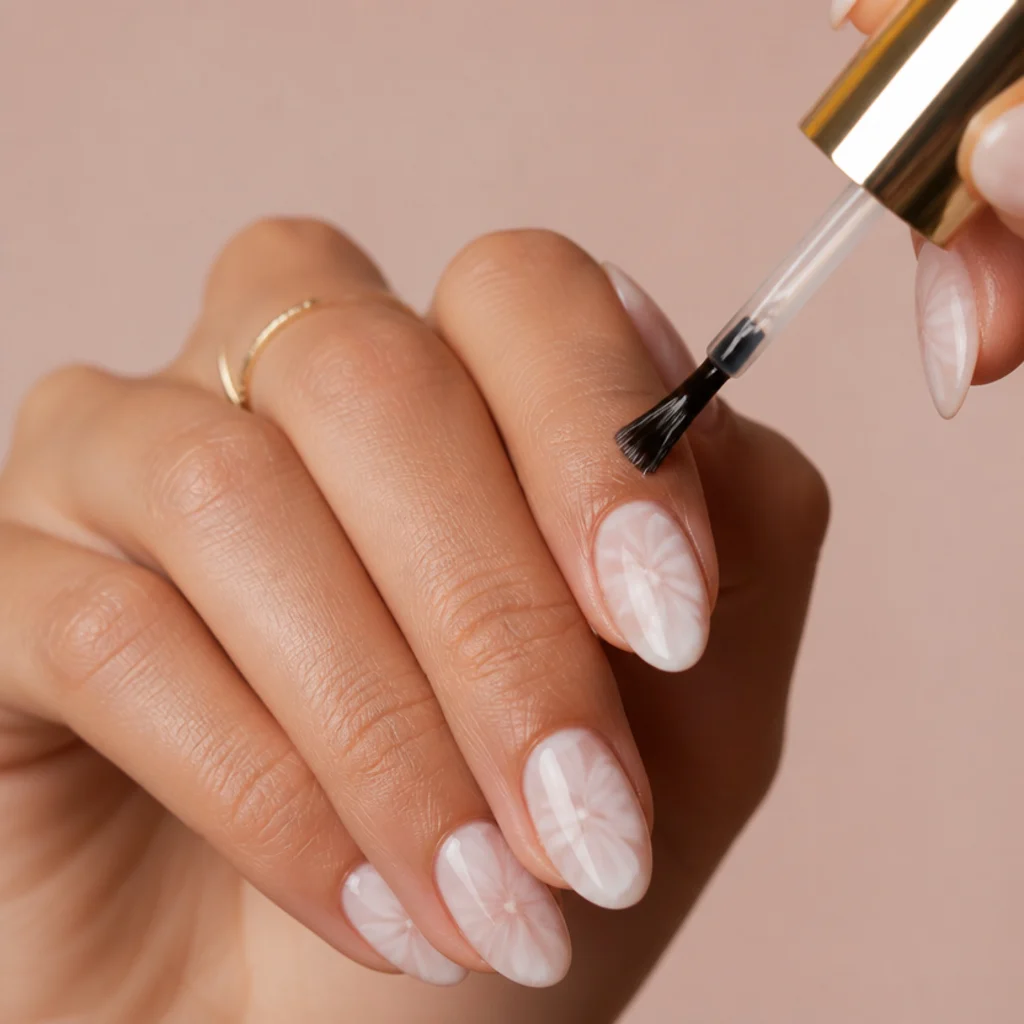
Lock your work in with a top coat, capping the free edge again for durability. Finish is a design choice: a no-wipe glossy top coat gives that wet, glassy, watercolor-under-glass depth that makes the soft bloom look lit from within, while a matte or velvet top coat turns the same design chalky and dreamy for a more muted effect. Apply one even layer, float rather than drag so you don't disturb any near-surface pigment, avoid flooding the cuticle and sidewalls, and cure fully. The top coat also does the work of UV and wear protection — it keeps the white from dulling and shields the art from daily abrasion. If you added 3D accents, work the top coat gently around each raised element so it flows over and seals the edges rather than pulling away; that's where lifting and snagging start. Pro tip: for extra-glossy depth, apply two thin no-wipe coats with a full cure between them rather than one thick coat that can shrink at the edges.
15Clean Up and Care for the Set
{#clean-up-and-care-for-the-set}
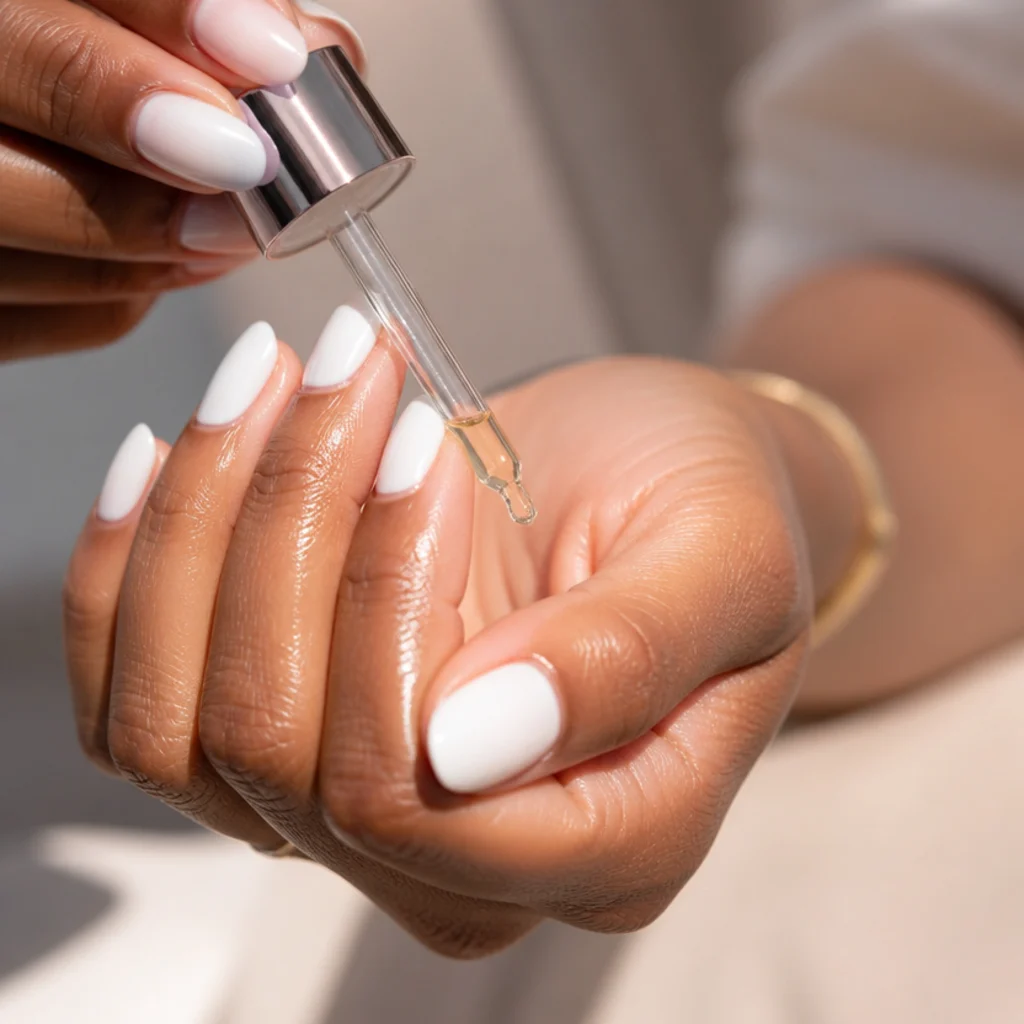
Finish with detailing and aftercare — this is what makes a home set look salon-clean. Wipe any tacky residue with cleanser (skip this on a true no-wipe top coat), tidy stray gel around the cuticle and sidewalls with a wooden stick, and massage cuticle oil into the surrounding skin to rehydrate and blur any minor overspread. Good aftercare protects your wear time: apply cuticle oil daily to keep the seal flexible, wear gloves for cleaning and dishwashing, and don't use your nails as tools, which is the fastest route to lifting. Most well-prepped gel sets hold cleanly for two to three weeks. When you're ready to remove it, soak off gently with acetone and foils rather than peeling or picking, which strips layers of your natural nail and leaves it thin. Pro tip: re-gloss with a fresh thin top coat around week two to revive shine and add a few extra days of wear. If your nails ever feel sore, thin, or persistently irritated, take a break between sets and see a licensed nail professional.
Pro Tips from the Editor
- Write down your "bloom seconds." Time the gap between placing pigment and full spread on your test nail, then repeat that exact rhythm across the set. Consistency beats guesswork every time.
- Room temperature is a hidden variable. A warm room speeds the spread and a cold one stalls it, so if your later nails bloom differently from your first, check whether your gel or your workspace has cooled.
- Thin pigment for softness, concentrated pigment for shape. Dilute your white with a touch of clear gel on a palette when you want an ultra-airy watercolor wash; use it straight when you want a defined petal that holds its edge.
- Keep two brushes going. One dedicated pigment brush and one clean, barely damp guiding brush, wiped between moves, keeps you from accidentally depositing color when you're only trying to steer it.
- Bloom fast, cure patiently. Place pigment while the film is at peak wetness, but never cure until movement has fully stopped, since curing a still-spreading bloom freezes it mid-blur.
- Overspread hides at the cuticle, not the tip. Start placements a hair away from the sidewalls and eponychium, since pigment travels outward and a flooded cuticle wall is far harder to clean than a soft tip.
- An old, thick bottle underperforms. Blooming gel loses spreadability as it ages and thickens, so if a once-reliable gel stops feathering, replace it before blaming your technique.
How to Choose / Get the Look
Start by matching the technique to your comfort level, then build up from there. If you're brand new, begin with a single-color white bloom over a milky-nude base and just one placement per nail. It delivers the signature effect with almost no risk and teaches you your kit's timing. Once the spread feels predictable, move up to a blooming gel french tip, then guided florals, then blooming gel 3D nail art with sculpted accents. Let your nail shape steer the design: long almond and coffin nails give blooms room to open into full florals, while short and round nails suit compact single blooms and soft diffused tips.
Product quality changes the ceiling of what you can do. A dedicated, medium-viscosity blooming gel and a highly pigmented titanium white behave far more predictably than improvised substitutes, and a properly rated lamp guarantees a full cure. Always swatch first to learn your kit's spread speed, and store gels away from heat and light so they last. Use the quick reference below to match a base and pigment approach to the finish you want. If you'd rather have it done professionally, bring a saved photo to a licensed nail tech and ask for blooming or watercolor gel by name, specifying base shade, bloom density, and tip style.
| Look you want | Base shade | Pigment approach | Best nail shape | Skill level |
|---|---|---|---|---|
| Airy everyday wash | Milky nude or blush | Thin, 1–2 placements, wide spread | Any shape | Beginner |
| Diffused french tip | Sheer nude | Band at free edge, feathered down | Almond, coffin, squoval | Beginner |
| Defined floral | Soft nude | Concentrated dots, guided petals | Almond, coffin | Intermediate |
| Graphic high-contrast | Charcoal or navy | Opaque white, tight controlled spread | Squoval, coffin | Intermediate |
| 3D layered accent | Any bloomed base | Cured bloom plus builder-gel sculpting | Almond, coffin | Advanced |
Frequently Asked Questions
What exactly is blooming gel?
Blooming gel is a clear, uncured gel medium that makes pigment placed on top of it spread and diffuse outward, creating a soft watercolor or feathered halo. You brush it on, drop color onto the wet film, let the bloom happen, then cure it. The spread comes from surface tension and the gel's solvent carriers, not from anything you paint.
Why is my blooming gel not spreading?
The usual culprits: curing the clear layer too early, applying it too thin or unevenly, using pigment that's too thick to travel, or working with an old, thickened bottle. Make sure the blooming film is wet and consistent edge to edge, keep it far from the lamp, warm up a cold room, and always test timing on a swatch first.
Can I do blooming gel nail art without a UV lamp?
No. Blooming gel is a true gel product that only cures under a UV or LED lamp. Air-dry or regular polish won't set it, and an uncured set stays soft, tacky, and prone to smudging, denting, and lifting. A lamp is non-negotiable here.
How long does a blooming gel manicure last?
With thorough prep, capped edges, and a good top coat, most sets hold cleanly for two to three weeks. Daily cuticle oil, gloves for wet chores, and keeping your nails off tool duty all help it wear evenly. Re-glossing with a fresh top coat around week two can add a few extra days of shine.
Is blooming gel beginner friendly?
Yes. Since the gel spreads the color for you, it's one of the more forgiving nail art techniques, and diffused edges hide small imperfections. The real skills are timing and placement, not freehand painting, so most beginners get striking results after one or two practice nails to learn their kit's speed.
How do I make a blooming gel french tip?
Over a wet blooming layer, lay a band of opaque white along the free edge, then let it feather down into the nail instead of stopping at a smile line. Scale the depth to your nail length: shallow for short nails, deeper for almond or coffin, and keep the inner pigment thin so the fade stays gradual and airbrushed instead of ghosting into a line.
Can I use regular gel polish as the pigment instead of gel paint?
Often, yes, but results vary. A highly pigmented gel polish can bloom well, while sheer or shimmer-heavy formulas spread unevenly or lose contrast. Gel paints and dedicated blooming pigments are more concentrated and predictable. Whatever you use, swatch it first — pigment load and viscosity, not the label, decide how cleanly it feathers.
Why does my white bloom look gray or muddy?
Muddiness usually means too much clear gel relative to pigment, so the white thins into a weak wash, or you overworked the bloom with your brush and dragged it. Use an opaque titanium white, place slightly more concentrated pigment, resist touching it while it spreads, and cure the moment the movement stops.
Can I do blooming gel over acrylic or builder gel extensions?
Yes. Blooming works over any fully cured, prepped surface, including acrylic, hard gel, and builder-gel extensions. Just make sure the enhancement is cured, buffed matte, cleansed, and sealed with a base, or your bloom can look patchy. Extensions actually give you a larger, flatter canvas, which makes bigger florals and layered 3D accents easier to pull off.