5 Eye Shape Makeup Mistakes to Avoid
A good eye shapes chart is a starting point, not a verdict. Most eye makeup slip-ups come from applying one technique to every eye instead of reading the lid, crease, and outer-corner tilt you actually have. Here are the five mistakes that close the eye in without you noticing, each with the exact placement fix, product finish, and pro vocabulary to ask for.
 Edited by Lena Rose · Published July 11, 2026 · 21 min read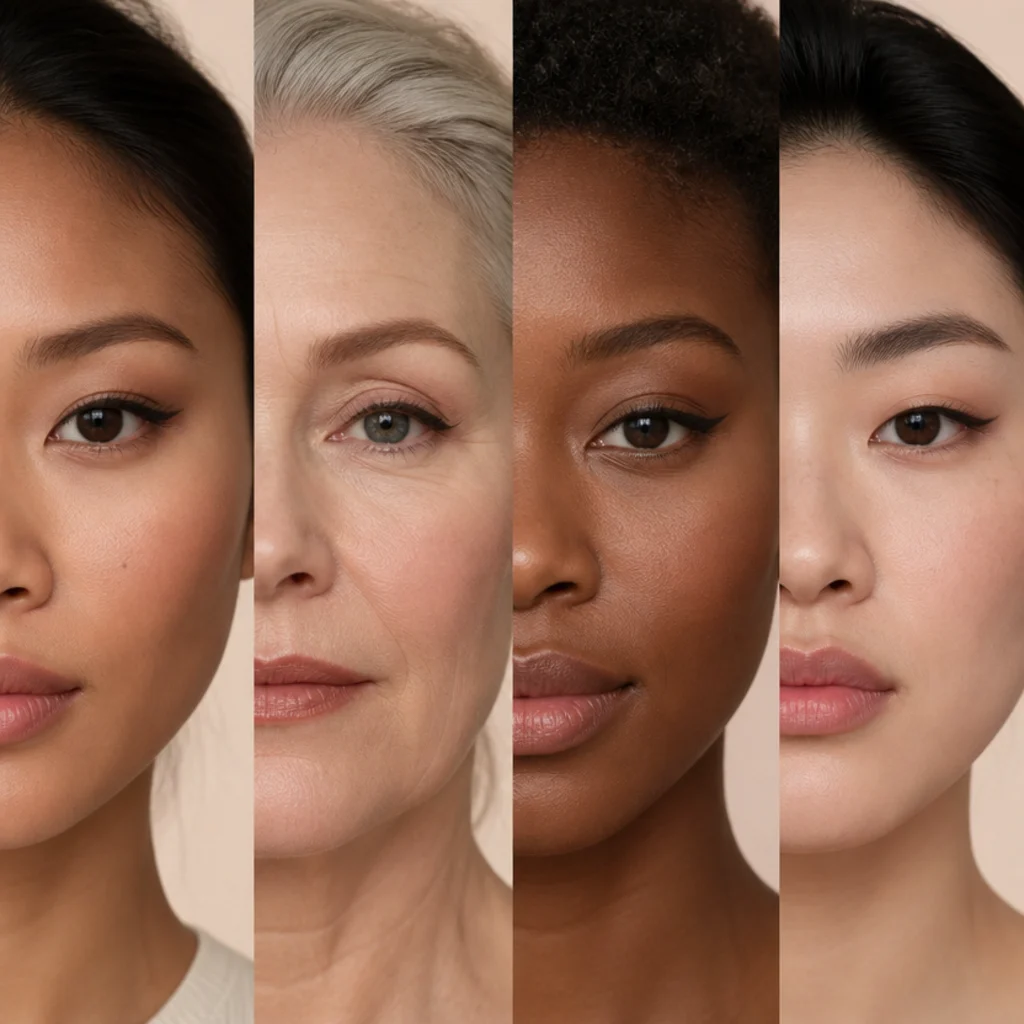
Quick Answer
- Best for: Anyone whose liner, shadow, or lashes photograph well but seem to disappear once the eye is open and relaxed at conversation distance
- Who might skip it: Makeup artists already mapping by structure, or anyone happy with a signature look that reads clearly head-on
- Maintenance: Low once your eye shape is diagnosed; a five-second open-eye mirror check before you line, plus a re-diagnosis if a brow lift, filler, weight change, or aging shifts your lid over time
- Difficulty: Beginner to intermediate; every fix is a placement or angle tweak, not a new skill or extra product
- Cost: Free with what you own; a nude or peach waterline pencil (roughly budget to mid-range) and a tube of eye primer are the only adds that pay off fast
- Wear time / longevity: Corrections hold as long as your base does, six to ten hours over primer; open-eye placement is what survives blinking, creasing, and oil migration
- Standout variation: Re-angling a winged liner toward the brow tail on hooded and downturned eyes, the single change that rescues the most looks
- How to ask your makeup artist: Describe what you see, not a category label, for example "my crease hides when my eyes open, so where should the liner and transition sit?"
In This Guide
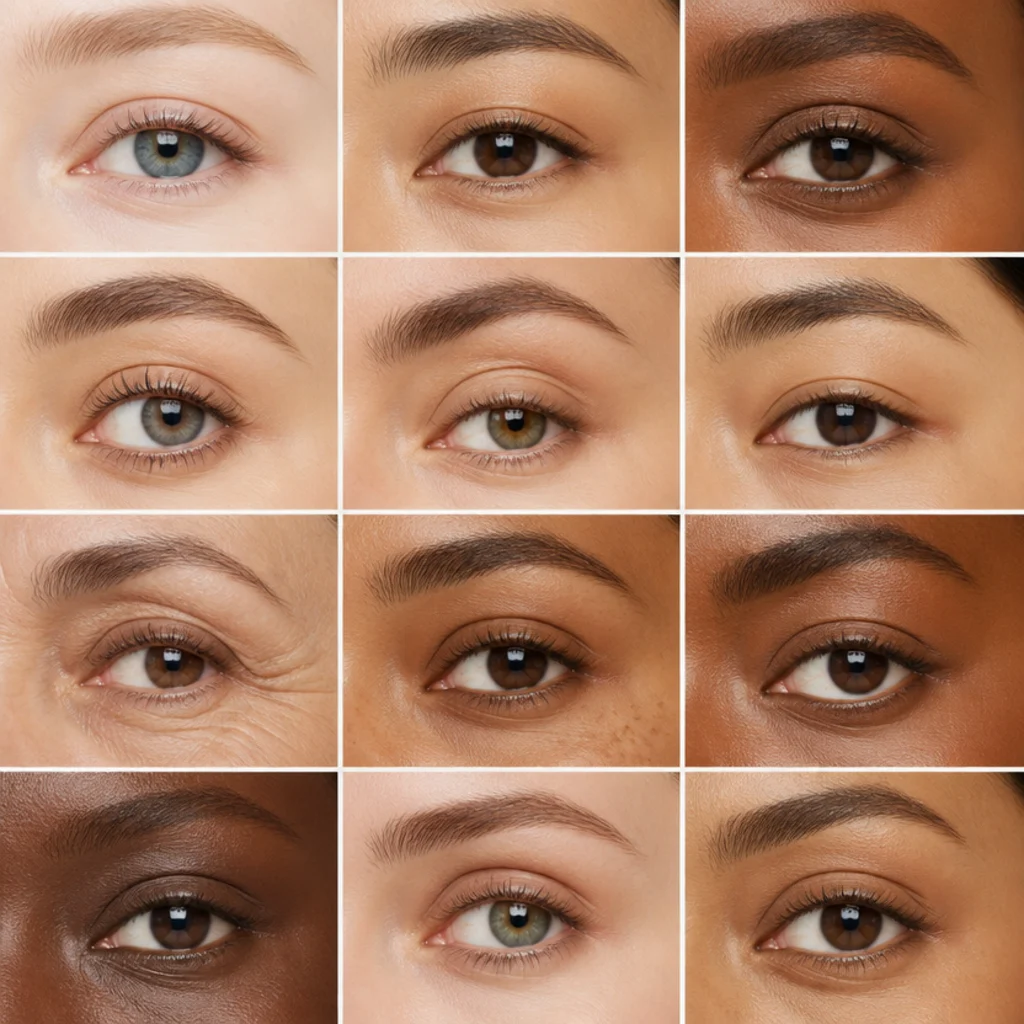
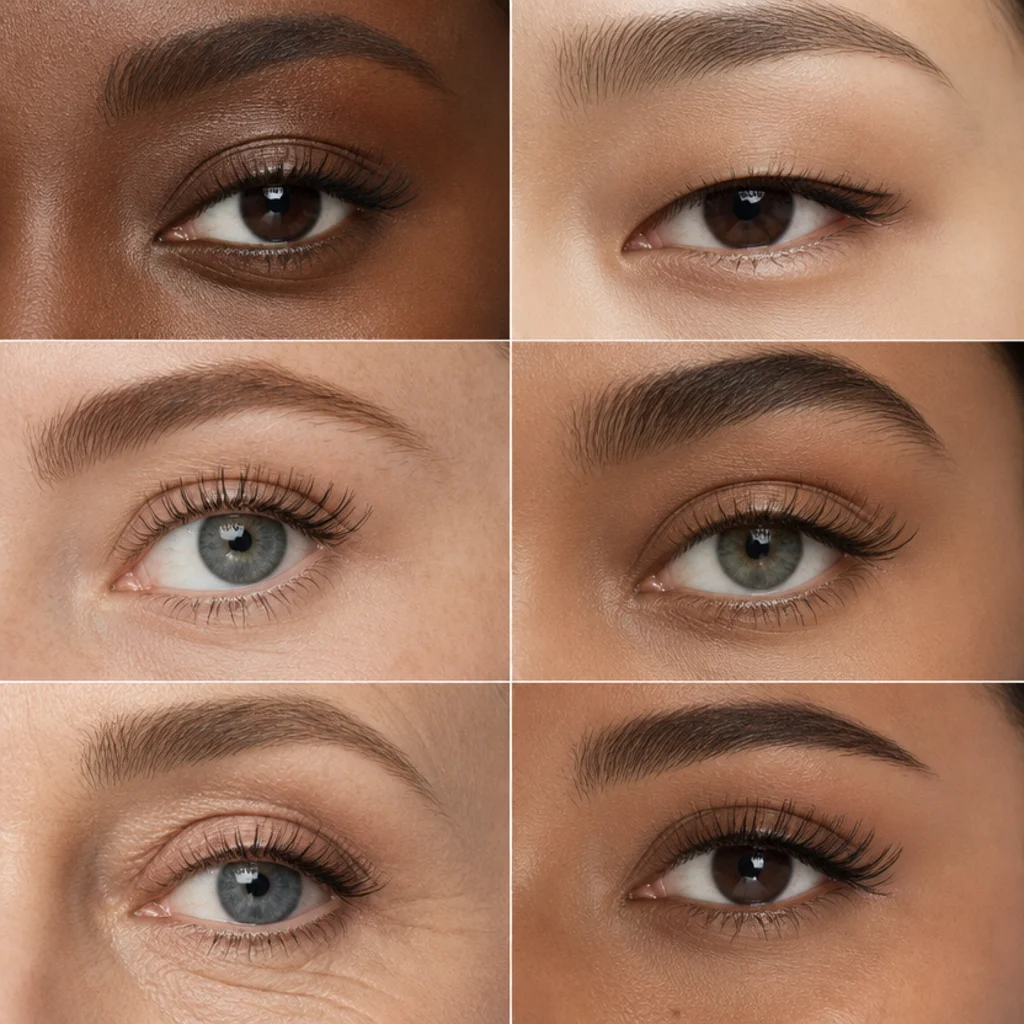
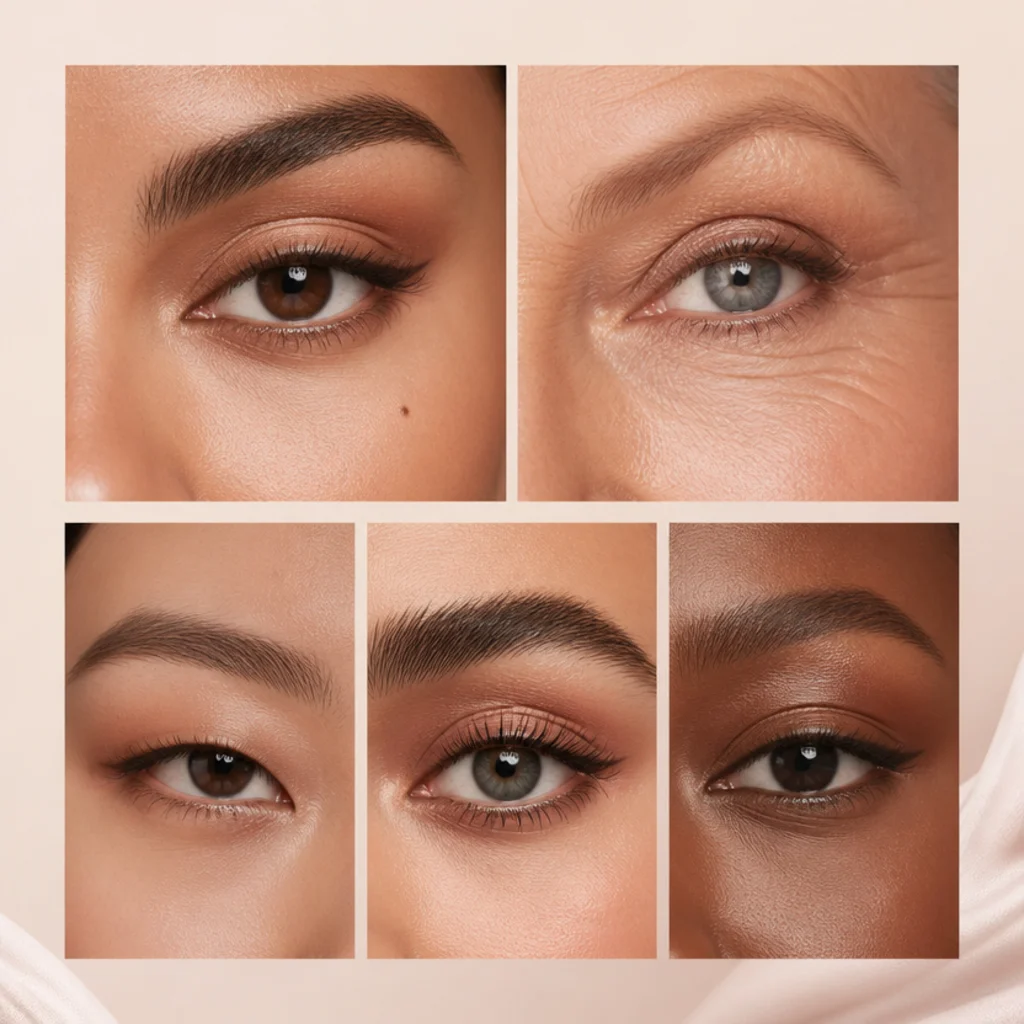
Reading an eye shapes chart is the fastest way to understand why the same liner looks razor-sharp on one friend and smudges into nothing on another. But a chart only helps once you apply it to your own face, in motion, with the eye open. Most eye makeup frustration doesn't come from an unsteady hand or the wrong formula; it comes from placement designed for a different lid. The tutorials that dominate your feed were usually filmed on open, almond-leaning eyes with a generous visible crease, so their angles fail quietly on hooded, monolid, downturned, deep-set, and close-set shapes. Once you learn to read almond vs hooded eyes, spot where a crease actually falls, and judge how much mobile lid shows, you stop fighting your features and start directing them. That's eye shapes explained through what goes wrong, because a correction you understand sticks longer than one you copy. Below are five mistakes that flatten a look, each with a fix you can do using products already in your bag, plus the vocabulary to brief a pro. None of it depends on a single "ideal" eye, undertone, or skin tone; every fix here responds to structure.
01Copying a Wing That Fights Your Crease {#mistake-1}
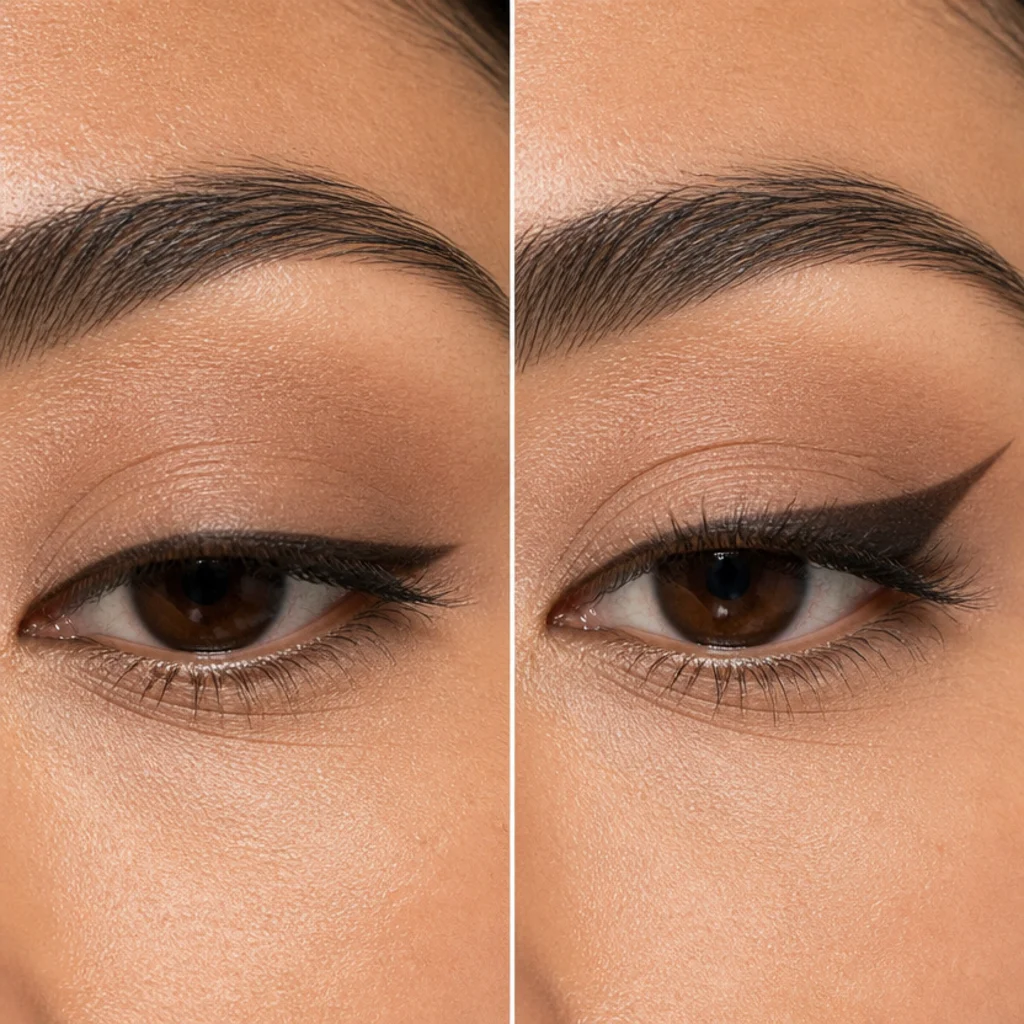
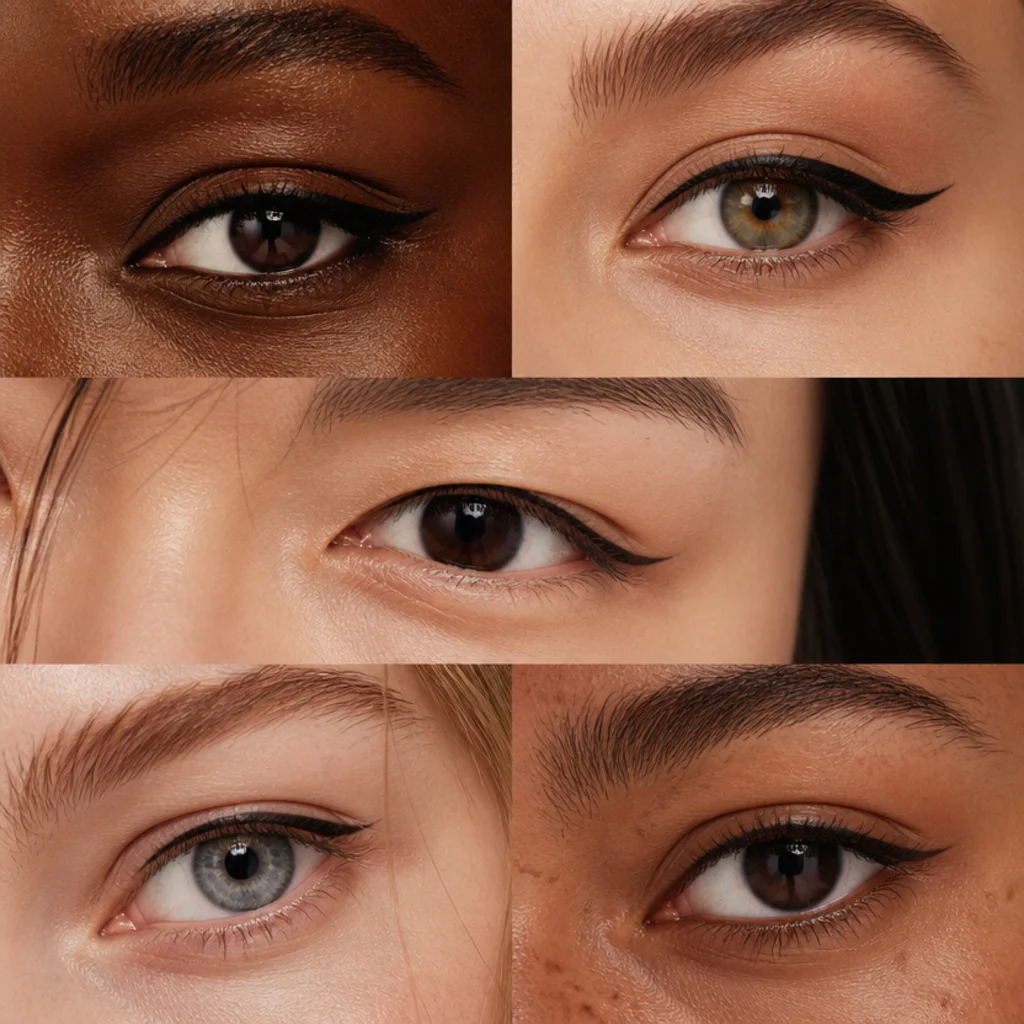
The classic winged-liner tutorial assumes a visible lid and an open crease, so it has you trace the lower lash line straight out. On hooded or downturned eyes, that flick disappears under the fold the moment you open your eye, or worse, the tail reads downward and drags the outer corner with it. The fix changes both the anchor and the timing. Instead of extending the lower lash line, aim the wing toward the tail of your brow, keep the line hair-thin along the lash roots, and build thickness only at the outer flick, where the hood can't swallow it. Draw with your eye open, checking placement between strokes rather than committing to a shut-eye line you can't see. A common pro trick: lay down the wing angle first as a faint guideline from the lower lash line to the brow tail, then connect it back along the lid. For downturned shapes, lift the flick two to three degrees higher than feels natural to counteract the droop. For close-set eyes, start the liner slightly past the inner corner so weight sits outward and the eyes read farther apart. Formula matters here: a long-wear gel or a waterproof liquid resists transferring onto the hood far better than a soft kohl pencil, which the warm, mobile fold lifts within an hour. Set the flick with a matching matte shadow pressed over the top for extra grip, and re-tap the outer point midday if oil migration is common for you. Tell your makeup artist you want the wing angle mapped with your eyes open, so it clears the fold in real life and not just in a still mirror.
02Ignoring Where Your Crease Actually Sits {#mistake-2}
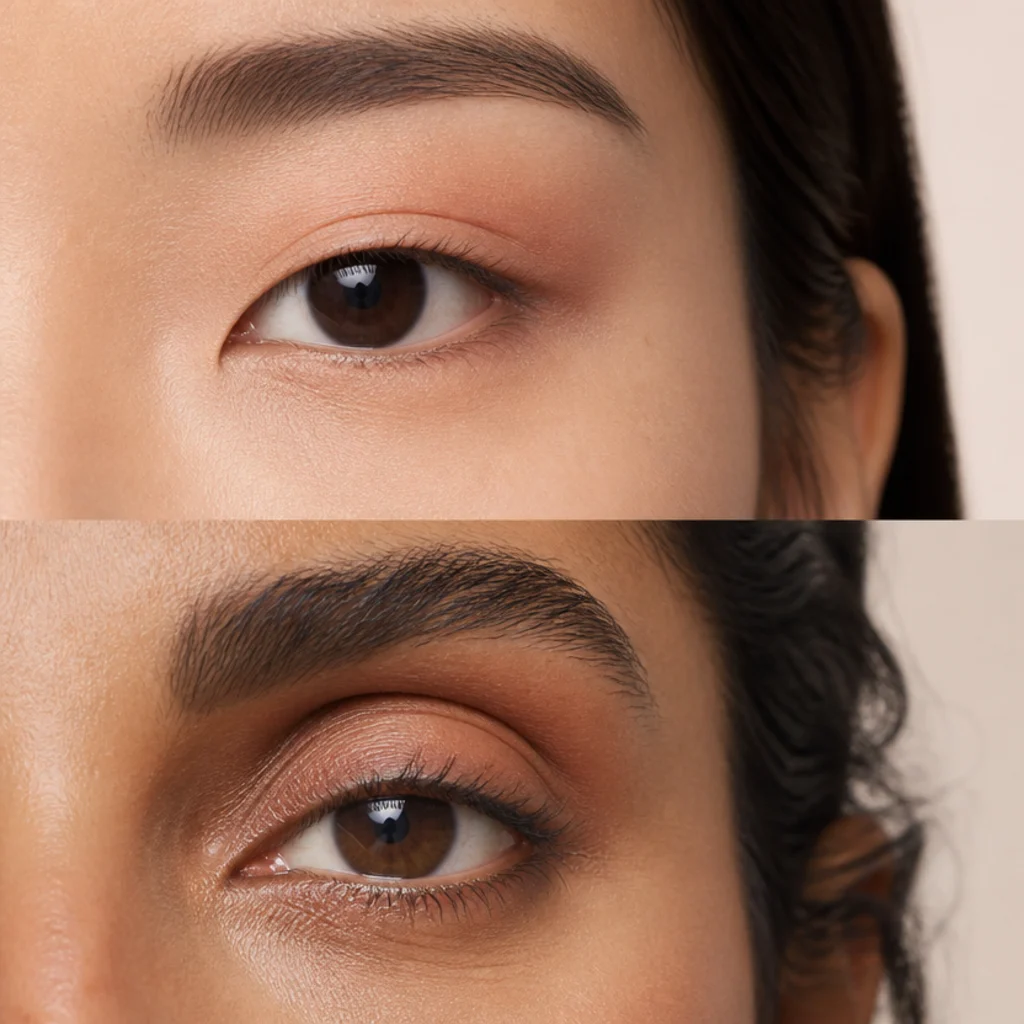
Nearly every shadow tutorial tells you to "blend into the crease," but that falls apart on monolid, hooded, and deep-set eyes, where the crease is hidden, sits very low, or already reads as shadow. Pack transition color into an invisible fold and the work vanishes the instant you open your eye; on deep-set eyes it can even deepen the socket into a hollow that ages the whole look. The fix: build a visible crease slightly above where the natural fold falls, using a matte transition shade one to two tones deeper than your skin in a soft, neutral undertone, blended upward with the eye open so you're placing color where it'll actually show. On monolid eyes, sketch a soft half-moon of transition color roughly a centimeter above the lash line, then diffuse the top edge with a clean fluffy brush; this fakes dimension on a flat lid and creates a faux crease that reads head-on, from any angle. On hooded eyes, carry that shade just above the fold so a visible sliver of color survives when the eye opens, and keep the outer V deeper than the inner half to pull the eye up and out. On deep-set eyes, do the opposite of instinct: keep the lid center lighter and lightly shimmered to push it forward, and use a soft matte just to sketch the outer corner rather than smoking the whole socket. Reach for matte shades to build structure and save shimmer for the mobile lid; sparkle exaggerates puffiness and depth in the socket. A quick spec check by shape:
| Eye shape | Where the crease reads | Transition placement | Finish on the lid center |
|---|---|---|---|
| Monolid | Flat, no visible fold | Faux half-moon above lash line | Soft shimmer to lift |
| Hooded | Hidden under fold | Just above the fold, outer-weighted | Matte or satin, kept clean |
| Deep-set | Sits deep in socket | Light hand, outer corner only | Shimmer to push forward |
| Almond | Naturally visible | Follow the true fold | Free choice |
When you're in the chair, ask for the transition shade to go above the fold, not inside it, blended with a fluffy brush.
03Lining the Full Waterline on Small or Round Eyes {#mistake-3}
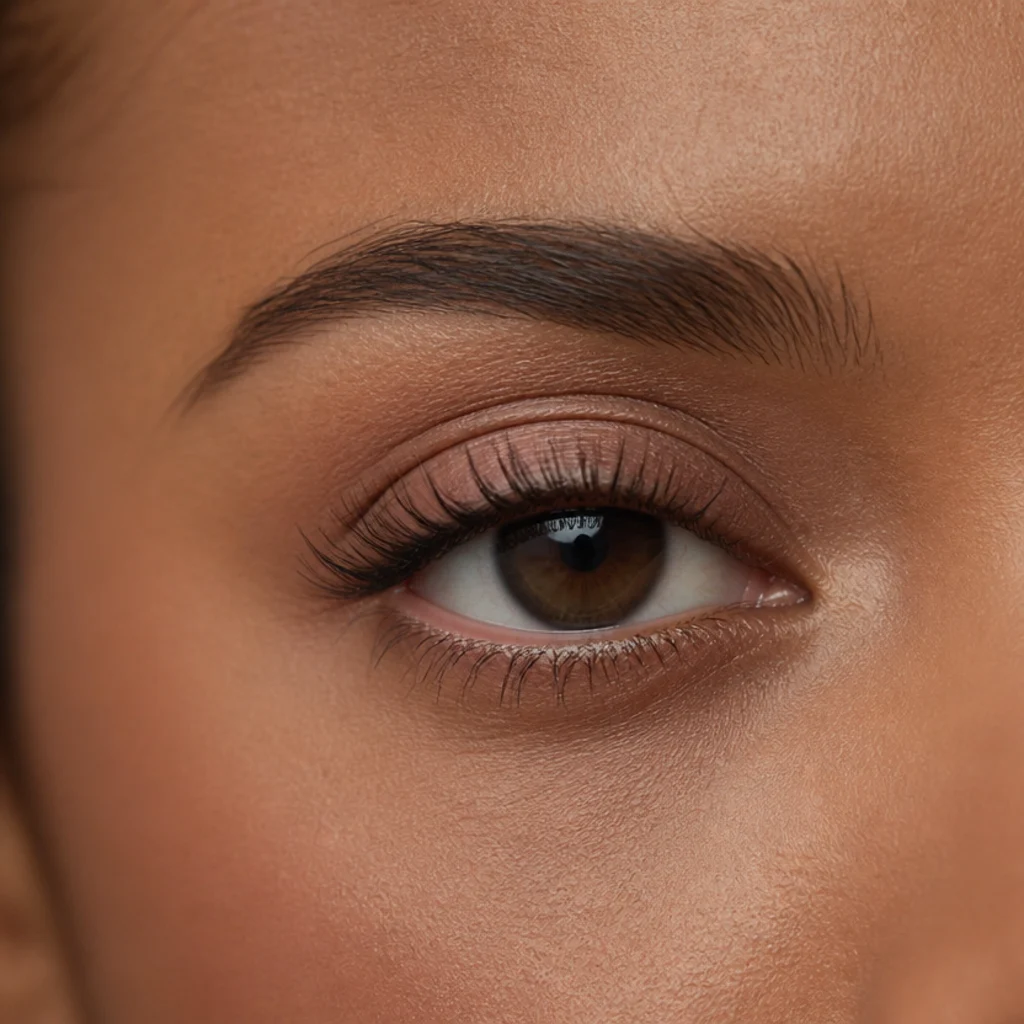
Dark liner ringing the lower waterline looks striking in a tight close-up, but on small, close-set, or round eyes it eats the visible white and shrinks the whole eye inward, the opposite of what most people want in daylight. The fix depends on your goal, and it's almost always about restraint. To open the eye, tightline only the upper waterline to thicken the lash base invisibly, pressing the pencil up into the roots so no gap of pale skin shows between lash and liner, then run a nude, soft peach, or warm-beige pencil along the lower waterline to fake extra brightness and lift. A cool white can look stark and surgical, so match the pencil warmth to your undertone: peach and terracotta-nude flatter warm and deep skin, while a soft rosy-beige suits cooler or fairer tones. Reserve full black lower-waterline lining for larger, almond, or wide-set eyes that can spare the interior space, and even then keep it soft and smudged rather than a hard band. For round eyes chasing a longer look, concentrate darker shadow and liner in the outer third and along the outer half of the lower lash line, leaving the inner corner clean and bright to stretch the shape horizontally. Curl the lashes hard, add a highlight or brightening dot at the inner corner, and consider a hair-lifted outer flick to add the horizontal pull round eyes lack. Makeup by eye shape often comes down to where you stop, not how much you add. If you're booking a look, ask for a brightening lower waterline and outer-third emphasis instead of a full smoky ring.
04One-Size Lash Mapping for Every Eye {#mistake-4}
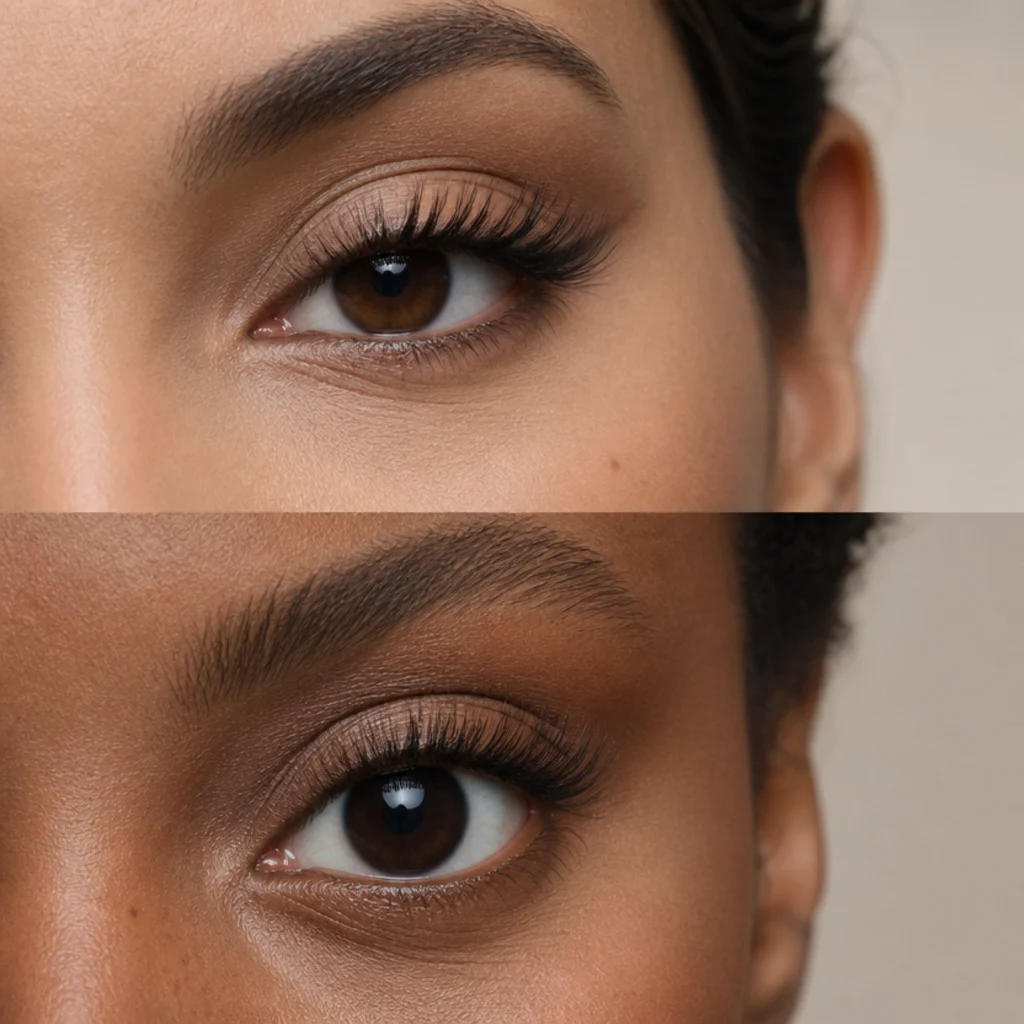
Whether you wear falsies, book extensions, or build with mascara, applying one uniform length across the lid ignores what your structure needs and often works against it. Lash mapping eye shapes distributes length and curl to counterbalance the eye instead of piling on volume everywhere. A cat-eye map, longest at the outer corner, elongates round and close-set eyes and reinforces an upturned tilt. A doll-eye or open-eye map, longest through the center, rounds and lifts almond, downturned, and narrow eyes by drawing the height to the middle of the lid. Hooded eyes do best with length concentrated just past center so the lashes clear the fold instead of brushing and smudging against it; a strong curl, or an L or L-plus curl in extensions, helps them stand off the lid rather than press into it. Deep-set eyes usually want a slightly shorter, lifted map so lashes don't vanish into the socket or tap the brow bone. Match density and the darkest base to your natural lash line so the set reads believable rather than heavy or graphic at the roots, and step lengths gradually, no more than one to two millimeters between zones, so the map looks intentional instead of choppy.
| Eye shape | Map style | Longest length sits | Curl to ask for |
|---|---|---|---|
| Almond | Natural / cat-eye | Outer third | C curl |
| Round | Cat-eye | Outer corner | C or CC curl |
| Hooded | Open / lifted | Just past center | L or L-plus curl |
| Downturned | Doll / open | Center | CC curl |
| Monolid | Doll / open | Center to outer | L or LC curl |
| Close-set | Cat-eye | Outer corner | C curl |
| Deep-set | Lifted / shorter | Center, kept lifted | CC or D curl |
If you book a pro, bring a reference photo and say the mapping name out loud; that gets you a sharper result than asking for "natural but full." Ask them to map length to your open-eye tilt, not the way your lashes sit at rest.
Save this to Pinterest to keep the lash mapping guide handy at your next lash appointment.
05Treating the Eye Shapes Chart as a Rulebook {#mistake-5}
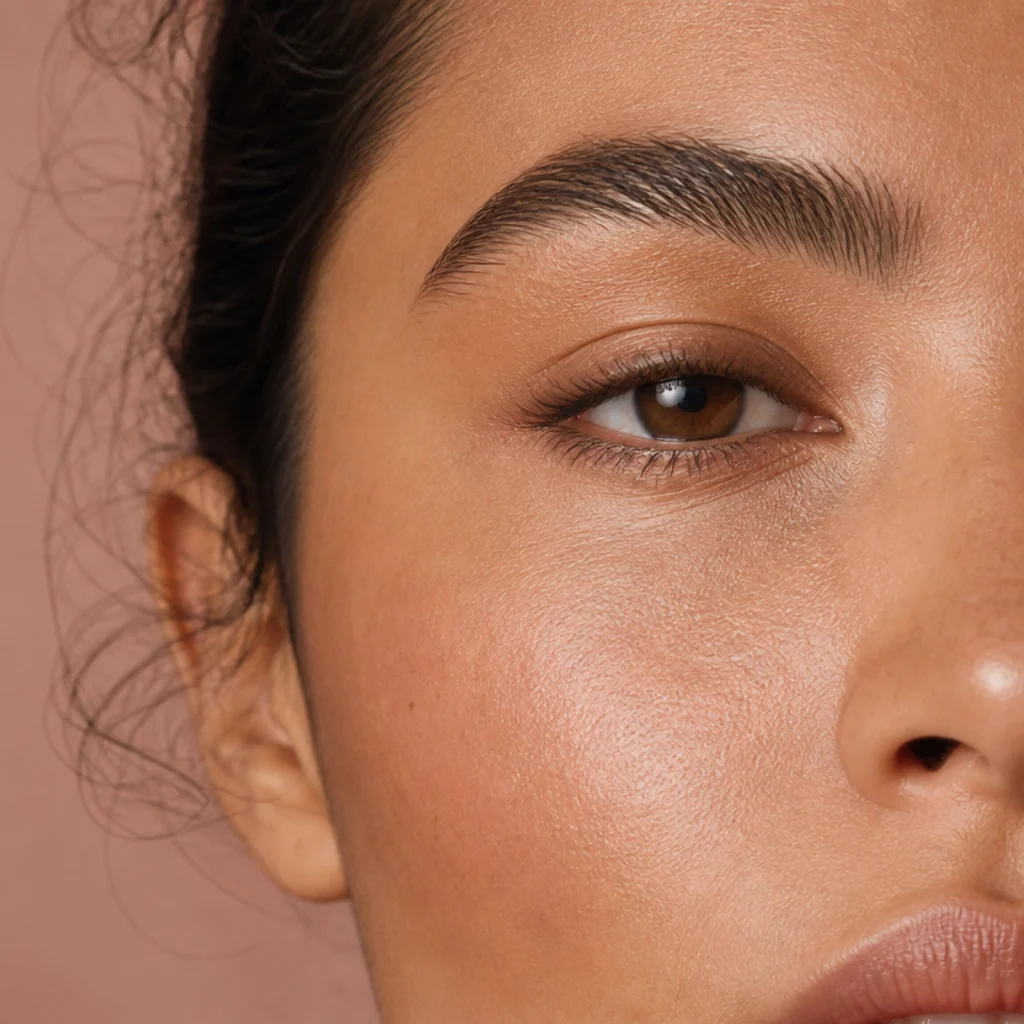
The biggest mistake is believing you fit exactly one box. Most people are a combination: almond with a slight hood, round with an upturned corner, deep-set with a low crease, or monolid on one side and a faint fold on the other. Faces are asymmetrical by nature too, so it's common and normal to need a marginally higher wing, a touch more center length, or a slightly stronger crease on one eye than the other. Follow a single row of an eye shapes chart too rigidly and you'll avoid techniques that would actually suit you, or force ones that fight your lid, which is how people end up convinced they "can't wear" liner or shimmer at all. The fix is to treat the chart as a menu of principles rather than a diagnosis, and to boil it down to four moves you can mix: lift where things droop, brighten where things close in, add matte dimension where the lid reads flat, and pull emphasis outward where you want length. Test one adjustment at a time, photograph it with your eyes open and relaxed at arm's length, and keep only what visibly opens your eye. Note which corrections you reach for most, and your everyday routine gets faster over time. Eye-shape categories overlap and are guidelines, not fixed rules; they shift with age, expression, and hydration, and they apply across every skin tone, eye color, undertone, and stage of life. Tell your makeup artist to treat your eyes as their own pair and correct each side to match, instead of pinning one label on both.
Pro Tips from the Editor
- Prime first, always. Even the best placement creases and migrates on bare lids by midday; a thin layer of eye primer or a cream shadow base is what makes an open-eye correction actually last on hooded and oily lids, and it stops liner from feathering into the fold.
- Judge every line with the eye open. Diagnose your shape, place liner, and check transition shadow while looking straight ahead into the mirror, because a shut-eye line is drawn on a canvas that folds away the second you blink.
- Use matte for structure, shimmer for the spotlight. Matte shades build a believable faux crease and carve dimension; reserve shimmer for the center of the mobile lid or the inner corner, since sparkle in a deep or puffy socket exaggerates it and catches every fine line.
- Warm your inner-corner and waterline brighteners. A peach or champagne pencil and highlight read more awake and natural on most tones than stark cool white, which can look chalky against warmer or deeper skin.
- Curl before you coat, and re-curl at the fold. A firm lash curl does more to open round, hooded, and deep-set eyes than an extra coat of mascara; give hooded lashes a second squeeze partway up so they clear the fold instead of pressing into it.
- Build depth from a transition shade up. Lay a soft mid-tone above the fold before any dark color so your outer V has something to blend into; skipping it is why smoky looks read as a harsh patch rather than a gradient.
- Correct asymmetry on purpose. If one eye is more hooded, wing it a hair higher or add a little more center length on that side; matching the two beats treating them as identical.
- Take a phone photo mid-look. The front camera at arm's length shows you what others see far better than a close mirror, and it reveals when liner vanishes under a hood or a waterline is closing the eye in.
How to Choose / Get the Look
Start by facing a mirror in even, front-on light with a relaxed expression and no eye makeup, then run a quick three-question diagnosis. First: can you see your crease when your eye is open, or does a fold hide it? Second: does the outer corner tilt up, sit level, or turn down? Third: how much mobile lid space shows above the lash line, and are your eyes set close, wide, or average relative to one eye-width apart? Your answers place you on the eye shapes chart far more accurately than trying to match a single photo, and they point straight to which of these five fixes you need first.
Use this as a simple decision path. If you see little to no lid, prioritize the wing re-angle in Mistake 1 and the visible-crease build in Mistake 2, and keep everything matte and lifted. If your eye reads small, close-set, or round, focus on the brightening waterline and outer-third emphasis in Mistake 3 plus an elongating cat-eye lash map. If your eye sits deep, keep the socket light and matte-structured rather than dark, and push a little shimmer onto the lid center to bring it forward. If your outer corner turns down, lift the wing and choose a center-weighted doll-eye lash map. Combination shapes usually blend two fixes, and asymmetry may mean adjusting each eye slightly differently, which is normal.
| If your eye reads... | Start with | Skip or soften |
|---|---|---|
| Hooded or downturned | Brow-tail wing, visible crease above fold | Straight-out lower-lash wing |
| Small, close-set, or round | Nude waterline, outer-third emphasis, cat-eye lashes | Full dark waterline ring |
| Deep-set | Light matte structure, lid-center shimmer | Dark all-over socket smoke |
| Monolid | Faux crease, doll-eye lash map | Blending "into the crease" |
When you book a makeup artist or lash tech, describe what you observe instead of guessing a label: "my lid is hidden when my eyes are open" tells a pro exactly where to anchor liner and length. Keep your everyday routine lean, master one correction until it's automatic, then layer the next. These fixes aren't built around one standard either; they flex with your structure, whatever your undertone, texture, or age.
Frequently Asked Questions
How do I find my eye shape without a professional?
Face a mirror in even light with a relaxed expression and answer three things: is your crease visible when the eye is open, which way does the outer corner point, and how much mobile lid shows above the lashes. Add whether your eyes sit closer or wider than one eye-width apart. Compare those cues to an eye shapes chart rather than matching a single photo, since lighting and camera angle distort quick comparisons and can make an almond eye read hooded or a deep-set eye read small.
What is the difference between almond and hooded eyes?
Almond eyes have a visible lid, an open crease, and a gently lifted outer corner. Hooded eyes carry a fold of skin that covers part or all of the lid when open, hiding the crease. The almond vs hooded eyes distinction mainly changes where you anchor liner and transition shadow: almond eyes can follow standard tutorials, while hooded eyes need placement built above the fold, checked with the eye open, and set with long-wear formulas so the warm mobile lid doesn't lift the product.
Can I have more than one eye shape?
Yes, and most people do. You might be almond with a slight hood, round with an upturned corner, or carry a more hooded fold on one side than the other. Faces are naturally asymmetrical, so combination shapes are the norm, not the exception, and even matched-looking eyes often need slightly different placement. Mix the techniques that suit each feature and correct each eye to match rather than forcing one label onto both.
Does lash mapping really change how my eyes look?
It can shift the whole balance of the eye. Concentrating length at the outer corner elongates round and close-set eyes, while center length rounds and lifts almond and downturned ones. Lash mapping eye shapes is about distributing length and curl to match your structure, not adding uniform volume everywhere, which is why a cat-eye and a doll-eye set of the same total length read as two completely different eyes when you open them.
Do these makeup by eye shape tips work for every skin tone?
Yes. Placement principles such as lifting, brightening, and adding dimension respond to eye structure, not to complexion. Choose shade intensity and undertone that read clearly on your skin, favoring warmer brighteners such as peach and champagne over stark white where cool tones look chalky, and building crease depth in relation to your own skin rather than a fixed shade, but the technique itself stays identical across all skin tones and eye colors.
How do I stop my eyeliner disappearing under my hooded eyelid?
Re-angle the wing toward your brow tail instead of extending the lower lash line, keep the line thin along the lid, and build weight only at the outer flick. Draw with the eye open, use a long-wear gel or waterproof liquid formula, press a matching matte shadow over the line to lock it, and prime the lid first so oil from the fold doesn't lift it. A tightlined upper waterline adds definition the hood can't swallow even on days you skip a visible wing.
What eye makeup makes small or close-set eyes look bigger?
Brighten the lower waterline with a nude or peach pencil, tightline only the upper waterline, and keep the inner corner clean with a highlight dot. Push darker shadow and liner to the outer third to draw the eye outward, curl the lashes firmly, and use an outer-corner-weighted cat-eye lash map. Avoid ringing the full waterline in dark liner, which closes the eye in, and start any liner slightly past the inner corner so weight sits outward.
Should monolid eyes use a different eyeshadow technique?
Yes. Because there's no visible crease to blend into, build a soft faux crease with a matte transition shade about a centimeter above the lash line, diffusing the top edge so it reads when the eye is open. Keep shimmer on the center of the lid for a subtle lift, use a lifted or doll-eye lash map with an L-style curl, and check every step head-on, since a crease drawn on a shut lid disappears the moment you look forward.
How do I keep eyeshadow from creasing on hooded or oily lids?
Start with a dedicated eye primer or a thin cream base and let it set for a minute before powder. Set the primer with a wash of neutral matte shadow, place any dark color above the fold rather than on the mobile lid, and keep cream products thin, since thick layers pool in the fold. Blot excess facial oil near the lid through the day, and carry a small angled brush to tidy the outer flick rather than reapplying a whole layer.
How often should I re-check my eye shape?
Re-diagnose whenever your lid changes noticeably: aging can lower and hood the outer corner, weight shifts and hydration alter puffiness, and treatments such as a brow lift or filler can reshape the socket. A quick open-eye mirror check every several months keeps your placement matched to the eye you have now rather than the one you mapped a year ago, and it's worth repeating after any big change in skincare, sleep, or allergy season.