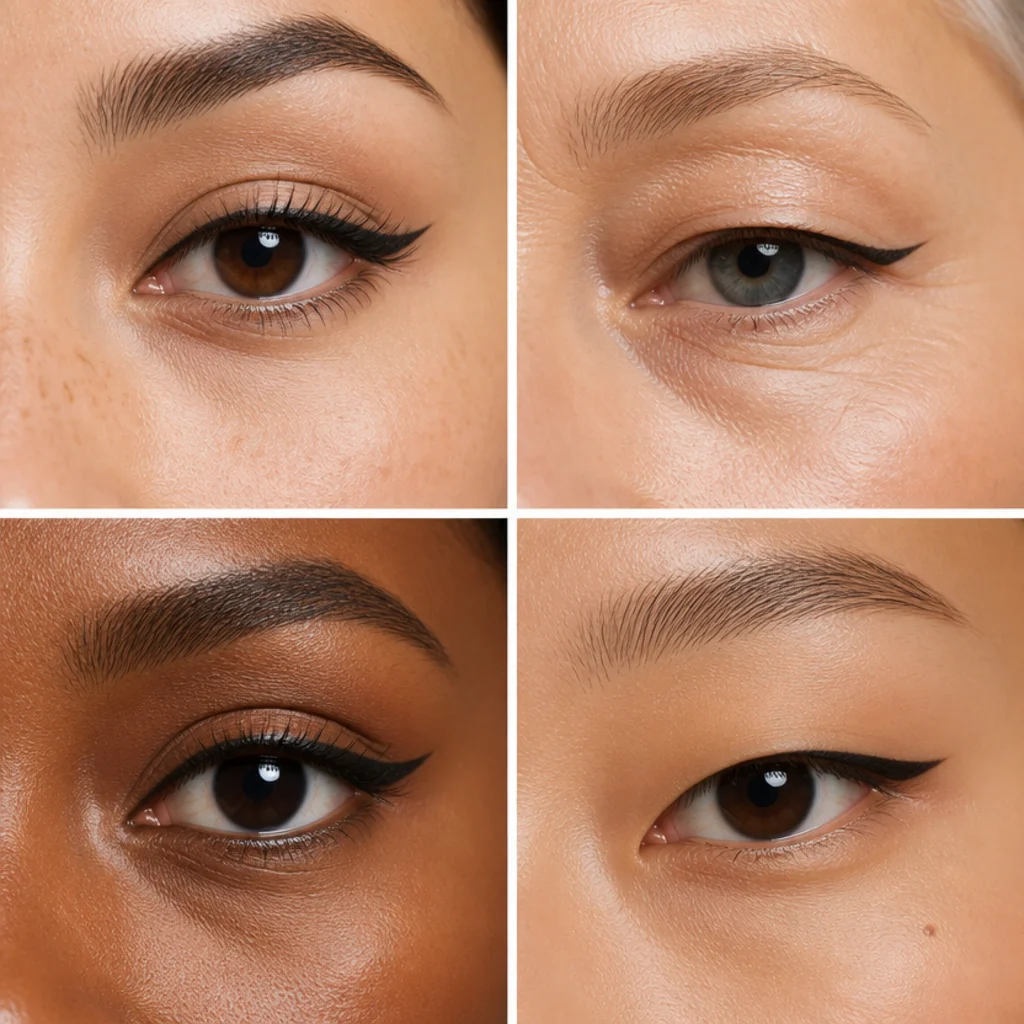
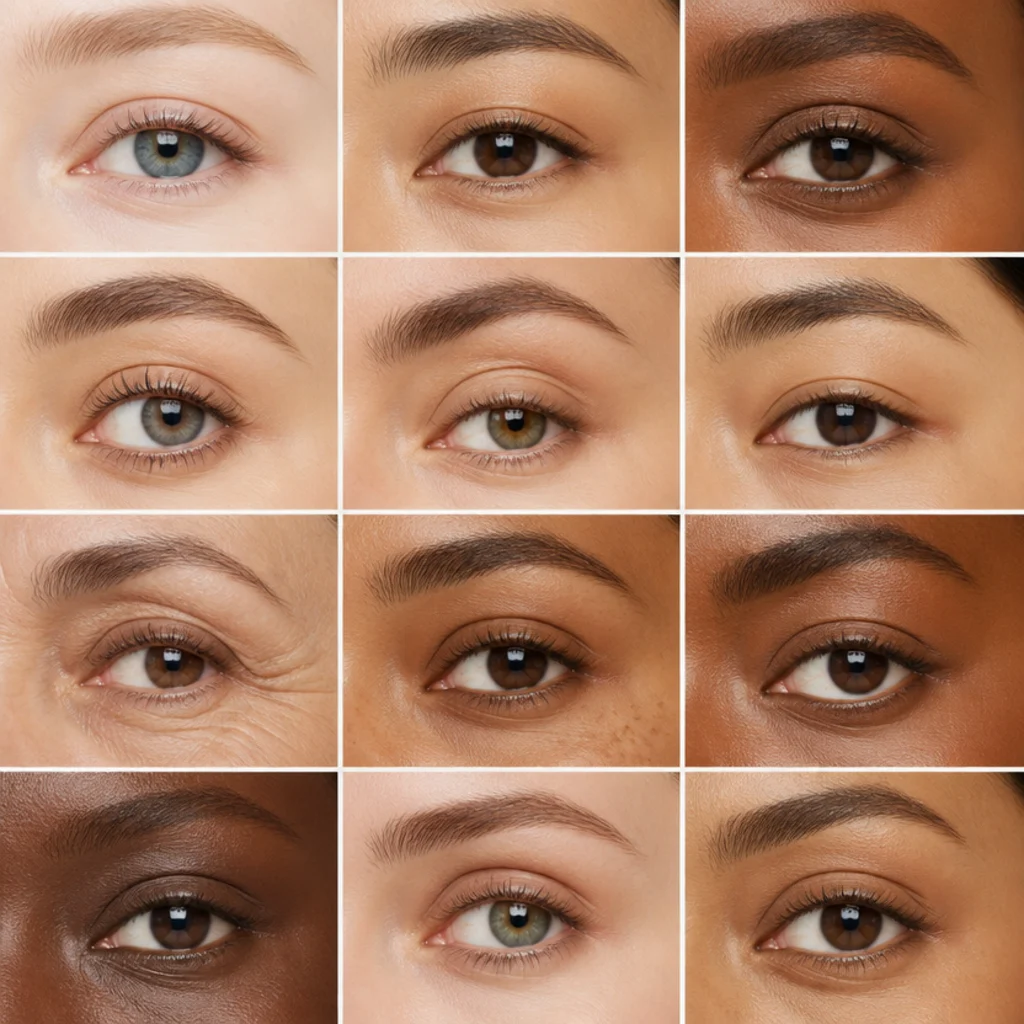
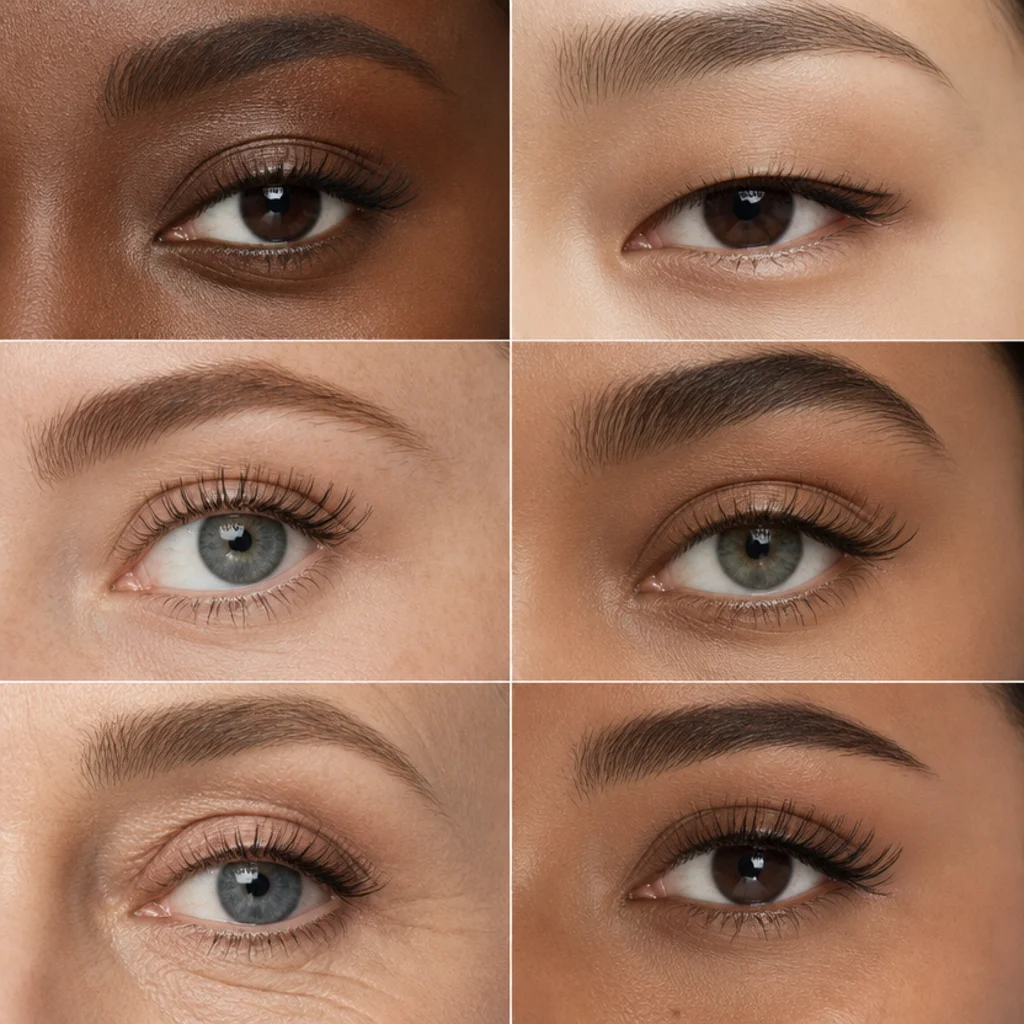
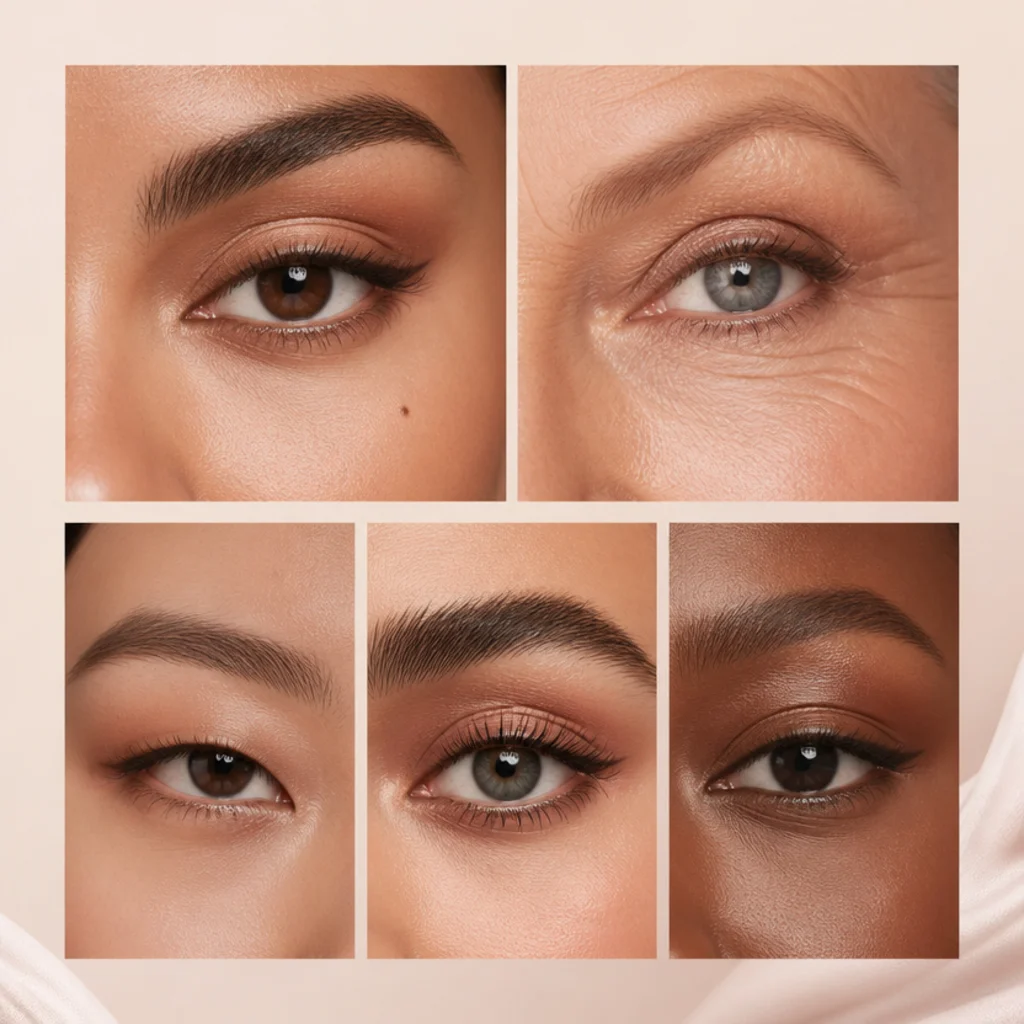
20 Simple Eyeliner Looks by Eye Shape
Your eye shape decides where liner flatters and where it fights you. This guide reads like an eye shapes chart in words, pairing 20 easy liner ideas with the shapes they suit best, plus the exact placement, angle, and formula that makes each one land. Think of it as a starting map, not a rulebook.
 Edited by Lena Rose · Published July 11, 2026 · 33 min read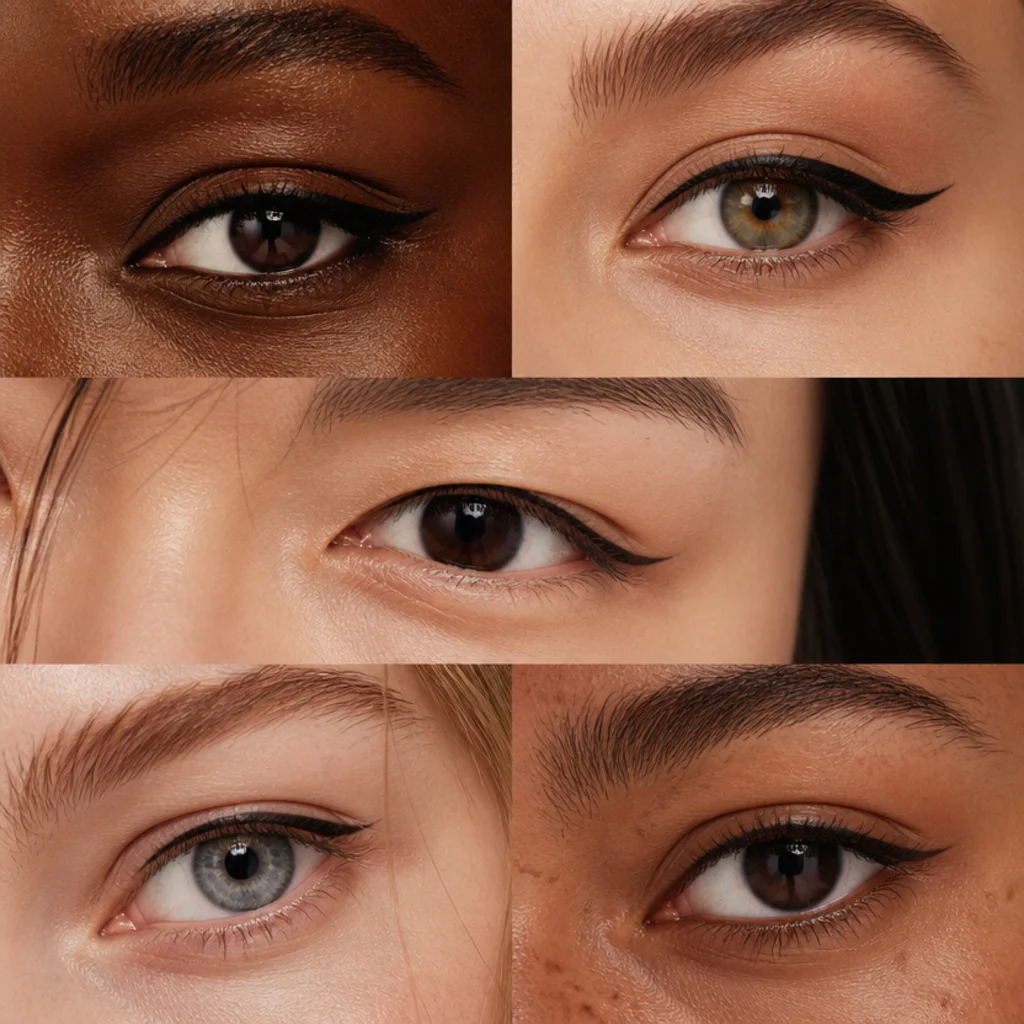
Quick Answer
- Best for: Anyone who wants liner that suits their eye shape instead of fighting it, across almond, hooded, round, monolid, downturned, upturned, close-set, wide-set, deep-set, and protruding eyes.
- Who might skip it: No one, but if you only ever want bare lashes with mascara, the tightline (Look 1) is as far as you need to go.
- Maintenance: Low to medium. Most looks are one to three steps with a pencil, gel, or felt-tip pen, and a midday cotton-swab touch-up on the outer corner keeps everything crisp.
- Difficulty: Beginner to easy-intermediate, with steadier hands rewarded on the winged and graphic options.
- Cost: Variable. A single reliable pencil or felt-tip runs in the budget drugstore range, a long-wear gel pot mid-range, and a full pencil-gel-liquid kit toward the higher end. One good formula covers most of this guide.
- Wear time / longevity: Roughly 6 to 10 hours from a smudge-proof gel or liquid on primed lids, less on oily or hooded lids unless you set the line with powder shadow.
- Standout variation: The lifted outer flick (Look 3), because it reshapes almost every eye upward with one small line.
- How to ask your makeup artist: Bring a saved photo, name your eye shape, and describe the effect, lift, length, or openness, rather than only naming a product. Ask them to map any wing with your eyes open.
In This Guide
- Classic Almond Tightline
- Soft Almond Wing
- Lifted Outer Flick
- Hooded-Eye Floating Wing
- Hooded Smudge Line
- Round-Eye Elongating Line
- Round-Eye Doe Liner
- Monolid Bold Band
- Monolid Extended Wing
- Downturned Lift Line
- Downturned Soft Kitten Flick
- Upturned Balanced Line
- Close-Set Outer Shift
- Wide-Set Inner Definition
- Deep-Set Mid-Lash Line
- Protruding-Eye Softening Line
- Small-Eye Opening Line
- Almond Smoky Smudge
- Hooded Graphic Half-Line
- Everyday Universal Thin Line
Intro
Eyeliner is the fastest way to change how your eyes read, but the same wing that opens one shape can close another. That's why an eye shapes chart is worth keeping in your back pocket: once you know whether your eyes are almond, hooded, round, monolid, downturned, or somewhere in between, you can place liner where it lifts and lengthens instead of where it shrinks. The mechanics are fairly geometric. Liner adds visual weight, and weight pulls the eye toward wherever you concentrate it, so the whole craft comes down to three levers: where you start the line, where you build thickness, and which direction the tail travels. Get those right and even a two-millimeter flick can reshape the whole eye.
This guide translates that chart into 20 simple looks, each tagged to the shapes it flatters, with notes on formula, maintenance, difficulty, and how to ask a pro. Eye shapes explained honestly means admitting the categories overlap: most people see themselves in two or three at once, an almond that leans hooded, a round that sits close-set. Treat these as flexible guidelines, adjust for your own eyes, undertone, and lid texture, and borrow freely across sections. Makeup by eye shape comes down to direction and proportion rather than strict rules, and that logic works on any eye or skin tone.
01Classic Almond Tightline
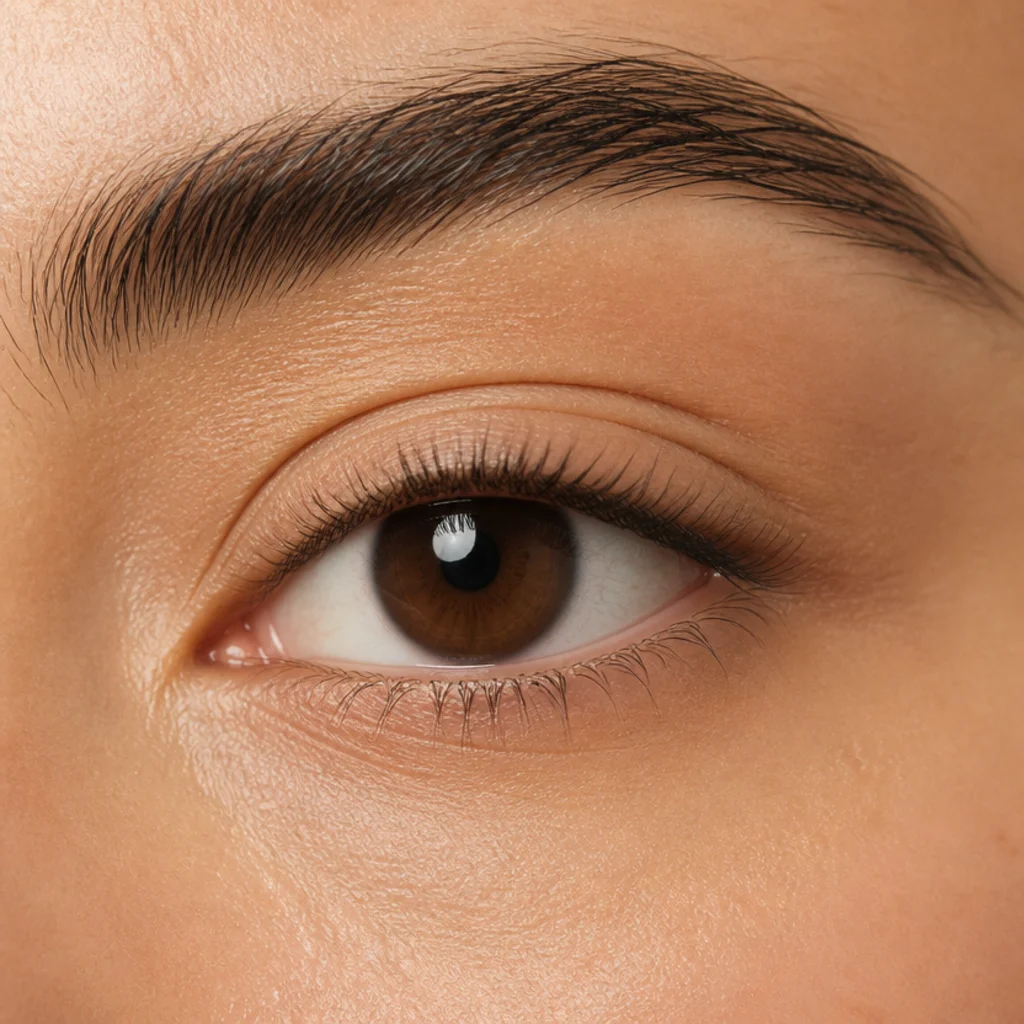
Almond eyes have a balanced taper and a visible crease, with the outer corner sitting slightly higher than the inner, so they carry almost anything. That makes tightlining the easiest place to start. Press a fine pencil or gel into the upper waterline, working the color into the roots so it hides between the lashes instead of sitting on skin. Look down into a mirror, lift the lid gently, and stamp the pencil in short presses rather than one drag. The payoff is denser-looking lashes and quietly defined eyes with no visible line, good for the office, weddings, anything in between. Choose a waterproof or gel formula in soft black or espresso, since the upper waterline stays warm and can migrate; a hard-tipped pencil beats a creamy one here. Difficulty is beginner and upkeep is minimal, since there's nothing on the mobile lid to crease. Pro tip: warm the pencil tip between your fingers for two seconds so it grips the wet waterline instead of skidding. Ask your makeup artist for a tightline or invisible lash-line liner for a natural, wide-awake finish.
02Soft Almond Wing
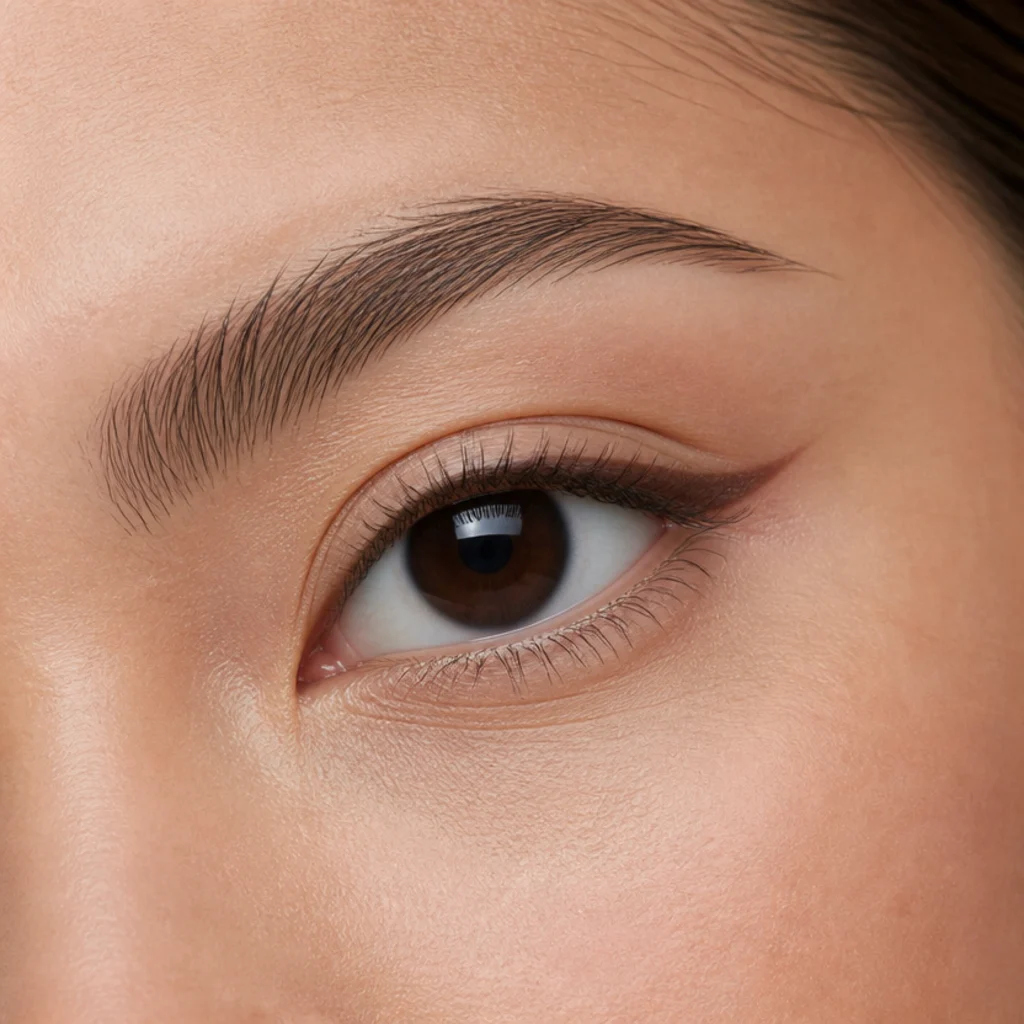
Because the almond shape already tilts up, it takes a wing beautifully without tipping into severe. Keep this one restrained: draw a thin line along the upper lashes, then extend a short flick along the invisible line that runs from your lower lash line toward the tail of your brow, which keeps the angle harmonious with your bone structure. Brown or soft-black reads gentler than jet black for daytime and suits fair-to-deep skin equally; the shade does the softening, the length does the drama. Stop the tail before the brow bone so the balance holds, and keep the wing no longer than the width of your outer color margin. A felt-tip or gel pen holds through a full workday on most lid textures, roughly eight hours before any touch-up. Difficulty is easy-intermediate, mostly a matter of matching both sides, so draw the tails first and the lash line second. Pro tip: lay a card or your finger flat against the lower lash line as a ruler to set the exact angle. Ask your makeup artist for a classic small wing, not a graphic one, if you want subtle lift.
03Lifted Outer Flick
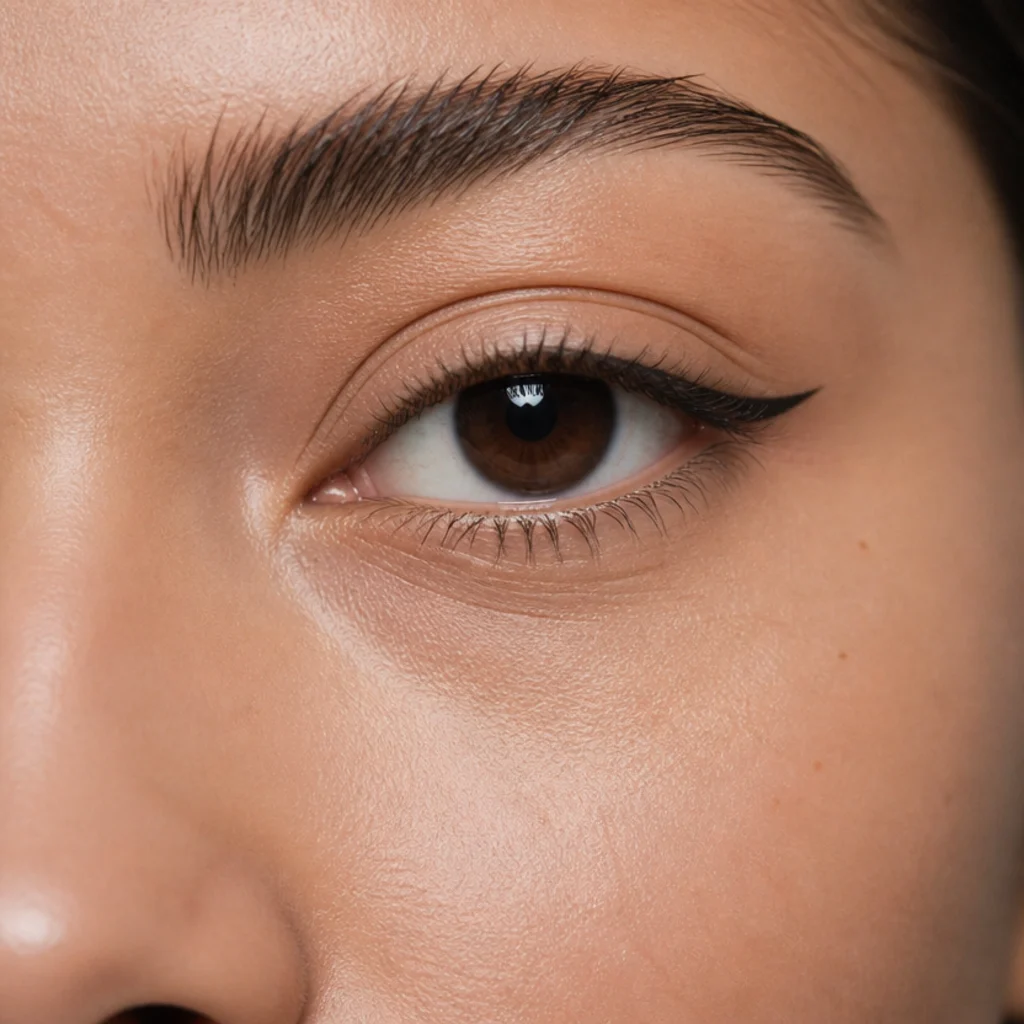
This is the most versatile look in the guide: a small outer flick lifts nearly every eye shape without committing to a full wing. Instead of lining the whole lid, add a single short upward tick at the outer corner, right where the upper and lower lash lines would meet if extended. That tick nudges the eye upward and counters any downward droop, so it flatters downturned, round, tired, and mature eyes alike. Keep it small, roughly two to four millimeters, so it stays believable and never reads as a half-finished wing. A pencil is the most forgiving tool and blends if you overshoot; a felt-tip gives a crisper point for photos. It's beginner-friendly, takes ten seconds, and cleans up with a damp cotton swab. There's so little product involved that it barely needs a midday check. Pro tip: angle the flick toward the tail of your brow, not straight out to the side, so the lift reads as intentional structure. To ask a pro, describe it as a mini lift flick rather than a wing.
04Hooded-Eye Floating Wing
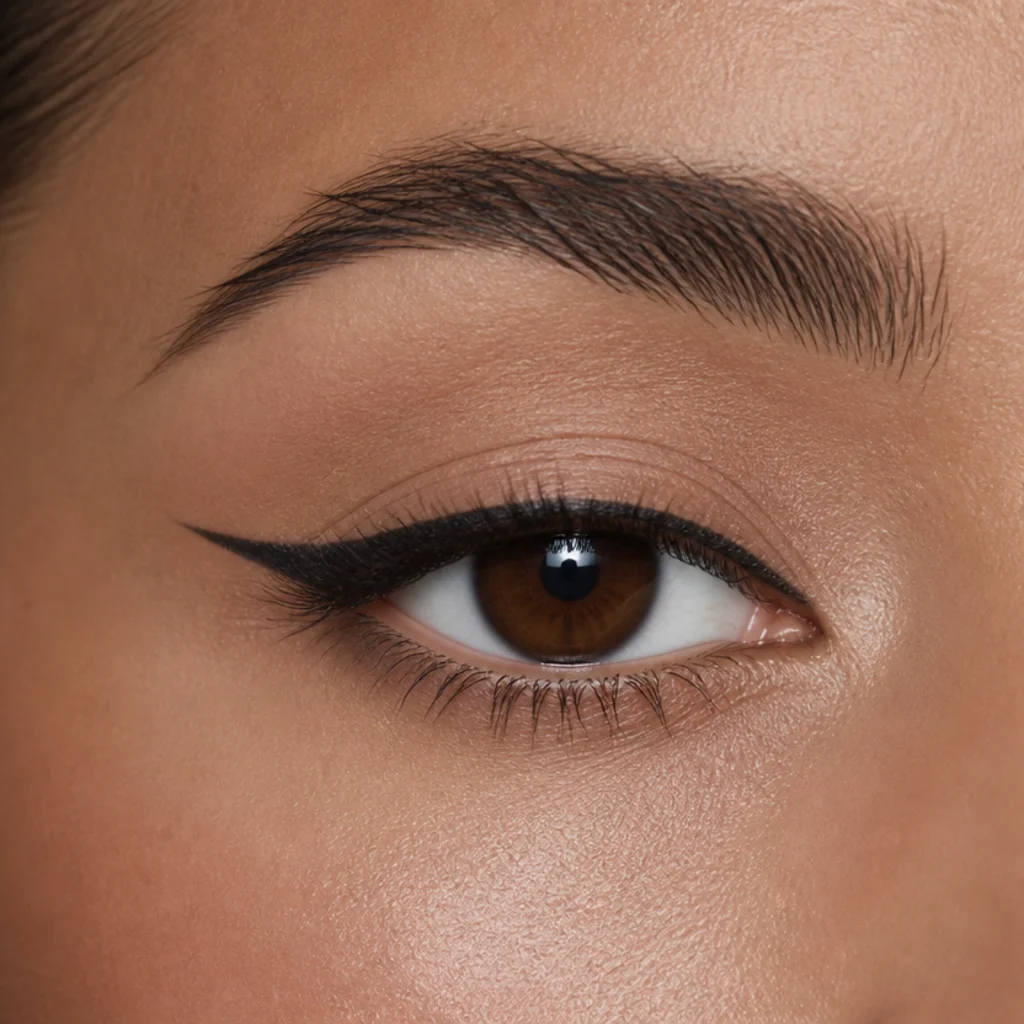
Hooded eyes carry an extra fold of skin that can swallow liner when the eye is open, so the whole trick is drawing where the line still shows. Look straight into a mirror with the eye fully open and mark, with a light dot, where the hood falls over the lash line. Set the wing tail just above that dot so it floats clear of the fold, then connect it in a thin line along the lashes; the tail, not the lash line, is what people actually see. This is the heart of the almond vs hooded eyes difference: almond eyes reveal their lid so liner sits where you draw it, while hooded eyes hide the lid, so the line has to climb higher to stay visible. Difficulty is intermediate because mapping takes practice, and symmetry is easier if you dot both sides before drawing either. Use a long-wear gel or liquid, since hooded folds press and transfer; set it with a matching matte shadow. Pro tip: build the wing in thin layers with the eye open, blinking to test where it disappears. Ask your makeup artist for a hooded-friendly floating wing mapped with your eyes open.
05Hooded Smudge Line
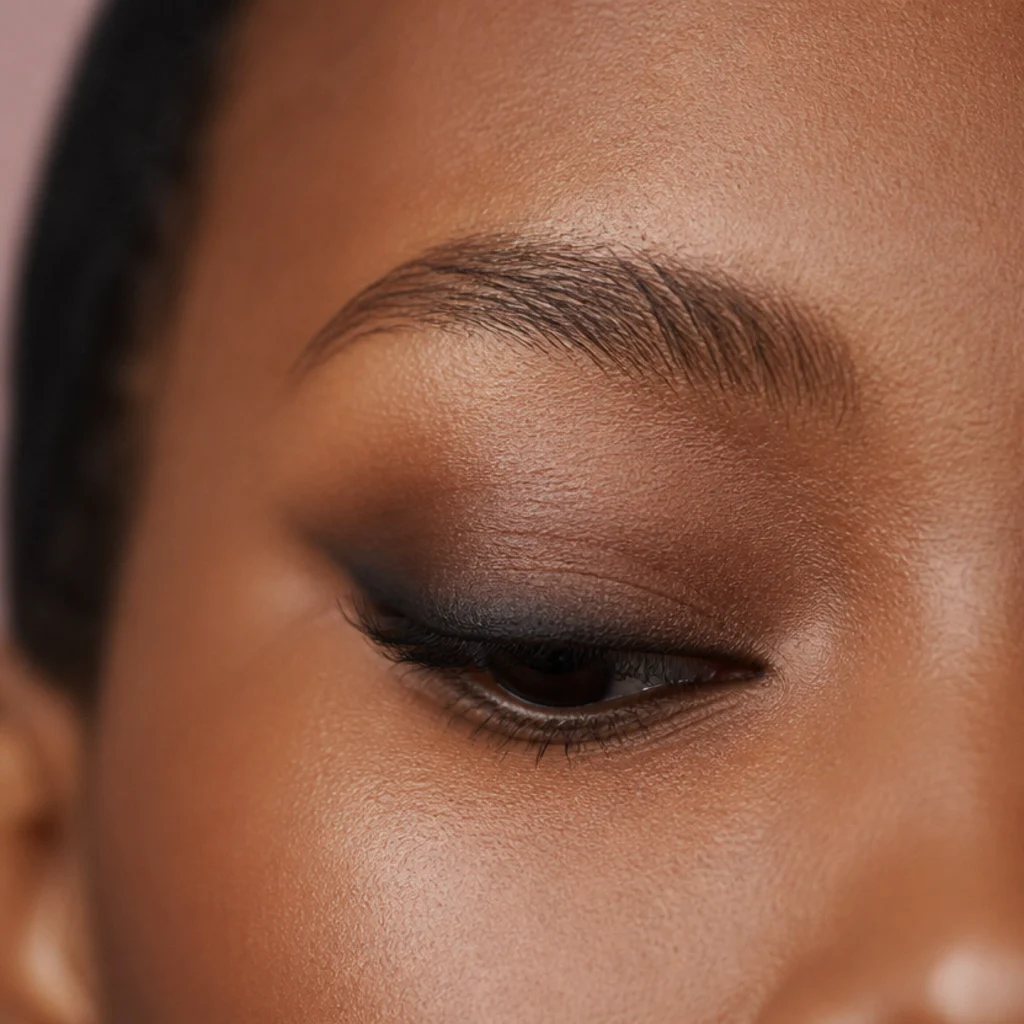
When a crisp line vanishes into a hooded fold and reappears with every blink, a smoked line is far more reliable. Draw a slightly thick pencil line along the upper lashes, then use a small pencil brush or a firm smudger to blur it up and a touch past where the hood sits, so the color reads as diffused depth rather than a broken edge. Deep matte browns, charcoals, and plums hold better than shimmer, which tends to gather and crease on the mobile hooded lid. This is a forgiving, beginner-friendly option and one of the most flattering makeup by eye shape choices for hoods, since there's no sharp line to go wrong. Set it with a sweep of matching powder shadow to lock the pencil and buy several extra hours of wear. It suits soft daytime and deepens into evening easily with a second pass. Pro tip: smudge within about ten seconds of drawing, before the pencil sets, or it'll move in patches. Ask your makeup artist for a soft smoked liner, not a defined wing.
Save this to Pinterest to keep your hooded-eye liner tricks handy.
06Round-Eye Elongating Line
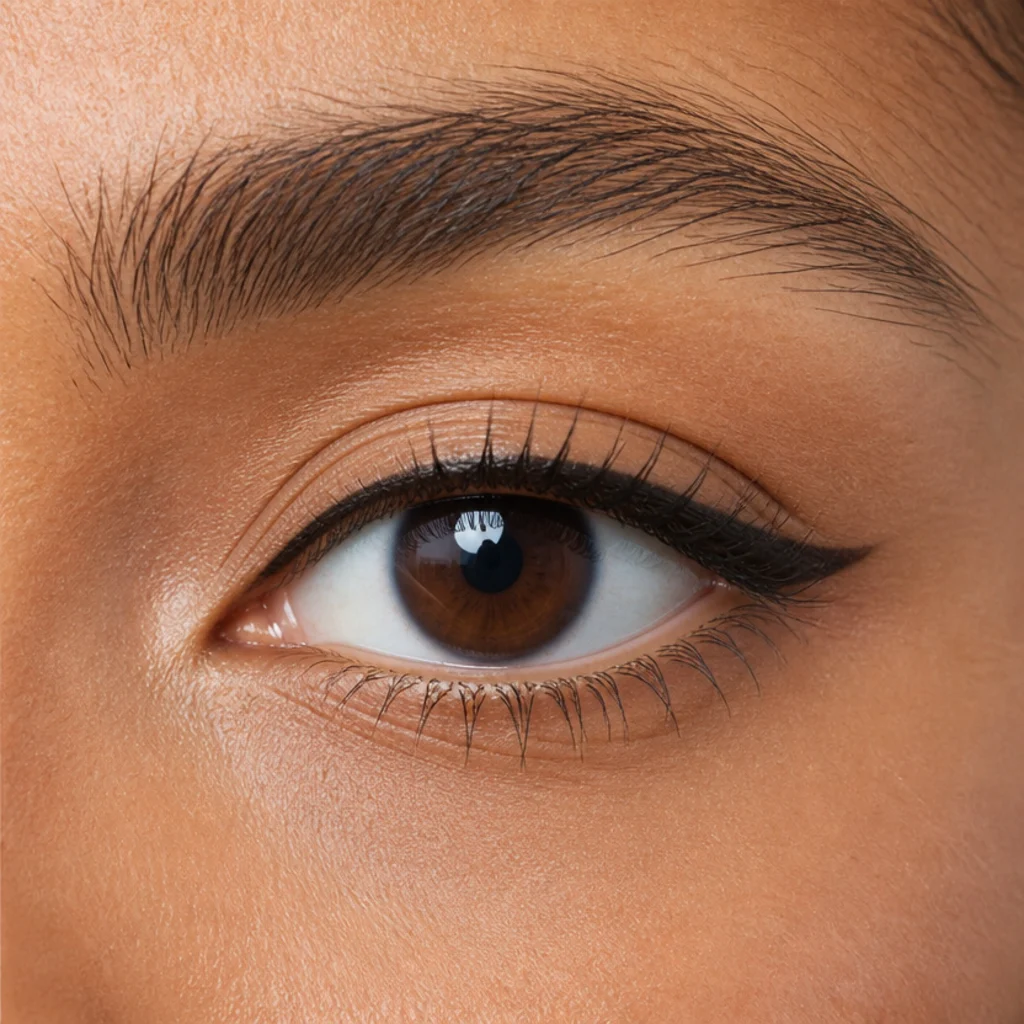
Round eyes reveal a lot of the iris with white often visible above or below it, which reads open and youthful but can look startled if you ring the whole eye. To elongate, keep the inner two-thirds a whisper-thin line and build all your thickness in the outer third, then carry it a few millimeters past the outer corner along that lower-lash-to-brow angle. That weighting pulls the round shape sideways into a soft almond illusion. Skip the lower inner corner entirely, since darkness there only re-emphasizes the roundness you're trying to lengthen. A pencil or gel both work, difficulty is beginner, and upkeep is low because the product sits at the outer corner away from the crease. For balance, echo a faint smudge on the outer lower lashes only, keeping it short. Pro tip: think of the outer line as a stretched triangle, thickest at the corner and tapering inward, not an even stripe. Ask your makeup artist for an elongating, outer-focused liner to lengthen round eyes.
07Round-Eye Doe Liner
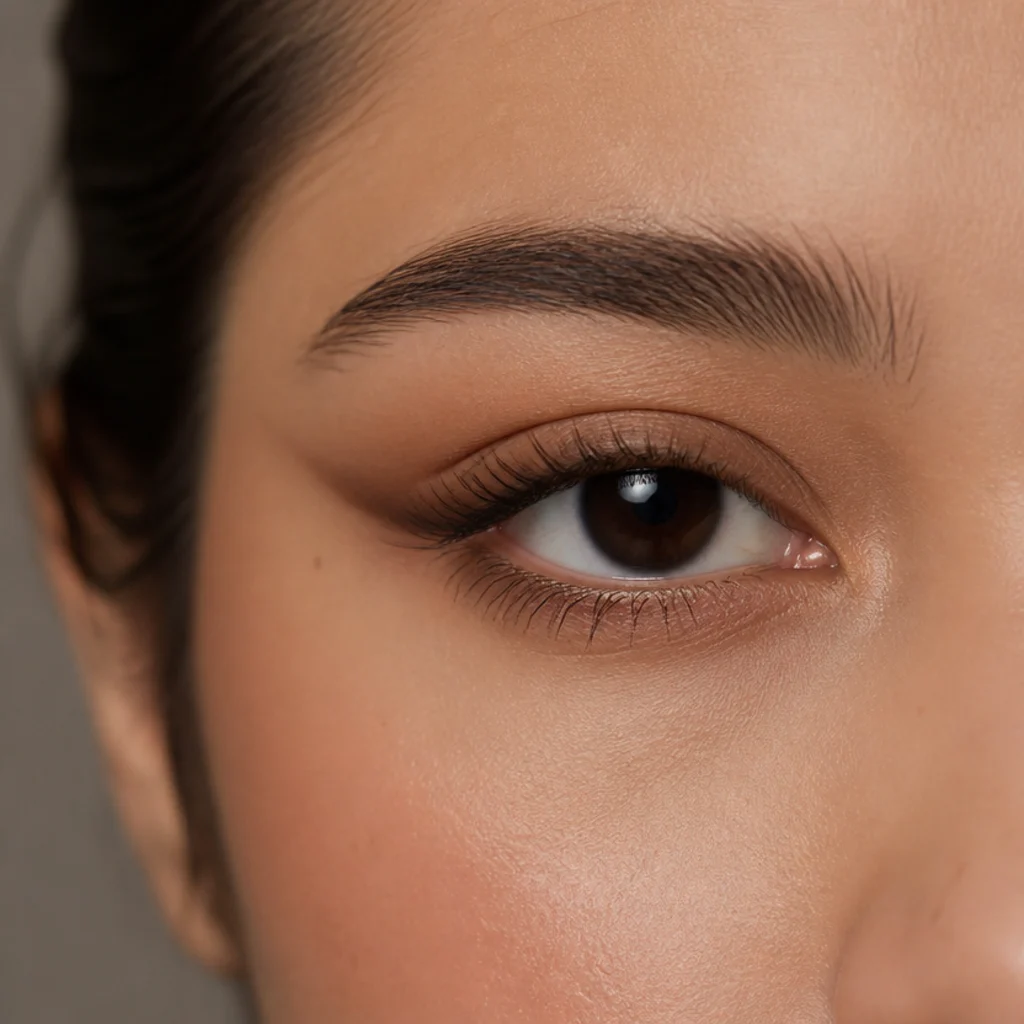
If you love the sweet, open quality of round eyes, doe liner leans into it rather than fighting it. Extend the outer corner with a soft, slightly downward-and-out taper, then connect a whisper of liner along the outer lower lash line to meet the upper tail, forming a rounded outer frame. The effect is gentle and a little retro-Sixties, and it flatters round and upturned eyes that can comfortably carry extra openness. Keep the lower line short and softly smudged so it frames without closing the eye in, and never carry it toward the inner corner. Brown keeps it daytime-soft on every skin tone; black tips it toward evening drama. A pencil is the most forgiving choice and blends the taper easily, so this stays beginner-friendly. It is a relaxed look with low upkeep, though the lower line benefits from a quick midday check on oily skin. Pro tip: stop the lower line at the point directly below your outer iris so it grounds the eye without dragging it down. Ask your makeup artist for a soft doe-eye liner with a low outer taper.
08Monolid Bold Band
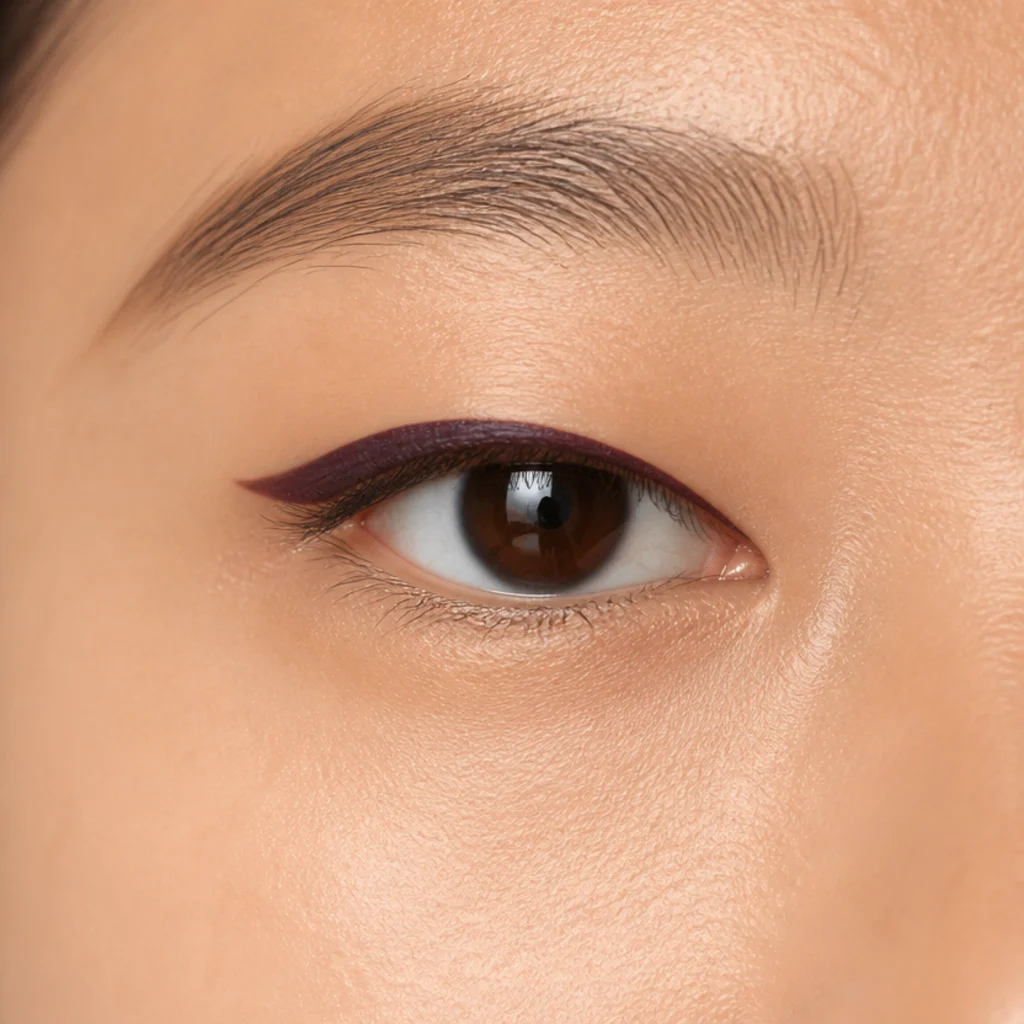
Monolids have little to no visible crease, so a thin line can disappear the moment the eye opens and the lid covers it. A bold band solves that by building the liner thicker along the lash line and tapering thinner toward the inner corner, so the color stays on show and frames the eye cleanly. The single most important habit here is testing thickness with the eye open, not closed, because a band that looks heavy shut often reads as just-right open. Gel or liquid in a rich, saturated shade holds best; sheer or dry pencils tend to look patchy against the flat lid. Difficulty is easy once you accept that monolids need more product than crease-heavy eyes to register. Build in two or three thin passes rather than one thick swipe for a clean top edge. Pro tip: keep the band's upper edge parallel to your lash line so it reads as a deliberate shape, not a smudge. Ask your makeup artist for a monolid-friendly gradient band that reads with the eye open.
09Monolid Extended Wing
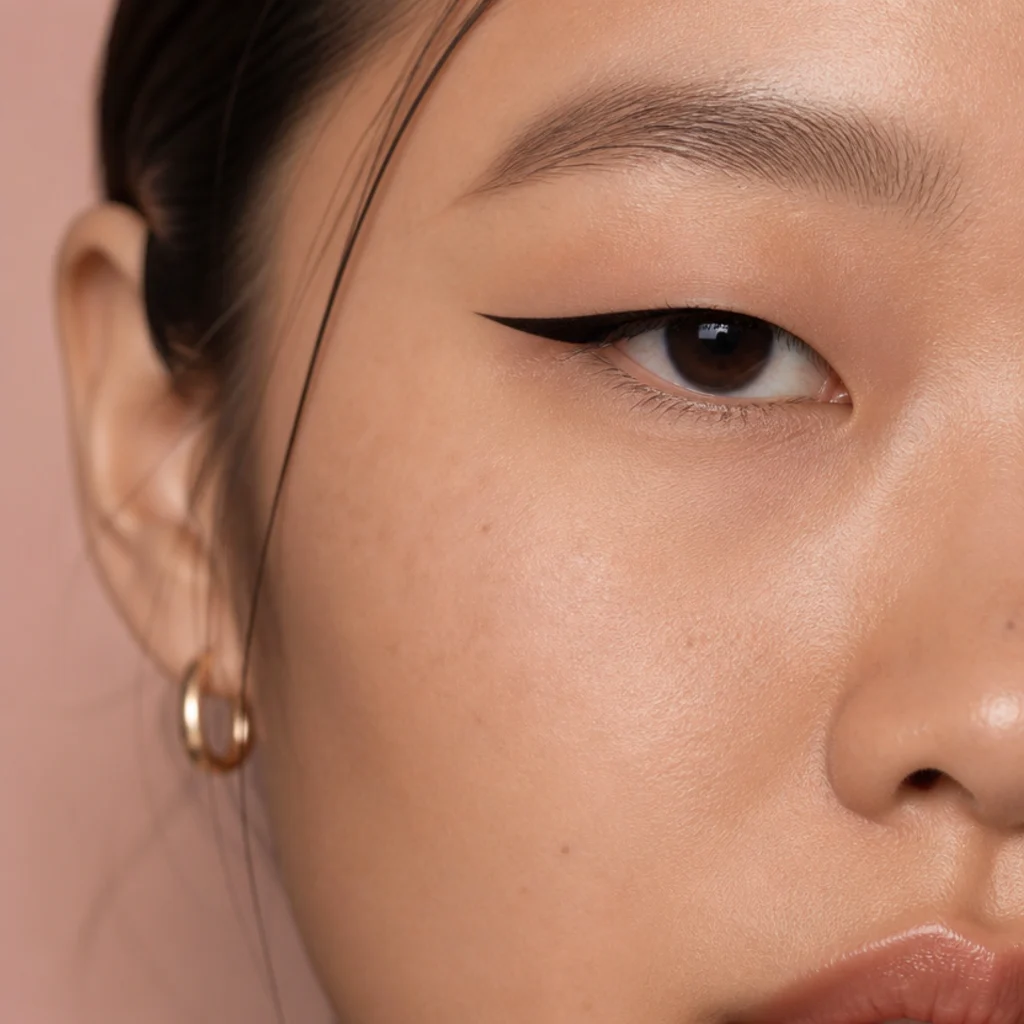
Monolids carry a long, graphic wing especially well because the flat, uninterrupted lid gives you a clean surface to draw on. Extend the line straight out from the outer corner, angling only slightly upward, and let it run longer than you would dare on a hooded eye, since nothing folds over to hide it. Keep the wing connected to a defined lash line so the whole shape reads intentional rather than floating. Build it in thin layers to control the edge, and use a precise liquid or felt-tip pen for the sharpest tip. Difficulty is intermediate and comes down almost entirely to symmetry, so draw both wing tails before filling either lash line and check them straight-on. Long, structured wings suit evening and photography, and hold all night in a smudge-proof formula. Pro tip: rest your elbow on a firm surface and move the pen in one confident stroke; hesitation is what makes wings wobble. Ask your makeup artist for an extended straight wing suited to monolid eyes, mapped with your eyes open.
10Downturned Lift Line
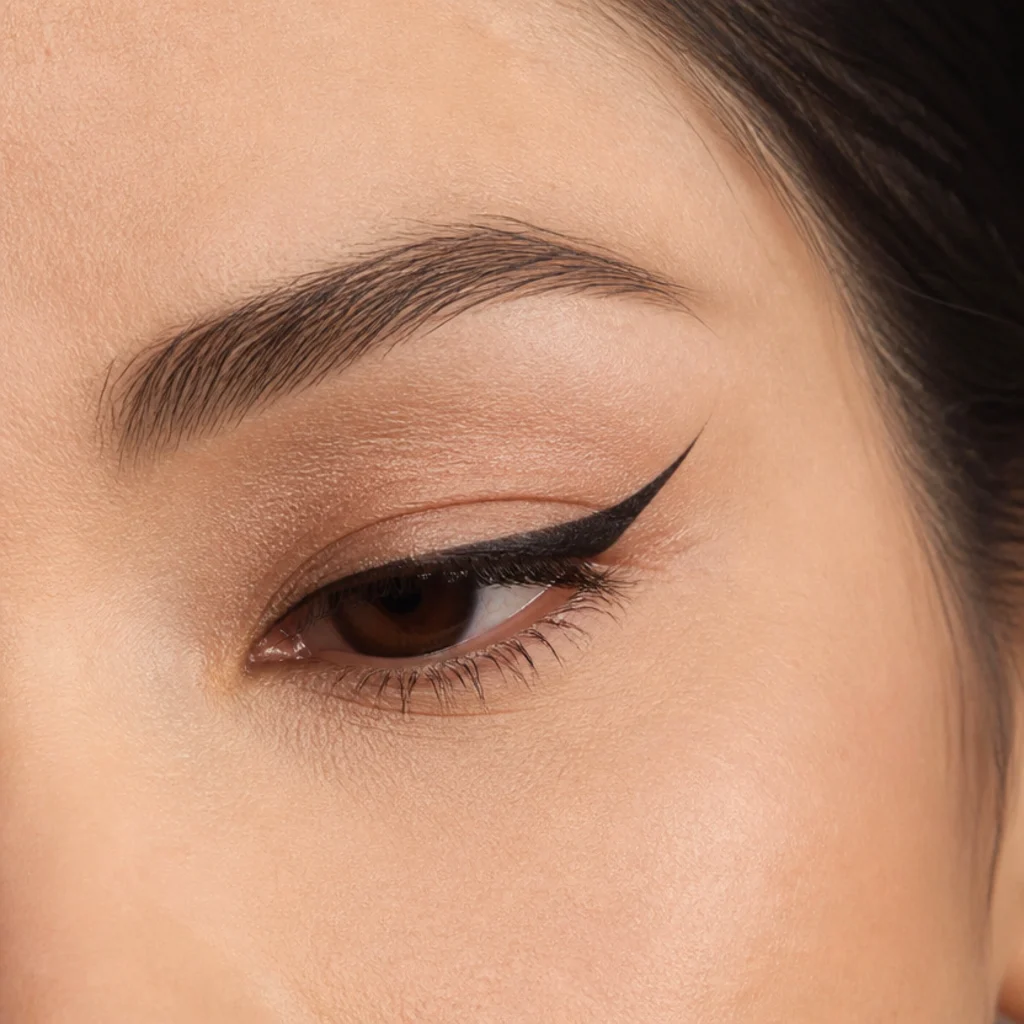
Downturned eyes drop slightly at the outer corners, so the entire goal is redirecting the eye upward. Draw your upper line as usual, then at the outer corner angle the tail up more steeply than the natural droop, aiming firmly toward the tail of the brow so the lift overrides the drop. That single upward vector visually cancels the downturn and raises the whole eye. Avoid extending the lower line down and out, which exaggerates the very droop you're correcting; keep any lower liner short and tucked at the outer corner. Set the upper wing a touch higher than feels natural, since downturned eyes need that extra lift to read as neutral. Gel or liquid holds the crisp shape best, and difficulty ranges from beginner to intermediate depending on your wing confidence. Pro tip: picture a clock and aim the tail toward one o'clock rather than three, so the angle actually lifts instead of merely lengthening. Ask your makeup artist for a lifting wing to counter downturned corners.
Save this to Pinterest for later, especially the lifting tricks.
11Downturned Soft Kitten Flick
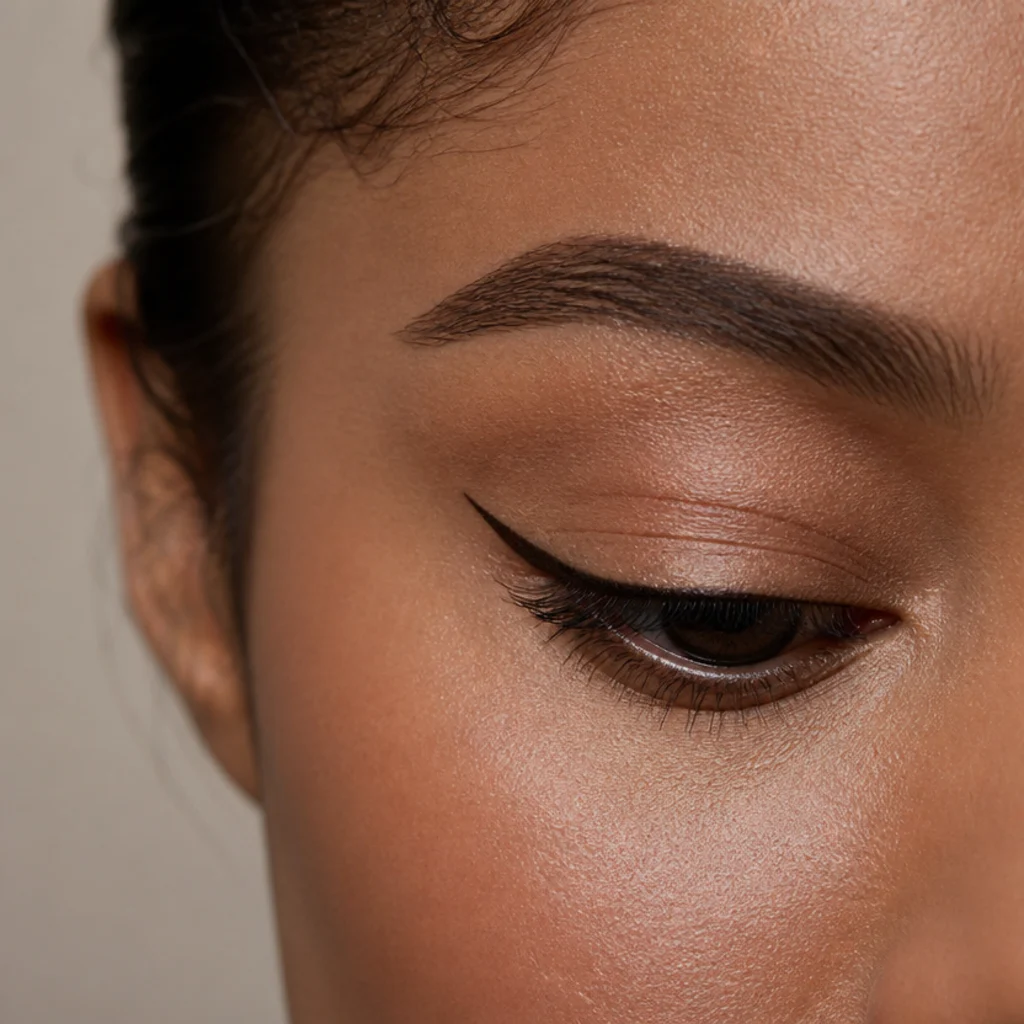
If a sharp wing feels like too much, a kitten flick gives downturned eyes a gentler, lower-commitment lift. It's a short, slightly rounded flick that rises just past the outer corner, smaller and softer than a full wing but built on the same upward logic. The rising angle still corrects the droop while the compact size keeps it casual and daytime-appropriate, a friendly first winged look. Because it's small, it's easy to match on both eyes and quick to fix if one runs long. Smudge a pencil slightly at the base to keep it soft, or use a pen for a cleaner edge; both suit fair-to-deep skin in brown or soft black. It's beginner-friendly and forgiving, with minimal upkeep beyond a corner touch-up on humid days. Pro tip: curl your lashes first, since a lifted lash fringe amplifies the flick's upward effect on downturned eyes. Ask your makeup artist for a subtle kitten flick angled up for downturned eyes.
12Upturned Balanced Line
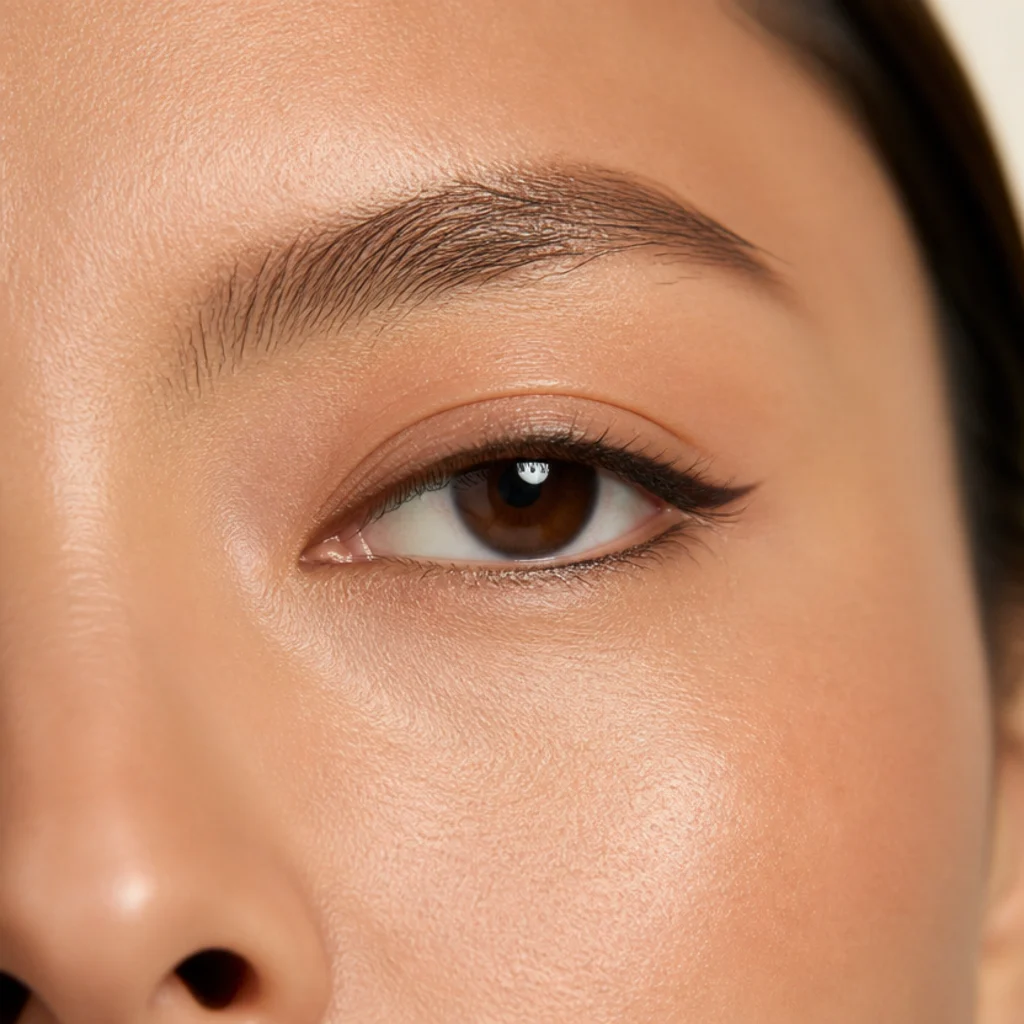
Upturned eyes already lift at the outer corner, so they rarely need a dramatic wing to look awake; pile one on and you can tip past flattering into feline. A balanced line plays to that natural advantage: draw an even, thin line along the upper lashes with only a very short flick, or none at all. To keep the shape from reading too sharp, ground it with a soft line along the lower outer lashes, which restores symmetry between top and bottom. This restraint suits upturned and almond eyes that already carry lift, and it's one of the easiest looks to wear from desk to dinner. Difficulty is beginner and upkeep is minimal, with a pencil or fine pen both working well in any shade. Because the emphasis is even, there's no wing to smudge and little to correct. Pro tip: if you want a hint of drama, add it on the lower line rather than the upper, so you complement the lift instead of doubling it. Ask your makeup artist for a balanced, low-wing liner that respects your natural lift.
13Close-Set Outer Shift
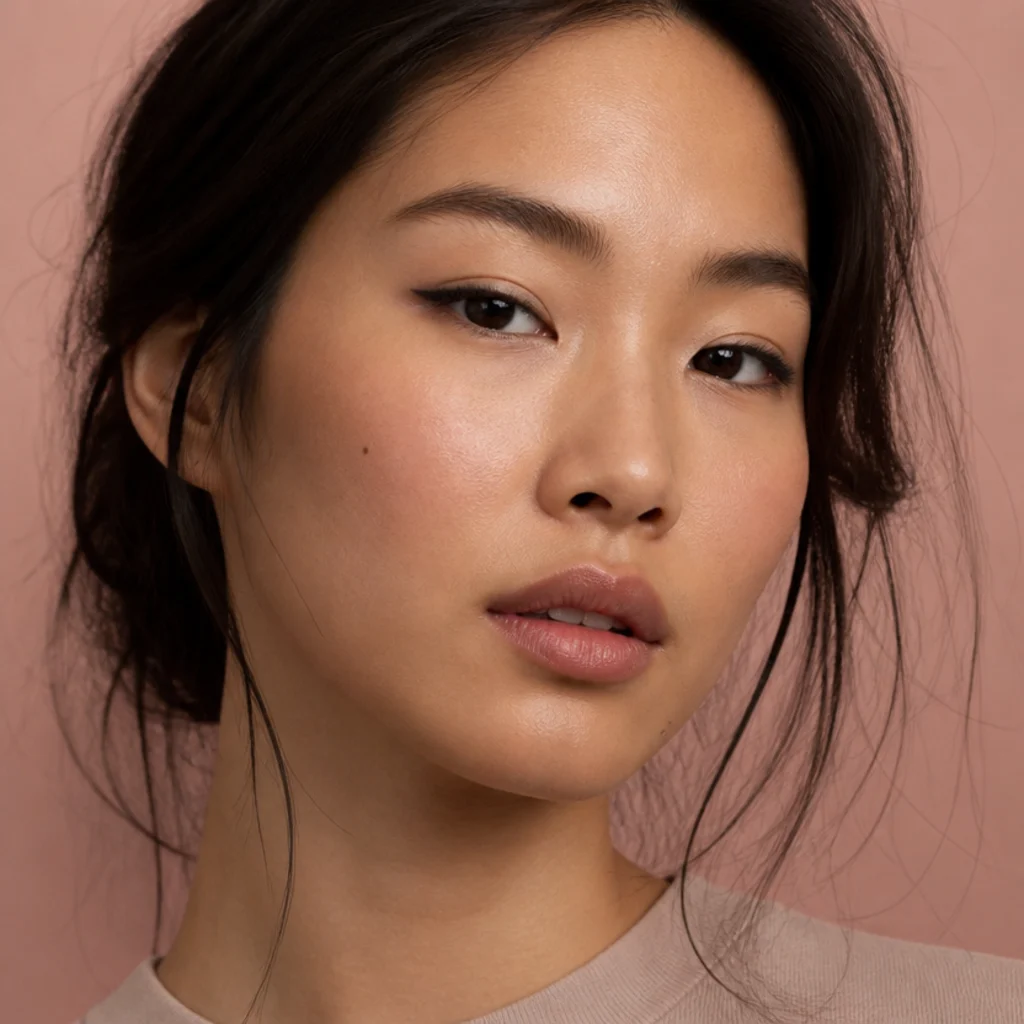
Close-set eyes sit nearer the nose, so pulling color outward manufactures the illusion of more space between them. Keep the inner corners completely clear of dark liner, start the line around the middle of the lid, and build weight steadily toward the outer corner with a short outward extension. That deliberate shift drags visual attention sideways and apart. A dab of light, satiny shimmer at the inner corner heightens the effect by bouncing light where you want the eyes to feel wider. This is a placement trick more than a technique, so difficulty is beginner and it works with pencil or gel in any tone. Pair it with outer-weighted shadow or outer-corner lashes to reinforce the same outward pull. Upkeep is low since nothing sits on the busy inner corner. Pro tip: resist tightlining the inner upper waterline, since even that small darkness pulls close-set eyes back together. Ask your makeup artist to widen close-set eyes by concentrating liner on the outer half.
14Wide-Set Inner Definition
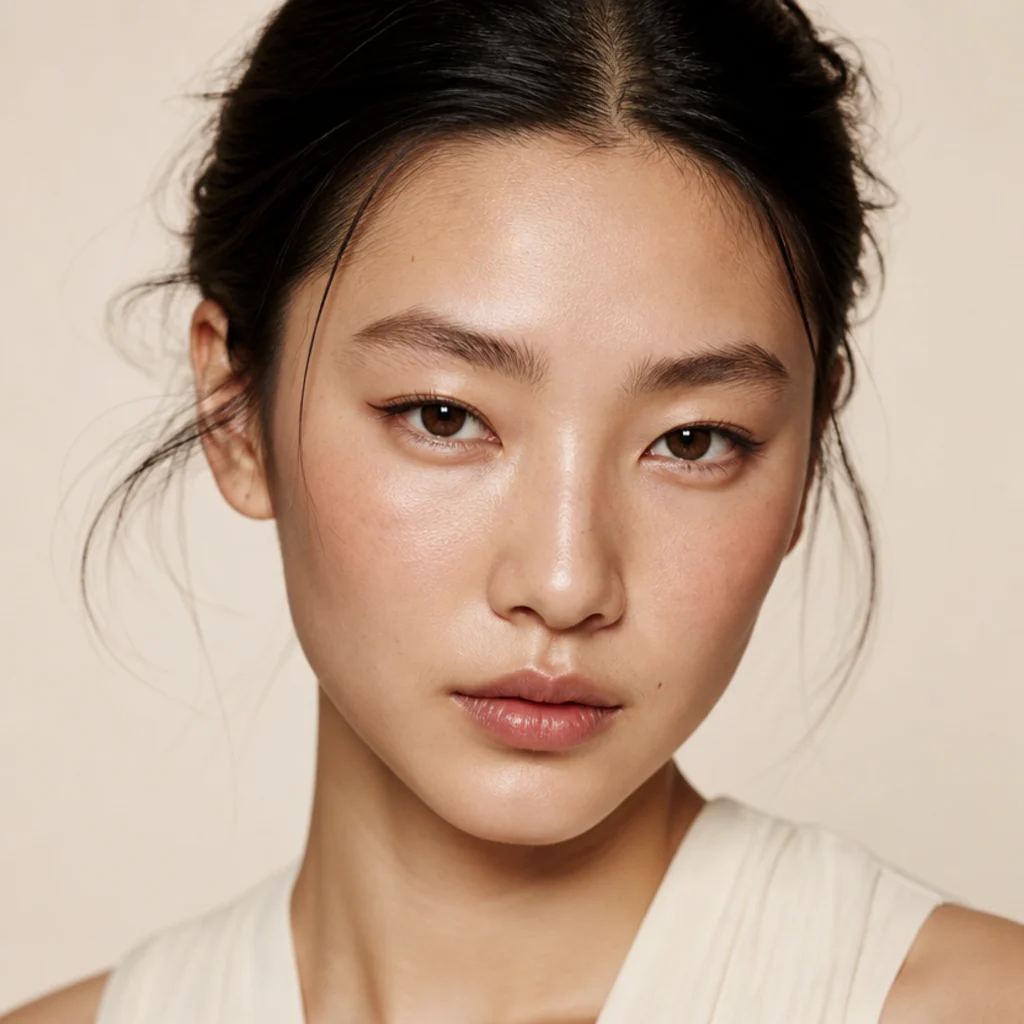
Wide-set eyes carry more space between them, so the approach flips the close-set strategy: bring definition inward. Carry a thin line all the way into the inner corner, and consider a touch on the lower inner lash line too, to draw the eyes visually closer together. Keep any outer wing short and low-key, because length there pulls the eyes further apart and undoes the balancing you just did. This adjusts proportion without altering the eye shape itself, so it reads natural rather than made-up. Difficulty is beginner, hinging almost entirely on where you start and stop the line, and a pencil is easiest for reaching the inner corner cleanly. Anchor the look with inner-corner shadow rather than a shimmer highlight, since brightness there would widen the gap again. Pro tip: a soft brown in the inner corner closes distance more believably than a hard black point. Ask your makeup artist to bring liner inward to reduce the appearance of wide spacing.
15Deep-Set Mid-Lash Line
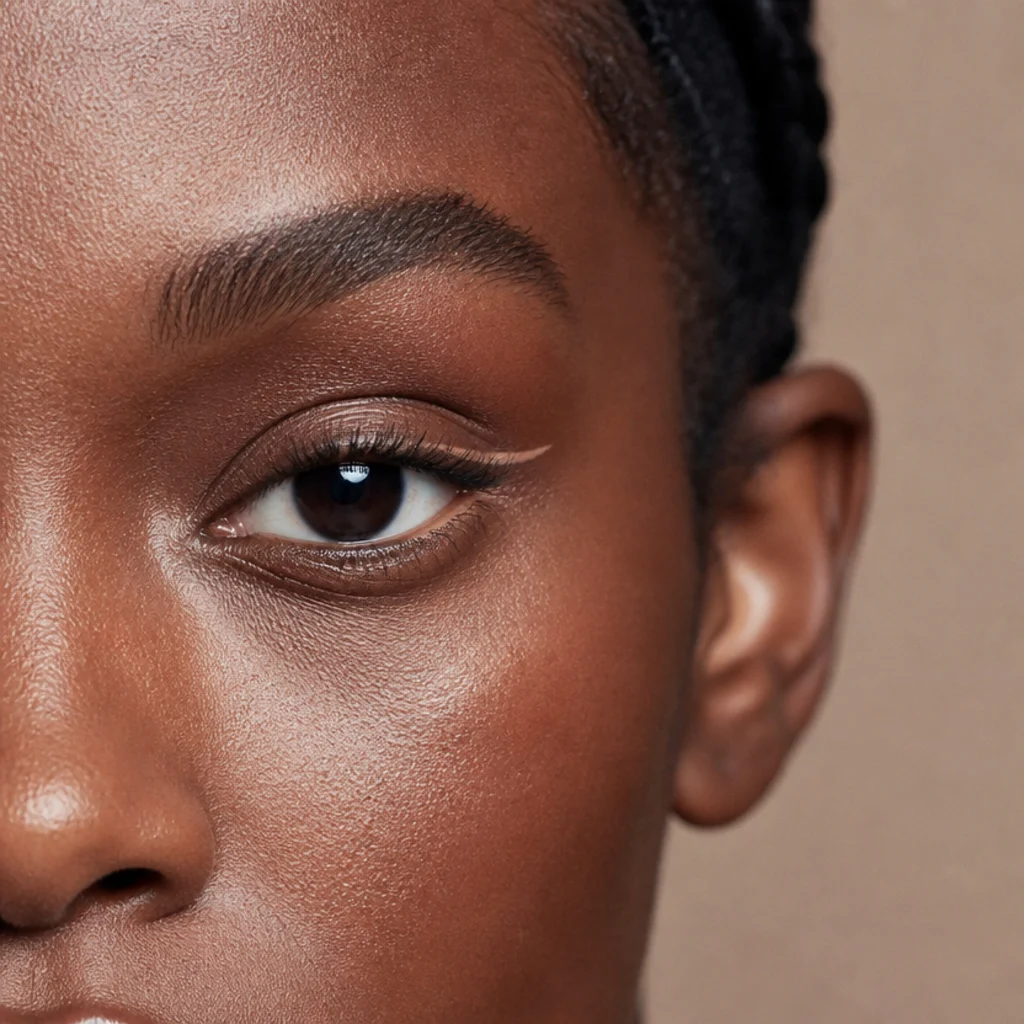
Deep-set eyes sit further back beneath a prominent brow bone, so heavy dark liner casts extra shadow and pushes them deeper still. The fix is a medium line kept tight to the lash line, skipping thick upper coverage that only adds gloom. Lighter and medium-tone liners, think warm brown, bronze, or soft plum, open deep-set eyes more than dense black, which can look like a bruise in the natural shadow. If you want lift, add a small outer flick rather than thickening across the lid, so you gain shape without weight. Keep the lower line minimal, or skip it, so the eye doesn't appear to sink. Difficulty is beginner to intermediate, and a pencil worked close to the roots gives the most control. A touch of light shadow on the mobile lid pushes the eye gently forward to balance the depth. Pro tip: choose a satin or soft-matte finish over anything dark and flat, since a hint of light lifts a recessed eye. Ask your makeup artist for a lash-hugging line that brightens deep-set eyes without heaviness.
16Protruding-Eye Softening Line
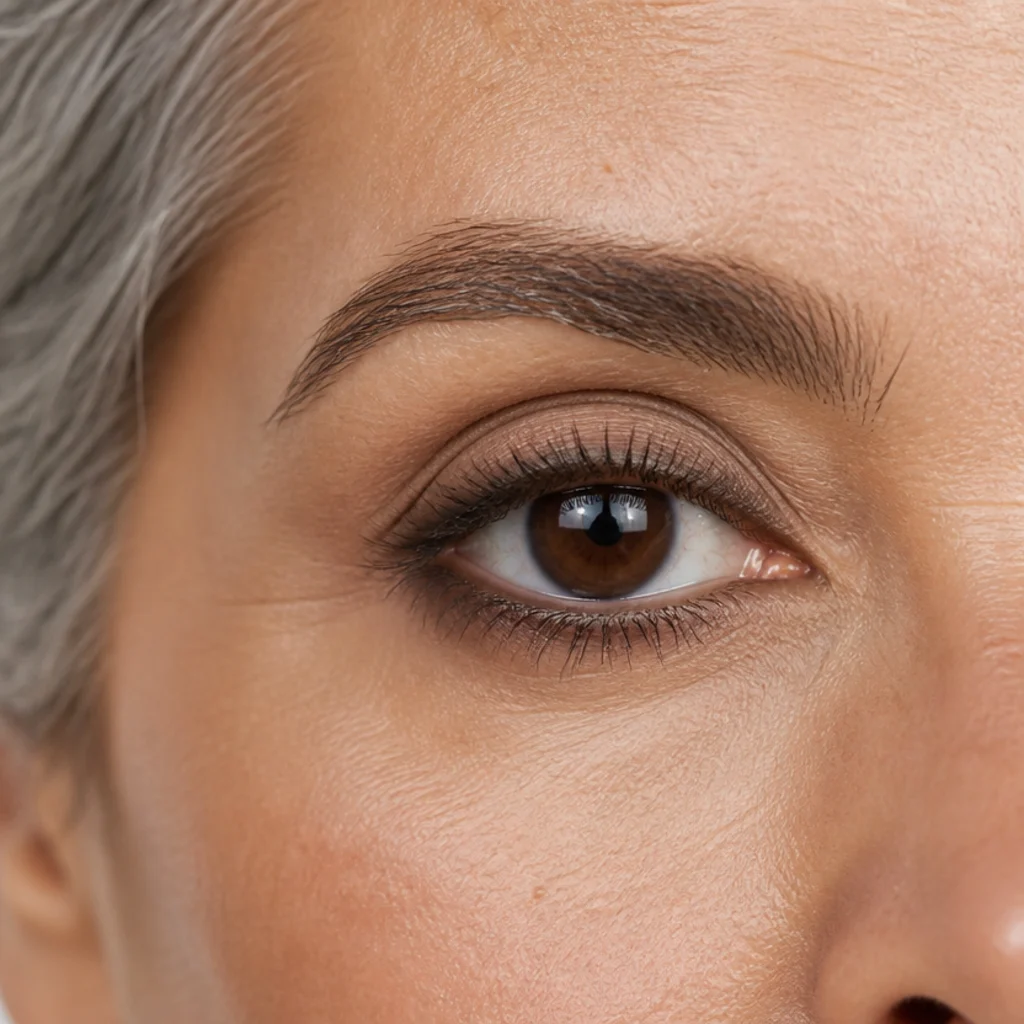
Protruding or prominent eyes project forward, so a slightly fuller, softly diffused line helps visually set them back and balance the lid's convex curve. Draw a medium line along the upper lashes and blur the top edge just a little, then add a soft line along the lower lash line so color frames the eye the whole way around. Wrapping the eye gently, rather than lining only the top, is what tempers the projection and keeps proportions even. Skip glossy, metallic, or very pale lid finishes, which catch light and push the eye further forward; deep matte tones recede and flatter here. Difficulty is beginner to intermediate, mostly about keeping the wrap even rather than crisp. Set the whole thing with a matching matte shadow so it stays soft all day. Pro tip: keep the lid color darker than your brow bone so light stays off the most forward part of the eye. Ask your makeup artist for a soft wrapping liner that balances prominent eyes.
Save this to Pinterest so your placement notes are one tap away.
17Small-Eye Opening Line
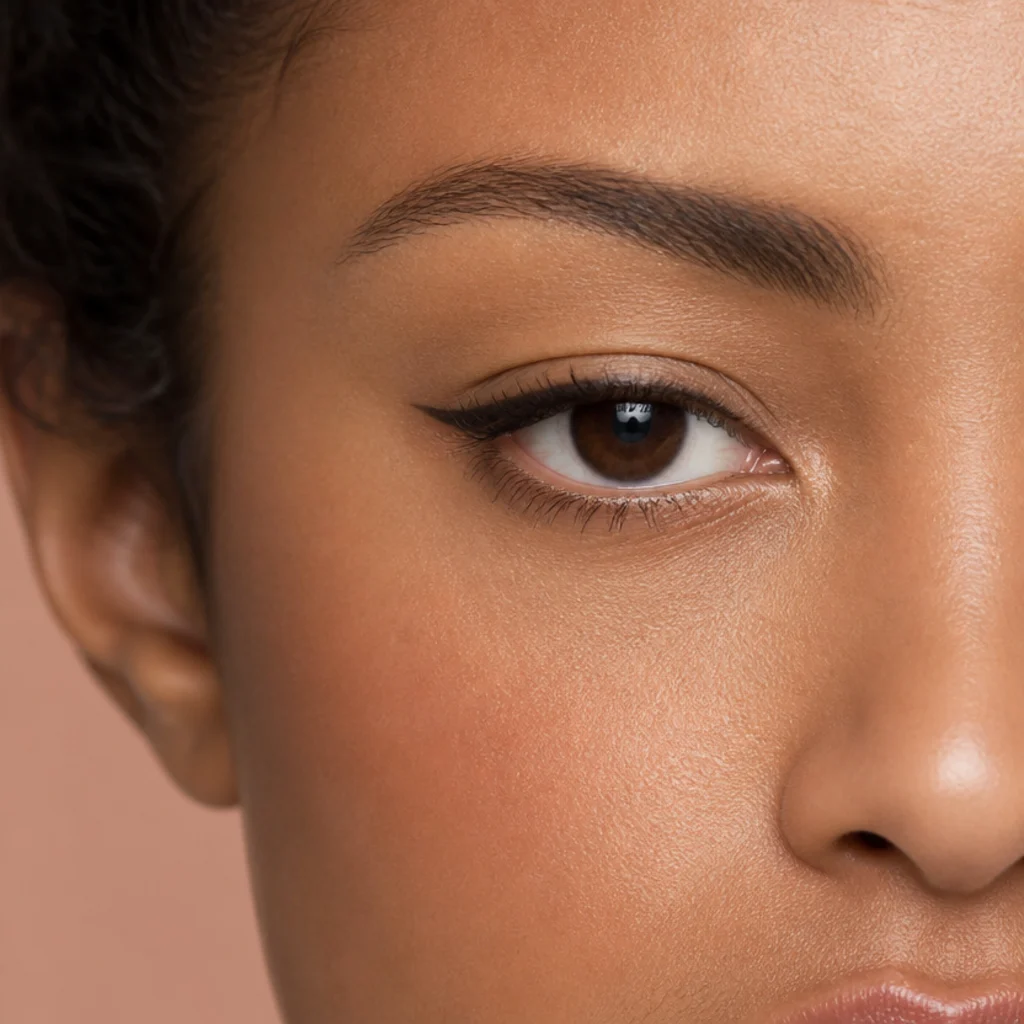
For smaller eyes, every millimeter of visible eye counts, so the aim is definition without crowding. Line the upper lashes and firmly skip a dark lower waterline, which visually eats into an already small eye. Instead, run a nude or soft-pink pencil along the lower waterline to fake a larger white of the eye and an instantly brighter, more open look. Keep the upper line thin near the inner corner and let it thicken slightly outward for length, so you gain size without heaviness. This pairing frames and enlarges at once, which makes it a staple for petite eyes on every skin tone. Difficulty is beginner and the nude waterline is a five-second add that also cancels any redness. Reinforce it with curled lashes and a coat of lengthening mascara for extra openness. Pro tip: pick a nude that matches your inner-rim tone, warmer for deep skin, softer pink for fair, so it brightens rather than looking stark. Ask your makeup artist for an eye-opening liner with a brightening lower waterline for smaller eyes.
18Almond Smoky Smudge
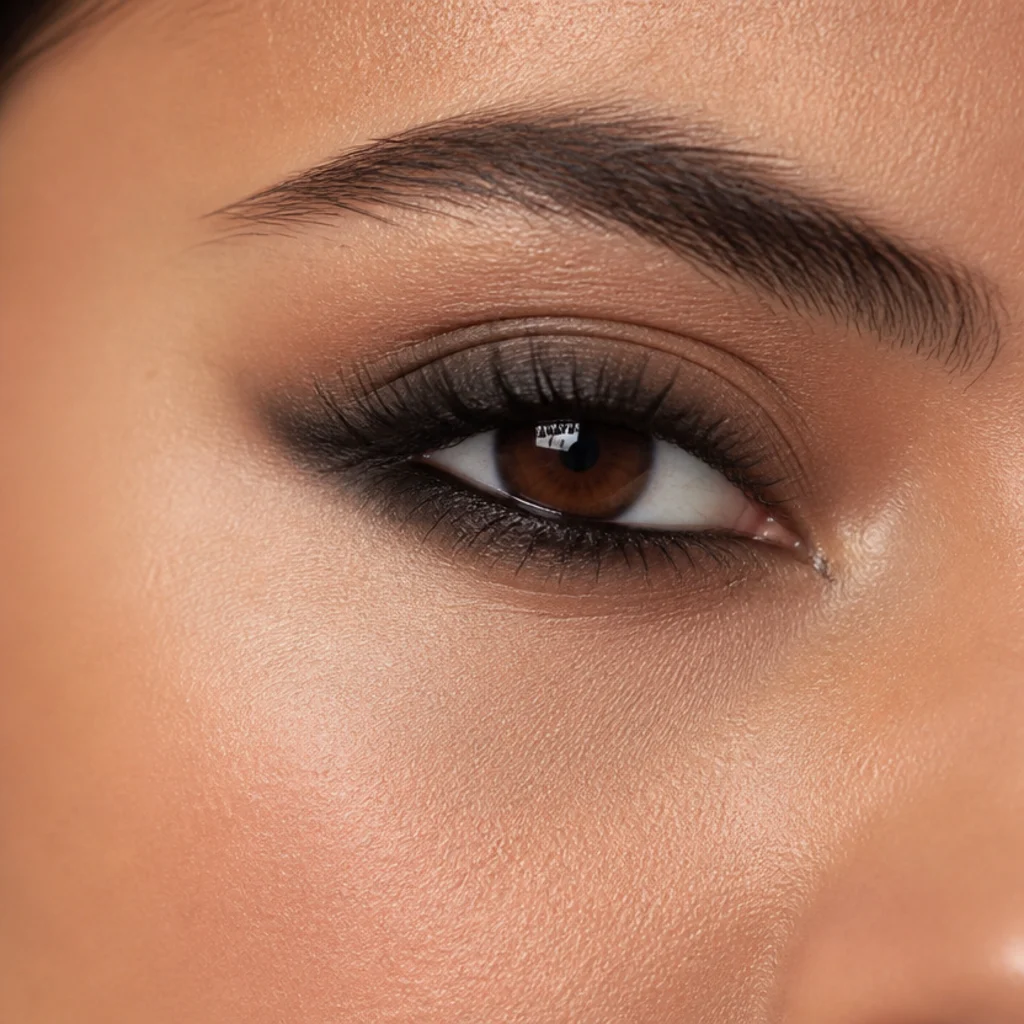
When almond eyes want evening drama without committing to a full smoky eye, a smudged liner delivers it in under two minutes. Draw a generous line along the upper lashes, add a matching line on the outer lower lashes, then blend both softly with a small brush or a pencil smudger so the edges melt into a low haze. The diffused finish gives depth and intensity while keeping the actual technique simple. Almond eyes are ideal for this because the visible lid and crease give the smoke somewhere to sit and blend cleanly, unlike a hooded lid where it can travel. Charcoal, espresso, and deep plum all work; matte formulas hold longer than shimmer for a night out. Set with a dusting of matching powder shadow so it lasts through dinner and drinks. Difficulty is easy-intermediate, mostly a matter of blending before the pencil sets. Pro tip: smudge with a downward-then-outward motion so the haze follows the almond angle instead of rounding the eye. Ask your makeup artist for a soft smoked liner rather than a full smoky-eye application.
19Hooded Graphic Half-Line
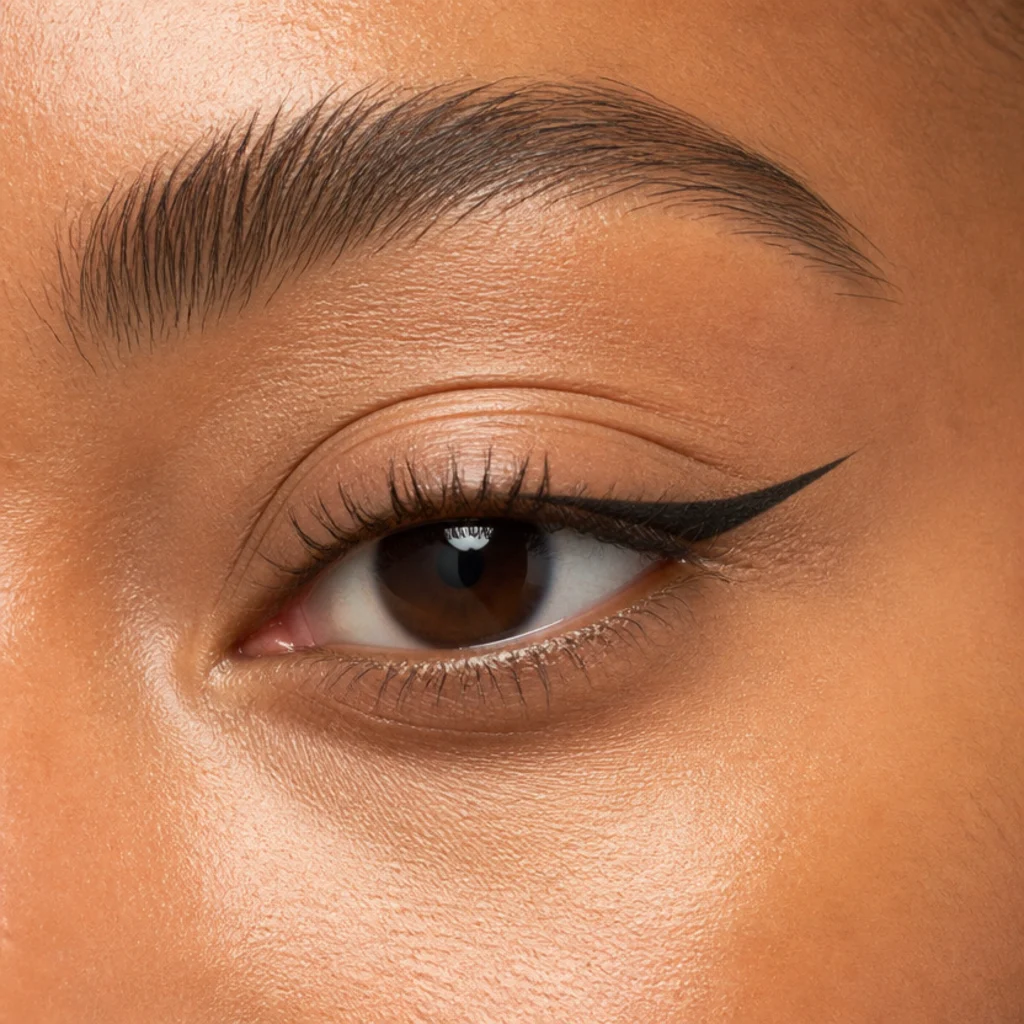
Graphic liner can work on hooded eyes, as long as you place it where the hood won't swallow it. A half-line concentrates a clean, slightly thick line on the outer half of the lid only, angled up so it stays visible with the eye open. By skipping the inner lid, you remove the stretch of line most likely to vanish into the fold, and that's exactly why full graphic looks frustrate hooded eyes. Map it with your eyes open, dotting the hood line first, and keep the shape simple, modern, and slightly floated above the crease at the outer edge. A precise liquid or felt-tip gives the sharpest edge, and a long-wear formula resists the transfer hoods are prone to. Difficulty is intermediate, rewarding patience and thin layers. Pro tip: finish the inner corner with a hint of light shadow instead of liner, so the bare inner lid looks intentional rather than unfinished. Ask your makeup artist for a hooded-friendly graphic half-liner mapped open.
20Everyday Universal Thin Line
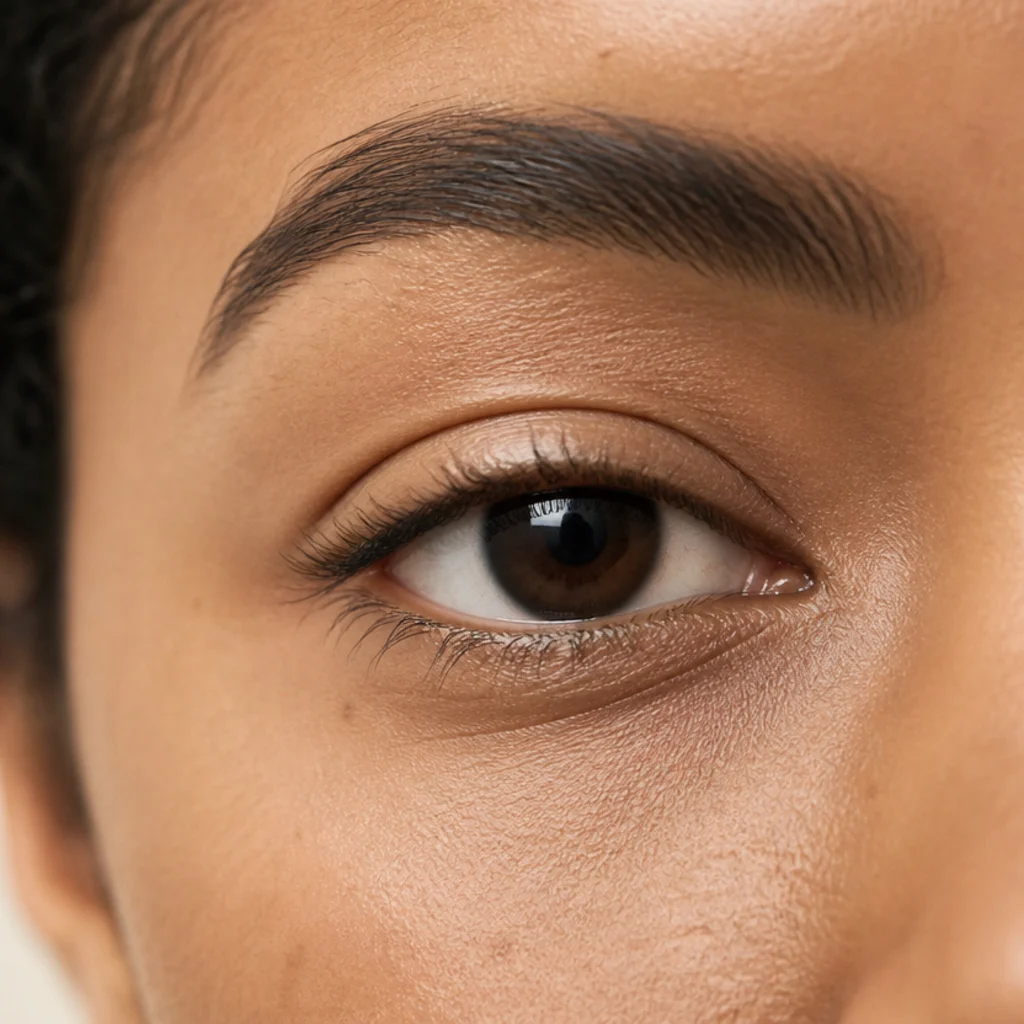
When in doubt, a thin line along the upper lashes flatters every eye shape and every skin tone, so it earns the last and most useful slot. Keep it tight to the roots so it reads as fuller lashes rather than obvious liner, and let it follow your natural lash line with no wing at all. This is the most universal look in the guide, ideal for beginners, busy mornings, and as a safe baseline before you experiment with the shape-specific tricks above. Brown suits daytime and softer features on any skin tone, while black adds contrast for a slightly sharper finish. A smudge-proof pen keeps upkeep near zero, and there's no wing or crease to fail through the day. It layers under everything else here, so treat it as the foundation the other nineteen looks build on. Pro tip: dot the pen between the lashes rather than dragging above them, so the line fills gaps instead of floating on skin. Ask your makeup artist for a simple natural lash-line liner if you want an everyday default.
Pro Tips from the Editor
- Map every wing with your eyes open. Liner drawn on a closed lid lands somewhere different the moment you look ahead, especially on hooded and monolid eyes. Dot your target points open, then connect.
- Match the formula to the lid, not the look. Oily and hooded lids need long-wear gel or liquid and a shadow set-step; dry or mature lids often do better with a creamy pencil that won't skip over fine texture.
- Draw both tails before either lash line. Symmetry lives in the wings, so place both flicks first, step back, adjust, and only then fill in the lash line to meet them.
- Use tape or a card as scaffolding sparingly. A straight edge sets a clean angle, but pull it away gently and soften the hard line it leaves so the wing doesn't look stamped on.
- Fix, don't redo. A damp cotton swab or a fine concealer brush carves a crisp edge back in far faster than removing and restarting the whole eye.
- Warm and prime. Warm creamy pencils for two seconds so they grip, and prime lids first so color lasts hours longer without traveling into the crease.
- Let shade do the softening. Brown, taupe, and soft black read gentle for day across all skin tones; save dense black and graphic shapes for when you actually want contrast and drama.
Quick Reference: Eye Shape to Liner Strategy
| Eye shape | Core goal | Where to weight the line | Best liner tools |
|---|---|---|---|
| Almond | Enhance natural balance | Even, or slightly outer | Pencil, gel, felt-tip |
| Hooded | Stay visible above the fold | Floated tail, outer third | Long-wear gel, liquid |
| Round | Lengthen sideways | Outer third only | Pencil, gel |
| Monolid | Register with eye open | Thick band, long wing | Gel, liquid, felt-tip |
| Downturned | Lift the outer corner | Steep upward tail | Gel, liquid |
| Upturned | Balance existing lift | Even top, soft lower | Pencil, fine pen |
| Close-set | Create outward space | Outer half, clear inner | Pencil, gel |
| Wide-set | Close the gap inward | Into the inner corner | Pencil |
| Deep-set | Avoid added shadow | Tight, light, mid-lash | Pencil in warm tones |
| Protruding | Set the eye back | Soft wrap all around | Pencil, matte shadow |
How to Choose / Get the Look
Start by identifying your eye shape in a mirror, using this list as an informal eye shapes chart. Ask four questions in order: Do you see a crease with the eye open (almond, round) or a hidden lid (hooded, monolid)? Does the outer corner drop (downturned) or lift (upturned)? How far apart do the eyes sit relative to one eye-width between them (close-set or wide-set)? And do they sit back under the brow bone (deep-set) or push forward (protruding)? Most people answer yes to two or three, so read your eyes as a blend and borrow across sections accordingly.
From there, the principles are consistent. To lift, angle liner up at the outer corner toward the brow tail. To lengthen, weight the outer third and extend slightly past the corner. To open, keep the lower waterline nude and the upper line tight to the lashes. To adjust spacing, shift color outward for close-set eyes and inward for wide-set. Then choose your tool by the control you want: pencils are the most forgiving and easiest to smudge, gels balance ease with staying power, and felt-tip or liquid pens give the crispest wings. If you're new, practice the everyday thin line (Look 20) and the mini flick (Look 3) first, then layer in shape-specific tricks. When booking a professional, bring a saved photo and describe the effect, lift, length, or openness, rather than only naming a product, and ask them to map any wing with your eyes open.
Frequently Asked Questions
How do I figure out my eye shape?
Look straight into a mirror in good, even light and note four things: whether you see a crease with the eye open, whether the outer corner lifts or drops, how far apart your eyes sit relative to one eye-width, and how deep-set or prominent they are. Compare against the shapes here. Eye shapes explained honestly means accepting overlap, so you may match two or three. These are guidelines rather than strict categories, and they're meant to flatter every eye and skin tone.
What is the difference between almond and hooded eyes?
Almond eyes show a visible lid and crease when open, so liner sits exactly where you draw it. Hooded eyes have an extra fold that covers part of the lid and hides liner when open. So the almond vs hooded eyes distinction mostly changes wing placement: hooded eyes need the line drawn higher, floated above the fold, and mapped with the eyes open so it stays visible. If a line disappears when you look ahead, you're likely working with a hooded element.
What eyeliner works for hooded eyes and smudges less?
Hooded lids cause more transfer because the fold presses on the liner with every blink, so long-wear gel and liquid formulas hold far better than soft pencils on the mobile lid. Set the line with a matching matte powder shadow, and lean on a smoked or floating-wing technique so any transfer reads as soft depth rather than a broken line. Priming the lid first adds several hours of wear.
Does eye shape matter for lash mapping too?
Yes. Lash mapping eye shapes follows the same directional logic as liner: you place longer lengths wherever you want lift or openness. Downturned and hooded eyes usually suit more length toward the outer corner for lift, round eyes suit an elongating outer emphasis, and close-set eyes benefit from outer-weighted length to widen. It is the same makeup by eye shape thinking, applied to lashes instead of liner.
What is the best beginner eyeliner look by eye shape?
Almost anyone can start with the everyday thin line (Look 20) and the lifted outer flick (Look 3), because both are forgiving, fast, and work across shapes. From there, match your shape: hooded eyes graduate to the smudge line, monolids to the bold band, round eyes to the elongating line, and downturned eyes to the kitten flick before the full lift wing. Pencil first, then pens once your hand steadies.
How do I stop my eyeliner from transferring onto my upper lid?
Transfer usually means the lid is oily or the fold is pressing on wet product. Prime the lid, choose a smudge-proof gel or liquid rather than a creamy pencil, and set the line with a matching powder shadow pressed on top. Keep the line as tight to the lashes as possible, since the higher liner sits on the mobile lid, the more it moves. Hooded and deep-set eyes benefit most from this routine.
Should eyeliner shade change with my skin tone or eye color?
Placement stays the same across skin tones, but shade is where you personalize. Brown and soft black read gentle on fair-to-deep skin, deep black adds contrast, and a nude waterline brightens on every tone. Eye color is optional fun: warm browns and bronzes flatter blue and green eyes, plums and deep berries make brown eyes glow, and near-black defines hazel. Choose intensity to suit your features and the occasion.
Can I use these looks across skin tones?
Yes. These techniques are about placement and direction, and that works identically on every skin tone. Shade choice is where you adjust: brown and soft-black read gentle, deep black adds contrast, and a nude or warm-toned waterline brightens on all tones. Pick liner intensity to suit your features, your undertone, and the occasion, and the shape logic holds regardless.
How often should I redraw or touch up my liner during the day?
With a smudge-proof gel or liquid on a primed, set lid, most looks here hold six to ten hours before needing attention. Oily, hooded, and protruding eyes may want a quick outer-corner check around midday. Carry a few cotton swabs and a fine brush: rather than redrawing, sharpen the outer tail and press any transfer back down. Powder-set smoked and wrapped looks tend to last longest.