15 Lash Mapping Ideas for Different Eye Shapes
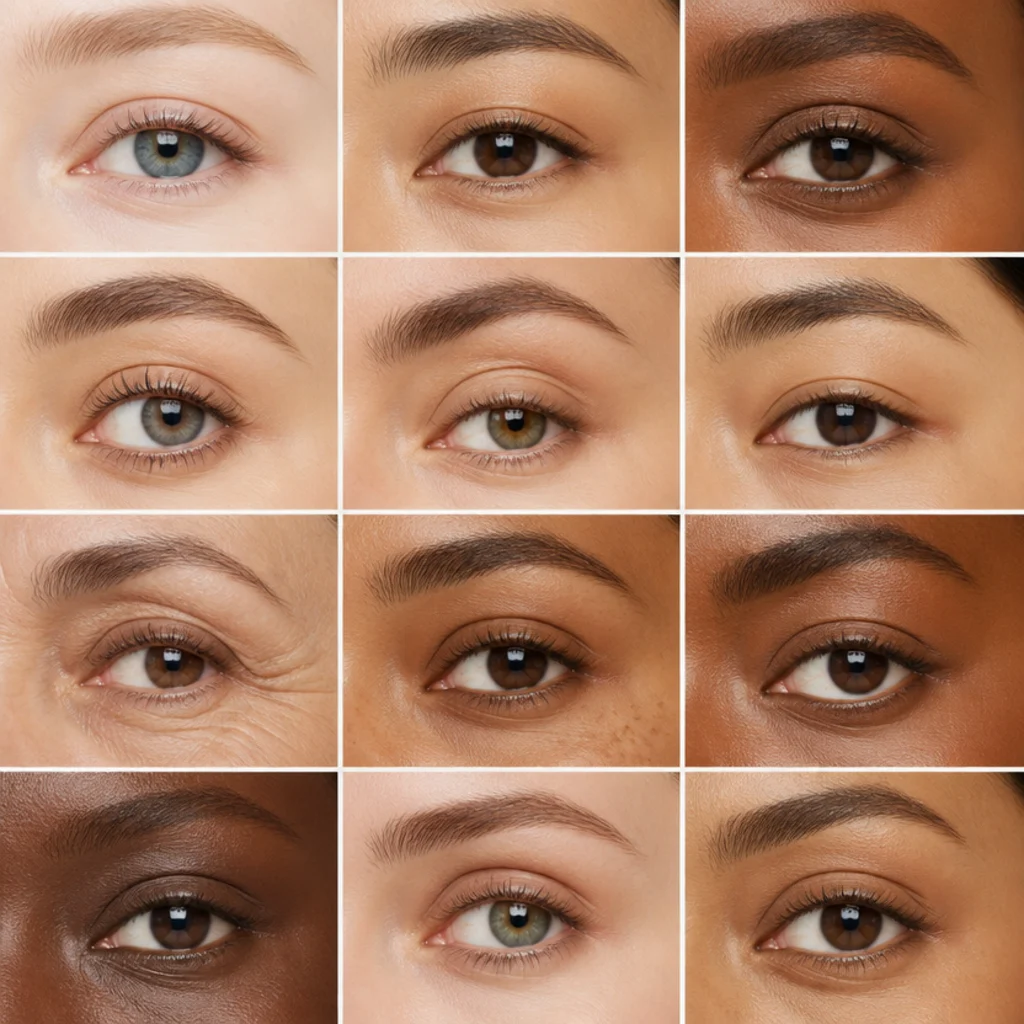
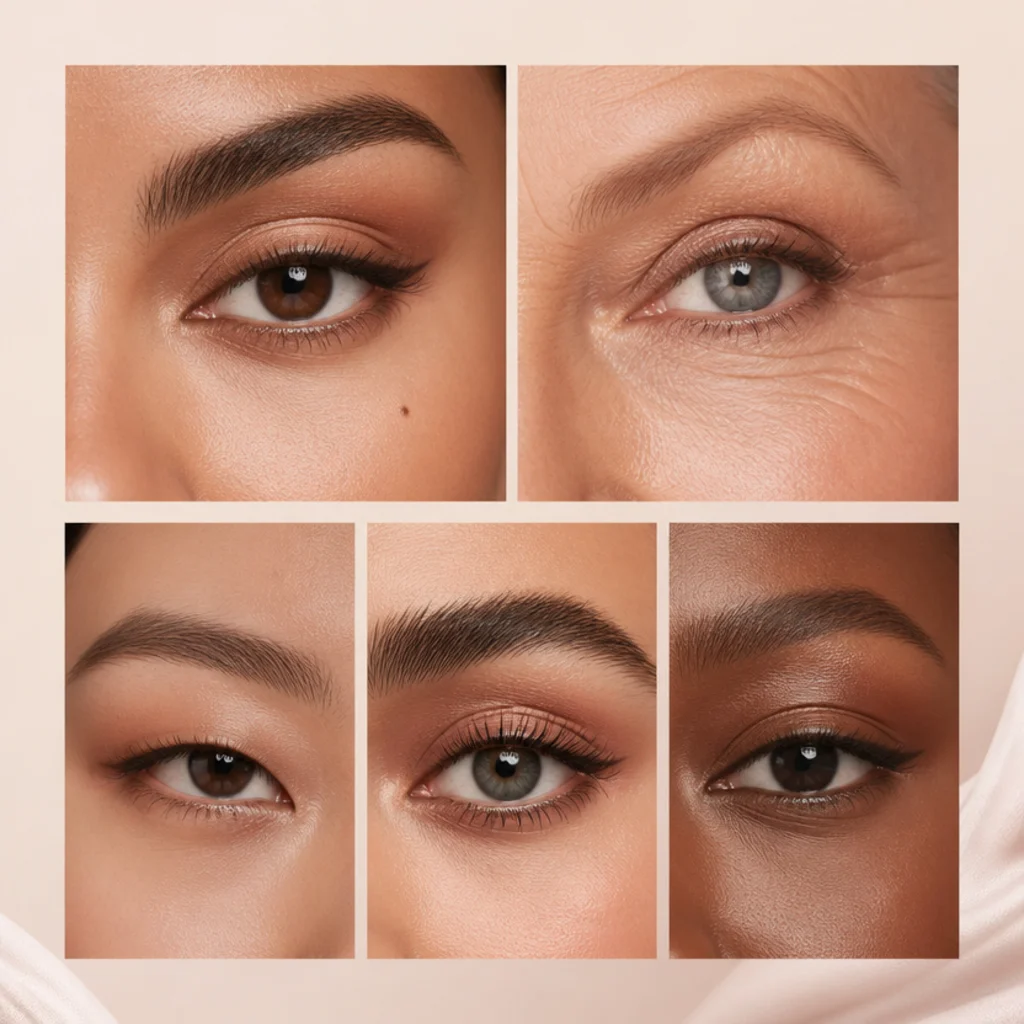
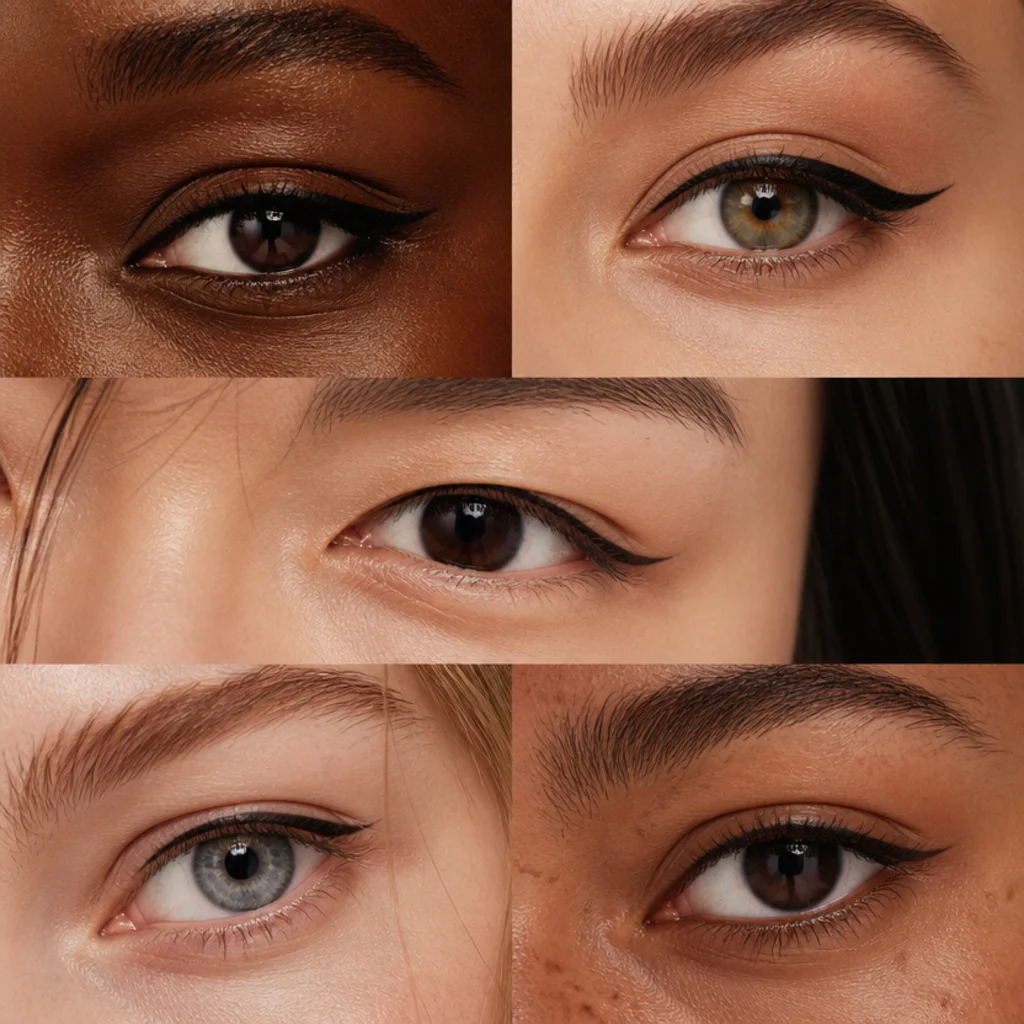
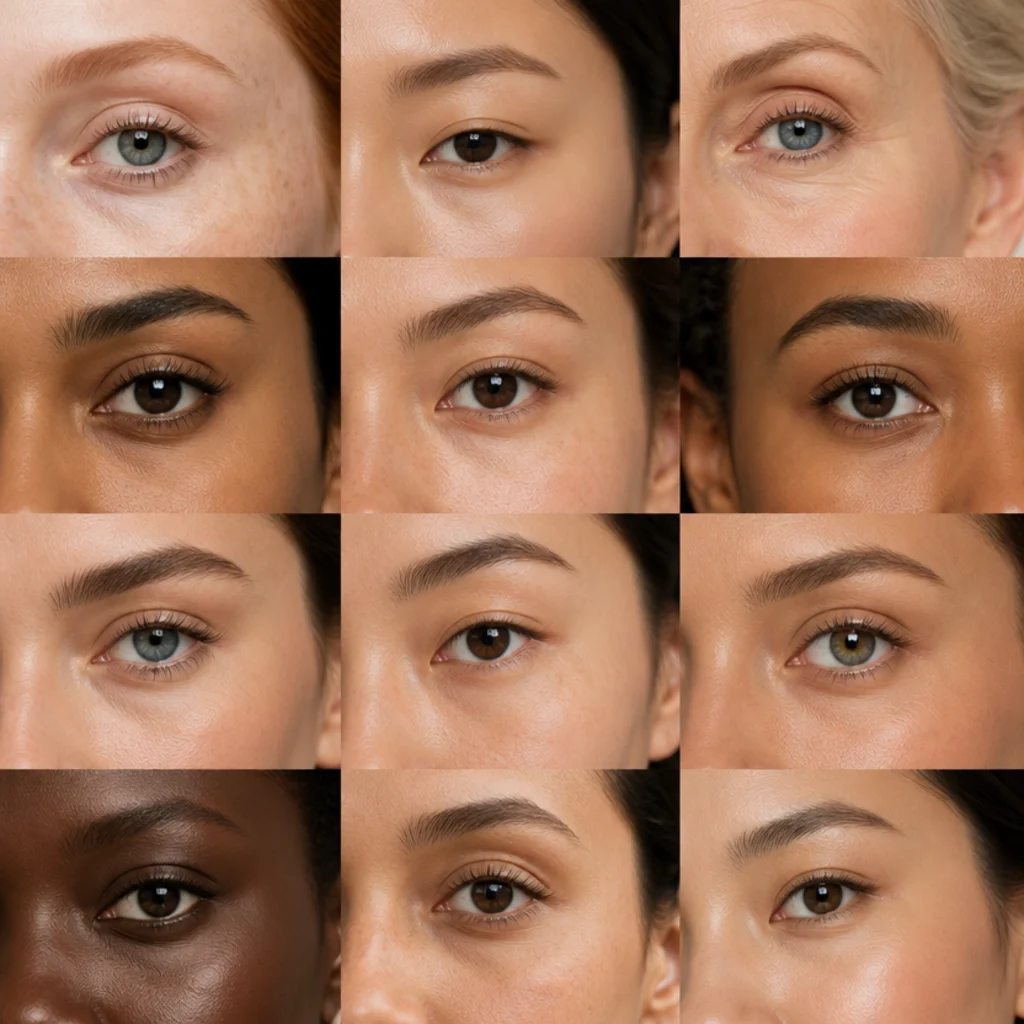
Lash mapping is the practice of placing specific lash lengths and curls in defined zones across the lash line to balance your natural eye shape. Think made-to-measure, not one uniform strip. Below is an eye shapes chart and a zone-by-zone plan you can actually take to your appointment.
 Edited by Lena Rose · Published July 11, 2026 · 26 min read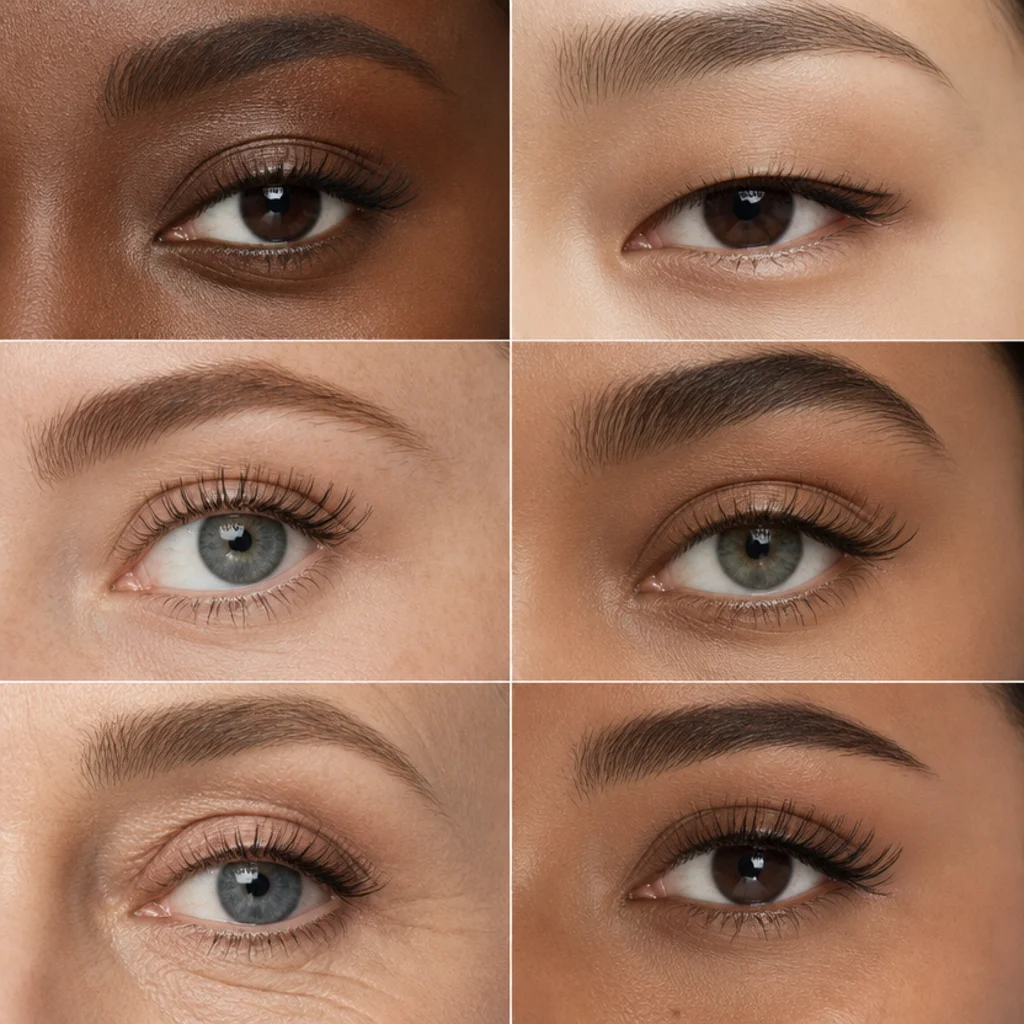
Quick Answer
- Best for: Anyone who wants lashes engineered to their natural eye shape, spacing, and lid type rather than a generic one-size strip.
- Who might skip it: People who love a bold, uniform "wall of lashes" look on purpose, or anyone with active blepharitis or a lash-line reaction who should treat the skin first.
- Maintenance: Classic and hybrid extension sets need a fill roughly every 2-3 weeks as natural lashes shed; volume fans last a similar window; strips and DIY clusters are per-wear and reusable 5-20 times with careful cleaning.
- Difficulty: Reading your eye shape is easy (about a minute at the mirror); receiving professional mapping is beginner-friendly; DIY placement is moderate and improves fast with practice.
- Cost: DIY clusters and quality strips run low (roughly a drugstore-to-mid range per pack); professional full sets and fills sit in a wide variable range depending on your city, artist level, and whether you choose classic, hybrid, or volume.
- Wear time / longevity: Extensions last a full growth cycle with fills; a single strip lasts one wear; DIY bond clusters can hold several days.
- Standout variation: Open-outer mapping for hooded eyes, which lifts the visible lash line without heavy liner.
- How to ask your lash artist: Describe the map in zones and curl, e.g. "short inner third, longest through the outer third, CC or L curl to clear my hood," and bring a saved reference image.
In This Guide
- Read Your Eye Shape First
- Almond Eyes: Balanced Center Lift
- Hooded Eyes: Open-Outer Mapping
- Round Eyes: Elongating Cat-Eye Map
- Monolid Eyes: Length-Forward Curl
- Downturned Eyes: Outer-Corner Lift
- Upturned Eyes: Soft Lower Balance
- Deep-Set Eyes: Bold Curl Forward
- Protruding Eyes: Even Length Map
- Close-Set Eyes: Outer-Weighted Fan
- Wide-Set Eyes: Inner-Corner Density
- Almond vs Hooded: Side-by-Side Maps
- Doll-Eye Map for Bright Openness
- Kitten-Eye Map for Subtle Lift
- Natural Wispy Map for Every Shape
Lash mapping starts with knowing where your eye reads full and where it reads flat, then placing length and curl to even it out. That's why an eye shapes chart is the most useful tool in your kit — it turns guesswork into a repeatable plan you can hand to an artist. This guide covers the main eye shapes explained in plain language, then walks through lash mapping eye shapes zone by zone, so you can copy the map that fits you and skip the ones that fight your anatomy. A few fundamentals carry through every idea below. Curl runs on a scale from J and B (soft, natural) through C and CC (open, lifted) to D and L (dramatic, hood-clearing). Length is mapped in millimetres and graduated in short steps so the line looks intentional, not spiky. The lash line itself divides into thirds — inner, center, and outer — and that's the vocabulary you'll use to place everything. Eye-shape categories overlap constantly; almost no one is a textbook single shape, and these are guidelines, not rules. Use them across every skin tone, lash color, and lid type, and mix ideas until your lashes read balanced and open from the front.
01Read Your Eye Shape First
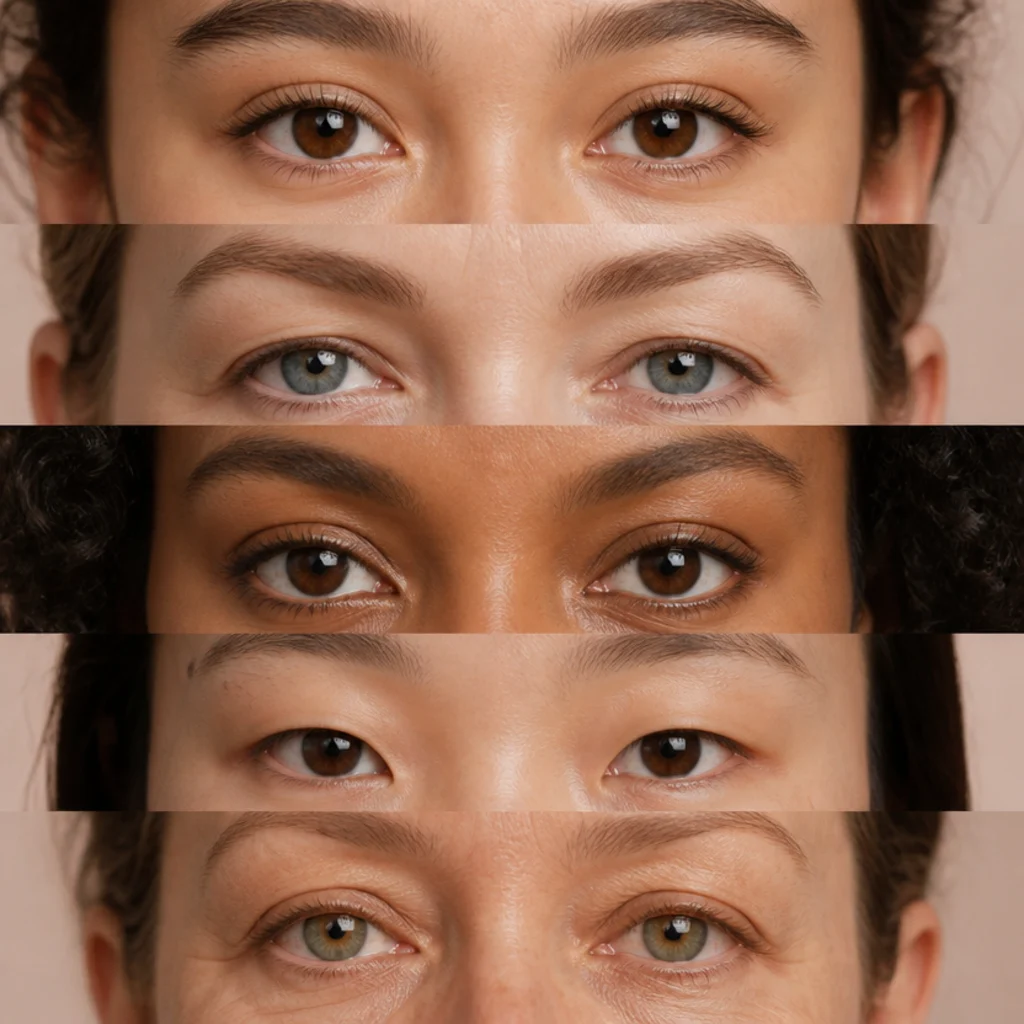
Before any mapping, spend a minute at the mirror in even, straight-on light. Read four traits in order: crease visibility (a hooded lid hides the crease when your eye is open), corner direction (does an imaginary line through the corners tilt up, down, or stay level), the white around the iris (visible above and below signals a rounder shape), and spacing (measure the gap between inner corners against the width of one eye). Together those four readings make up your personal eye shapes chart, and almond is the balanced baseline every other map adjusts away from. Most people land between two categories, so treat the result as a spectrum, not a verdict. Once you know your dominant traits, you'll know exactly which third of the lash line needs length and which needs restraint — that's what stops the classic mistake of over-mapping a zone that was already full. Pro tip: photograph your open eye head-on and in three-quarter profile; the side angle reveals curl and hood depth a straight mirror hides. Have your lash artist confirm your reading before they map — they see your lid mobility up close, in a way a mirror can't.
02Almond Eyes: Balanced Center Lift
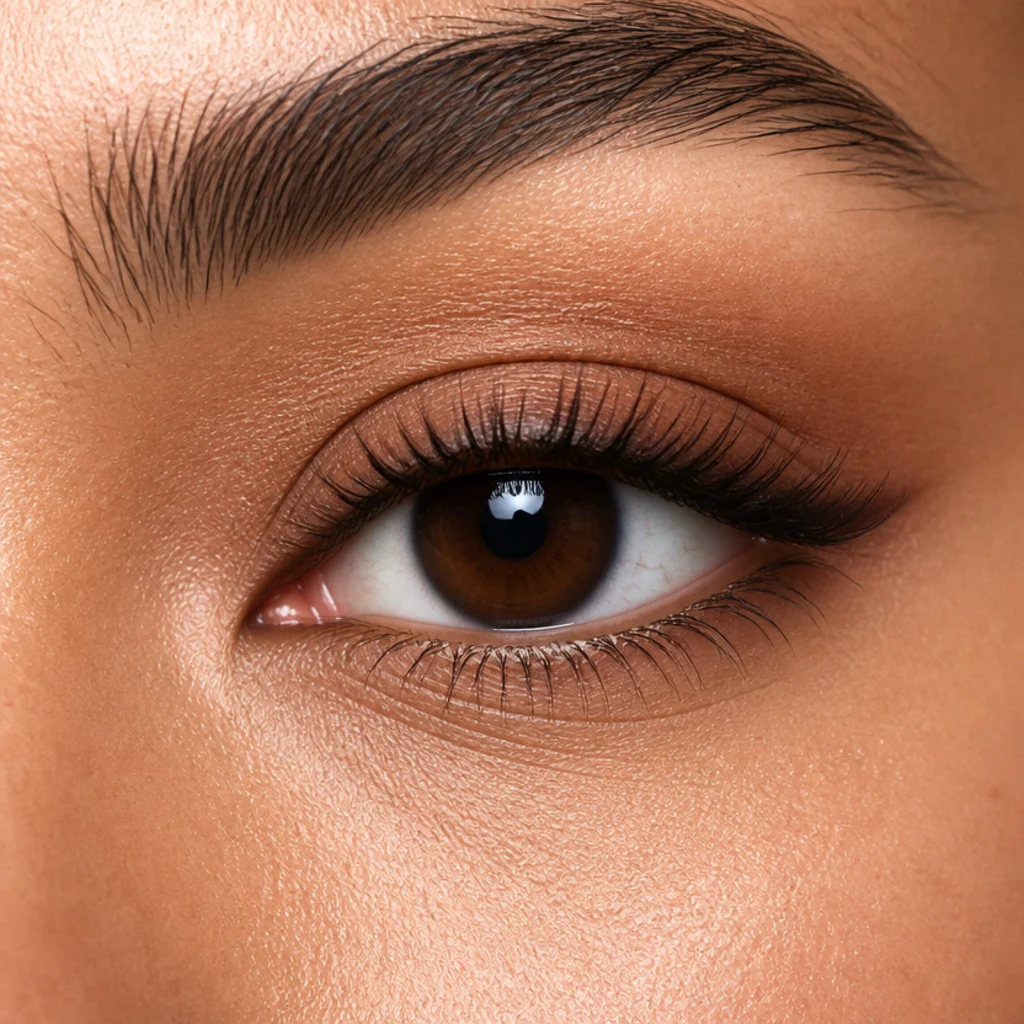
Almond eyes show a visible crease, a gently tapered outer corner, and an iris framed on all sides — the most map-flexible shape of the bunch. A balanced center-lift keeps them open and true to form: short lengths at the inner corner, the longest through the middle third, then a soft taper out, with a natural C curl that lifts without distorting the almond line. This graduated approach rounds the eye just enough to look awake while preserving the elegant taper. It flatters wide-set and close-set almond variations alike, and it works whether your natural lashes are fine or dense, since the length change is incremental. A workable map is roughly 8-9mm inner, 11-12mm center, 10mm outer, adjusted to your lash health. Maintenance follows your medium: fills every 2-3 weeks for extensions, per-wear for strips. Pro tip: if you want quiet drama, shift only 1mm of length outward rather than adding curl, so the eye lengthens without losing its balance. Tell your lash artist you want a natural almond graduation, and give them your center peak length.
03Hooded Eyes: Open-Outer Mapping
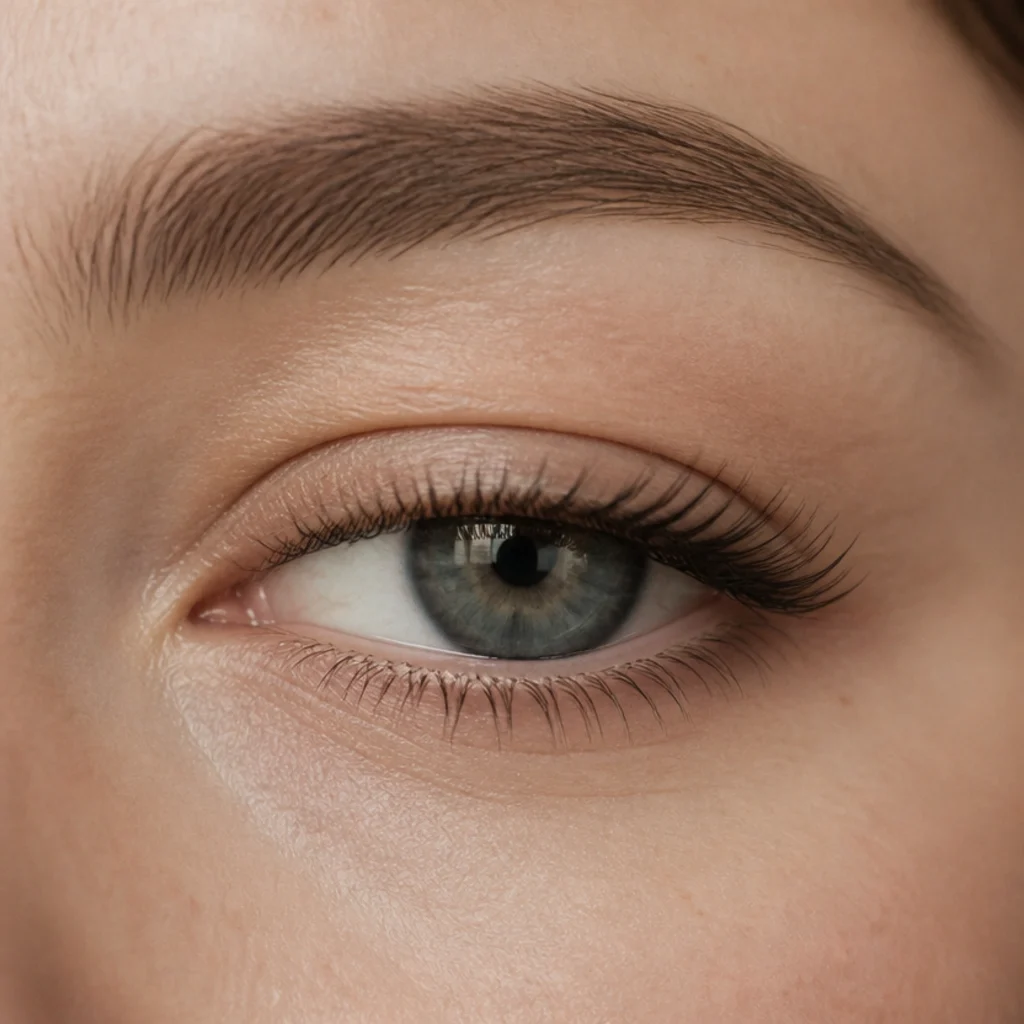
Hooded eyes carry extra skin over the crease, so length placed in the center gets swallowed under the fold and reads stubby by midday. The fix is open-outer mapping: keep the inner two-thirds shorter and set your longest, most-curled lashes in the outer third to draw the lid up and out past the hood. Curl does the heavy lifting here, so reach for CC, D, or an L curl — it has a flat base and a sharp lift that clears the fold instead of pressing into it and disappearing. This is the core of the almond vs hooded distinction: almond wants center length, hooded wants outer length plus aggressive lift. Skip heavy tightline or liner under the lashes; it visually shortens the mobile lid and closes the eye further. Pro tip: blink and check the mirror mid-map. If the outer lashes disappear under the hood when your eye is open, go one curl stronger before you add any length. Not every studio stocks L curl, so ask about availability before you book if that's the lift you need.
04Round Eyes: Elongating Cat-Eye Map
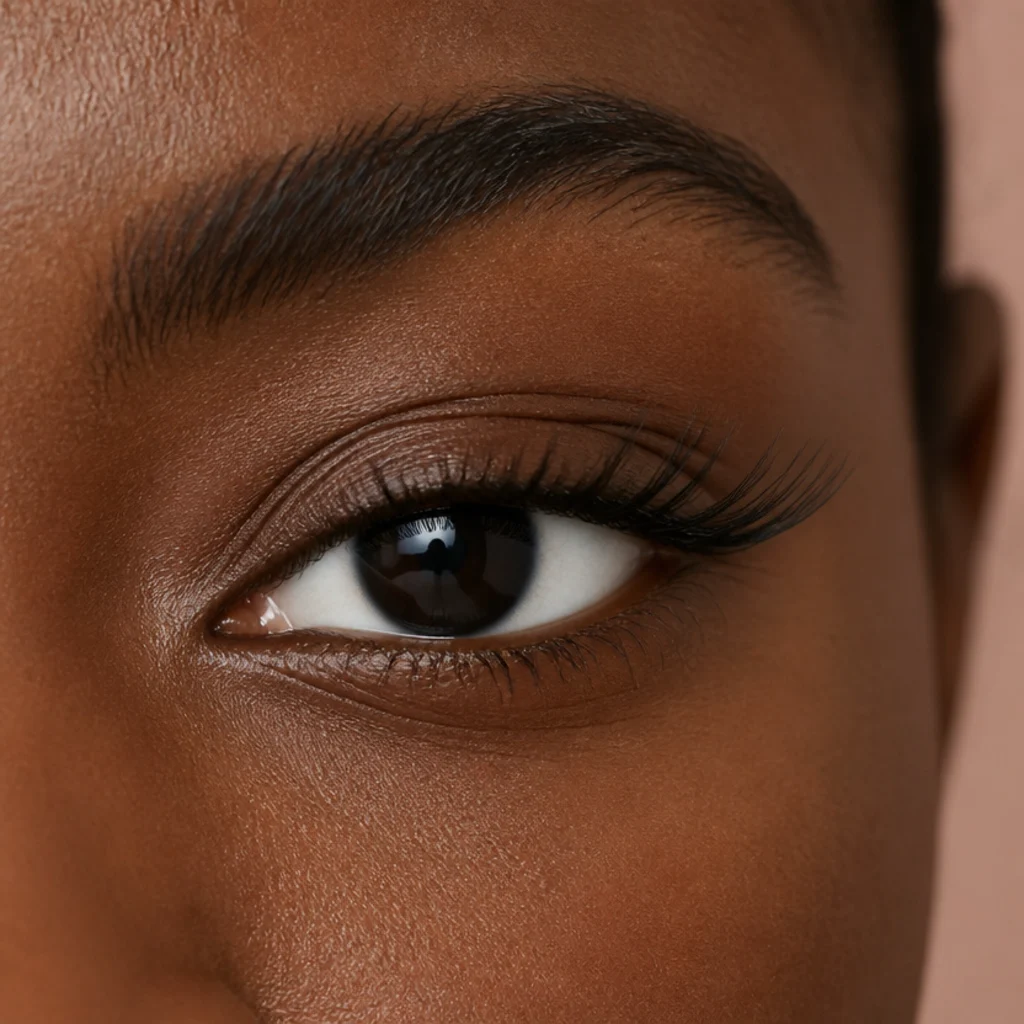
Round eyes show white above and below the iris and read wide and bright — a real asset that can tip into a surprised look under uniform lashes. To lengthen the shape, use a cat-eye map: short inner, medium center, and a decisive sweep of length at the outer corner that extends just past the natural lash line. That outer weight pulls the eye horizontally and casts a soft almond illusion. Keep the lower lash line minimal and skip a strong curl overall, since lift emphasizes the vertical roundness you're trying to counter; a B or C curl reads better than a D here. Density should stay even, so the drama lives in the length rather than the volume. Pro tip: stop the outer extension at the point where a line from your nostril through the outer corner would land. That keeps the wing lifting instead of dragging the eye down. Request a textured cat-eye with a soft curl, so the elongation stays wearable day to day.
05Monolid Eyes: Length-Forward Curl
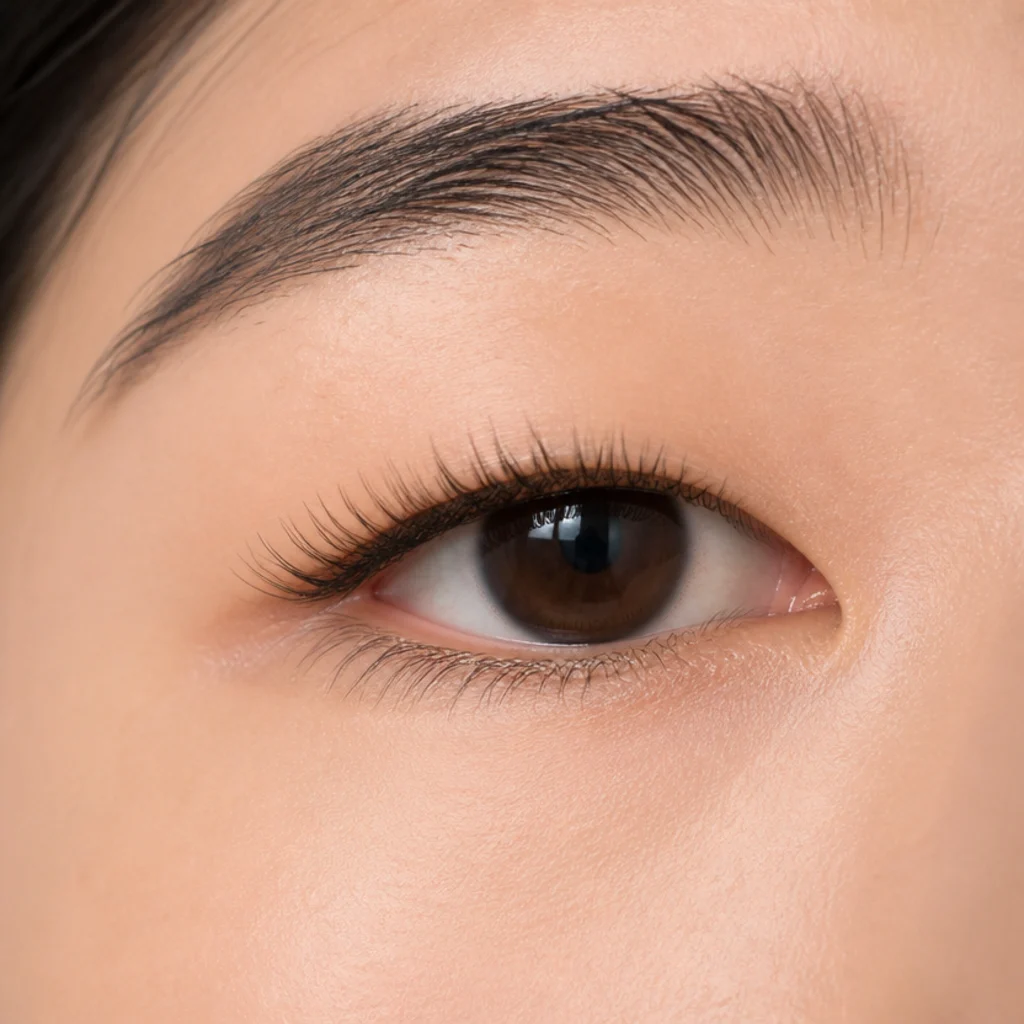
Monolid eyes have little or no visible crease and a flatter lid plane, so the priority is lift — something that keeps lashes from lying against the lid and shading the eye closed. Choose a strong, consistent curl across the whole line (CC or D), then map length that climbs from inner to outer with the peak just past center, so the eye looks lifted from the front where a flat curl would just disappear. The lid has no fold to catch light, so curl and forward projection do the work a crease would otherwise handle. Keep density moderate and lengths graduated in small steps so the set stays airy rather than heavy, which suits the smooth lid. This length-forward, curl-first approach is one of the most flattering lash mapping eye shapes strategies for monolids, and it photographs cleanly across every skin tone. Pro tip: avoid overly long lashes that fan downward under their own weight; a shorter, stronger-curl lash holds its lift far longer on a monolid. Tell your lash artist curl retention matters more to you here than maximum length.
Save this to Pinterest to keep these first five maps handy.
06Downturned Eyes: Outer-Corner Lift
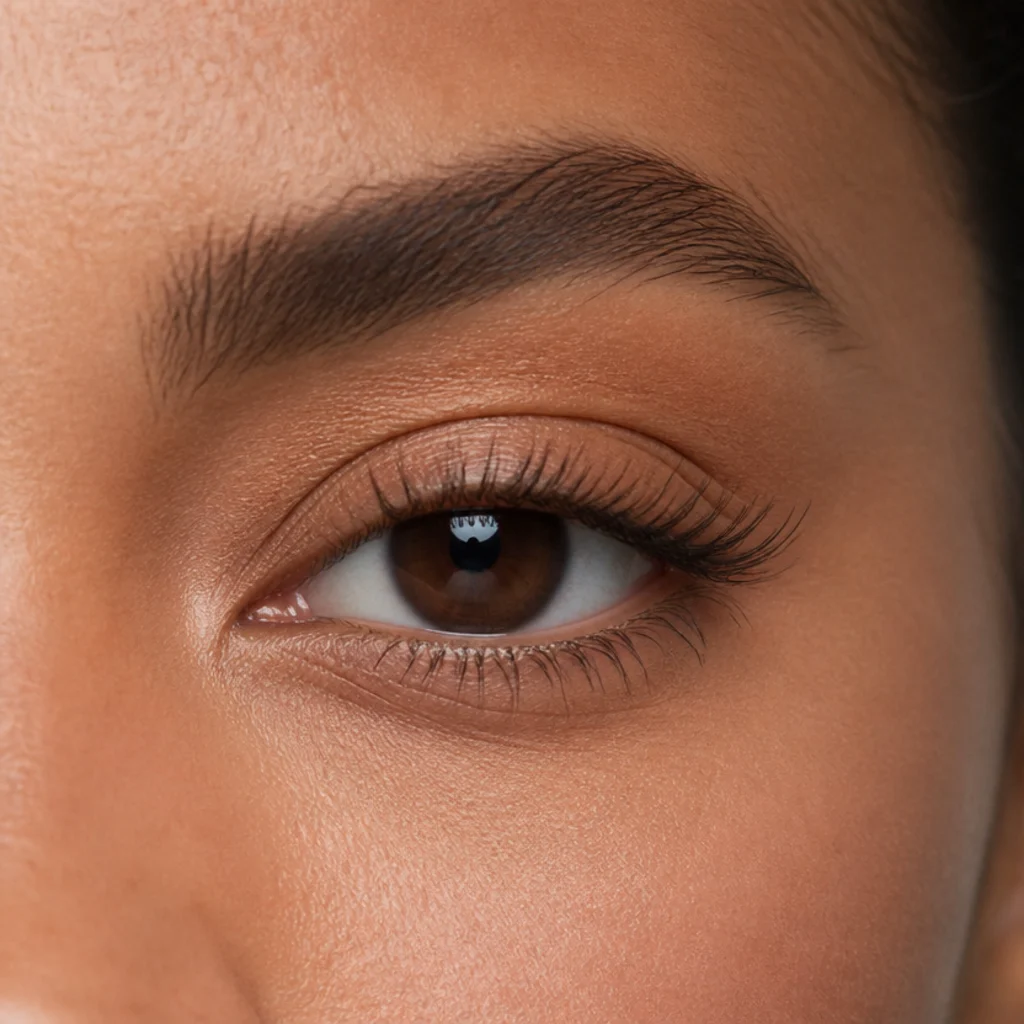
Downturned eyes dip slightly at the outer corner, which can read soft, romantic, or sleepy depending on the light. Counter the drop with an outer-corner lift: short inner, gradually longer toward the outside, and your strongest curl reserved for the final outer lashes so they aim up and out rather than following the corner down. That directional change visually raises the corner and restores a level, awake line. Keep the lower outer lashes short and sparse — length there amplifies the downward pull you're trying to erase. The effect resembles a subtle cat-eye but is engineered around curl angle rather than added length alone. That's what separates a lift from a drag. Pro tip: ask for a curl one step stronger only on the outermost 3-4 lashes rather than the whole outer third, so the corner lifts without the rest of the eye looking harsh. Mention the downturn specifically and ask for an outer-corner lift with a targeted curl.
07Upturned Eyes: Soft Lower Balance
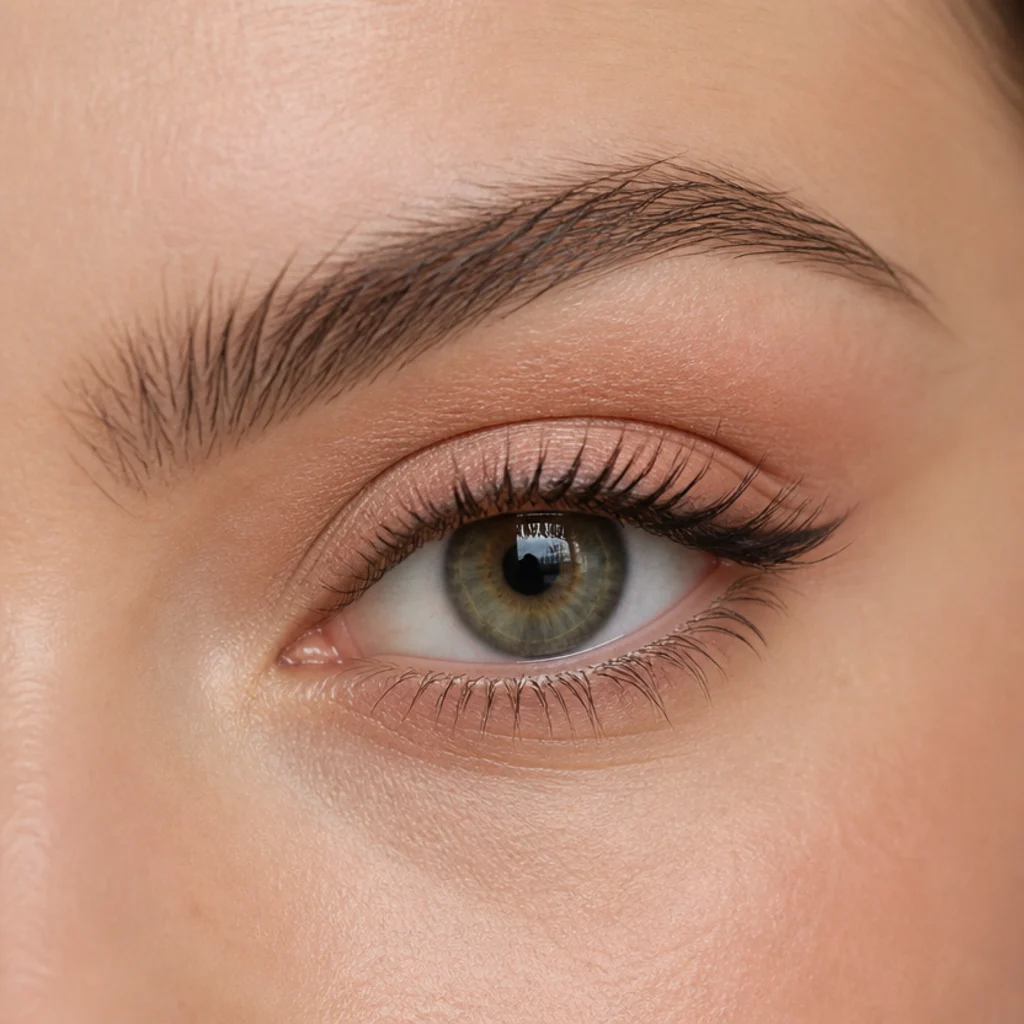
Upturned eyes already lift at the outer corner, so stacking more length or curl there tips an elegant shape into something severe. The smarter move is restraint: keep the upper map balanced and gently center-weighted with a medium C curl, then add a little length to the lower lash line at the outer corner to bring the eye back into visual symmetry. That lower-outer touch grounds a naturally lifted eye without flattening its confident tilt. The shape already reads striking on its own, so your job here is enhancement, not correction — skip dramatic winged mapping that competes with the built-in lift. This map suits anyone whose eyes already angle up and wants lashes that feel intentional rather than exaggerated. Pro tip: if you use lower-lash extensions, keep them 2-3mm shorter than your upper outer lashes and softly curled, so the balance looks natural rather than doubled. Request a balanced upper set with a light lower-outer accent, so the natural tilt stays intact.
08Deep-Set Eyes: Bold Curl Forward
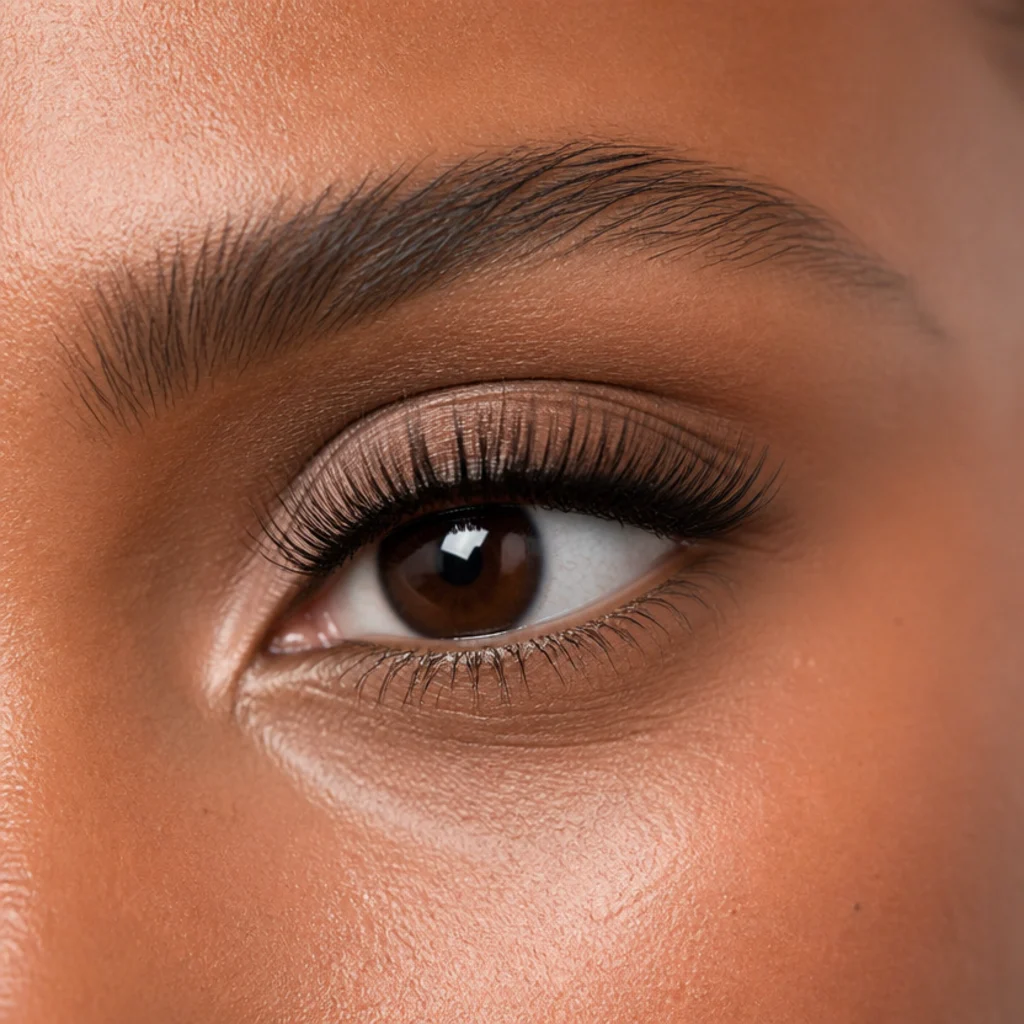
Deep-set eyes sit further back beneath a prominent brow bone, so lashes recede into shadow and lose definition, especially under overhead light. A bold, forward curl fixes that by pushing the lash line out from under the bone so it catches light instead of hiding in it. Map even to slightly center-heavy length so the eye reads full and forward rather than sunken, and skip pronounced outer extension, which can deepen the recessed look. Curl does most of the work here, so pick the most dramatic option you find comfortable (D or L) — a soft curl just sits back in the socket. Length can stay moderate; projection matters more than millimetres for this shape. Pro tip: stand under your everyday lighting and check the mirror. Deep-set eyes change most under overhead light, so the right curl is the one that keeps the lashes visible there, not just in flattering window light. Describe your brow-bone projection and ask for maximum forward curl with moderate length.
09Protruding Eyes: Even Length Map
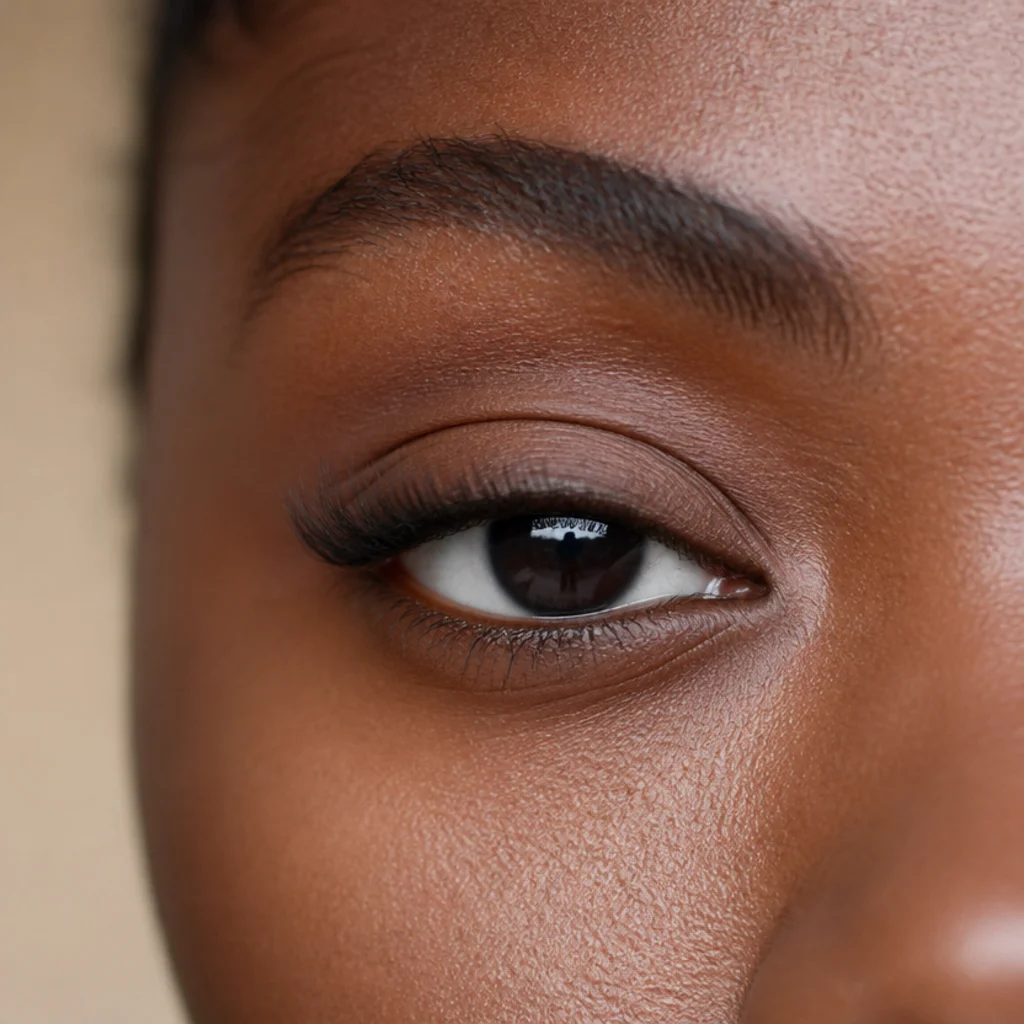
Protruding eyes have fuller lids that project forward, so a strong curl exaggerates the roundness and draws more attention to the projection. An even, medium-length map with a soft J or B curl lays a smooth, calm line that gently covers the lid and settles the eye. Keep lengths uniform from inner to outer rather than spiking in the center — a center peak reads like a spotlight on the fullness you're trying to soften. A slightly straighter curl actually helps here, since it shades the lid downward instead of lifting away from it, which flatters the forward projection. This is one of the few shapes where restraint in curl beats drama outright, and a matte, medium-density lash reads more elegant than a glossy volume fan. Pro tip: if your lids also read hooded, blend this even map with a hair more outer length, but hold the soft curl throughout. Specify that you want the lid shaded rather than lifted, and ask for a flat, even set with a low curl.
10Close-Set Eyes: Outer-Weighted Fan
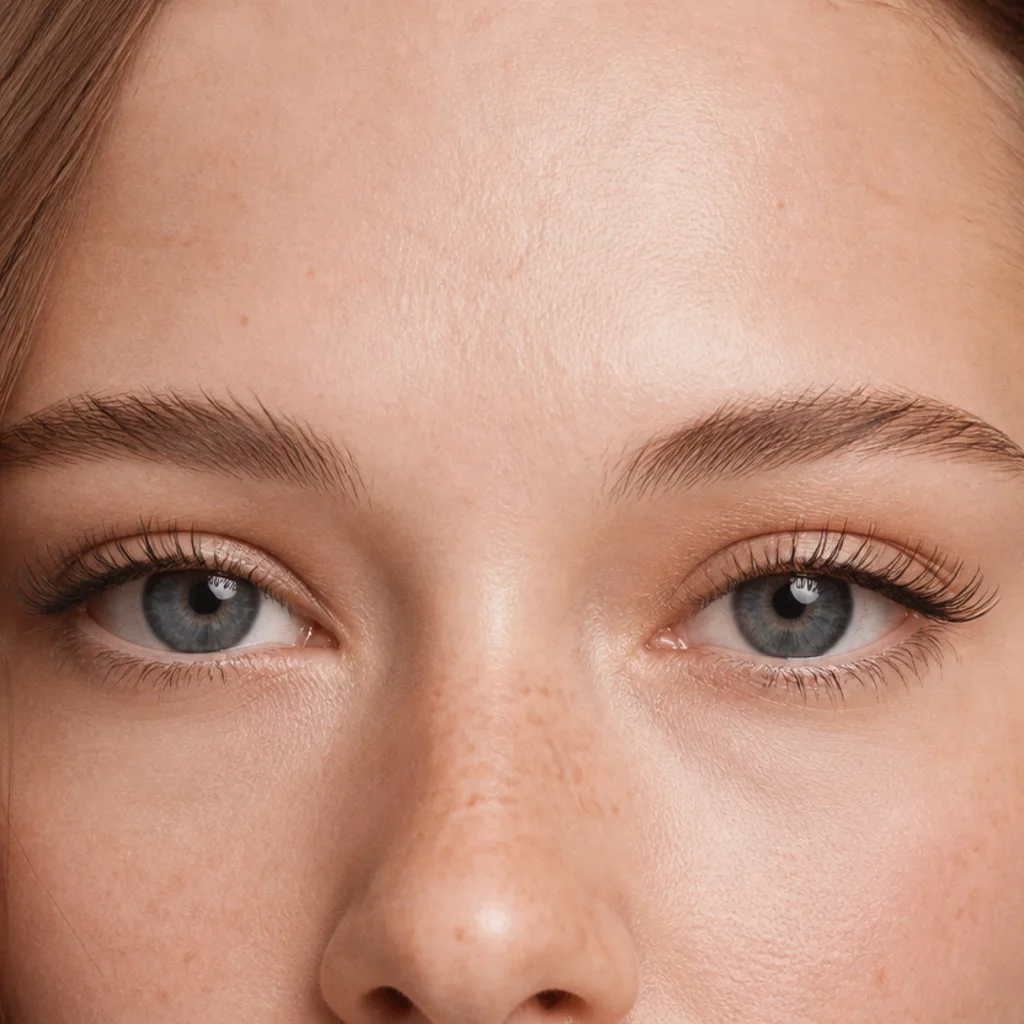
Close-set eyes sit nearer together than one eye-width apart, so the goal is pulling focus outward to create the illusion of wider spacing. Map short, understated lengths at the inner corner and build a fanned sweep of length toward the outer corner, finishing with an outer curl that lifts up and out. The deliberately quiet inner third is the key move — density or length there only fills the gap and shortens the perceived distance further. Think of this as the mirror image of the wide-set approach: everything migrates outward. It rebalances spacing using lashes alone, no shadow or liner tricks needed, and pairs naturally with an almond or round close-set base. Pro tip: keep the inner corner short and slightly sparse, and start your length build a touch later than you think — most people over-fill the inner third out of habit. Point out how close your inner corners sit, and request an outer-weighted fan with a bare inner corner.
Save this to Pinterest before you book your next lash fill.
11Wide-Set Eyes: Inner-Corner Density
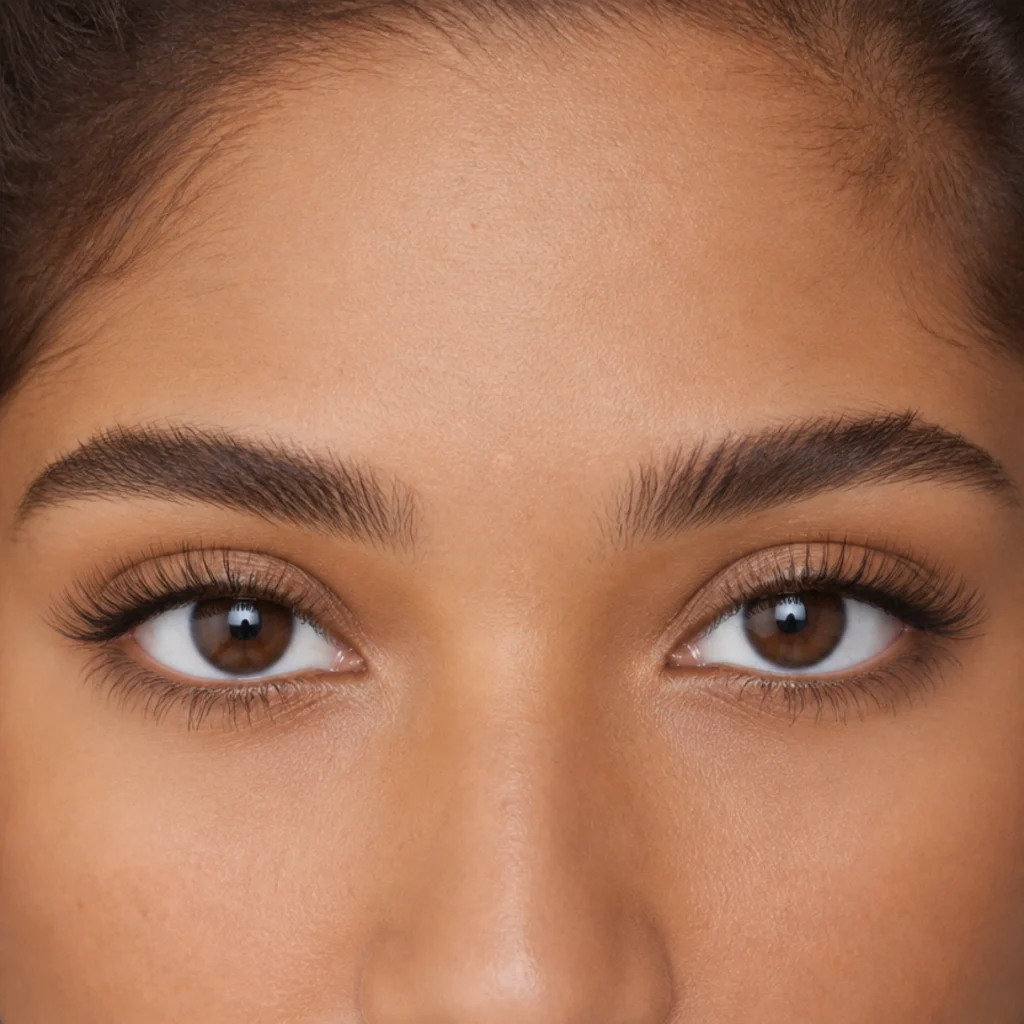
Wide-set eyes sit more than one eye-width apart, so the strategy inverts the close-set map: bring visual weight inward to center the face. Add a little more density and length near the inner corner, keep the center balanced, and taper gently at the outer edge instead of extending it. That inner emphasis shortens the perceived distance between the eyes and pulls the features together. Skip a strong cat-eye or outer wing, since that drags attention further apart and exaggerates the width. A soft, rounded map with a medium curl reads best and suits almond or round wide-set variations equally. The adjustment is subtle on paper, but the difference is noticeable in the mirror. Pro tip: extend the inner density just to the tear-duct edge, not past it, so the eyes look closer without the inner corners appearing heavy or muddy. Mention that you want to reduce the visual gap, and ask for inner-corner density with a soft rounded taper.
12Almond vs Hooded: Side-by-Side Maps
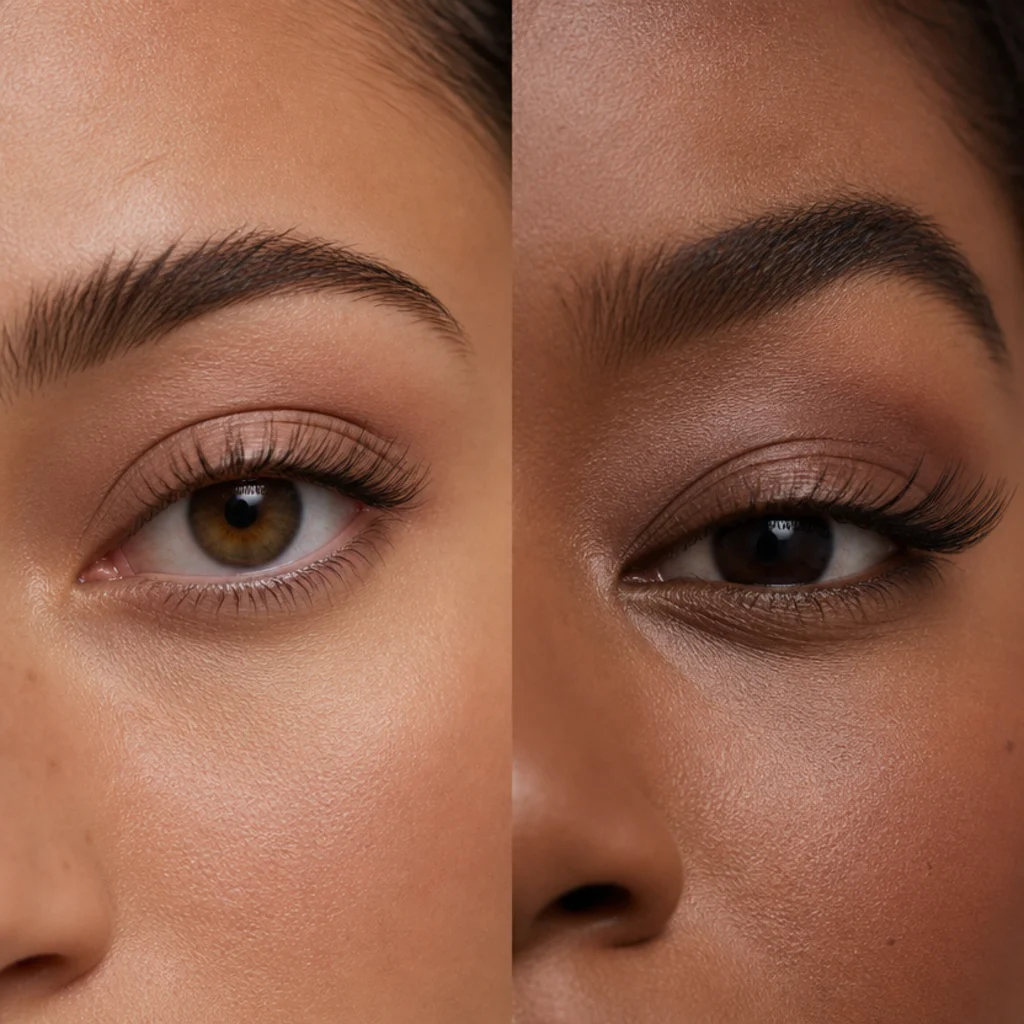
The almond vs hooded question comes up constantly because the two shapes look nearly identical until you factor in the crease. Placed side by side, the maps diverge on two axes: placement and curl. Almond eyes carry their longest length through the center with a softer C curl, while hooded eyes push length and lift to the outer third and need a stronger CC, D, or L curl to clear the fold. If you're between the two, start with the almond map, then shift length outward and step up the curl one notch at a time until the lashes read open from the front with your eye fully relaxed. The table below breaks down the difference.
| Trait | Almond map | Hooded map |
|---|---|---|
| Longest length zone | Center third | Outer third |
| Curl | C (soft lift) | CC / D / L (hood-clearing) |
| Liner underneath | Optional | Skip or keep very thin |
| Goal | Preserve the natural taper | Lift length above the fold |
| Common mistake | Over-lengthening the outer wing | Center length lost under the crease |
Pro tip: the real test is a relaxed, open-eye mirror check, not a wide-open stare — a hood only shows itself at rest. Before they start mapping, ask your lash artist which shape they read on you.
13Doll-Eye Map for Bright Openness
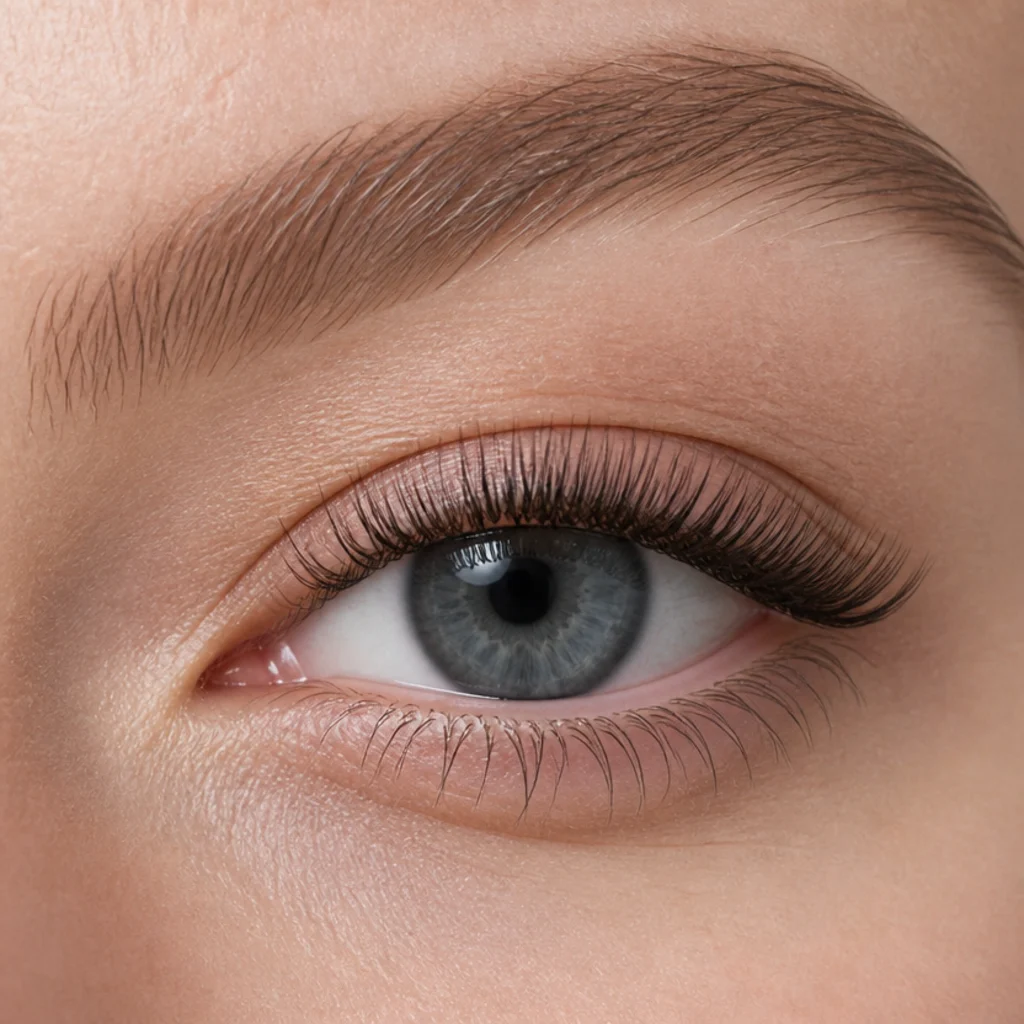
The doll-eye map concentrates the longest lashes in the very center of the lid, tapering shorter toward both corners, for a bright, wide-awake effect. It flatters almond and upturned eyes especially well and can lift hooded eyes too, provided the curl is strong enough to carry the center length above the fold. Round and protruding eyes should use it sparingly or skip it, since the central peak amplifies the roundness those shapes already have. Keep both corners genuinely short so the effect stays balanced and doll-like rather than bug-eyed, and pair it with a C or CC curl for openness. It reads youthful and soft in photos and works across mediums, from DIY clusters to a custom strip. Pro tip: if your eyes trend round, borrow the cat-eye map instead and save the doll-eye for days you want a deliberately rounded, ingenue look. Ask for a center-focused doll map with short corners, and name your center peak length.
14Kitten-Eye Map for Subtle Lift
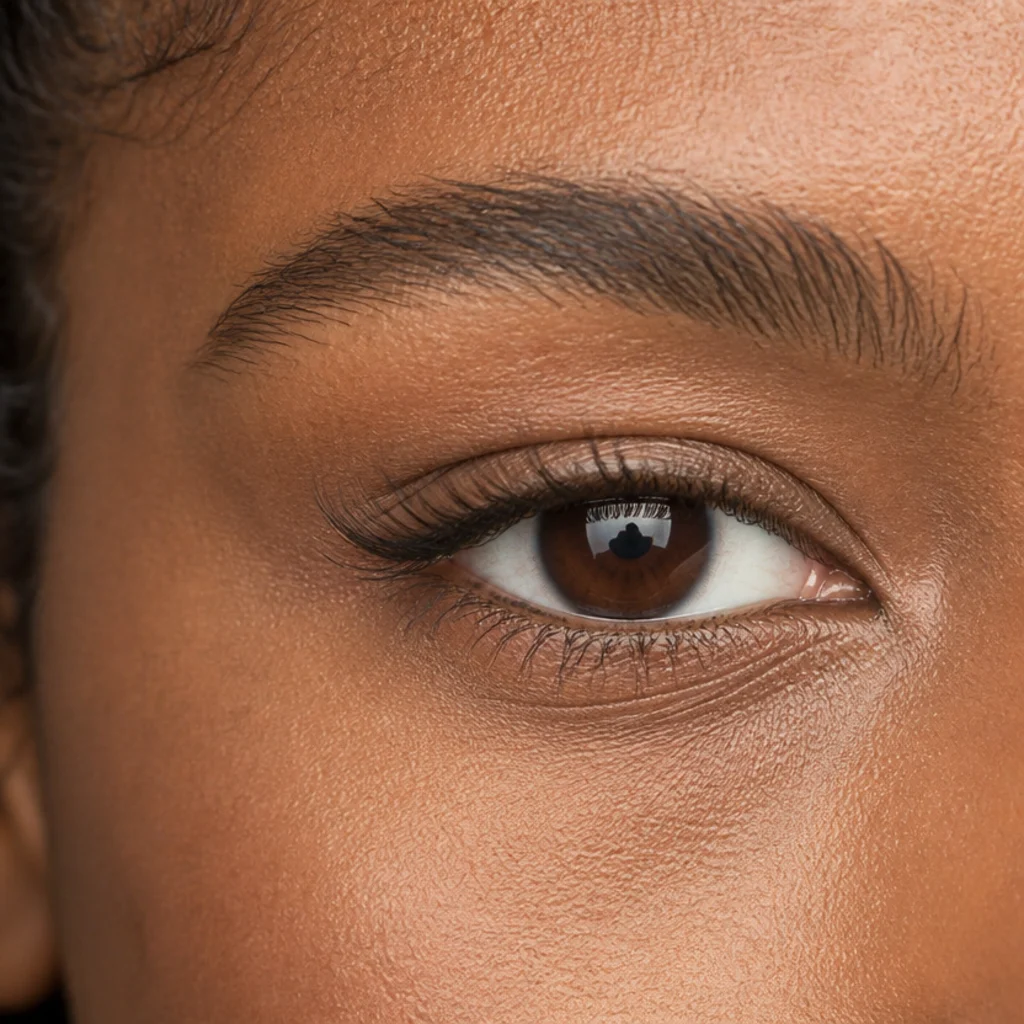
A kitten-eye map is the low-key cousin of the cat-eye: length builds gently toward the outer corner for a soft lift without a committed wing. The adjustment is restrained enough that it flatters nearly every shape, so it's a solid default when you're unsure of your reading or want something office-appropriate. Downturned and round eyes especially benefit from the quiet corner lift, while almond eyes gain an elegant, barely-there elongation. Keep the outer extension modest, no more than 1-2mm past the natural line, and use a medium C curl so the lift stays soft rather than sharp. This is the map to request when you want to look a little more awake and lifted but still understated enough for daily wear or a conservative setting. Pro tip: if you love it, this map is also the safest starting point for graduating into a fuller cat-eye later, since you can just extend the outer length at your next fill. Ask specifically for a soft kitten flick, not a full cat-eye, to keep it subtle.
15Natural Wispy Map for Every Shape
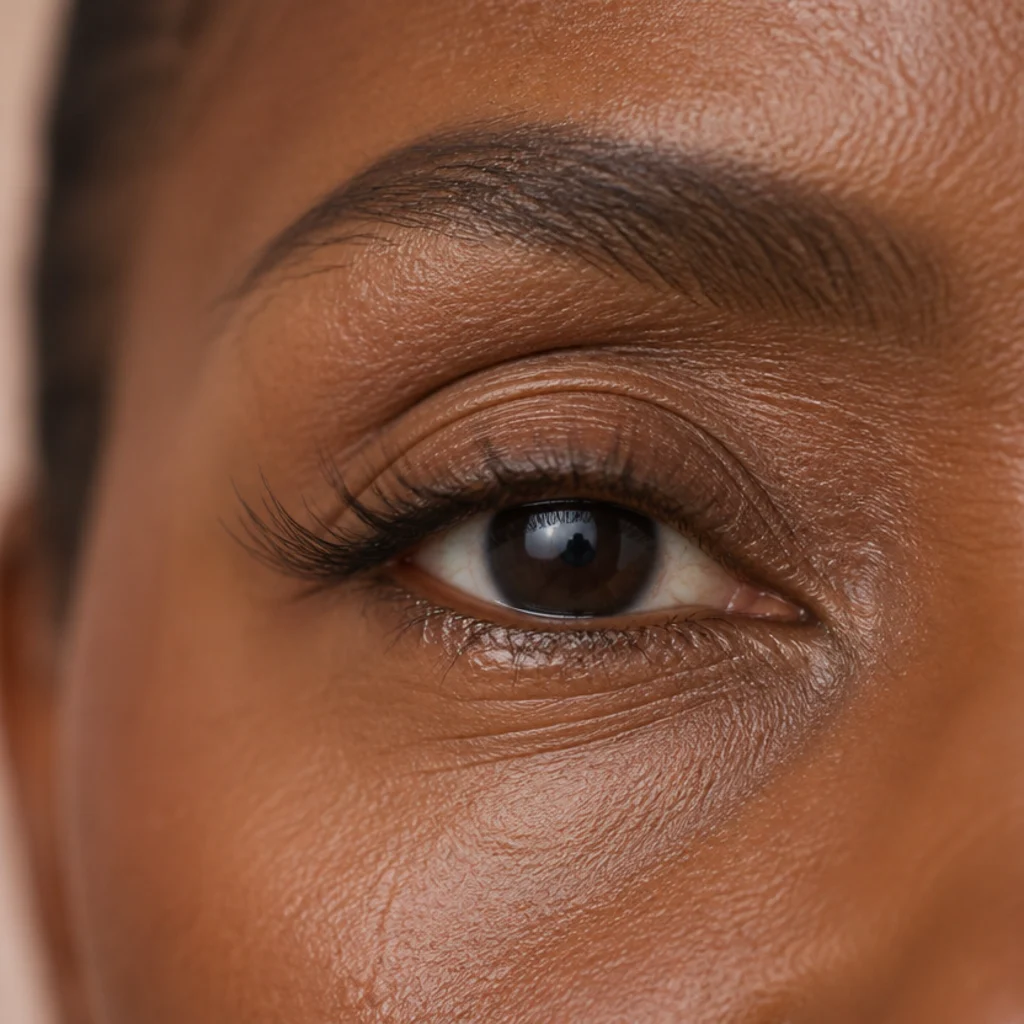
The wispy map alternates short and long lengths across the line for a soft, feathery, textured finish rather than a uniform wall, mimicking the way natural lashes grow in irregular clusters. It suits every eye shape because the varied lengths follow your own lash pattern and never look dense or heavy. That's why it flatters mature eyes, sparse natural lashes, and first-timers alike. Place the longer spikes slightly outward for a hint of lift, or keep them centered for openness, so the same texture can be tuned to any shape you read earlier. This is the most forgiving map on the list, one that flatters nearly any shape, and the one to choose when you want a barely-there effect that still adds definition. Pro tip: the spacing between spikes is what sells the texture, so ask for clearly alternating lengths rather than a subtle graduation, or it'll just read as an uneven set. Ask for a spiky wispy set, and tell them where you want the longest spikes to fall for your shape.
Pro Tips from the Editor
- Map curl before length. Curl determines whether length is even visible from the front, especially on hooded, monolid, and deep-set eyes. Lock the curl that clears your lid first, then graduate length within it.
- Never chase length past your natural lash health. As a general guide, an extension should not exceed roughly 1.5 times the length of the natural lash it sits on; going longer strains the follicle and causes premature shedding. Ask your lash artist to weigh length limits against your lash density.
- Do the relaxed-eye test, not the wide-open stare. Hoods, downturns, and lid mobility only reveal themselves when your eye is at rest, so map to how your eye actually sits, not how it looks when you're consciously opening it.
- Blend two maps when you blend two shapes. A hooded-downturned eye, for example, wants open-outer placement plus a targeted outer-corner curl. Combining is the norm, not a compromise.
- Cleanse the lash line daily with a dedicated foam. Oil-free lash shampoo removes the sebum and makeup that break down extension bonds and irritate the lid, and it directly extends how long any map holds.
- Match density to skin tone and daily makeup, not to trends. A soft brown or lighter volume can read more natural on fair or mature skin, while a fuller black set balances a bolder everyday look; the map matters more than sheer thickness.
- Photograph your finished map on both eyes. Faces are asymmetric, and a saved before-and-after lets you and your artist fine-tune the second set to match the first at your next fill.
How to Choose / Get the Look
Work through this as a short decision process rather than a single answer. Step one: read your four traits at the mirror in relaxed, straight-on light: crease visibility, corner direction, iris framing, and spacing. That reading is your eye shapes chart. Step two: name your primary goal in one phrase, since most maps solve one main problem: lift a hood, elongate a round eye, ground an upturned tilt, project a deep-set eye, or rebalance close- or wide-set spacing. Step three: pick the base map that targets that goal, then layer a second idea if you blend two shapes — a kitten-eye lift over a hooded base, say, or an even calm curl on a protruding-plus-hooded lid. Step four: choose curl before length, since the wrong curl makes any length invisible on hooded, monolid, and deep-set eyes. Step five: translate it into zones for your pro. Bring a saved image and describe the map concretely: "short inner third at 8mm, longest through the outer third at 12mm, D curl to clear my hood." Ask your lash artist about curl strength and length limits relative to your natural lashes, since over-long or over-curled sets strain them and shed early. For DIY clusters or strips, trim from the inner edge, place your longest pieces in the target zone, and seal the band with a flexible bond. Above all, prioritize lift and balance over sheer length, and choose a lash color and density that reads like you across your skin tone and everyday makeup. These categories overlap, so treat every map as an adjustable starting point, inclusive across all eye shapes and skin tones, not a fixed rule.
Frequently Asked Questions
What is lash mapping in simple terms?
Lash mapping is planning where different lash lengths and curls go across your lash line so the finished look balances your natural eye shape, instead of applying one uniform length everywhere. Artists usually divide the line into inner, center, and outer thirds and assign a length in millimetres and a curl to each zone — that's what gives extensions and custom strips their tailored, intentional look.
How do I find my eye shape?
Look straight into a mirror in even light and read four traits: whether your lid crease is visible when your eye is open, whether your outer corner lifts or drops, how much white shows around your iris, and how your inner-corner spacing compares to one eye-width. Those readings place you on the eye shapes chart. Take a straight-on and a three-quarter photo too, since the side angle reveals hood depth and curl that a mirror flattens.
What is the difference between almond and hooded eyes?
In the almond vs hooded comparison, almond eyes show a clear crease and carry their longest length through the center with a soft curl, while hooded eyes have skin covering the crease and need length plus a stronger, hood-clearing curl in the outer third to stay open. The quickest test is a relaxed-eye mirror check: if the fold hides your crease at rest, map like a hooded eye even if the overall shape looks almond.
Can I use these maps with strip lashes, not extensions?
Yes. The same zone logic applies to strips and DIY clusters. Trim strips from the inner edge to fit, and place your longest clusters in the zone your eye shape needs, whether that's the center for a doll effect or the outer corner for a cat-eye. Choose a band curl that suits your lid, use a flexible black or clear bond, and press the outer corner last so the lift sets where you want it.
Which curl should I choose for my eye shape?
As a starting guide, soft J and B curls suit protruding eyes and anyone wanting a natural finish; C and CC curls flatter almond, round, and upturned eyes; and stronger D or L curls lift hooded, monolid, and deep-set eyes that need to clear a lid or brow bone. Curl also interacts with your natural lash direction, so confirm the choice with your lash artist, who can see how your lashes actually grow.
How long do mapped lash extensions last?
A full extension set lasts one natural growth cycle, and because you shed lashes daily, most people book a fill every 2-3 weeks to keep the map looking full. Retention comes down to aftercare — daily oil-free cleansing, keeping oil-based products away from the eye area, and leaving the lashes alone all meaningfully extend how long a set holds. DIY clusters last a few days, and a single strip lasts one wear but can be reused with careful cleaning.
Can lash mapping fix hooded or downturned eyes?
Mapping doesn't change your anatomy, but it reliably creates the visual balance you're after. Open-outer placement with a strong curl lifts the appearance of a hooded lid, and an outer-corner lift with a targeted curl visually raises a downturned corner. Think of it as strategic illusion rather than correction; there is nothing to fix, only proportions to balance to taste.
Are eye-shape categories strict rules?
No. Eye-shape categories overlap, and most people blend two or more of them, so treat every map as a flexible guideline you can mix and adjust rather than a fixed rule. These maps are meant to be inclusive across all eye shapes, lid types, and skin tones; use your mirror reading as a starting point and let the finished, balanced result guide any changes.