30 Makeup Ideas for Every Eye Shape
Your eye shape is a map, not a rulebook. Once you can read where your crease, lash line and outer corner actually fall, every liner flick and shadow placement stops being guesswork. Here are 30 editor-tested ideas sorted by shape, with exact placement, undertone-smart shades, realistic upkeep and the plain words to ask your artist for each one.
 Edited by Lena Rose · Published July 11, 2026 · 41 min read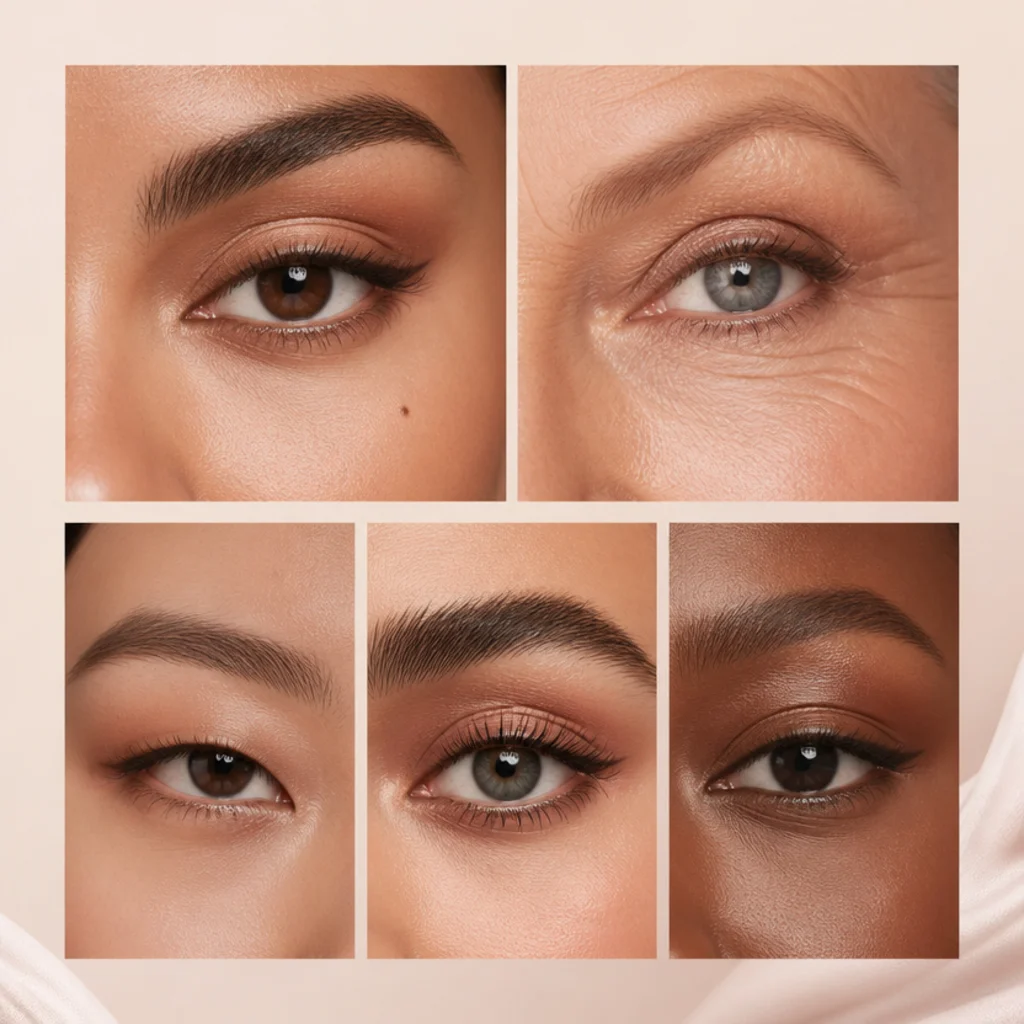
Quick Answer
- Best for: Anyone shopping makeup by eye shape, whether almond, hooded, monolid, round, downturned, upturned, deep-set, protruding, close-set or wide-set.
- Who might skip it: No one, really, but if you already love your default look, treat this as fine-tuning rather than a rebuild.
- Maintenance: Ranges from a two-minute powder wash to a set cut crease with primer; each idea flags its upkeep.
- Difficulty: Beginner to intermediate; graphic liner, floating cut liner and cut creases need the steadiest hand.
- Cost: Low to moderate. A neutral quad, one liner and a mascara cover most ideas; foiled metallics, strip lashes or a pro lash map add cost.
- Wear time / longevity: 4 to 6 hours for powder looks, 8 to 12 with primer plus a long-wear gel or liquid liner.
- Standout variation: The universal lash mapping idea (No. 30) that adapts to every shape on the chart.
- How to ask your makeup artist: Bring a saved photo and describe the effect, not the product: "lift my outer corner," "make my eyes read longer," or "keep the color visible when my eyes are open."
In This Guide
- Almond Eyes: Everyday Neutral Wash
- Hooded Eyes: Above-the-Crease Cut Crease
- Monolid Eyes: Vertical Gradient Smoke
- Round Eyes: Elongating Winged Liner
- Downturned Eyes: Lifted Outer Corner
- Upturned Eyes: Softened Lower Lash Line
- Deep-Set Eyes: Bright Lid Pop
- Protruding Eyes: Matte Depth Smoke
- Close-Set Eyes: Outer-Corner Darkening
- Wide-Set Eyes: Inner-Corner Emphasis
- Almond Eyes: Halo Eye
- Hooded Eyes: Floating Cut Liner
- Monolid Eyes: Graphic Double Line
- Round Eyes: Soft Elongated Smoke
- Downturned Eyes: Classic Cat-Eye Flick
- Deep-Set Eyes: Draped Blush Shadow
- Almond Eyes: Lifted Fox Eye
- Hooded Eyes: Smudged Lower Liner
- Monolid Eyes: Metallic Center Pop
- Round Eyes: Horizontal Smoke Band
- Downturned Eyes: Lower Lash Lift Map
- Upturned Eyes: Warm Diffused Crease
- Close-Set Eyes: Diffused Temple Smoke
- Wide-Set Eyes: Connected Inner Liner
- Almond Eyes: Sunset Gradient
- Hooded Eyes: Matte Transition Only
- Monolid Eyes: Reverse Smoky Liner
- Round Eyes: Doe-Eye Lower Focus
- Deep-Set Eyes: Diffused Smudge Liner
- Every Shape: Lash Mapping by Eye Shape
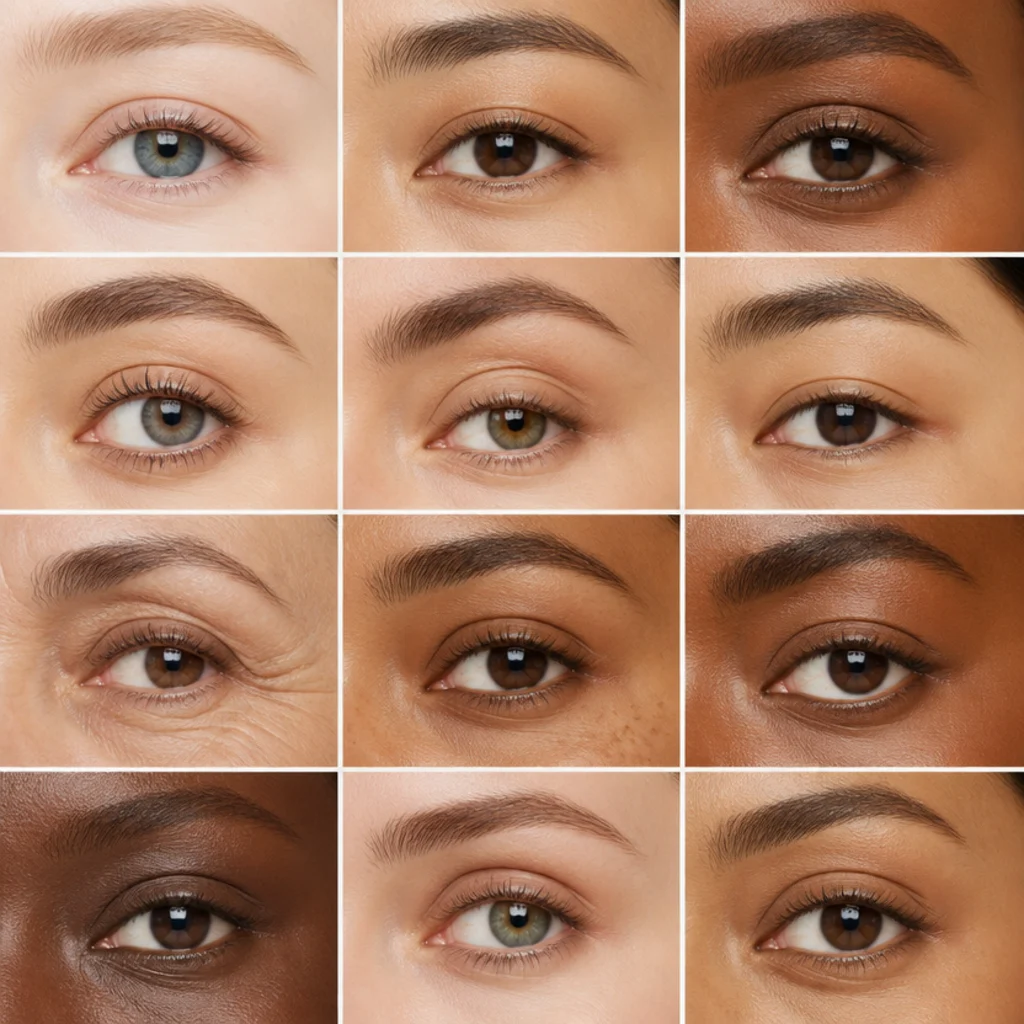
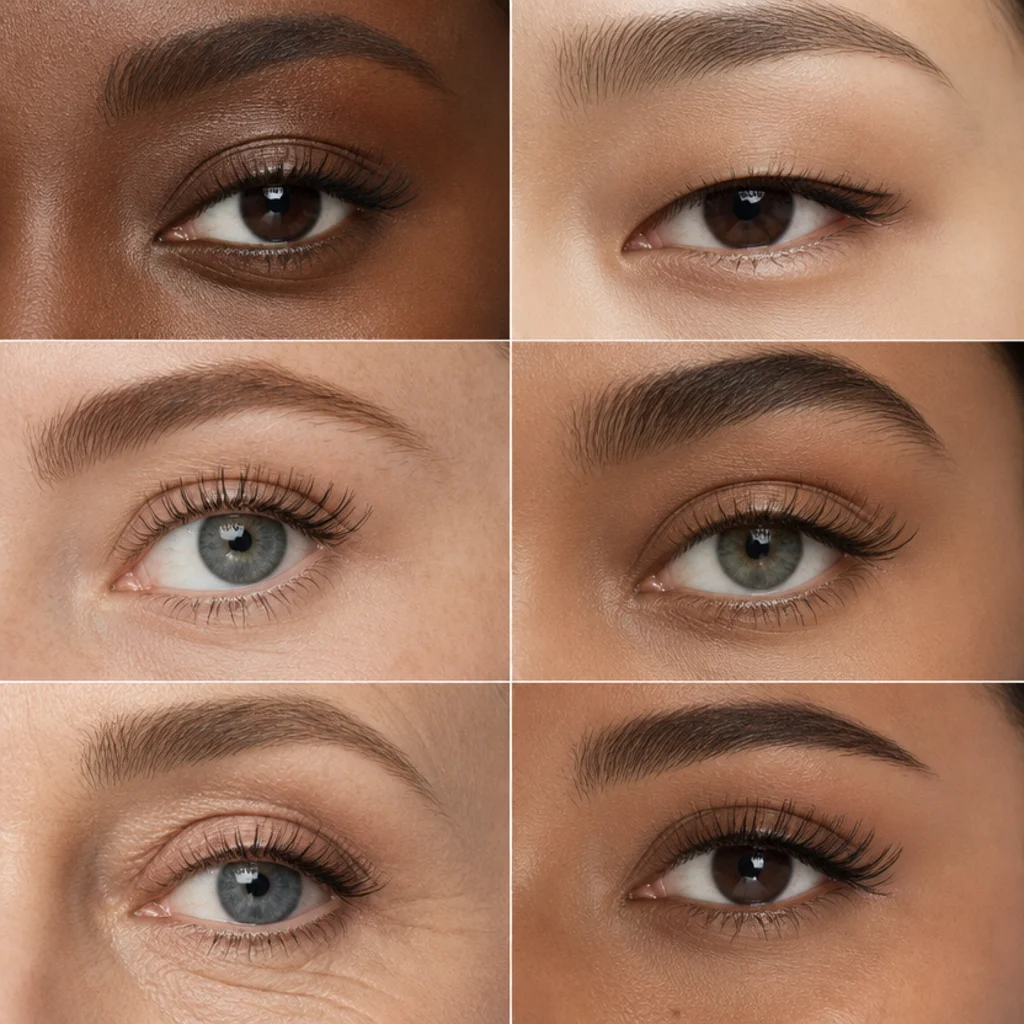
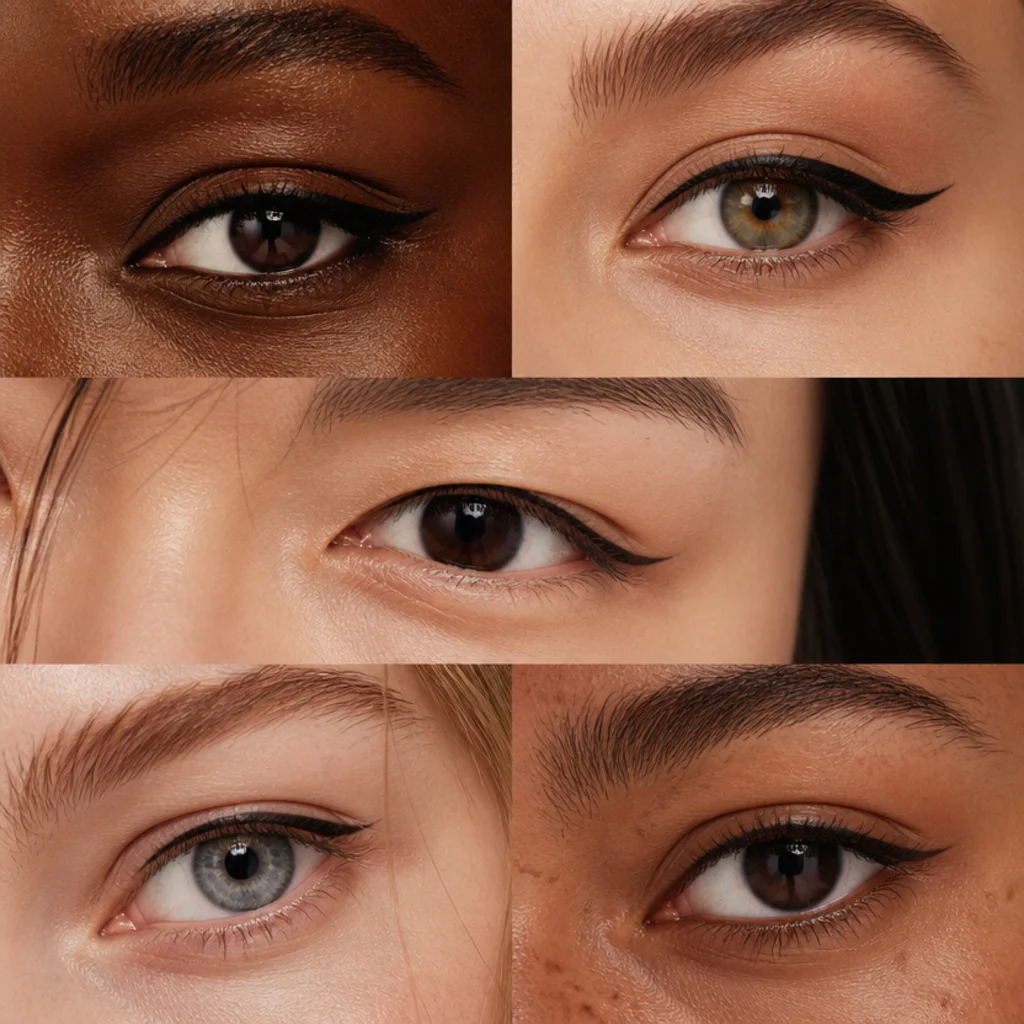
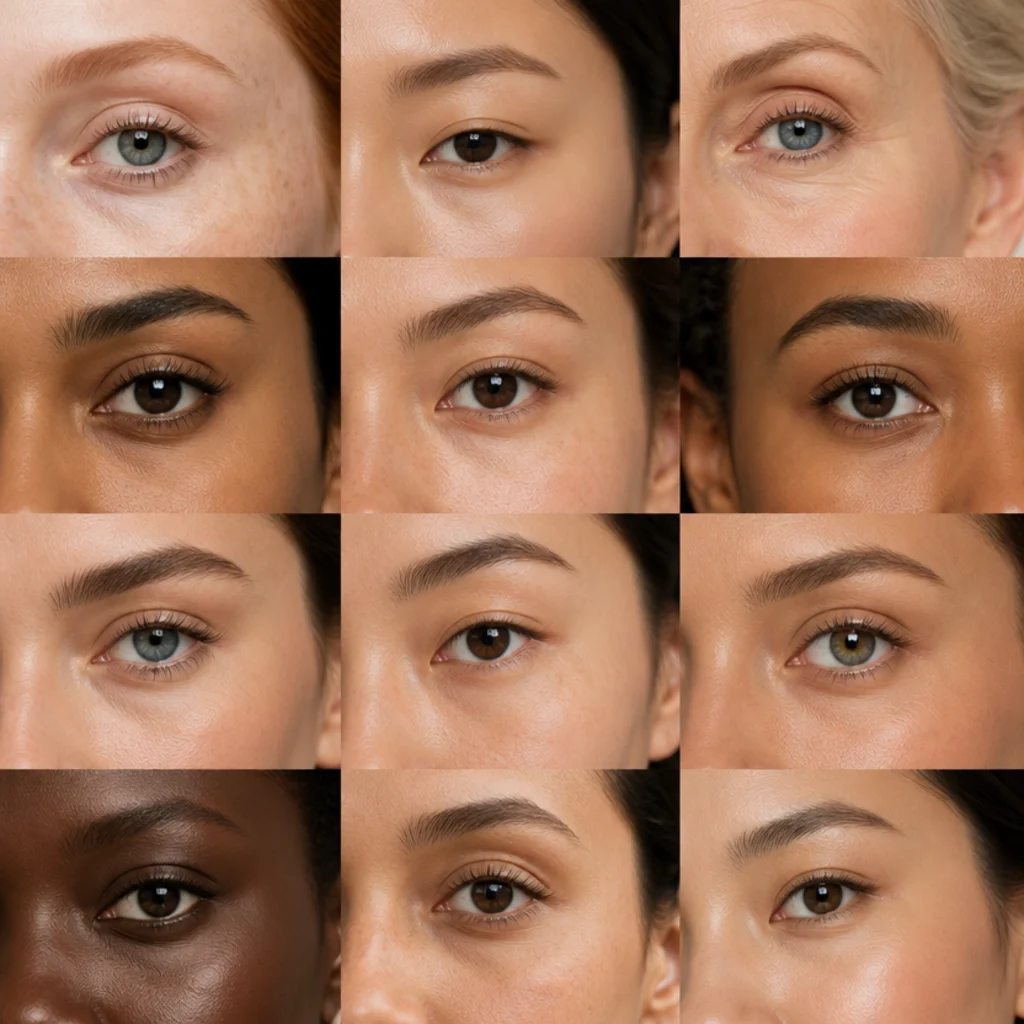
Before you match a look to your face, it helps to get eye shapes explained in plain terms. Three variables set your shape: where the crease sits, whether the mobile lid shows when your eyes are open, and which way the outer corner tilts relative to the inner corner. Two more, spacing and projection, add nuance: close-set versus wide-set, deep-set versus protruding. An eye shapes chart bundles those traits into familiar names, but almost everyone is a blend, so treat these as starting points, not verdicts. Take the almond vs hooded eyes question: it usually comes down to how much mobile lid you actually see in the mirror, not the outline of the eye itself. Skin tone changes the shade palette but never the placement logic, so the shade calls below stay flexible across cool, neutral, warm, olive and deep complexions. Each of these 30 makeup ideas names the shapes it flatters most, then gives you placement, upkeep and difficulty. Find your closest match, learn the principle behind it, and borrow freely from the rest of the chart.
01Almond Eyes: Everyday Neutral Wash {#1}
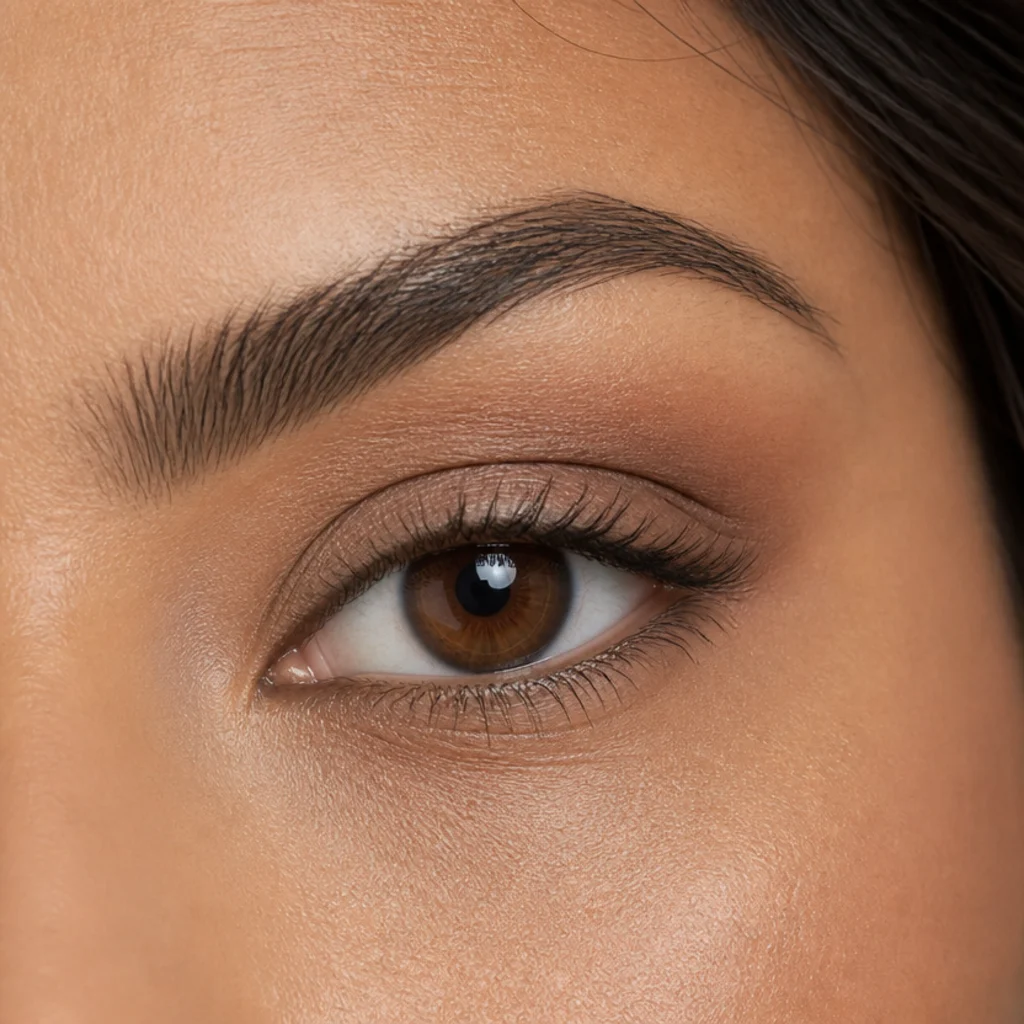
Almond eyes have a visible crease and a gentle taper toward the outer corner, so they take balanced, symmetrical placement without any correction needed. Sweep a mid-tone taupe (cool complexions) or warm caramel-brown (warm and olive undertones) across the whole mobile lid, deepen the outer third one shade for quiet dimension, and buff up into the crease so nothing looks like a hard stripe. A thin lash-line smudge in the same brown and one coat of lengthening mascara finish it off. Almond is the shape most techniques get designed around in the first place, so this wash doubles as your reliability baseline, and a good test of your primer before you try anything louder. Upkeep: minimal, powder-only, no touch-ups through a workday. Difficulty: beginner. Pro tip: tap the outer-third shade on with a pencil brush before you blend, so the depth lands exactly where the taper already narrows. Ask your makeup artist for a "soft everyday neutral that still shows a defined outer corner."
02Hooded Eyes: Above-the-Crease Cut Crease {#2}
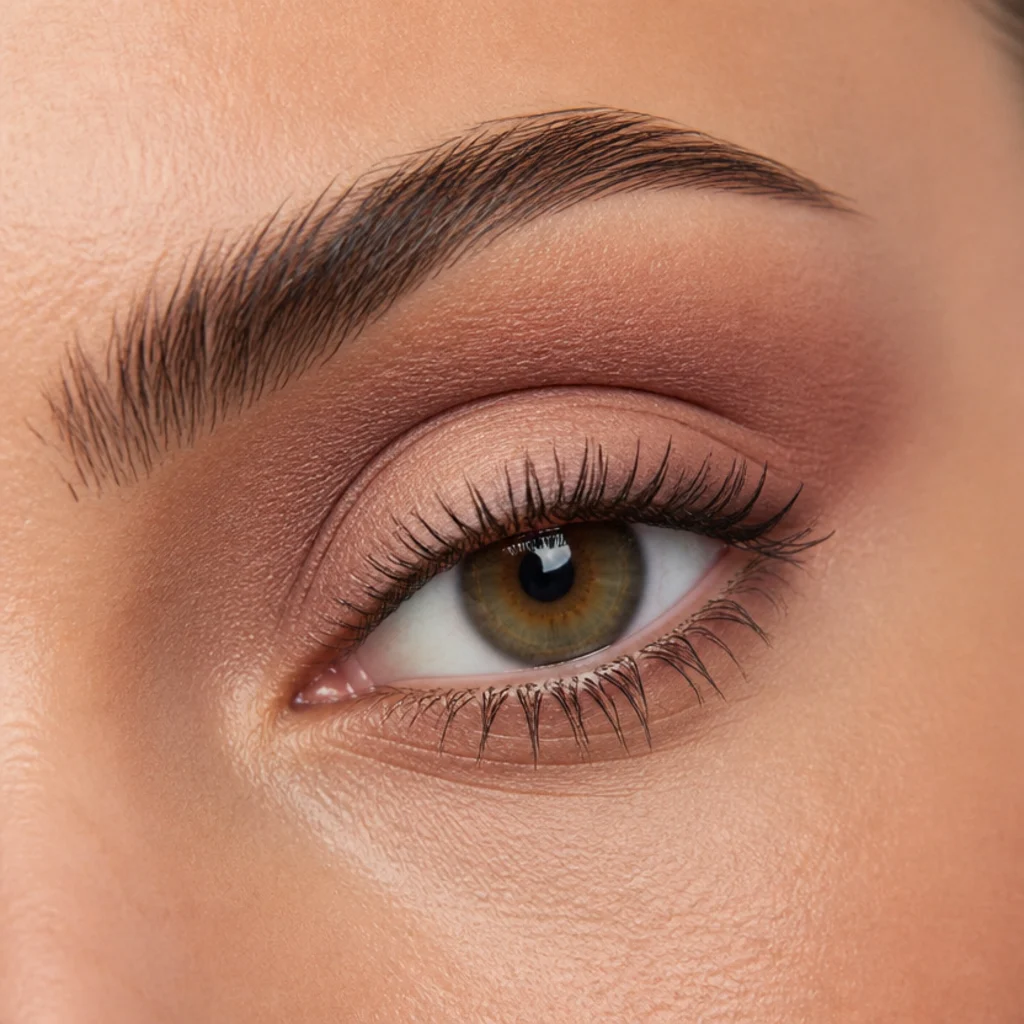
The extra skin fold on hooded eyes can swallow crease work the moment you open your eyes, so definition goes where the fold meets the brow bone, a bit higher than instinct says. Open both eyes, look straight into the mirror, and mark the highest point the fold reaches; that line, not your anatomical crease, is your new working crease. Keep the mobile lid light and matte so it doesn't add visual weight, then build a soft transition shade above the mapped line so color reads on every blink. A long-wear cream base under powder isn't optional here, since oils on the fold crease fast. Upkeep: primer plus setting keeps it clean 8-plus hours. Difficulty: intermediate. Pro tip: map with a small flat brush held vertically to find the fold's true peak before you commit shadow. This eyes-open mapping is the real answer to the almond vs hooded eyes question in practice — it's the core hooded trick. Ask your makeup artist to "build the crease above my fold so it shows open-eyed."
03Monolid Eyes: Vertical Gradient Smoke {#3}
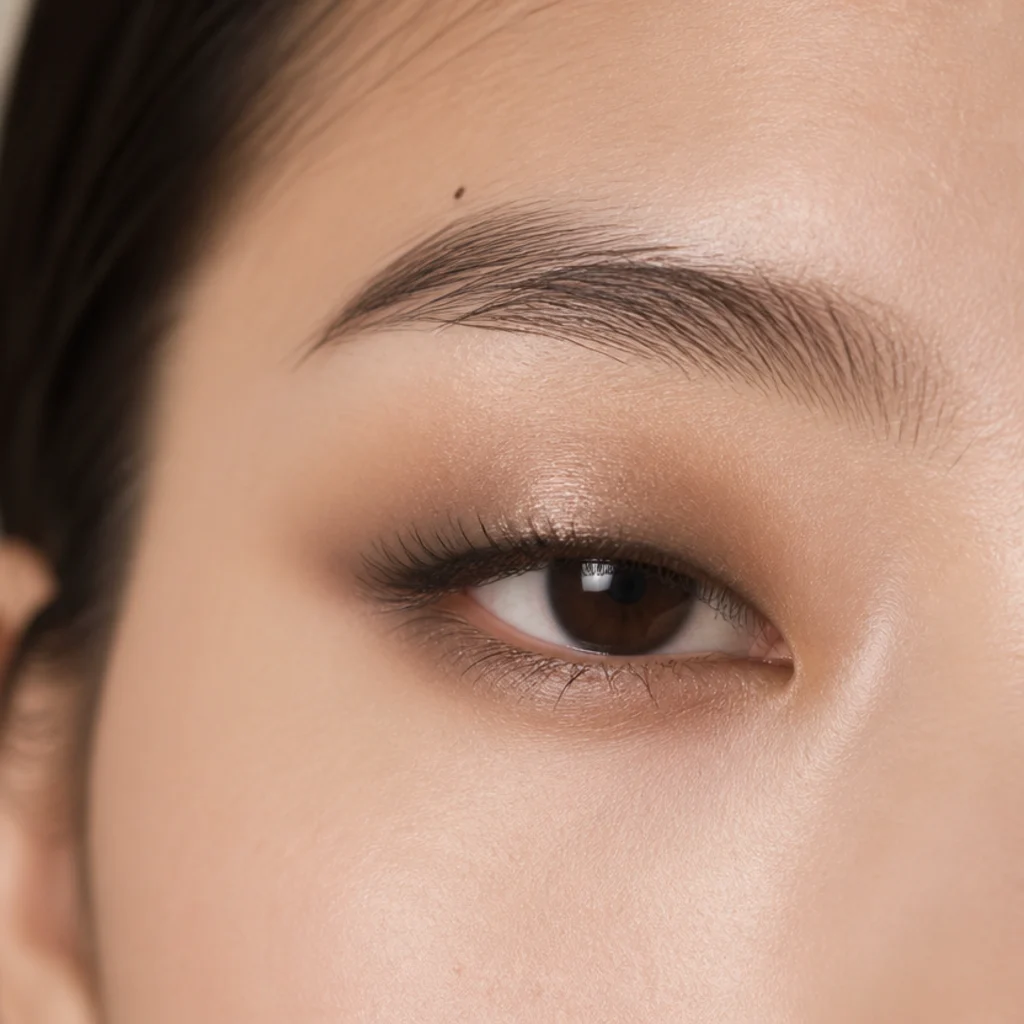
Monolids have little to no visible crease, so depth gets built vertically from the lash line up instead of tucked into a socket. Pack a deep espresso, charcoal or plum tight against the upper lashes, then fade it into a mid-tone as you climb toward the brow, keeping the strongest color in the zone that shows when your eyes are open, usually just 4 to 6 millimeters of lid. That gradient reads as dimension straight on, which is how monolids are actually seen, without leaning on a crease shadow that would disappear anyway. Metallics layered over the darkest band catch light well here. Upkeep: set the gradient with a matching powder over cream so it doesn't transfer onto the upper fold. Difficulty: beginner-friendly once you commit to building upward. Pro tip: decide your gradient height with eyes open, then apply with eyes relaxed, so the color sits where you'll actually see it. Ask your makeup artist for "vertical smoke that stays visible when my eyes are open."
04Round Eyes: Elongating Winged Liner {#4}
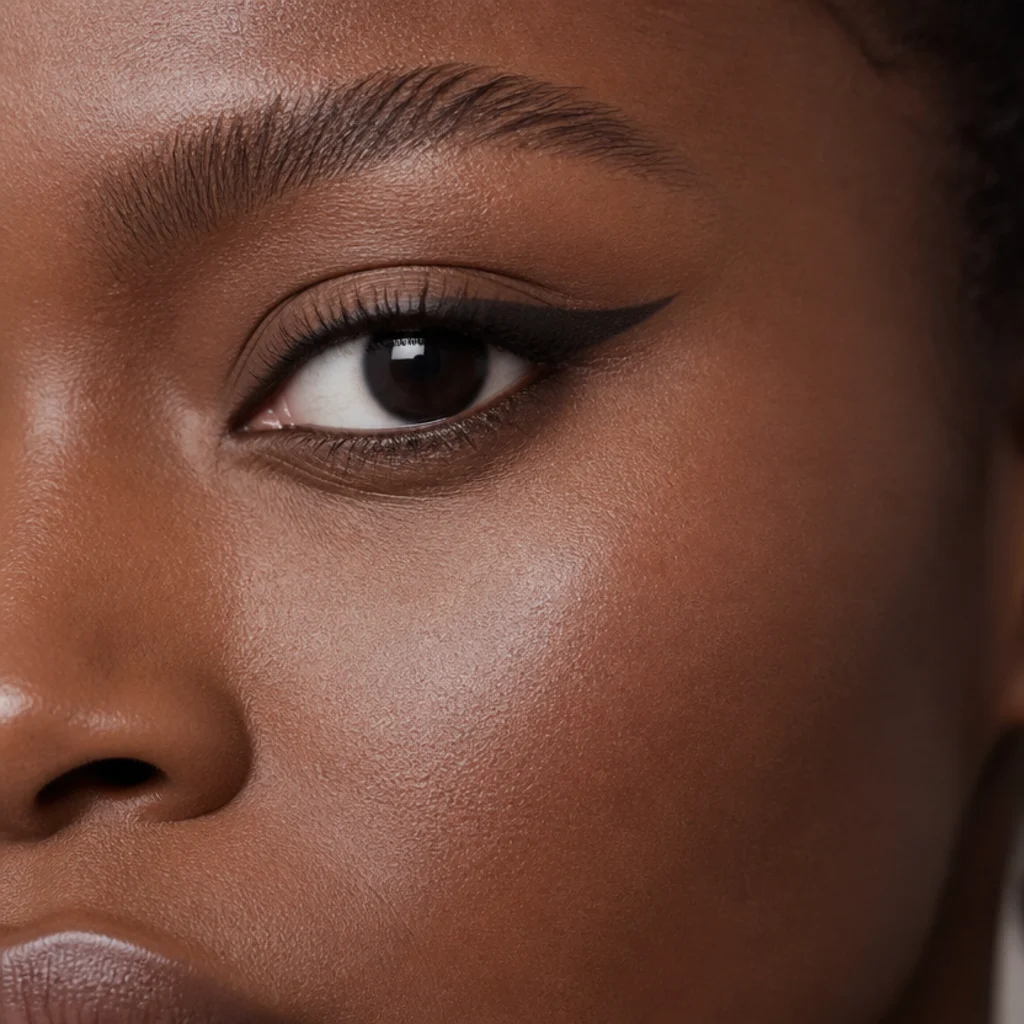
Round eyes show curve both above and below the iris, so a horizontal wing is the quickest way to stretch them longer. Draw liner hair-thin at the inner corner and thicken it gradually as you travel out, then flick straight toward the temple, parallel to the floor, not up toward the brow. Smoke a little matte brown along the outer third of the lower lash line to continue the wing's line and stop the eye from snapping back to a circle. The whole effect comes down to direction: horizontal lengthens, upward re-rounds. Upkeep: low; blot the wing tip midday if you have oily lids. Difficulty: intermediate. Pro tip: rest your elbow on the counter and draw the tail as a single confident stroke from the outside in, meeting the lash line, so it reads crisp instead of sketchy. Skip heavy all-around lower liner, since it re-rounds the eye. Ask your makeup artist for "a straight, horizontal wing that lengthens rather than lifts."
05Downturned Eyes: Lifted Outer Corner {#5}
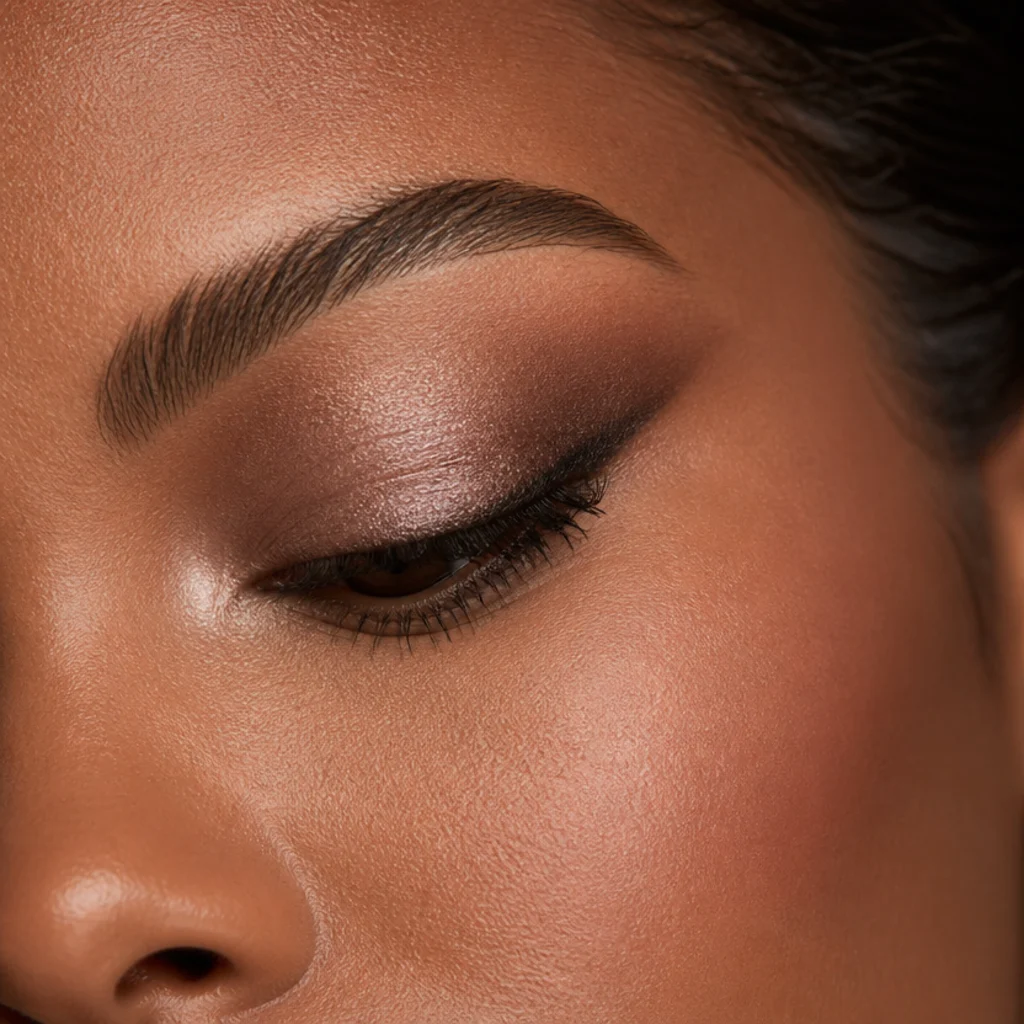
Downturned eyes dip slightly, with the outer corner sitting lower than the inner one, so the guiding principle here is simple: aim every line up. Angle your outer-corner shadow toward the tail of the brow and let liner tick upward instead of tracing the natural droop down. A dab of light satin or shimmer at the inner corner adds a second, quieter point of lift and brightens the whole eye. To keep placement consistent, picture an invisible diagonal running from the edge of your nostril through the outer corner and out; keep all color on or above that line. Upkeep: minimal; a smudge-resistant inner-corner highlight lasts all day. Difficulty: beginner to intermediate. Pro tip: before you draw the wing, hold a card along that nostril-to-corner diagonal and use its edge as your angle guide. Ask your makeup artist to "lift my outer corner so my eyes don't read downturned."
Save this to Pinterest to keep these first five shape maps handy.
06Upturned Eyes: Softened Lower Lash Line {#6}
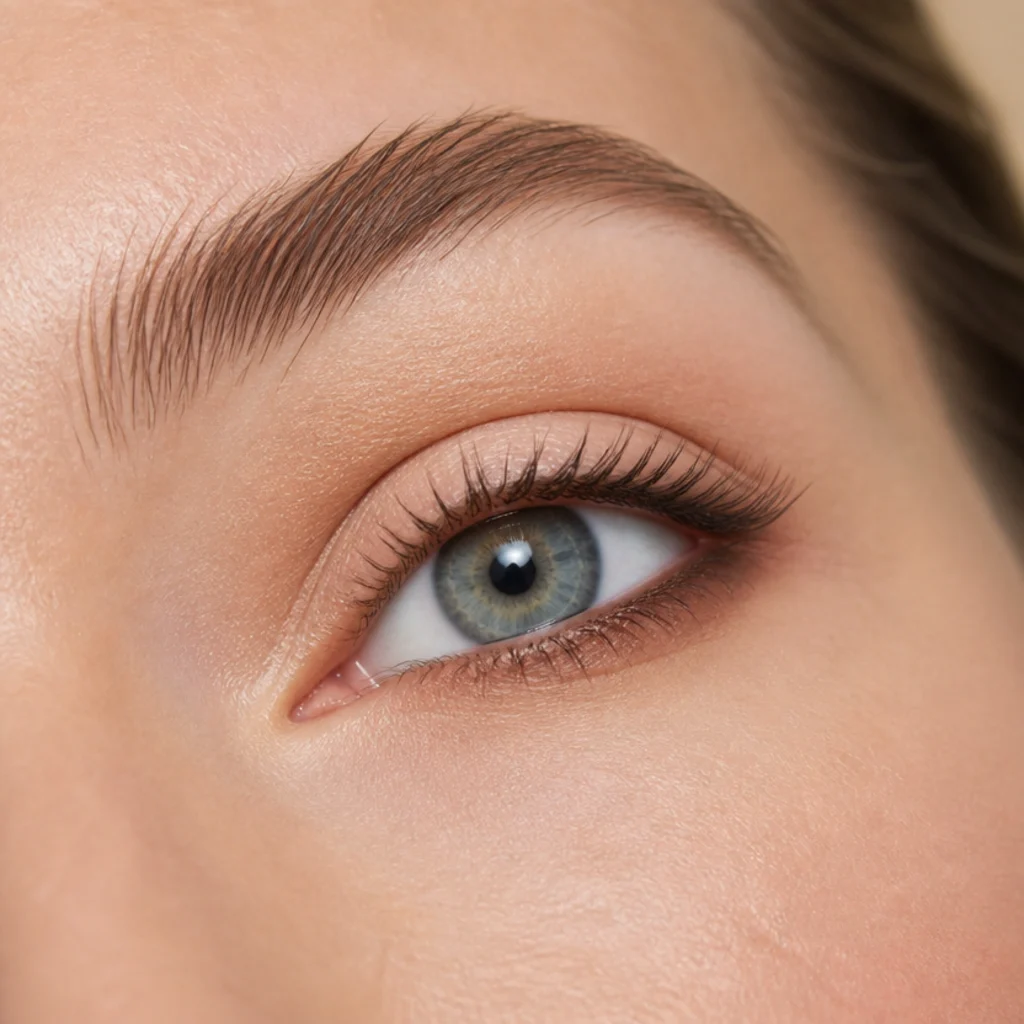
The outer corner of an upturned eye already sits higher than the inner one, so instead of chasing more lift, add gentle weight below to even out the proportions. Smudge a soft matte brown along the lower lash line and let it concentrate slightly at the outer lower corner, grounding the natural upward tilt so the eye reads balanced rather than sharply cat-like. Keep the upper lid simple with a neutral satin wash so the lower definition stays the focus. Think of it as the mirror image of the downturned approach: there you push everything up, here you settle a little down. Upkeep: low, but lower-lid color transfers, so set it with a matching powder over the smudge. Difficulty: beginner. Pro tip: stop the lower smudge two-thirds of the way in from the outer corner, leaving the inner third bare, so the eye stays bright instead of closed-in. Ask your makeup artist to "add soft lower definition to balance my natural lift."
07Deep-Set Eyes: Bright Lid Pop {#7}
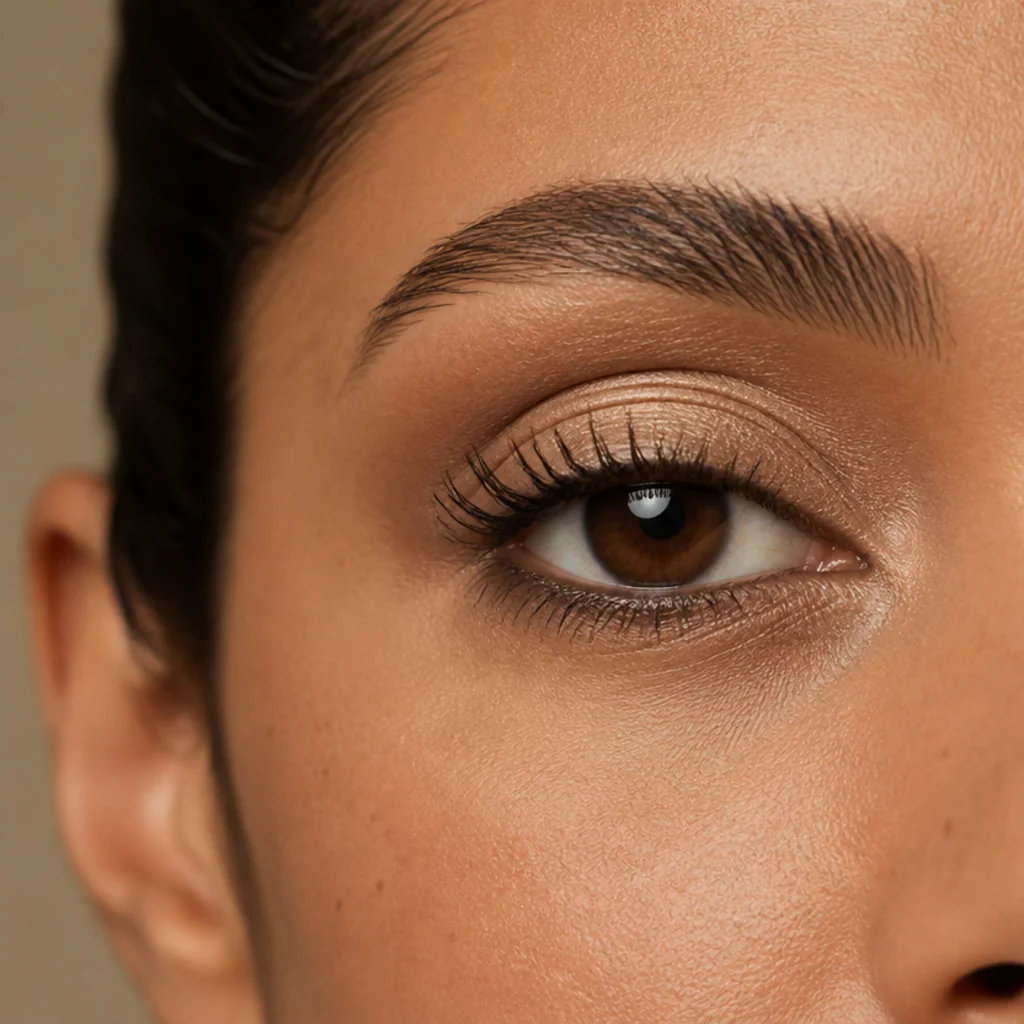
Deep-set eyes sit further back under a prominent brow bone, so light and shine are your levers for pulling them forward. Pat a luminous champagne, pale gold or soft rose-metallic across the center of the mobile lid, where it catches light and advances toward the viewer, and keep any crease color light and diffused so you don't carve the socket deeper. Reflective finishes read as forward; matte darks read as recessed, the opposite of what deep-set eyes want on the lid itself. Upkeep: minimal once pressed over a tacky cream base. Difficulty: beginner. Pro tip: apply the shimmer with a flat fingertip and press, don't sweep, so maximum pigment stays on the lid center instead of scattering into the socket. Skip the all-over dark smoke, since it pushes deep-set eyes further into shadow. Ask your makeup artist to "brighten my lid center so my eyes come forward."
08Protruding Eyes: Matte Depth Smoke {#8}
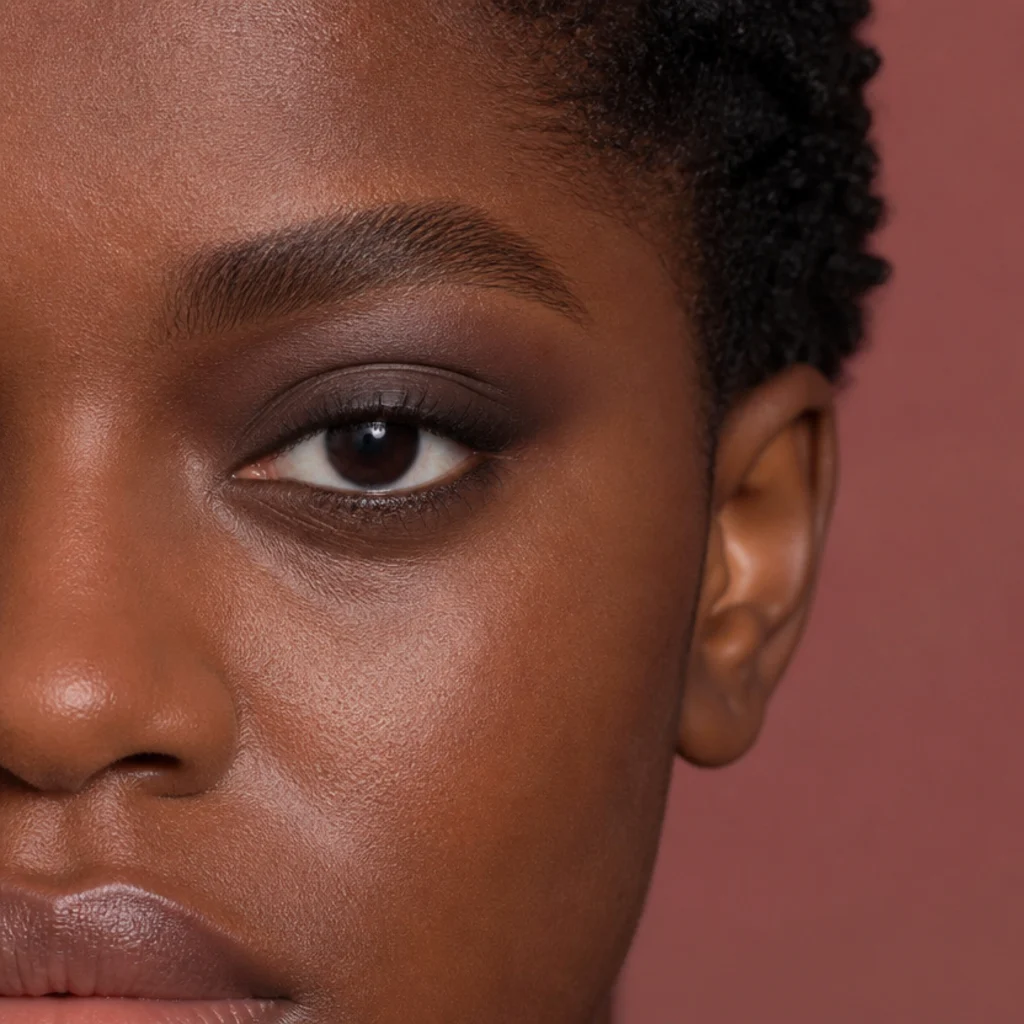
Protruding eyes have a fuller, more convex lid, so the goal is the reverse of deep-set: matte, medium-to-deep tones that visually recede the surface and bring it into balance. Blend a matte taupe, soft mocha or slate across the entire lid and up into the crease, skipping high shimmer and foils on purpose, since they sit forward and amplify projection. A defined, slightly thicker lash line adds structure and anchors the fuller lid. Upkeep: a gripping primer keeps the extra lid surface from creasing or transferring across a long day. Difficulty: intermediate, mostly because full, even blending over a curved lid takes patience. Pro tip: build the matte in thin layers with a fluffy blending brush, checking with your eyes open, since a convex lid shows patchiness more than a flat one does. It's basically the opposite strategy to No. 7: matte instead of shimmer, depth instead of light. Ask your makeup artist for "a matte smoke that softens the fullness of my lid."
09Close-Set Eyes: Outer-Corner Darkening {#9}
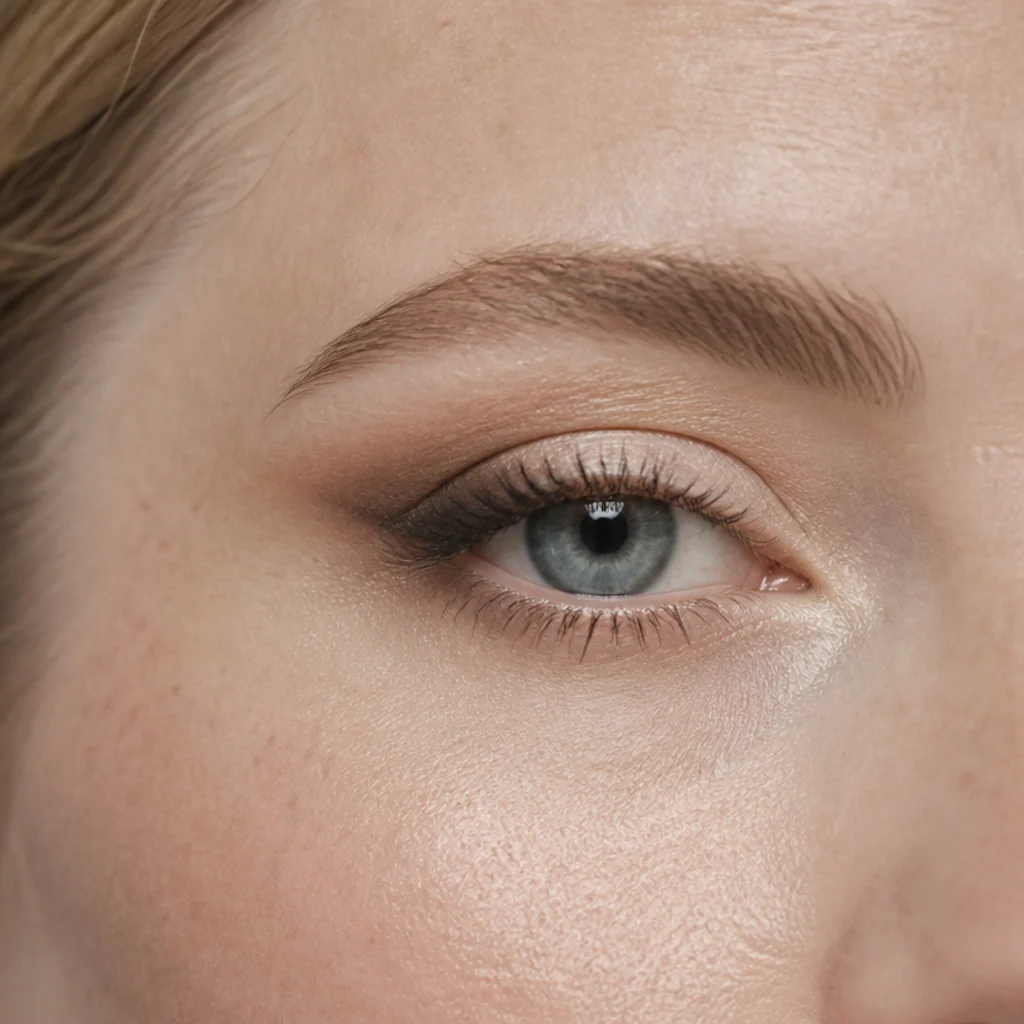
Close-set eyes sit less than one eye-width apart, so pulling visual attention outward is how you create the impression of more space between them. Keep the inner corner and inner half of the lid light and fresh, then concentrate your deepest shadow and any liner at the outer third, blending it up and out toward the temple. Leave inner-corner and inner-waterline liner off — that's the one rule not to break, since darkness there only shortens the gap further. Picture the emphasis sliding toward your temples: that outward drift draws the eyes apart and opens the center of the face. Upkeep: low. Difficulty: beginner to intermediate. Pro tip: add a spot of light shimmer at the very inner corner to brighten the center, which doubles the widening effect the outer darkness creates. This map is the exact inverse of the wide-set strategy in No. 10. Ask your makeup artist to "weight everything to my outer corners to open up the space between my eyes."
10Wide-Set Eyes: Inner-Corner Emphasis {#10}
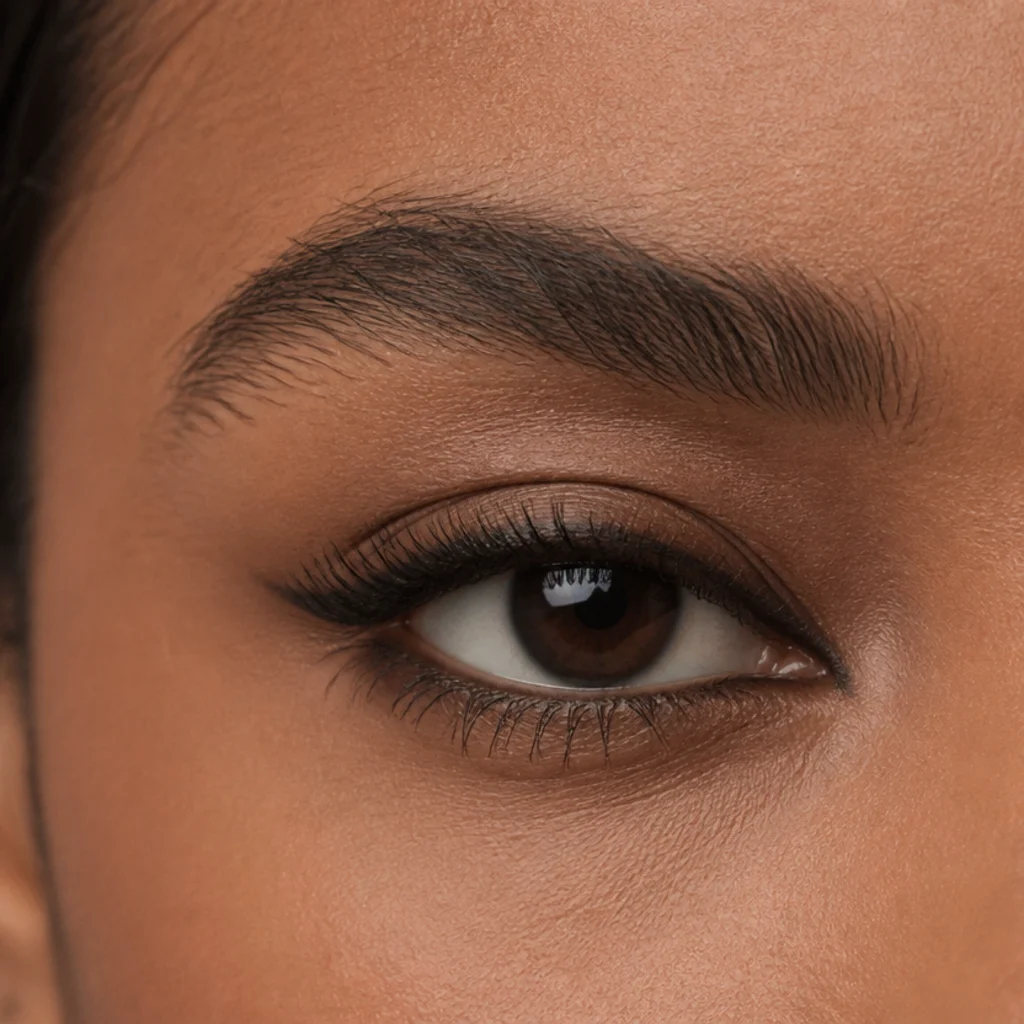
Wide-set eyes sit more than one eye-width apart, so this is the exact reverse of the close-set map: shift weight inward to bring the eyes closer together visually. Add a deeper shadow toward the inner corners, extend liner slightly in past the tear duct, and keep the outer flick short and restrained so nothing pulls the gaze further apart. A darker inner shadow and a filled inner corner do the heavy lifting here. Upkeep: low; if you line the inner lower area, choose a long-wear formula, since that zone fades fastest. Difficulty: beginner. Pro tip: build inner darkness gradually and check both eyes match in the mirror before adding more, since inner-corner depth reads strongly and is easy to overdo. Skip long, dramatic outer wings, which stretch the face wider still. Together, Nos. 9 and 10 show how one eye shapes chart guides two opposite fixes. Ask your makeup artist to "bring my eyes closer with inner-corner depth."
Save this to Pinterest before you forget which corner to darken.
11Almond Eyes: Halo Eye {#11}
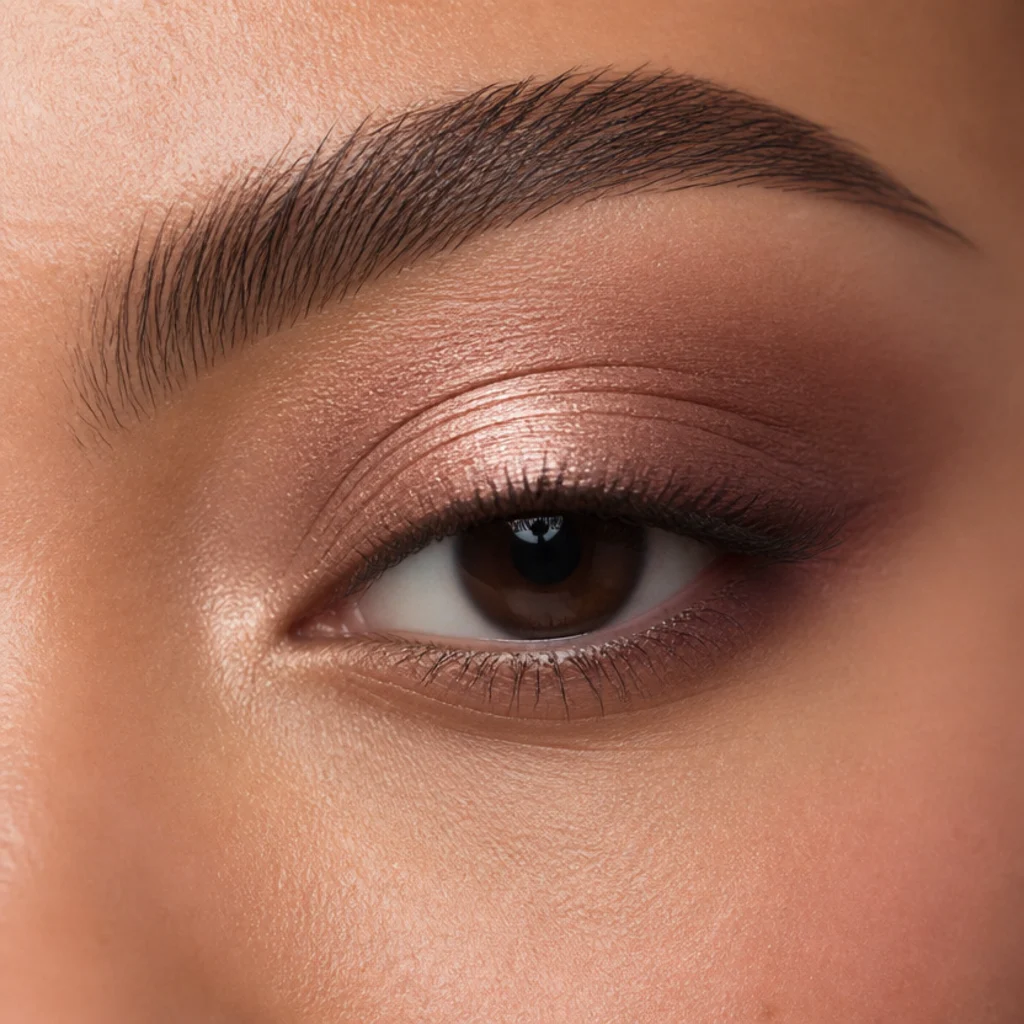
The halo eye flatters almond shapes because their natural balance suits symmetrical, mirror-image placement. Apply a bright metallic or satin to the center of the mobile lid, then blend deeper matte tones onto the inner and outer corners so light lands squarely in the middle, which makes the eye look rounder, larger and more awake. Match the metals to your undertone: champagne and gold on warm and olive skin, silver and icy pink on cool, bronze and copper on deep complexions. Upkeep: low, though the shimmer center may need a midday press with a fingertip. Difficulty: intermediate, since the two corners have to balance or the halo looks lopsided. Pro tip: apply the center shimmer with a wet flat brush over a cream base for foil-level payoff, then blend the corners inward toward it, never over it. Choose a bright foil center for evening or a soft satin for daytime wear. Ask your makeup artist for "a halo eye with a bright center and soft corners."
12Hooded Eyes: Floating Cut Liner {#12}
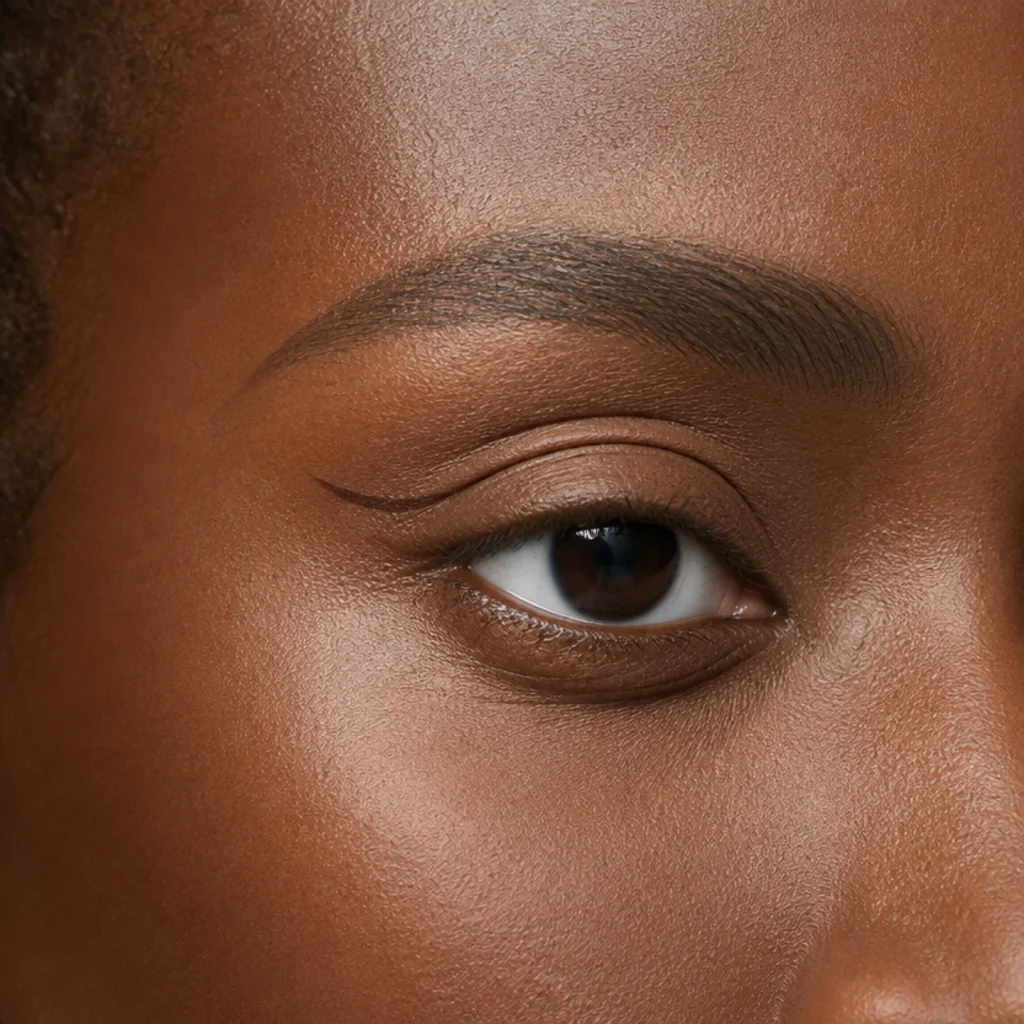
Hooded lids can fold standard liner completely out of sight, so a floating line gets drawn above the fold so it stays visible open-eyed. With both eyes open and relaxed, trace the arc where you want the line to read, just above the fold's peak, then fill the space below it down to the lashes. Keep the wing short and lifted so the fold doesn't tuck the tail away when you blink. A long-wear gel or a smudge-proof liquid is essential, since anything that transfers will print onto the crease within an hour. Upkeep: waterproof or long-wear formula; expect it to hold cleanly all day. Difficulty: intermediate to advanced. This is the most technique-heavy hooded idea on the list. Pro tip: draw the outer tail first while looking straight ahead, then connect it inward, so the line's visible shape guides the rest. It's the liner counterpart to the hooded cut crease in No. 2. Ask your makeup artist for "floating liner that reads above my hood."
13Monolid Eyes: Graphic Double Line {#13}
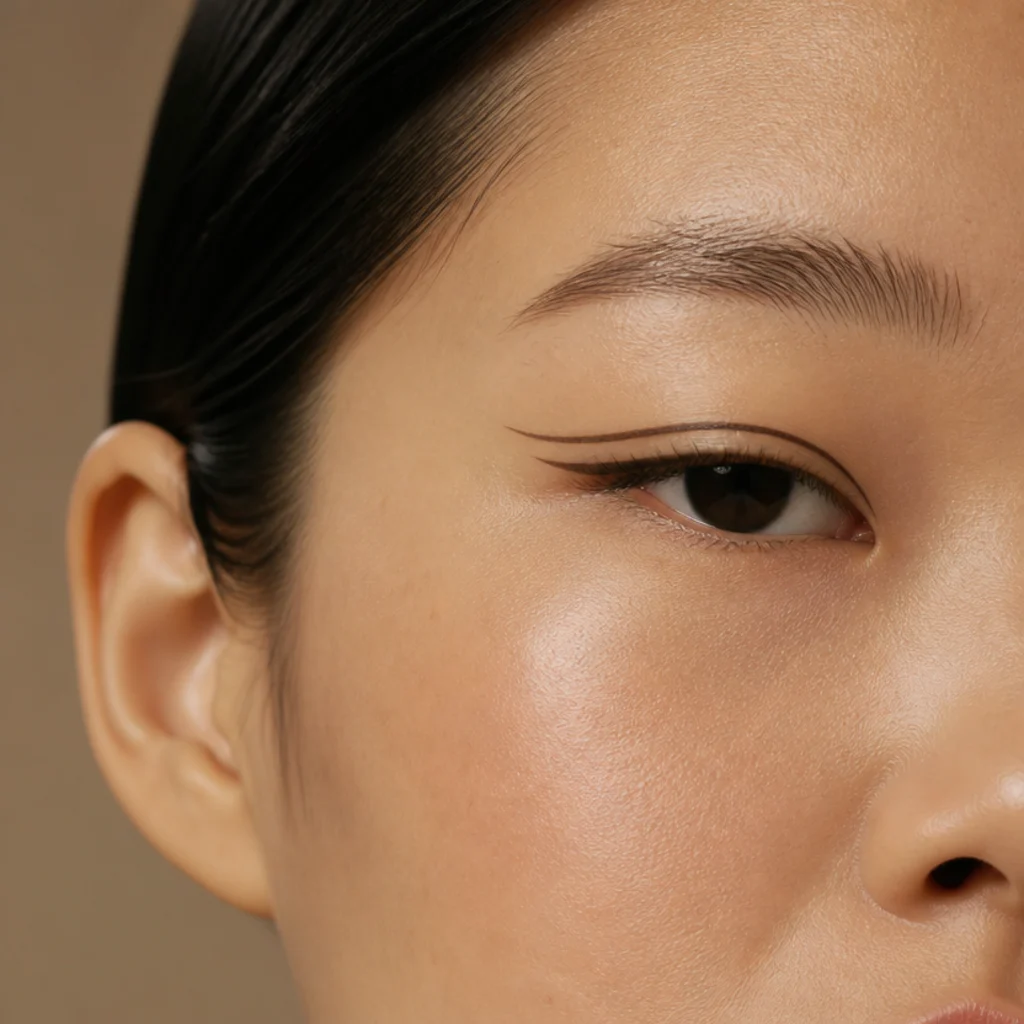
Graphic liner shines on monolids because the flat, crease-free lid is a clean canvas that shows the full design straight on, exactly the angle monolids get seen from. Draw one crisp line along the upper lashes, then a second parallel line floating just above it, leaving a clean strip of negative space (ideally bare skin or a pop of matte color) between the two. Extend both lines outward so they converge into a soft point past the outer corner. Upkeep: low once the liner sets; choose a waterproof formula for the floating upper line. Difficulty: advanced. Two parallel lines expose any wobble instantly. Pro tip: map both lines lightly with a fine pencil first, check the spacing with your eyes open, then trace over in liquid liner with a fine felt tip while bracing your elbow on a flat surface. A little concealer on a flat brush cleans and sharpens the edges afterward. Ask your makeup artist for "a graphic double line with negative space in between."
14Round Eyes: Soft Elongated Smoke {#14}
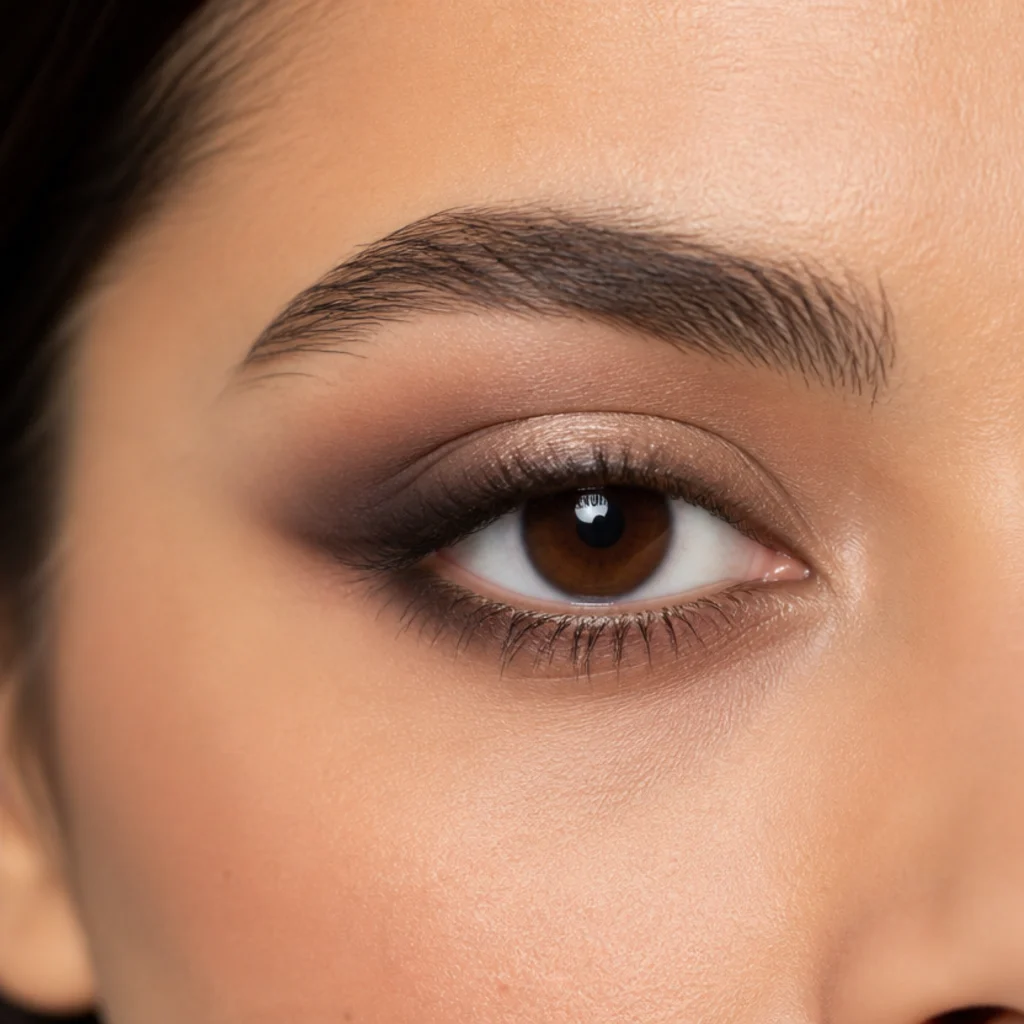
Think of this as the softer, everyday cousin to the round-eye wing in No. 4. Instead of sharp liner, blend a matte or satin mid-tone smoke outward and slightly past the outer corner, keeping the movement strictly horizontal so it drags the eye shape longer instead of opening it wider. Leave the center of the upper lid a touch lighter so the eye still looks bright, and let the smoke fade as it moves in toward the nose. Pull the color toward the end of the brow, not up toward the brow bone, so it counters the natural curve while staying diffused and wearable. Upkeep: low, no touch-ups needed for a matte version. Difficulty: intermediate. Pro tip: use a small tapered blending brush and stamp the outer point where you want the length to end before blending back inward, which keeps the smoke from drifting up into a rounder shape. Ask your makeup artist for "a soft horizontal smoke that lengthens my eyes without a sharp wing."
15Downturned Eyes: Classic Cat-Eye Flick {#15}
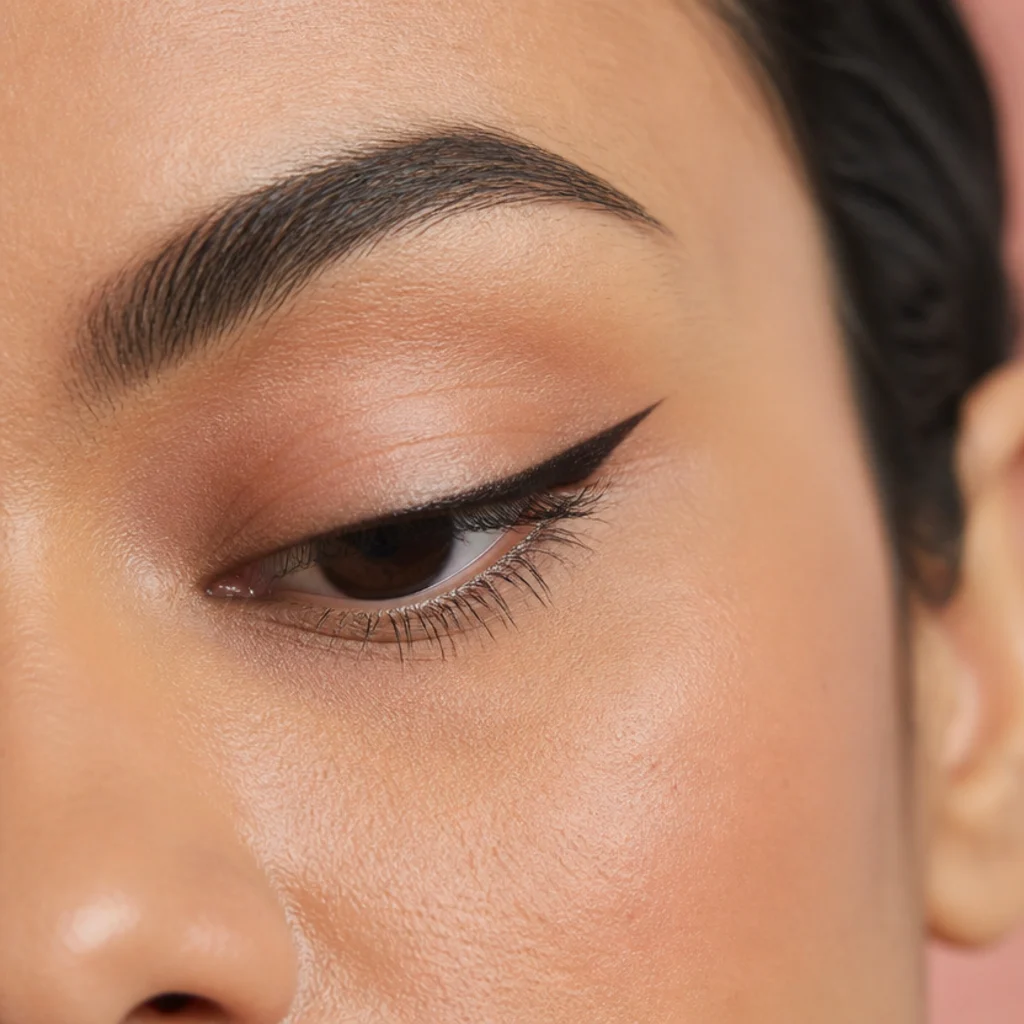
A cat-eye is tailor-made for downturned shapes, since the upward flick directly counteracts the outer-corner droop. Line the upper lash line, keeping it thin at the inner corner and building toward the outside, then at the outer corner flick up toward the brow tail, ignoring the eye's natural downward angle entirely. Leave the lower line bare so nothing weighs the corner back down. The wing's angle is the whole trick: too flat and the droop wins, so carry the flick a touch higher than feels correct. Upkeep: low with a long-wear liquid or gel. Difficulty: intermediate. Pro tip: lay a strip of tape or a card along the line from your lower lash line to the tail of your brow, and draw the flick against that straight edge for a clean, repeatable angle. Match both wings by drawing the two tails first, before filling in the rest of the line. Ask your makeup artist for "a lifted cat-eye that corrects my downturned corners."
16Deep-Set Eyes: Draped Blush Shadow {#16}
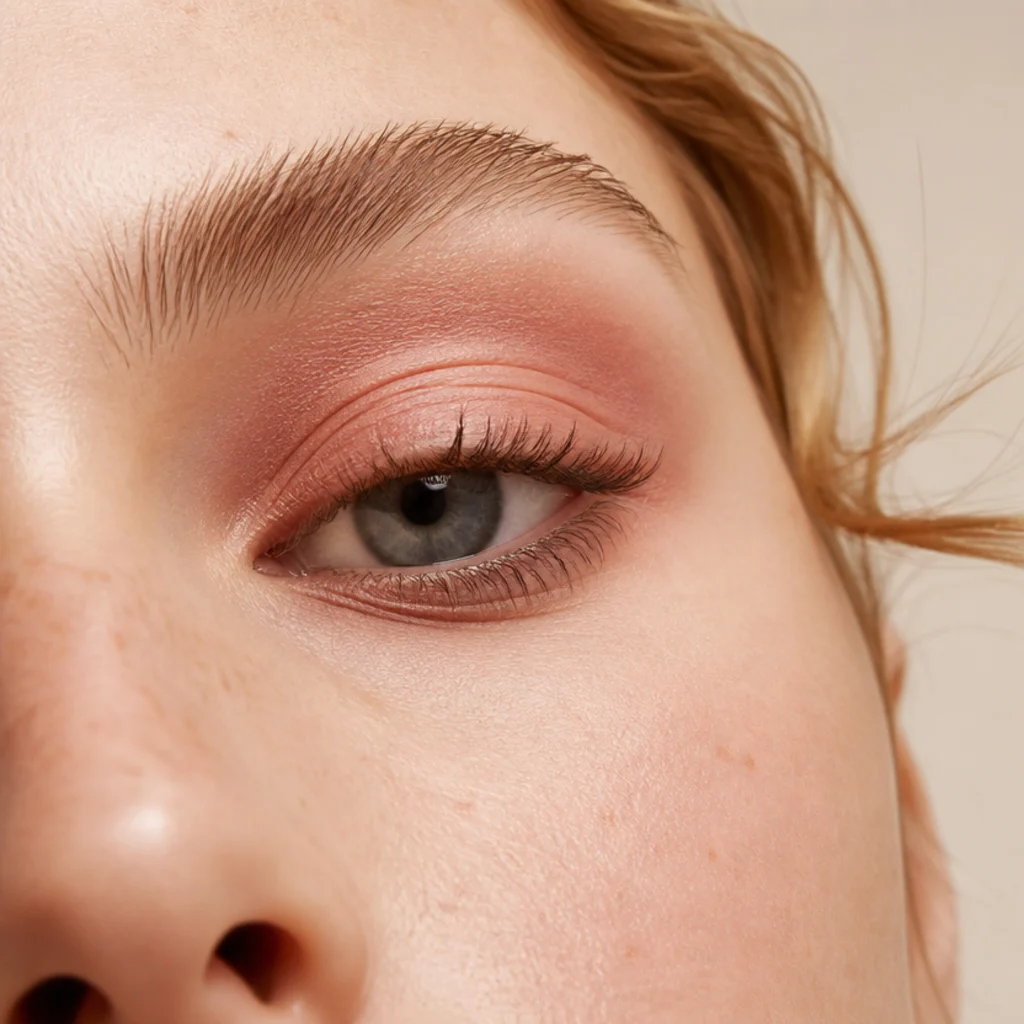
Draping brings warmth and light forward on deep-set eyes without over-darkening the recessed socket. Sweep a soft blush, peach or warm-rose shadow across the mobile lid and diffuse it up and outward toward the brow bone, letting the color glow and lift rather than carve a hard crease. Keep any deeper socket shade minimal to nonexistent, since the anatomy already supplies plenty of natural shadow there. Warm draped tones read especially clearly on deep-set eyes because they pull color up out of the shadowed socket toward the light. Upkeep: low; a cream-to-powder blush shade layers on cleanly. Difficulty: beginner. This one's more about diffusion than precision. Pro tip: choose a blush shade with a soft satin or subtle sheen rather than a heavy shimmer, so it advances the lid without emphasizing texture, and blend the upper edge until it disappears into the brow bone. Ask your makeup artist for "a monochrome draped blush that keeps my deep-set eyes bright."
17Almond Eyes: Lifted Fox Eye {#17}
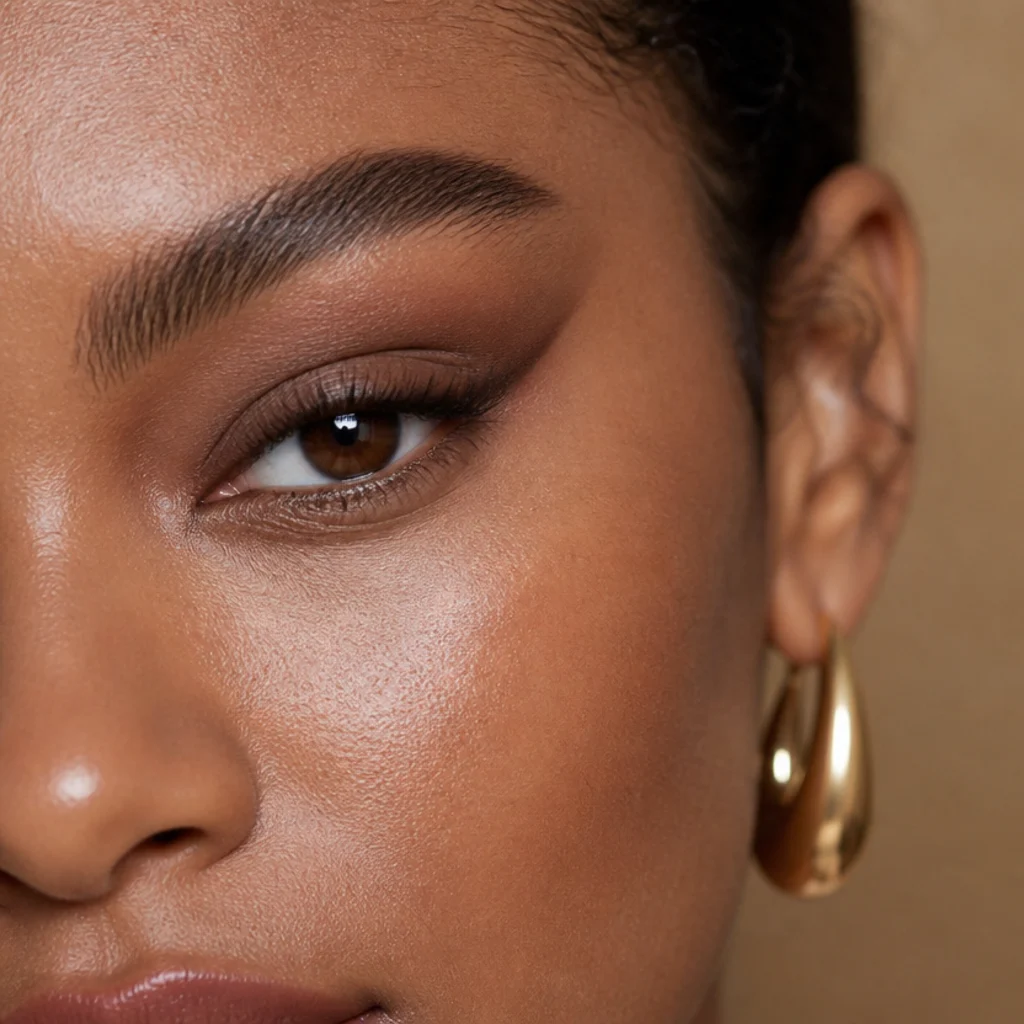
The fox eye elongates already-balanced almond shapes toward the temple for a lifted, feline finish. Start with a slightly extended inner-corner line drawn in toward the nose, then pull shadow and liner outward and up at the outer corner to create a tapered, angled sweep. Brush the brows up and slightly out to echo the diagonal; that's what sells the lift. The effect should read as elegant placement rather than a harsh stripe, so keep every edge blended. Upkeep: low with long-wear products. Difficulty: intermediate. Pro tip: keep the outer extension short and diffused, no more than a few millimeters past the corner, and blend the top edge upward with a clean brush so the diagonal looks soft in daylight instead of drawn-on. Almond eyes are already lifted and balanced, so a little goes a long way here. Ask your makeup artist for "a subtle fox-eye lift that still looks wearable in daylight."
18Hooded Eyes: Smudged Lower Liner {#18}
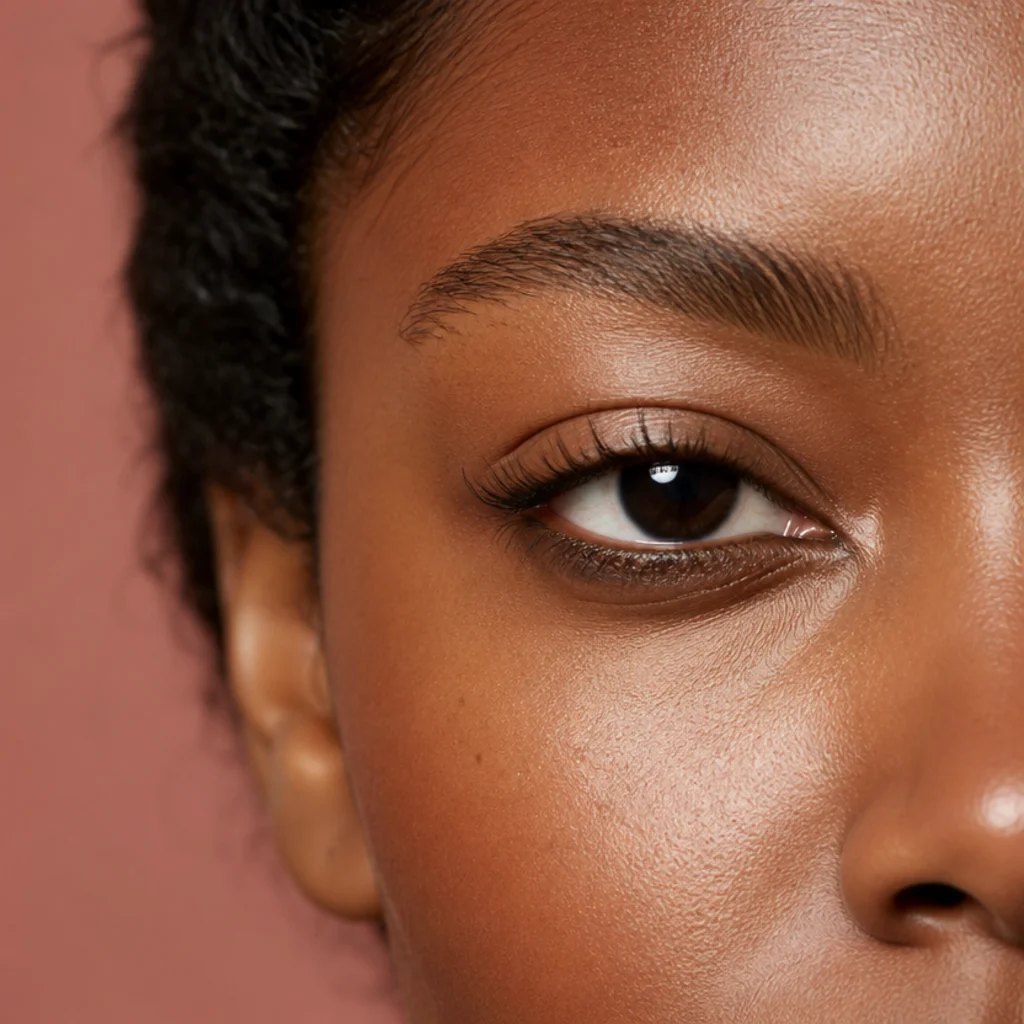
When upper-lid space is limited by the fold, shift your definition downward instead of fighting the hood. Smudge a soft matte brown or grey pencil along the lower lash line, concentrating on the outer half, to add depth and shape without crowding the mobile lid. Pair it with a couple of coats of mascara and a bare, light upper lid so the eye still looks open. It's the low-effort hooded option for days when floating liner or a mapped crease feels like too much. Upkeep: set the lower line with a matching powder shadow so it doesn't travel into a raccoon shadow by midday. Difficulty: beginner. Pro tip: smudge the pencil with a small stiff brush rather than your finger, and stop it just short of the inner corner so the eye stays bright and wide instead of pulled down. A grey-brown flatters more undertones than a stark black here. Ask your makeup artist for "soft lower definition when my hood limits upper-lid space."
19Monolid Eyes: Metallic Center Pop {#19}
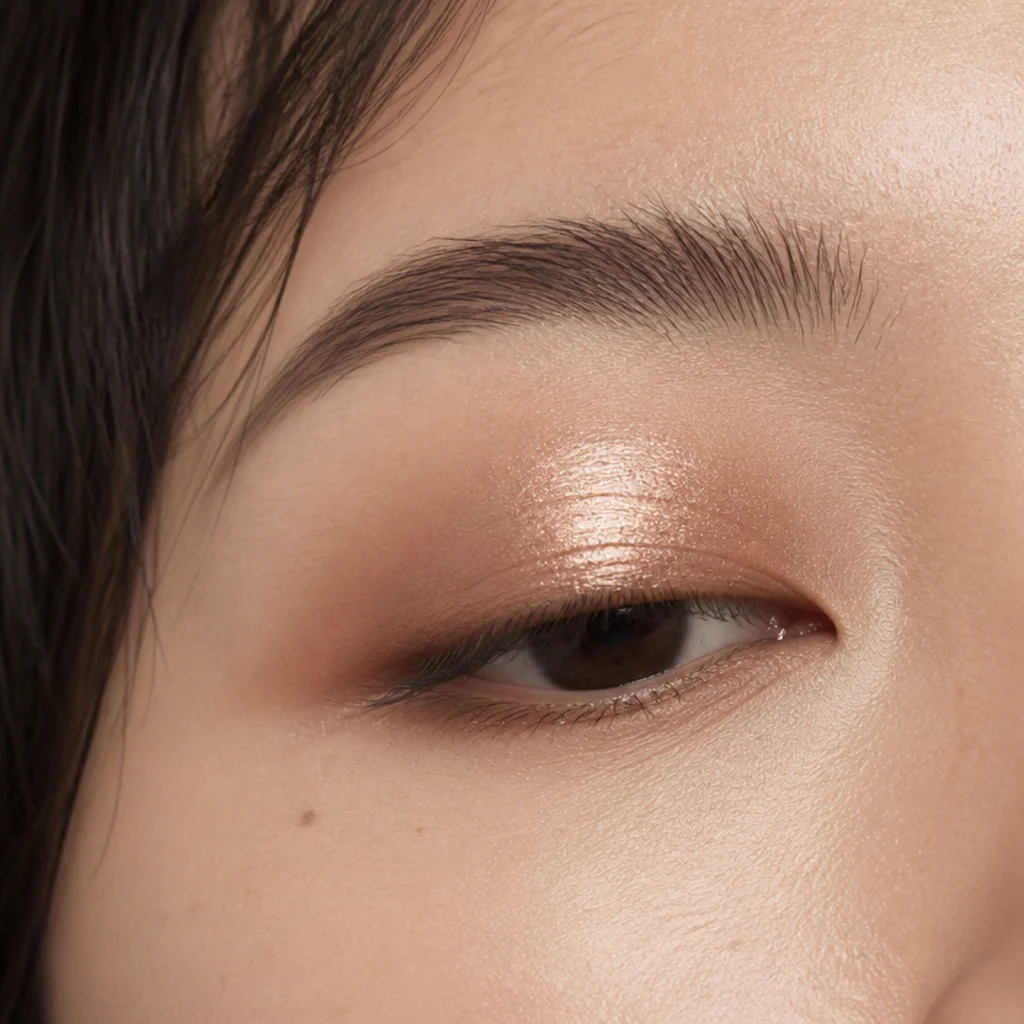
Metallics love a monolid because the flat, single-plane lid reflects light cleanly and shows the full shine straight on. Lay down a matte transition base first, then pat a foiled or metallic shade (gold, copper, rose, pewter) onto the center of the lid where it catches the most light when your eyes are open. Keep the edges soft so the metal fades into the base instead of stopping abruptly. Upkeep: a dab of setting spray on the brush before you pick up the metallic boosts payoff and hold; monolids can transfer to the upper fold, so a cream base helps grip. Difficulty: beginner. Pro tip: press the pigment on, don't sweep it, so the reflective particles stay in one dense plane instead of scattering into fallout across the cheek. Decide the pop's placement with your eyes open, since that's where it needs to land. Ask your makeup artist for "a foiled metallic pop centered where my lid shows open-eyed."
20Round Eyes: Horizontal Smoke Band {#20}
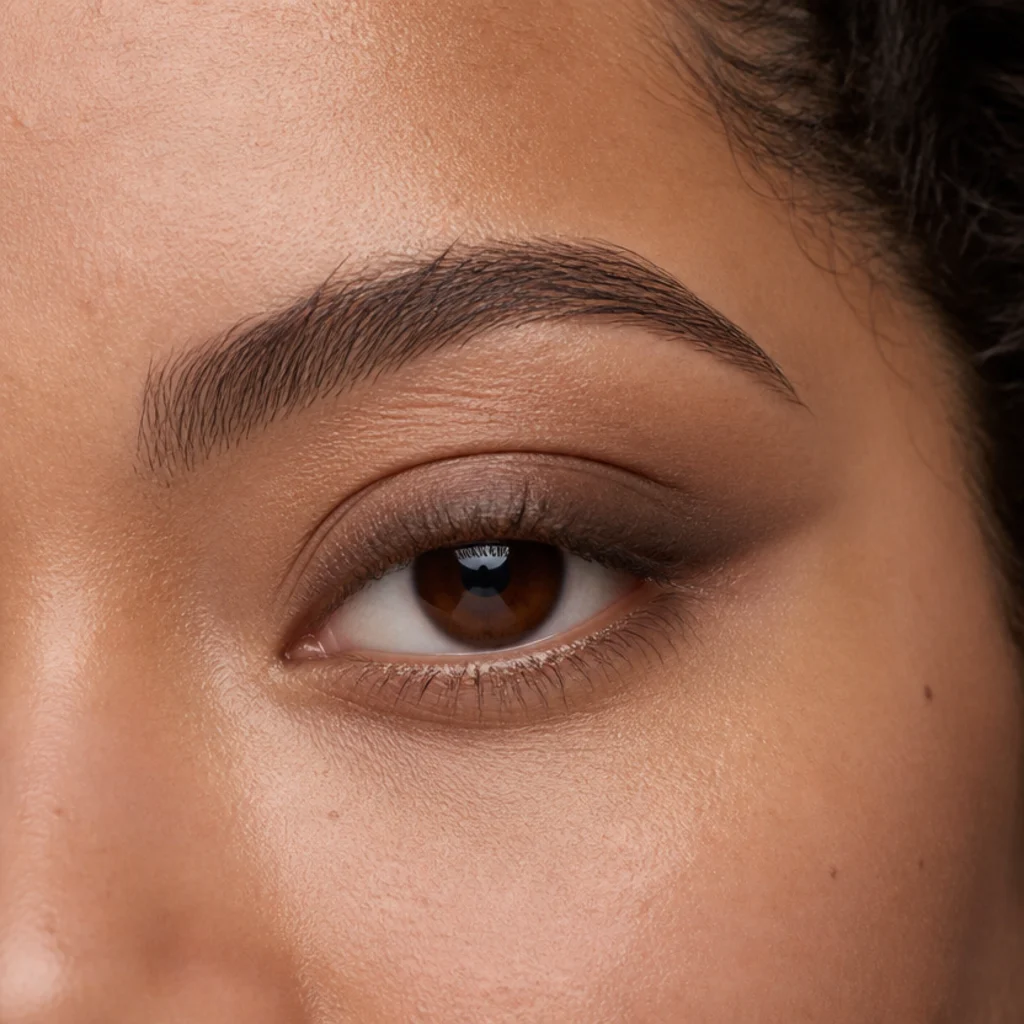
A horizontal smoke band stretches round eyes sideways by wrapping color in a level, bandage-like strip. Blend a mid-tone matte across the lid in a band that keeps a consistent height from inner to outer corner and extends just past the outer edge, avoiding any upward blending into the crease on purpose. The flat, horizontal direction is exactly what lengthens the eye, so resist every urge to lift the color toward the brow bone, which would only re-emphasize the roundness. Upkeep: low. Difficulty: intermediate, since keeping the band's height even takes a controlled hand. Pro tip: define the top edge of the band with the flat side of a small brush and keep it parallel to your lower lash line, so the shape reads as a deliberate horizontal rectangle instead of a rounded wash. Smoking a matching line along the outer lower lash line closes the band and reinforces the length. Ask your makeup artist for "a level horizontal smoke band that lengthens my round eyes."
Save this to Pinterest so your round-eye lengthening tricks stay together.
21Downturned Eyes: Lower Lash Lift Map {#21}
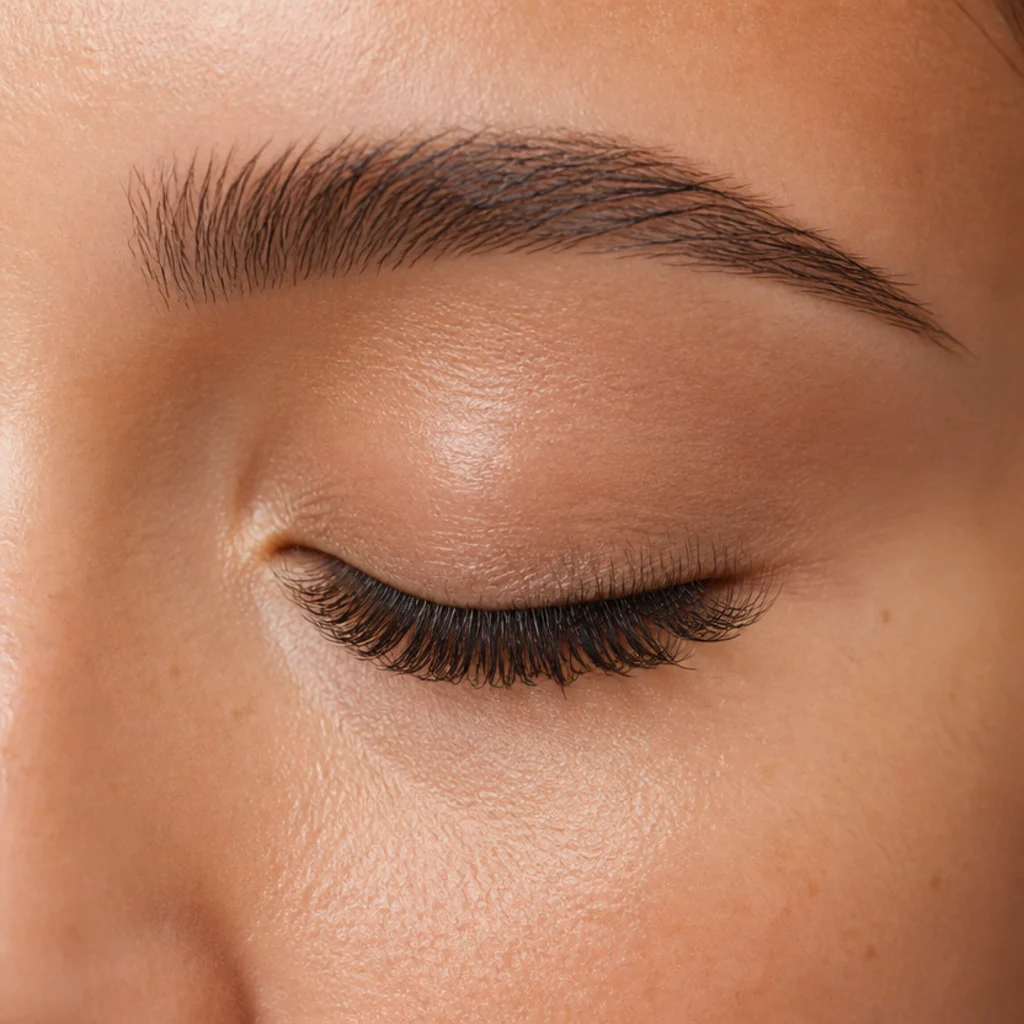
Lash mapping eye shapes means varying lash length across the eye to reshape it, and downturned eyes do well with a lifted map that refuses to drag the outer corner down. Favor your longest lashes through the center and outer-middle of the eye, then keep the very outer corner deliberately shorter so nothing extends the droop. Curl firmly at the base, especially the outer lashes, to physically lift the corner upward. This works whether you're building the map with mascara technique, individual falsies or a professional lash lift and extension set. Upkeep: re-curl and recoat as the day goes on, or maintain extensions on the usual two-to-three-week cycle. Difficulty: beginner. Pro tip: on the outer two or three lashes, wiggle the mascara wand only at the root for lift instead of coating the tips, which keeps length concentrated where it flatters. Ask your lash tech for "a lifted map with length through the center and shorter outer corners."
22Upturned Eyes: Warm Diffused Crease {#22}
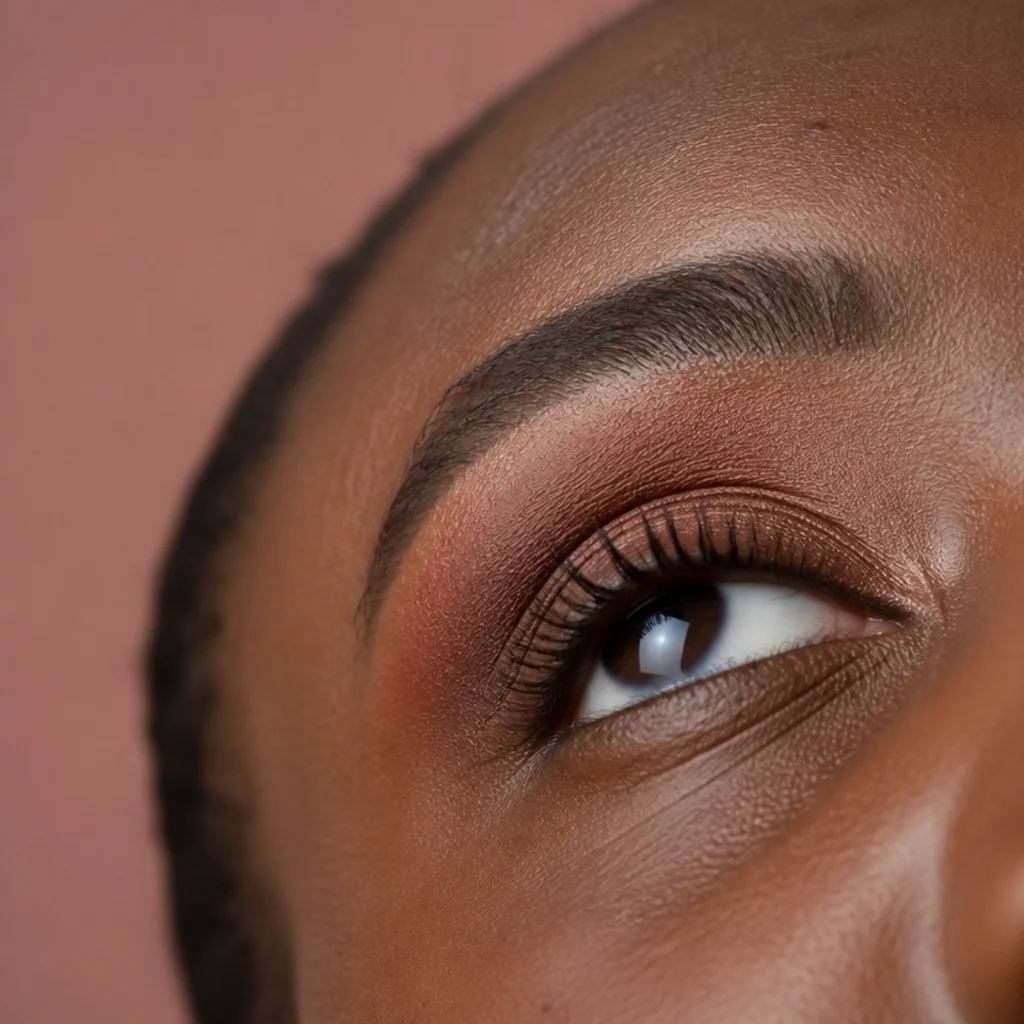
Upturned eyes carry crease color gracefully because their natural lift means you don't have to engineer placement, you just get to focus on color and blend. Work a warm terracotta, bronze or cinnamon through the socket with a soft, windshield-wiper motion, keeping the edges diffused for a lived-in, glowing finish, then add a neutral or gilded satin on the lid beneath. Warm crease tones flatter across undertones; go brick and copper on deep skin, terracotta on olive and warm, and dusty rose-brown on cool. Upkeep: low. Difficulty: beginner. Pro tip: use a clean, fluffy blending brush in small back-and-forth arcs and build the crease depth in two thin passes rather than one heavy load, so the socket color stays soft and never muddy. The lift is already built in, so clean blending and an undertone-right shade matter more than exact placement here. Ask your makeup artist for "a warm, diffused crease that plays up my natural lift."
23Close-Set Eyes: Diffused Temple Smoke {#23}
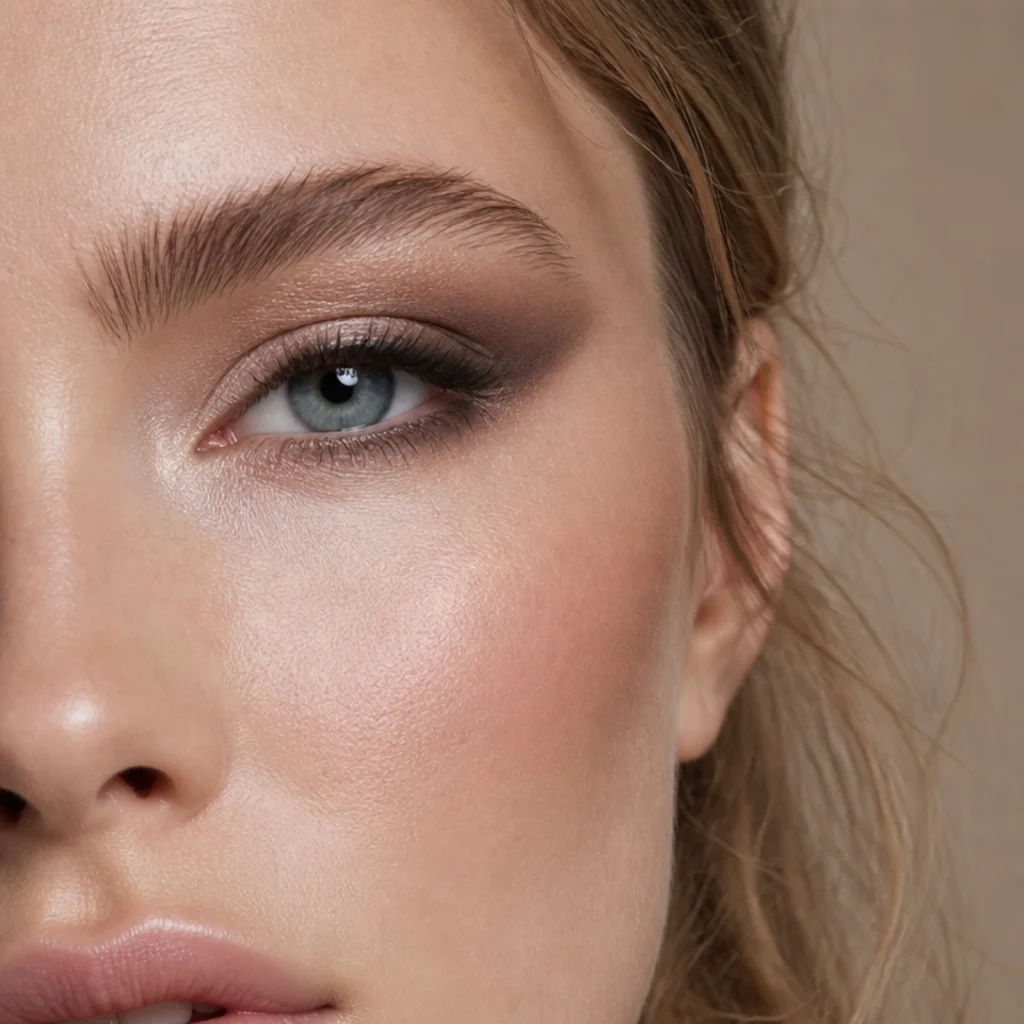
This one builds on the close-set map in No. 9, trading sharp liner for soft, blended smoke while keeping the same widening logic. Diffuse a deeper matte or satin shade at the outer corner and drag it outward toward the temple, then keep the inner half of the lid light, fresh and slightly luminous so the center of the face opens up. The outward pull is the whole goal, so blend generously and let the color fade to nothing as it moves in toward the nose. Upkeep: low. Difficulty: beginner to intermediate. Pro tip: anchor the darkest point of the smoke a little beyond the outer corner, in line with the tail of your brow, and blend back inward from there, which guarantees the weight lands outside the eye instead of creeping toward the center. A touch of inner-corner brightener amplifies the widening. Ask your makeup artist for "diffused outer smoke that opens the space between my eyes."
24Wide-Set Eyes: Connected Inner Liner {#24}
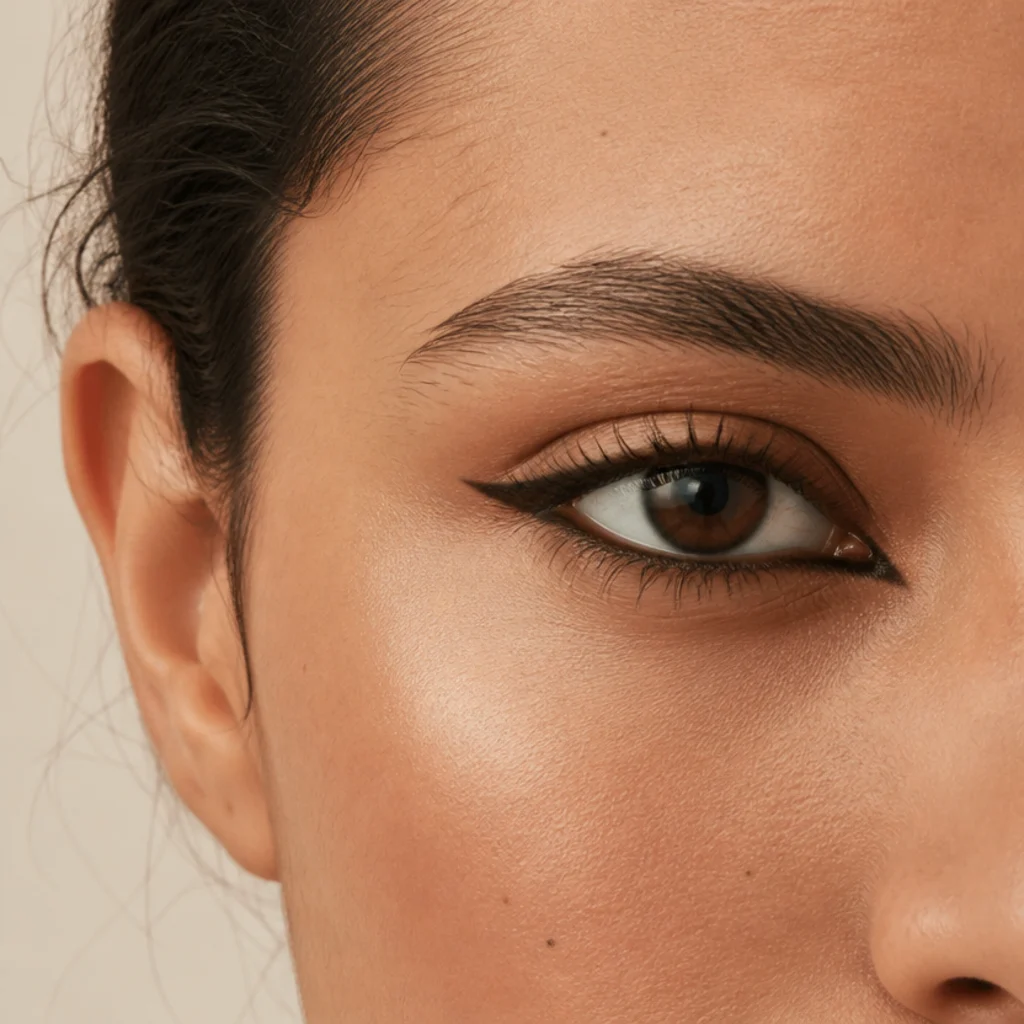
To pull wide-set eyes closer, extend liner slightly past the inner corner and connect the upper and lower lines there, wrapping the tear-duct area in a small tuck of color. This shifts visual weight inward, the exact opposite of the close-set strategy, and keeps the outer wing minimal so nothing tugs the eyes further apart. A soft inner shadow layered over the connected liner reinforces the pull. Upkeep: inner-corner and waterline liner fade fastest, so choose a long-wear, smudge-resistant formula. Difficulty: intermediate. Inner-corner work reads strongly and is easy to overdo. Pro tip: build the inner darkness in small increments and check that both eyes match before committing more, since even a millimeter of extra inner liner changes how close the eyes appear. Keep the inner tuck soft-edged rather than a hard block so it looks like natural depth. Ask your makeup artist for "connected inner liner to bring my wide-set eyes closer together."
25Almond Eyes: Sunset Gradient {#25}
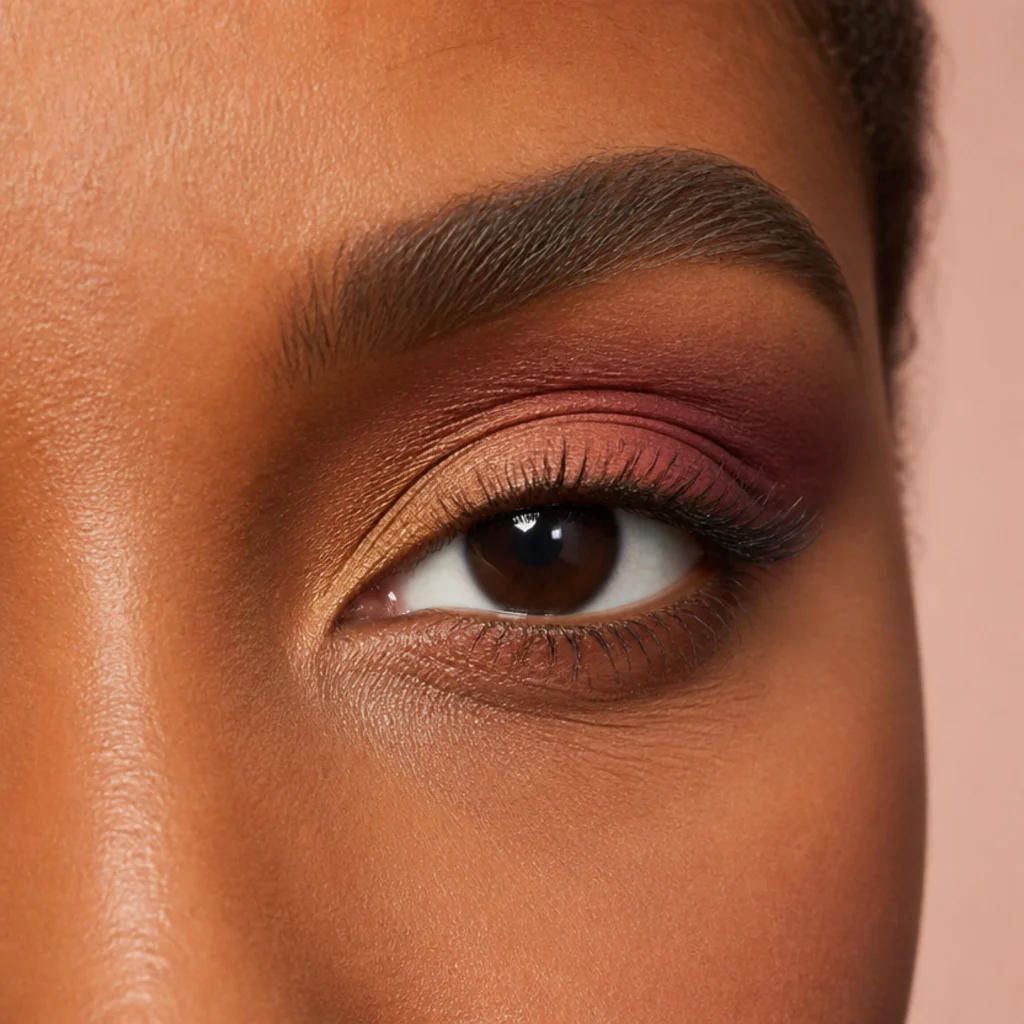
Almond eyes wear multi-tone gradients cleanly because their balanced shape lets each color sit in its own zone and still read. Blend warm shades in sequence across the lid, for example amber at the inner corner melting into rose through the center and deepening to plum at the outer corner, keeping every transition clean so the eye looks like one gradient instead of three stripes. The even almond canvas means you can run cool families too, lilac into mauve into slate, if that flatters your undertone better. Upkeep: low. Difficulty: intermediate, since clean transitions are the whole point. Pro tip: wipe your blending brush on a tissue between colors, or keep one dedicated clean brush just for blending the seams, so the shades meet without turning muddy in the middle. Place each color with a separate small brush before you blend the borders together. Ask your makeup artist for "a smooth warm-to-cool gradient that suits my undertone."
26Hooded Eyes: Matte Transition Only {#26}
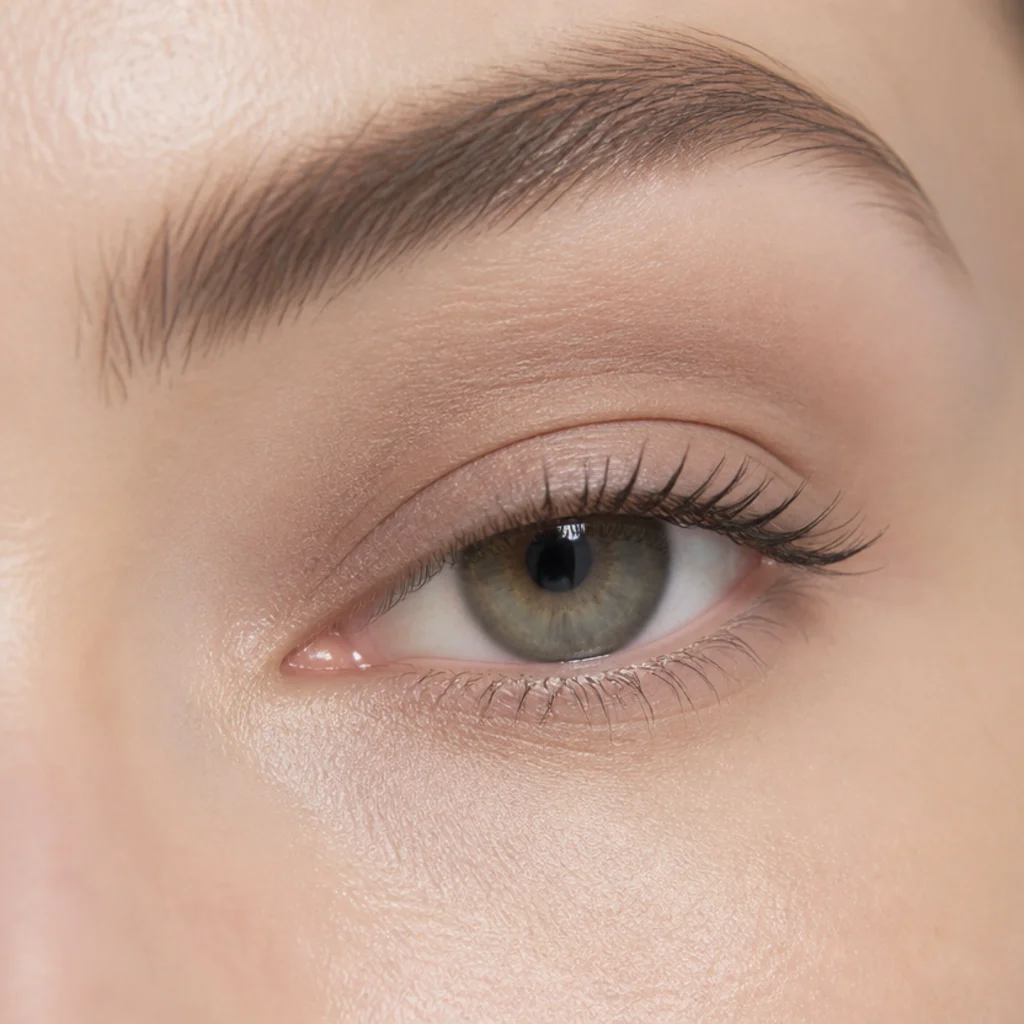
Sometimes the most flattering hooded look is also the simplest one. Blend a single matte transition shade slightly above the fold, mapped with your eyes open, and skip shimmer entirely, since reflective finishes catch light on the fold and draw attention to its texture and depth. Add mascara and stop. Matte finishes sit flatter and cleaner on a hooded lid, so this reads as polished instead of heavy. Upkeep: minimal; a light primer keeps even one matte shade from creasing on an oily fold. Difficulty: beginner. Pro tip: choose a transition shade only one or two steps deeper than your skin tone and buff it in tiny circles above the mapped fold line, so it adds soft dimension without ever looking like a hard crease stripe. It's the reliable everyday hooded option for when floating liner or a cut crease feels like too much effort. Ask your makeup artist for "a one-shade matte wash mapped above my fold."
27Monolid Eyes: Reverse Smoky Liner {#27}
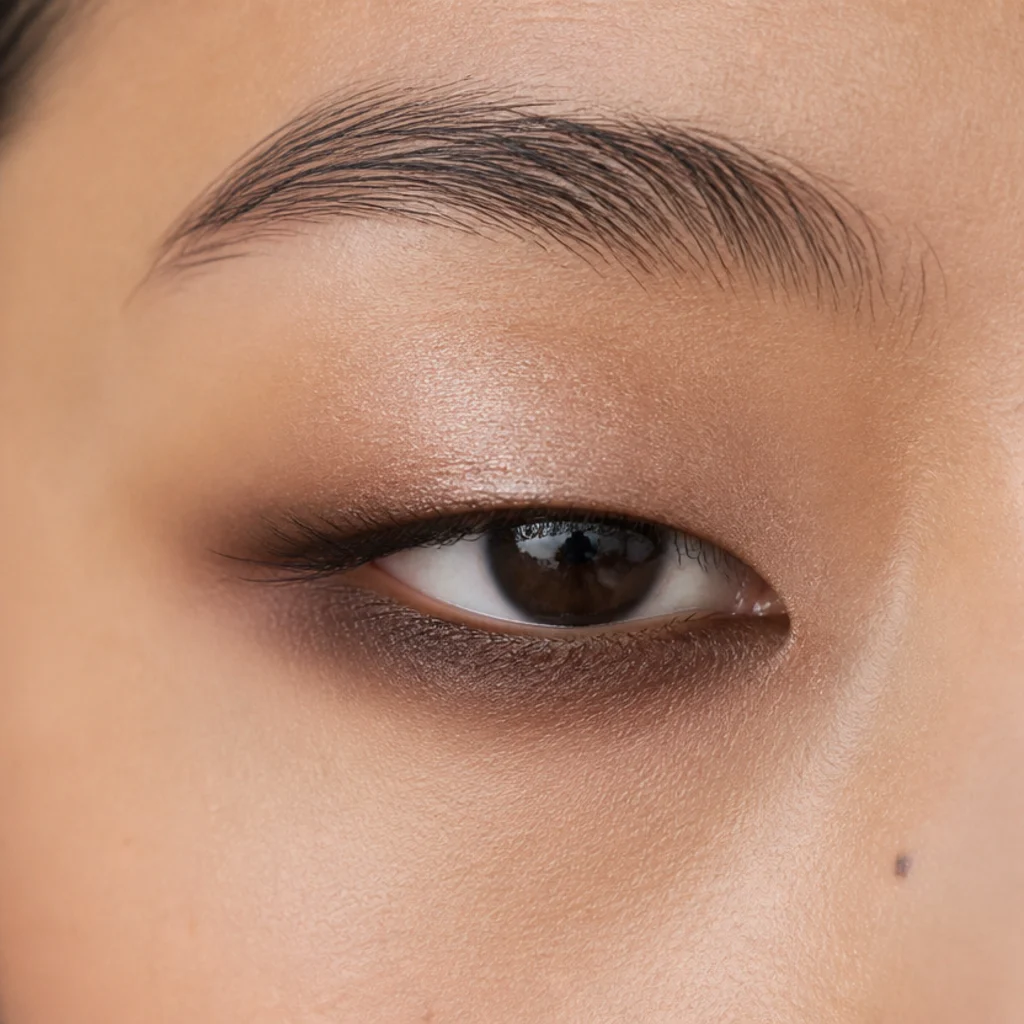
A reverse smoky eye shifts the drama below the eye, which suits monolids that show limited upper-lid space when open. Smoke a deeper shade along the lower lash line and blend it downward and out, then keep the upper lid light, satin or lightly metallic so the balance flips from the usual top-heavy smoky eye. Monolids are read straight on, so this lower weight photographs well and keeps the definition where it stays visible. Upkeep: set the lower smoke with a matching powder to prevent transfer onto the under-eye. Difficulty: intermediate. Pro tip: extend the lower smoke a few millimeters past the outer corner and connect it faintly to the upper lash line, so the eye reads elongated instead of simply shadowed underneath. A waterproof pencil base under the powder smoke keeps the lower line from migrating. Ask your makeup artist for "a reverse smoky eye weighted along my lower lash line."
28Round Eyes: Doe-Eye Lower Focus {#28}
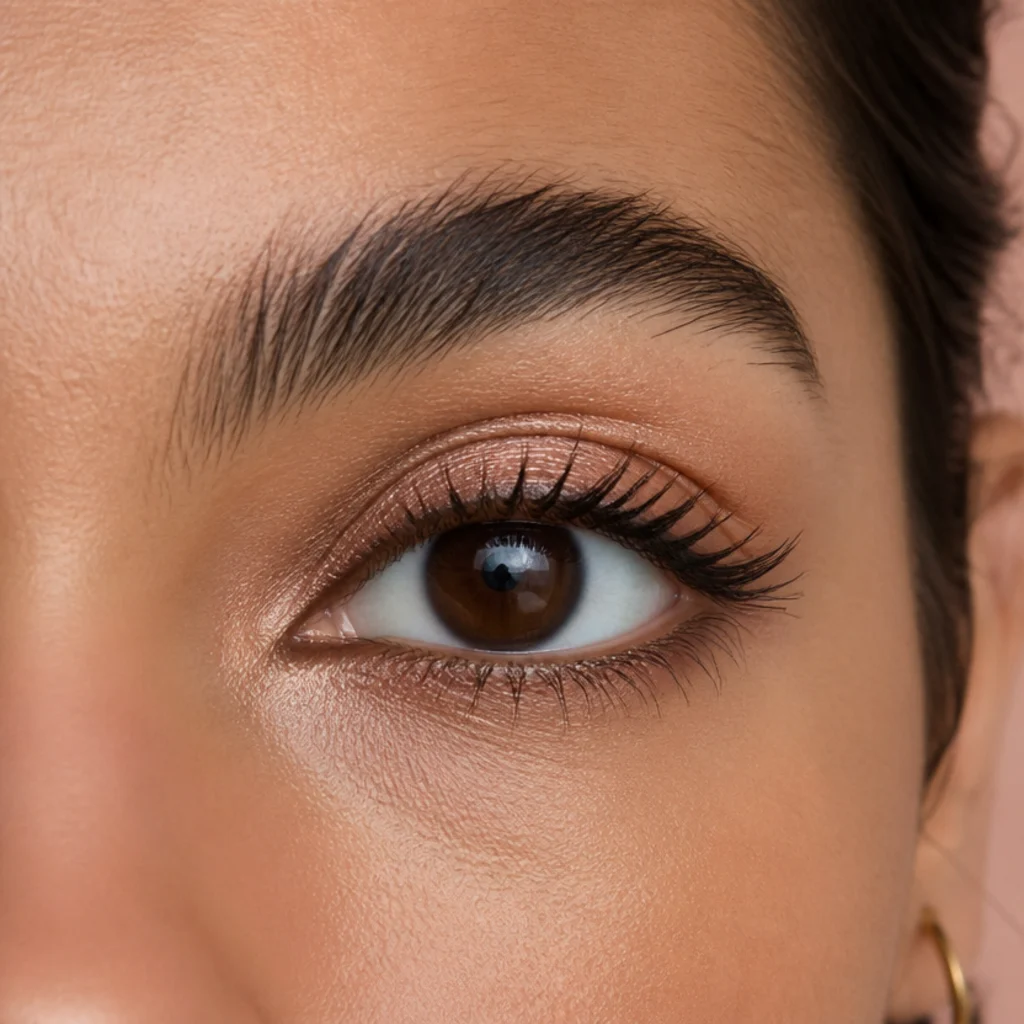
Instead of disguising roundness, the doe eye celebrates it for a sweet, wide-awake finish. Add soft lower lash definition, a smudge of warm brown plus a couple of coats of mascara, and place a touch of light shimmer in the center of the lid to play up the eye's natural openness without lengthening it. It's the one round-eye idea that leans into the shape instead of stretching it, good when you want a youthful, ingenue look. Upkeep: low. Difficulty: beginner. Pro tip: lift the lower liner very slightly at the outer corner and stop it short of the inner third, which keeps the doe effect fresh and bright rather than tired or heavy underneath. A wispy, fluttery lash suits this better than a dense dramatic one. Ask your makeup artist for "a doe-eye that plays up my round shape instead of hiding it."
29Deep-Set Eyes: Diffused Smudge Liner {#29}
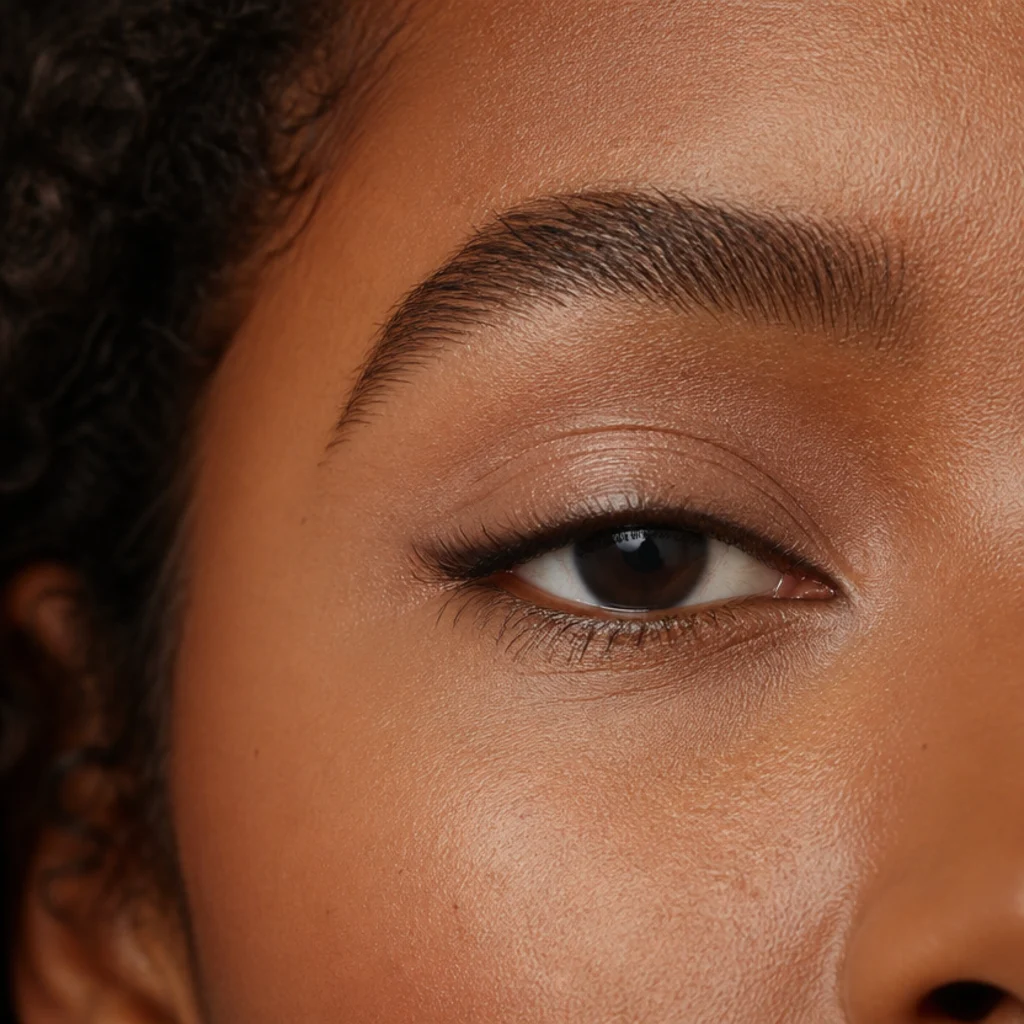
Deep-set eyes can look heavy and tired under thick liner, so keep it thin, close and softly diffused instead. Run a soft pencil right along the base of the upper lashes and smudge it just enough to define the eye without adding dark bulk to the already-recessed lid. Pair it with a light or luminous lid shade so the eye still reads bright and forward. The aim is definition that stays lifted, not a bold line that sinks the eye further back. Upkeep: low; a smudge-proof pencil holds the thin line without spreading. Difficulty: beginner. Pro tip: tightline the upper waterline instead of drawing a visible line on the lid, so the lashes look denser and the eye gains definition without any dark weight on the recessed surface. Favor a soft brown or grey-brown over stark black for a lighter result. Ask your makeup artist for "thin, smudged definition that won't make my deep-set eyes look heavy."
30Every Shape: Lash Mapping by Eye Shape {#30}
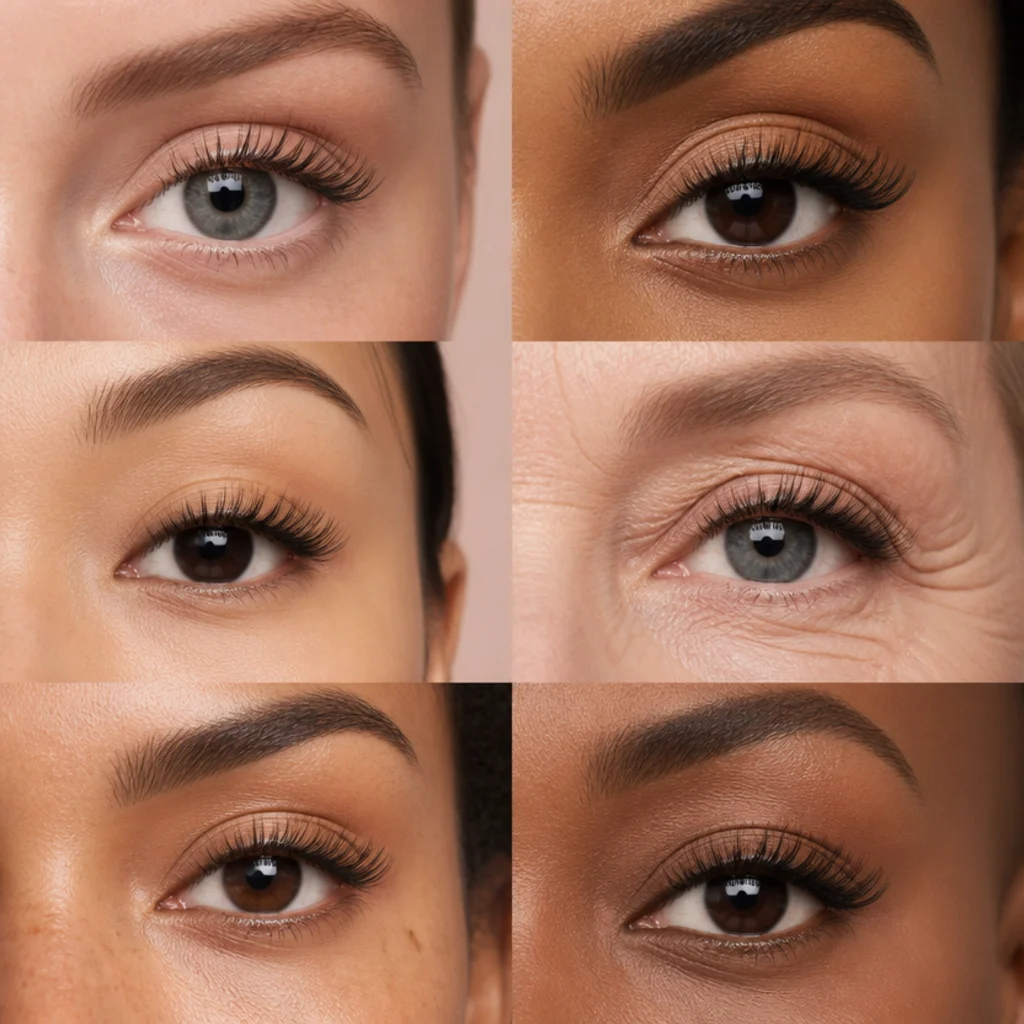
Lash mapping eye shapes is the universal finisher: adjust lash length across the eye to reshape almost any shape, no shadow required. Center length opens round eyes; longer outer lashes elongate close-set or almond eyes; a lifted map with shorter outer corners counters downturned droop; even, natural length keeps wide-set and upturned eyes balanced. It works whether you build the map with strip lashes, individual clusters, mascara technique or professional extensions, which makes it the single most adaptable idea on the chart, and the one that ties every look above together. Upkeep: varies by method, from daily mascara to a two-to-three-week extension fill. Difficulty: beginner to map, intermediate to apply falsies cleanly. Pro tip: photograph your eyes open and mark where you want length before applying, so the map is a plan rather than a guess. Ask your lash tech for a named map, "doll, cat-eye, or natural," and show the photo so you agree on the shape before any glue.
Pro Tips from the Editor
- Map with your eyes open, apply with them relaxed. Where color lands when you look straight into a mirror is all that matters for hooded, monolid and deep-set eyes; the closed-eye view lies to you.
- Direction beats product. Horizontal movement lengthens, upward movement lifts, inner darkness pulls together and outer darkness pushes apart. Learn those four moves and you can adapt any tutorial to your shape.
- Primer is a placement tool, not just staying power. On hooded and protruding lids especially, a gripping base is what keeps your mapped line from migrating into a shadow within the hour.
- Match the finish to the projection. Shimmer and foils bring a surface forward (great for deep-set), matte tones push it back (great for protruding). Pick the finish before you pick the color.
- Press metallics, sweep mattes. Patting reflective shades keeps particles dense and cuts down on fallout; sweeping scatters them across the cheek.
- Two eyes, one order of operations. Draw both wing tails, or set both inner corners, before finishing either eye, so symmetry is built in instead of corrected at the end.
- Undertone drives the palette, not the technique. The lift-lengthen-widen logic never changes across skin tones; only the shade family and contrast level shift to suit you.
Eye Shape Quick-Reference Chart
| Eye shape | Defining trait | Goal | Core move | Best finish |
|---|---|---|---|---|
| Almond | Visible crease, gentle taper | Play up balance | Symmetrical placement, halo or gradient | Any |
| Hooded | Fold covers mobile lid | Keep color visible | Map above the fold, eyes open | Matte |
| Monolid | Little or no crease | Build depth straight on | Vertical gradient from lashes up | Metallic or matte |
| Round | Curve above and below iris | Lengthen | Horizontal wing or smoke band | Matte or satin |
| Downturned | Outer corner sits low | Lift | Angle everything to the brow tail | Any |
| Upturned | Outer corner sits high | Balance | Soften the lower lash line | Satin |
| Deep-set | Recessed under brow bone | Bring forward | Light, shimmer, draping | Shimmer |
| Protruding | Full, convex lid | Recede | Matte medium-to-deep all over | Matte |
| Close-set | Under one eye-width apart | Widen | Darken outer corners | Any |
| Wide-set | Over one eye-width apart | Narrow | Darken inner corners | Any |
How to Choose / Get the Look
Start by finding your closest match on any eye shapes chart, then accept that most people blend two or three categories, so you'll pull from several rows above. Work through three quick questions. First, what's the biggest feature you want to shift: shape, spacing or projection? That points you to a row on the chart. Second, what effect do you want: lengthen (work horizontal and outward), lift (angle everything to the brow tail), widen (darken outer corners), narrow (darken inner corners), bring forward (light and shimmer) or recede (matte depth)? Third, how much time and skill do you have today, since a matte transition is a two-minute job and a floating cut liner isn't?
For hooded lids, always map placement with your eyes open so color stays visible. For deep-set eyes reach for light, shimmer and draping; for protruding eyes reach for matte depth. When booking a pro, bring a saved photo and use plain language rather than product names: "lift my outer corner," "make my eyes look longer," or "keep it visible when my eyes are open." Ask your lash tech for a map by name, such as a doll, cat-eye or natural map, and confirm the shape from your photo before any application. Always test looks in daylight and from a straight-on angle, since that's how monolids and hooded eyes are actually seen. And remember, these categories overlap constantly. They're flexible guidelines that flatter every skin tone, not fixed rules, and if a technique labeled for another shape looks good on you, it's right for you.
Frequently Asked Questions
How do I figure out my eye shape?
Look straight into a mirror in good, even light. Note three things: whether you see a crease, whether the mobile lid shows when your eyes are open, and which way the outer corner tilts relative to the inner corner. Then check spacing (is the gap between your eyes more or less than one eye-width?) and projection (do the eyes sit forward or recessed under the brow bone?). Compare those traits to an eye shapes chart, and expect to match more than one, since almost everyone is a blend of two or three.
What is the difference in almond vs hooded eyes?
The almond vs hooded eyes distinction is mostly about the lid, not the outline. Almond eyes show a clear crease and a fully visible mobile lid when open; hooded eyes have a fold of skin that drapes over part of that lid, so standard crease and liner placement can vanish from view the moment you open your eyes. You can even have an almond-shaped eye that's also hooded, which is exactly why the hooded technique, mapping with your eyes open, matters more than the label.
Can I use looks made for a different eye shape?
Yes. These categories overlap constantly, and makeup by eye shape is guidance, not law. If a technique flatters you, wear it regardless of the label on it, and plenty of people combine ideas from two or three shapes for their best result. The chart explains why something works so you can adapt it, not restrict you to one row.
What is lash mapping and does it help every eye shape?
Lash mapping means varying lash length across the eye to reshape it, using mascara technique, individual falsies, strip lashes or professional extensions. Lash mapping eye shapes works because a lifted or lengthened map can lift downturned corners, elongate close-set or almond eyes, and open round eyes, adapting to whatever shape you have. It's the one technique on this list that flatters every shape, and that's exactly why No. 30 earns the title of universal finisher.
Do eye shape rules apply across skin tones?
Placement logic is identical for every skin tone; only the shade choices change. The lift, lengthen, widen and recede techniques stay exactly the same, so you choose shadow and liner colors that flatter your undertone and give enough contrast to read on your complexion. Deep skin often carries rich metallics and brights well, olive skin loves warm bronzes and terracottas, cool undertones suit taupes, mauves and slate, but the mapping never changes.
Which eye shape is a graphic or floating liner hardest on?
Graphic and floating liner are trickiest on hooded eyes, since the fold can tuck a standard line out of sight and prints color onto the crease if it transfers. The fix isn't to avoid them — it's to map the line above the fold with your eyes open (No. 12) and use a long-wear or waterproof formula. Monolids, by contrast, are the easiest canvas for graphic liner, since the flat lid shows the whole design straight on.
How do I make eye makeup last on oily or hooded lids?
Start with a dedicated eye primer or a thin cream base, then set it with a powder shadow in a similar tone before you build. Choose long-wear gel or liquid liner over pencil on the lid, tightline the waterline with a waterproof formula, and set any lower-lash color so it doesn't travel. For hooded lids specifically, keeping the mobile lid matte and lightweight cuts down on the oil contact that causes creasing in the first place.
What is the one technique that flatters the most eye shapes?
A soft, well-placed lash map paired with a single matte transition shade comes closest to universal. Length and lift from the lashes reshape the eye without any color commitment, and one diffused transition tone adds dimension that suits almond, hooded, monolid, round and downturned eyes alike. If you take only two things from this guide, make them eyes-open mapping and lash mapping.
Are these eye shape categories actually fixed?
No, and this bears repeating: eye-shape categories overlap heavily and are guidelines, not rules. You can be hooded and downturned, or almond and deep-set, at the same time, and your shape can even read slightly differently depending on your expression and the light. Use the chart to understand the principles, stay inclusive across every eye shape and skin tone, and let what actually looks good on you override any label.