20 Eye Shape Charts to Find Your Perfect Look
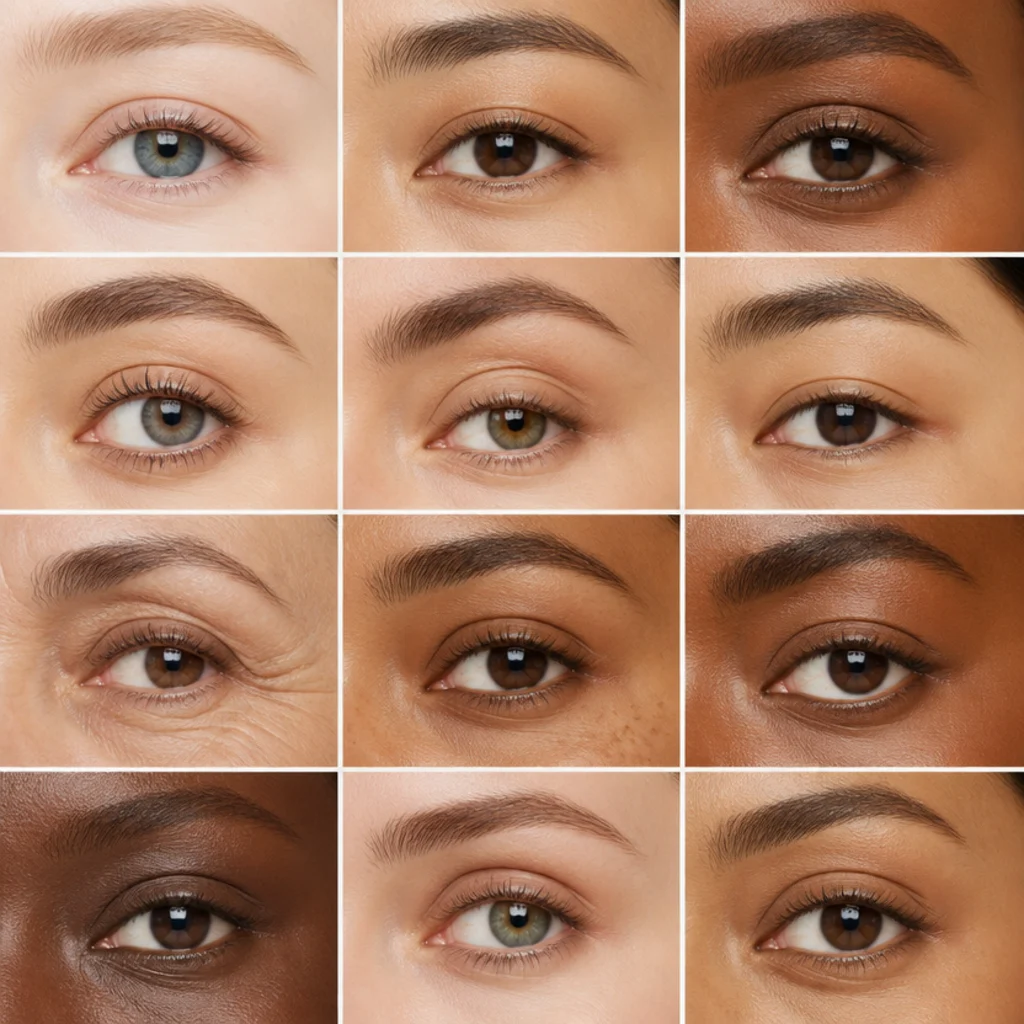
A good eye shapes chart does one thing well: it shows you exactly where your lid folds, where your lash line lifts, and where color should sit when your eyes are open and looking forward. Once you can read that, liner, lashes, and shadow stop being guesswork and turn into placement you can repeat in two minutes or twenty. These 20 charts break it down shape by shape, spacing by spacing, and technique by technique, with the shade families, finishes, and angles that actually flatter each one.
 Edited by Lena Rose · Published July 11, 2026 · 41 min read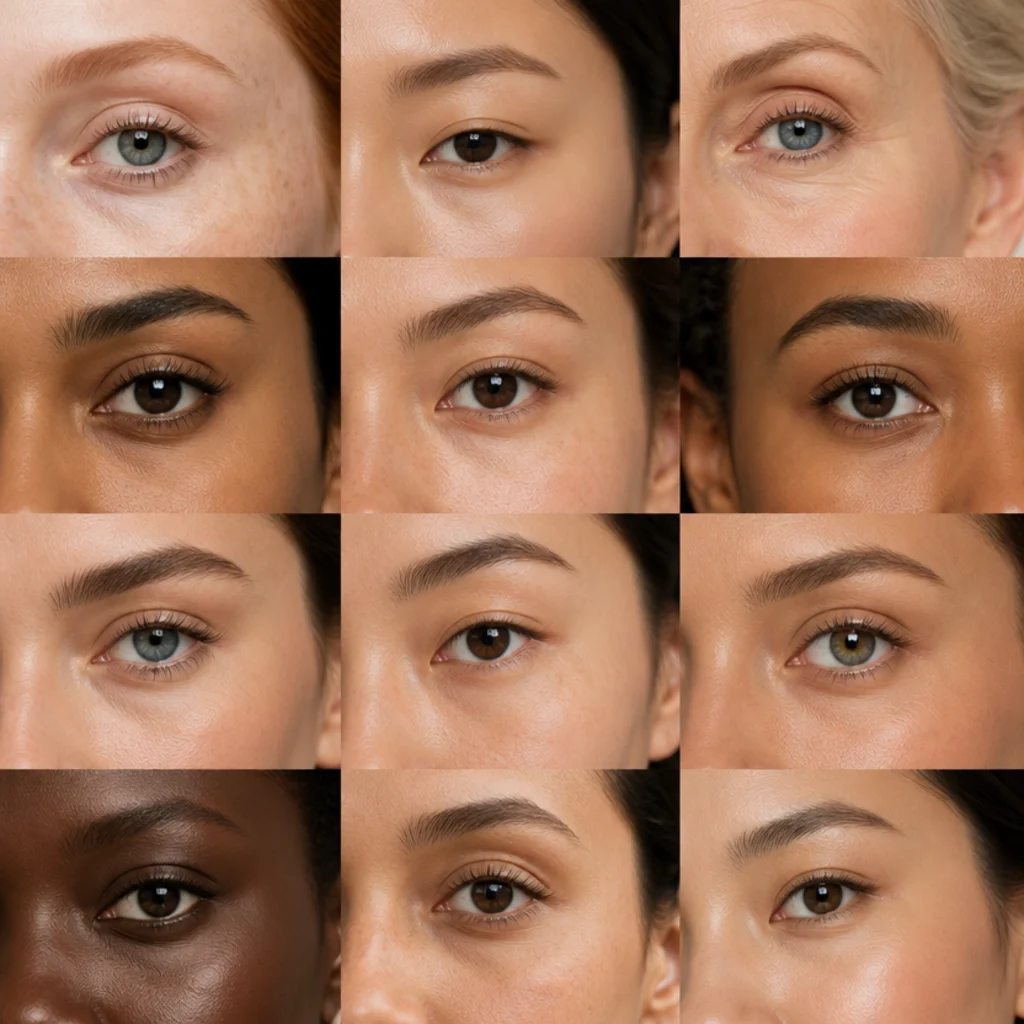
Quick Answer
- Best for: Anyone who wants makeup mapped to their real lid instead of a generic tutorial — especially if crease color keeps disappearing, liner never sits right, or a look that dazzled on the creator fell flat on you.
- Who might skip it: No one, honestly — even committed minimalists benefit from knowing their liner angle and one flattering transition shade. If you only ever wear mascara, jump straight to chart 20.
- Maintenance: Low as knowledge — learn your shape once and the map is reusable for years. As a daily look, low for almond and upturned, moderate for hooded, monolid, and prominent lids that need primer plus transfer-resistant formulas.
- Difficulty: Beginner-friendly at the base (tightline, one transition shade), scaling to intermediate for cut-crease (chart 15) and lash mapping (chart 13).
- Cost: Free to learn. A working kit — one transition shade, a tightlining pencil, a lash curler, and mascara — runs roughly the price of three drugstore products at the low end to a mid-range palette plus tools at the higher end, depending on brand.
- Wear time / longevity: The knowledge is permanent. A mapped look lasts a full 8–12 hour day with a gripping primer plus matte or satin formulas on oily, hooded, or monolid lids; shimmer and cream run shorter.
- Standout variation: The eyeliner-angle chart (12), which quietly corrects more looks than any single product swap you could make.
- How to ask your makeup artist: Name the effect — "lift," "length," "width," or "open" — plus your shape, e.g. "I'm hooded, can you map an open-eye crease and a wing that clears the fold?" rather than requesting one specific product or celebrity look.
In This Guide
- Almond Eye Shape Chart
- Round Eye Shape Chart
- Hooded Eye Shape Chart
- Monolid Eye Shape Chart
- Downturned Eye Shape Chart
- Upturned Eye Shape Chart
- Deep-Set Eye Shape Chart
- Prominent Eye Shape Chart
- Close-Set Eye Spacing Chart
- Wide-Set Eye Spacing Chart
- Almond vs Hooded Comparison Chart
- Eyeliner Angle Chart by Shape
- Lash Mapping Eye Shapes Chart
- Crease Placement Chart
- Cut-Crease Chart by Lid Space
- Eyeshadow Zone Map
- Winged Liner Shape Chart
- Smokey Eye Placement Chart
- Face-Plus-Eye Balance Chart
- Everyday Five-Minute Eye Chart
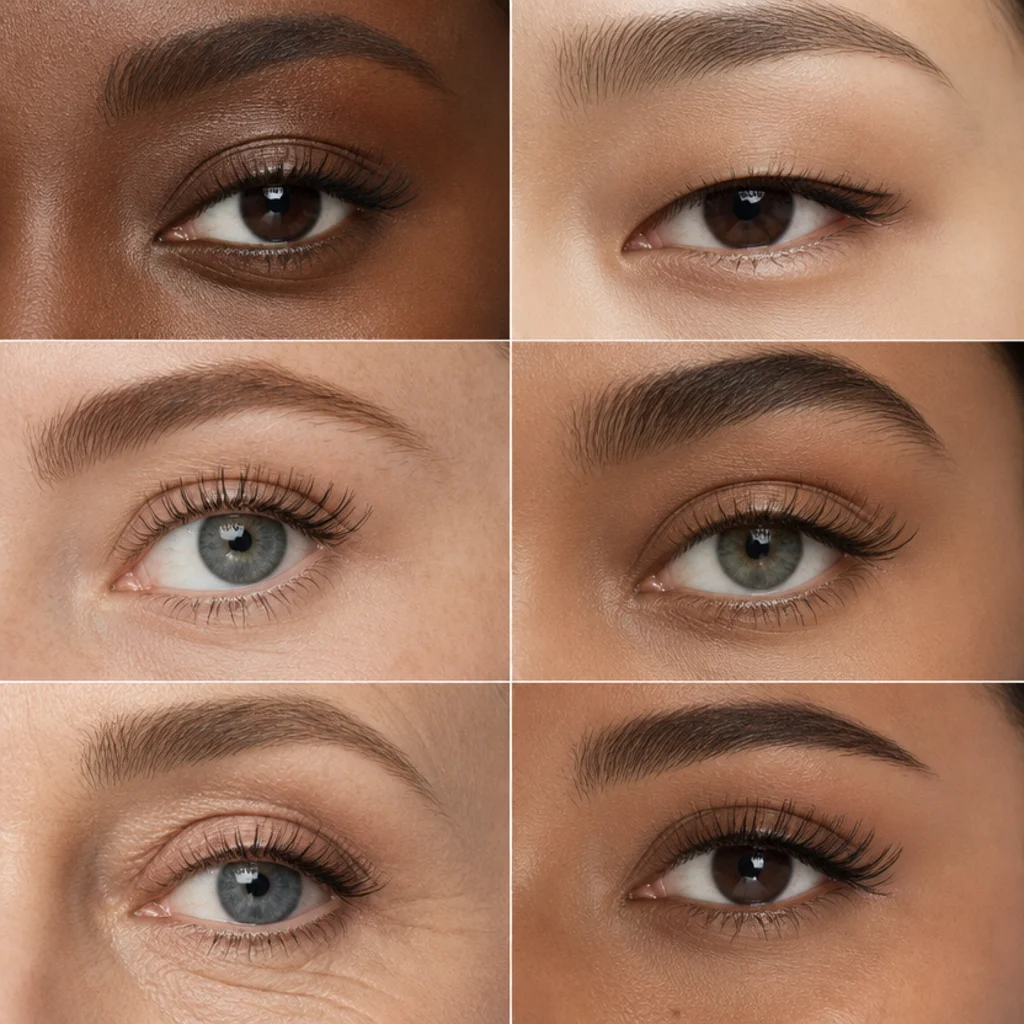
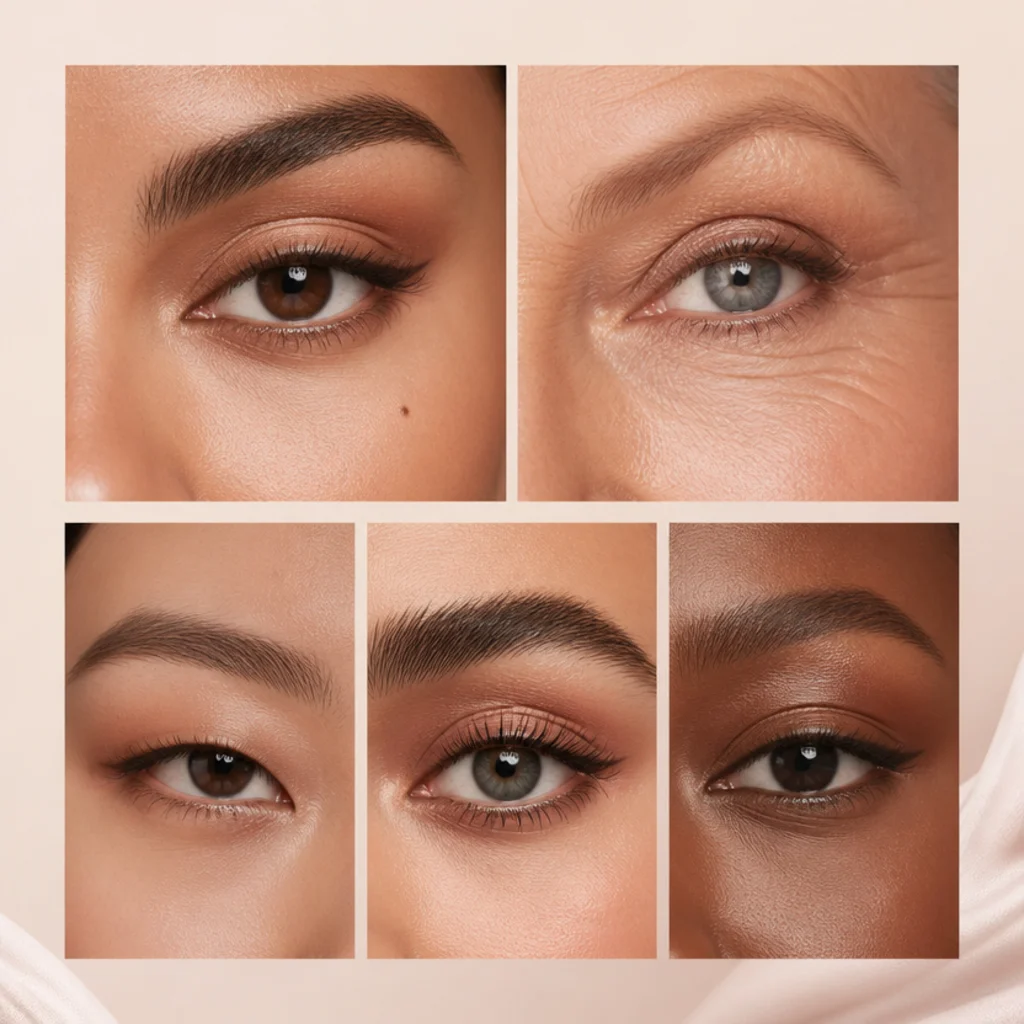
Learning to read your own eye is the fastest upgrade in makeup, faster than any new palette, brush, or viral product. An eye shapes chart turns fuzzy advice like "just smoke it out" into a specific, repeatable instruction: place the transition shade here, lift the liner tail there, cluster your longest lashes at this exact point. The 20 charts below cover the six core shapes, the two spacing patterns that rewrite how any shape reads, and the technique maps — liner angle, lash mapping, crease, cut-crease, zones, wings, and smoke — that make each one flatter instead of fight. Think of it as an eye shapes chart plus a working manual you can come back to on a rushed Tuesday or a big-event Saturday. Eye shapes explained this way also answer why a tutorial that looked incredible on the creator fell flat on you: their lid space and yours route light and color differently, so the same swipe lands somewhere else on your face. One honest caveat before you scroll — these categories overlap, and almost everyone is a blend. You might be almond with a hooded fold, or upturned and close-set at once, or all three by Friday when you're tired and a little puffy. Skin tone, lash density, brow position, and the day's water retention all shift the picture. Treat every chart as a flattering guideline you adapt to your real, changing lid, not a rule that boxes you in.
01Almond Eye Shape Chart
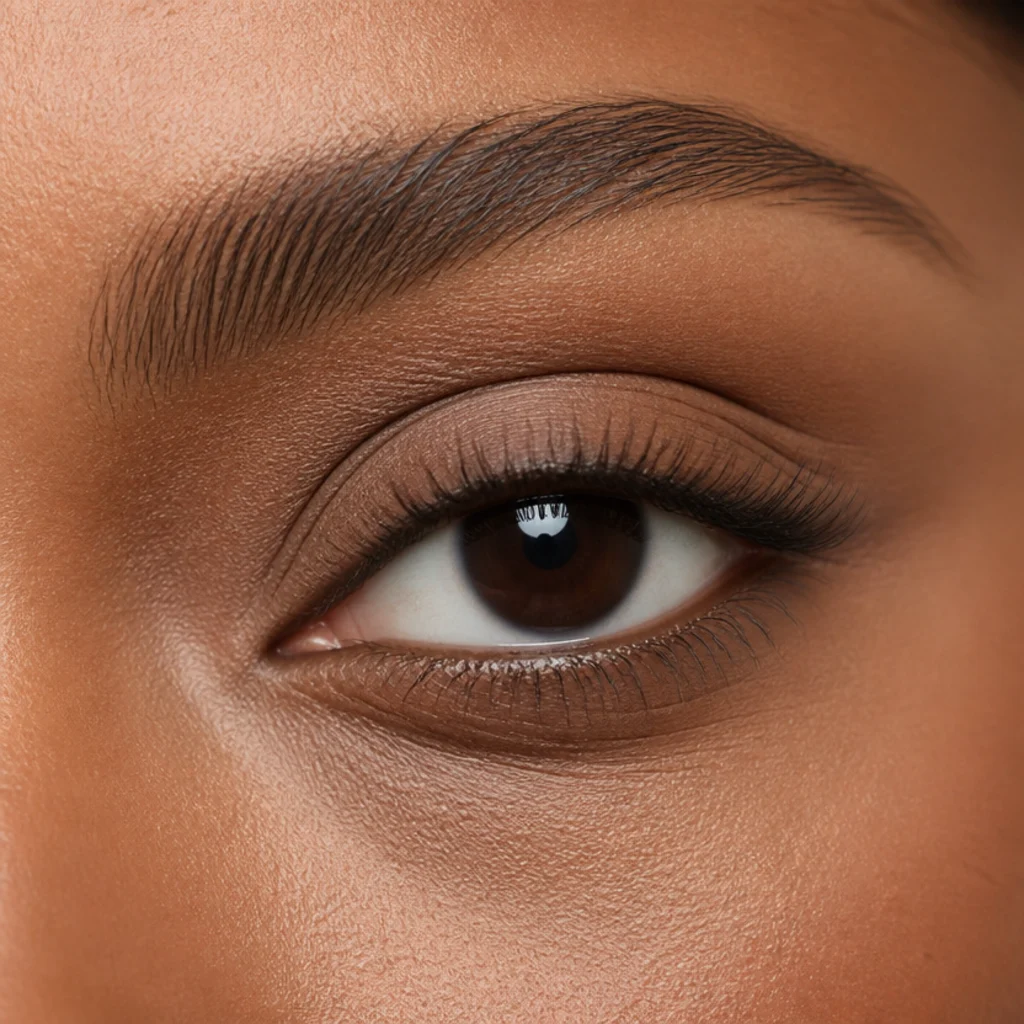
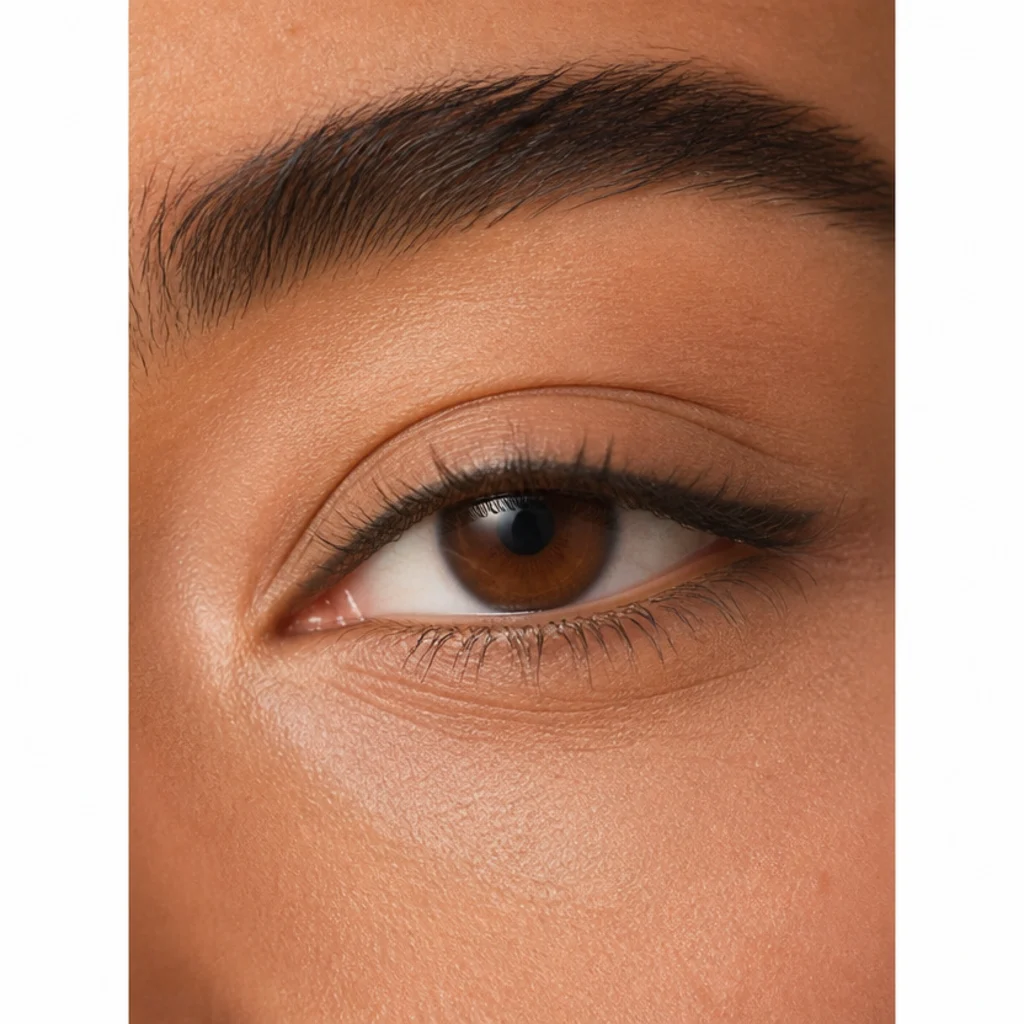
The almond is the reference shape most charts get drawn against: a clearly visible crease, an iris lightly framed top and bottom with no white showing at either edge, and outer corners that taper to a soft point angled just slightly upward. It suits nearly every technique, which is both a gift and a trap. Because nothing needs correcting, restraint and balance matter more than any single trick, and over-working an almond eye is the most common way to lose its natural elegance. It flatters just about every lash texture and length, since there's no feature to fake or fight, and it reads well on hooded-almond and upturned-almond hybrids too. Maintenance is low: a wash of neutral satin in soft taupe or warm beige across the mobile lid, a shade one step deeper buffed into the outer third, and a thin tightline along the upper waterline looks finished in under three minutes and holds all day over a light primer. For everyday, pair a warm bronze lid with brown-black liner; for evening, swap to a cool taupe crease with a soft charcoal outer V. When you want drama, extend the natural taper into a soft wing rather than a graphic flick, and echo it with outer-corner shadow so the eye elongates instead of rounding. One trick that pulls it all together: run your outer-V shade and liner tail along one continuous imaginary line so the eye reads as a single unbroken taper. Ask your artist to "define the shape I already have," not reshape it.
02Round Eye Shape Chart
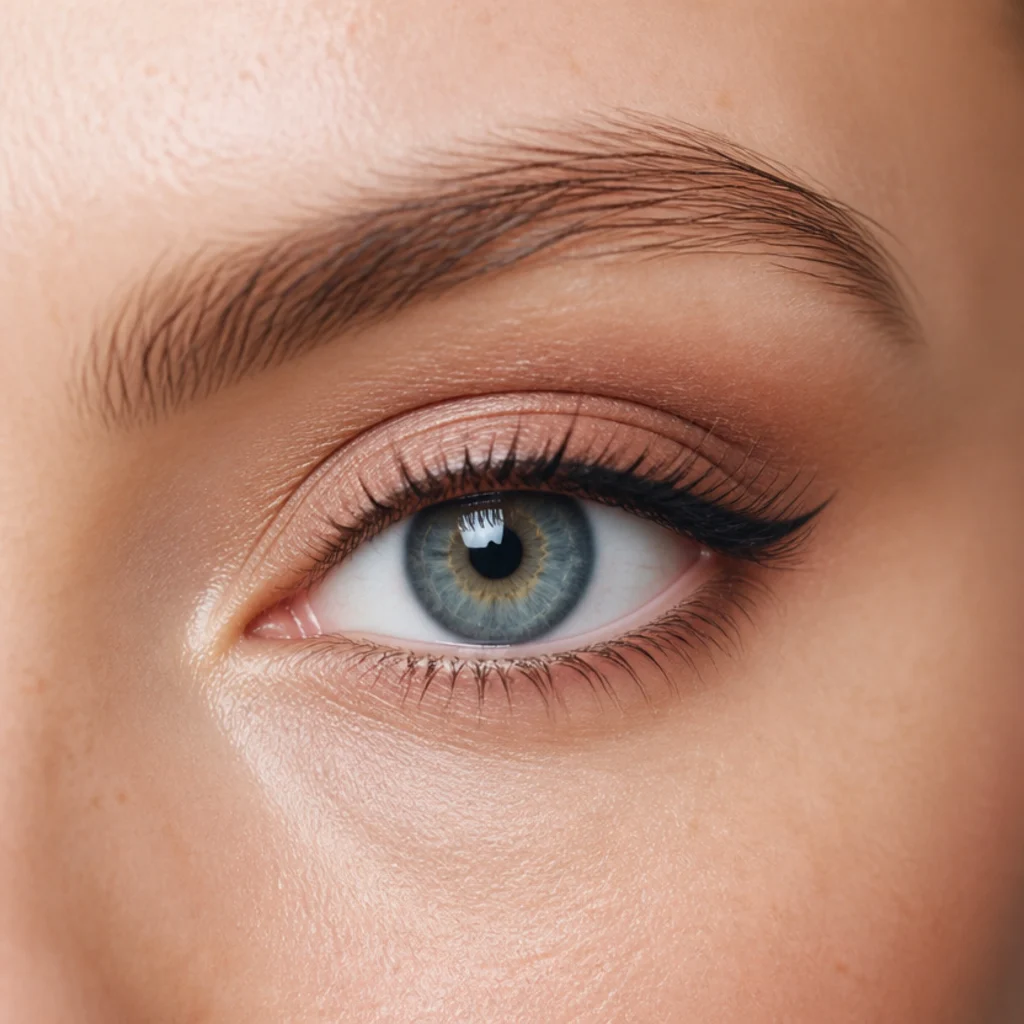
Round eyes show a rim of white or visible lid above and below the iris, giving an open, awake, youthful look that photographs beautifully but can read a touch circular under strong makeup. The goal here is almost always to add horizontal length so the eye elongates rather than widens. Deepen the outer third with a matte medium-brown, cool taupe, or soft mauve pulled slightly up and out toward the brow tail, not up and around, and keep liner whisper-thin at the inner corner, thickening only past the pupil's midpoint. The classic mistake is ringing the whole eye, lower waterline included, in dark liner — that only re-rounds it. Instead, tightline the upper waterline and stop the lower line two-thirds of the way in. Because lid space is generous, round eyes carry almost any color, so this is the shape where a true pop of plum, forest green, or burgundy actually shows. Curled lashes weighted with outer-corner length reinforce the elongation. Maintenance is minimal, but rounder eyes reveal smudged mascara fast, so reach for a waterproof or tubing formula on long or humid days. A matte shade just one step deeper than your skin, buffed only on the outer third, elongates more reliably than any liner ever will. Ask your artist to "lengthen, not open" the eye.
03Hooded Eye Shape Chart
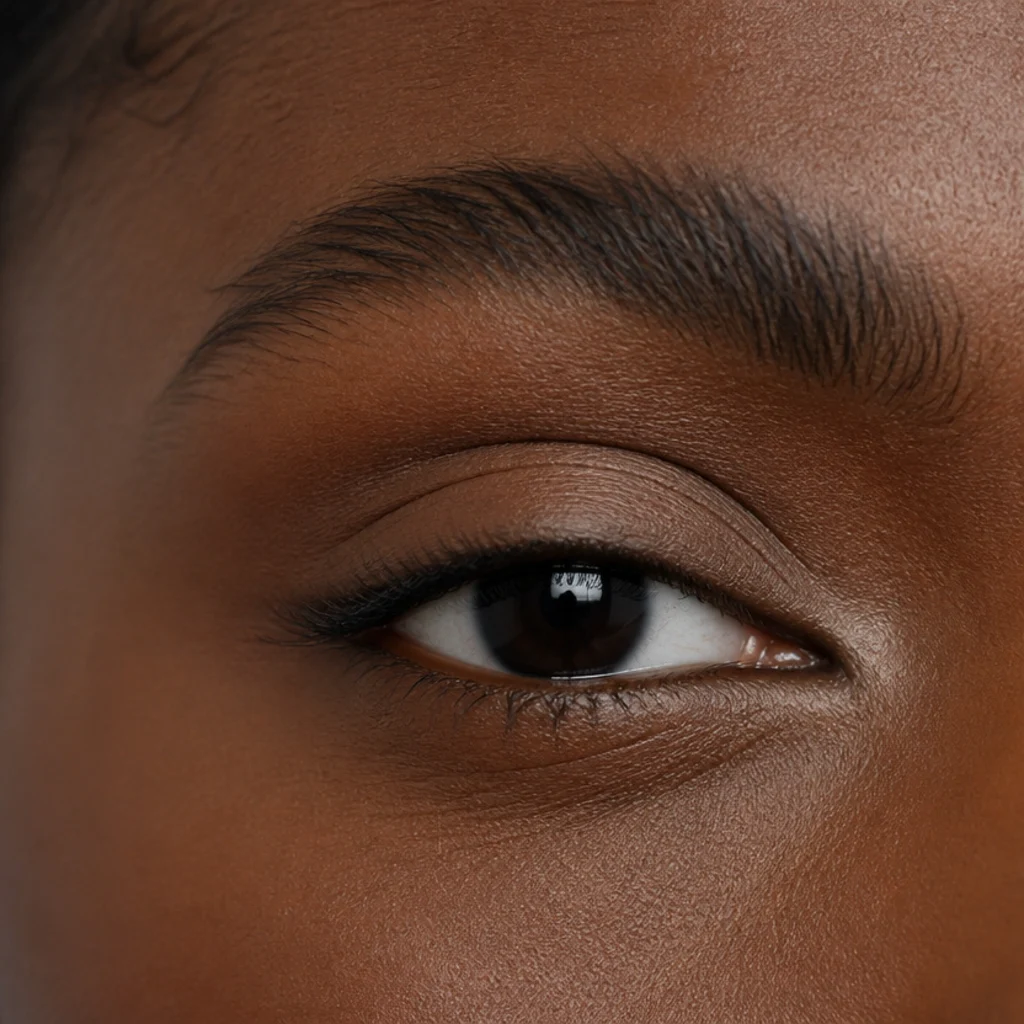
Hooded eyes carry a fold of skin that partly covers the mobile lid when the eye is open, so crease color placed the textbook way vanishes into the fold the instant you look forward. The fix is to map your working crease higher than the anatomical one: with both eyes open and looking straight ahead, feel where the hood casts its shadow, then set a matte transition shade just above that shadow line and blend upward toward the brow bone in thin, windshield-wiper passes. Keep liner thin and tight to the lashes — a thick line disappears under the hood the moment you look forward — so tightlining the upper waterline with a black or brown-black gel gives definition that survives all day. Favor matte and satin finishes in taupe, soft brown, or warm terracotta; shimmer and cream transfer onto the fold and crease within hours. This is among the most common shapes across every age and ethnicity, so modern tutorials increasingly build for it by default. Maintenance runs a little higher because of transfer, so a gripping eye primer plus a set-and-forget matte earn their place. Apply everything looking into the mirror straight-on, chin level, never with your chin dipped, or you'll place color exactly where it hides. Ask your artist for "open-eye crease mapping" and a wing that stays visible past the fold.
04Monolid Eye Shape Chart
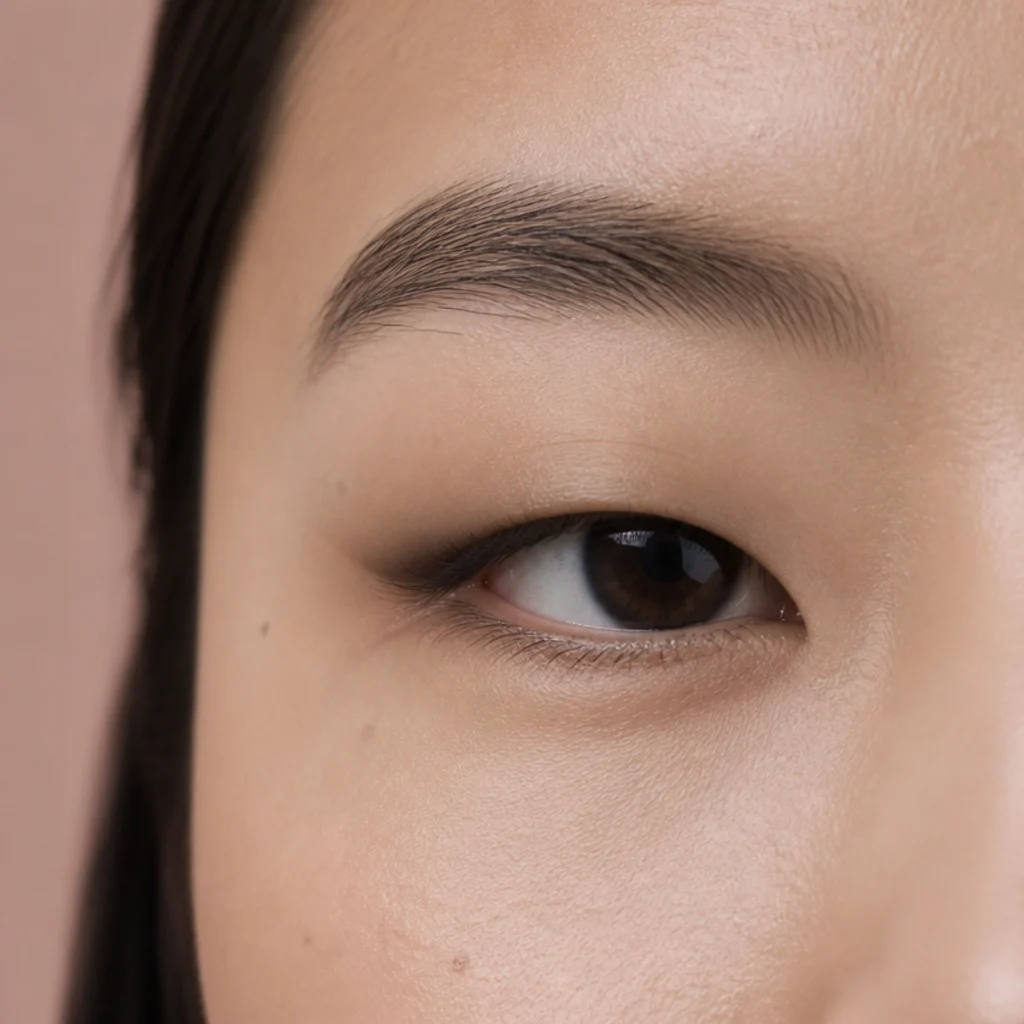
A monolid has little or no visible crease fold, giving a smooth, continuous lid surface from lash line to brow bone — a clean canvas that suits graphic and gradient looks better than almost any other shape. Because there's no crease to catch and hold color, this map builds dimension with a vertical gradient: densest and darkest right at the lash line, fading up and slightly past where a crease would normally sit, so the depth still shows with the eyes open and looking forward. Liner is your strongest ally here. A line that thickens gradually toward the outer corner adds structure without needing any fold, and bold geometric or dual-tone graphic looks land cleanly on the flat lid. Choose long-wearing, transfer-resistant, waterproof formulas, since the smooth lid keeps more contact with the brow bone and powder can migrate upward through the day. Build the gradient in thin layers and check open-eye placement often; it's easy to lay color too low, where it won't show. A cool charcoal-to-black gradient reads modern for evening, while a soft bronze-to-brown gradient keeps daytime warm and natural. Set a dark cream or gel liner along the lash line first, then press a matching powder over and just above it to lock a smoked, long-lasting base that won't slide. Ask your artist for "open-eye gradient placement," not a standard crease cut.
05Downturned Eye Shape Chart
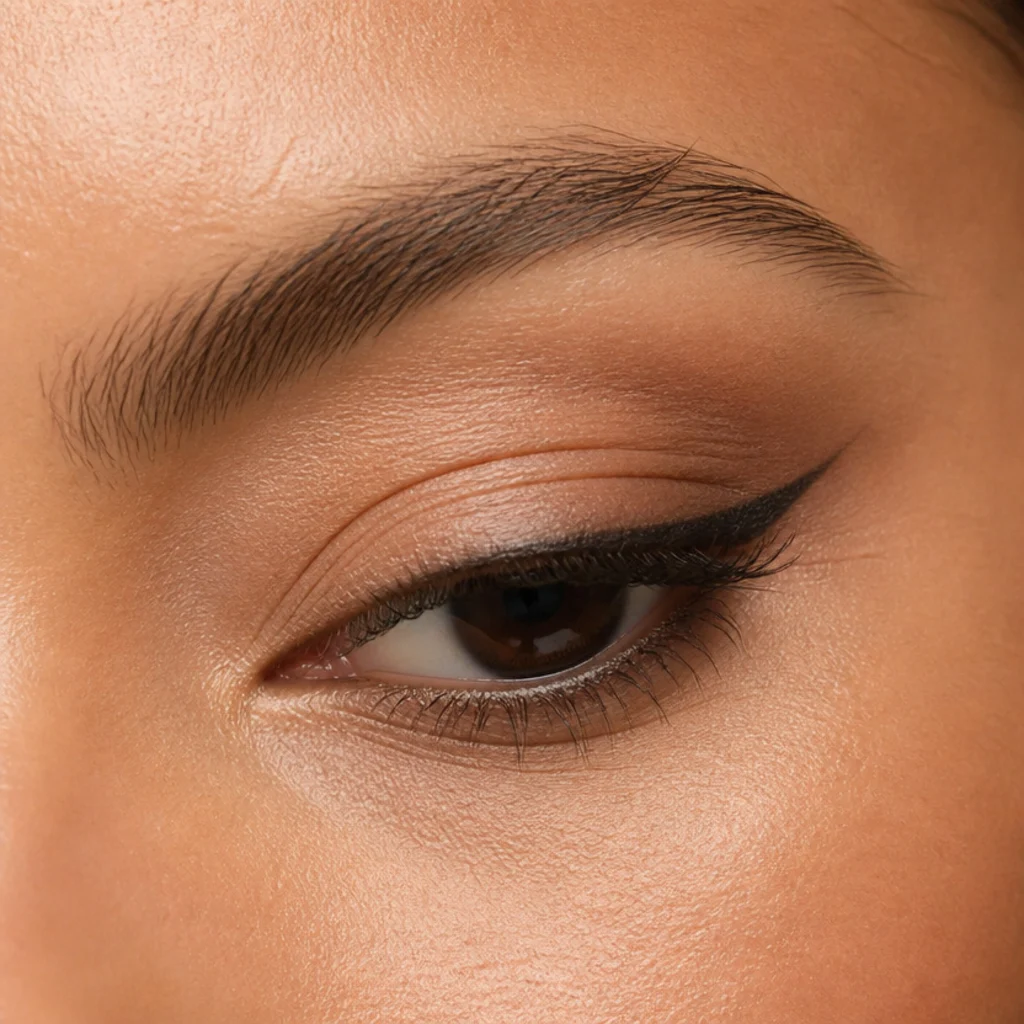
Downturned eyes slope gently down at the outer corner, where an imaginary line drawn through the center of the eye tips below the inner corner. The signature move here is a lift: draw liner that flicks up and out, aiming the wing toward the tail of the brow so the outer corner reads raised rather than drooped. Concentrate shadow depth on the upper outer corner and keep any lower liner soft, smudged, and short. A full or dark lower line drags the whole eye down and cancels the wing you just drew. Curled lashes plus a lengthening mascara weighted toward the outer edge reinforce the upward pull; a few longer individual clusters at the very outer corner do the same for lash wearers. Downturned shapes often read soft, sweet, and approachable, so a subtle lifting wing is usually all it takes to add polish without hardness — you rarely need a dramatic flick. Maintenance is low once you've found your wing angle and can repeat it. Before you draw, try this: hold a small mirror below your face and look down into it. The angle from your outer corner to your brow tail becomes obvious, and that line is exactly where the wing should point. Ask your artist to "lift the outer corner" rather than requesting a specific winged style.
Save this to Pinterest — the lifting wing angle is easy to forget mid-application.
06Upturned Eye Shape Chart
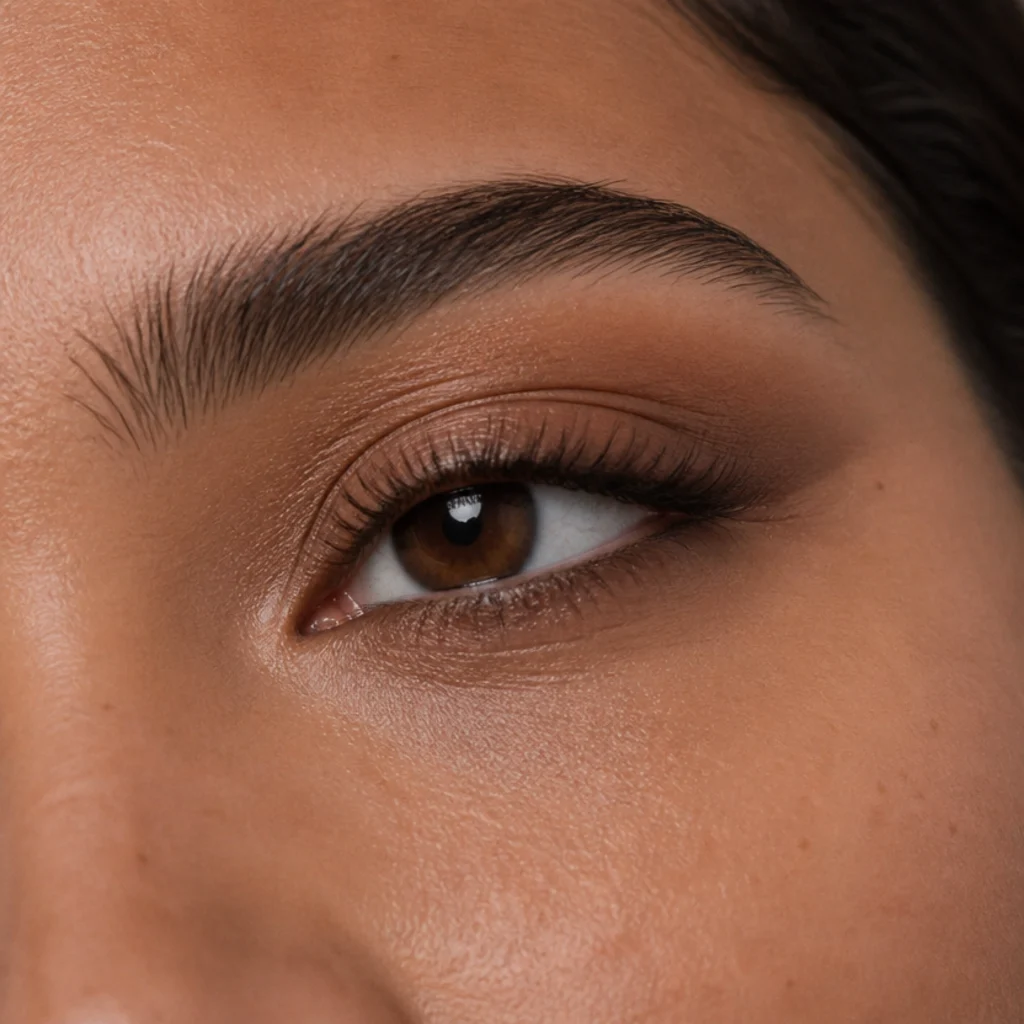
Upturned eyes already tilt up at the outer corner — the center line runs above the inner corner — making this the classic built-in "cat-eye" starting point that other shapes work to fake. Because the lift is anatomical, the work here is balance, not correction: add a little weight to the lower lash line so the eye doesn't look top-heavy or overly slanted. A soft smudge of matte shadow along the lower outer third grounds the shape and evens the emphasis top to bottom. From there you can go two directions. Lean into the tilt with a confident wing, since the natural angle fully supports even a graphic flick, or soften it with a rounded outer-corner shadow that gently offsets the upturn for a doe-eyed effect. Upturned eyes carry warm and cool shadow tones equally well, soft peach and bronze for warmth, cool taupe and slate for a sharper edge, so choose by outfit, undertone, and mood rather than by rule. Maintenance is low. Mirror your upper liner with a thin, smudged lower line that meets it just past the outer corner; that small balance point keeps even a dramatic wing from looking lopsided or sliding off the face. Ask your artist to "balance the lower lash line" so the natural lift reads intentional rather than severe.
07Deep-Set Eye Shape Chart
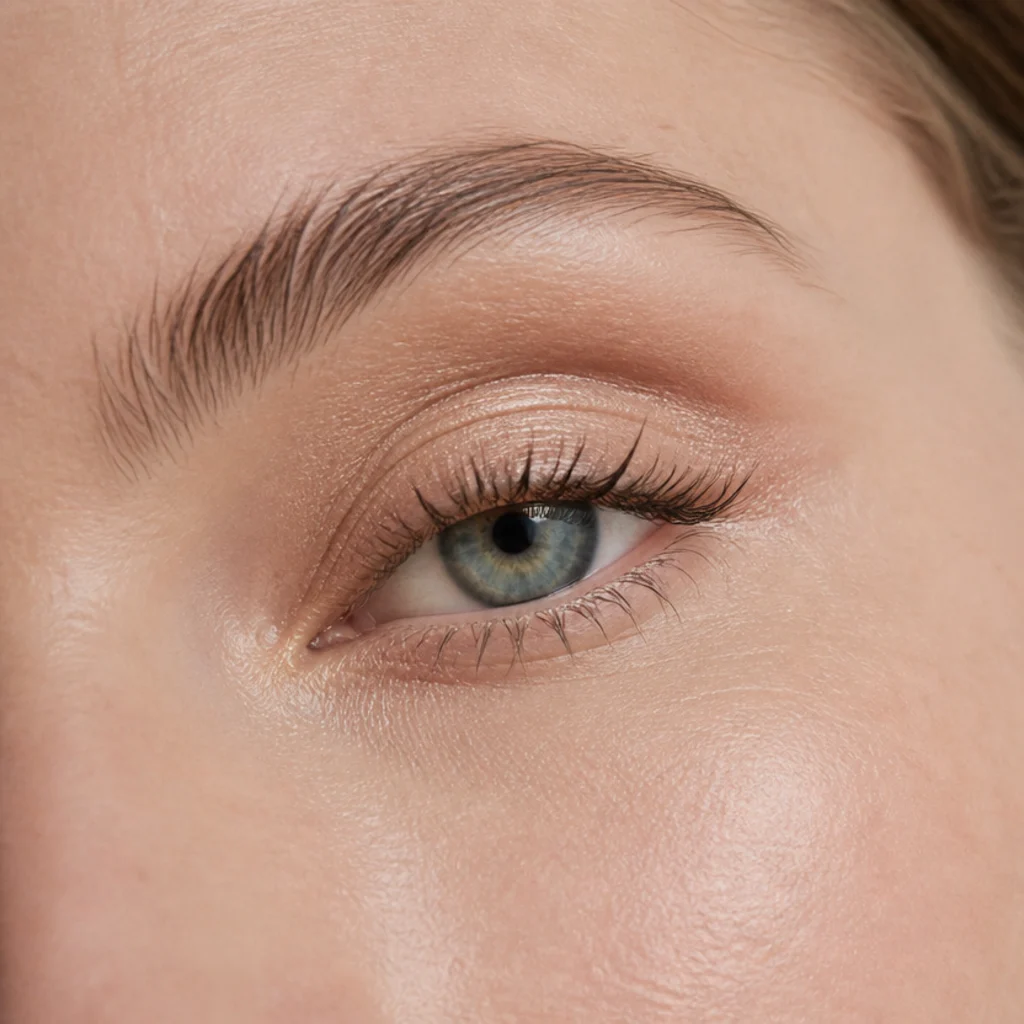
Deep-set eyes sit further back in the socket under a prominent brow bone, which casts a natural shadow across the lid and can make the eye look smaller or tired in certain light. The work is to bring the lid forward: place a light, slightly reflective satin or soft shimmer in champagne, soft gold, or pale peach across the mobile lid so it catches and bounces light, and keep any crease color muted, warm, and blended high so you don't deepen the socket that's already recessed. Avoid dark, heavy, matte lids and deep smoky crease work that push the eye back even further. Reserve your darkest shades for a thin lash-line definition instead of the socket. Curled lashes and a lifting mascara open the recessed space and stop the brow bone from swallowing it. Deep-set eyes photograph beautifully with dimension, so a soft halo — a touch more light patted at the very center of the lid — is a reliable, flattering standby for events. Maintenance is low; the real upkeep is choosing light-reflecting shades over flat ones and refreshing the lid center if it dulls by evening. A champagne or peach shimmer patted on with a flat finger, not swept with a brush, catches far more light because finger warmth grips the pigment. Ask your artist to "bring the lid forward with light."
08Prominent Eye Shape Chart
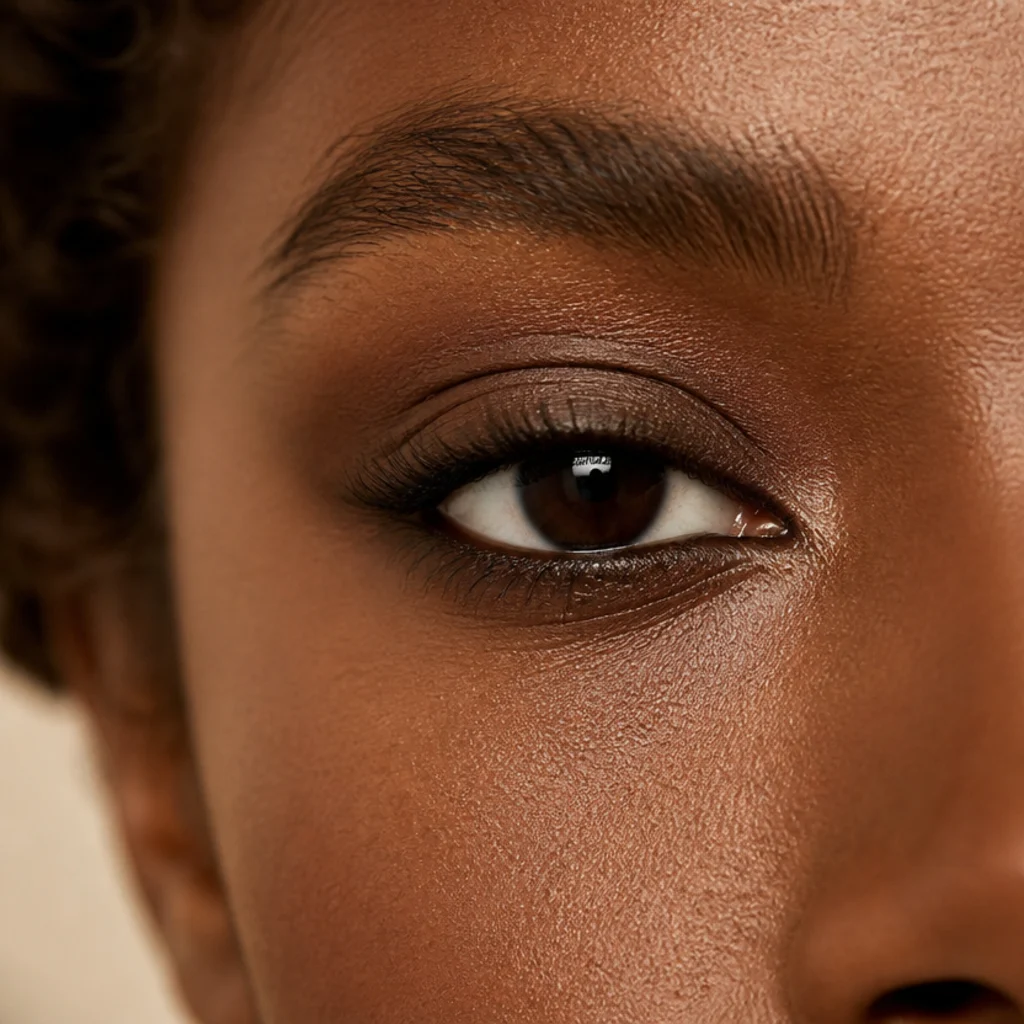
Prominent eyes have a full, rounded lid that projects slightly forward, the near-opposite of deep-set. The aim is to gently recede that fullness with medium and deeper matte shades worked across the entire mobile lid, saving any shimmer strictly for the inner corner where it can't amplify the curve. A blended wash of matte taupe, soft brown, or muted mauve over the whole lid calms the projection, while defined liner top and bottom frames the eye without adding shine. Because there's so much lid real estate, prominent eyes carry bold color and a diffused smokey look with confidence — this is one of the few shapes that can wear a full halo eye and have it read balanced rather than overdone. Maintenance is moderate: matte formulas on a projecting lid crease more readily along the fullest point, so a gripping primer and a light setting pass are worth the extra minute. Keep the brow bone highlight matte, or skip it entirely, since a glowy brow bone stacked over a full lid pushes the eye even further forward and undoes your matte work. Ask your artist for "matte depth across the lid," not glitter, which overemphasizes the forward curve and reflects light exactly where you don't want it.
09Close-Set Eye Spacing Chart
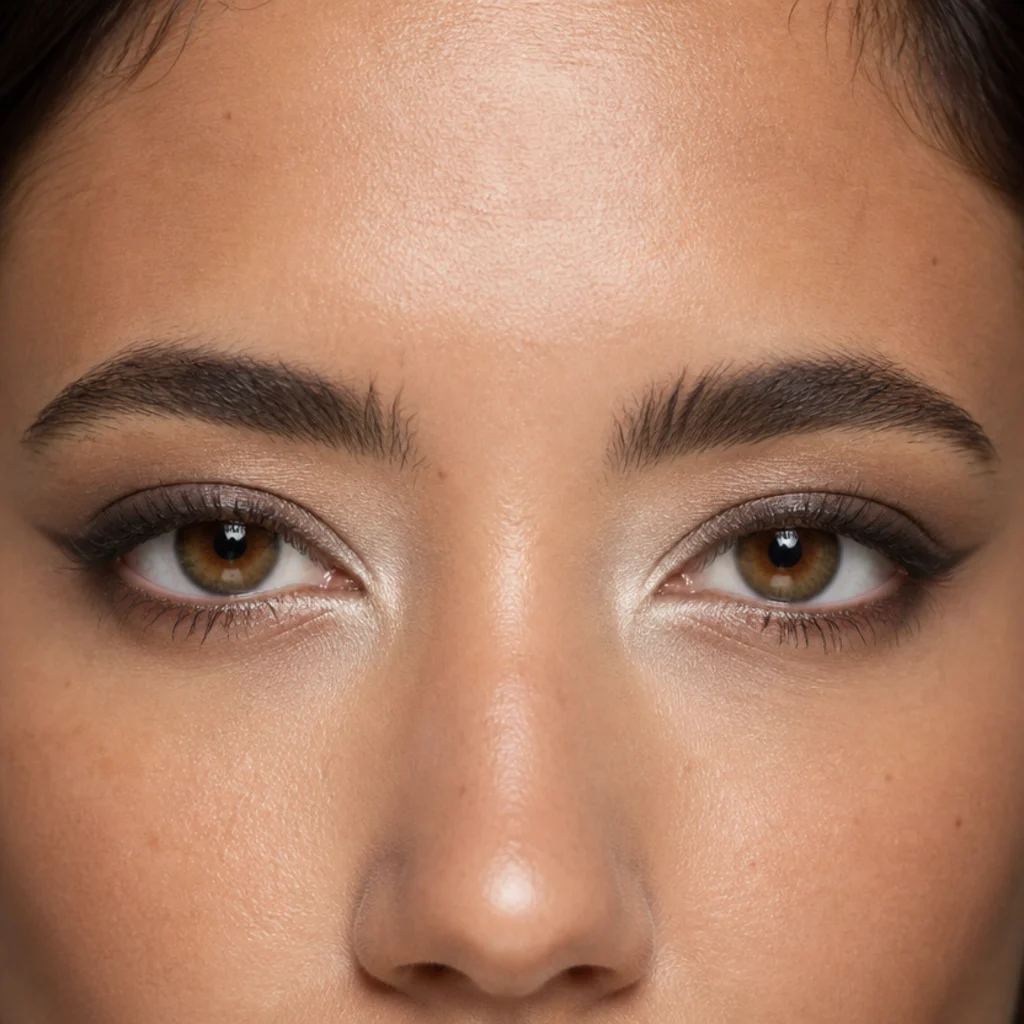
Spacing charts measure the gap between your eyes against the width of one eye. If that gap is noticeably smaller than one eye width, you're close-set, and the fix is to visually push the eyes apart. Brighten the inner corners with a light, slightly luminous shade in champagne or soft white, keep the inner half of the lid clean and pale, and concentrate all your darker color, depth, and any wing on the outer third. Pull that outer shadow outward toward the temple, not just up, so the emphasis lands away from the nose. Lower liner should fade to nothing well before it reaches the inner corner, and your longest lashes belong at the outer edge. Because close-set is about placement rather than lid anatomy, it layers over any shape — combine it with your almond, round, hooded, or monolid map rather than treating it as a separate look. Maintenance is low once the placement becomes habit. Leave the inner one-third of both the upper and lower lash line completely liner-free; that deliberate negative space widens the eyes more than any highlighter can. Ask your artist to "widen the spacing by weighting the outer corners," and mention your base shape so they can stack the two.
10Wide-Set Eye Spacing Chart
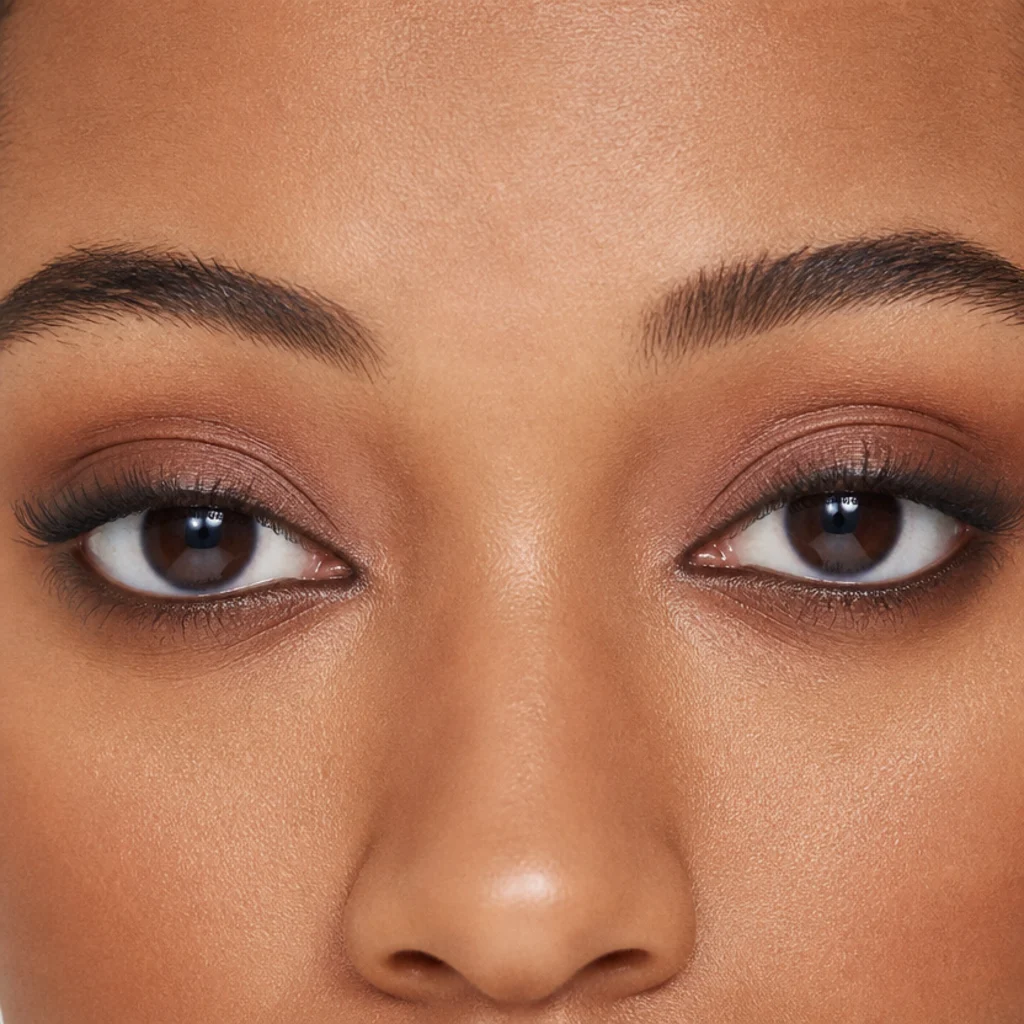
Wide-set eyes have a gap larger than one eye width, and this reverses the close-set approach entirely: draw attention inward. Bring shadow and liner slightly toward the inner corners, extend liner along the full lash line from the very inner edge outward, and deliberately skip the bright inner-corner highlight that would only push the eyes further apart. A soft, even wash of a single mid-tone running from inner to outer keeps the focus central rather than pulling emphasis out to the temples. Wide-set eyes often read as open, serene, and doll-like, a coveted editorial look, so this is fine-tuning to balance the face, not a flaw to correct. Like close-set, wide-set is a spacing pattern, so pair it with whichever shape chart matches your lid: a wide-set hooded eye still needs the higher false crease, just weighted inward. Maintenance is low. Start your liner as a hair-thin line right at the inner corner, the one spot most shapes deliberately avoid, and let it thicken gradually toward center; that inner definition is what visually narrows the gap. Ask your artist to "bring the eyes closer with inner-corner emphasis," and note whether you also want your base shape defined.
11Almond vs Hooded Comparison Chart
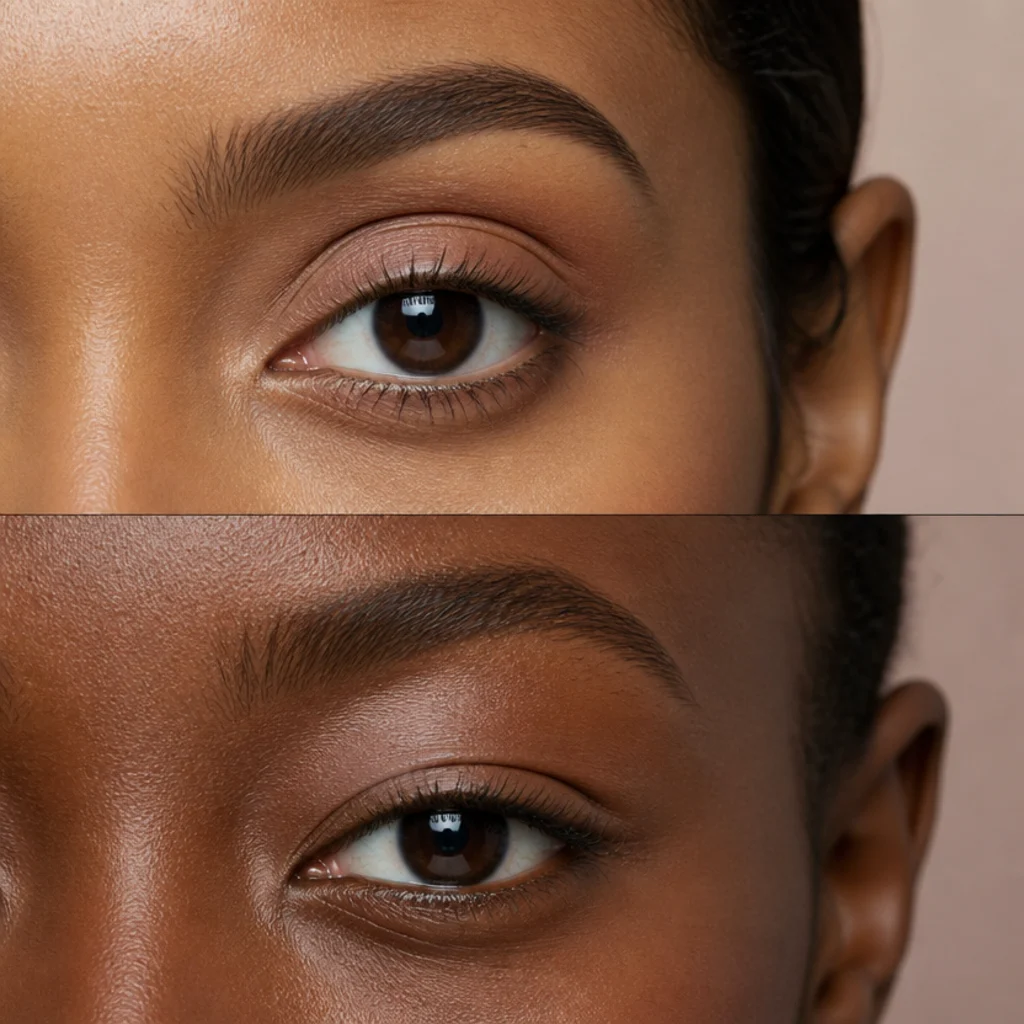
The almond vs hooded question trips up more people than any other, because a hooded eye can look convincingly almond when closed — the fold only shows itself once the eye opens. The tell is always the open eye: on an almond, the crease and mobile lid stay visible when you look straight ahead; on a hooded eye, a fold of skin covers part or all of that crease. Verdict: check with your eyes open in a mirror, never shut. If your carefully placed crease shade disappears the moment you look forward, you're hooded and should map color to the higher false crease. If it stays put and visible, you're almond and can place color in the crease itself. Many people are almond-hooded hybrids who borrow from both maps depending on the day, their brow, and how rested they are.
| Feature | Almond | Hooded |
|---|---|---|
| Crease with eyes open | Visible | Partly or fully covered by fold |
| Where crease color goes | In the natural crease | Above the fold, on the false crease |
| Liner thickness | Thin to medium, flexible | Thin and tight; thick line vanishes |
| Best shadow finish | Any, incl. shimmer | Matte and satin (less transfer) |
| Wing style | Classic, follows lower lash line | Short baby wing or floating liner |
| Primer priority | Optional for all-day wear | Essential to fight fold transfer |
Photograph your own open eye straight-on with your phone in daylight; the still image settles the question faster than a live mirror, because you're not unconsciously widening your eyes to see. Ask your artist to "confirm my open-eye crease" if you're still unsure which map to follow.
12Eyeliner Angle Chart by Shape
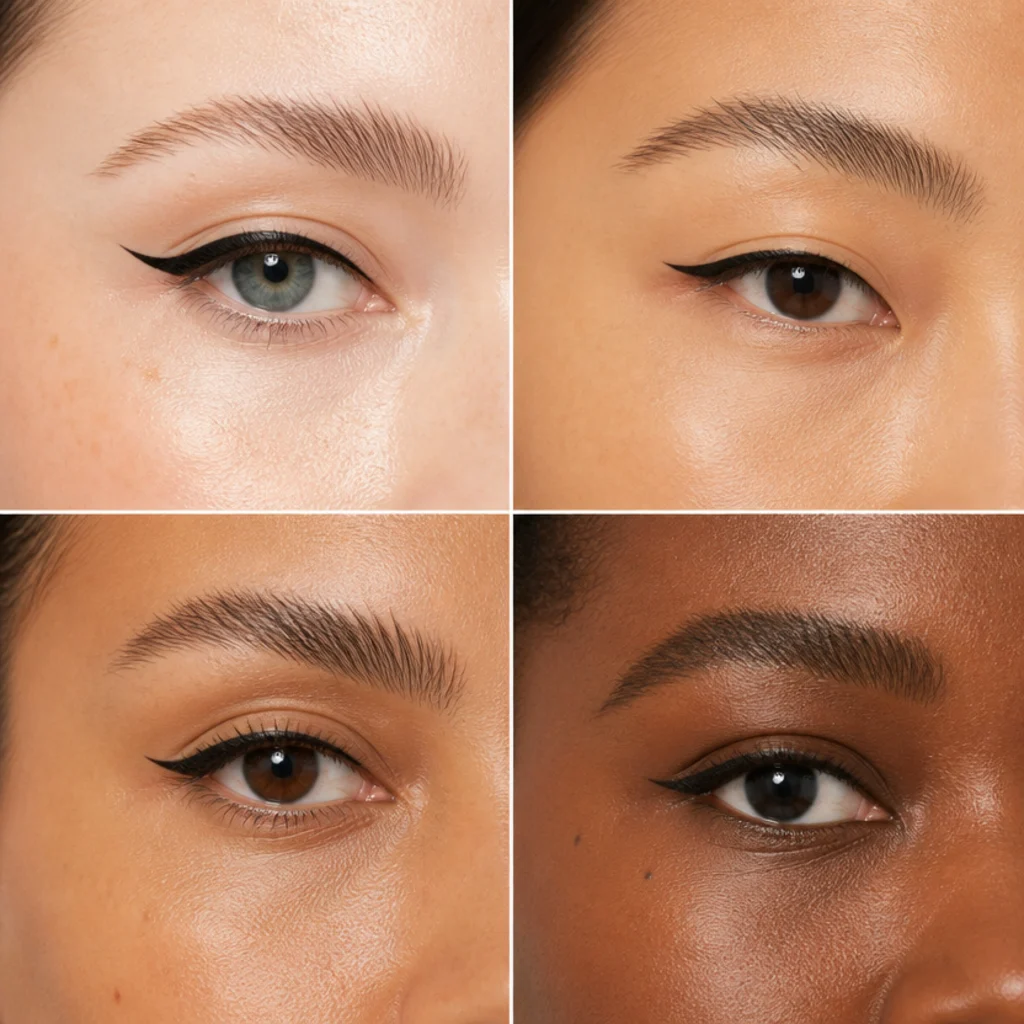
One liner angle does not suit every eye, and this is the single chart that corrects the most looks for the least effort. Downturned eyes want a wing aimed high toward the brow tail to counter the droop and lift the outer corner. Hooded eyes want a shorter wing, or a floating one drawn above the fold, that stays clear of the hood when the eye is open, so it doesn't smear or disappear. Almond eyes can follow the lower lash line straight out for a classic, forgiving flick that rarely misses. Round eyes want the wing to start past the pupil's midpoint so it adds length rather than more roundness. Monolids do best with a line that thickens gradually toward the outer corner instead of a sharp, isolated flick that would sit invisibly against the flat lid. The starting move for any of these: extend an imaginary line from your lower lash line outward as the baseline, then adjust up for lift or out for length depending on your goal. Use a felt-tip for crisp graphic wings and a gel pencil for smudged, forgiving ones. Map the wing's endpoint with a single dot first, check it with both eyes open, then connect. Placing the tail before you commit is the most reliable defense against asymmetry. Ask your artist to "match the wing angle to my shape," not to copy a photo.
13Lash Mapping Eye Shapes Chart
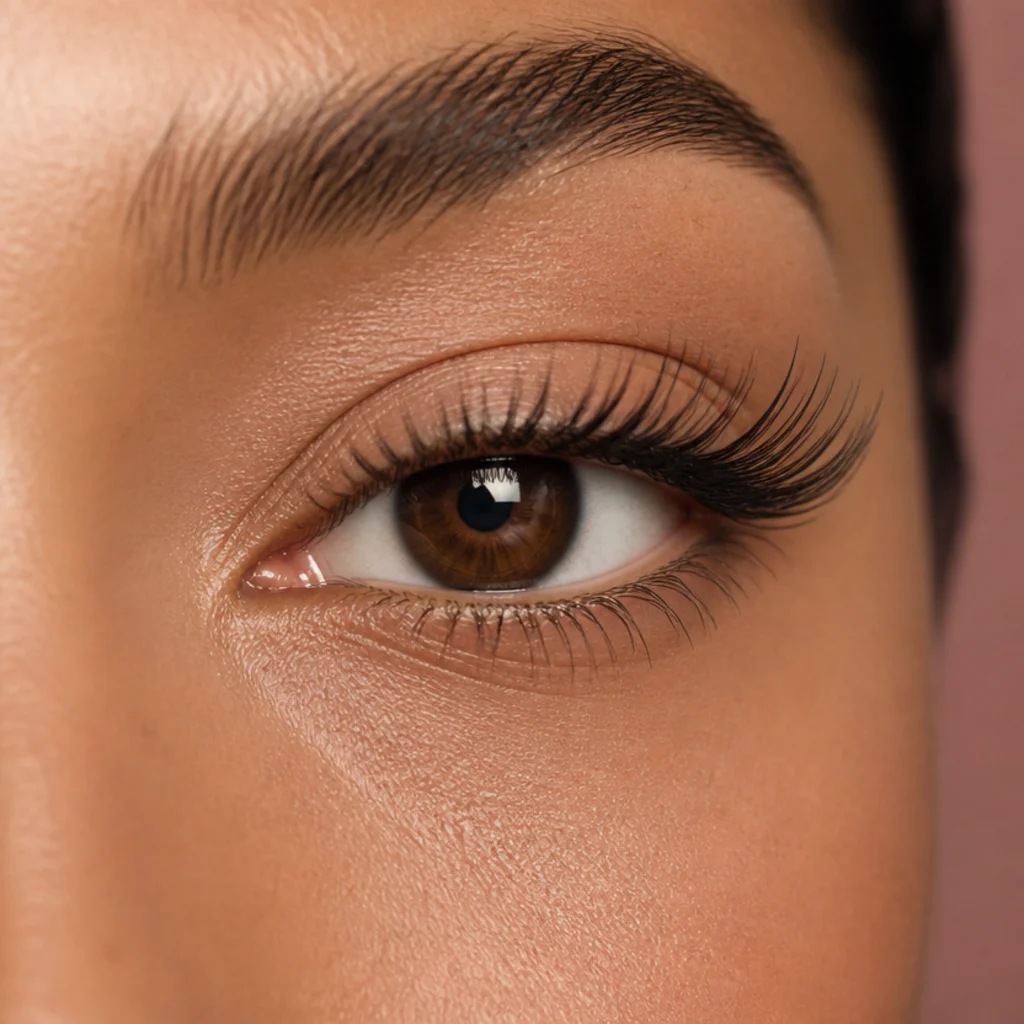
Lash mapping means matching lash length and curl to specific zones across your lash line rather than applying one uniform length edge to edge, the same zone-by-zone logic a lash artist uses when planning extensions. Downturned eyes lift with the longest lashes and a stronger curl concentrated at the outer corner. Round eyes elongate with added length in the outer third and a natural, shorter inner corner. Almond eyes suit an even, natural map or a subtle outer accent, since the shape needs no correction. Hooded eyes benefit from an overall stronger curl so lashes clear the fold instead of pressing against it and smudging, plus a little extra length toward the outer edge. Close-set eyes place the longest lashes outward to widen the apparent spacing; wide-set eyes keep length more central to draw the eyes in. Whether you wear strips, individual clusters, or book a professional extension set, this map tells you where the emphasis belongs before you pick a single lash. Curl before mascara, and for hooded lids, use a heated curler or give a second gentle squeeze at the very base. A lash that holds its lift is what keeps the fold from swallowing your work by lunchtime. Ask your lash artist for a "map weighted to the outer corner," or to the center if you're wide-set.
14Crease Placement Chart
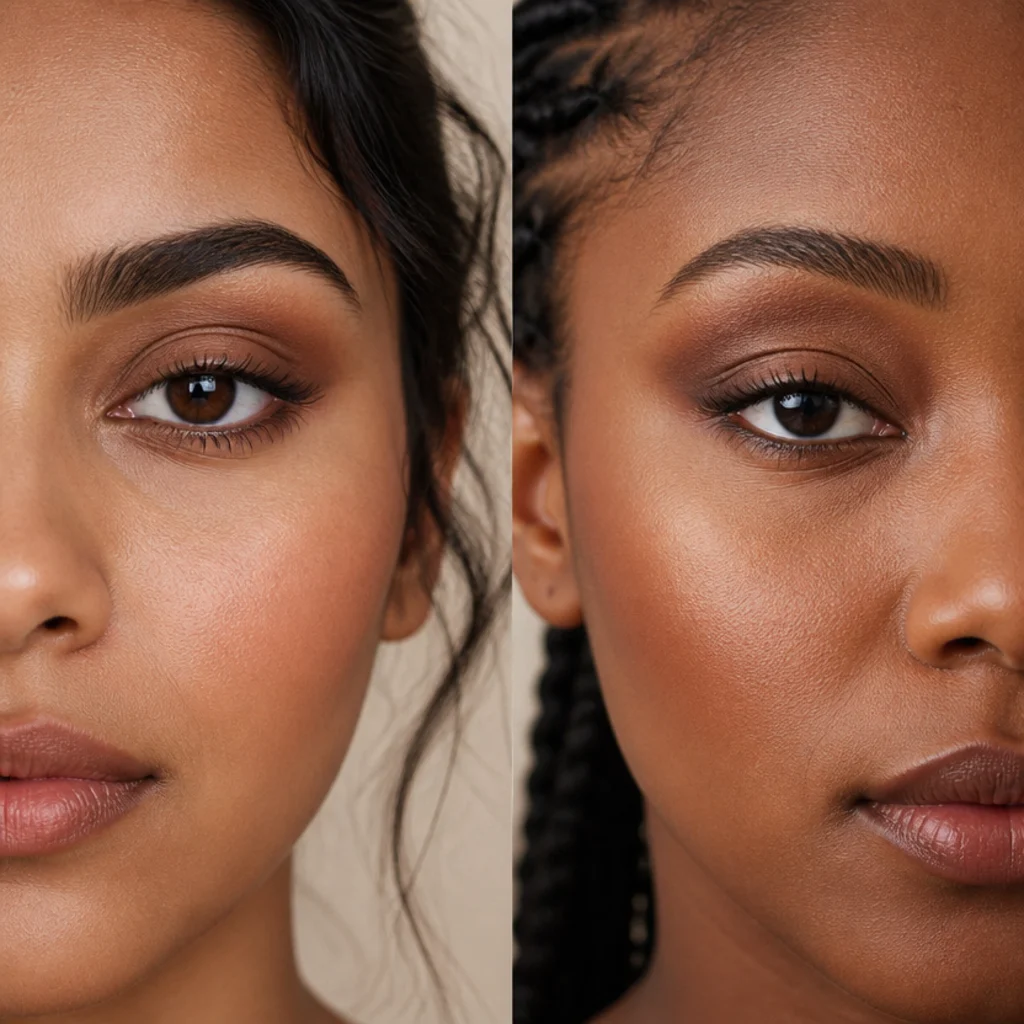
Crease color is where most eye looks succeed or fail, and there are only two placements that cover nearly everyone. For almond, monolid-with-space, upturned, and any open-crease eye, blend your transition shade into the actual crease and just slightly above it, so the depth follows your natural anatomy and moves with your eye. For hooded eyes, ignore the anatomical crease entirely and set color at the false crease, the highest point that stays visible with the eyes open, which is almost always higher than instinct suggests. Whichever applies, build in thin layers with a fluffy, tapered blending brush and check with your eyes open every few passes rather than trusting how it looks shut. The single most useful habit here is applying crease color while looking straight into the mirror, chin level and not tipped down, so you place it exactly where it shows in real life. Use a shade only one to two steps deeper than your skin as the transition first, then reserve any darker crease color for a smaller, more targeted second pass. Over-darkening a misplaced crease is the hardest mistake in eye makeup to blend back out, and a clean fluffy brush with no product, worked in small circles, is your undo button. Ask your artist to "set my working crease for open eyes," and to show you the height so you can repeat it.
15Cut-Crease Chart by Lid Space
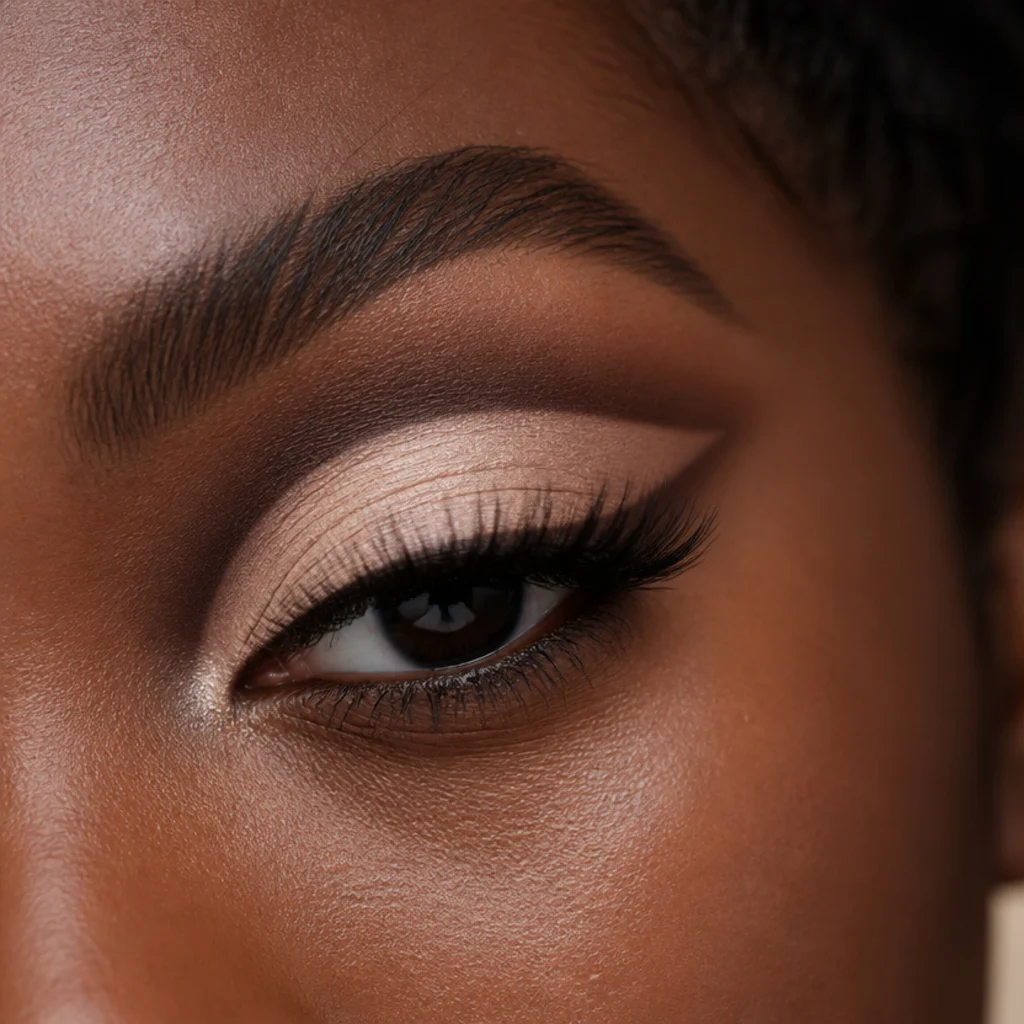
A cut crease carves a crisp line between a bright, clean lid and a deeper, defined crease, and this chart scales the technique to your available lid space instead of forcing one version on everyone. Generous mobile lids can take a bold, high cut with strong light-to-dark contrast and a graphic edge that reads dramatic in photos. Hooded and smaller lids do far better with a soft, low cut placed right at the visible lid edge, or a "smoked" cut with blended rather than razor-sharp edges, so the definition doesn't vanish into the fold. The method: set a concealer or light cream base on the lid, tap it down with a shimmer topper if you want brightness, then draw the crease line just above it with a small, stiff brush and a deeper shade or gel. Keep the lid shade clearly lighter than the crease so the separation reads even in low light, and always build the cut line thin first — you can sharpen it, but you can't easily un-cut it. Difficulty: intermediate; try this once you're comfortable with basic crease placement (chart 14). For hooded eyes, do the entire cut with your eyes open and stop the crease line where the fold begins. A razor-sharp cut that lives under the hood is wasted effort you'll never see. Ask your artist for a "soft cut crease sized to my lid," not a full graphic cut.
Save this to Pinterest and revisit it when you are ready to level up your crease game.
16Eyeshadow Zone Map
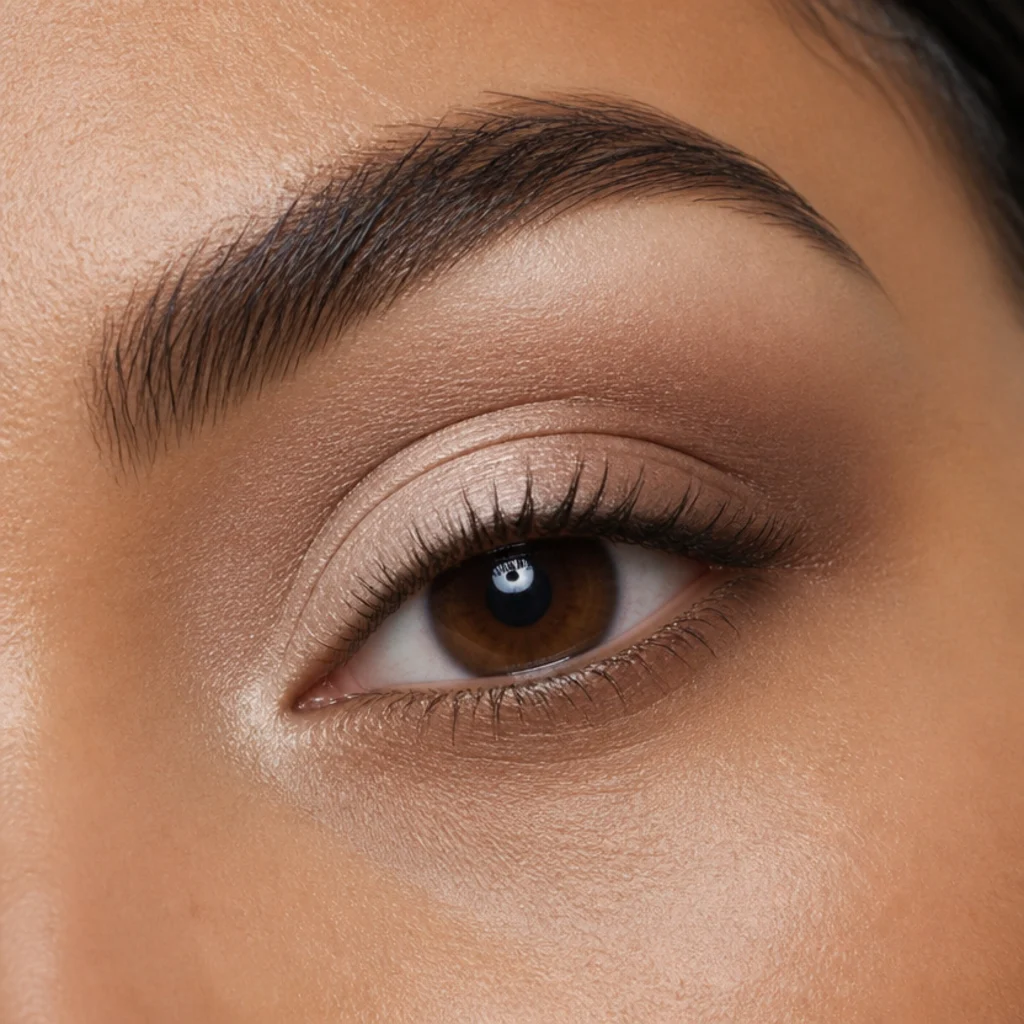
Every eye look, from a two-minute wash to a full glam, uses the same five zones, and naming them makes any tutorial instantly easier to follow: inner corner, mobile lid, crease, outer V, and brow bone. The zone map is universal, but how much space each zone gets, and how much emphasis it carries, depends entirely on your shape. Hooded eyes have a small visible lid and a high working crease, so the outer V does the heavy lifting for depth while the lid stays simple. Deep-set eyes want light on the lid and real restraint in the crease so the socket doesn't sink further. Monolids blur the lid and crease into a single vertical gradient rather than treating them as separate zones. Prominent eyes spread matte depth across the whole lid zone to recede the fullness. Round eyes weight the outer V outward for length rather than up for height. Learn the five zones once and you can translate any look you see, on any face, in any tutorial, to your own eye with confidence. Keep one brush per zone: a flat packer for the lid, a fluffy dome for the crease, a small pencil brush for the outer V and lower line. It blends cleaner and faster than juggling a single brush between wet and dry finishes. Ask your artist to "walk me through where each zone sits on my eye," then photograph it for reference.
17Winged Liner Shape Chart
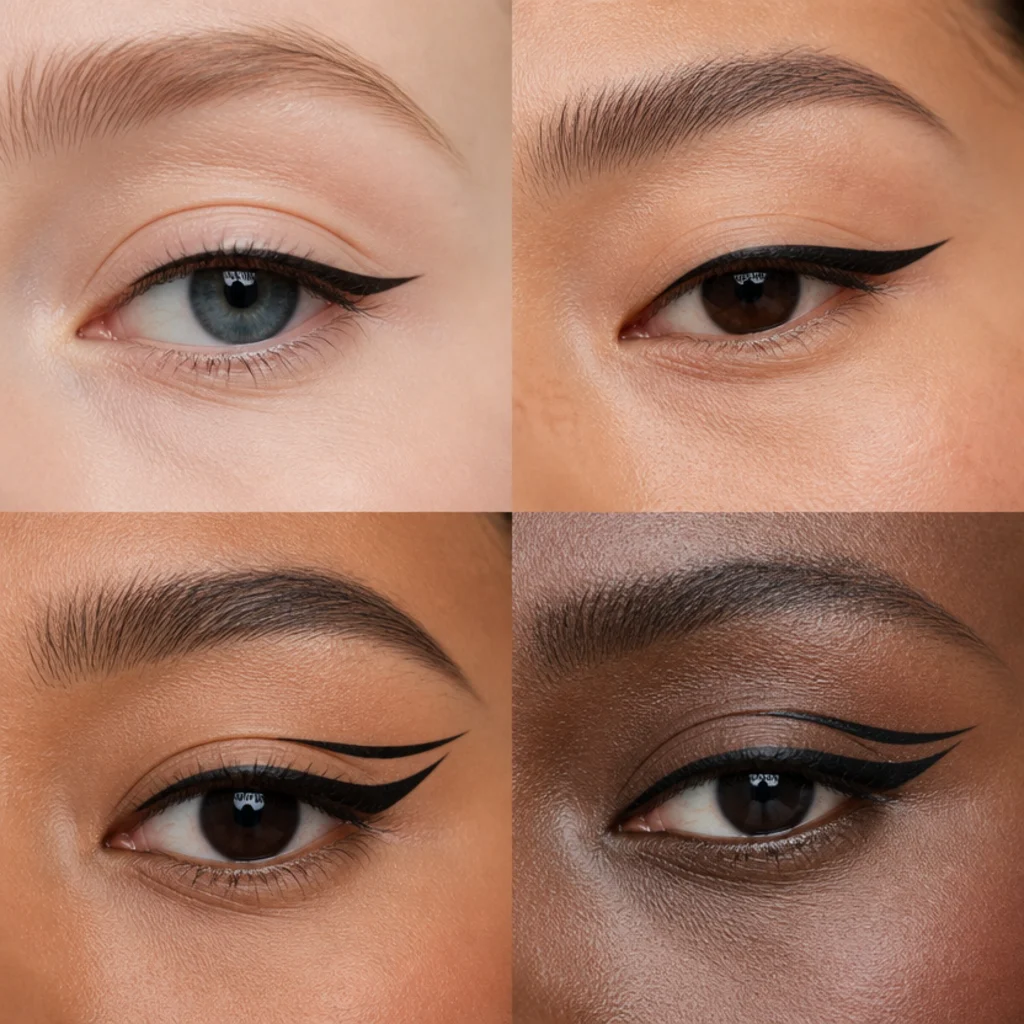
Not all wings are equal, and this chart sorts them by drama and by the shape each one flatters. A subtle "baby wing" barely extends past the lash line and flatters hooded and downturned eyes, where a big flick would either hide under the fold or exaggerate the droop. A classic wing follows the lower lash line straight outward and suits almond eyes, which carry it without any correction. A graphic wing lifts high and dramatic and works best when there's open lid space to display it, think prominent, round, or almond lids with room to spare. A double wing or floating liner sits above a hooded fold specifically so it stays visible with the eyes open, and it's the reason so many hooded makeup lovers gravitate to graphic looks. For a clean guide edge, a strip of tape or the edge of a card angled from cheek to brow tail helps; freehand with small connected dashes rather than one long stroke is far more forgiving for shaky mornings. Build the wing thin first and thicken from the bottom edge upward. You can always add height, but you can never un-thicken, and thickening downward eats into your precious lid space. Keep a cotton swab dipped in micellar water on hand to carve the underside sharp. Ask your artist for "the smallest wing that reads on my open eye."
18Smokey Eye Placement Chart
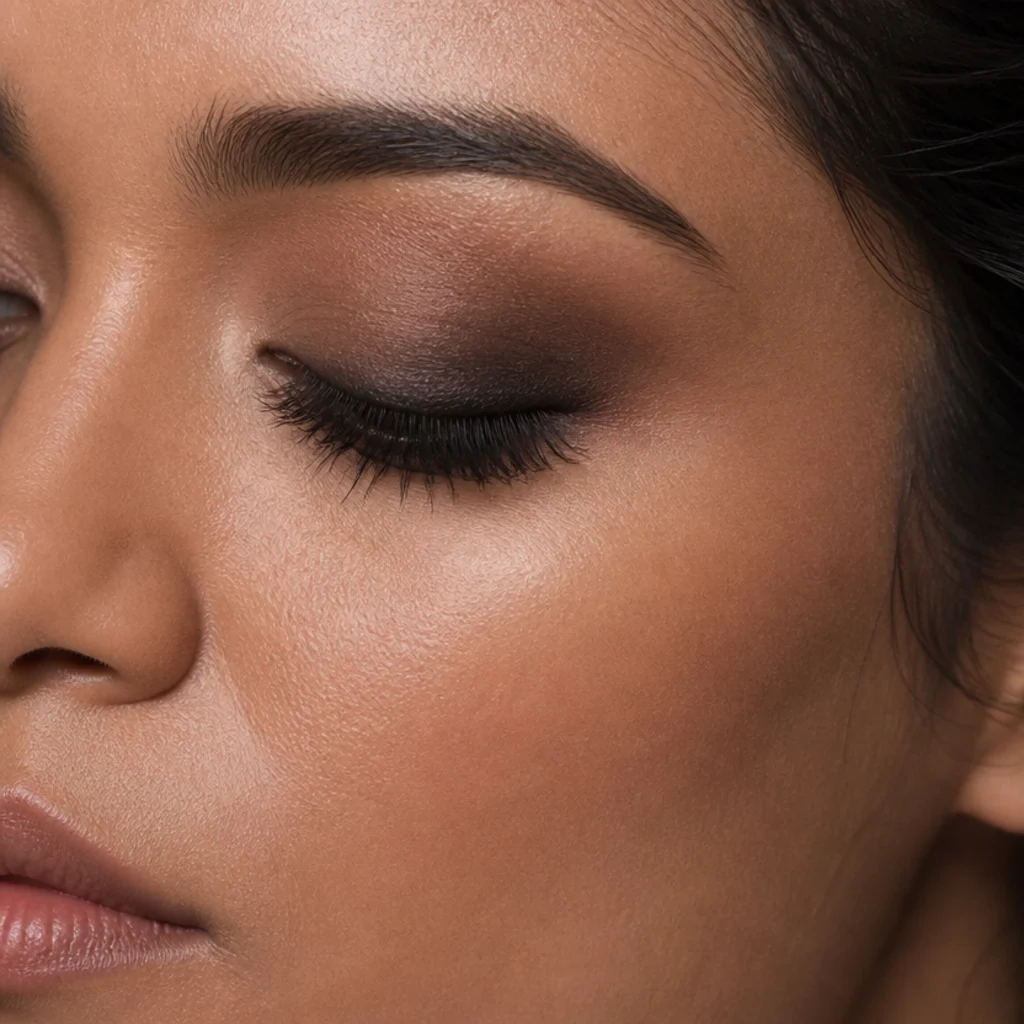
A smokey eye is defined by placement, not just a dark color, and this chart shows where the depth should concentrate for each shape so the smoke flatters instead of closing the eye down. Almond eyes take the classic outer-V-and-lash-line smoke that can drift wherever you like. Round eyes elongate when the smoke is pulled outward toward the temple rather than up and around the whole eye. Hooded eyes keep the darkest point low and tight to the lash line so it survives the fold, with the diffusion staying above the hood where it stays visible. Downturned eyes angle the smoke up at the outer corner to lift. Prominent eyes can spread a matte smoke across the entire lid; deep-set eyes keep it lighter and lower so the socket doesn't disappear. Blend every edge until there's no hard line, a smokey eye lives or dies on its gradient, and favor matte or satin depths in charcoal, espresso, or deep plum for a modern, less-dated finish than pure black shimmer. Lay down a pencil or cream base first and pack powder over it: the base grips the powder, deepens the payoff, and roughly doubles the wear so the smoke doesn't fade patchy by evening. Ask your artist to "place the smoke to open my eye, not close it," and to keep it matte if you want it current.
19Face-Plus-Eye Balance Chart
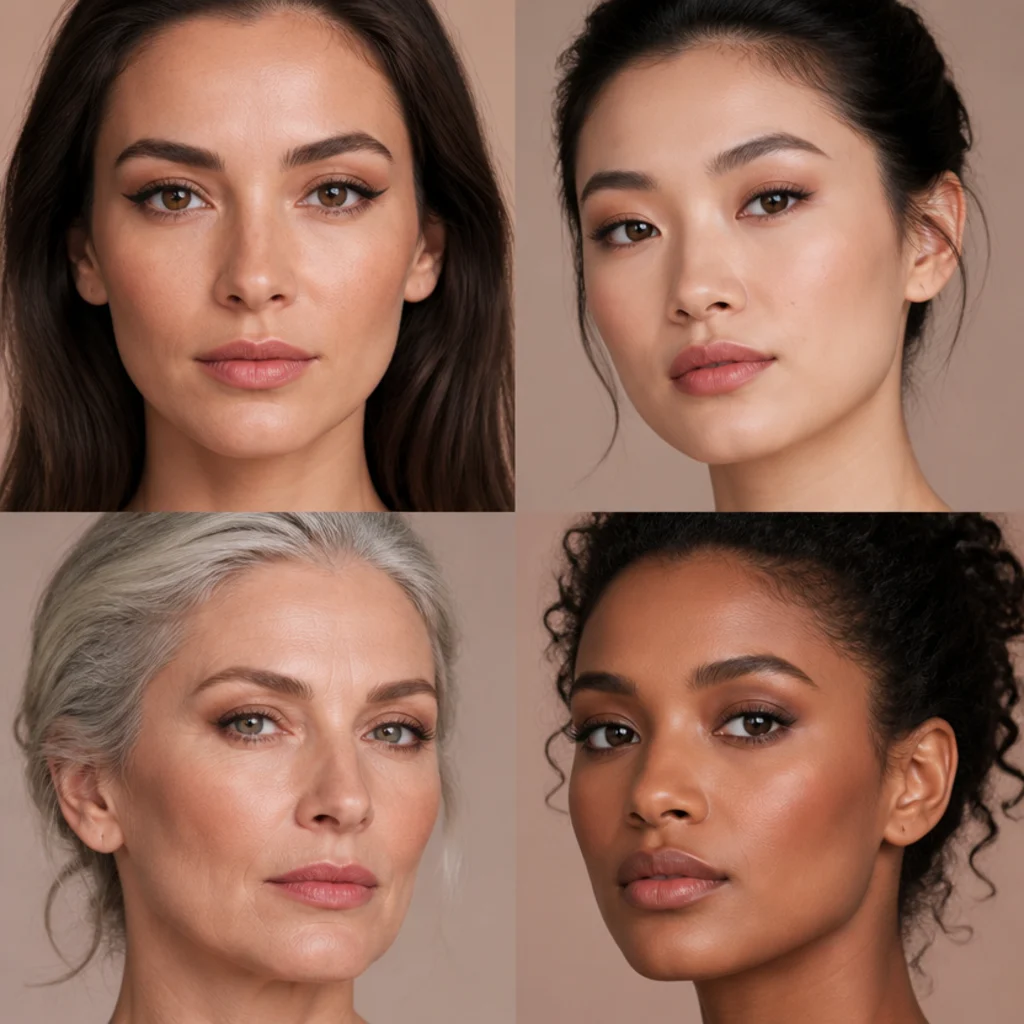
Your eye shape doesn't live in isolation, it sits inside a face, and this chart balances the two so a technically correct eye look also feels cohesive on the whole. Longer faces suit horizontal emphasis, so keep liner and shadow extending outward rather than lifting sharply upward, which would only lengthen the face further. Rounder faces benefit from a little vertical lift and a defined outer corner to add structure and angle. Angular or sharp faces soften with rounded, diffused shadow rather than crisp graphic lines that can read severe. Brow shape is the third factor people forget: a lifted, arched brow supports and echoes a winged eye, while a straighter, softer brow pairs more naturally with diffused, rounded placement. Mismatch the two and even a well-mapped eye can feel slightly off. None of this overrides your eye map; it's a second layer of tuning applied after you've mapped shape, spacing, and technique, so use it to nudge rather than to restart. Take a straight-on selfie of the finished eye and glance at it thumbnail-sized on your phone. At small scale you instantly see whether the emphasis balances your face or fights it, the same way an editor squints at a layout. Ask your artist to "balance the eye emphasis to my face shape," and mention whether you want to soften angles or add structure.
20Everyday Five-Minute Eye Chart
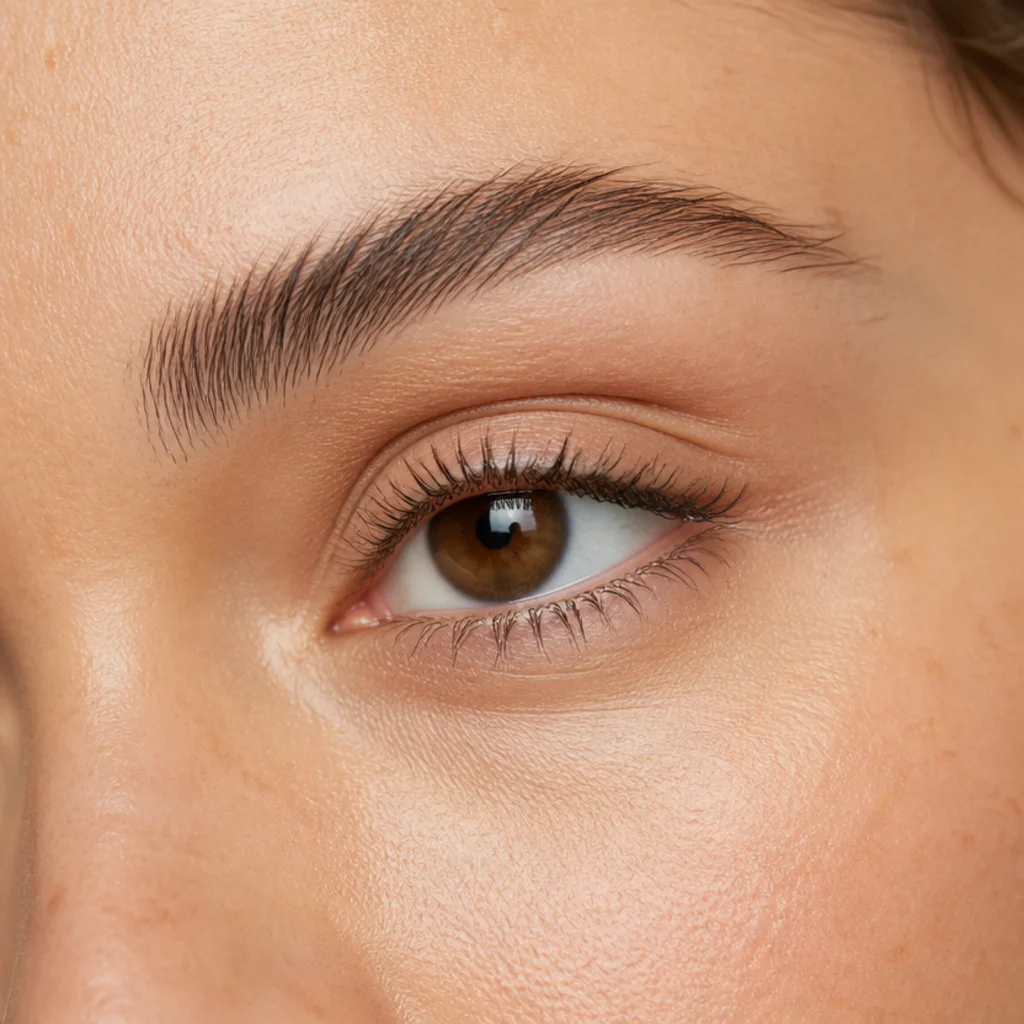
Most days don't need a full map, so this chart distills each shape to a single fast move that honors your anatomy in minutes rather than a whole routine. Almond: a swipe of neutral satin and mascara, done. Round: soft outer-corner depth pulled out toward the temple. Hooded: a tightline plus one smudge of matte shadow above the fold. Monolid: a thin gradient liner thickening outward. Downturned: a tiny lifting flick at the outer corner. Upturned: a soft lower-lash smudge to balance the natural lift. Deep-set: a light, reflective lid shade to catch and bounce light. Prominent: a quick matte wash to calm the lid. Close-set and wide-set just shift where that one move lands, outward or inward. The point is that once you know your shape, the express version becomes nearly automatic: you're applying the principle of your full map, just faster and with fewer tools. Keep a single transition shade, a tightlining pencil, a lash curler, and a good mascara within arm's reach and you can honor your eye shape in five minutes flat, even on a rushed morning. A brown-black tightline plus one curl of the lashes does more for a tired eye than any amount of shadow. Start there and stop early if that's all the time you have. Ask your artist for "a five-minute daily version of my full look."
Pro Tips from the Editor
- Always place color with eyes open, chin level. The most common reason a look "doesn't translate" is that it was applied looking down. Map crease, liner, and cut lines while looking straight into the mirror so they land where they actually show, then do a final open-eye check before you commit to darker shades.
- Layer the charts in order: shape → spacing → technique. Identify your lid shape first, adjust for close- or wide-set spacing second, then choose your liner, lash, and crease technique last. Skipping straight to technique before you know your spacing is exactly why placement so often misses by a few millimeters.
- Matte and satin outlast shimmer on hooded and monolid lids. If color keeps migrating to your crease or fold by midday, the finish is the culprit far more often than the primer. Save shimmer for the inner corner and center lid, and set cream products with a matching powder.
- Map your wing with a dot before you draw a line. Placing and checking the tail's endpoint on both eyes first is the single most reliable fix for asymmetry — commit to the stroke only once the two dots match with your eyes open.
- Build depth in thin layers and stop one pass early. Over-darkened, misplaced crease and smoke are far harder to correct than to add. Start with a shade one to two steps deeper than your skin and intensify only where you actually need it; keep a clean fluffy brush ready as your eraser.
- Curl lashes before mascara, especially if hooded. A lash that holds its lift keeps the fold from swallowing your work and opens the eye more than an extra coat of product ever will. A heated curler or a second base squeeze makes the curl last through a long day.
- Test transition shades on your own skin, not the swatch card. The same taupe reads warmer or cooler against different undertones, so a shade that flatters a swatch strip can turn muddy or ashy on your lid — swipe it near your eye in daylight before you trust it.
- Your shape is a blend, so borrow freely. Almond-hooded, upturned-close-set, prominent-round — hybrids are the norm, not the exception. Take the inner-corner move from one chart and the wing angle from another; nothing here is a category you're locked into for life.
How to Choose / Get the Look
Work through it as a short decision framework rather than guessing. Step one — shape: in good, even light with your eyes open, look for a crease (or none), the tilt of your outer corner (up, down, or level), and whether a fold covers the lid when you look forward. That sorts you into almond, round, hooded, monolid, upturned, or downturned. Step two — projection: note whether your lid sits back under the brow bone (deep-set) or pushes forward (prominent); this single observation decides whether you add light-reflecting shades or matte depth. Step three — spacing: compare the gap between your eyes to one eye's width to place yourself as close-set, wide-set, or balanced. Most people are a blend, so expect to pull from more than one chart — that's the system working, not you failing the quiz. Step four — technique: layer the maps in order, shape first, then spacing, then technique. Choose the liner angle that matches your shape (chart 12), map lashes to the same logic (chart 13), and place crease color where it shows with eyes open (chart 14). Build everything in thin, buildable layers and check open-eye placement constantly, because a look that reads beautifully with your eyes shut can vanish the moment you glance up. If you're booking a professional, describe the effect you want — lift, length, width, or "open" — rather than naming a product or a celebrity, and tell them your shape and any hybrid so they can map to your real lid. Above all, treat these as flattering starting points and adapt freely; the best look is the one that fits your actual eye and how you actually like to see yourself, not the one that matches a diagram most precisely.
Frequently Asked Questions
How do I know my eye shape?
Face a mirror in bright, even light with your eyes open and chin level. Note whether you can see a crease, which way the outer corner tilts, and whether a fold of skin covers your lid when you look straight ahead. Then compare the space between your eyes to one eye's width to gauge spacing. For a definitive read, snap a straight-on phone photo of one open eye in daylight — a still image settles questions a live mirror won't, because you stop unconsciously widening your eyes to see. Many people are a hybrid, which is completely normal and just means you'll borrow from more than one chart.
What is the difference between almond and hooded eyes?
Check with eyes open, never shut, because a hooded eye can look convincingly almond when closed. On almond eyes the crease and mobile lid stay visible when you look straight ahead. On hooded eyes a fold of skin covers part or all of the crease, so crease color placed the normal way disappears the moment you look forward. Hooded eyes need color mapped higher, at the false-crease point that stays visible when looking straight on, plus thin, tight liner instead of a thick line that would hide under the fold. Many people are almond-hooded hybrids and switch between both maps depending on the day.
What is lash mapping for eye shapes?
Lash mapping matches lash length and curl to specific zones across your lash line instead of using one uniform length edge to edge. Downturned and round eyes get the most length concentrated at the outer corner; hooded eyes get a stronger overall curl so lashes clear the fold rather than pressing into it; close-set eyes place the longest lashes outward to widen the apparent spacing, while wide-set eyes keep length more central to draw the eyes in. It's the same zone-by-zone logic a professional uses when planning extensions, and it applies equally to strips, individual clusters, and your own natural lashes with mascara.
Can I use more than one eye shape chart at once?
Yes, and you usually should. Shape, spacing, and technique are separate, stackable layers. You might be hooded (shape), wide-set (spacing), and reaching for a soft floating wing (technique) all at once, and each chart handles its own layer. Rather than forcing yourself into a single category, combine the relevant charts — take the crease map from your shape, the inner- or outer-corner emphasis from your spacing, and the liner angle from the technique chart. Applying them in that order, shape to spacing to technique, keeps the layers from fighting each other.
Do these charts work for every skin tone?
Yes. The placement and shape logic is universal across all skin tones — where color sits on the lid doesn't change with complexion. What shifts is color intensity and finish: deeper skin often carries rich, saturated shades and bold contrast beautifully, while lighter skin may need softer depth to avoid harshness, but the mapping of liner, lashes, and crease stays identical. Choose shade depth and contrast to suit your complexion and personal preference, and test transition shades against your own skin rather than a swatch card, since the same taupe reads differently on different undertones.
Are eye shape categories strict rules?
No — they're flattering guidelines, not rules, and they overlap heavily. Almost everyone is a blend, such as almond with a hooded fold or upturned and close-set at once. Skin tone, lash density, brow position, and even the day's puffiness all shift how your eye reads from morning to night. Use the charts as adaptable starting points and adjust to your real, changing lid rather than trying to fit yourself into a single box. If two charts seem to apply, they probably both do, and stacking them is the intended way to use this guide.
What if I have hooded and downturned eyes together?
This is a very common combination, and you just stack the two maps. Take the higher false-crease placement and thin, tight liner from the hooded chart, then add the upward-lifting wing angle from the downturned chart, aiming it toward the brow tail. Keep the wing short enough to clear the fold when your eyes are open — a long flick will smudge into the hood. Matte shadows above the fold, a strong lash curl, and outer-corner length help both features at once, so you rarely need separate products for each.
Why does my crease color disappear when I open my eyes?
Almost always because you have some degree of hooding, and the color is being placed in the anatomical crease that the fold covers. The fix is to map your working crease higher — feel where the hood casts its shadow with your eyes open and set the transition shade just above that line, blending upward. Apply it looking straight into the mirror, chin level, so you place color where it will actually show rather than where it hides. Switching to a matte finish also helps, since shimmer that transfers onto the fold makes the vanishing act worse through the day.
What is the best eyeliner for hooded and monolid eyes?
For both, reach for a long-wearing, transfer-resistant gel or liquid rather than a soft, creamy pencil that skips onto the fold or migrates on a smooth lid. A fine felt-tip lets you draw a thin, precise line tight to the lashes and a floating wing above the fold, while a gel in a pot tightlines the upper waterline for definition that survives blinking. Set any pencil with a matching powder to lock it. Whatever the formula, keep the line thin at the inner corner and build only toward the outer edge.
How often should I re-check my eye shape?
Rarely — the base shape is stable for years. Re-assess only if something structural changes: a significant weight shift, a new brow shape, or the natural changes that come with age, all of which can alter how much lid shows or gradually deepen a fold. If a look you used to love suddenly stops sitting right, re-run the open-eye check; you may have shifted slightly toward hooded, which is the most common change over time. Otherwise, learn your map once and trust it season after season.