25 Stunning Makeup Looks for Your Eye Shape
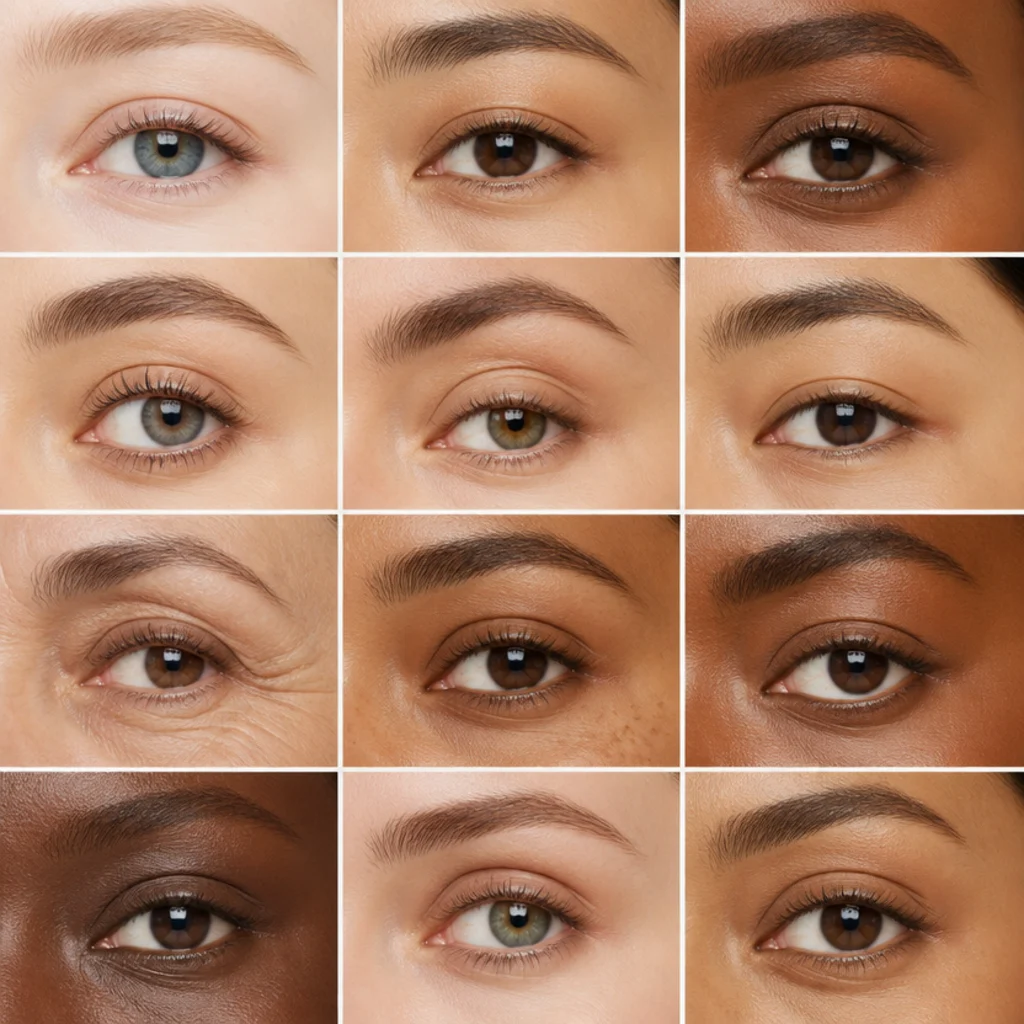
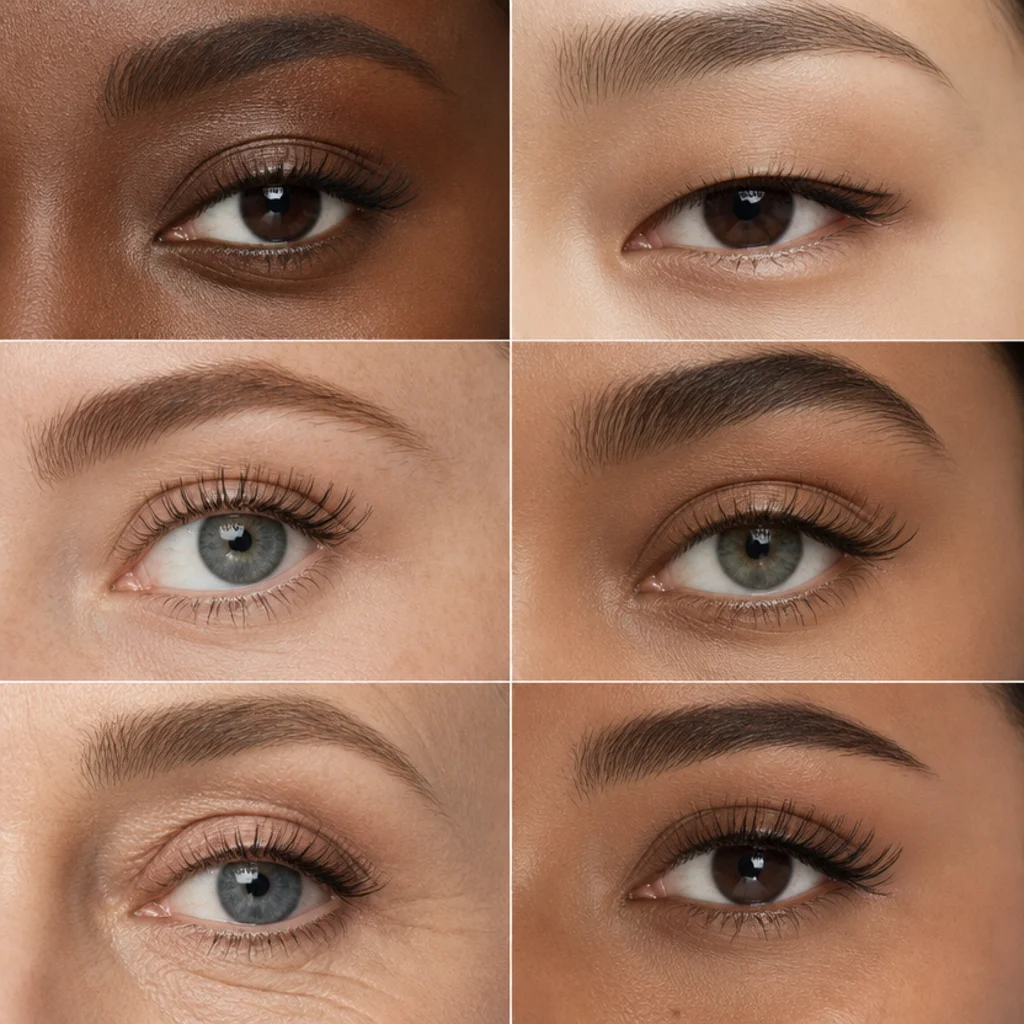
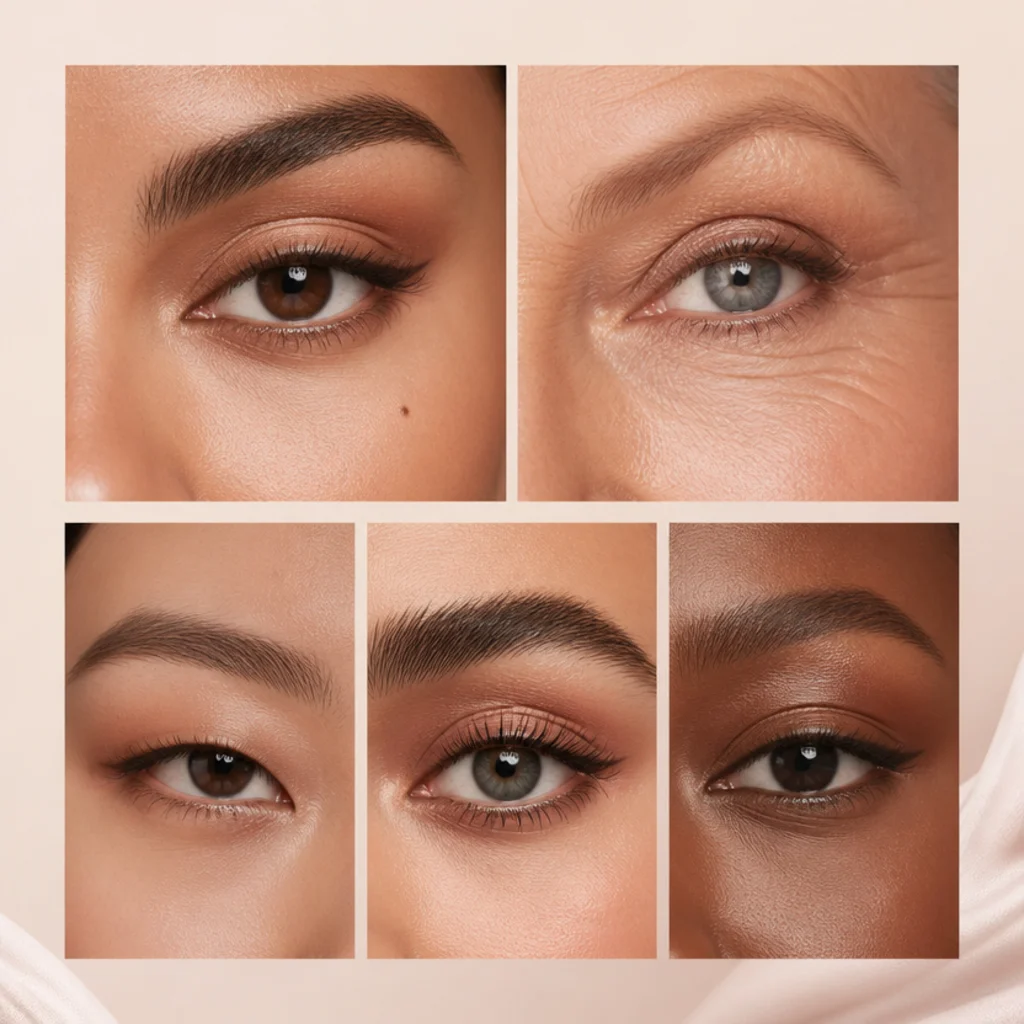
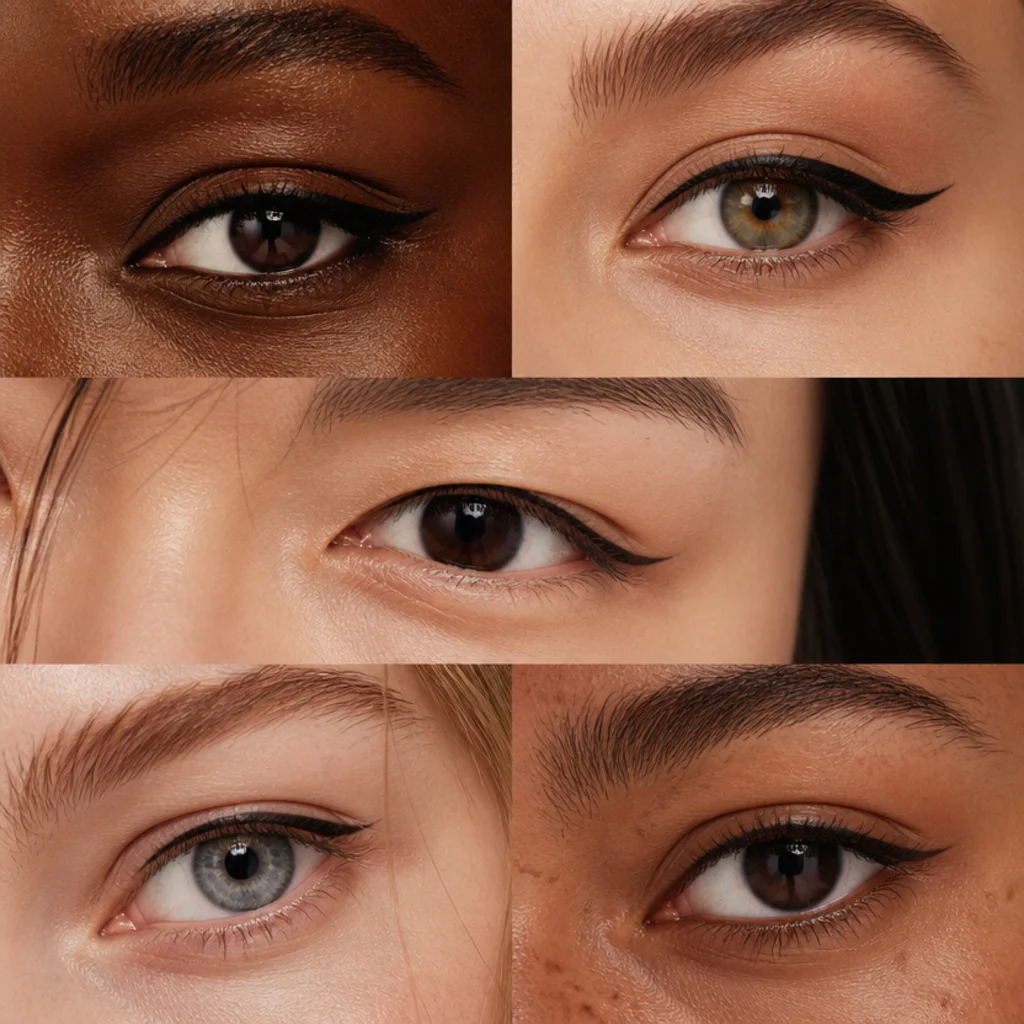
Crease depth, lid real estate, brow-bone projection, and the tilt of your outer corner decide where color reads as lift and where it reads as weight, far more than any trend does. This guide works like a real eye shapes chart: 25 looks paired with the shapes they flatter and the exact placement map behind each one, with the shade families, brush choices, and wear times spelled out, so you can stop mirroring tutorials filmed on someone else's eyes and start putting shadow and liner where they actually land on yours.
 Edited by Lena Rose · Published July 11, 2026 · 52 min read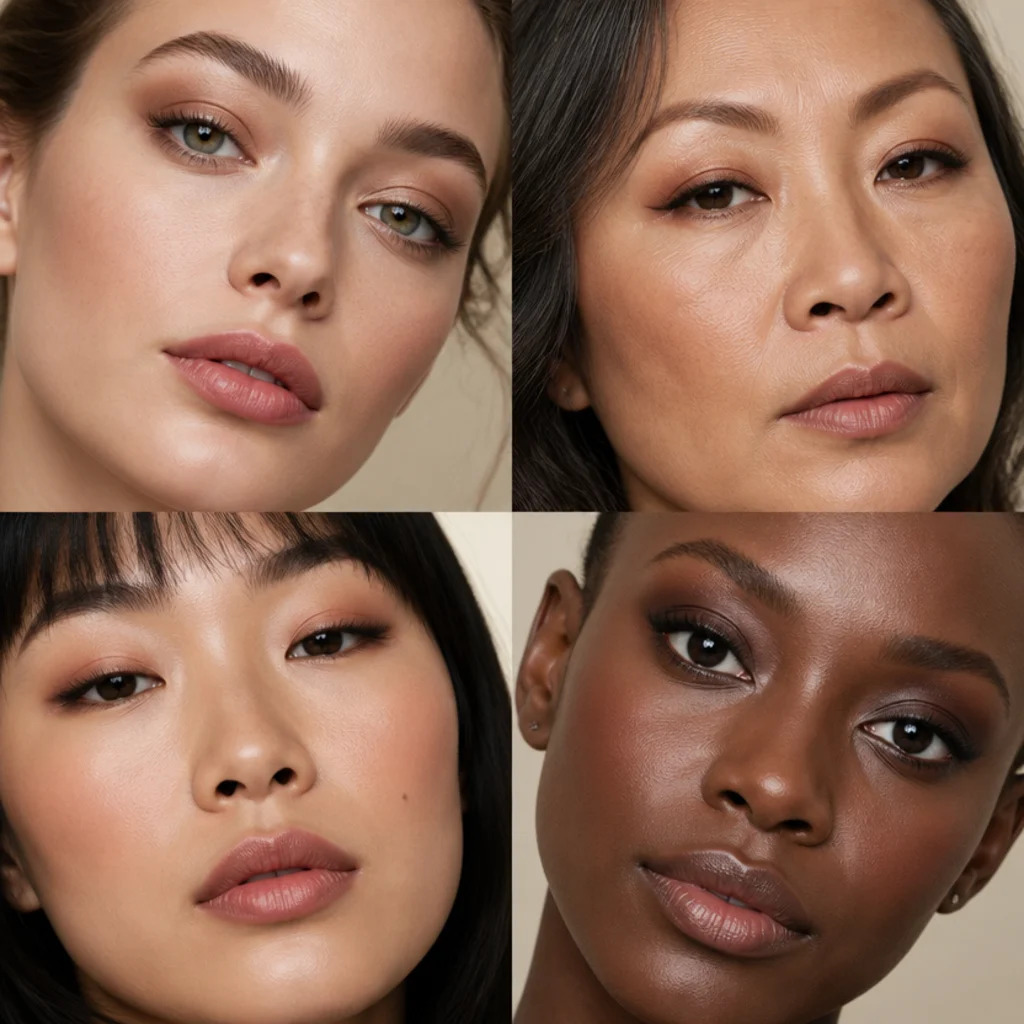
Quick Answer
- Best for: Anyone who wants makeup mapped to their real crease, lid and outer-corner tilt rather than a generic tutorial, across almond, hooded, monolid, round, downturned, upturned, deep-set, protruding, close-set and wide-set eyes, plus mature and blended shapes.
- Who might skip it: If you already know your shape cold and just want one signature look on repeat, jump straight to that section. If you have active irritation, a stye, or a healing procedure near the eye, skip liner and waterline work until it settles.
- Maintenance: From a two-minute tightline to a fully blended smoky eye. Most looks refresh in under ten minutes; matte-based looks over a set primer survive a full workday without a crease touch-up, while sheer powder washes want a midday press on oily lids.
- Difficulty: Beginner to intermediate. Washes, tightlines and no-liner looks are beginner-friendly; cut creases, foxy flicks and graphic liner want a steadier hand, an angled brush, and a little tape or a card as a guide.
- Cost: Works with what you own. A capsule kit (one warm-neutral quad, a black or brown pencil, a fluffy blending brush and a flat shader) sits in the low double digits; toppers like a metallic pigment, colored gel liner or a lash set add variable cost by brand tier, from drugstore to prestige.
- Wear time / longevity: Cream and pressed-pigment looks last 8 to 12 hours over primer; powder washes read 6 to 8 and need a midday press on oily lids. Waterline color fades fastest, often within 3 to 4 hours, so pocket the pencil.
- Standout variation: The lash-mapping section, where lash length and curl are charted to eye shape to open, lift, or elongate rather than sitting uniform across the lash line, the single highest-leverage upgrade most people never try.
- How to ask your makeup artist: Name your shape and the effect you want, "lift my downturned outer corner" or "open my monolid," and ask them to map both shadow placement and lash length to it rather than defaulting to a standard crease-and-wing.
In This Guide
- Almond Eyes: The Classic Balanced Look
- Hooded Eyes: Lifted Cut Crease
- Monolid Eyes: Gradient Wash
- Round Eyes: Elongating Smoke
- Downturned Eyes: Upward Wing
- Upturned Eyes: Soft Lower Balance
- Deep-Set Eyes: Bring-Forward Shimmer
- Protruding Eyes: Matte Depth
- Close-Set Eyes: Outer Pull
- Wide-Set Eyes: Inner Focus
- Almond Eyes: Foxy Feline Flick
- Hooded Eyes: Floating Halo
- Monolid Eyes: Graphic Liner
- Round Eyes: Doe-Eye Glow
- Downturned Eyes: Smoky Lower Lift
- Lash Mapping by Eye Shape
- Almond vs Hooded: The Smoky Eye Compared
- Mature Eyes: Soft-Matte Definition
- Round Eyes: Sultry Bronze Wash
- Monolid Eyes: Reverse Wing
- Hooded Eyes: Above-Crease Smoke
- Almond Eyes: Colored Lower Liner
- Downturned Eyes: Tightline Lift
- Wide-Set Eyes: Bold Inner Corner
- Every Eye Shape: The No-Liner Soft Look
Your eye shape decides where shadow reads as depth and where liner reads as lift, which is why the same technique can flatter one person and flatten another. Treat this piece as an eye shapes chart you can actually apply: 25 looks sorted by the shape they suit, with the placement logic spelled out in plain terms. We cover almond, hooded, monolid, round, downturned, upturned, deep-set, protruding, close-set and wide-set eyes, plus lash mapping and looks that work across the board, so whether you're new to eye shapes explained content or comparing almond vs hooded eyes for the tenth time, you can find your map fast. The principle underneath everything: makeup by eye shape is about placement, not products. A taupe crease shade that adds elegant depth on almond eyes can vanish under a hooded fold or push a deep-set eye further back. One note runs through the whole guide, eye-shape categories overlap and are guidelines, not rules. Most people are a blend of two or three, and the goal is never to "fix" your eyes. Read your own crease and lid space in a mirror with your eyes fully open, borrow the placement that fits, and adapt freely. Every look here is written to flatter a range of eye shapes and skin tones.
01Almond Eyes: The Classic Balanced Look
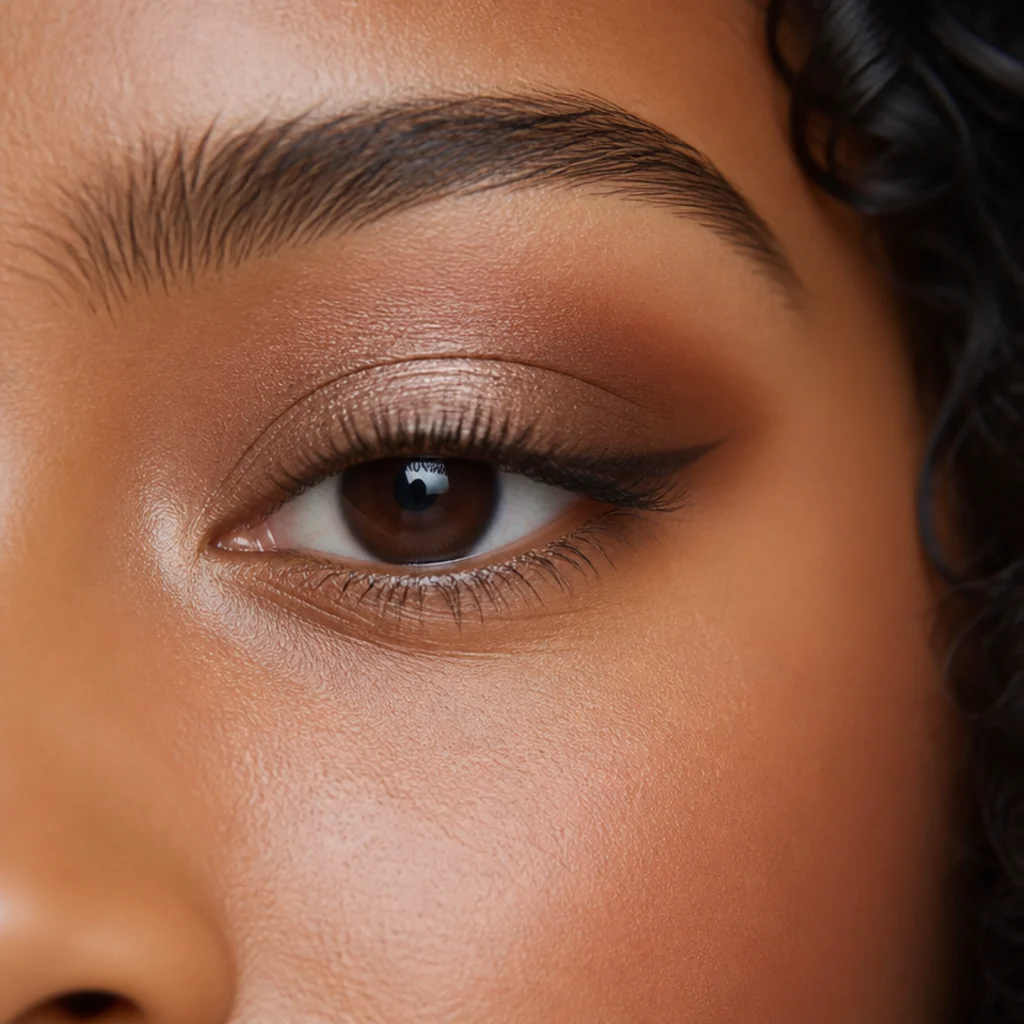
Almond eyes have a clearly visible crease with gently tapered corners and roughly even proportions, which is why they take almost any technique cleanly and why nearly every tutorial silently assumes this shape. Build a three-tone map: a light satin champagne or soft vanilla on the lid, a medium warm taupe pressed into the crease with a fluffy blending brush, and a deeper cool taupe or soft espresso set into the outer third only. Keep the deepest color pulled up and outward so the natural taper stays the focus rather than dragging the eye down, and stop the crease shade before the inner third so the eye stays open. A thin line hugging the upper lashes with a barely-there flick echoes the shape instead of reshaping it. Let undertone lead your shades: warm bronzes and coppers on golden skin, cool taupes and mauves on neutral-to-cool skin, soft plums on nearly everyone. This is your reference look and your safest daytime option; over primer it holds 8 to 10 hours with no crease touch-up, and it pairs as easily with a bare lip as a bold one. Because almond is the "default" shape, treat it as the baseline you adapt from for every other set. Pro tip: tap the crease shade on with a slightly damp flat brush first to lay a clean anchor, then diffuse only the hard edge with a dry fluffy brush so the center stays saturated. Ask your makeup artist for a "soft everyday halo in my natural crease" and keep it as your benchmark before you adapt placement for other shapes.
02Hooded Eyes: Lifted Cut Crease
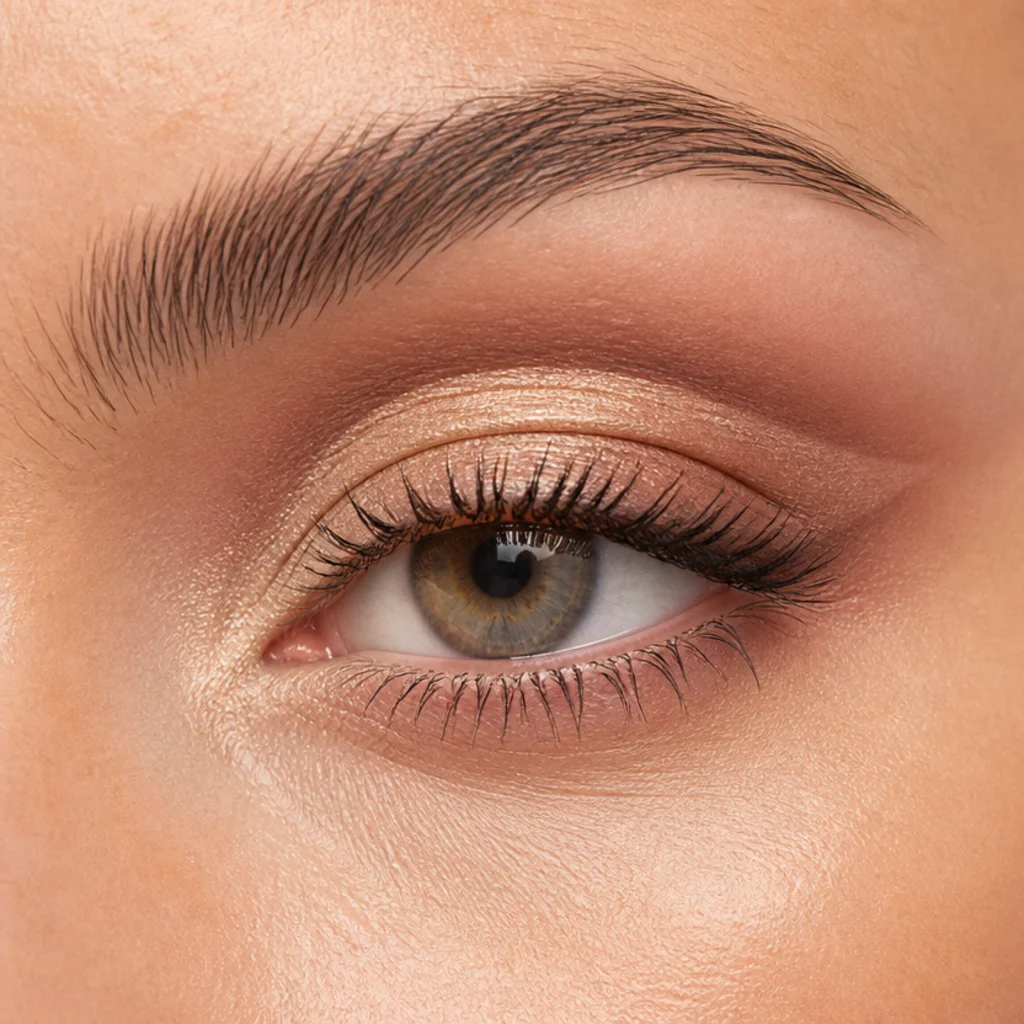
On hooded eyes, an extra fold of skin covers part of the mobile lid, so crease color placed the "normal" way disappears the moment your eyes open. Map your working crease with the eyes open and looking straight ahead, then set the shadow slightly above the natural fold so definition stays visible in real life, not just when you tip your chin down into a mirror. A soft cut crease, a clean line of nude cream or light shadow separating a bright lid from a deeper transition, carves back the space the fold steals. Keep the lid shade light and lightly shimmery, a satin champagne or pale rose-gold, so it catches light and reads larger; skip heavy black liner along the lid, which eats what little space you have. This is where the almond vs hooded eyes distinction matters most: almond placement follows the crease, hooded placement lifts above it. Choose long-wear cream or a well-set powder so nothing transfers onto the fold, and reapply a light press midday if your lids run oily. Cut creases flatter fuller lids across every skin tone, since the technique is about geometry, not color; adjust only the depth shade to your contrast. This is an intermediate look best practiced with the eyes open and built in thin layers. Pro tip: cut the crease with a firm flat brush and a nude cream shadow rather than concealer alone, so the bright lid doesn't go patchy or crease by noon. Ask your artist for a "lifted, invisible-fold crease that shows when my eyes are open."
03Monolid Eyes: Gradient Wash
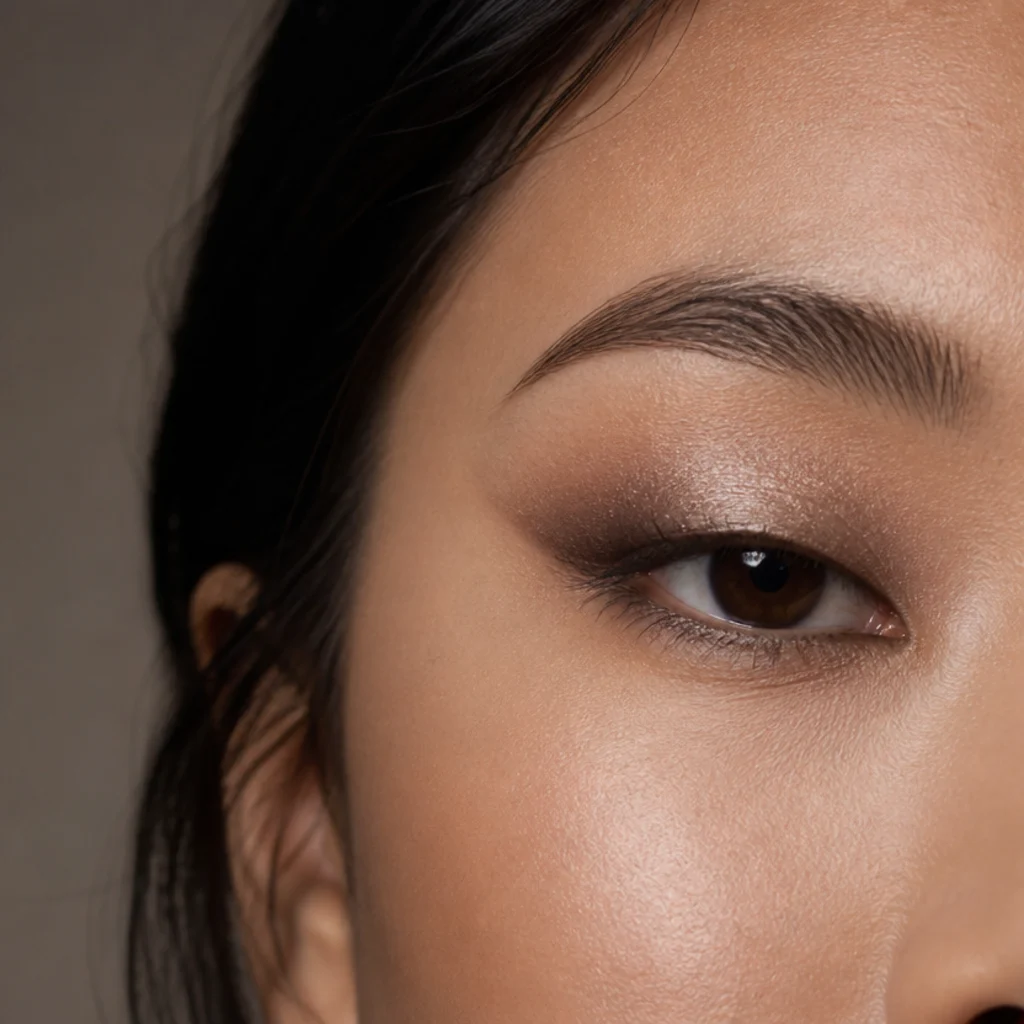
Monolid eyes have little to no visible crease when open, so a blended crease alone vanishes into the flat lid. Build a gradient from the lash line up instead, densest at the roots and fading toward the brow bone, so color stays visible with the eyes fully open. Pack pigment along the lashes with a flat shader, then diffuse upward in thin, patient layers rather than one heavy sweep that muddies the middle. Nudge the outer diffusion slightly higher than the inner for subtle lift, and let the gradient climb a touch higher overall than you think you need, since the flat lid reveals its full height when open. Satin and metallic finishes shine here because the wide, flat lid catches light across a broad plane, making monolids the ideal canvas for saturated jewel tones: emerald, sapphire, garnet, warm bronze. Keep the lower lash line soft and short so you don't box the eye into a rounder shape. Use a primer or long-wear cream base, since the lid sits closer to the lashes and pigment can migrate; over a set base this holds 8 to 12 hours. It's beginner-friendly once you commit to building from the lash line up, and it pairs beautifully with a graphic or reverse wing later in this guide. Pro tip: check the gradient with your eyes open every few passes, because the color that looks perfect looking down often bunches into a thin band when you open up. Ask your artist for a "lash-line-up gradient in a saturated jewel tone, built for my open monolid."
04Round Eyes: Elongating Smoke
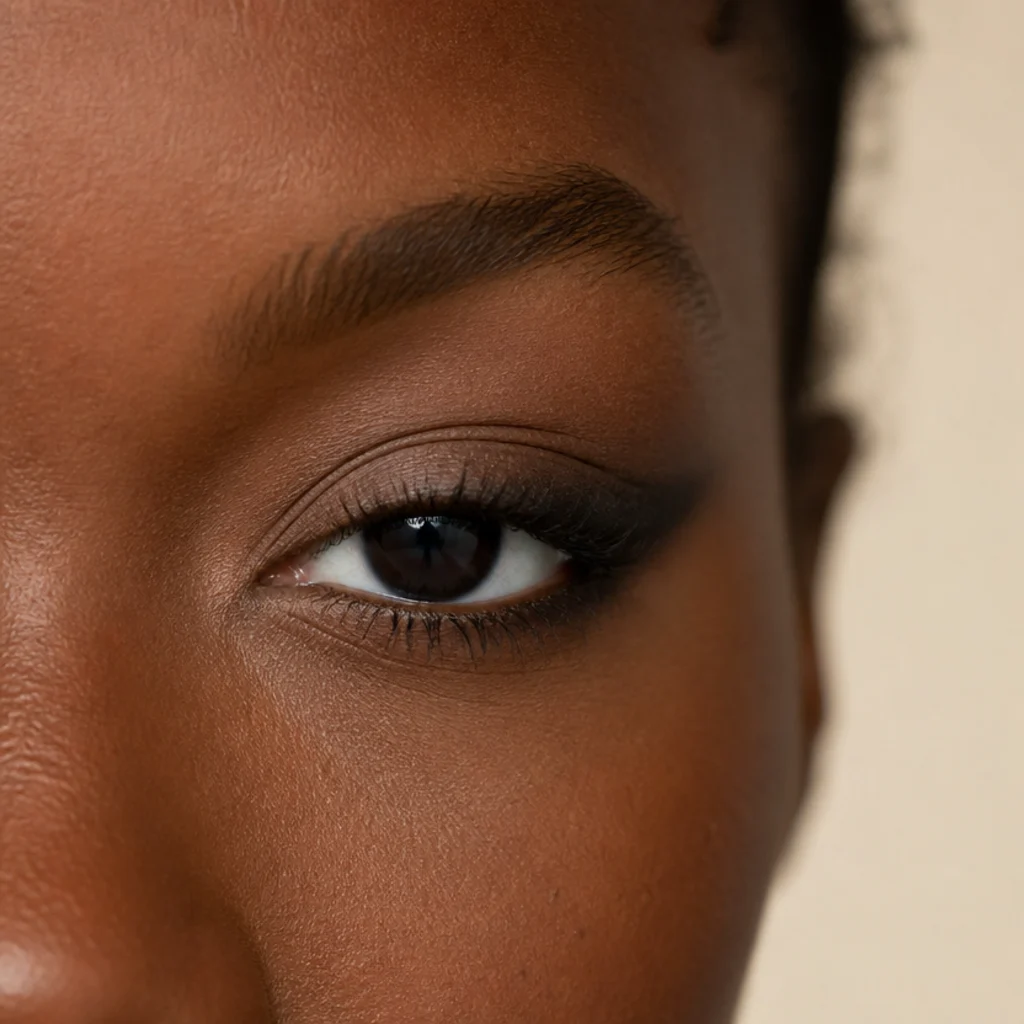
Round eyes show a lot of visible iris with an open, curved shape and roughly equal height and width. To lengthen rather than emphasize the curve, concentrate depth at the outer corner and drag it outward horizontally instead of up and around. A smoked outer-V, a deeper matte or satin blended into the outer crease and along the outer third of the lower lash line, pulls the eye into a longer silhouette. Keep the inner two-thirds of the lid lighter and brighter, a champagne or soft peach, so the eye still looks awake and open. Skip fully rimming the waterline, which visually shrinks a round eye; instead line the outer half of the upper lash line and smudge only the outer lower corner. Match the depth shade to your contrast level so the smoke reads as elongation rather than a bruise: soft taupe on fair skin, warm brown on medium, espresso or aubergine on deep skin. Round eyes often pair with softer, fuller lids, so a matte-leaning outer-V controls any puffiness while the horizontal drag does the lengthening. This leans sultry without losing brightness and holds well over primer for 8 hours. Pro tip: lay the outer-V with a small pencil brush before you diffuse, so the horizontal drag has a defined anchor point and doesn't creep upward into a rounder halo. Ask your artist to "stretch my round eye outward, not upward, and keep my inner lid bright."
Save this to Pinterest to keep the round-eye elongating trick handy.
05Downturned Eyes: Upward Wing
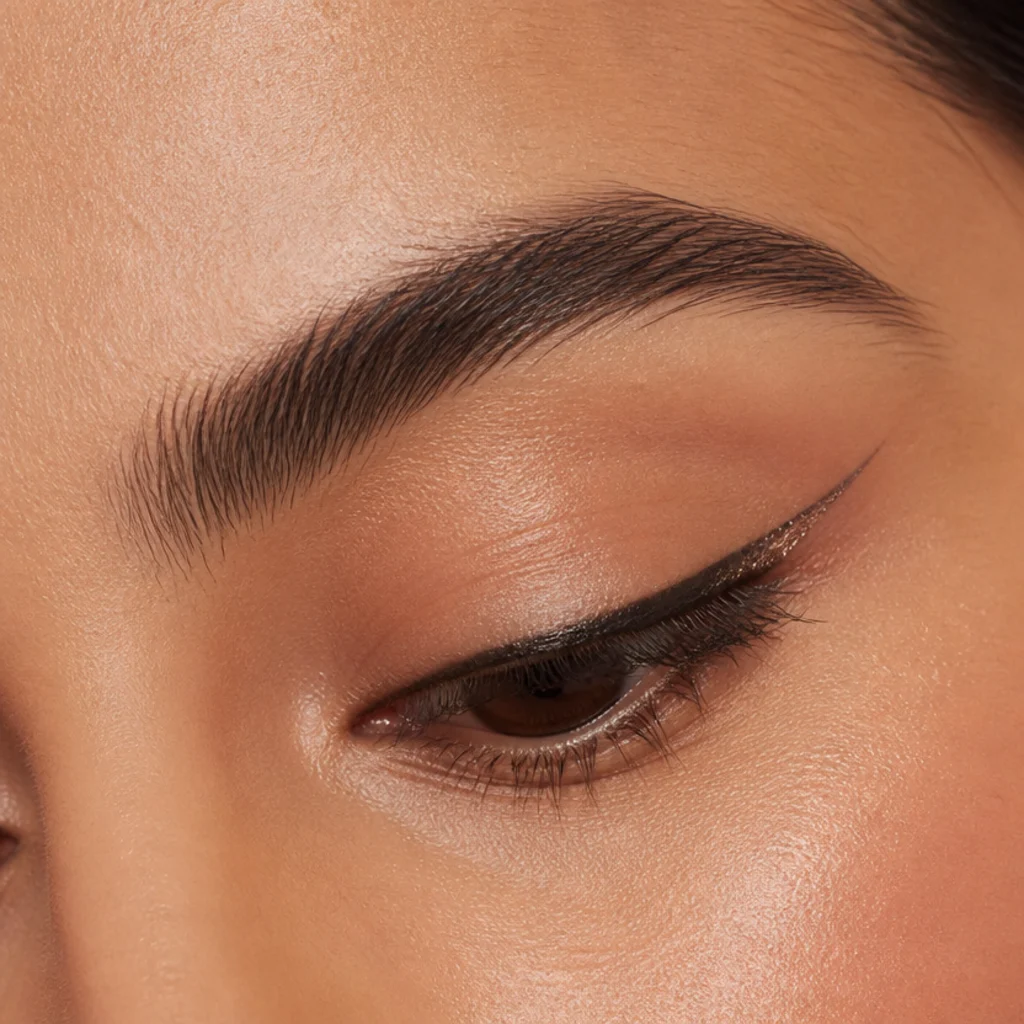
Downturned eyes drop slightly at the outer corner, giving a soft, romantic set, and a winged liner is the single highest-impact way to lift them. Start the line thin at the inner lash line, thicken it gradually along the lashes, and angle the flick up toward the tail of your brow, following an imaginary line drawn from the outer corner through the end of the brow. The whole trick is finishing the tail higher than the natural corner so the eye reads level or gently upturned; a flat or downward flick only reinforces the droop you're countering. Add a touch of shimmer at the outer top lash line to draw the eye up, keep any lower liner minimal and confined to the outer corner, and leave the outer lower corner unlined so nothing tugs the eye back down. A gel or liquid liner with a fine felt tip gives the cleanest lift and stays put 8 to 10 hours; a smudgy pencil wing softens the same shape for a more diffused day look. This corrects the downturn on any skin tone and pairs naturally with a lifted, laminated brow that carries the eye upward. Pro tip: map the wing with a small piece of tape or the edge of a card angled up toward the brow, then draw against it for a crisp, symmetrical lift on both sides and remove the tape only once the liner is fully dry. Ask your artist for a "lifted outer wing that corrects my downturn and finishes above the natural corner."
06Upturned Eyes: Soft Lower Balance
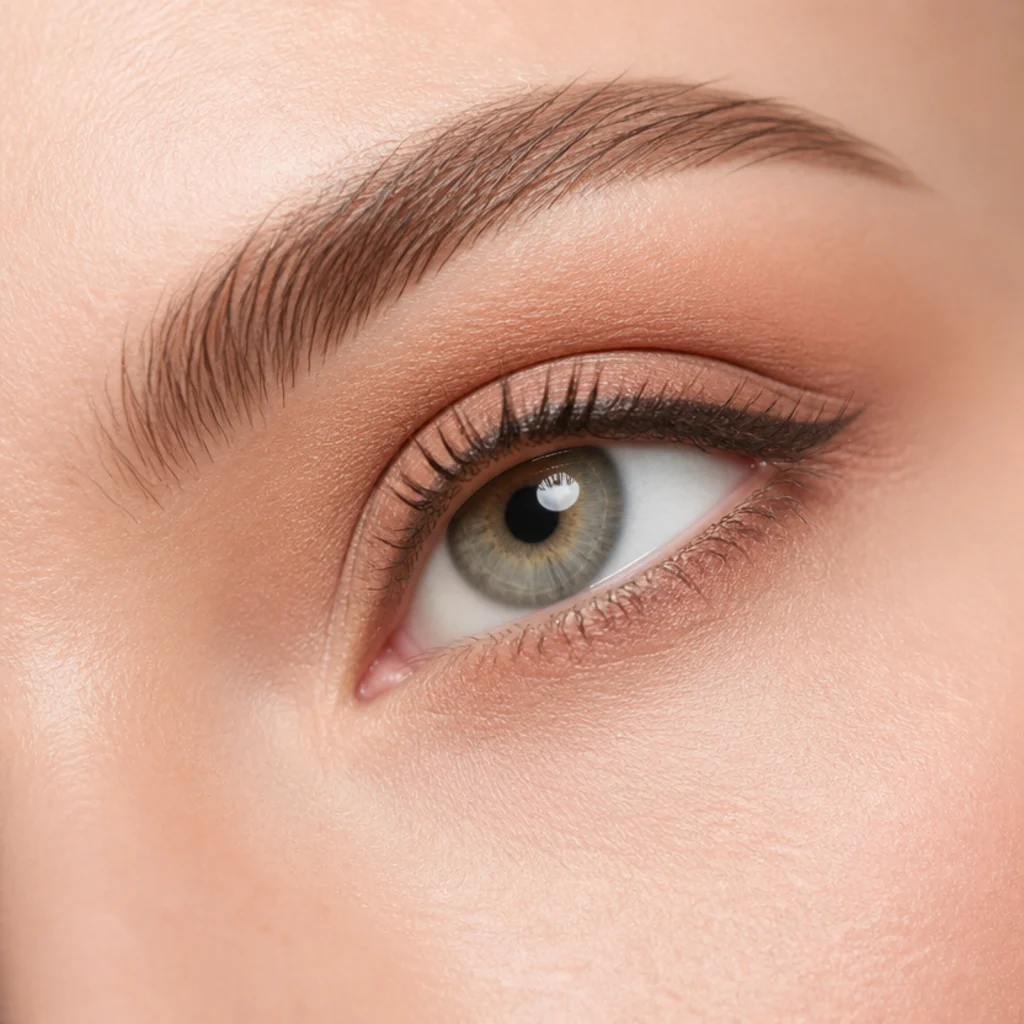
Upturned eyes lift naturally at the outer corner, often described as cat-like, with the outer corner sitting higher than the inner. Because the top already carries built-in lift, you balance the shape by giving the lower lash line a little more attention rather than piling on more upward drama. Smudge a soft shadow along the outer half of the lower lash line, a warm brown or muted bronze, to ground the shape and add a lived-in softness that keeps the eye from looking severe. Keep the upper liner clean and close to the lashes rather than heavily winged, since the shape already angles up and an extra flick can tip it into harsh. A warm, diffused wash on the lid keeps everything harmonious, and a soft matte transition shade stops the natural lift from reading too sharp. This is a rare case where lower-lash focus does the heavy lifting, which makes it a useful counterpoint to the downturned approach above; if you sit between the two, borrow a little from each. It flatters every skin tone and reads especially elegant on almond-upturned blends. It holds 6 to 8 hours, so set the lower smudge with a matching powder to keep it from traveling into shadowy circles. Pro tip: use a pencil in the lower outer corner, then soften immediately with a small smudge brush before it sets, working in short back-and-forth strokes rather than dragging. Ask your artist to "ground my upturned eye with a soft lower line and no wing."
07Deep-Set Eyes: Bring-Forward Shimmer
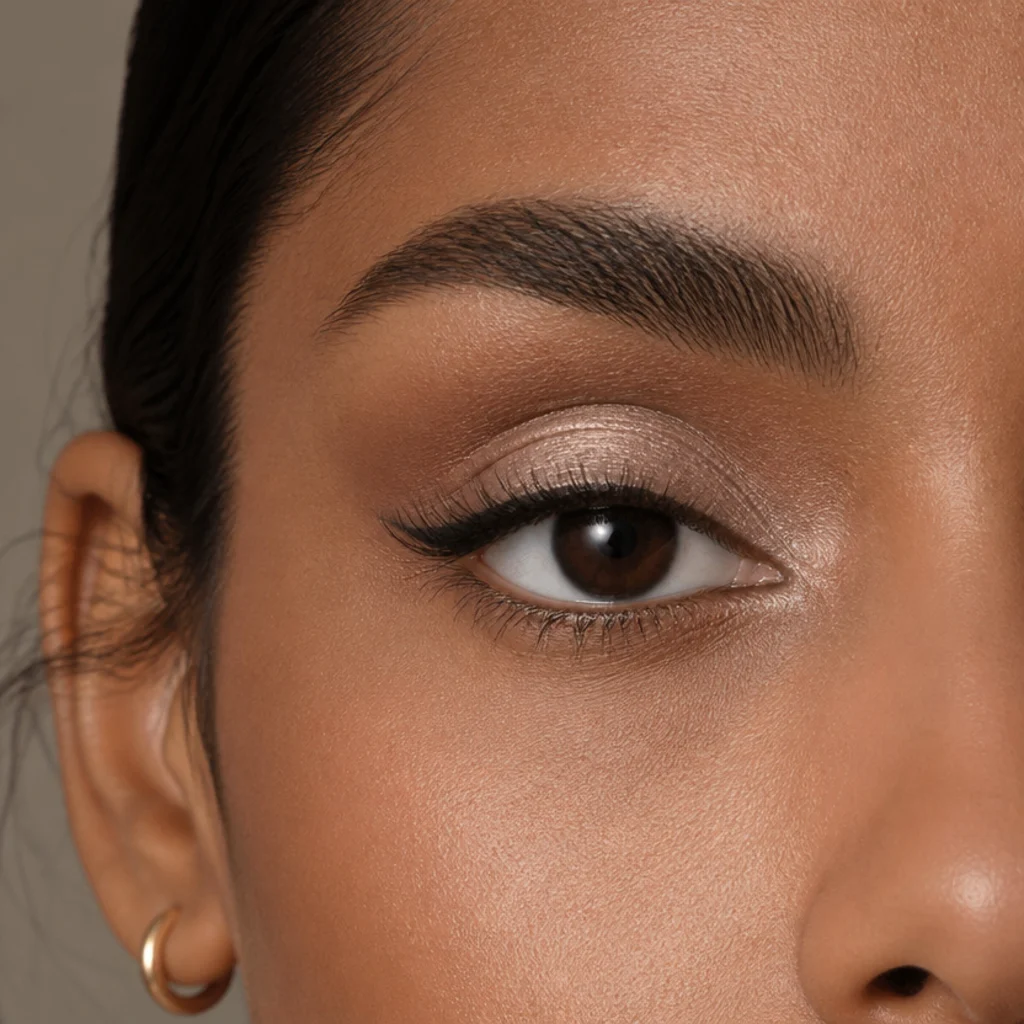
Deep-set eyes sit further back under a prominent, projecting brow bone that already casts natural shadow into the crease. Piling dark shadow there only deepens that shadow and pushes the eye further back, so flip the logic: place light, reflective shadow on the lid to bring it forward, and keep crease color soft, diffused and minimal. A satin champagne, soft gold or pale peach across the mobile lid catches light and visually pulls the eye out toward you. Use crease color only to blend the transition, never to build heavy depth; one mid-tone diffused into the socket is plenty, and a cooler mid-tone recedes less aggressively than a dark matte. A thin line hugging the upper lashes keeps them defined without weighing the eye down, and a curled lash lifts the fringe out of the brow-bone shadow. This is one of the clearest examples of why an eye shapes chart matters, because the standard "add depth in the crease" advice actively works against deep-set eyes across every skin tone. Metallic and satin finishes hold their brightness longest over an eye primer, 8 to 12 hours, and photograph as dimension rather than flatness. Pro tip: press the lid shade on with a flat brush or fingertip for maximum light-catch, then stop, resisting the urge to add crease depth "for balance," which is exactly what buries the eye. Ask your artist to "bring my deep-set lids forward with light, reflective color and keep the crease minimal."
08Protruding Eyes: Matte Depth
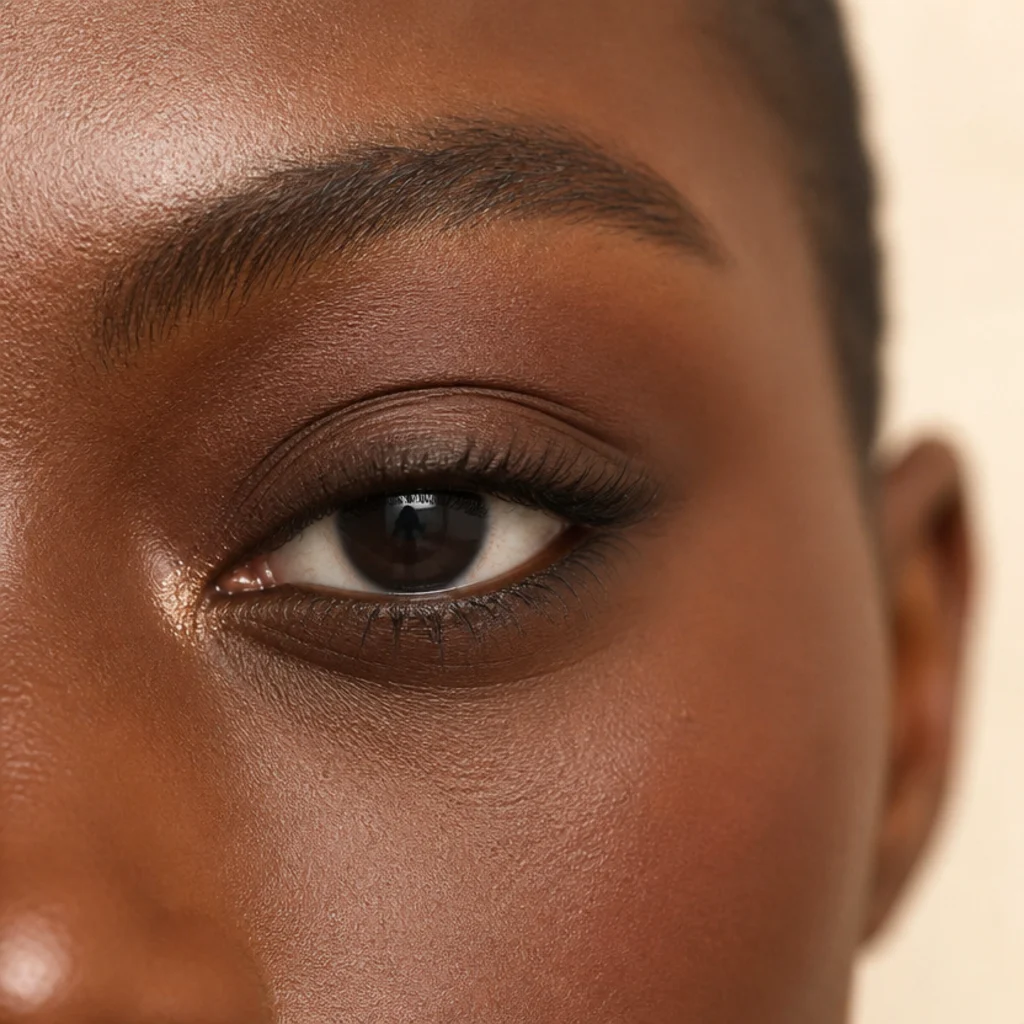
Protruding, or prominent, eyes have a fuller lid that projects forward, so matte shadows are your ally because they visually recede the lid, exactly the opposite of what shimmer does. Sweep a soft, well-blended matte mid-tone across the whole lid and up into the crease to add dimension while keeping the lid from looking even fuller. A slightly deeper matte pressed along the lash line and blended upward controls the projection and gives the eye a sculpted, contained shape; think of it as gently pushing the fullest part of the lid back. Reserve shimmer for a single tiny tap on the inner corner, or skip it entirely on a very prominent lid, since any sheen there pulls the lid forward again. This reads polished and quietly sophisticated, and it flatters a wide range of skin tones by matching the matte depth to your contrast: muted taupe or soft mauve on fair skin, warm mid-browns on medium, rich chocolate or espresso on deep skin. Protruding lids often pair well with a defined, slightly deeper lower lash line to frame the eye without adding lid volume. Mattes over primer hold 8 to 10 hours and forgive oilier lids well. Pro tip: use two brushes, one to lay matte color and a clean fluffy one to diffuse, so you never leave a hard matte edge, which looks harsher on a full lid than on a flatter one. Ask your artist for "matte, recessive depth all over the lid with minimal shimmer."
09Close-Set Eyes: Outer Pull
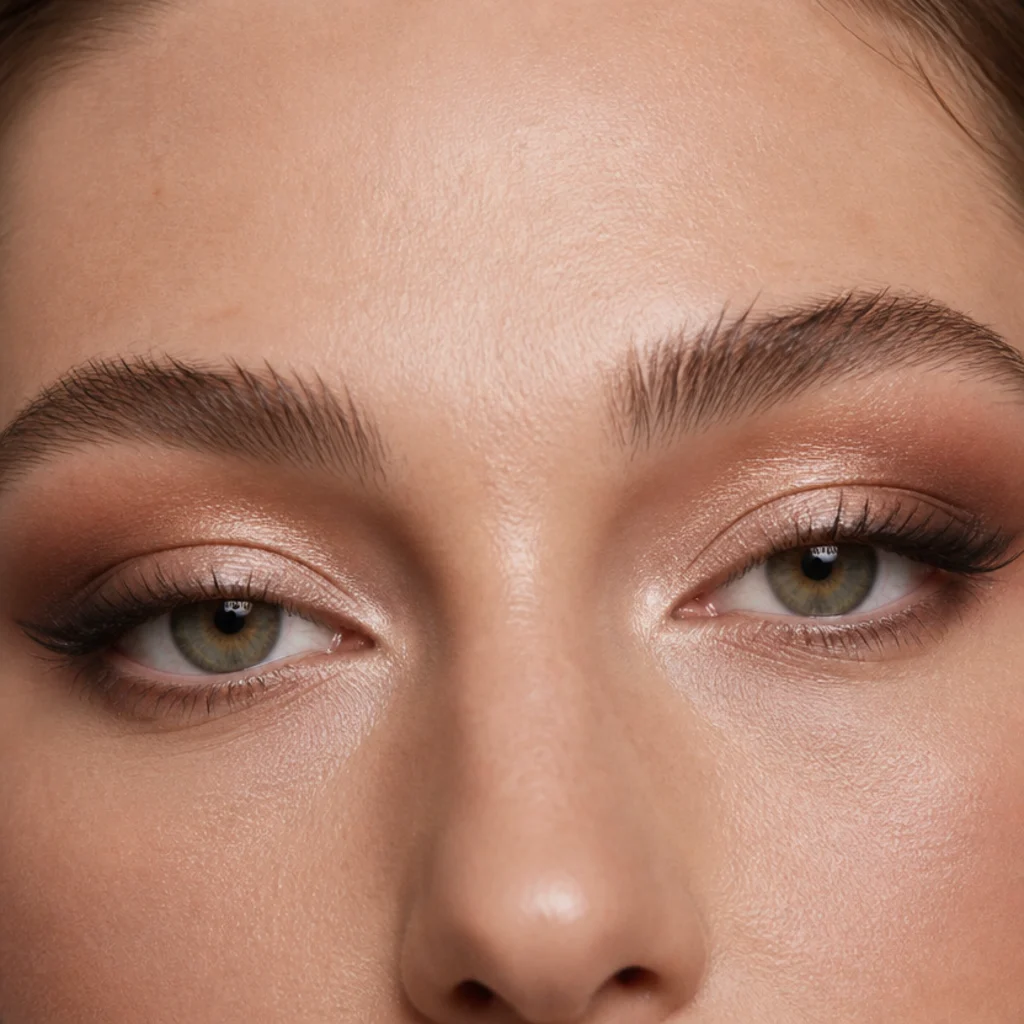
Close-set eyes sit nearer together, with less than one eye's width of space between the inner corners. To create the illusion of more room, pull all your depth outward and keep the inner corners bright and clean. Place light, reflective shadow on the inner half of the lid and inner corner, then concentrate deeper shadow, and any wing, on the outer third and just past the outer corner. Avoid dark inner-corner liner or a fully rimmed waterline, both of which visually drag the eyes closer together. A slightly extended outer wing stretches the perceived space and is one of the few times a longer flick actually helps rather than overwhelms. This directional logic is the exact mirror image of the wide-set approach below, so read both if you land somewhere in between, which many people do. Because it's about direction rather than color, it works with any palette and any skin tone; only your depth shade shifts with contrast. It holds 8 hours over primer, so keep the inner highlight a long-wear cream, since a bright inner corner that fades first collapses the whole widening effect. Pair it with a center-parted or lifted brow to keep the face feeling open. Pro tip: draw a light vertical mental line down the middle of each lid, keep everything inside it bright and everything outside it deep, and never let deep color cross that line inward. Ask your artist to "open up my close-set spacing by weighting everything outward and keeping my inner corners bright."
Save this to Pinterest so the close-set and wide-set placement tricks stay together.
10Wide-Set Eyes: Inner Focus
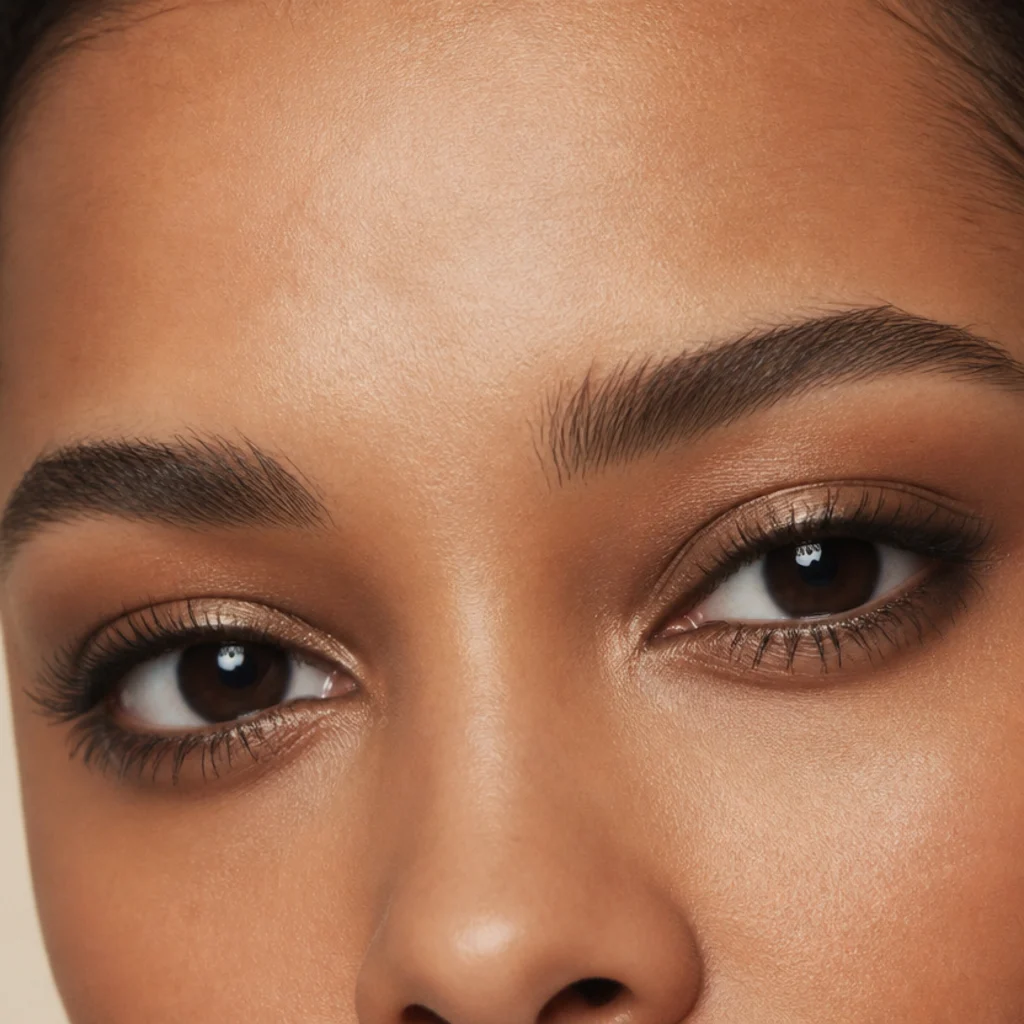
Wide-set eyes have more than one eye's width between the inner corners, so you do the opposite of the close-set look and bring depth inward to visually draw the eyes together. Lay a soft wash of deeper shadow at the inner corners and along the inner third of the upper lash line, letting the outer corners stay softer and less extended. Skip a long outer wing, which stretches the eyes even further apart, and keep the outer flick short or drop it entirely. Lining the inner half of the upper waterline adds subtle inner weight that pulls focus toward the nose. This is a gentle, balancing look rather than a dramatic one, and it pairs well with a defined inner-corner accent kept deliberately small and matte so it doesn't undo the inward pull by throwing light outward. Because the effect is directional, it suits every skin tone; match the inner depth to your contrast, from soft taupe on fair skin to deep brown on rich skin. A softly rounded, closer-set brow shape reinforces the togetherness the eye makeup is building. Set the inner shadow well, since the inner corner sweats and tears first; expect 6 to 8 hours before a touch-up. Pro tip: a soft matte reads more naturally at the inner corner than a shimmer, which can accidentally widen the eye by bouncing light outward, so save sparkle for the center lid if you want any. Ask your artist to "balance my wide-set eyes by weighting color toward the inner corners and keeping the outer edge soft."
11Almond Eyes: Foxy Feline Flick
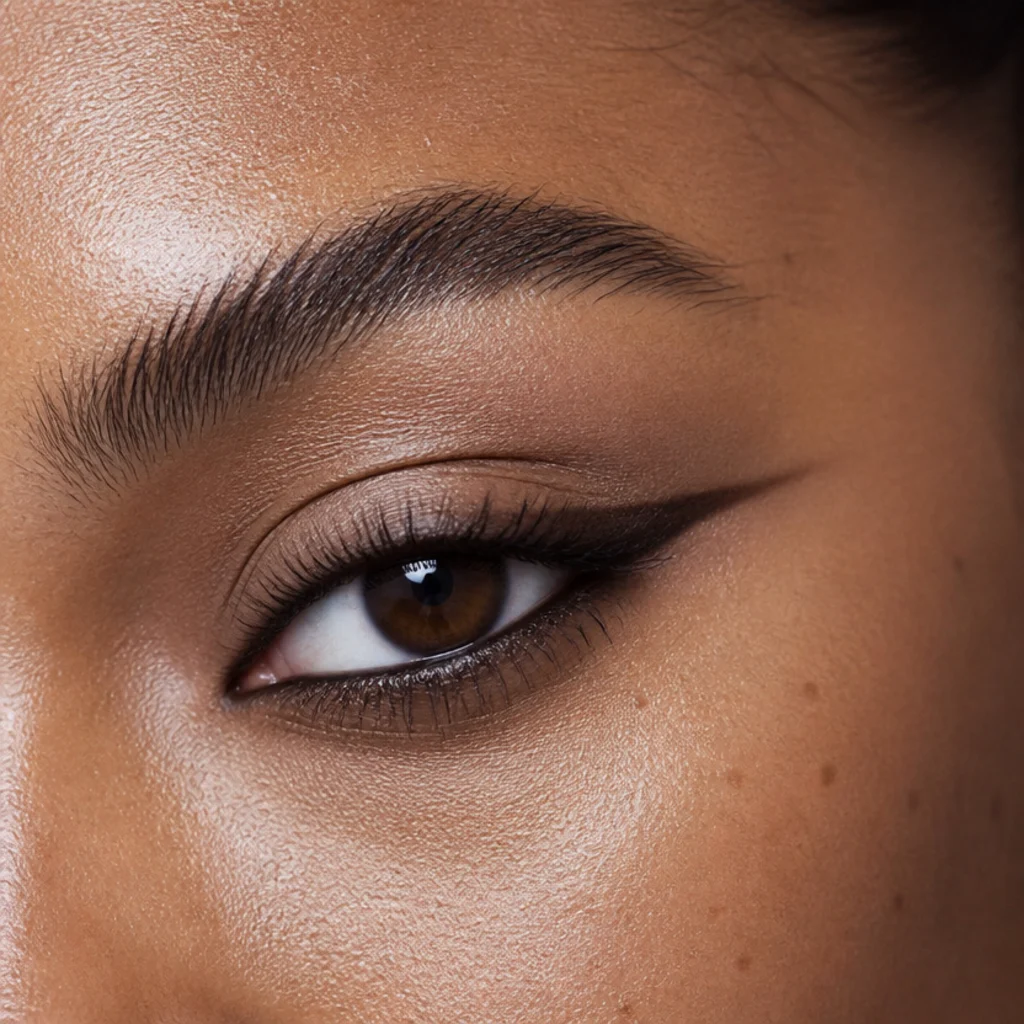
The foxy or "fox eye" look leans into an almond shape's natural taper with a long, low, straight-angled flick rather than a curved wing. Draw a sleek, nearly horizontal line that extends the outer corner toward the temple, then smoke a matte shade beneath the outer lower lash line to mirror it, so the eye reads elongated and lifted from both directions. Almond eyes carry this cleanly because the corners already taper in the direction the flick travels, which is why the look was practically built for this shape. On rounder or hooded eyes, shorten the extension so it doesn't fight the lid or vanish into a fold, and on hooded eyes float the tail slightly higher. Brushed-up, laminated-look brows complete the lifted effect and keep the look cohesive, while a nude or muted lid keeps the focus on the line. A long-wear gel or liquid liner holds the straight line crispest, 8 to 10 hours; a hard-angled synthetic brush gives you the most control over the straight edge. This is an intermediate look that rewards a light hand and patience, since a straight line exposes any wobble more than a soft curve does. Pro tip: sketch the flick's angle with a light pencil first and check both sides in the mirror, holding a card along the angle, before committing in liner. Ask your artist for a "low, straight fox flick that follows my natural almond taper and mirrors it below."
12Hooded Eyes: Floating Halo
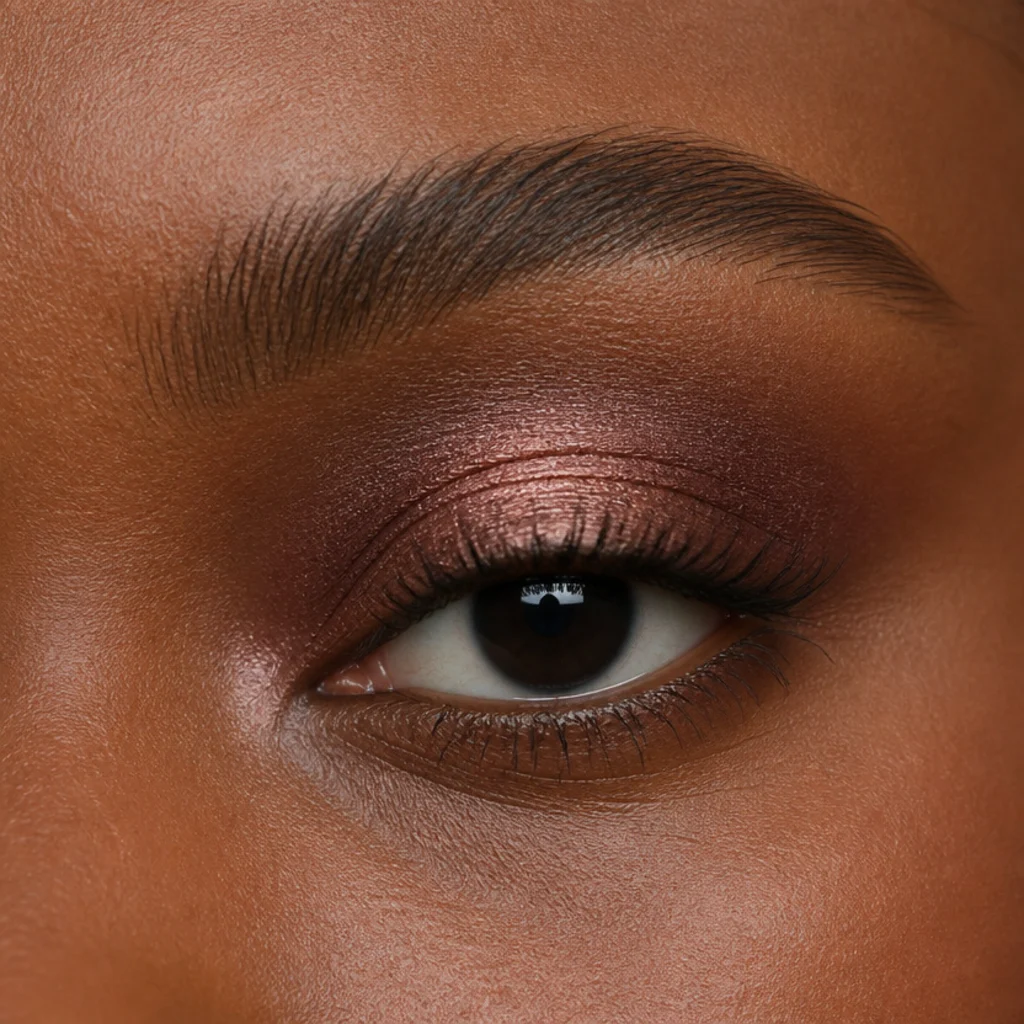
A halo eye places light, sparkly shadow in the center of the lid with deeper color on the inner and outer corners, creating a round pop of brightness that makes the eye look larger and more open. For hooded eyes, float that halo slightly higher than usual so the sparkle stays visible when your eyes are open rather than hiding under the fold. Press the shimmer on with a flat brush or a fingertip for maximum payoff, and keep it concentrated in a small central patch rather than spread thin, where it loses its punch. Blend the corner depth up and slightly above the natural crease, echoing the lifted-crease logic from the cut-crease look, so both the depth and the sparkle survive the fold. The result is bright and dimensional without committing to a hard cut crease, and it flatters every skin tone once you match the corner depth to your contrast. Because the sparkle sits center-lid, it makes the eye look rounder and more awake, a nice contrast to the elongating looks earlier, and it pairs well with a soft, low lower-lash smudge to keep the roundness balanced. Use a glitter glue or long-wear cream base under the shimmer so it doesn't migrate into the fold; that gives 8 to 10 hours of hold. Pro tip: apply the center shimmer last, after all your blending is done, so stray sparkle doesn't get dragged across the lid and into the corners. Ask your artist for a "high-floated halo that shows when my eyes are open."
13Monolid Eyes: Graphic Liner
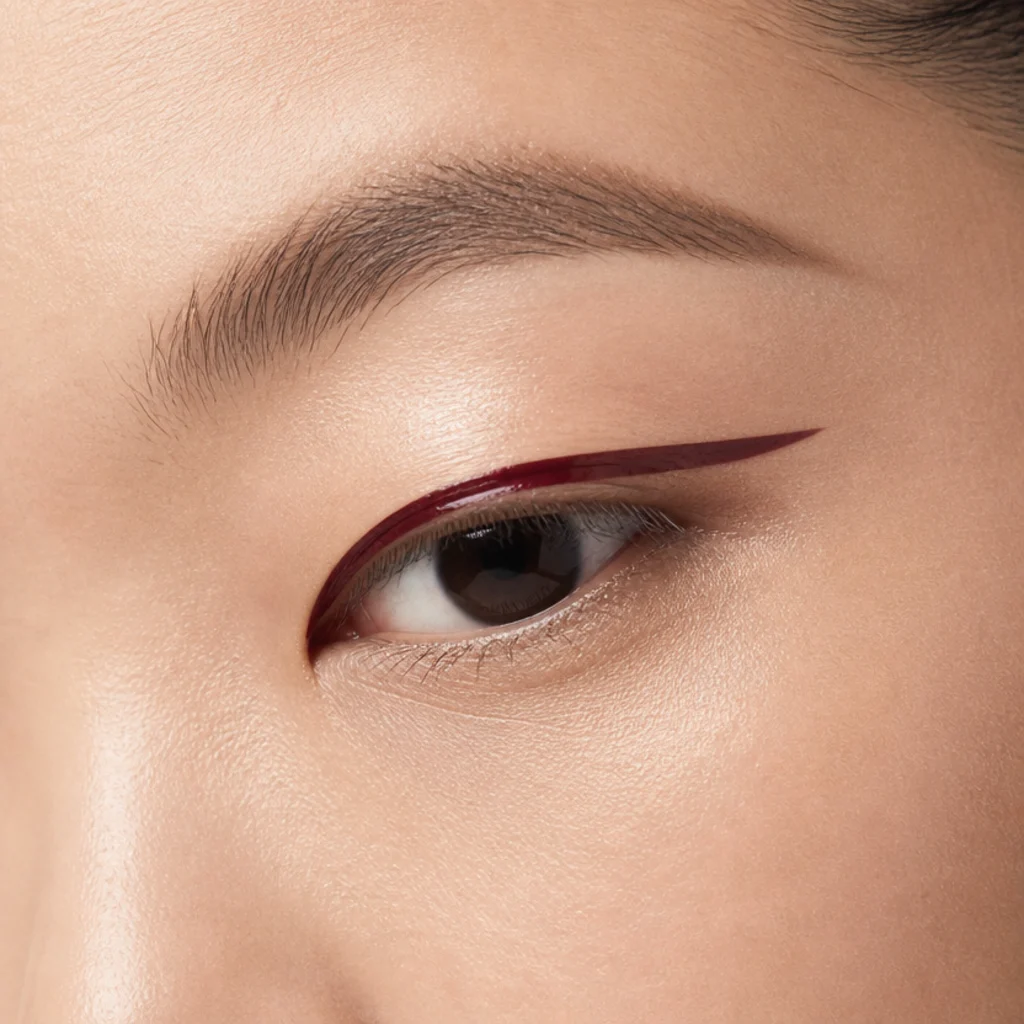
Monolids are a natural canvas for graphic liner because the flat, uninterrupted lid shows off a bold line in full when the eyes are open, with no fold to hide or smudge it. Try a floating line drawn slightly above the lash line so it stays fully visible, or a double-line accent where a fine line of contrast color, teal, white, warm amber, runs parallel above your black liner. Because there's no crease to break the line, it stays crisp edge to edge, which is exactly why graphic looks that fail on hooded eyes succeed here. Build the shape with the eyes open so you place it where it actually reads, then check symmetry between both lids by looking straight ahead, not down. Pair it with a glossy or bare lid for a modern, editorial feel that lets the line be the whole story, and keep skin luminous rather than heavily contoured so the eye stays the focus. A waterproof felt-tip or gel liner is essential; expect 8 to 12 hours with minimal transfer, and keep a cotton swab dipped in a little micellar water to sharpen the edge before it sets. This is a high-impact, low-shadow look that suits every skin tone since the color lives in the line, not a wash. Pro tip: lay down a thin guide line first, then thicken it in passes rather than trying to nail full width in one stroke, which is where wobbles happen. Ask your artist for a "floating graphic line placed for my open monolid."
14Round Eyes: Doe-Eye Glow
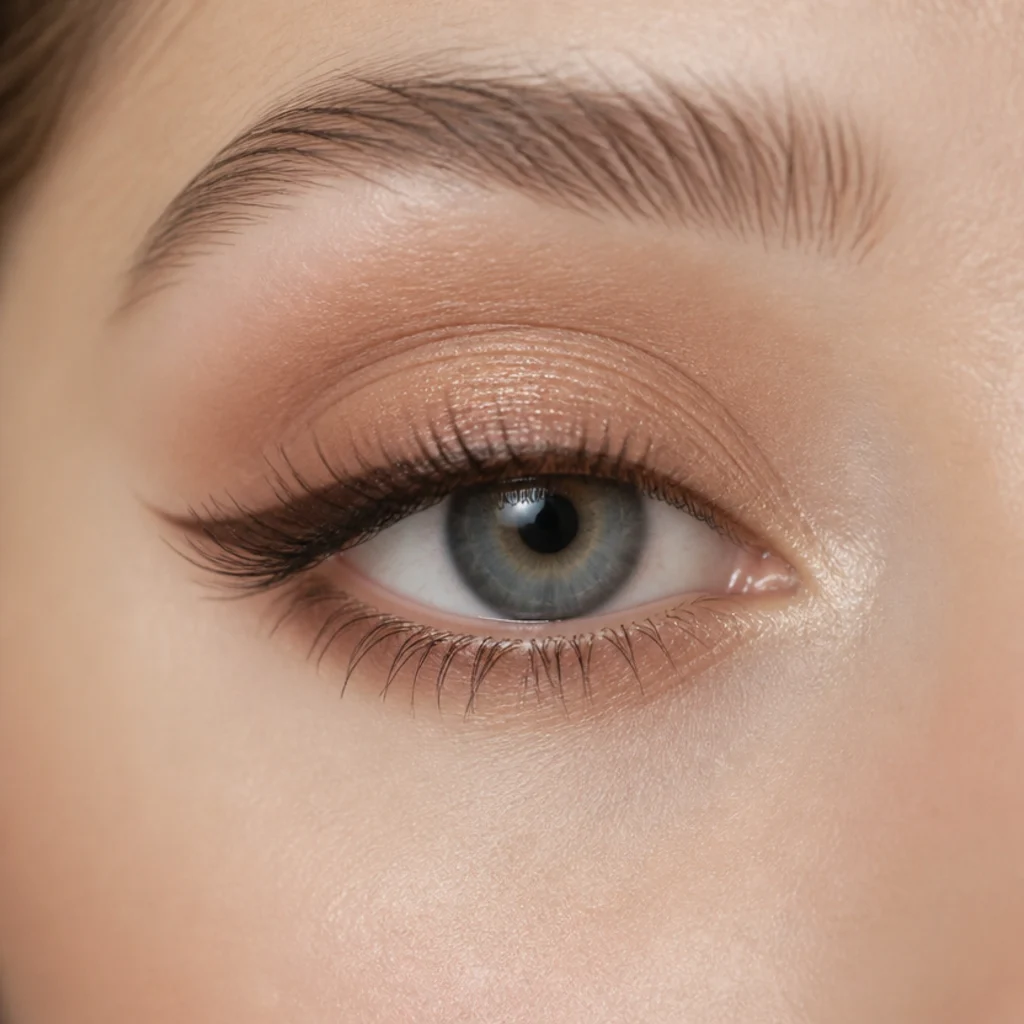
Not every round-eye look needs to elongate, and the doe-eye leans into the shape's natural openness for a soft, youthful glow instead of fighting it. Wash a warm neutral, a soft peach, rosy taupe or light bronze, across the lid, add a whisper of shimmer at the center to catch light, and line the upper lash line with a soft brown that thickens slightly at the middle to accent the curve rather than the corner. Add a small inner-corner highlight and softly smoked lower lashes to lean into the roundness, then curl your lashes and finish with a lengthening, defining mascara so everything stays bright and open. This is a gentle, everyday look that celebrates round eyes rather than reshaping them, a reminder that flattering doesn't have to mean disguising, and it reads especially fresh on younger or fuller lids. Because it's powder-light and brown-based, it holds a natural 8 hours and is forgiving to reapply, a strong choice for long days. It suits every skin tone once you shift the neutral wash warm or cool to match your undertone. Pair it with a soft, glowy skin finish and a tinted lip balm to keep the whole face in the same gentle register. Pro tip: place the center-lid shimmer directly over the iris so it amplifies the eye's natural openness when you look forward, and keep it small so it glows rather than glitters. Ask your artist for a "soft doe-eye that plays up my round shape rather than stretching it."
15Downturned Eyes: Smoky Lower Lift
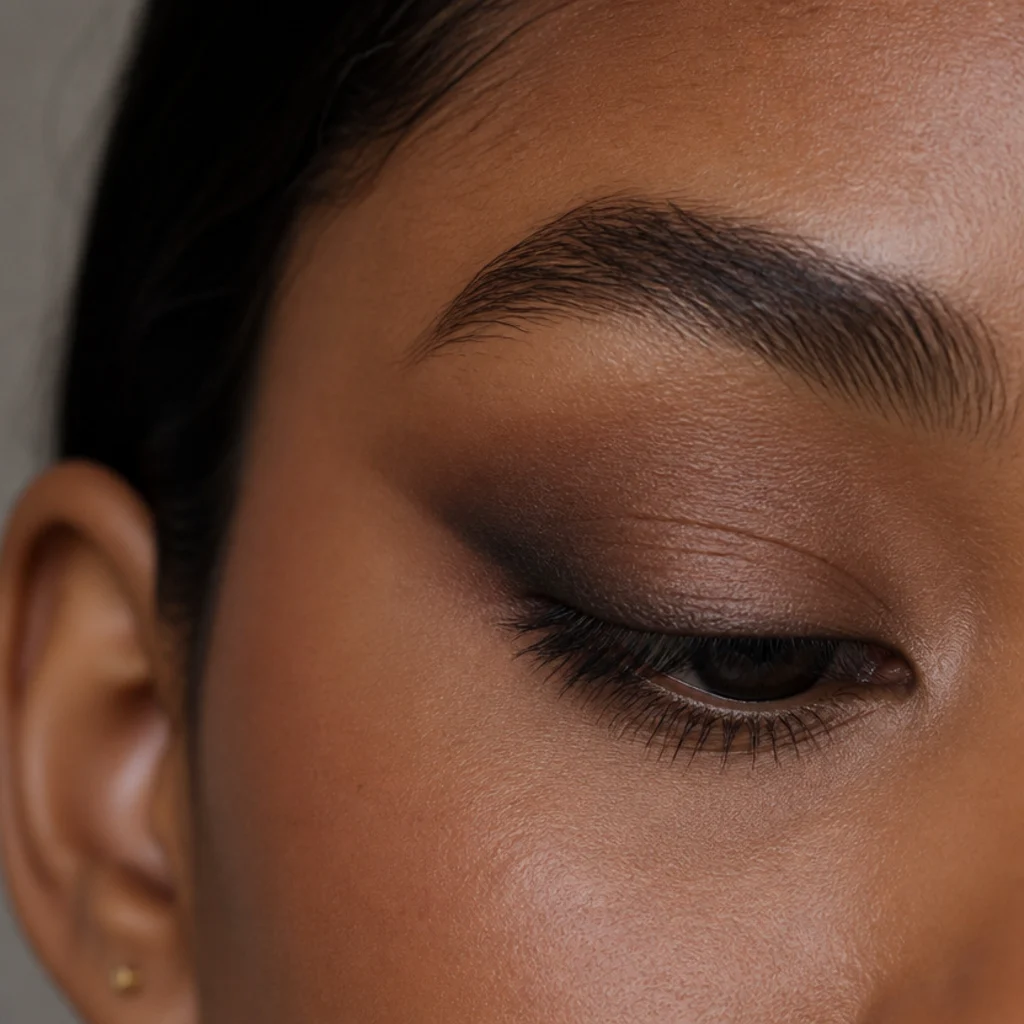
A smoky eye works on downturned eyes as long as you weight it upward instead of letting it follow the natural drop. Keep the smoke concentrated at the outer corner and drag it up and out, never down along the lower lash line past the midpoint, since a low outer smudge exaggerates the downturn. Line the upper lash line and extend a soft, smudged wing upward toward the brow tail, then connect only the outer third of the lower lash line to meet it in a small triangle at the outer corner. Leaving the inner two-thirds of the lower lash line bare keeps the eye from drooping and preserves brightness, so resist the urge to rim all the way around. Blend every edge soft for a lived-in, diffused finish rather than a hard line, using a small tapered brush for control at the corner. This proves a smoky eye isn't off-limits for downturned shapes; it just needs an upward, outer bias, and it flatters every skin tone once the depth matches your contrast, from soft grey-taupe to deep espresso or plum. It pairs well with a lifted lash and a defined brow tail that continues the upward line. Over primer it holds 8 hours; set the outer smudge firmly, as that corner creases first. This is an intermediate look worth the practice. Pro tip: build the outer corner in a sideways "V" or comma shape that points up and out, so the whole eye is nudged toward level rather than dragged down. Ask your artist for an "upward-weighted smoky eye that lifts my downturned corner."
Save this to Pinterest for downturned-eye smoky placement.
16Lash Mapping by Eye Shape
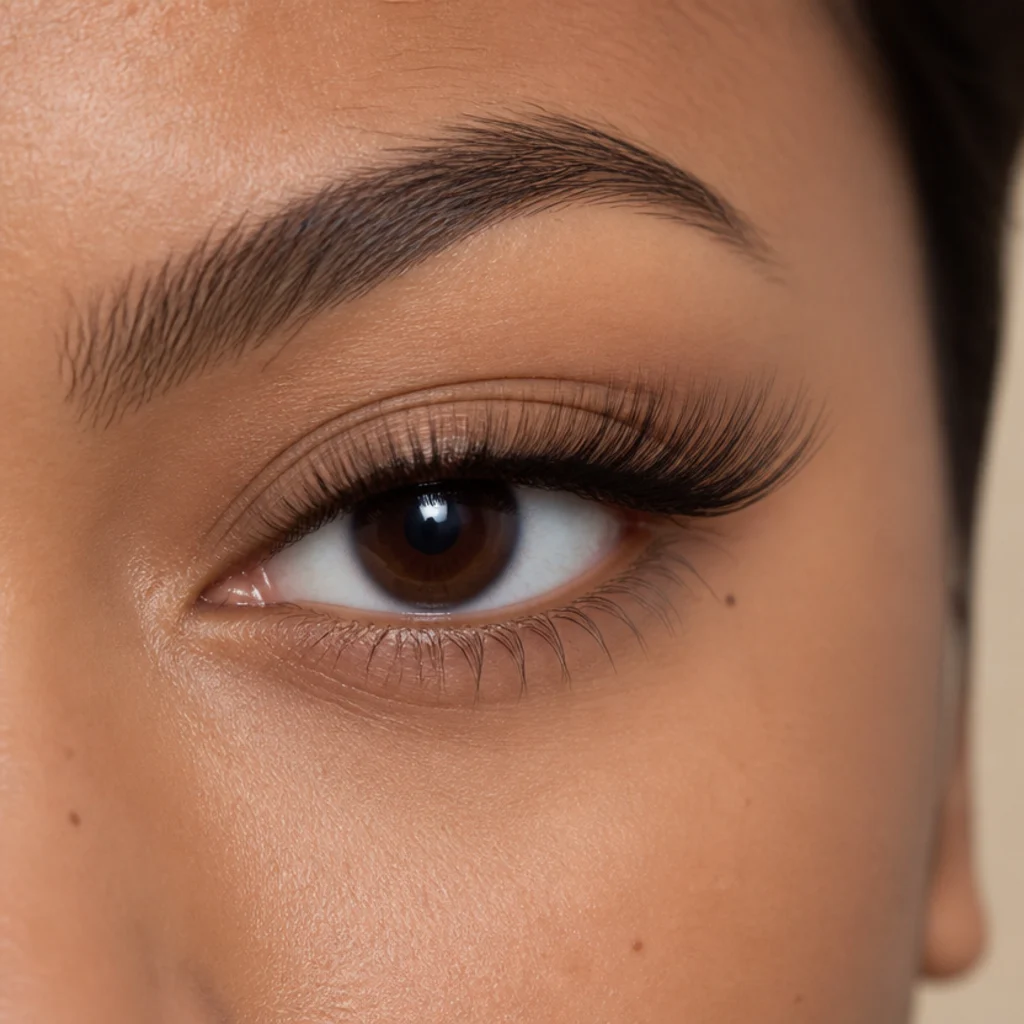
Lash mapping means varying lash length and curl across the lash line to flatter your specific shape, and it's one of the most useful, underused tricks here, whether you wear strip lashes, apply clusters, or book professional extensions. For round eyes, place the longest lashes at the outer corners to elongate. For downturned eyes, keep length concentrated on the outer top and add a stronger curl there to lift the drop. For close-set eyes, weight length toward the outer third to widen the perceived spacing. For hooded eyes, choose lighter, wispy, slightly shorter lengths with a lifted curl that won't brush the brow bone or feel heavy on a fold that already limits space. For monolids, longer center-to-outer lashes with a firm curl open and lift the flat lid. For upturned eyes, keep length more even so you don't over-lift an already-lifted shape. Because mapping is about proportion, it works for every skin tone and lash color; the map matters more than the volume. The quick reference below charts the effect to the shape at a glance. Bring this lash-mapping-by-eye-shape logic to whoever applies your lashes, ask for a "map" rather than a uniform length, and describe the effect you want, more lift or more length.
| Eye shape | Length placement | Curl | Effect |
|---|---|---|---|
| Round | Longest at outer corners | Moderate | Elongate |
| Downturned | Outer-top heavy | Strong at outer | Lift the drop |
| Close-set | Outer third | Moderate | Widen spacing |
| Hooded | Shorter, wispy | Lifted, not heavy | Preserve space |
| Monolid | Center-to-outer | Firm | Open the lid |
| Upturned | Even across | Soft | Balance, no over-lift |
Pro tip: for strip lashes, trim from the outer edge, never the inner, so you keep the mapped taper and the band still fits your inner corner. Ask your lash artist to "map curl and length to my eye shape rather than a single style across the lash line."
17Almond vs Hooded: The Smoky Eye Compared
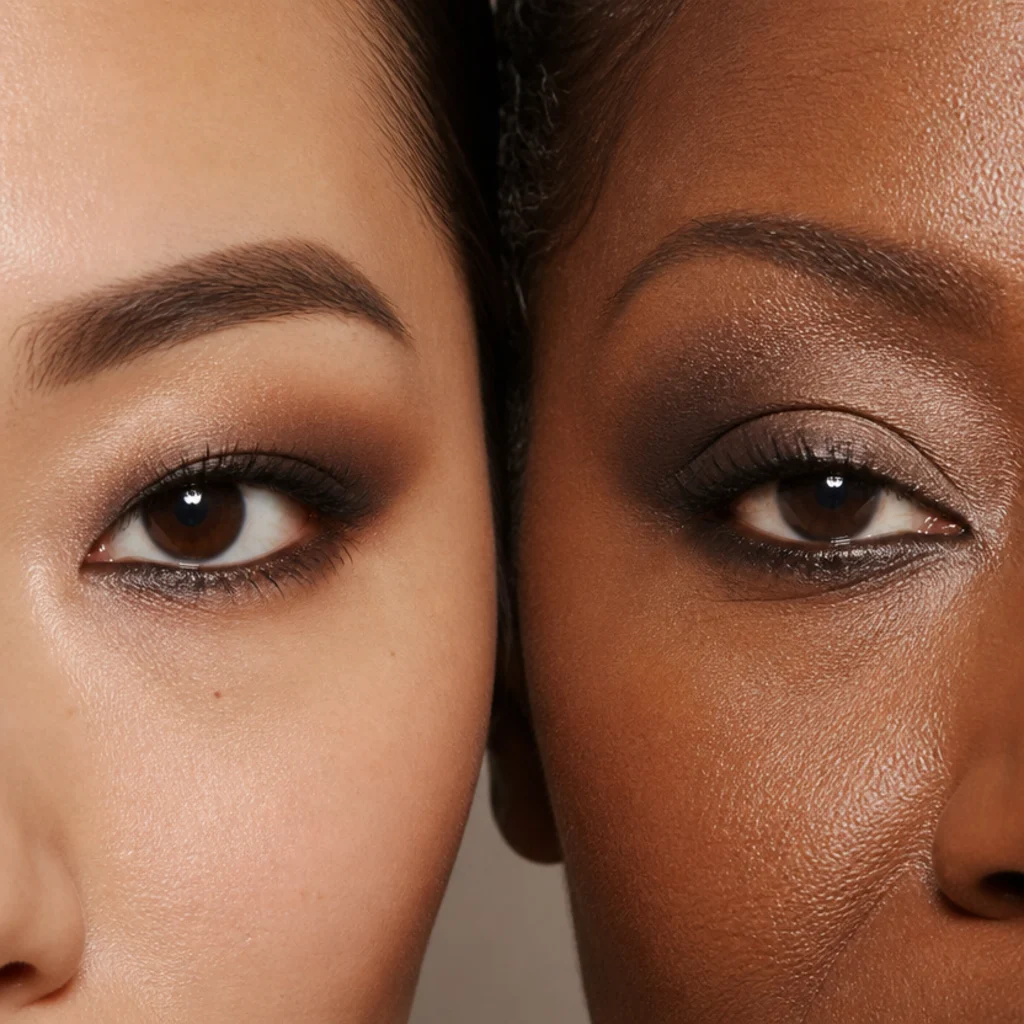
The classic smoky eye behaves very differently on almond versus hooded eyes, and it's the clearest lesson in the whole guide. On almond eyes you build depth right in the natural crease and it stays visible when the eyes open, so a standard blended smoke works exactly as tutorials show. On hooded eyes that same crease depth disappears under the fold the moment the eyes open, so you build the smoke higher, above the natural crease, and keep the mobile lid lighter and reflective so it doesn't lose space. The difference is placement and finish, not palette; the same three shades work on both, they just land in different places. The table below maps it at a glance.
| Factor | Almond eyes | Hooded eyes |
|---|---|---|
| Depth placement | In the natural crease | Above the natural fold, mapped eyes open |
| Lid finish | Any; shimmer or matte | Light and reflective to hold space |
| Liner | Standard wing along lashes | Thin, close to lashes; float any wing higher |
| Blend direction | Up and out from the crease | Lifted, with a soft edge above the fold |
| Best formula | Powder or cream | Long-wear cream, well set to resist transfer |
| Common mistake | Over-darkening the inner lid | Placing depth in a fold that hides it |
Verdict: same look, two different maps. If you have ever tried a smoky eye that "vanished" when you opened your eyes, you almost certainly used almond placement on hooded eyes. Read your own fold with the eyes open and place accordingly, and remember most eyes blend both descriptions rather than sitting neatly in one column, so borrow from whichever column fits each part of your lid.
18Mature Eyes: Soft-Matte Definition
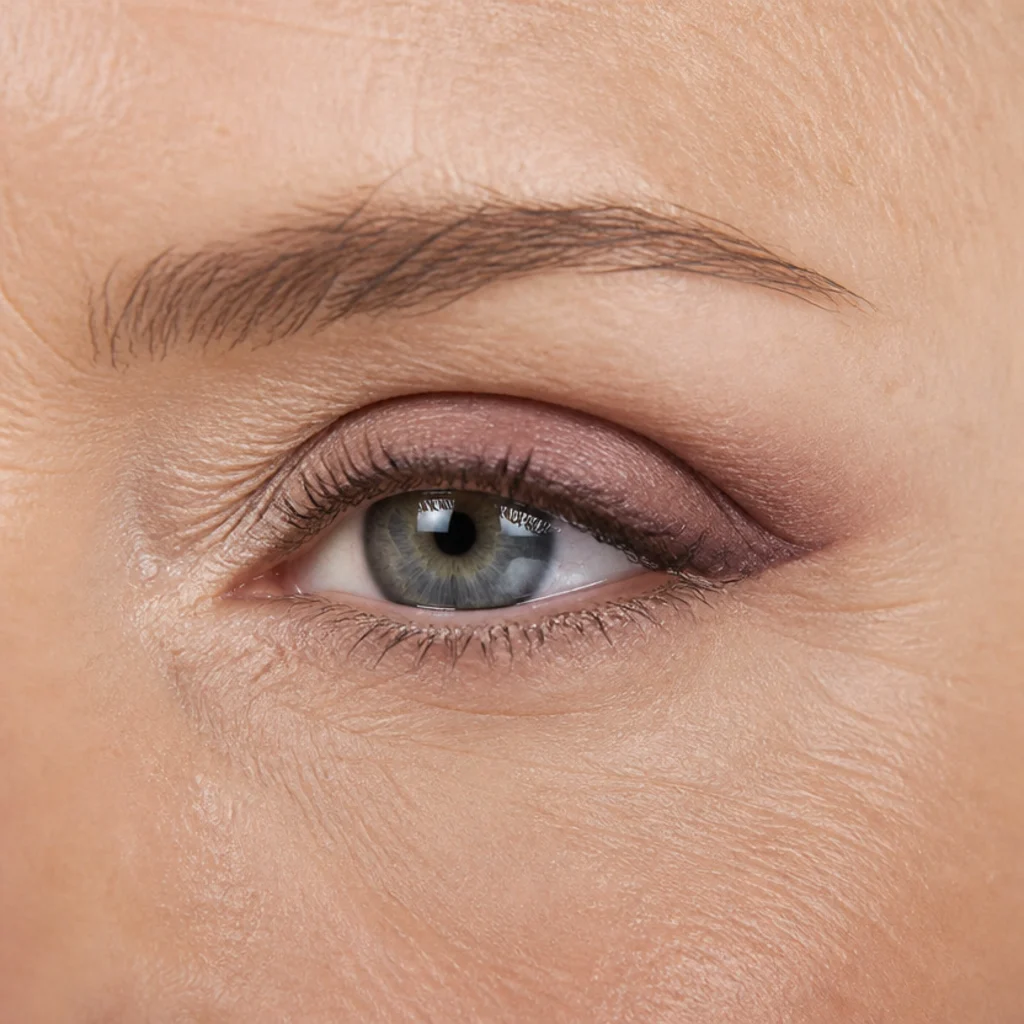
Eyes change over time, often gaining a little hooding and finer, softer texture on the lid, and a few adjustments keep makeup looking fresh rather than heavy. Favor soft mattes and low-sheen satins over chunky glitter, which settles into texture and emphasizes it; a smooth matte or a fine-milled satin catches light without sinking into fine lines. Define with a soft brown, warm taupe or muted plum instead of stark black, which can look harsh against softer skin, and keep depth diffused and slightly lifted at the outer corner. A tightlined upper lash line adds density right at the roots without a hard drawn line, and a curled lash opens the eye more than heavy mascara does. Reach for creamy, crease-resistant formulas and a good grip primer, since powder tends to sit less smoothly on mature lids and can emphasize texture. Apply everything with the eyes open and looking forward so you place color where it shows on a softer, hooded lid rather than in a fold. This is gentle, brightening definition that works across skin tones by adjusting the depth shade, and it applies whether your eyes read almond, hooded, or a blend of both. Expect 8 hours from a primed cream base, with a light midday press if needed. Pro tip: skip a heavy lower liner, which can drag a mature eye down, and instead smudge a soft taupe only along the outer third of the lower lashes. Ask your artist for "soft-matte definition, no glitter, lifted at the outer corner."
19Round Eyes: Sultry Bronze Wash
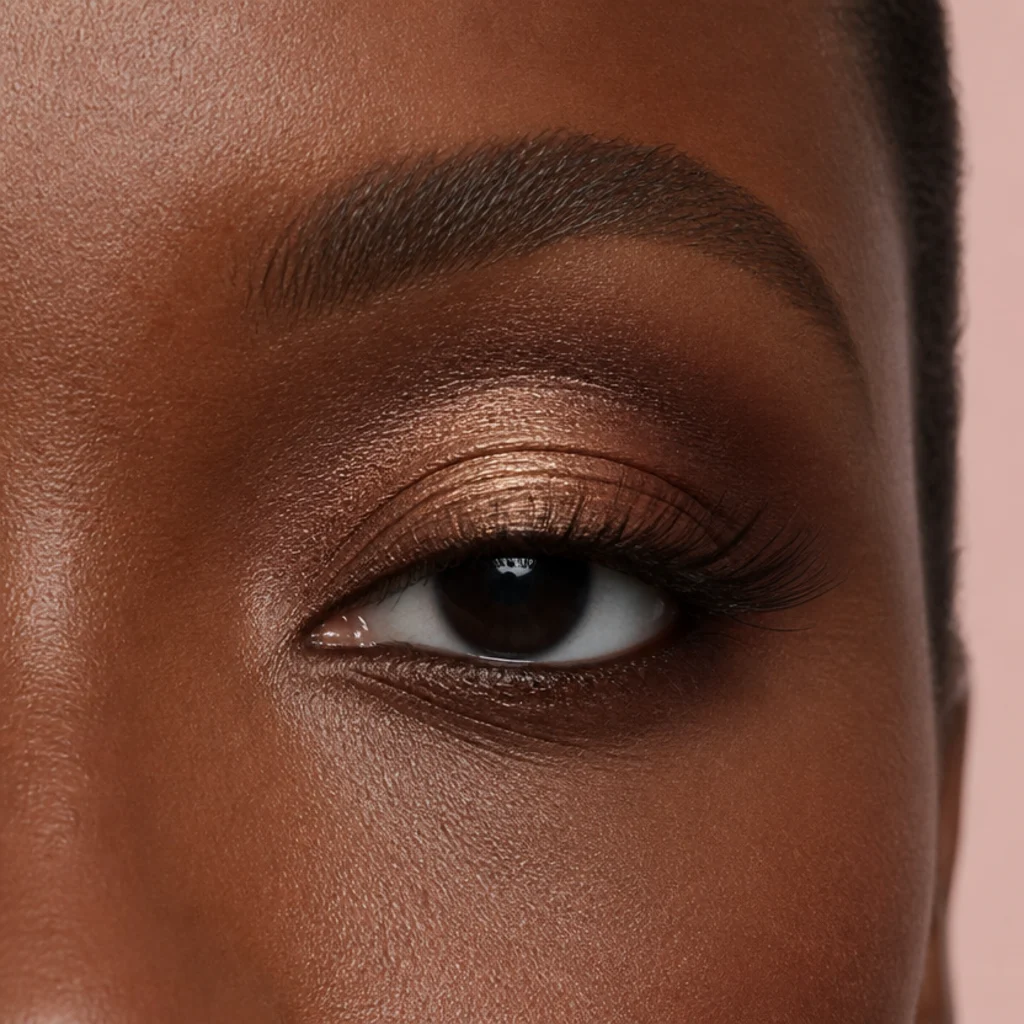
For a warmer, dressier take on round eyes, a monochromatic bronze wash adds sultriness while still quietly elongating. Sweep a warm bronze across the whole lid, then blend a deeper chocolate into the outer corner and along the outer third of the lower lash line, keeping the drag horizontal so the shape lengthens instead of rounding further. A touch of gold or copper shimmer center-lid keeps the wash from going flat and adds glow right over the iris. Smudge the outer lower line to connect the smoke and stretch the shape into a soft oval, stopping well before the inner corner so the eye stays open. Bronze flatters a huge range of skin tones by shifting warmth and depth: soft copper and light bronze on fair skin, warm terracotta on medium, rich mahogany and deep chocolate on deep skin. This is date-night makeup that respects the round-eye elongating logic while feeling glowy rather than dark, and it pairs beautifully with a warm blush and a nude-bronze lip for a monochrome face. It holds 8 to 10 hours over primer and photographs with real dimension. Pro tip: use one bronze family in three depths rather than mixing color families, so the monochrome wash stays smooth and the elongation reads clean rather than muddy. Ask your artist for a "warm monochrome bronze that stretches my round eye outward and keeps the center glowing."
20Monolid Eyes: Reverse Wing
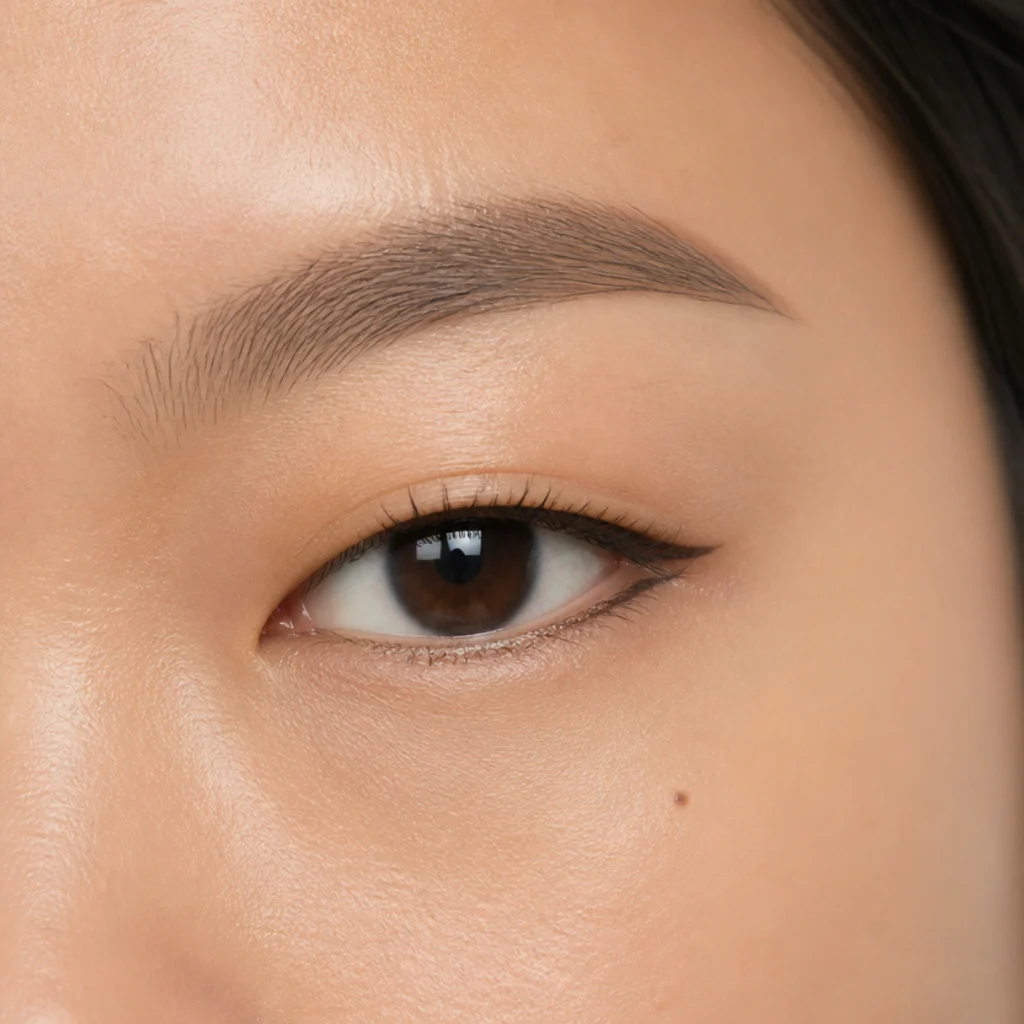
A reverse wing, or lower-liner wing, flatters monolids by adding definition without stacking heavy shadow on the flat lid where it can look muddy. Line the outer third of the lower lash line and flick it up and out to mirror where a traditional upper wing would sit, then keep the upper lash line clean and thin. The effect is graphic and unexpected, and it opens the eye by drawing attention downward and outward across the widest part of the lid. Pair it with a bright, bare or glossy lid so the lower line stays the hero and the look reads deliberate rather than accidental; a soft inner-corner highlight keeps the eye from looking bottom-heavy. Because monolids show the full lower flick when the eyes are open, this photographs crisply and holds its shape all day in a waterproof formula, 8 to 12 hours. Keep the flick short and precise so it balances the eye instead of dragging it down, and match its angle to any upper liner you wear elsewhere. It suits every skin tone since the definition lives in the line; play with a colored lower flick, teal or plum, for an editorial version. Pair with fluffy, lifted lashes rather than a heavy strip so the lower line stays visible. Pro tip: connect the reverse flick to a hair-thin upper line at the outer corner so the two meet in a clean point rather than floating separately and looking unfinished. Ask your artist for a "lower reverse wing with a bare lid, built for my open monolid."
21Hooded Eyes: Above-Crease Smoke
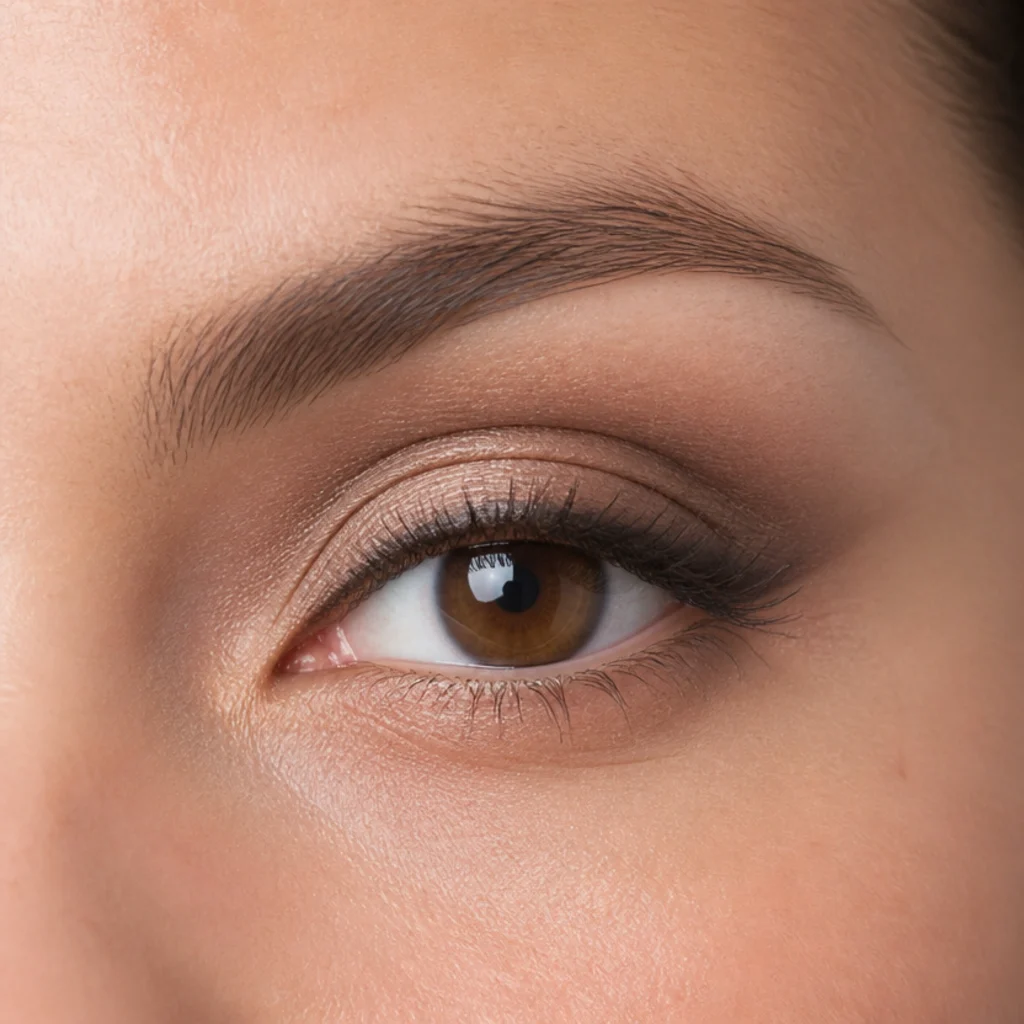
This is the everyday hooded-eye workhorse, quicker and more forgiving than a structured cut crease. Instead of carving a hard line, softly smoke your depth above the natural fold so definition peeks out when your eyes are open. With the eyes open and looking straight ahead, mark where the fold hits with a light dot of shadow, then blend a mid-to-deep matte just above that mark, keeping the edge soft and lifted slightly at the outer corner. Keep the visible lid shimmery and light, a satin champagne or soft rose, to maximize the space you have and keep the eye looking open. Line close to the upper lashes only, skipping a heavy wing that would sink into the fold and reappear as a smudge. The result is depth that actually shows, which is the entire challenge with hooded eyes, and it works on every skin tone once you match the smoke to your contrast. It pairs well with a lifted brow and a curled lash that lifts the fringe clear of the fold. Use a long-wear cream base under the lid shimmer so nothing transfers up onto the fold; that buys 8 to 10 hours, with a quick midday press if your lids run oily. Pro tip: blend the above-crease smoke with a small tapered brush in tiny circles, not big sweeps, so you keep control over exactly how high it floats and it doesn't balloon into a wide, aging halo. Ask your artist for a "soft above-crease smoke, no hard cut, that reads with my eyes open."
22Almond Eyes: Colored Lower Liner
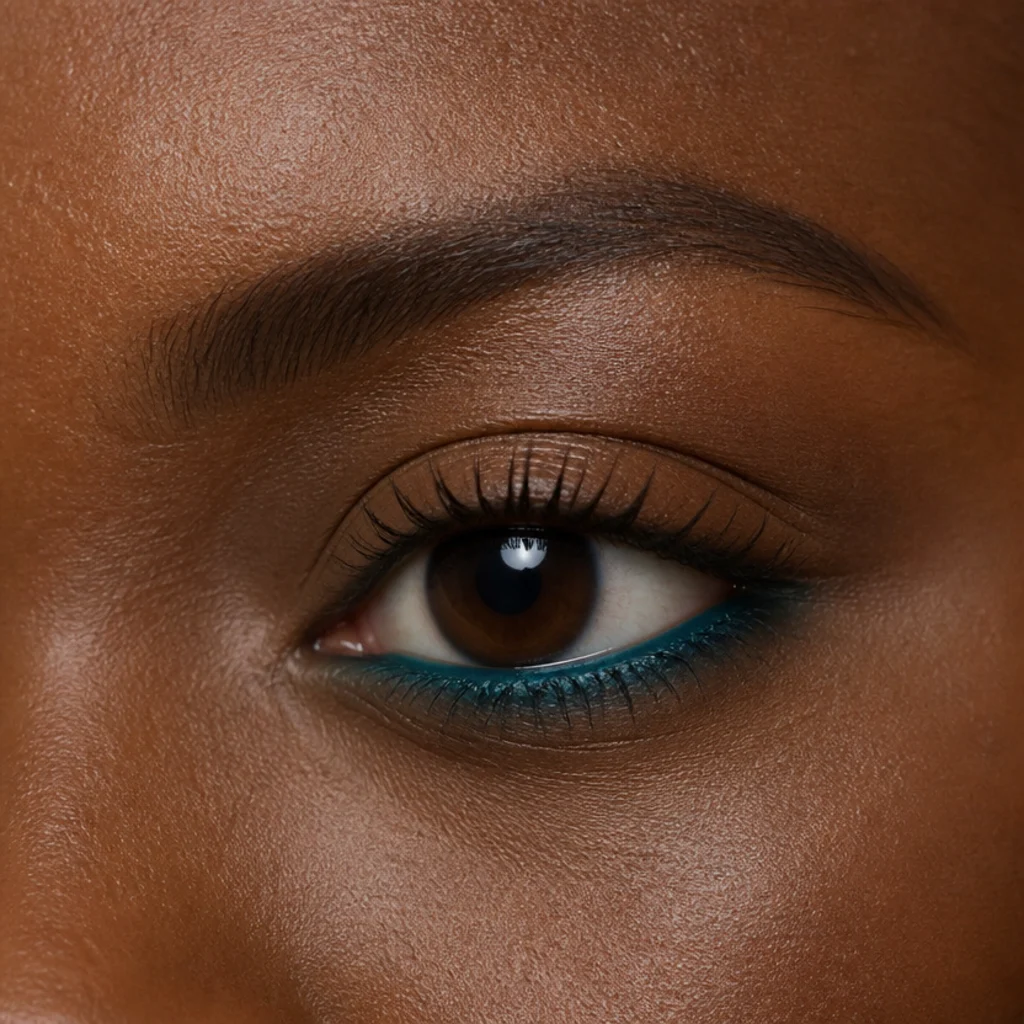
Because almond eyes take color so evenly, they're the ideal place to experiment with a pop of colored lower liner without the eye reshaping. Line the lower lash line, or just the waterline, with a saturated shade, teal, plum, warm amber, cobalt, and keep the rest of the eye neutral so the color sings rather than competes. The balanced almond shape means the color reads as a deliberate accent instead of pulling the eye rounder or narrower, which is why almond is the safest testing ground for bright liner. Choose a shade that contrasts your iris to make your eye color pop: coppers and warm bronzes lift blue and green eyes, deep blues and teals flatter brown eyes, plums brighten hazel. Use a creamy, long-wear pencil or a gel liner on a fine brush; waterline color fades fastest, often within 3 to 4 hours, so carry it for a touch-up. This is a fast, low-commitment way to make a neutral look feel intentional, and it takes under two minutes, which makes it a great desk-to-dinner trick. It suits every skin tone since the neutral lid keeps skin harmony intact and the color does the talking. Pro tip: tightline the upper waterline in a matching or black shade so the colored lower line looks framed and intentional rather than floating alone. Ask your artist for a "contrast lower liner picked to brighten my iris, on a clean neutral lid."
23Downturned Eyes: Tightline Lift
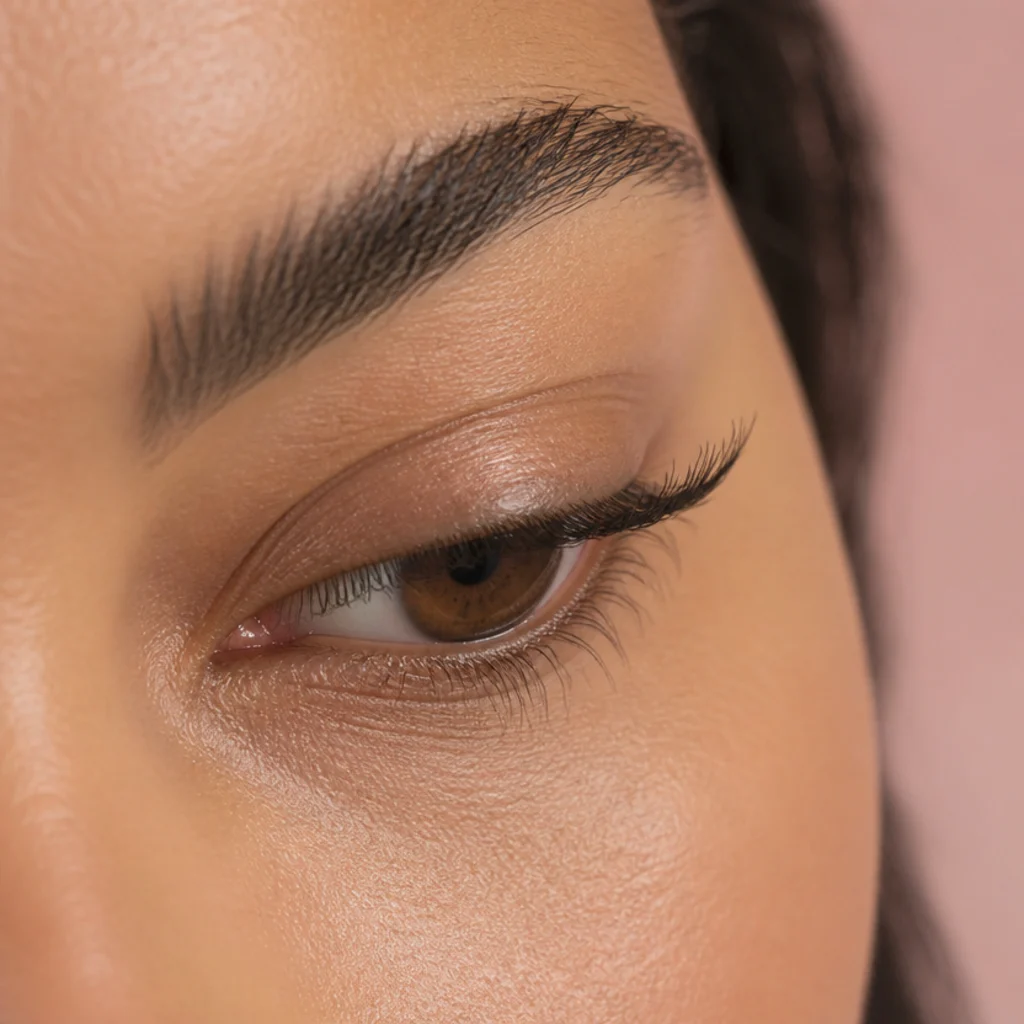
Tightlining means filling the upper waterline and the tiny gaps between your lash roots, and for downturned eyes it adds definition with zero downward-pulling liner. Because the color sits right at the roots, it makes lashes look denser and the eye look lifted, with no wing required, which makes it ideal on days a full flick feels like too much. Concentrate slightly more density toward the outer corner to nudge the shape upward, and pair with a well-curled, lifted lash and a lengthening mascara that tugs the outer lashes up and out. Keep the lower waterline bare or lined in a soft nude to avoid closing or shortening the eye, since dark lower waterline is what usually drags a downturned eye down. This is the most low-key look in the guide, perfect for lifted, awake eyes without visible makeup, and it suits every skin tone and every crease type. It layers cleanly under any of the shadow looks above when you want more, so treat it as a base as much as a finished look. Use a waterproof gel tightliner so it survives contact with the damp waterline, otherwise expect 3 to 4 hours before it fades. Pro tip: look down into a mirror and wiggle a stiff, blunt pencil up into the roots so you fill the gaps rather than just tracing the waterline, which is what makes lashes look denser. Ask your artist for a "root tightline with an outer-weighted lift and no visible wing."
24Wide-Set Eyes: Bold Inner Corner
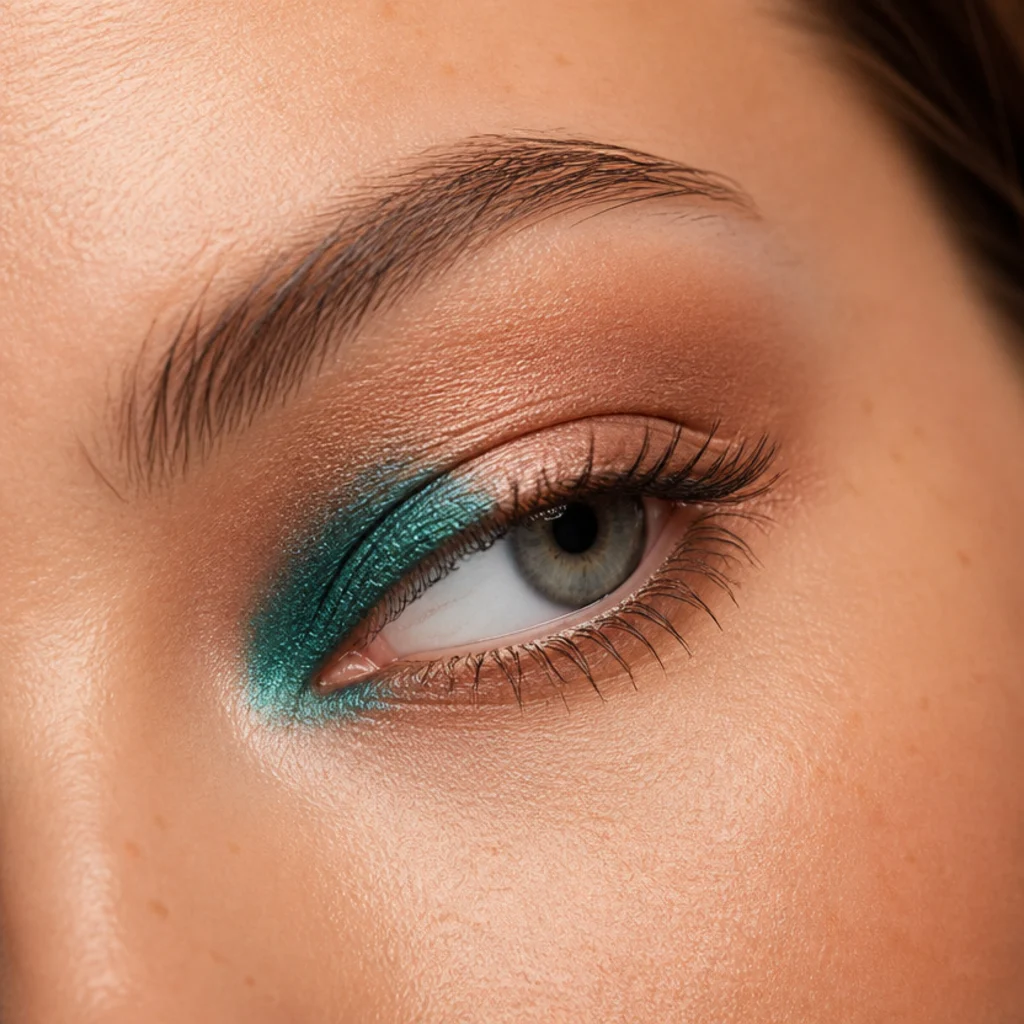
Wide-set eyes can carry a statement inner corner that would look crowded and off on close-set eyes. Instead of a small subtle highlight, bring real color into the inner corner and along the inner third of the lid, a jewel-tone shimmer, a soft smoke or a bright metallic, to draw the eyes visually inward and together. Keep the outer corner softer and skip a long wing so you don't stretch the space further apart. This flips the usual "brighten the inner corner subtly" advice into a deliberate focus, one of the few looks where a bold inner accent is the goal rather than a mistake. It's a striking, editorial way to balance wide-set eyes and a good reminder that placement rules invert depending on your spacing, so it pairs naturally as the mirror image of the close-set outer pull. It suits every skin tone; choose a metallic that flatters your undertone and contrasts your iris for extra pop. Extend the inner color a touch further along the lower inner lash line so the inward pull works from both top and bottom. Anchor the inner shimmer on a long-wear cream base, since the inner corner tears and sweats first and will fade ahead of the rest, so plan on 6 to 8 hours. Pro tip: keep the outer third almost bare so the inner corner reads as the clear hero and nothing competes for the eye. Ask your artist for a "bold inner-corner focus to visually narrow my wide-set spacing."
25Every Eye Shape: The No-Liner Soft Look
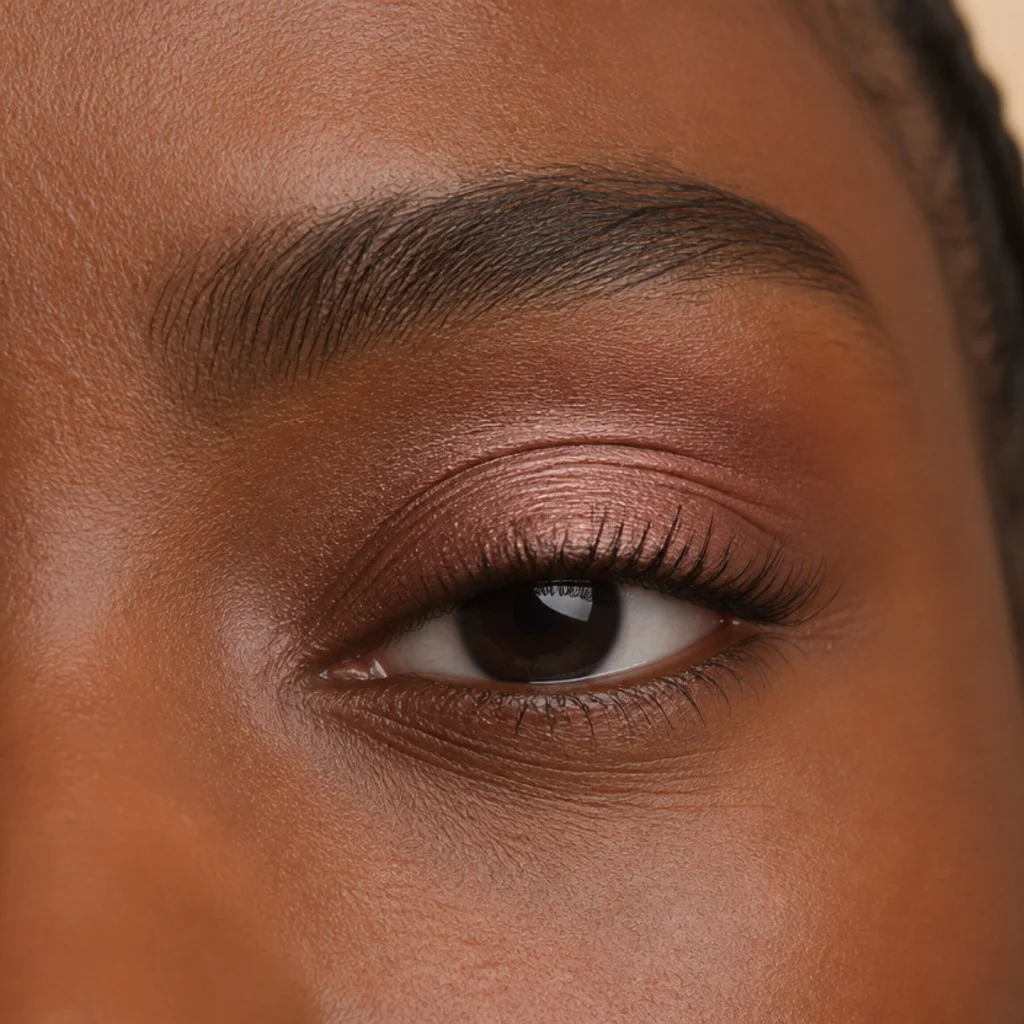
Not every look needs liner or a defined crease, and this soft, universal option flatters every eye shape and skin tone because it adds no directional lines to argue with your natural set. Press a wash of satin shadow, a warm neutral, a soft rose, a muted bronze, across the lid and slightly into the lower lash line, blending every edge so nothing has a hard boundary. Add curled lashes and a coat of mascara, then tap a little of the same shadow along the lower lashes to tie top and bottom together. Because there's no directional liner or crease work, it adapts cleanly to almond, hooded, monolid, round, downturned and upturned eyes alike, which makes it the safest starting point if you're still figuring out your shape or teaching yourself placement. It's the five-minute look to reach for on busy mornings, beginner-proof, and it holds a soft 6 to 8 hours even without primer, though a thin base extends it. Because the whole look is one shade, shift it warm or cool to suit your undertone and it works on any skin tone. Pair it with glowy skin and a tinted balm for an effortless, pulled-together face. Pro tip: swipe the wash on with a fingertip for the fastest, most seamless blend, then define only with mascara so the whole thing stays effortless and never looks like you tried too hard. Ask your artist for a "soft, one-shade wash with no liner, just lifted lashes."
Pro Tips from the Editor
- Map with your eyes open, always. The single most common mistake is placing crease color while looking down into a mirror. Where shadow lands with the eyes relaxed and open, especially on hooded and monolid eyes, is the only placement anyone else ever sees, so build and check there.
- Primer is placement insurance. On hooded, mature and deep-set eyes, transfer is what ruins a look by noon. A thin, set eye primer keeps color exactly where you mapped it instead of migrating into a fold or crease, and it doubles the wear of shimmer.
- Build depth in thin layers. Two light passes of a mid-tone always read cleaner than one heavy sweep of a dark shade. It's far easier to add depth than to lift a muddy, over-pigmented lid, so start soft and sneak up on it.
- Match liner formula to the job. Felt-tip liquid for crisp graphic lines and fox flicks, gel pencil for smoky smudges and tightlining, long-wear cream for anything touching a fold or waterline. The wrong formula fights the placement no matter how steady your hand is.
- Contrast your iris, not just your skin. When you want eye color to pop, coppers and warm bronzes lift blue and green eyes, deep teals and plums brighten brown and hazel. This decides colored liner and inner-corner shades more than your skin tone does.
- Keep one clean fluffy brush untouched by pigment. A dry blending brush with nothing on it is what turns a hard edge into soft, editorial diffusion. It is the cheapest upgrade to any look here, and reaching for it before a second dip of color is what separates polished from patchy.
- Treat spacing and set as separate levers. Almond, hooded and monolid describe your crease; close-set, wide-set, upturned and downturned describe position. Most people combine one of each, so layer two placement rules, for example a monolid gradient pulled outward to also open close-set spacing.
- Hydrate and stop the lid from getting greasy first. A well-moisturized but blotted lid holds color better than a slick or a flaky one; let skincare fully absorb, then prime, or shimmer will slide and matte will grab unevenly.
How to Choose / Get the Look
Start by reading your own eyes in good, even light with them fully open, since that's how the world actually sees your makeup, then work through two questions in order.
First, name your crease and lid type. Look for a clearly visible crease with tapered corners (almond), a fold of skin covering part of the mobile lid when open (hooded), little to no visible crease (monolid), a lot of white showing around a curved iris (round), a lid that projects forward under the lashes (protruding), or lids set back under a strong brow bone (deep-set). This tells you your base placement logic: follow the crease for almond, lift above the fold for hooded, build from the lash line up for monolid, drag depth horizontally for round, keep color light and forward for deep-set, and keep it matte and recessive for protruding.
Second, name your set and spacing. Note whether the outer corner tilts up (upturned) or down (downturned), then measure spacing, less than one eye's width between the inner corners reads close-set, more than one reads wide-set. This tells you your direction: lift the outer wing for downturned, ground the lower line for upturned, pull everything outward for close-set, and weight color inward for wide-set.
Then layer the two. Most people are a blend, so treat this eye shapes chart as a menu, not a diagnosis. The cheat sheet below pairs each trait with its one-line rule so you can stack a crease rule and a spacing rule together.
| Your trait | Placement rule |
|---|---|
| Almond | Follow the natural crease |
| Hooded | Build depth above the fold, eyes open |
| Monolid | Gradient from the lash line up |
| Round | Drag depth outward, horizontally |
| Deep-set | Light, reflective lid; minimal crease |
| Protruding | Matte all over, recede the lid |
| Downturned | Lift the outer wing above the corner |
| Upturned | Ground the lower lash line, no wing |
| Close-set | Bright inner, all depth outward |
| Wide-set | Depth inward, short or no outer wing |
Combine your crease rule with your spacing rule, so a hooded, close-set eye gets above-crease smoke weighted to the outer third, and a round, wide-set eye gets elongating smoke with the depth nudged slightly inward. Build color in thin, adjustable layers, keep a clean blending brush in your other hand, and when booking a pro or buying lashes, describe the effect you want, more lift, more length, more openness, and name your eye shape so they can map both shadow placement and lash length to suit you.
Frequently Asked Questions
How do I figure out my eye shape?
Look straight into a mirror in even light with your eyes relaxed and open. Check for a visible crease, whether a fold of skin covers your lid, how much white shows around the iris, and whether the outer corners tilt up or down. Then note the spacing between your inner corners against the width of one eye. Most people match two or three descriptions, one for crease type and one for set or spacing, which is completely normal and is exactly why this guide layers a crease rule with a spacing rule instead of forcing you into a single box.
What is the difference between almond and hooded eyes?
Almond eyes have a visible crease and tapered corners, so crease-placed color stays visible when the eyes open. Hooded eyes have a fold of skin covering part of the lid, so standard crease color disappears when the eyes are open. The fix for hooded eyes is mapping and placing depth slightly above the natural crease, and keeping the visible lid light so it holds its space. If you can't tell which you are, apply a little shadow in your crease, open your eyes, and look forward: if it vanishes, you're working with a hooded fold and should build higher.
Does eye shape really change how I should apply makeup?
Yes, but it changes placement, not products. The same smoky eye can flatter one shape and flatten another depending on where you build depth and which direction you drag it. Reading your shape tells you where color reads as lift versus where it reads as heaviness, so you can use the exact same palette on any eye and just move where it lands. That's why one quad and one liner can create most of the looks in this guide once you know your map.
What is lash mapping and do I need it?
Lash mapping varies lash length and curl across the lash line to suit your eye shape, longer at the outer corner to elongate round eyes, center-weighted to open monolids, outer-top-weighted to lift downturned eyes. You don't strictly need it, but it makes strip lashes and extensions far more flattering when matched to your shape instead of a uniform length. Ask for a "map" and describe whether you want lift or length, and for strip lashes, trim only from the outer edge so the band still fits your inner corner.
Can I wear looks made for a different eye shape?
Absolutely. These categories overlap and are guidelines, not rules. Borrow any placement you like and adjust it to your own crease and lid space, shortening an extension, floating a crease higher, or softening a wing as needed. The point is to flatter your eyes, not to follow a rigid formula, so experiment freely and keep what looks right to you. Many of the most interesting looks come from applying one shape's logic to another, like a monolid graphic liner adapted for an almond eye.
How do I keep eyeshadow from creasing on hooded or oily lids?
Start with a dedicated eye primer applied in a thin layer and let it set for thirty seconds, then set it with a translucent powder or a matching matte shadow before adding color. Choose long-wear cream shadows or well-pressed powders over sheer, emollient formulas, and keep the mobile lid lighter and less product-heavy. Blot excess oil before you begin rather than after, and carry a small fluffy brush to lightly re-blend at midday instead of layering on more shadow, which is what turns a crease into a smear.
What everyday eye makeup suits close-set versus wide-set eyes?
For close-set eyes, keep the inner corners bright and reflective and weight all depth and any liner toward the outer third, with a slightly extended wing to widen the space. For wide-set eyes, do the reverse, bring soft depth toward the inner corners, line the inner half of the upper waterline, and skip a long outer wing so you don't stretch the eyes further apart. The two approaches are direct mirror images, so if you fall in between, keep both corners fairly even and let your crease type decide the rest.
Which eyeliner style is most flattering for downturned eyes?
A winged liner that lifts is the highest-impact choice: keep it thin at the inner corner, thicken along the lashes, and angle the flick up toward the brow tail so the outer corner reads level or upturned. On lower-key days, a waterproof tightline at the upper roots with slightly more density at the outer corner lifts the eye with no visible line at all. Avoid a heavy, low lower liner, which reinforces the downturn, and keep the lower waterline bare or nude to hold brightness.
How should I adjust eye makeup as my eyes mature?
Favor soft mattes and fine satins over chunky glitter, which settles into texture, and define with soft brown, taupe or plum rather than stark black. Use creamy, crease-resistant formulas over a grip primer, keep depth diffused and lifted slightly at the outer corner, and apply with the eyes open to place color where it shows on a softer or lightly hooded lid. A tightlined upper lash line and a good lash curl add density and openness without a hard drawn line, which reads fresher than heavy liner on softer skin.
Are eye-shape rules strict, or just a starting point?
They're a starting point, never a verdict. Eye-shape categories overlap constantly, most people blend two or three, and the aim is to flatter your eyes rather than force them into a template. Use the placement logic here as a menu you adapt to your own crease, lid space and spacing, and stay inclusive across every eye shape and skin tone, since the same principles just shift shade and depth to suit you. If a "rule" makes your eye feel smaller or heavier when you open it, ignore it and do the opposite.