25 Gorgeous Lash Styles for Every Eye Shape
Length is the least important thing about a lash. The right curl, map, and band shape will open, lift, or soften your eyes far more than a few extra millimeters ever could. These 25 styles are mapped to real anatomy so the flattering angle does the work for you.
 Edited by Lena Rose · Published July 11, 2026 · 41 min read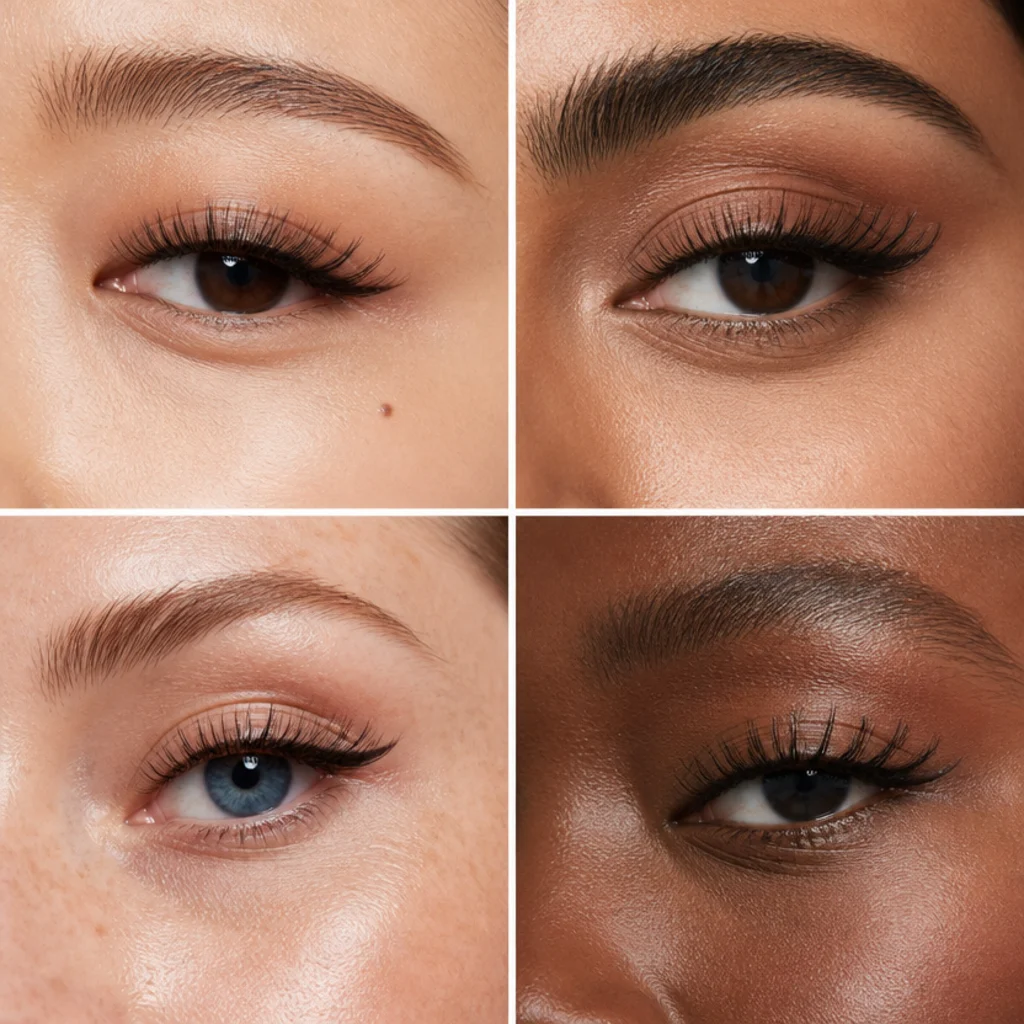
Quick Answer
- Best for: Anyone matching a lash to hooded, almond, round, monolid, upturned, downturned, deep-set, prominent, close-set, or wide-set eyes.
- Who might skip it: Anyone with active eye irritation, a recent lash-line procedure, or a known adhesive sensitivity (patch-test cyanoacrylate and latex-free glues first).
- Maintenance: Reusable strips clean up in seconds and last months; individual clusters hold 3-7 days; professional extensions need fills every 2-3 weeks.
- Difficulty: Beginner to intermediate. Placement and curl choice matter far more than price.
- Cost: Drugstore strips roughly $6-15, premium reusable strips $18-35, DIY cluster kits $20-40, professional extension full sets often $120-300 with fills $60-120 (varies widely by region and studio).
- Wear time / longevity: A well-set strip lasts a full day and evening; extensions carry 3-4 weeks before they look sparse.
- Standout variation: Open-eye wispies (No. 4) flatter the widest range of eye shapes with the smallest learning curve.
- How to ask your lash tech: Describe the effect (lift, elongate, or round out) plus your lid type and desired curl, not a trend name. "Lifted wispy, L-curl, hooded lids" gets you further than "the viral one."
In This Guide
- Natural Open-Eye Wispies for Hooded Eyes
- Center-Heavy Doll Lash for Almond Eyes
- Cat-Eye Flare for Round Eyes
- Open-Eye Wispies (Universal Everyday)
- Winged Cluster Lash for Downturned Eyes
- Spiky Wet Look for Monolid Eyes
- Manga Lash with Center Spike
- Fox-Eye Elongating Lash
- Fluttery Full Volume for Deep-Set Eyes
- Half-Lash Accent for Close-Set Eyes
- Rounded Doe Lash for Wide-Set Eyes
- Textured Kitten Lash for Upturned Eyes
- Squirrel Lash for Prominent Eyes
- Barely-There Individuals for Mature Lids
- Soft Brown Lash for Fair Features
- Colored Tip Lash for a Playful Look
- Bottom Lash Definition
- L-Curl Lift for Hooded Eyes
- D-Curl Drama for a Bold Night
- Hybrid Volume Lash Set
- Anime Doll Spike for Round Eyes
- Wispy Mega-Volume for Special Events
- Corner-Only Kittens for Subtle Lift
- Feathered Natural Lash for Bridal
- Mascara-Only Fluff for a Low-Key Day
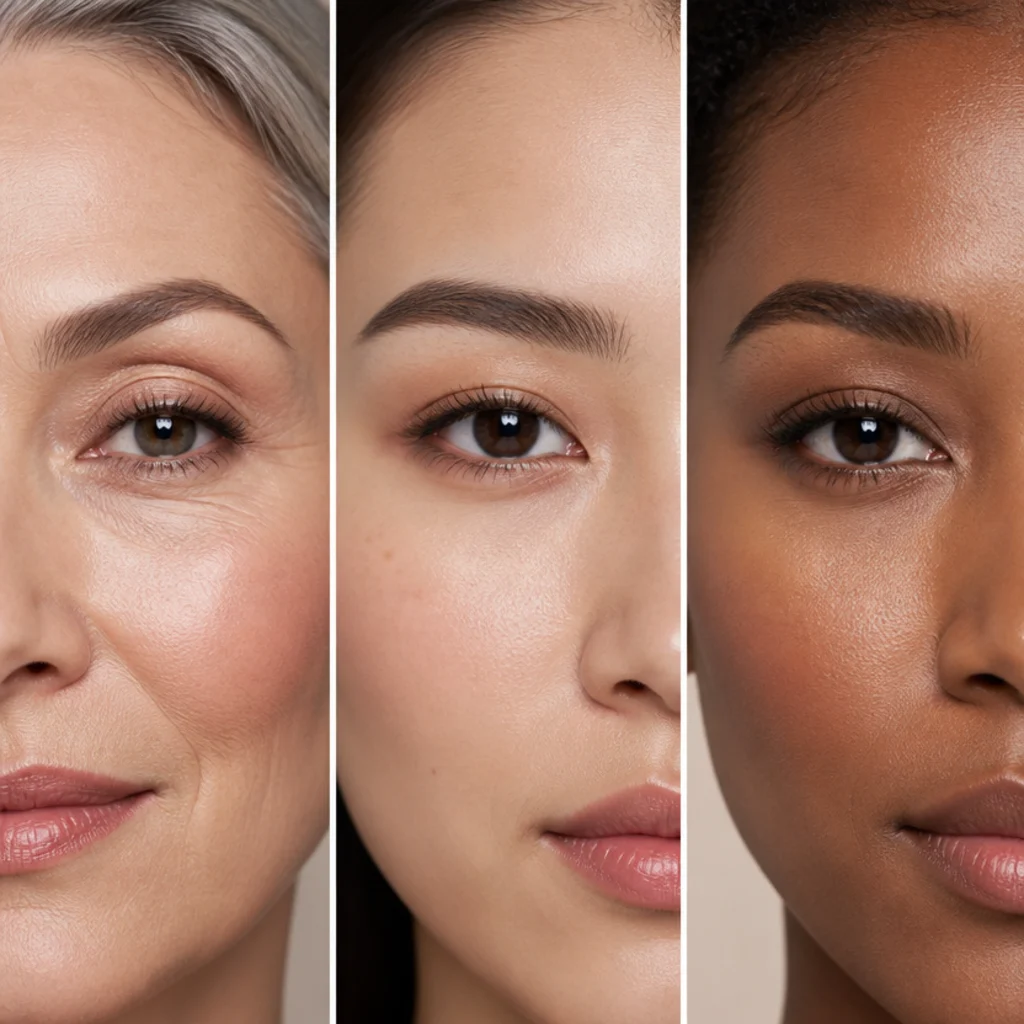
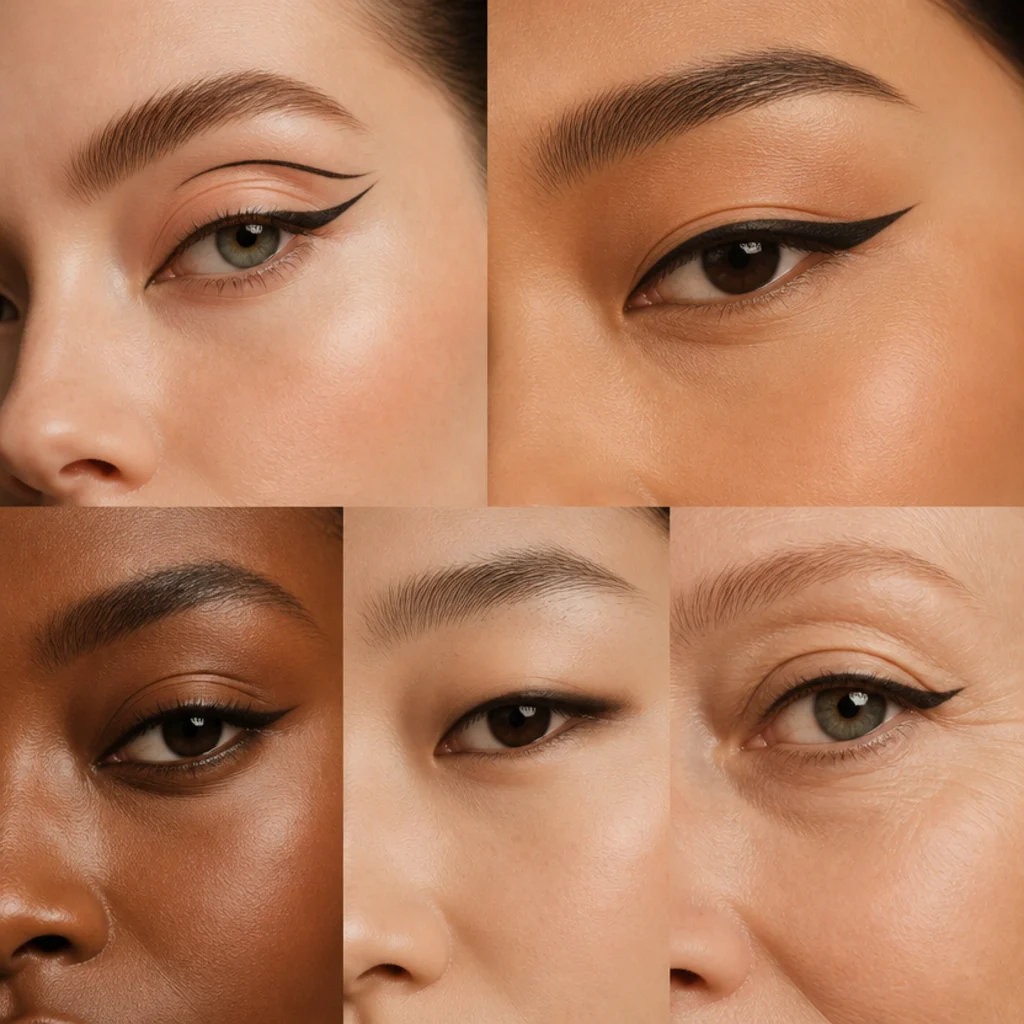
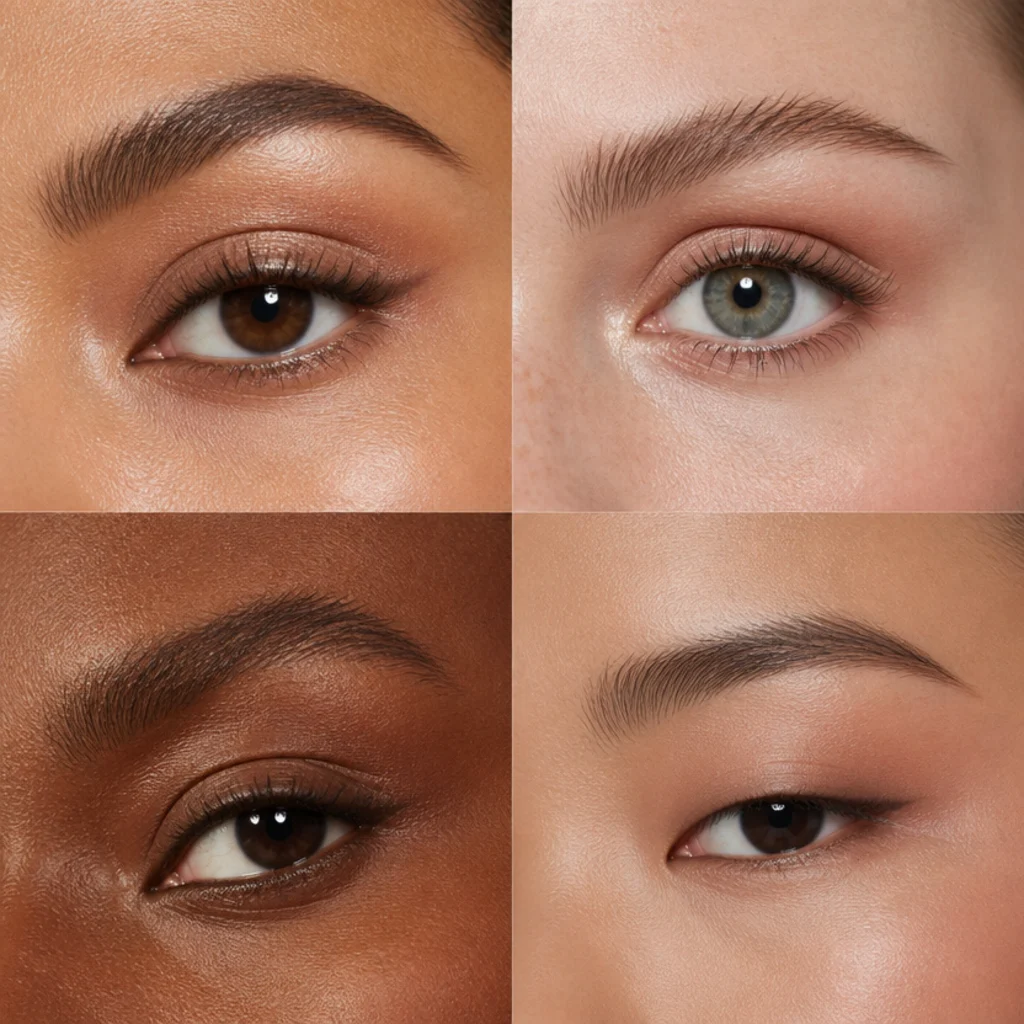
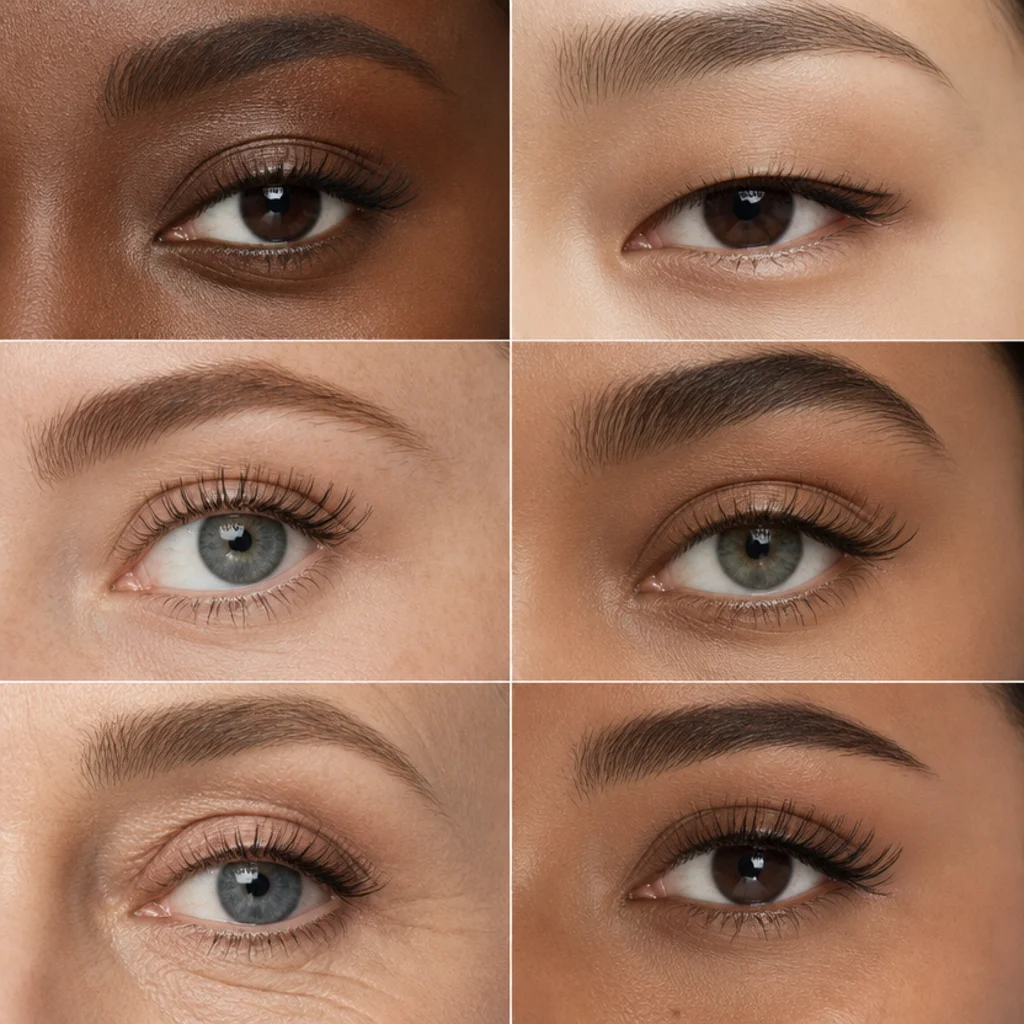
Eye shape is the quietest reason a lash set looks incredible on one person and heavy on another. A gorgeous lash isn't the longest fiber on the shelf; it's a shape and curl that follow how your eye already opens, so the flattering angle is built in rather than fought for. Two variables drive almost everything here: the map (where the length is concentrated along the band) and the curl (J and B lie low, C lifts, D and L stand the fringe upright to clear a hood or deep set). Throughout this guide you'll see the same eye-shape logic that drives eyeliner for different eye shapes and even eyebrow shapes: lift where the eye droops, taper where it rounds, and elongate where it turns up. Before you commit to any lash styles for eye shapes, spend thirty seconds in a mirror looking straight ahead. Note whether your crease is visible (almond), partly hidden (hooded), or absent (monolid), and whether your outer corners tilt up or down. Then glance down and watch where your natural fringe wants to fall. That single read makes every gorgeous lash below easier to place. Categories for hooded almond round eyes overlap constantly and most people are a blend, so treat them as starting points, not verdicts.
01Natural Open-Eye Wispies for Hooded Eyes
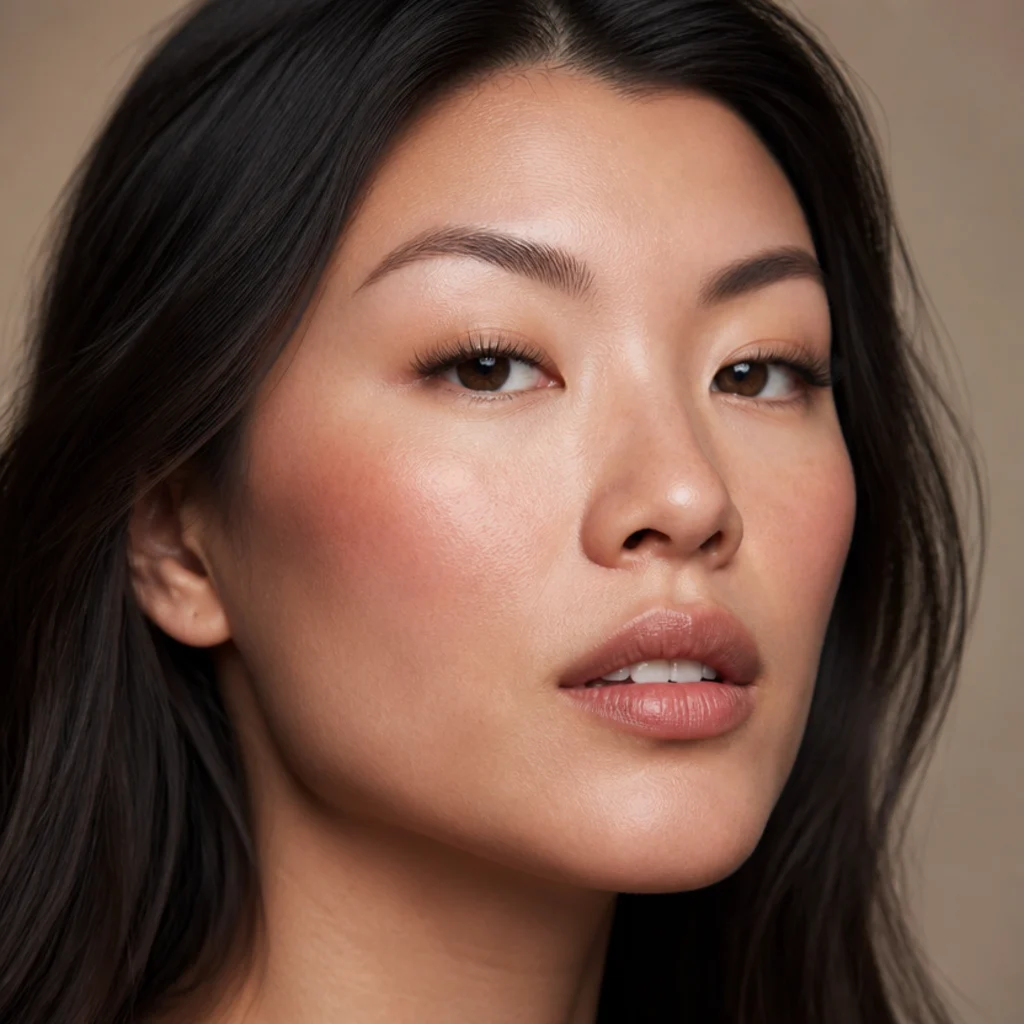
Hooded eyes hide the mobile lid under a fold of skin, so any length that stands straight up disappears the instant you open your eyes, and a dense flat band just reads as a hard dark line once the hood settles. The fix is a crisscross wispy on a thin, ultra-flexible band, with fibers that fan outward and upward rather than vertically, peaking just past the center of the lid instead of at the tail. Choose a C or CC curl so the tips angle away from the fold rather than curling back into it. Placement is everything: set the band a hair higher than your natural line at the outer third so the lift is visible in a straight-ahead gaze, and press a lid primer or matte cream shadow onto the mobile lid first so oil doesn't lift the band as the crease folds. This look holds through a workday and re-wears many times if you peel glue from the band gently. Ask your lash tech for a "lifted wispy that clears the hood, weighted just past center." Pro tip: hold a warm spoon against the curled band for five seconds before applying to lock a stronger bend into a soft strip.
02Center-Heavy Doll Lash for Almond Eyes
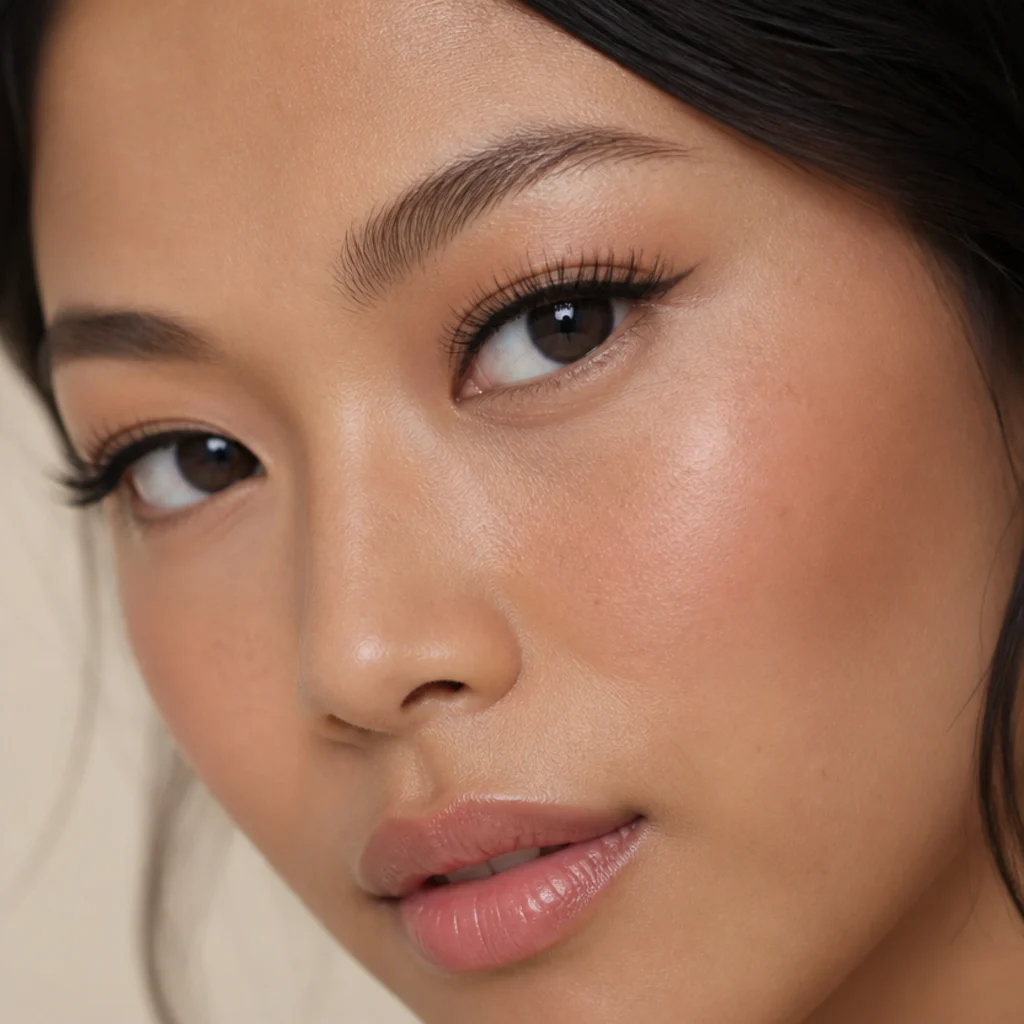
Almond eyes are the shape most commercial lashes are engineered around, with a visible crease and a gentle taper to points, which means you can round them, elongate them, or leave them balanced almost at will. A center-heavy doll map stacks the longest fibers directly over the iris to open the eye vertically and deliver a round, wide-awake look, while softening a taper that some almond eyes feel reads too sharp or catlike. Keep the curl at C for daytime and pair it with a rounded liner that hugs the lash line and stops at the outer corner rather than winging out, since a wing fights the rounding effect. The band sits flush with almost no coaxing because almond lids give a lash an easy, even runway, so this is a solid beginner style. Wear time is a full day from a reusable strip. Ask your artist for "center-weighted length, C curl, no outer flare." Pro tip: nudge the single longest cluster to sit just inside your pupil rather than dead-center, which opens the eye without making it look startled.
03Cat-Eye Flare for Round Eyes
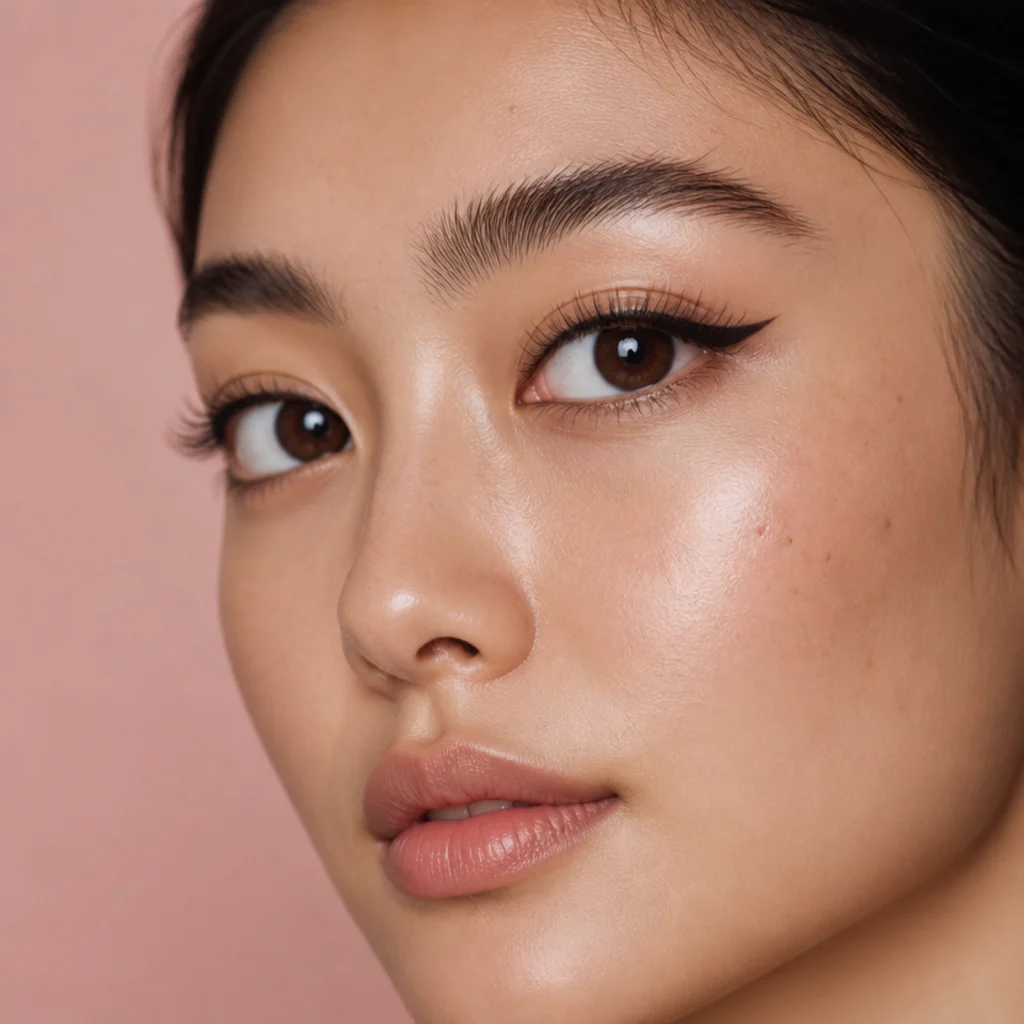
Round eyes show white above or below the iris and can read surprised, so anything that stretches the shape horizontally rebalances them, and a cat-eye flare does exactly that. Keep fibers short and neat through the inner two-thirds, then ramp them up sharply at the outer corner to pull the eye outward and up, trading a startled look for something sultry. A B or C curl works better than a dramatic D here, since extreme curl adds height and reinforces the roundness you're trying to counter. Line the outer third with a thin, straight flick angled toward the tail of your brow so the liner and the lash extension merge into one continuous wing rather than two competing lines. Avoid any center-heavy map, which exaggerates the vertical roundness. Upkeep is standard reusable-strip care. Ask a pro for a "winged map with weight in the outer corner only, low-to-medium curl." Pro tip: extend the lash band a whisper past your natural outer corner and float it slightly upward off the lash line so the flare finishes above your real lash line, not level with it.
04Open-Eye Wispies (Universal Everyday)
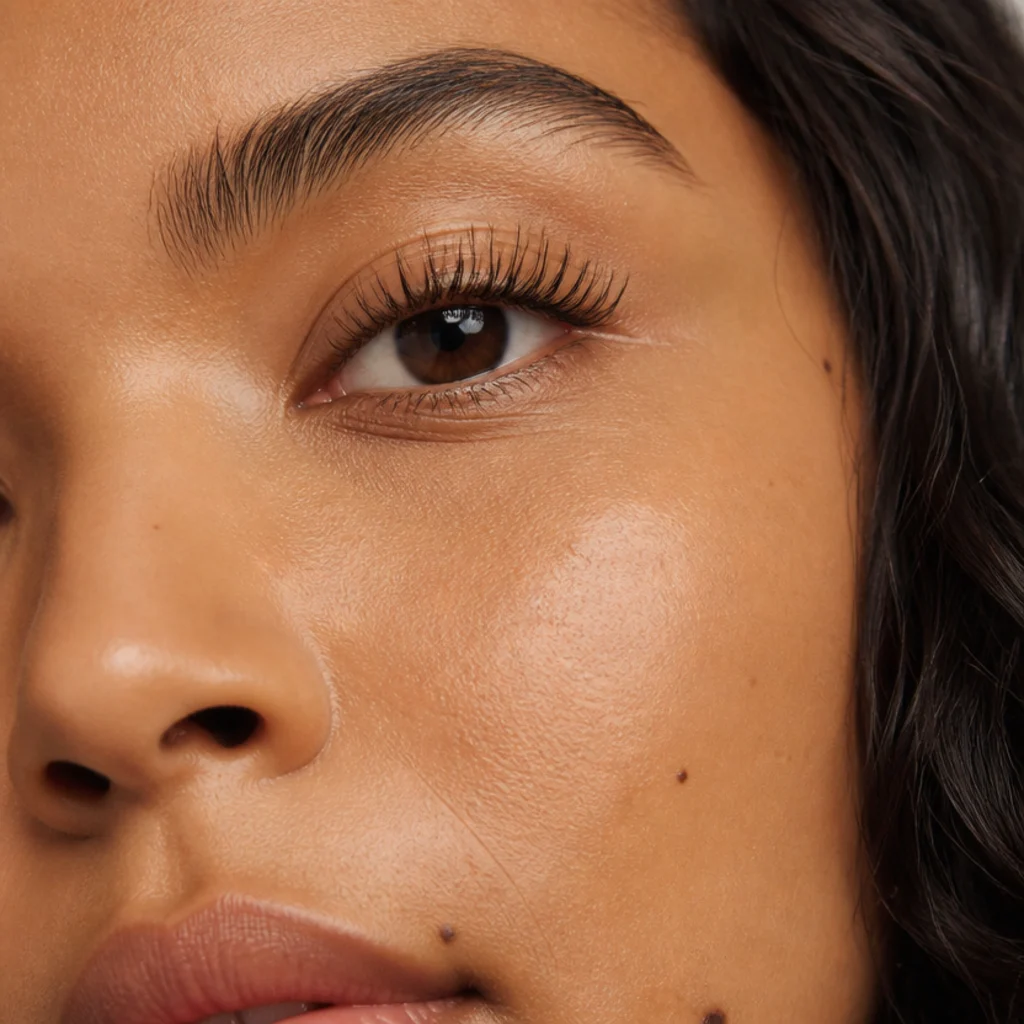
If you only own one set, make it an open-eye wispy. The mixed lengths, deliberate gaps, and tapered spikes mimic how real lashes actually grow, so the same strip flatters hooded, almond, round, and monolid eyes with only small placement tweaks. The lightweight, near-invisible band vanishes against the lash line, and the airy pattern keeps everything soft rather than costumey, which is why this is the gorgeous lash people mean when they say a set "looks like nothing but better." To adapt it: trim from the outer edge only, then set the longest cluster just past your pupil for balance, shift it further outward for a subtle cat effect, or keep it central to round the eye. A C curl suits most lids; reach for CC on hooded eyes. Reusable and forgiving of small alignment wobbles, it's the safest first purchase and the one you'll repurchase most. Ask a pro for "natural wispy, lightweight band." Pro tip: measure the dry band against your lash line and mark the trim point before you add glue, so you never end up cutting a tacky, glue-loaded strip in a hurry.
Save this to Pinterest if open-eye wispies are your new everyday go-to.
05Winged Cluster Lash for Downturned Eyes
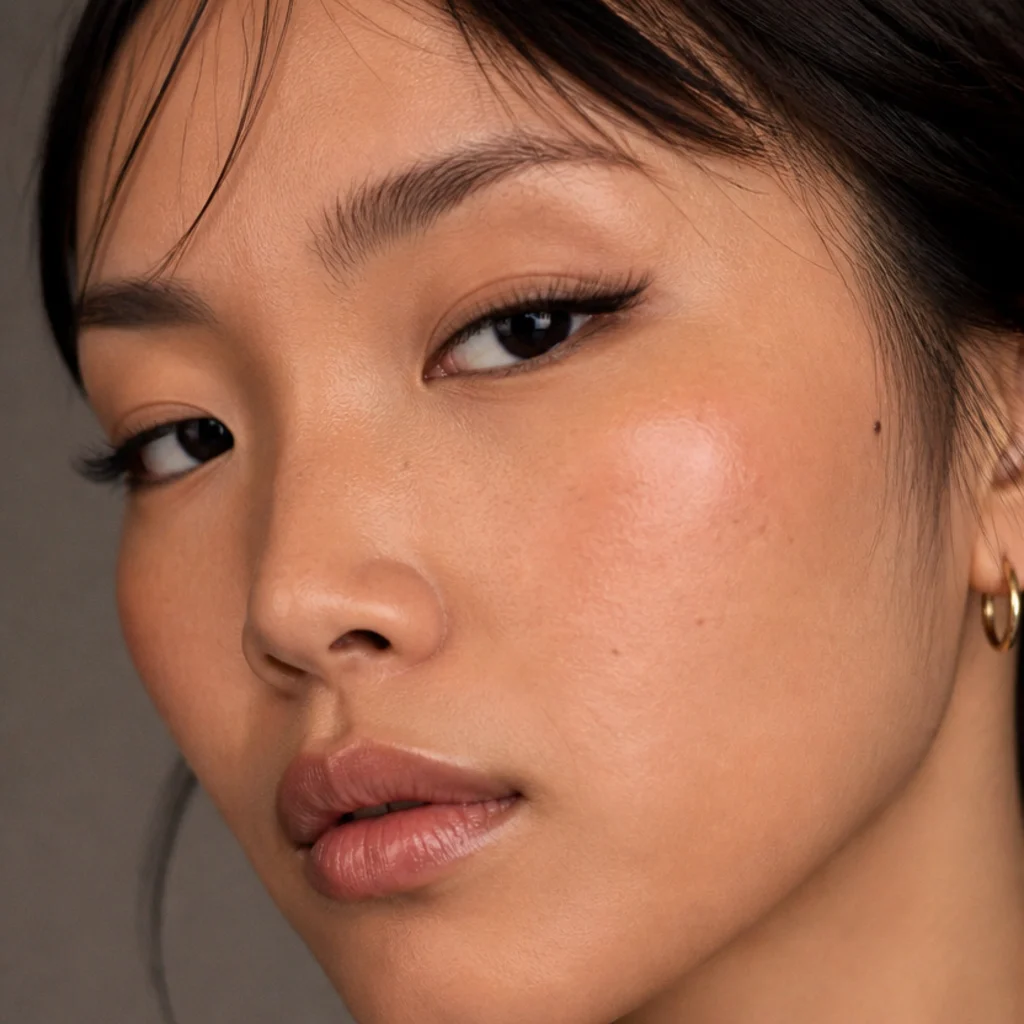
Downturned eyes slope down at the outer corner, which can read as soft and romantic or, on a tired day, as heavy. Winged clusters counter the droop with directional length that angles up and out, visually lifting the corner back toward neutral, and because you place each cluster individually you control precisely where the lift lands and build density only where the eye falls. Keep the inner corner bare or very short so the contrast between light inner and lifted outer sells the correction; a wing that starts too early just adds weight everywhere. Use clusters with a C or D curl at the tail so the tips point up rather than trailing down along the slope. DIY clusters last three to seven days with careful oil-free cleansing and a bonding-plus-sealing adhesive. Ask an artist for "outer-corner clusters angled upward, tapering to nothing at the inner third." Pro tip: tightline the upper waterline with a dark pencil underneath the clusters, which hides any gaps between them and anchors the whole lifted effect so it looks like your own dense lash line, not applied pieces.
06Spiky Wet Look for Monolid Eyes
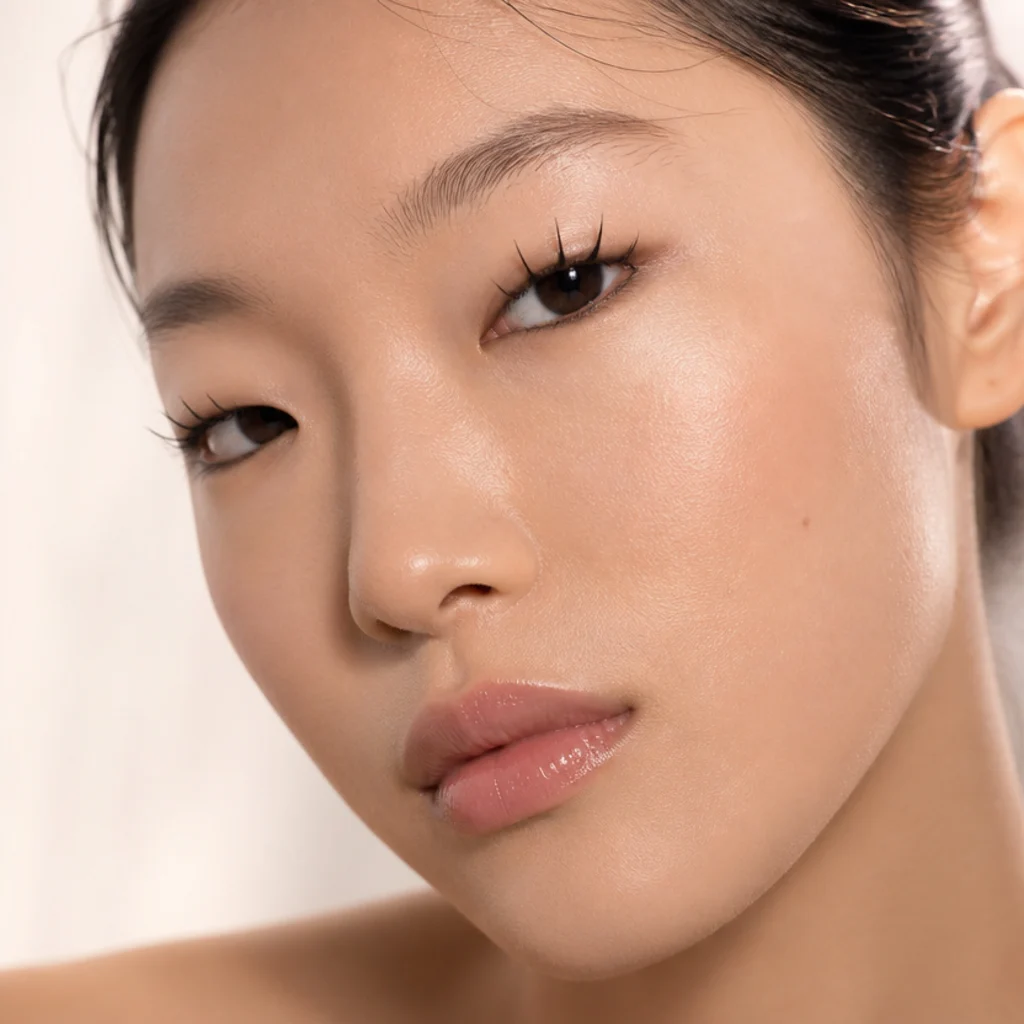
Monolids have little to no visible crease, so a lash that presses flat against the lid flattens further and loses its shape. Spiky wet-look lashes solve this with separated, glossy-tipped spikes that stand away from the lid, catch light, and cast their own small shadow, which reads as instant dimension on an even surface. Choose a set with a strong upward L or D curl and clear space between spikes rather than a solid wall, since a dense band just becomes another flat line. Because monolid lashes often grow straighter and downward, a firm mechanical curl at the very base before application matters more here than on any other shape, and a heated curler or lash-lift-style bend holds it longest. Smudge a soft taupe or bronze shadow along the lash line so the spikes appear to emerge from depth rather than sit on a flat plane. Ask a pro for "spiky wet-look with an L curl and lifted base." Pro tip: apply the strip slightly above your natural lash line and fill the tiny gap with dark liner, which gives the illusion of a crease shadow the monolid doesn't naturally have.
07Manga Lash with Center Spike
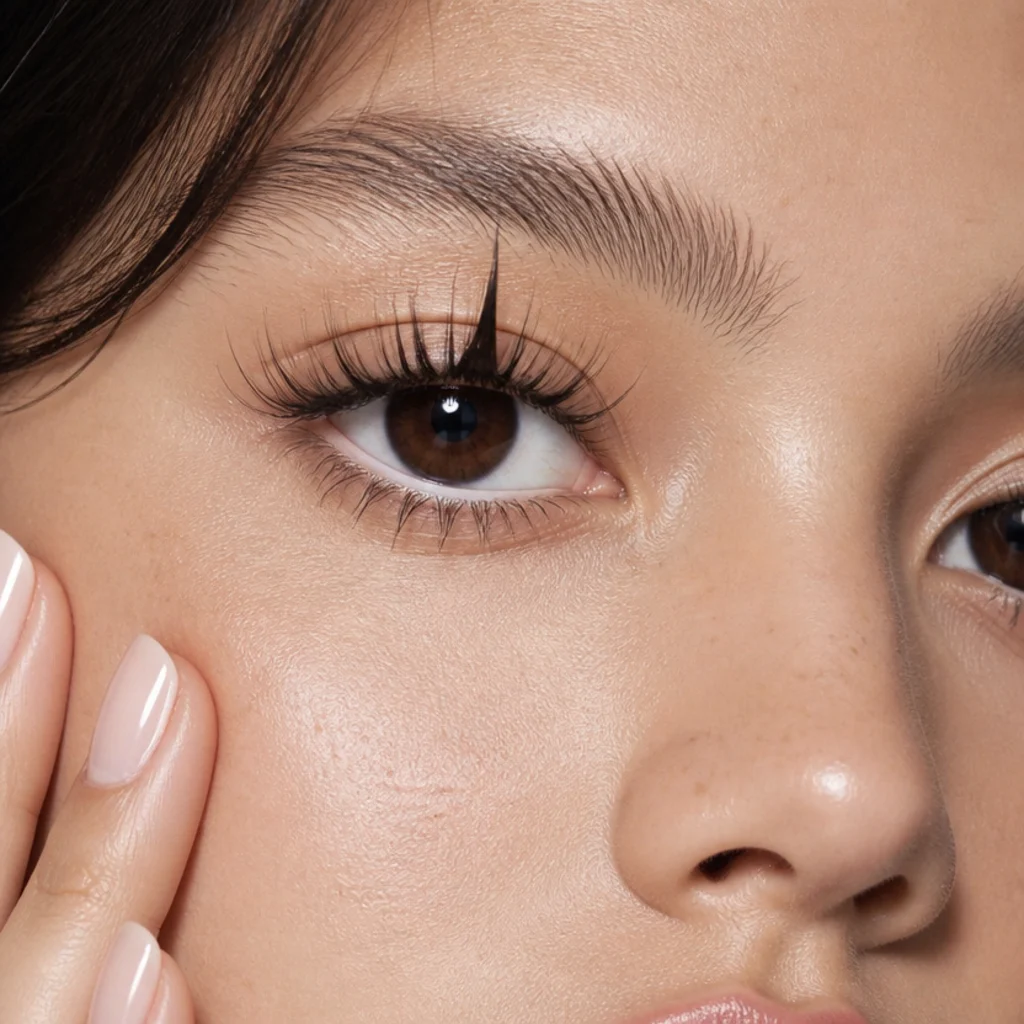
The manga lash borrows straight from anime styling: one pronounced spike sitting directly over the pupil that makes the eye look rounder, larger, and doll-like. It flatters almond and slightly downturned eyes that want a burst of drama without committing to a full wing, and it pairs best with round eyes only if you want to amplify roundness for effect. The whole illusion runs on contrast, so the center spike must clearly out-length the fibers on either side; a spike that's only slightly longer just looks like an uneven strip. Add a dot of white or nude liner on the lower waterline to fake extra height and widen the doe payoff, and keep the rest of the eye clean so the spike stays the thing you notice first. This is a statement style for shoots, events, and expressive looks rather than the office. Ask a pro for a "single center spike, doll map." Pro tip: line the spike up with your pupil in a straight-ahead gaze before the glue sets, because even a couple of millimeters off-center pulls the entire look crooked and no liner will rescue it.
08Fox-Eye Elongating Lash
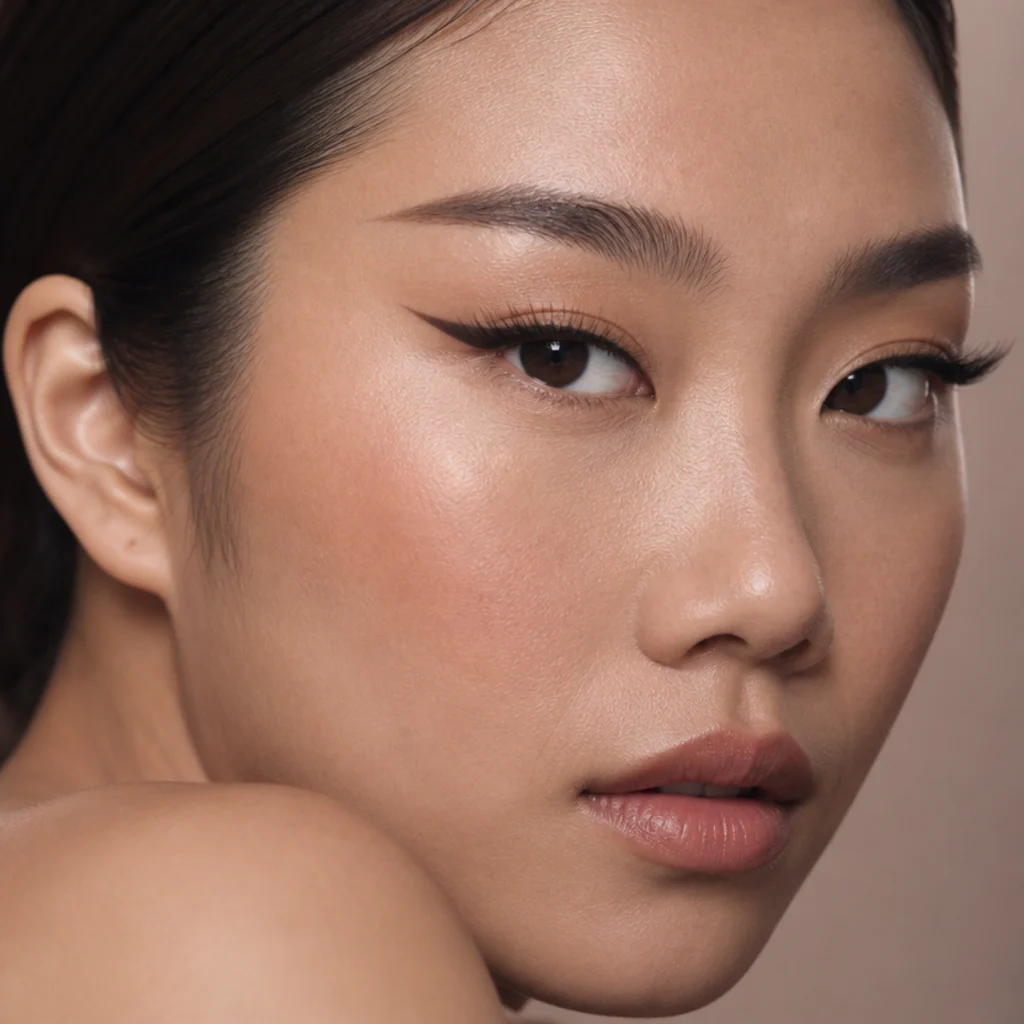
The fox eye is defined by a lifted, elongated tail, and the lash follows suit. Fibers stay sleek and moderate through the inner two-thirds, then extend at the outer third in a long, straight sweep rather than a curled flare, so the eye reads pulled and feline rather than fluffy. A low J or B curl keeps that outer length flat and elongating; a strong curl would round the tail and kill the effect. It suits almond and upturned eyes beautifully and can flatter round eyes craving length, though very downturned eyes may need the tail angled more steeply upward to compensate. Combine it with a straight liner flick aimed at the tail of the brow, and brush brows up and slightly straightened so lash, liner, and brow all echo the same lifted line. Matching your eyebrow shapes to the lash direction is what makes the fox effect read intentional instead of accidental. Ask a pro for a "fox map, straight elongated tail, low curl." Pro tip: a tiny piece of clear tape as a placement guide from outer corner toward the temple keeps your liner flick and lash tail on one shared angle.
09Fluttery Full Volume for Deep-Set Eyes
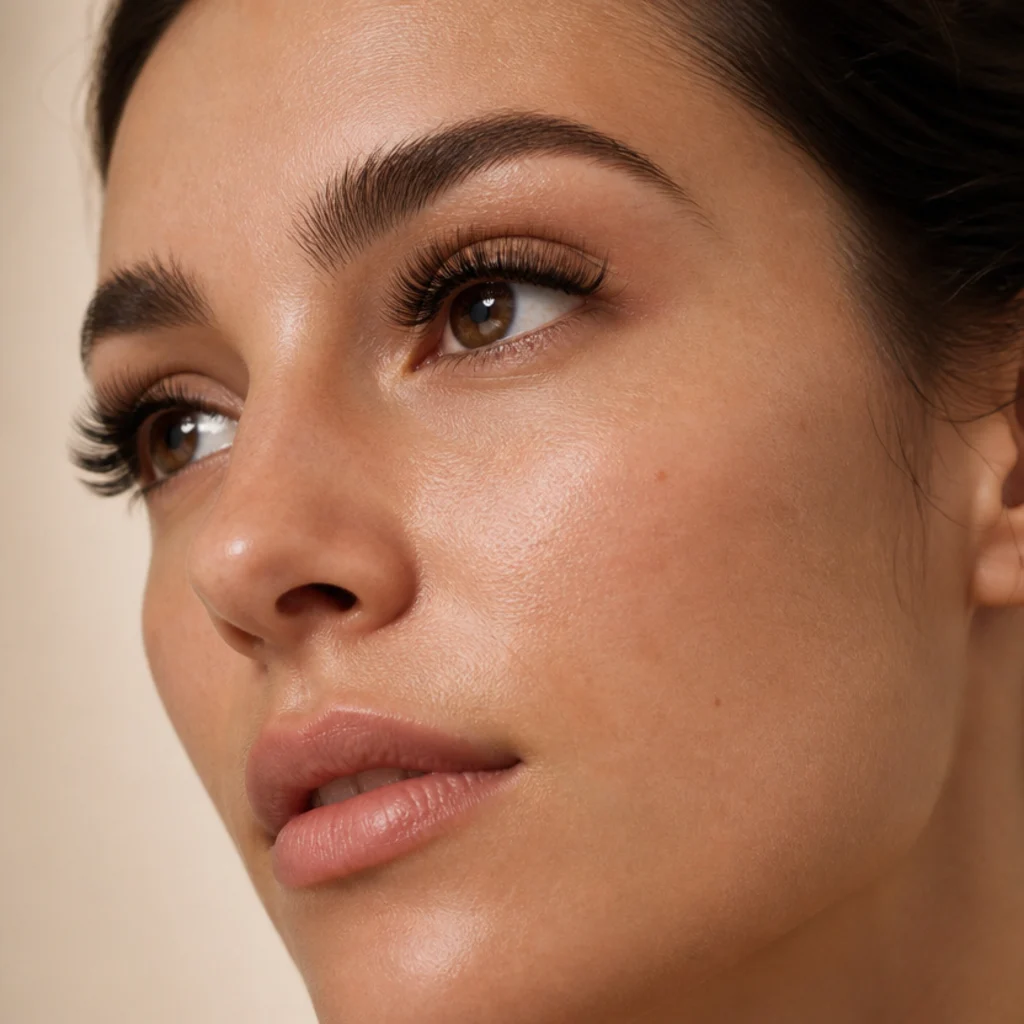
Deep-set eyes sit back under a prominent brow bone, so lashes easily vanish into the shadow the bone casts, and length alone just brushes the brow. A fluttery full-volume set with a strong C or D curl brings the fringe forward, catching light where the eye would otherwise recede, so prioritize curl and forward projection over sheer length here. Keep eyeshadow light and satin on the lid and skip a heavy dark crease, which visually deepens an already-set eye; a soft wash that lifts toward the brow bone opens it instead. This style photographs beautifully because the raised fringe creates real separation between eye and brow, reading as depth rather than shadow. Reusable strips with a pronounced C or D curl are your friends, and a spoolie or lash comb keeps the flutter separated rather than clumped into a solid line. Ask a pro for "forward-projecting volume, strong curl, medium length." Pro tip: choose a lash on a slightly curved (not flat) band, and press the center of the band forward as it dries so the whole fringe tips away from the brow bone instead of toward it.
10Half-Lash Accent for Close-Set Eyes
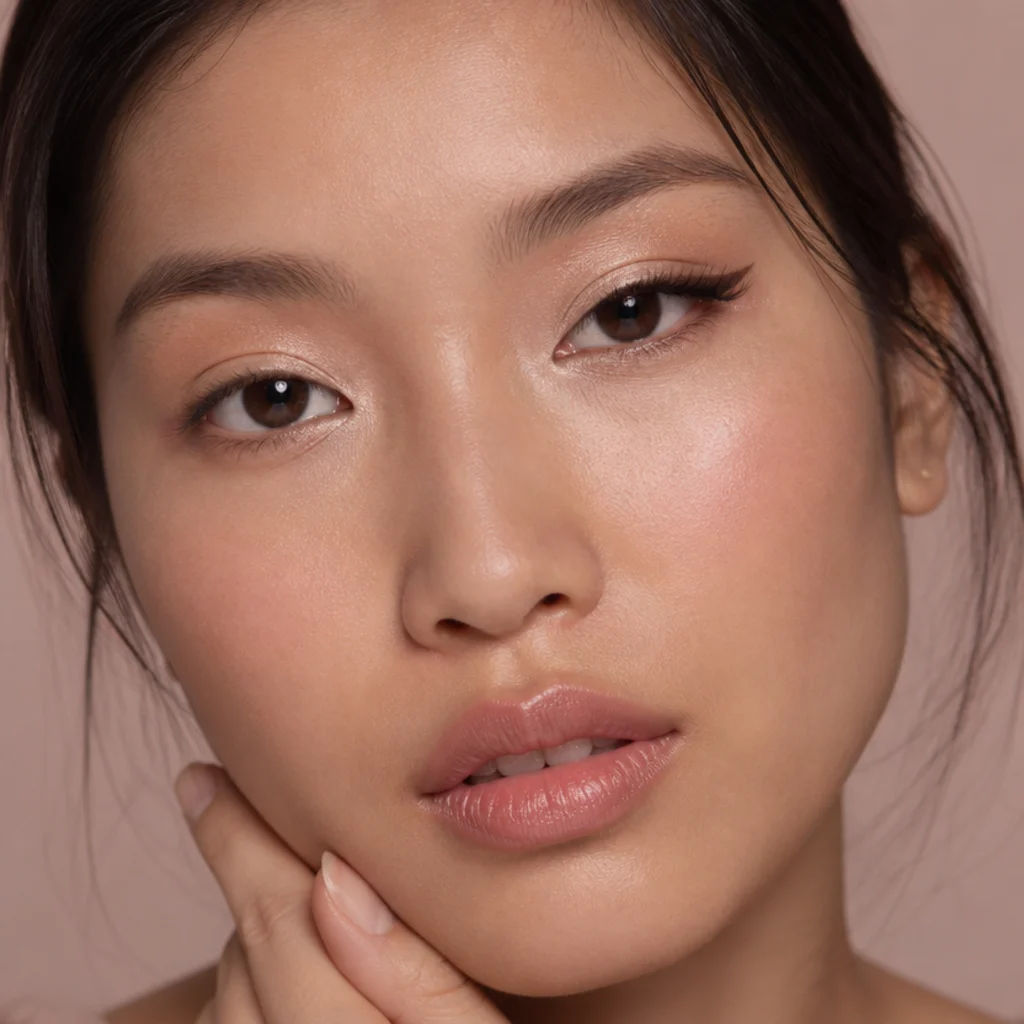
When the space between your eyes is less than one eye-width, the goal is to pull focus outward, and a half lash does it elegantly. By concentrating length on only the outer half of the lash line, you draw the eye toward the temples and manufacture the illusion of more room between the eyes, while a full even strip would only reinforce the crowding. Leave the inner corner completely clean, or brush a pale champagne shimmer there to push the eyes further apart. Half lashes are also the gentlest entry point for anyone nervous about a full strip, since there's less band to align and no inner-corner poke to manage. Match with liner that starts thin at the center of the lid and thickens as it travels outward, reinforcing the same widening direction, and keep the inner third of your liner light or bare. Ask a pro for "outer-half accents, no inner weight." Pro tip: apply your half lash a touch beyond your natural outer corner and float the tail slightly up, which stretches the eye horizontally and adds the faintest lift at the same time.
Save this to Pinterest for eye-widening tricks that actually work.
11Rounded Doe Lash for Wide-Set Eyes
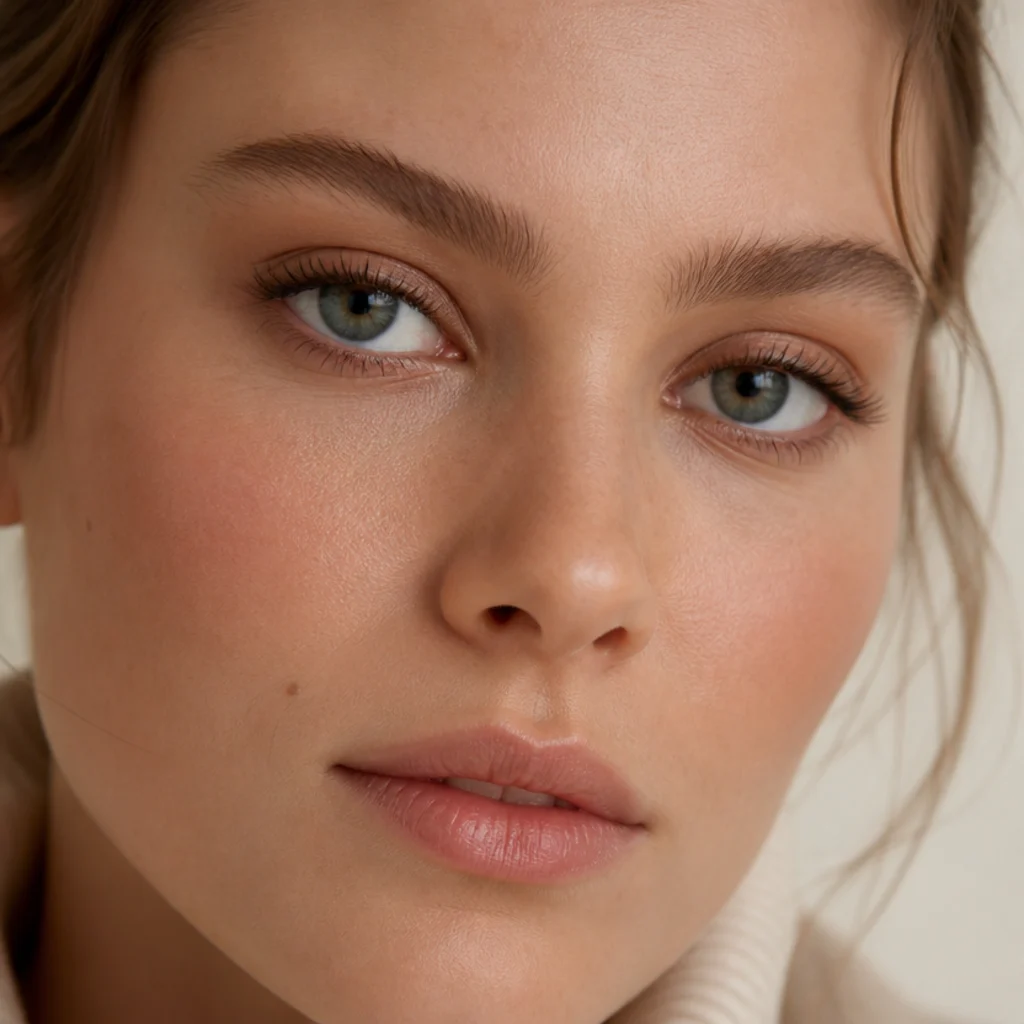
Wide-set eyes are the mirror problem: with more than one eye-width between them, you want to bring focus inward and centralize the face. A rounded doe map carries noticeable length toward the inner and central lash line, which visually shortens the distance between the eyes, and it deliberately avoids any outer-corner flare, since a wing stretches wide-set eyes even further apart. Reach for a C curl to keep the effect soft and open rather than sharp. Darken the inner corners with a deeper liner or a smudge of espresso shadow and carry a little definition into the inner third of the lower line, all of which reinforces the pull-in. This style leans romantic and doe-like, making it a pretty daytime and portrait choice, and the rounded band forgives small alignment wobbles at the tail because there's no precise wing to nail. Ask a pro for "even-to-inner weighting, C curl, no outer wing." Pro tip: extend or emphasize the inner-corner lashes slightly past where your natural fringe begins, drawing the visual start of each eye inward toward the nose.
12Textured Kitten Lash for Upturned Eyes
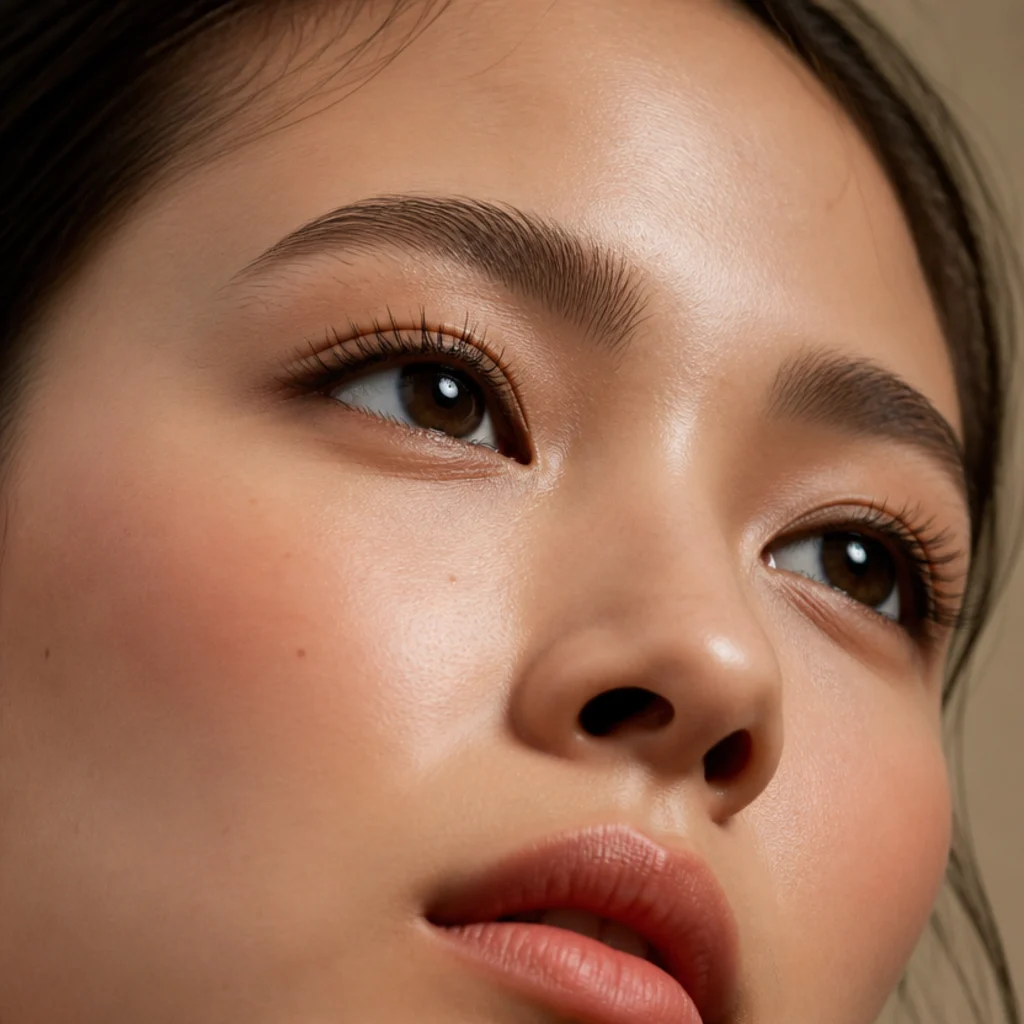
Upturned eyes already lift at the outer corner, so they don't need a dramatic wing to look lifted, and piling one on tips the balance into severe. A textured kitten lash, soft, medium length with a gentle outer rise, complements the natural tilt without over-exaggerating it, so think of it as building on what's already there rather than reshaping anything. A B or C curl keeps it wearable; the slightly gappy, feathered texture stops the look from turning too polished or hard. Because upturned eyes naturally carry weight up top, balance the shape by adding a little definition to the lower lash line, a few short lower lashes or a soft smudge of liner, so the eye doesn't read top-heavy. It's an easygoing everyday style for upturned shapes and a relief for anyone tired of a wing that always looked like too much. Ask a pro for a "soft kitten map, gentle outer lift, defined lower line." Pro tip: choose a set with a naturally uneven, feathered edge rather than a graduated wing, so the outer rise reads as your own texture instead of an applied flick.
13Squirrel Lash for Prominent Eyes
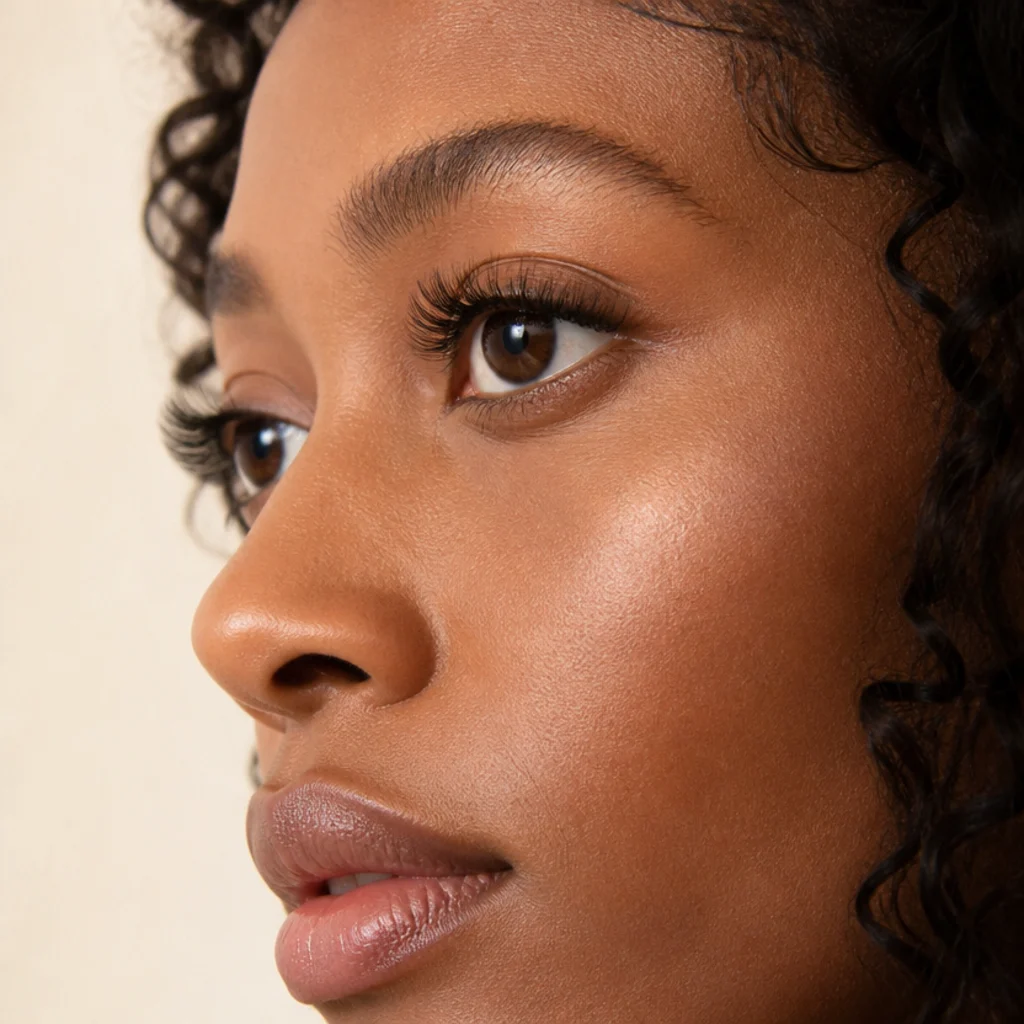
Prominent eyes project forward off the orbital bone and can be overwhelmed by a heavy, uniform wall of lash, which pushes them to read even larger. The squirrel lash, with a fluffy peak just past the center and quickly tapering feathered ends, adds softness without bulk: the peak draws the eye up while the light, feathered tail keeps the outer corner airy, preventing the bug-eyed effect a dense set creates. Choose brown or soft black over jet black if your features are delicate, and pick a medium C curl rather than a dramatic D, since too much curl pushes an already-forward eye further out. Keep the band lightweight and the lower line soft so nothing adds visual mass around a full eye. The finish is airy, flattering, and camera-friendly. Ask a pro for "squirrel map, peak past center, tapered outer, medium curl." Pro tip: skip glossy, thick-tipped spikes here and favor fine matte tapered ends, which recede rather than reflect and keep a prominent eye looking soft instead of amplified.
14Barely-There Individuals for Mature Lids
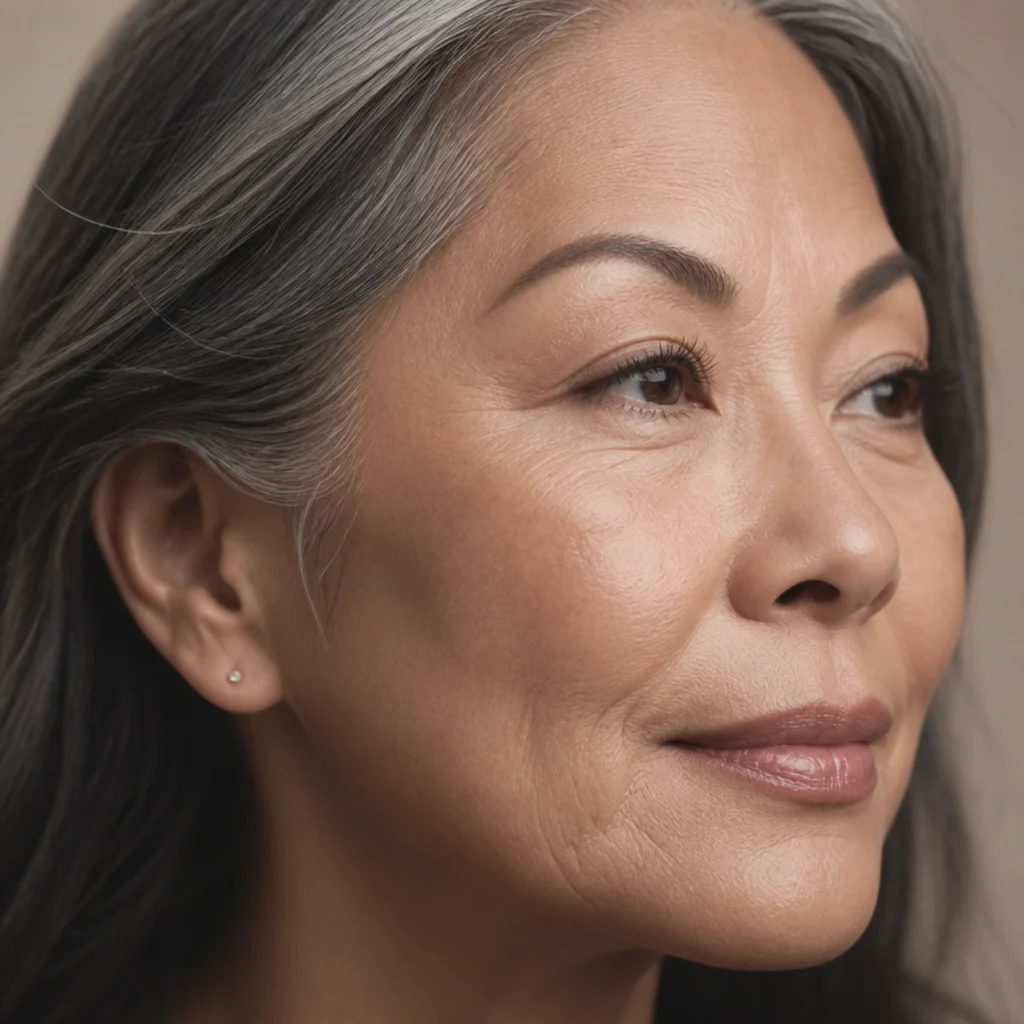
Lids soften and the crease can settle lower over time, so a heavy strip may drag the eye down or crease its own band into the fold. Fine individual lashes, placed a few at a time along the outer two-thirds, add believable density without weight, and because you control the spacing you can fill only where natural lashes have thinned and keep the whole effect undetectable. Matte, flexible fibers in a natural length sit far better than glossy or long ones on a softer, more textured lid, and a J or B curl keeps them from looking like a startled row of new lashes. This approach is gentler and more forgiving than a full strip and reads especially natural in daylight, where a dense band would announce itself. DIY clusters hold several days with gentle oil-free care. Ask a pro for "natural individual accents, outer weighting, matte finish." Pro tip: sweep a skin-tone or soft matte cream shadow across the lid first to smooth the surface, so the fibers grip cleanly and the base doesn't gather into fine lines around the band.
15Soft Brown Lash for Fair Features
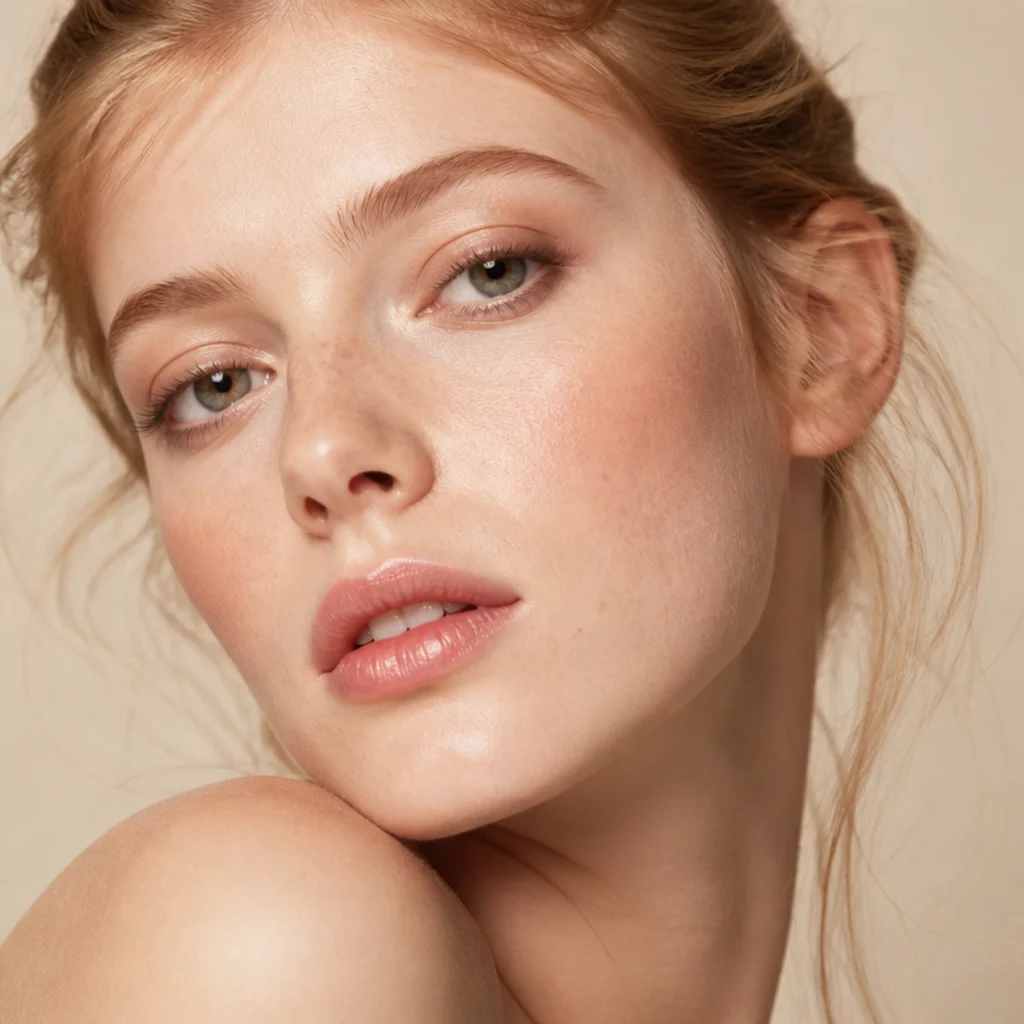
Jet black can look severe against fair hair and light brows, floating as a hard dark strip that overpowers soft coloring and ages the eye. A soft brown lash gives definition that reads natural on blondes, redheads, and anyone with delicate features, because brown catches light differently and makes the fringe look fuller without a harsh outline. It pairs easily with brown or taupe liner and softly defined eyebrow shapes for a low-contrast face, and it's a smart everyday choice year-round and a favorite for no-makeup makeup. The map still follows your eye shape, so choose brown fibers in a wispy, doe, or kitten pattern to suit your lids rather than defaulting to a uniform band. If you want a little more depth for evening, layer a brown-black mascara over a brown strip rather than jumping straight to jet black, which preserves the softness while adding richness. Ask a pro for "soft brown, natural map, low contrast." Pro tip: match the lash to your brow depth rather than your hair, since brows frame the eye most directly and a lash that matches them always reads intentional.
16Colored Tip Lash for a Playful Look
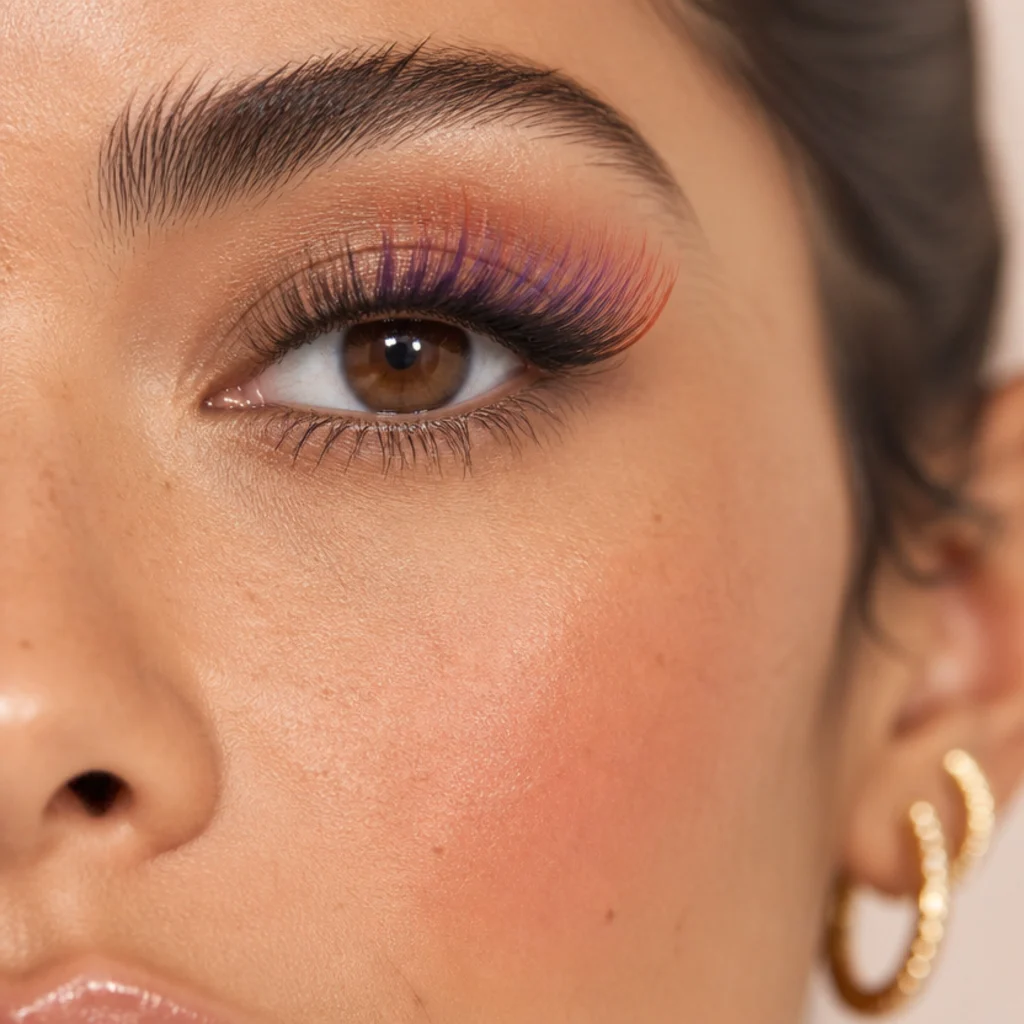
For festivals, parties, or a creative day, colored tips add personality without the commitment of a full colored liner or graphic shadow. Fibers that fade from black at the base to copper, teal, or violet at the tips flash color only when light hits them, so the eye still reads defined and normal when you glance down, keeping the look wearable rather than costume. Choose color by your iris using simple complementary logic: warm copper and bronze flatter brown and hazel eyes, cool blues and violets make green and gray eyes pop, and a soft burgundy or plum brings out the flecks in both. Placement follows your eye shape exactly like any other lash, so build a cat-eye colored tip on round eyes, a center peak on almond, or a doe map on wide-set. A fun, reusable way to experiment before trying colored mascara or liner. Ask a pro for "ombre tips, [color], mapped to my shape." Pro tip: echo the tip color faintly in your lower lash line or inner corner rather than on the lid, which ties the color into the eye without competing with the lashes.
17Bottom Lash Definition
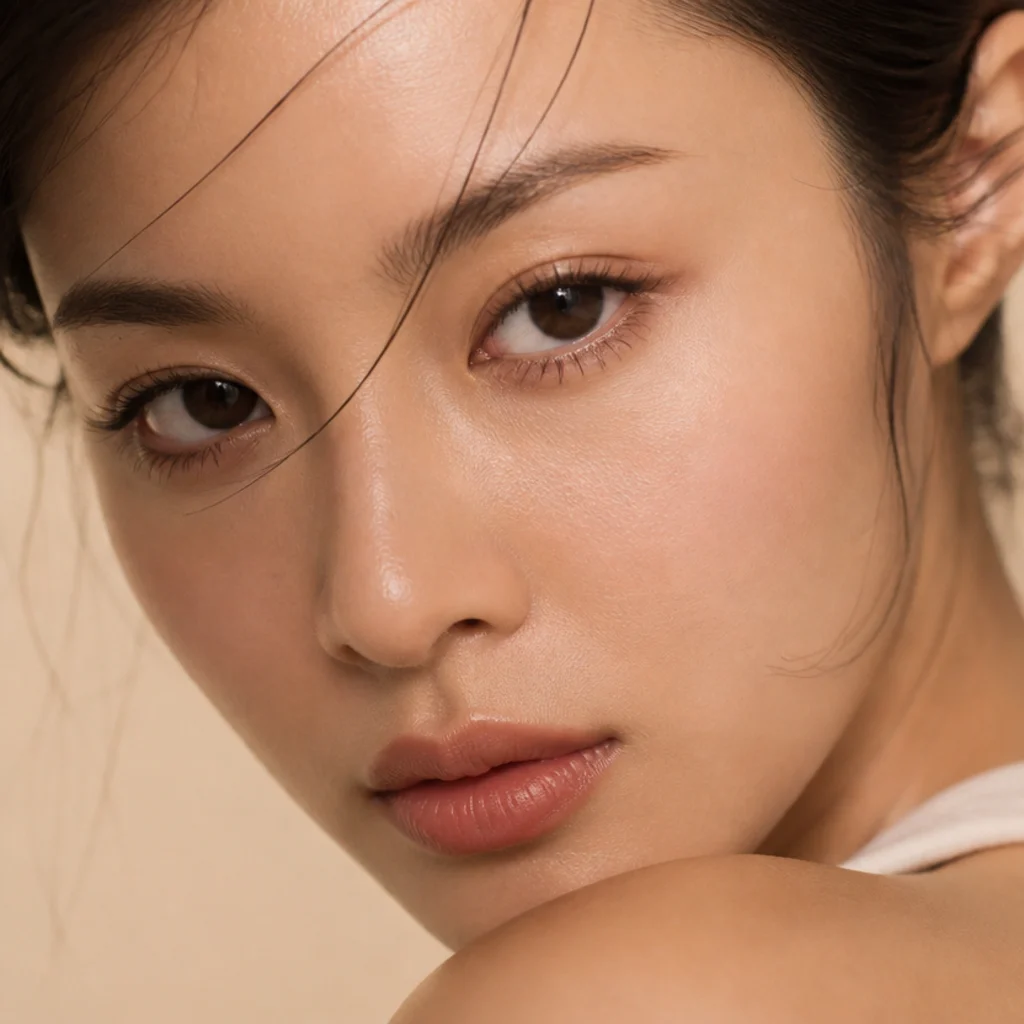
Bottom lashes are the finishing move most people skip, yet a few fine, separated lower lashes balance a heavier top set and can change how your eye shape reads. The placement decides the effect: spaced dots of length under the outer corner elongate the eye, while length under the center rounds it for a doll look, so you can push toward almond or toward round from the same top lash. Keep them thin and sparse, because a solid lower strip quickly looks costume-like and visually shortens the under-eye. This technique anchors doll and manga looks but also quietly refines an everyday eye when done lightly, and it's essential whenever a top style leaves the eye feeling top-heavy. Use a pinpoint of clear adhesive and fine tweezers, placing individual pieces rather than a full band for the most natural result. Ask a pro for "spaced lower individuals, [outer or center] weighting." Pro tip: smudge soft brown, not black, along the lower waterline first, which bridges the applied lashes to your real lash line so they don't look like they're floating below the eye.
18L-Curl Lift for Hooded Eyes
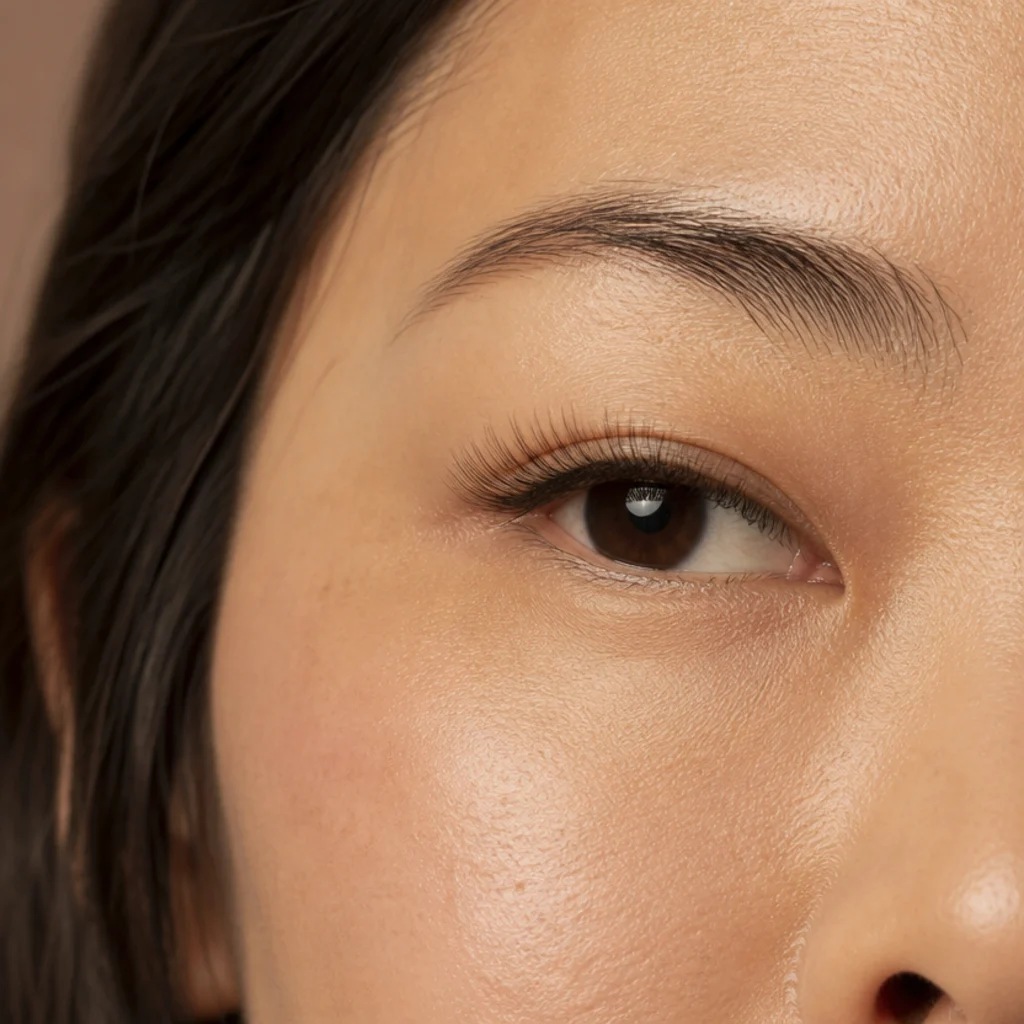
For hooded eyes considering extensions, curl choice matters more than length, full stop. An L-curl rises almost straight from the base before bending, so the fibers clear the hood and stay visible instead of curling back underneath it where a standard curl disappears. That near-vertical base is what makes the mobile lid readable again and delivers a wide-awake effect a C-curl can't achieve on a heavy fold; an L+ (or M) curl pushes it even further for the most sheltered lids. Extensions need fills every two to three weeks and gentle, oil-free cleansing to last, and hooded eyes especially should avoid heavy creams near the line that break down adhesive. Tell your lash artist you have hooded lids and want an "L or L+ curl for lift, mapped open through the center." It's an investment of time and money, but for a heavily hooded eye it's often the single most transformative option on this list. Pro tip: ask your artist to map slightly shorter lengths directly over the hood and save the length for where the lid is exposed, so the fringe never fights the fold.
19D-Curl Drama for a Bold Night
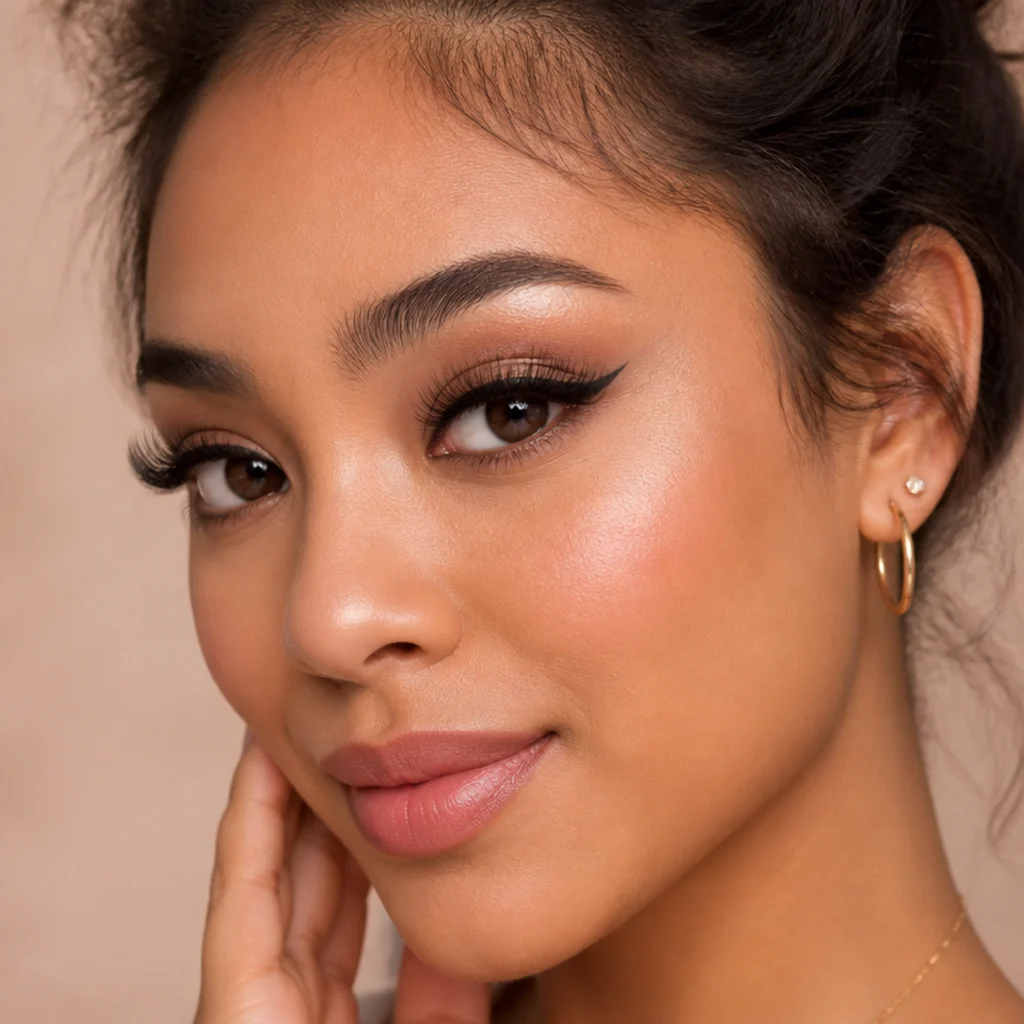
When you want maximum impact, a D-curl delivers the most lifted, dramatic sweep of any standard curl. The pronounced upward bend makes lashes look longer from the front and creates a bold, doe-eyed opening that's made for evenings and events, and it shines on almond, round, and upturned eyes that can carry the drama. Be realistic about the exceptions: very deep-set and heavily hooded eyes may find an extreme curl brushes the brow bone or curls back under the fold, where an L-curl serves them better. Whether you wear it as a strip or an extension set, pair it with a defined liner so the lash line still reads crisp behind all that curl, and keep shadow relatively clean so the lashes stay the story. Reserve this one for nights you want your eyes to be the whole look. Ask a pro for a "D-curl, full but separated, defined line." Pro tip: warm the strip band briefly and press it into a slightly deeper bend before applying, and set with a flexible black adhesive so the dramatic curl holds all evening without the tips relaxing.
20Hybrid Volume Lash Set
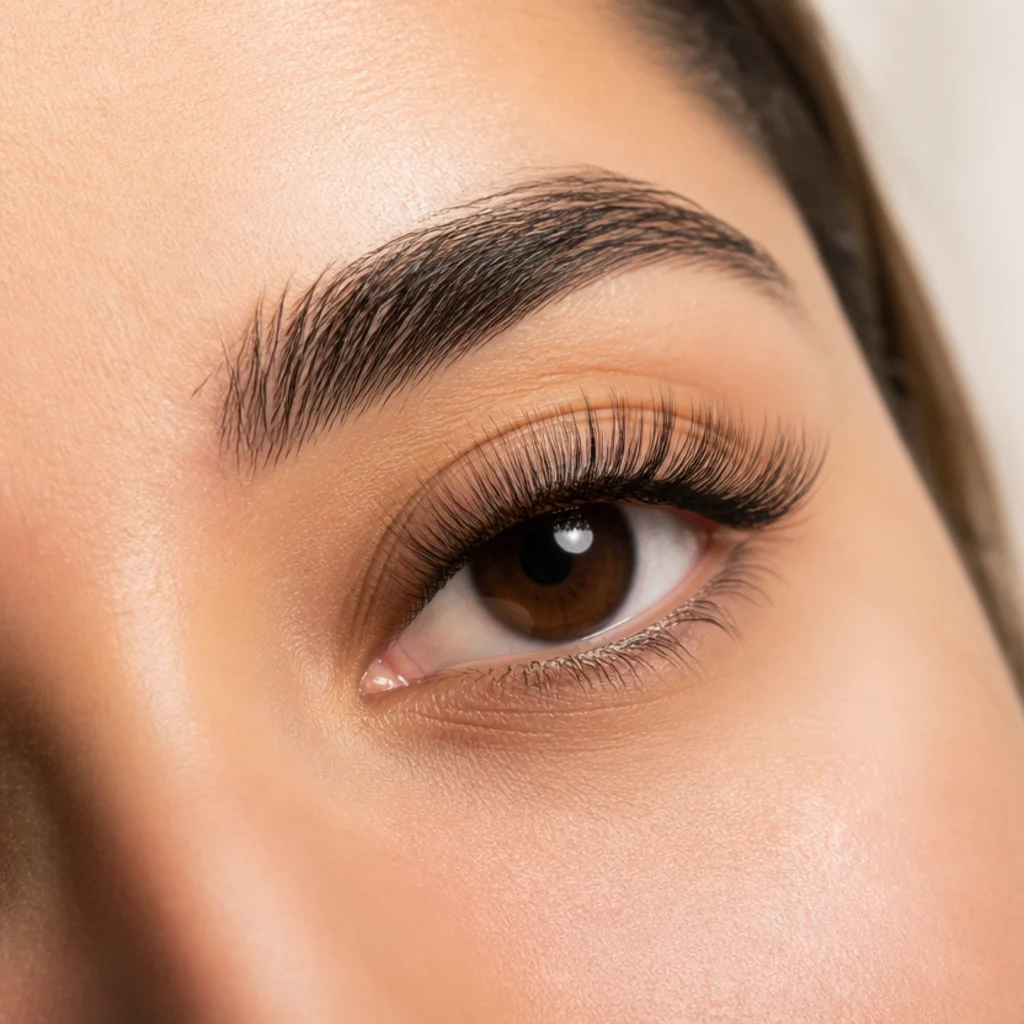
Torn between the crisp definition of classic lashes and the fluff of volume? A hybrid set weaves single classic lashes through lightweight volume fans for a textured, full-but-not-solid density that photographs with real depth rather than a flat black line. It's the most requested extension style precisely because it's so adaptable: your artist can weight it toward wispy and natural or toward glam and dense depending on your eyes and your comfort, and it suits nearly every shape. Placement still follows the shape rules in this guide, so a hybrid can be built as a cat-eye map for round eyes, a doe map for wide-set, or an even lifted map for hooded. It reads full in person and rich on camera without looking applied. Fills every two to three weeks keep the texture from turning patchy as natural lashes shed. Ask a pro for a "hybrid set, [wispy or glam] weighting, mapped to my eye shape." Pro tip: bring a photo of the finish you want rather than a celebrity name, and ask your artist to confirm your natural lashes can support the fan weight before committing to a denser hybrid.
Save this to Pinterest to reference at your next lash appointment.
21Anime Doll Spike for Round Eyes
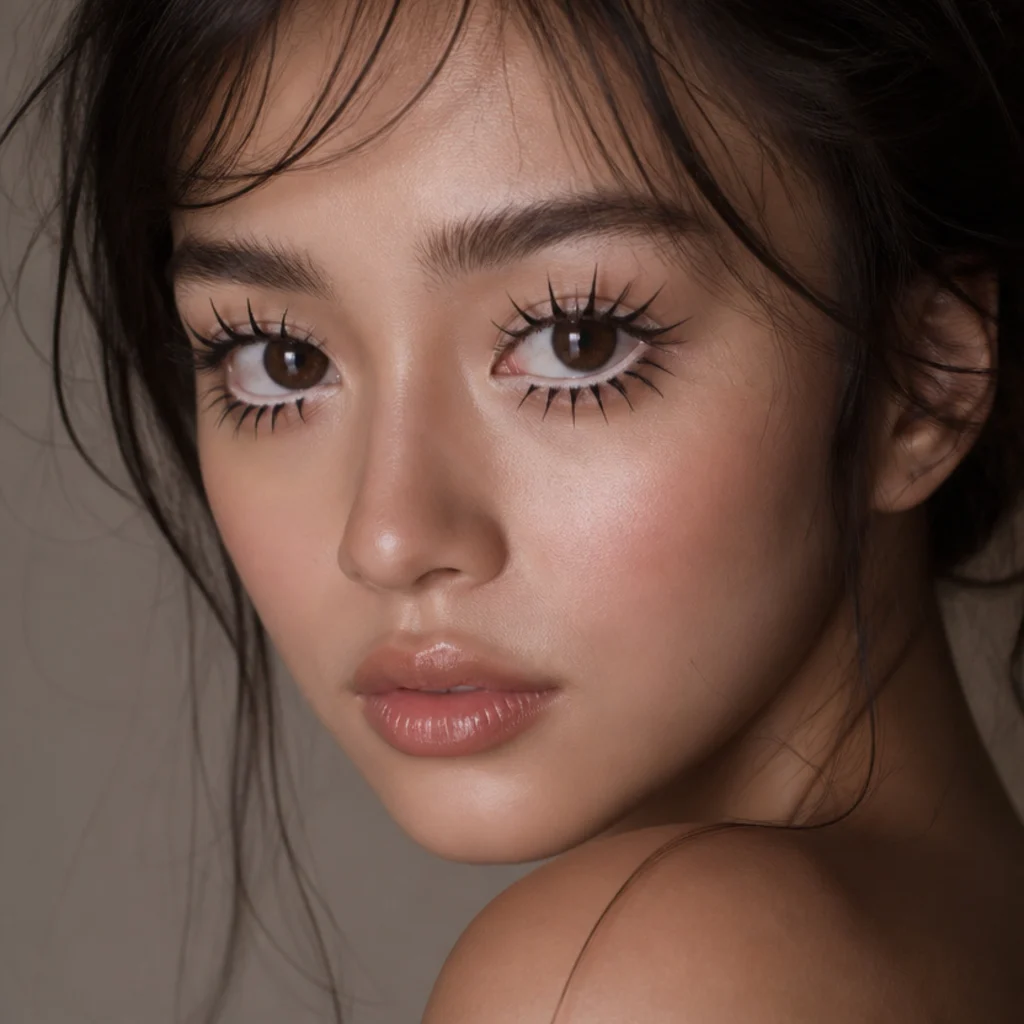
Round eyes can lean all the way into their shape with a graphic anime doll spike. Rather than disguising the roundness, this style celebrates it with evenly spaced long spikes and deliberate gaps that create a bold, cartoon-inspired frame, so it's a choice to make when you want the eye to read big and doll-like. Add a rounded lower lash and a bright white or nude waterline to push the doll effect all the way, and keep skin fresh and liner minimal so the lashes stay the star of the look. Because the spikes are graphic and separated rather than fluffy, the look photographs sharp and reads clearly on camera, which is why it's a staple for creative, editorial, and cosplay makeup. It's firmly a statement rather than an everyday style, and it rewards precise, symmetrical placement across both eyes. Ask a pro for "spaced doll spikes, graphic gaps, rounded map." Pro tip: place your spikes to mirror each other spike-for-spike between the two eyes, because gaps that don't match read instantly as crooked on such a graphic, high-contrast look.
22Wispy Mega-Volume for Special Events
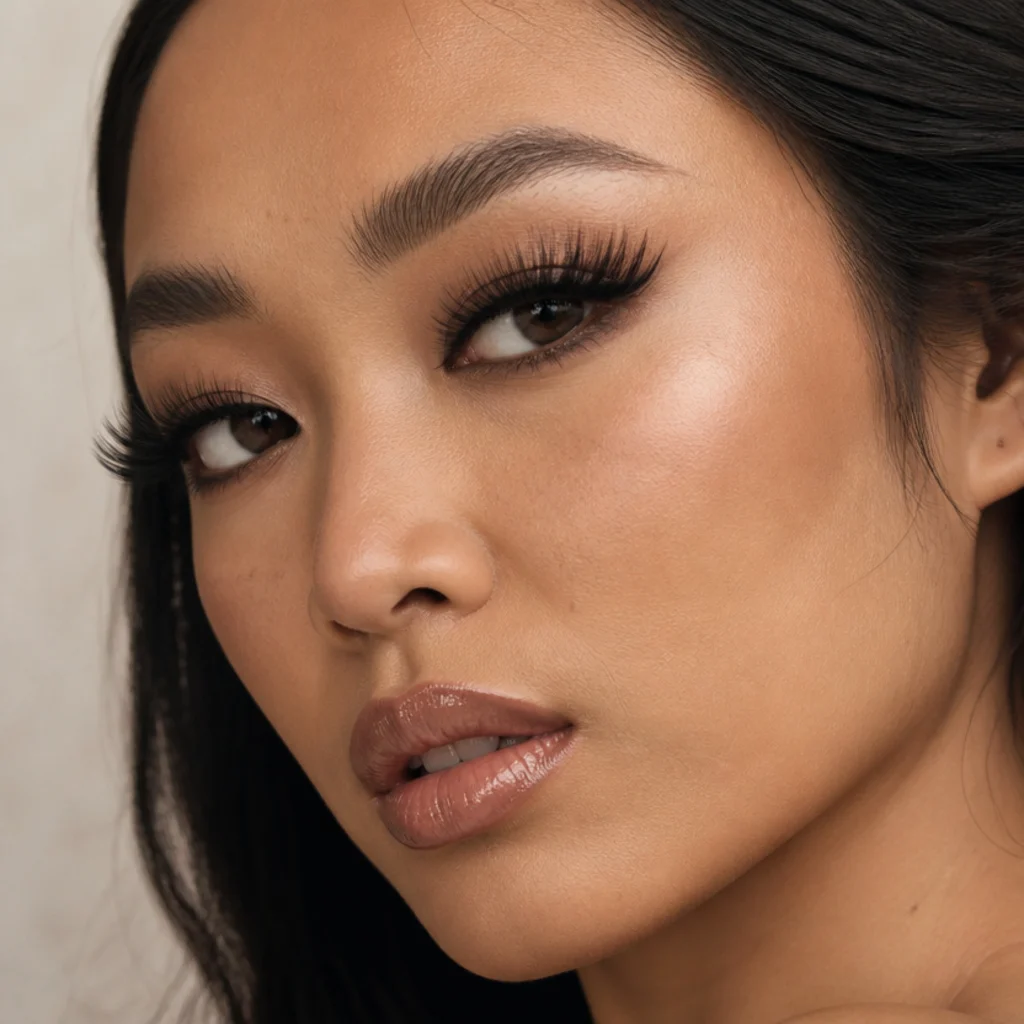
For weddings, galas, or a milestone birthday, wispy mega-volume delivers maximum fullness while keeping a soft, feathered texture, so it never tips into the solid, heavy wall of older glam styles. Layered lengths and pointed spikes build serious drama, and the wispy pattern is what keeps even a very full set looking expensive and light rather than fake. It suits almond, round, and upturned eyes that can carry the volume, and it wants a soft smoky liner rather than a hard graphic line so the lashes and liner blend into one lush frame. As extensions it's a mega-volume map with fine fans; as strips, look for stacked or double-layered wispies. Either way, the density means preparation matters: plan the look ahead and do a trial with your full makeup and hair so you know exactly how the drama photographs. Ask a pro for a "wispy mega-volume map, feathered spikes, soft line." Pro tip: schedule an extension set two to three days before the event, not the day before, so any adhesive settling or minor redness has fully calmed and the fans have relaxed into their softest shape.
23Corner-Only Kittens for Subtle Lift
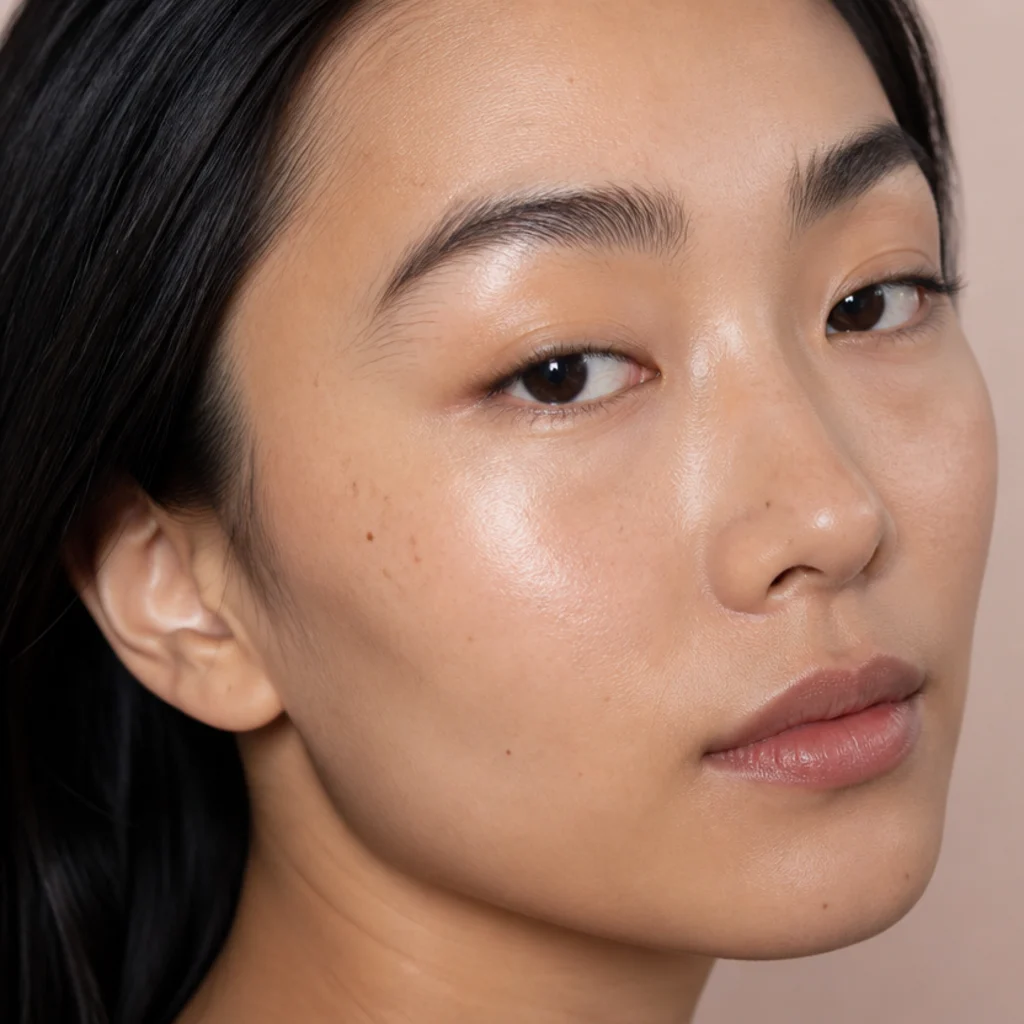
The most minimal lift on this list, corner-only kittens place a few short clusters at the very outer corners and nothing else, for a whisper of a wing that lifts and elongates without looking like you're wearing lashes at all. It's ideal for anyone who just wants their eyes to look a little more awake for work or errands, and it's forgiving for beginners since there's so little to align and no full band to fuss with. Downturned and hooded eyes benefit most from that tiny outer lift, which nudges a drooping or hidden corner upward with almost no effort. Keep the clusters short and natural in length, angle them slightly up, and skip mascara on the inner lashes so the barely-there illusion holds. Small effort, big payoff. Ask a pro for "outer-corner kitten clusters, natural length, slight upward angle." Pro tip: place the clusters right at the outermost lashes and a touch above your lash line rather than level with it, so the lift reads as your corner naturally turning up rather than as an obvious added piece.
24Feathered Natural Lash for Bridal
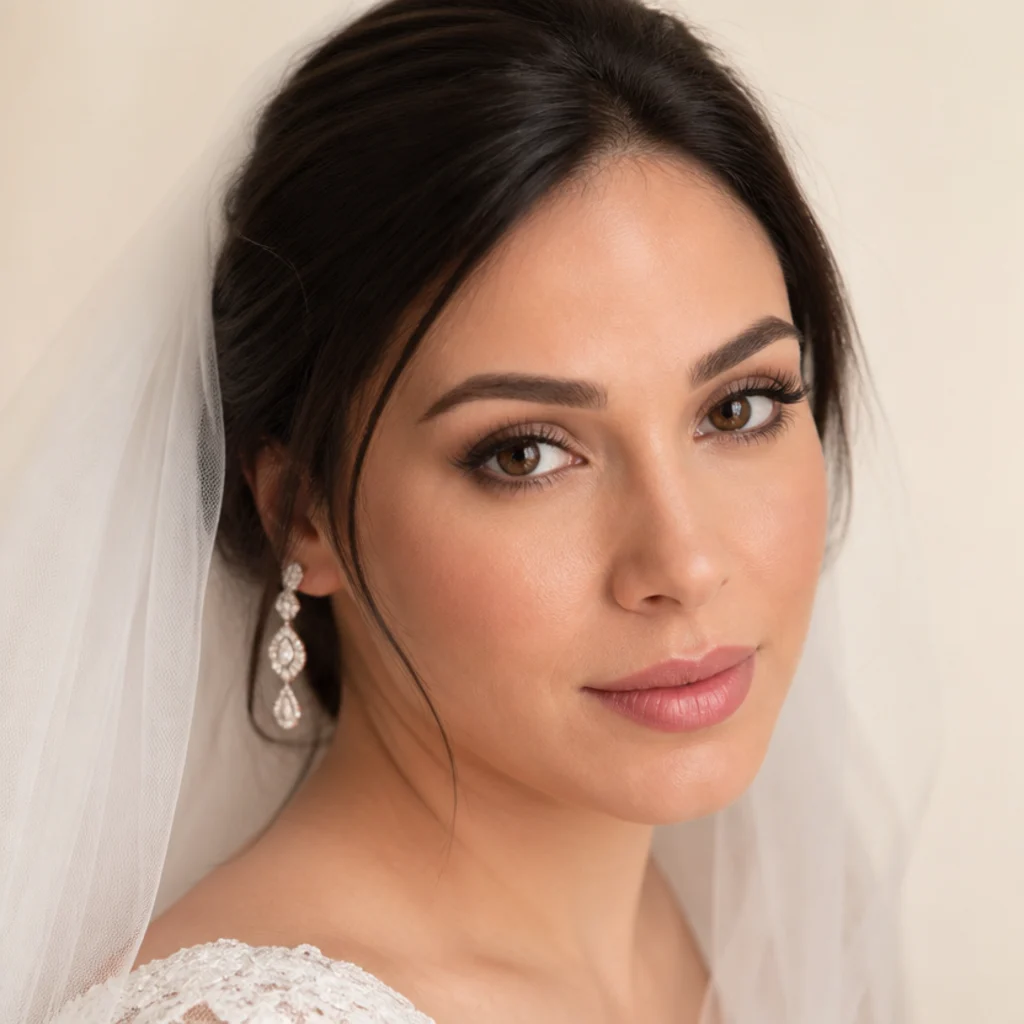
Bridal makeup should still look unmistakably like you, so a feathered natural lash is the classic wedding choice. Delicate, tapered fibers add photograph-friendly definition without reading heavy in close-up shots or under a veil, and the soft texture holds up through happy tears and a long day far better than a stiff, dense band. It flatters every eye shape with only minor placement tweaks, which is why makeup artists reach for it on nearly every bride, and it keeps your eyes balanced from every angle a photographer and videographer will catch. Choose a flexible, comfortable band because you'll wear it for many hours, favor a waterproof or bonding adhesive for tear resistance, and coordinate softly groomed eyebrow shapes and a lightly defined lower lash line so nothing looks top-heavy in a veil. Always do a full trial with your finished makeup and hairstyle. Ask your artist for a "feathered natural lash, flexible band, waterproof set." Pro tip: if you tend to tear up, ask about a few individual clusters instead of a strip, which won't lift at the corner if the band gets damp during the ceremony.
25Mascara-Only Fluff for a Low-Key Day
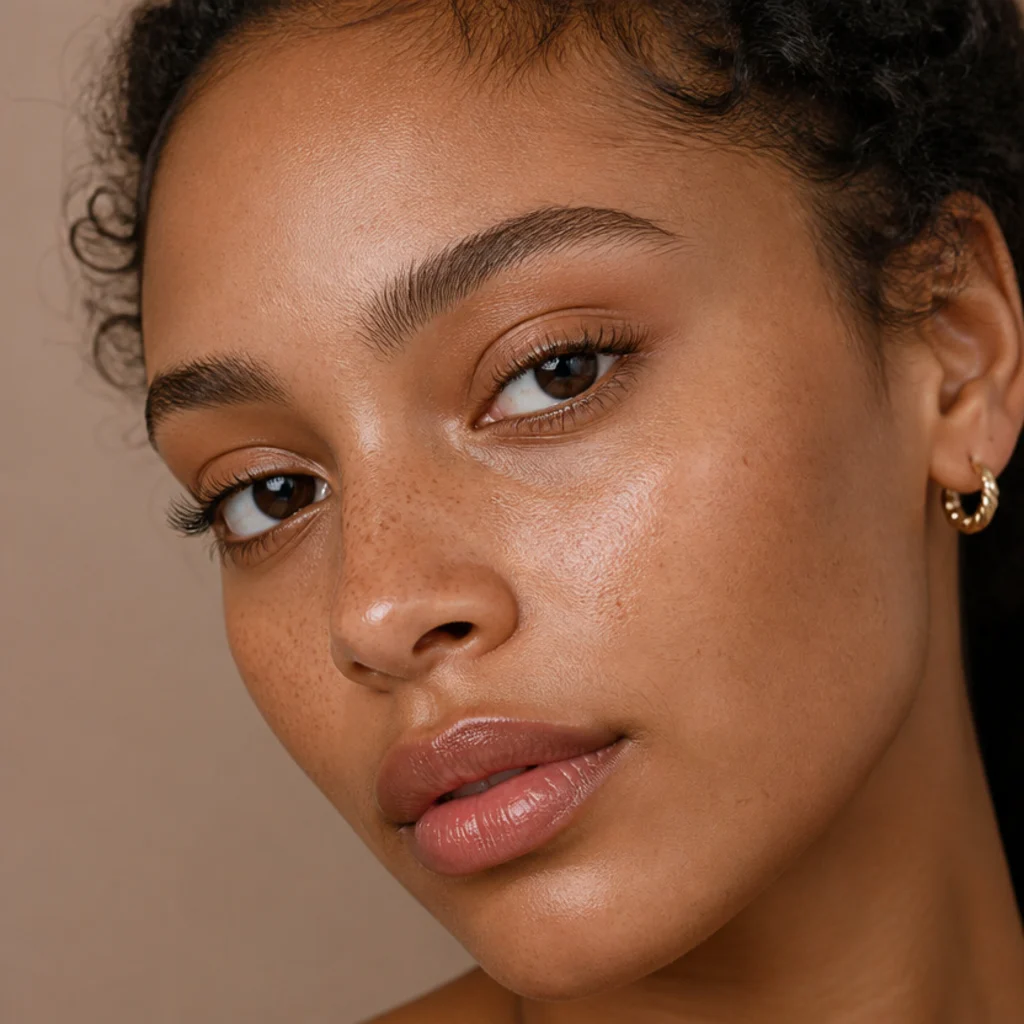
Sometimes the most flattering choice is no falsies at all. A good mechanical curl plus a lengthening-then-volumizing mascara gives a fluffy, wide-awake finish that suits any eye shape and takes two minutes, and it's the everyday baseline every other look on this list quietly builds on. Curl at the base and hold for several seconds, then wiggle mascara from root to tip in two thin coats rather than one heavy pass, which builds length without clumping. Adapt by shape: for hooded eyes, concentrate mascara on the outer lashes and choose a waterproof or tubing formula to fight transfer onto the fold; for downturned eyes, angle the wand up at the outer corner; for straight monolid lashes, curl is doing most of the work, so don't skip it. This is the lowest-maintenance, most natural finish here, and mastering it pays off everywhere else. Ask nothing of anyone; this one's all you. Pro tip: hold the curler at three points, base, middle, then tips, for a few seconds each to create a natural rounded bend instead of a single harsh kink, and re-curl only before mascara, never after, to protect both lashes and curler.
Pro Tips from the Editor
- Curl before you commit. The curl (J/B lie flat, C lifts, D/L/M stand upright) fixes more eye-shape problems than the map does. Hooded and deep-set eyes almost always want more curl than they think; prominent and round eyes usually want less.
- Trim from the outer edge, never the inner. The inner-corner fibers are cut short by design to hug the tear duct. Measure the dry band against your lash line, mark it, then trim before any glue touches it.
- Let adhesive go tacky. Wait 30-45 seconds after applying glue to the band until it turns from white to clear and feels sticky, not wet. Lashes lift at the corners because they were applied while the glue was still slippery.
- Apply from above, looking down. Set the band down onto your lash line from above with the mirror below you, then push it into the roots with a curved tool. This hides the band and avoids the floating-strip gap.
- Patch-test glue, and mind sensitivities. Latex-free and cyanoacrylate adhesives can still irritate. Dab a little on your inner wrist a day ahead, and never apply lashes over an inflamed, healing, or infected eye.
- Map to your goal, not the trend name. Lift a droop, taper a round eye, elongate what turns up. A "viral" style only flatters you if its map and curl happen to match your lids.
- Store and clean reusable strips. Peel dried glue off the band gently with tweezers, keep them in their tray to hold the curl, and skip mascara on falsies so a $20 pair lasts 15-20 wears instead of three.
How to Choose / Get the Look
Start with your dominant eye shape, then borrow the goal, not the label. Use this quick map, remembering that most people are a blend of two or three:
| If your eye reads... | Your goal | Best map & curl | Try styles |
|---|---|---|---|
| Hooded / monolid (lid hidden or flat) | Clear the lid, stand the fringe up | Center-open map, C/CC/L curl, spiky texture | 1, 6, 18 |
| Round / prominent | Elongate and taper, avoid extra height | Outer-weighted or squirrel map, B/C curl | 3, 8, 13 |
| Downturned | Lift the outer corner | Winged/kitten map, C/D curl at the tail | 5, 12, 23 |
| Almond (balanced) | Anything; round or elongate at will | Doll, wispy, or cat map, C curl | 2, 4, 7 |
| Close-set | Pull focus outward | Outer-half or cat map, no inner weight | 3, 10 |
| Wide-set | Pull focus inward | Doe map, inner-to-center weight, no wing | 11 |
| Deep-set | Bring lashes forward out of shadow | Forward-projecting volume, strong C/D curl | 9, 19 |
Once you've named your goal, the product almost chooses itself. For beginners and everyday wear, start with a reusable strip in the right map, which is cheap, low-commitment, and re-wearable. Step up to DIY individual clusters when you want targeted lift or density you can control cluster by cluster. Book professional extensions only when you want a weeks-long, wake-up-ready result and can commit to oil-free care and fills every two to three weeks. When you talk to a lash artist, describe the effect (lift, elongate, or round out) plus your lid type and a curl, rather than a trend name, and ask them to confirm your natural lashes can support the weight of anything dense. The same lift-balance-elongate logic guides eyeliner for different eye shapes and how you shape your brows, so once you learn your goal, every lash, liner, and eyebrow decision downstream gets easier and more coordinated.
Frequently Asked Questions
How do I figure out my eye shape?
Look straight ahead in a good light. If you see a crease and the eye tapers to points, you're likely almond. If the mobile lid is partly hidden by a fold when your eyes are open, you're hooded; if there's no visible crease at all, you're monolid. Then check three more things: do the outer corners tilt up (upturned) or down (downturned), is there white visible above or below the iris (round or prominent), and how much space sits between your eyes (close-set versus wide-set). Most people are a blend of several traits, so read the individual features rather than forcing one label.
Do lash styles really change based on eye shape?
Yes, because the exact same strip sits at a different angle on each lid. A wing that lifts a downturned eye can widen a round eye too much, and length that opens an almond eye can vanish under a hood. What changes the outcome is the interplay of the map (where the length sits) and the curl (how upright the fringe stands) against your specific lid. Matching those two variables to your shape is what makes a gorgeous lash look effortless instead of applied.
What lash style flatters the most eye shapes?
Open-eye wispies (No. 4) are the safest universal pick. Their mixed lengths, deliberate gaps, and tapered spikes mimic natural growth, so they flatter hooded, almond, round, and monolid eyes with only small placement tweaks, shift the longest cluster outward for a cat effect or keep it central to round the eye. A lightweight, near-invisible band and a C curl (CC for hooded lids) make them forgiving for beginners, which is why it's the best first set to buy.
How long do different lash options last?
Reusable strip lashes last months of re-wears with gentle cleaning and can be worn daily. DIY individual clusters hold roughly three to seven days with careful oil-free cleansing. Professional extensions look full for three to four weeks and need fills every two to three weeks as natural lashes shed. Mascara is a fresh application each day. Costs scale accordingly, from a few dollars for strips to a few hundred for a full extension set plus ongoing fills.
Which curl should I choose for my eye shape?
Curl is often the real fix. Hooded, monolid, and deep-set eyes usually want a strong upright curl (CC, D, or an L/L+ for extensions) so the fringe clears the lid or the brow-bone shadow instead of disappearing. Round and prominent eyes want less curl (J, B, or a soft C), since extra height amplifies roundness and projection. Almond eyes can wear almost any curl. When in doubt, try a C curl first and adjust up or down from there.
Are false lashes or extensions safe for sensitive eyes?
They can be, with precautions, but this is comfort guidance rather than medical advice. Patch-test any adhesive on your inner wrist a day ahead, since even latex-free and cyanoacrylate glues can irritate. Never apply lashes over an inflamed, healing, or infected eye, and remove strips gently with an oil-free remover rather than pulling, which stresses your natural lashes. If you react repeatedly, mascara-only (No. 25) skips adhesive entirely. Anyone with persistent irritation should see an eye-care professional.
Can I combine lash style with eyeliner and brows?
Absolutely, and you should. Liner and eyebrow shapes follow the exact same lift-balance-elongate logic as lashes, so a downturned eye that wants an outer lift should get a lifted lash tail, an upward liner flick, and a brow groomed slightly up at the arch. Coordinating all three toward one shared goal makes the whole eye look intentional and polished rather than like three separate ideas competing for attention.
How do I stop the outer corner of a strip lash from lifting?
Three usual culprits: the glue was still wet, the band is too stiff for your lid, or oil on the lid broke the bond. Let the adhesive go tacky (clear and sticky, not white and wet) before applying, choose a flexible cotton or fine band, and prime the lid with a matte cream shadow or a swipe of translucent powder first. For a stubborn outer corner, add a pinpoint of glue there specifically and hold it down for ten seconds with a clean tool.
Remember: are eye-shape categories strict rules?
No, and this matters. Hooded, almond, round, monolid, upturned, and downturned are overlapping guidelines, not verdicts, and the vast majority of people are a blend of two or three at once across every skin tone and lash texture. Use the categories to identify your goal (lift, taper, elongate, widen, or pull inward), then adapt any style toward it. Your eye is the final authority, so trust what looks balanced in the mirror over any label on a package.