15 Easy Eyeliner Ideas for Different Eye Shapes
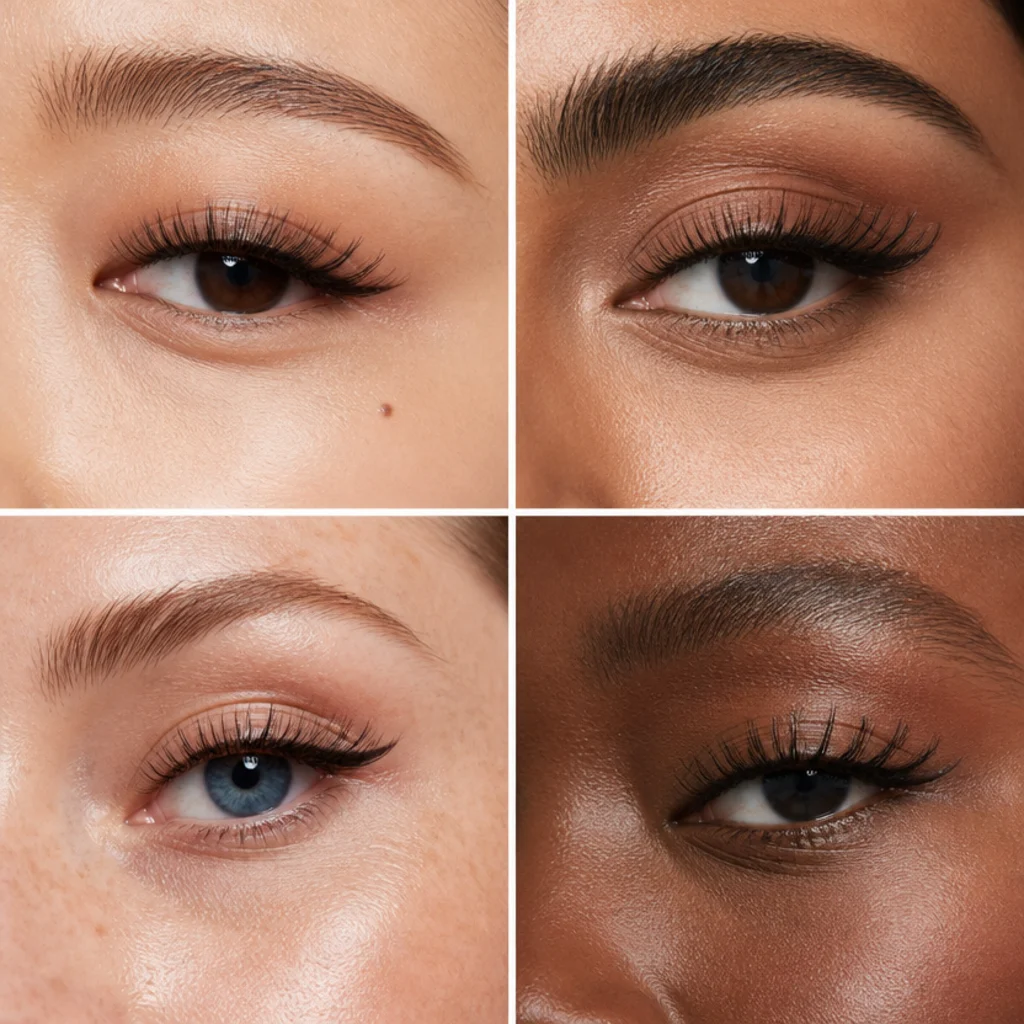
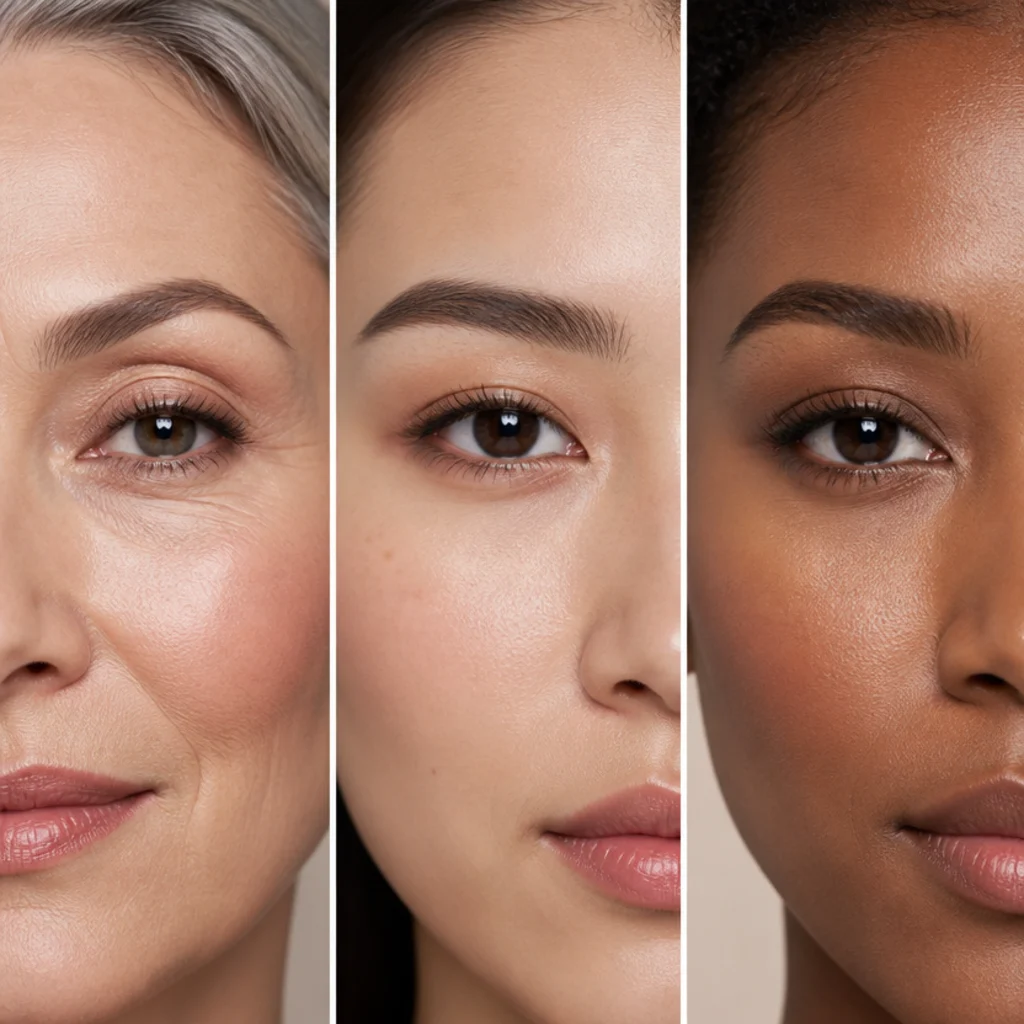
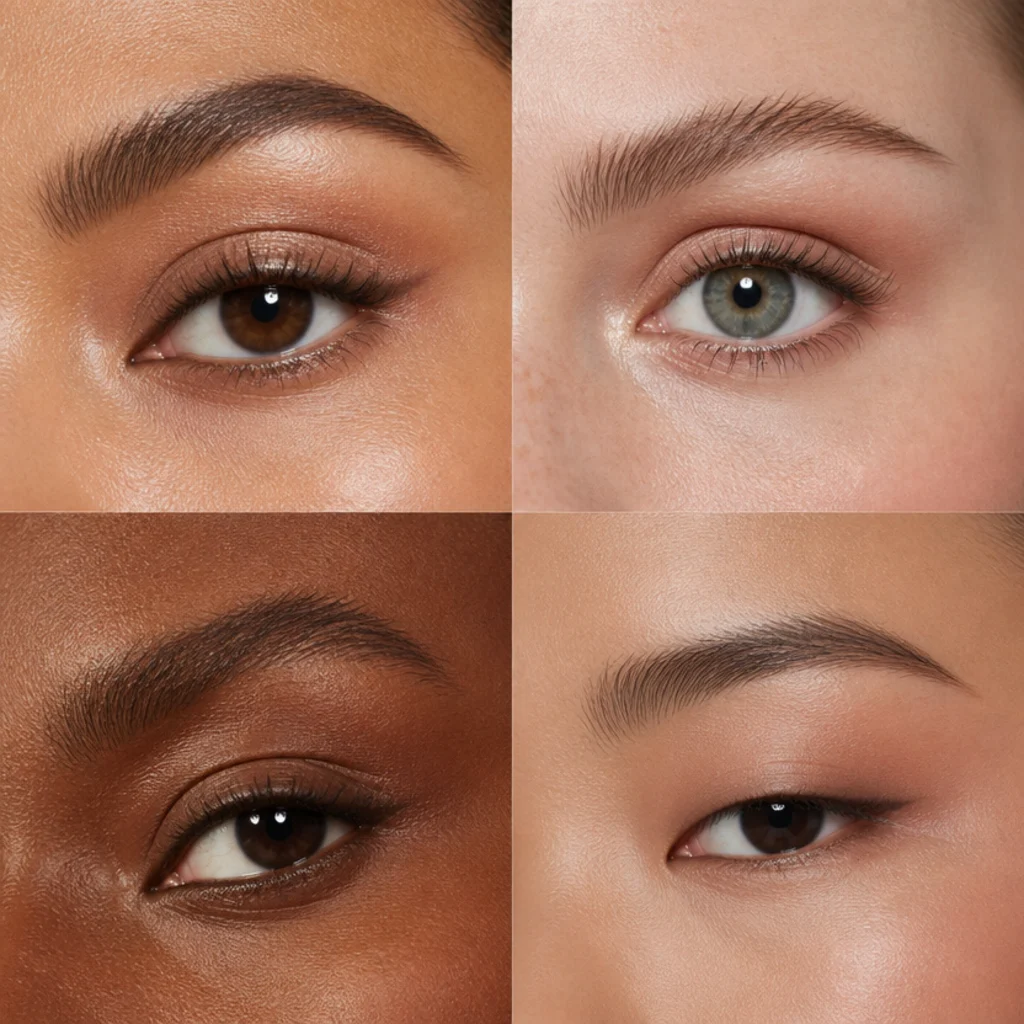
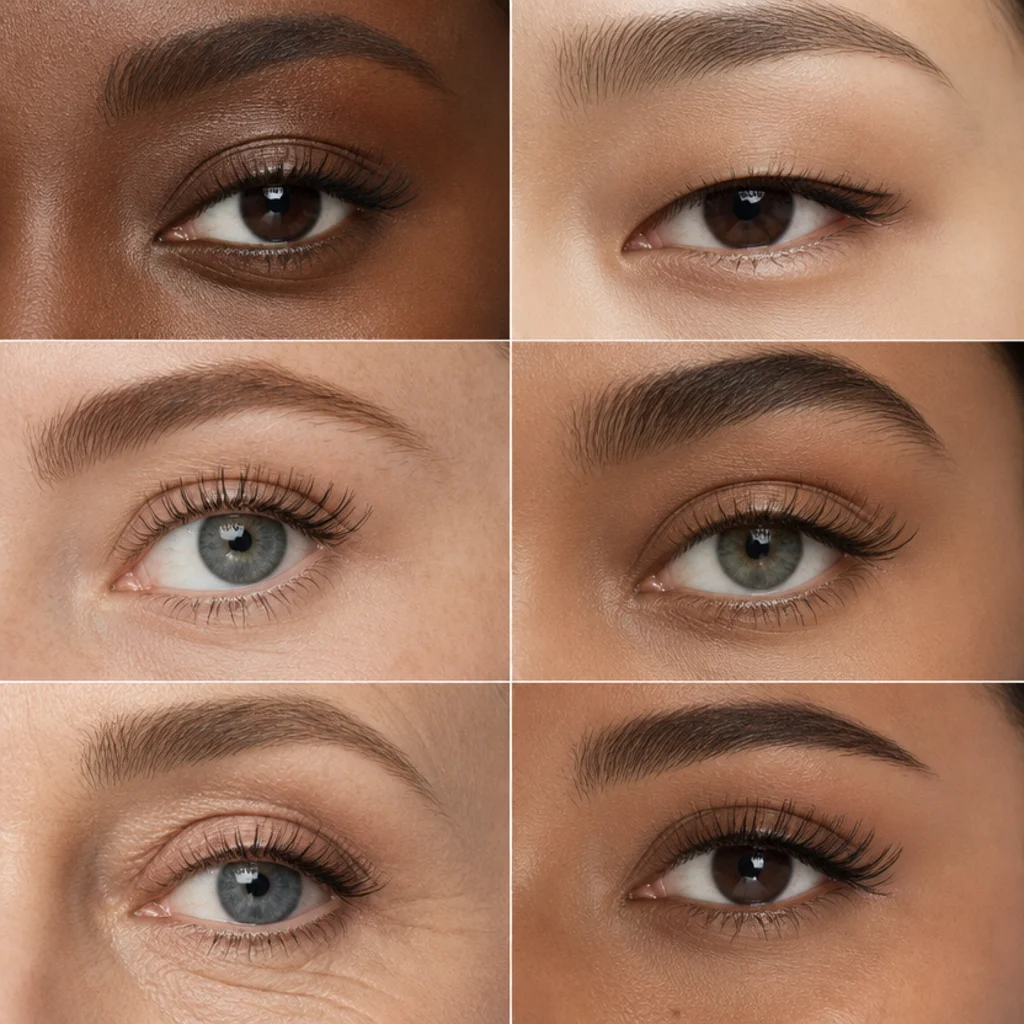
Your eye shape decides where liner should sit, how thick to build it, and where the tail lifts — the same pencil can read soft, sharp or wide-awake depending on placement alone. These 15 easy eyeliner ideas are sorted by what actually flatters hooded, almond, round, monolid and downturned eyes, each with exact shades, technique cues and upkeep. Match the method to your eyes and skip the guesswork.
 Edited by Lena Rose · Published July 11, 2026 · 25 min read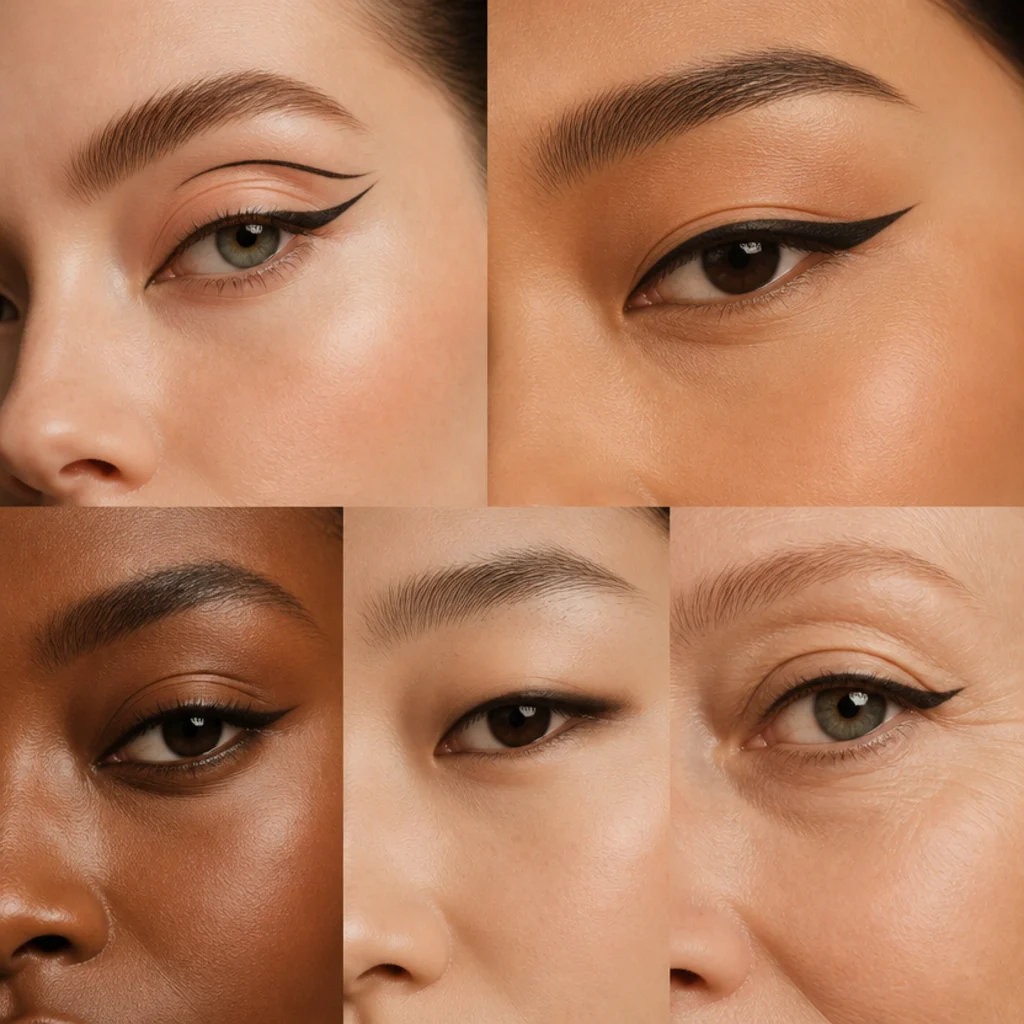
Quick Answer
- Best for: Anyone who wants liner mapped to their actual eye shape, hooded, almond, round, monolid, downturned, deep-set, wide-set or close-set, rather than a one-size formula.
- Who might skip it: If you love a bold uniform wing and it already suits you, you may not need shape-specific placement; sensitive or watery eyes may prefer tightlining over lower-lash color.
- Maintenance: Low to medium. Waterlines and pencil soften by midday and want a quick re-press; gel and liquid wings hold longer when set with a matching shadow.
- Difficulty: Beginner to intermediate. Tightlining and smudged looks are the most forgiving; crisp liquid wings and double wings take practice.
- Cost: Budget-friendly overall: a solid gel or felt-tip liner runs roughly the price of a coffee to a nice lunch, and one pencil covers most looks here.
- Wear time / longevity: Around 4–6 hours for pencil and waterline work, 8–12 hours for waterproof gel and liquid that has been set.
- Standout variation: The floating wing for hooded eyes, mapped with the eyes open so the flick never disappears into the fold.
- How to ask your makeup artist: Say "map my liner with my eyes open and place the tail to lift my outer corner," and name your shape and one goal (open, lift or lengthen).
In This Guide
- Tightlined Waterline for Subtle Definition
- Floating Wing for Hooded Eyes
- Classic Almond Cat-Eye
- Rounded Wrap Liner for Round Eyes
- Monolid Gradient Smudge
- Downturned Lift Flick
- Deep-Set Soft Smoke
- Tightline Plus Upper Lash Kiss
- Wide-Set Inner-Corner Emphasis
- Close-Set Outer-Third Liner
- Colored Lower-Lash Line
- Puppy-Liner Droop for a Soft Look
- Graphic Double Wing
- Smudged Pencil "Undone" Liner
- Reverse Liner for Almond Eyes
Intro
Eyeliner is the fastest way to change how your eyes read, but a shape that opens one face can quietly close down another. That's why easy eyeliner works best when it follows your eye shape instead of a viral tutorial filmed on a different bone structure. Three variables do the heavy lifting: where you place the line, how thick you build it, and where the tail lifts or drops. Shift any one of those and the same pencil reads soft in the daytime or sharp by evening. One reality check before you start: eye-shape categories overlap and are guidelines, not rules. Most people are a blend, say hooded and downturned, or almond with a monolid tendency, so treat the labels as a starting map and trust your mirror after that. This guide leans into current low-effort makeup habits: fewer products, more precise placement, and shades picked for your undertone rather than whatever's trending. The 15 ideas below move from the most beginner-friendly tightlining and smudged pencil to sharper wings and graphic looks, each with notes on who it flatters, realistic upkeep, the exact finish to reach for, and what to say if you ever sit in a makeup chair.
01Tightlined Waterline for Subtle Definition
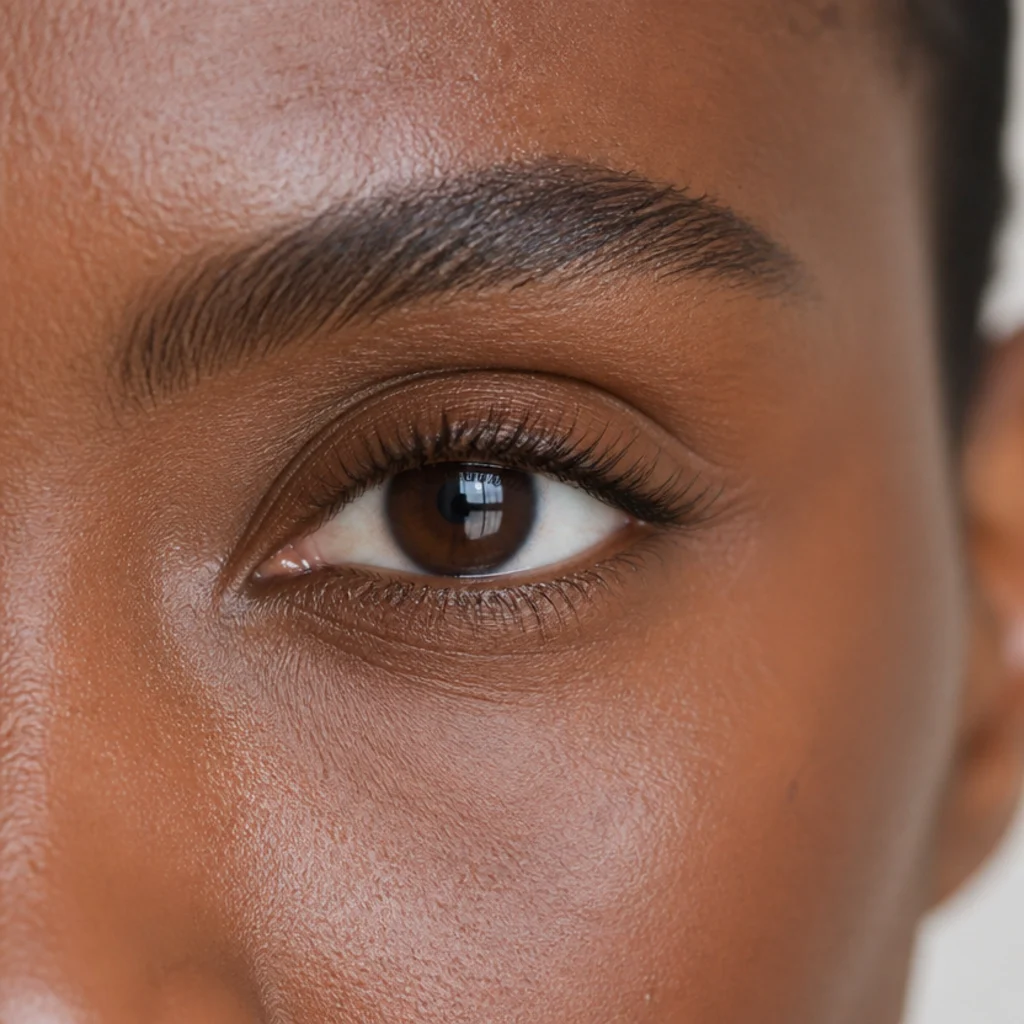
Tightlining means pressing pencil into the upper waterline, right at the lash roots, so the effect reads as denser lashes instead of obvious liner. It's the most forgiving starting point because there's no line to draw straight and nothing to smudge onto the lid. Every eye shape can wear it, and it's especially useful for hooded eyes, where a lid line vanishes the moment they open, and for deep-set eyes that can't spare lid space. Reach for a waterproof gel pencil in dark brown for soft everyday density, or true black for more depth; a warm espresso flatters lighter lashes and green or hazel eyes without looking harsh. Angle the pencil so the tip meets the roots, then walk it across in small stamps rather than one drag. The waterline runs warm and moist, so expect the color to fade in three to four hours and keep the pencil handy for a midday re-press. Beginner difficulty. Ask your makeup artist to "tightline my upper waterline for invisible lash density."
02Floating Wing for Hooded Eyes
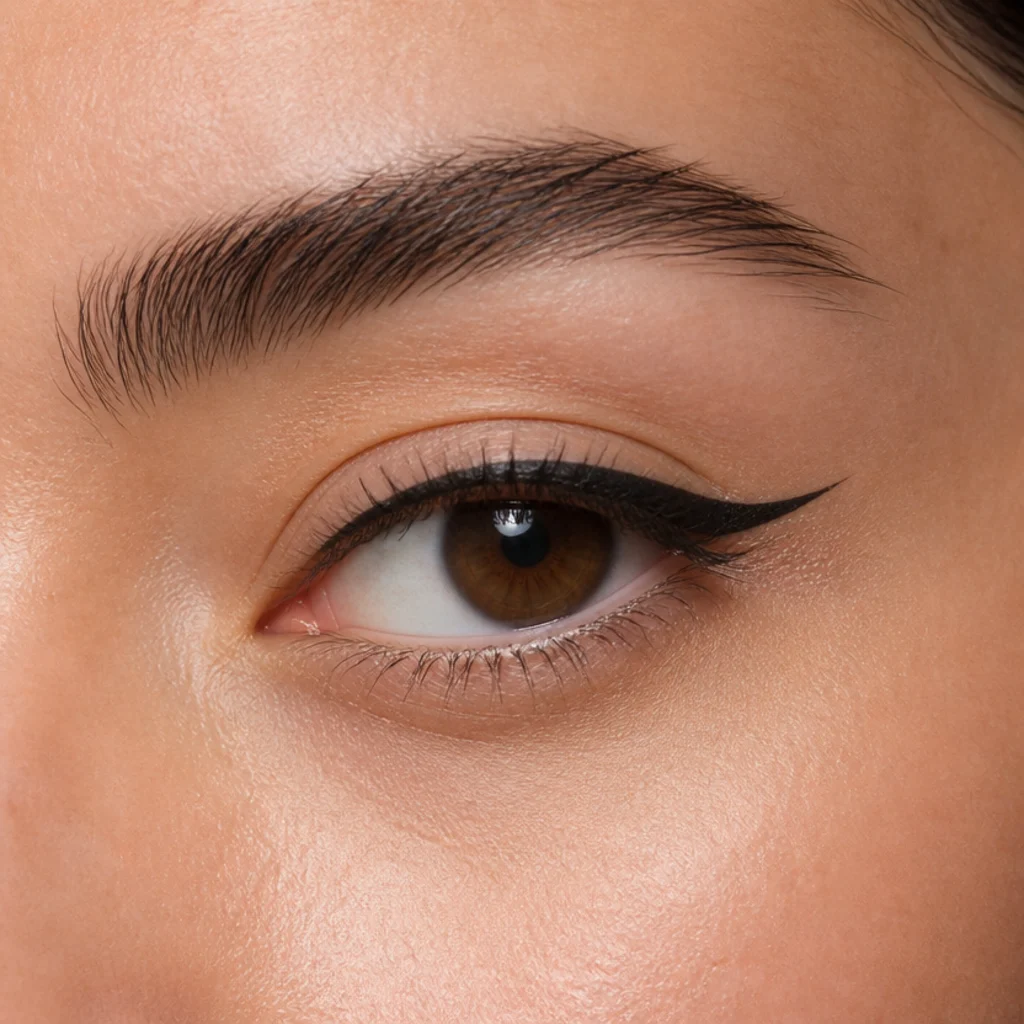
On hooded eyes, a wing drawn tight to the lash line disappears the moment the hood folds over it. The floating wing fixes that. Look straight into the mirror with your eyes fully open, then mark the exact point where the hood covers the lid, that's your ceiling. Draw the tail and a thin connecting line just above that hidden point so the whole shape stays visible when you blink. Keep the inner two-thirds barely-there and build pigment only at the outer corner, where the lift actually happens. Gel is the most forgiving formula, since you can nudge or blend it if you overshoot; move to liquid once the map feels automatic. It's the standout look in this guide because it solves the single most common hooded-eye frustration. Set the tail with a matching matte shadow so lid oil doesn't transfer it upward by afternoon. Intermediate difficulty. Ask a pro for "a floating liner mapped with my eyes open so the wing reads when I blink."
03Classic Almond Cat-Eye
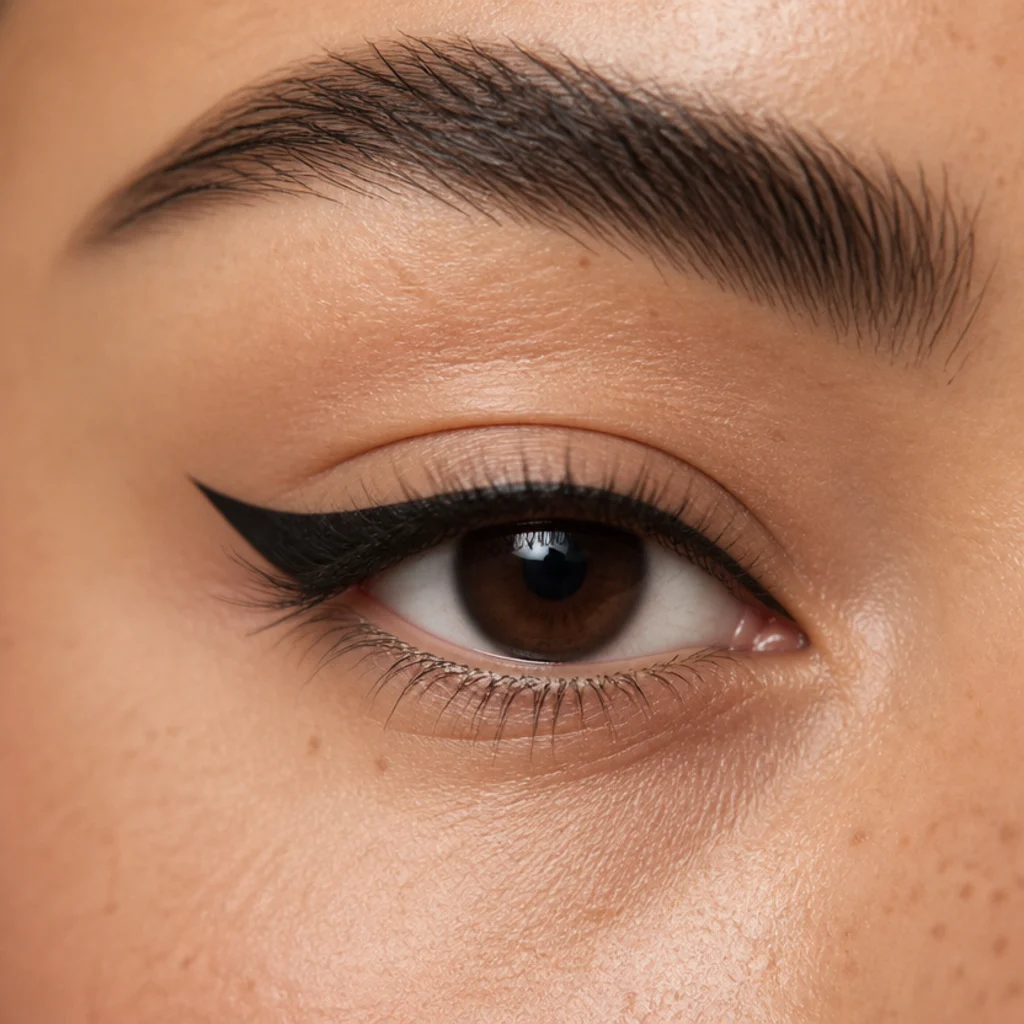
Almond eyes are the shape most liner tutorials get built around, so a classic cat-eye lands here almost by default. Draw a thin line along the upper lashes, then set the tail by extending an imaginary line from your lower lash line up toward the end of your brow. That angle keeps the wing in balance with your natural lift. Thicken gradually from inner to outer corner so the line tapers instead of blocking. Almond eyes already lift on their own, so resist over-drawing: a medium wing looks intentional, where a dramatic one can read costume. Black liquid gives the crispest, most graphic edge; a soft brown gel reads gentler for daytime and office wear. Upkeep sits at medium. Press a matching shadow over the tail to stop transfer in the outer corner, which creases first. Think of this as the reference look for eyeliner for different eye shapes, the template every other shape adapts by moving thickness and lift. Beginner to intermediate difficulty. Ask for "a balanced medium cat-eye following my lower lash-line angle."
04Rounded Wrap Liner for Round Eyes
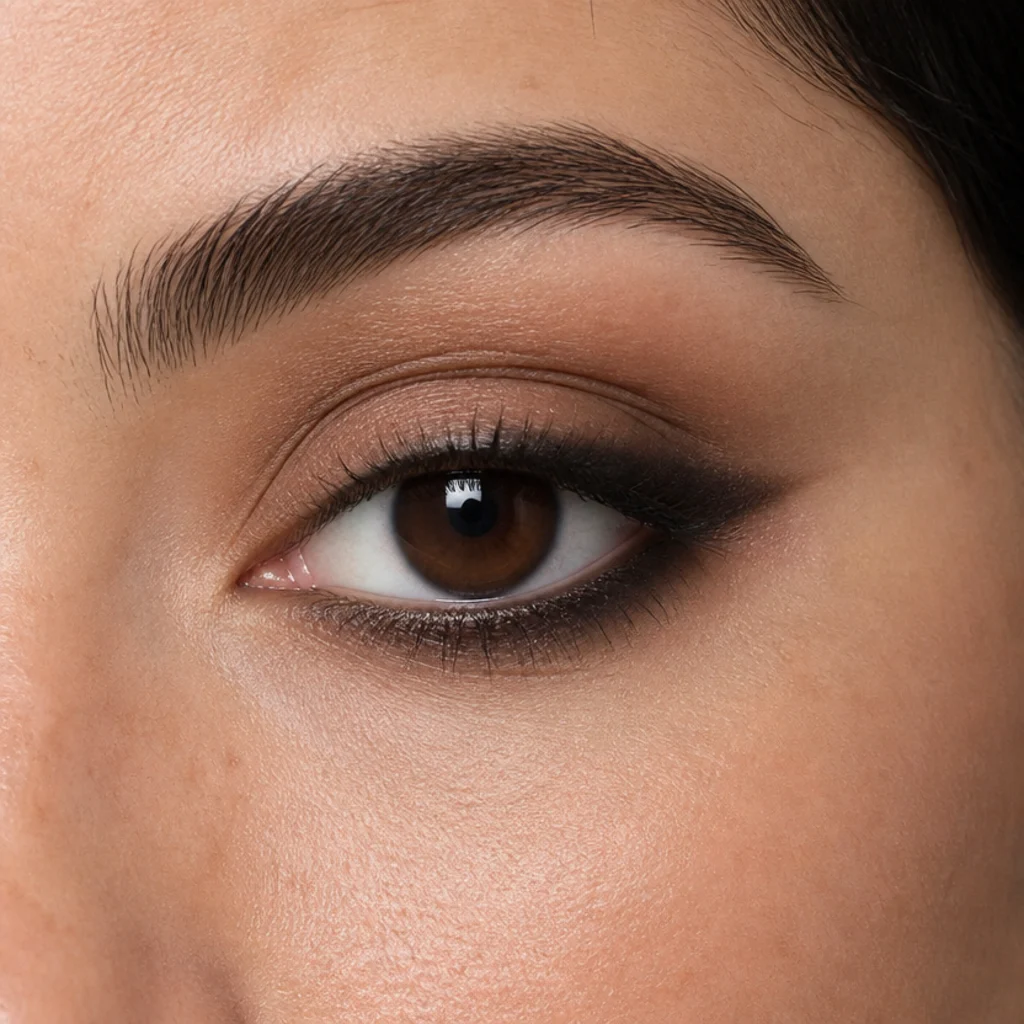
Round eyes show a lot of lid and read open and youthful, so the goal here is length, not more circle. Wrap a thin line around the outer half of both the upper and lower lash lines, then connect them into a short, mostly horizontal tail that pushes outward instead of up. That elongation counters the round shape for a subtly foxier finish. Leave the inner corner completely bare; darkness there only shrinks and rounds the eye further. A smoky pencil wrap is far easier than liquid here, since you can smudge and marry the upper and lower lines at the outer corner where they meet. Keep the whole line thin. Thickness on a round eye tends to make it look surprised. The lower line migrates first, so press setting powder or a taupe shadow over it. Medium upkeep, beginner difficulty. Ask your makeup artist for "a slightly elongated wrap that lengthens my round eyes without closing them."
05Monolid Gradient Smudge
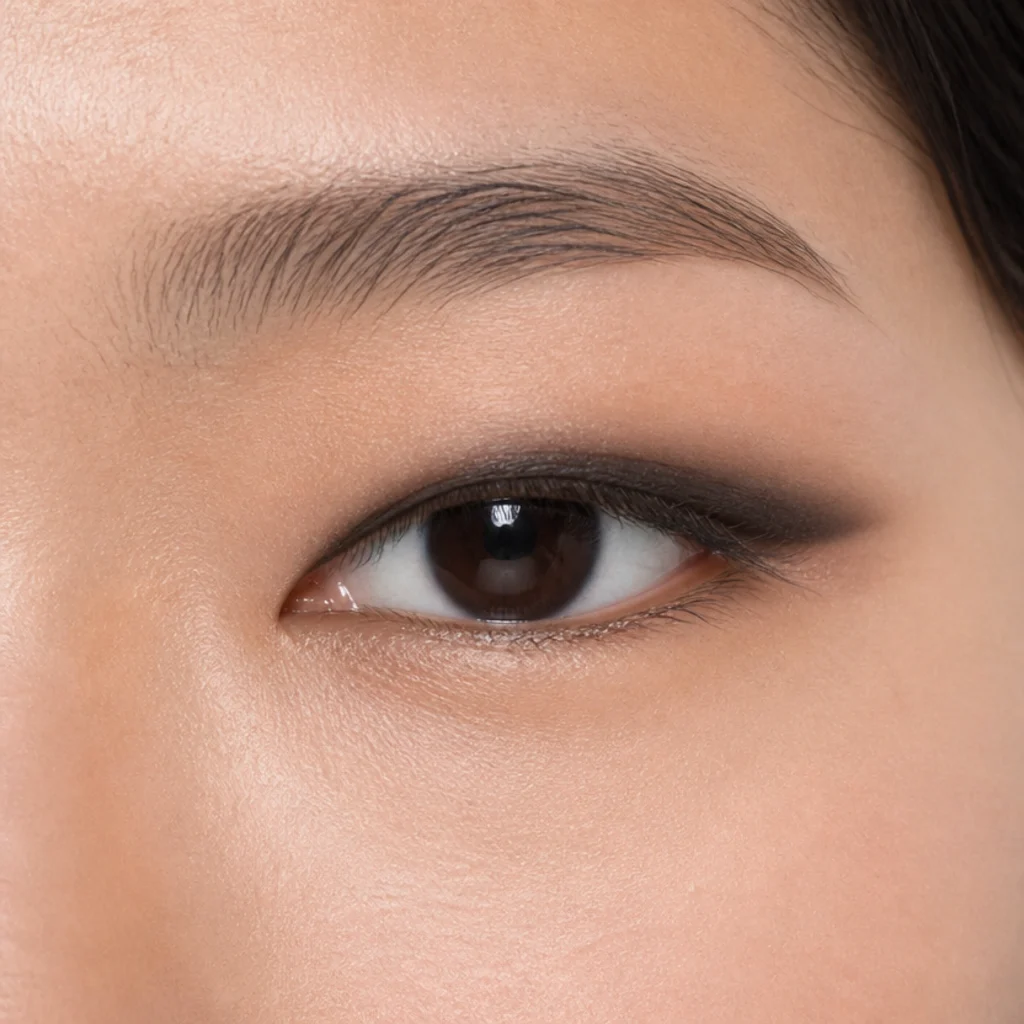
Monolids often have little or no visible crease, so a thin flat line can vanish against the lid once the eye opens. A gradient smudge gives it presence and dimension: lay pencil thickly at the lash line, then blend straight up with a small pencil brush so color still shows at full open. Monolids can carry more height than most shapes, so build gradually and check with your eyes open at every pass. Closed-eye placement lies to you here. Keep pigment concentrated and dark at the base, then diffuse to a soft edge at the top so it reads as a gradient, not a block. Waterproof cream or gel formulas matter, because the lid sits flat and transfers oil readily; a smudge-proof base keeps the shape from printing onto the upper socket. Deep bronze, charcoal and plum flatter warm and neutral undertones. Medium upkeep. Beginner to intermediate difficulty. Ask for "a buildable smudge that reads with my eyes open, not just closed."
Save this to Pinterest: these first five cover the most-searched hooded, almond, round and monolid needs in one place.
06Downturned Lift Flick
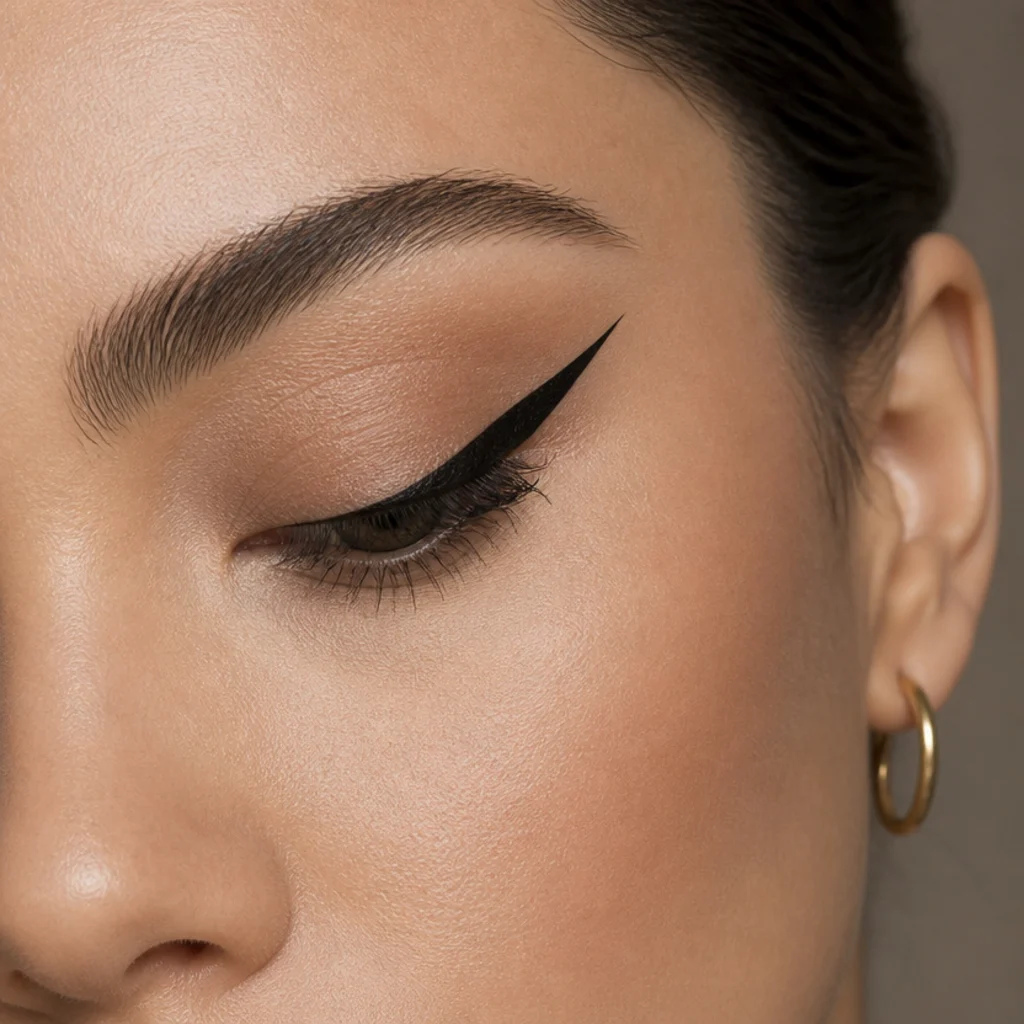
Downturned eyes drop slightly at the outer corner, and liner can either fight that or lean into it. Here, we lift. Angle the tail sharply upward, steeper than you would on almond eyes, and start the lift before you reach the natural downturn so the flick redirects the eye up instead of tracing the droop. Keep the upper line thin through the middle and let all the drama live in that outer flick. Skip or minimize the lower line: darkness underneath drags the corner down and undoes the lift you just built. A firm felt-tip gives you the most control over the precise angle, and a small piece of tape used as a straight-edge guide keeps both sides matched. Medium upkeep, intermediate difficulty. Ask a pro for "an uplifted wing that counters my downturn," and bring a photo so the angle suits your face instead of a stock shape. Pair it with lash styles for eye shapes that add outer-corner length for extra lift.
07Deep-Set Soft Smoke
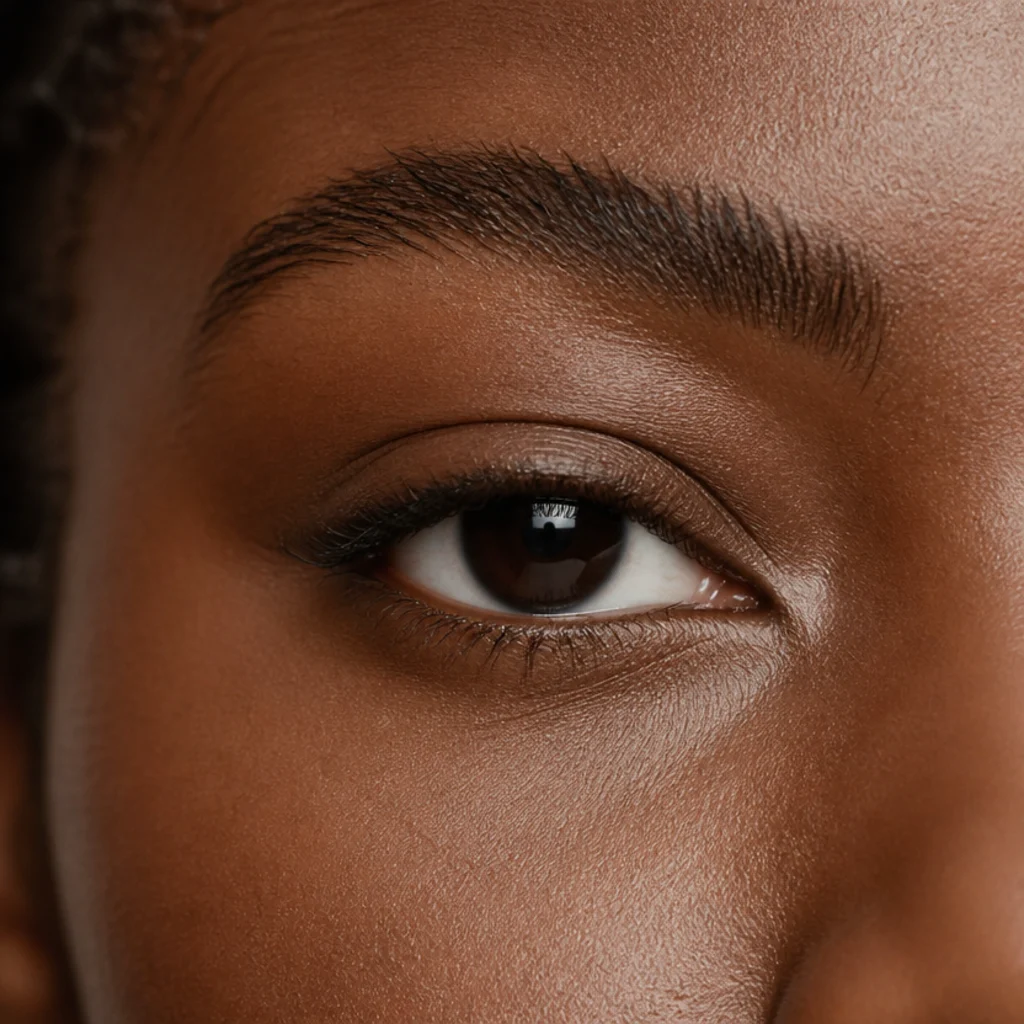
Deep-set eyes sit further back under a prominent brow bone, so heavy dark liner reads as shadow-on-shadow and makes them look smaller. Keep it soft and shallow: a thin smoked pencil line hugging the upper lashes, gently diffused with no hard edge, and no thick wing that would get swallowed by the socket. Lighter, warmer tones do the most work here: bronze, warm taupe and deep plum catch light and push the lid forward, where dense black recedes instead. If you want more definition without weight, tightline the upper waterline rather than drawing up onto the lid, and keep the visible lid clear and open. A touch of shimmer at the center of the lid also brings a deep-set eye forward. Low to medium upkeep. Beginner difficulty. Ask your makeup artist for "a thin, soft smoke that keeps my deep-set eyes open—nothing heavy on the lid." Warm champagne shadow beneath the smoke reflects light and counters the recessed look.
08Tightline Plus Upper Lash Kiss
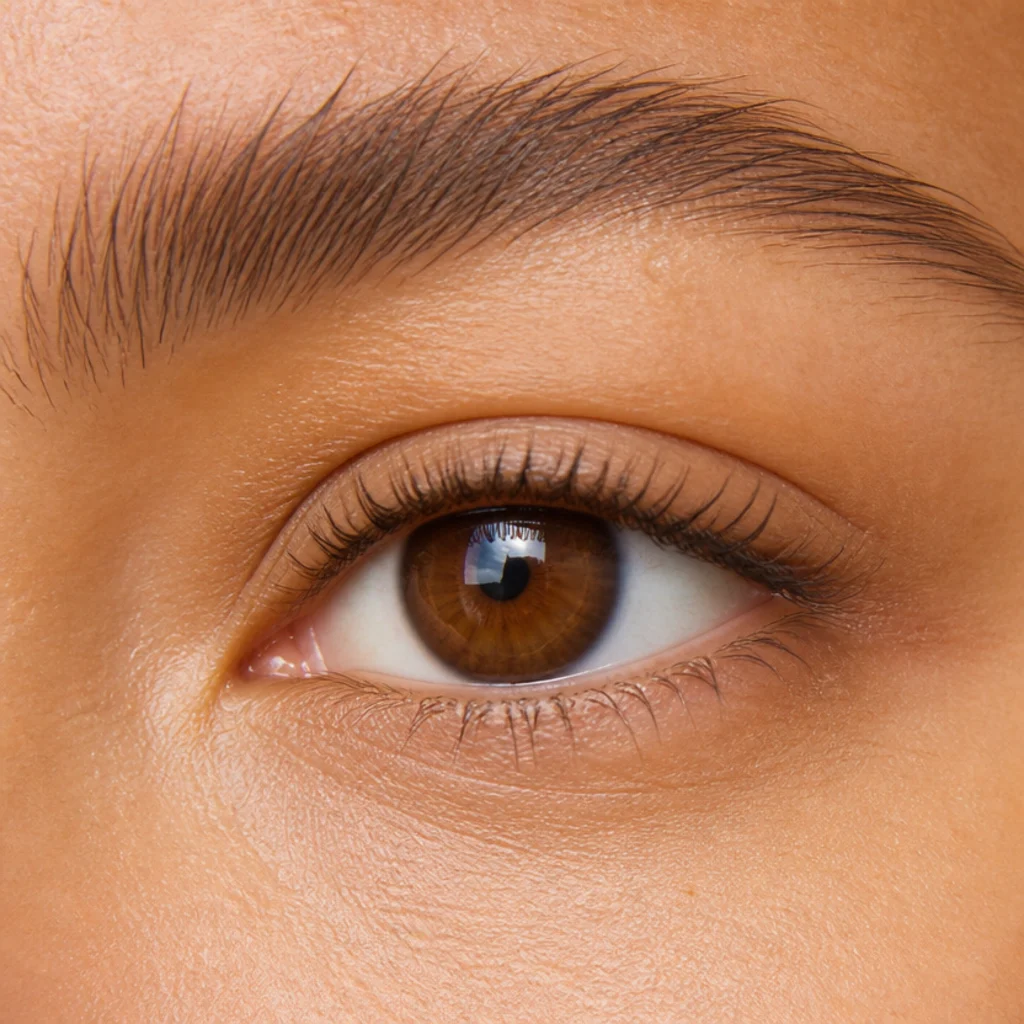
This is the everyday upgrade to plain tightlining. After pressing pencil into the upper waterline, stamp a thin line between the lashes from above, filling the tiny gaps where pale skin peeks through the lash base. The two steps together read as thick, dark, healthy lashes with no visible liner shape at all. It suits every eye shape and is unbeatable under glasses, where a wing gets distorted by the lens. There's no tail to balance and no symmetry to match, so it's real easy eyeliner for beginners and rushed mornings. Use a hard waterproof gel pencil so the tip stays fine enough to slot between lashes and grips without dragging; a soft creamy pencil smears the gap shut instead of filling it. Look down into a mirror to expose the lash base as you stamp. Low upkeep. Beginner difficulty. Ask for "invisible tightlining plus lash-gap filling for natural density under glasses."
09Wide-Set Inner-Corner Emphasis
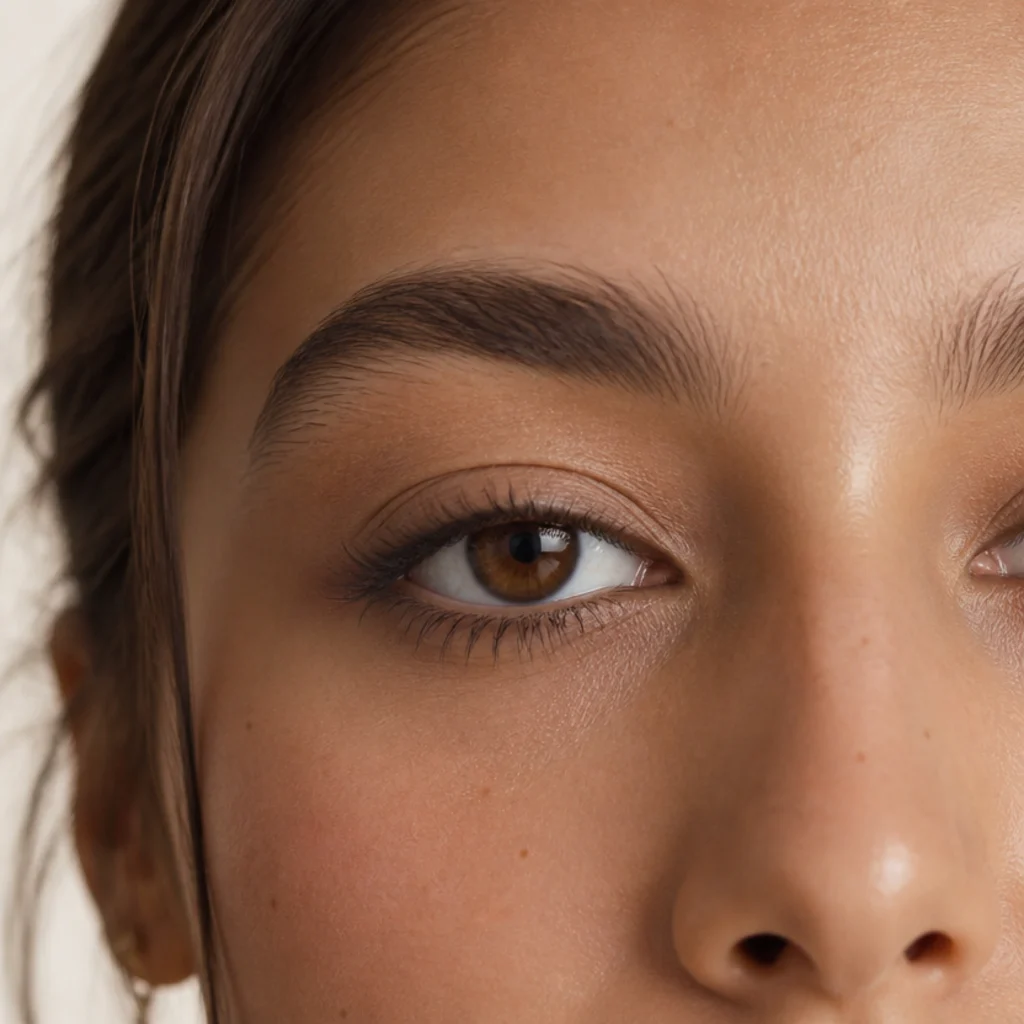
Wide-set eyes carry more space between them than the width of one eye, so the aim is to draw them visually toward the center. Carry liner all the way into the inner corner, even a touch into the inner "V", and keep the line even in weight across the whole lid rather than winging it out dramatically. Concentrating darkness at the inner corners pulls the gaze inward and shortens the apparent gap. Avoid long outer flicks, which stretch everything wider and exaggerate the spacing. A soft, well-sharpened pencil is easiest for reaching the delicate inner corner without poking the tear duct; steady your hand on your cheekbone as you go. The inner corner sits near the tear duct, so it can water and lift, which is why a matching powder shadow pressed over it locks the pigment in place. Medium upkeep. Beginner to intermediate difficulty. Ask your makeup artist for "inner-corner emphasis to bring my wide-set eyes closer together."
10Close-Set Outer-Third Liner
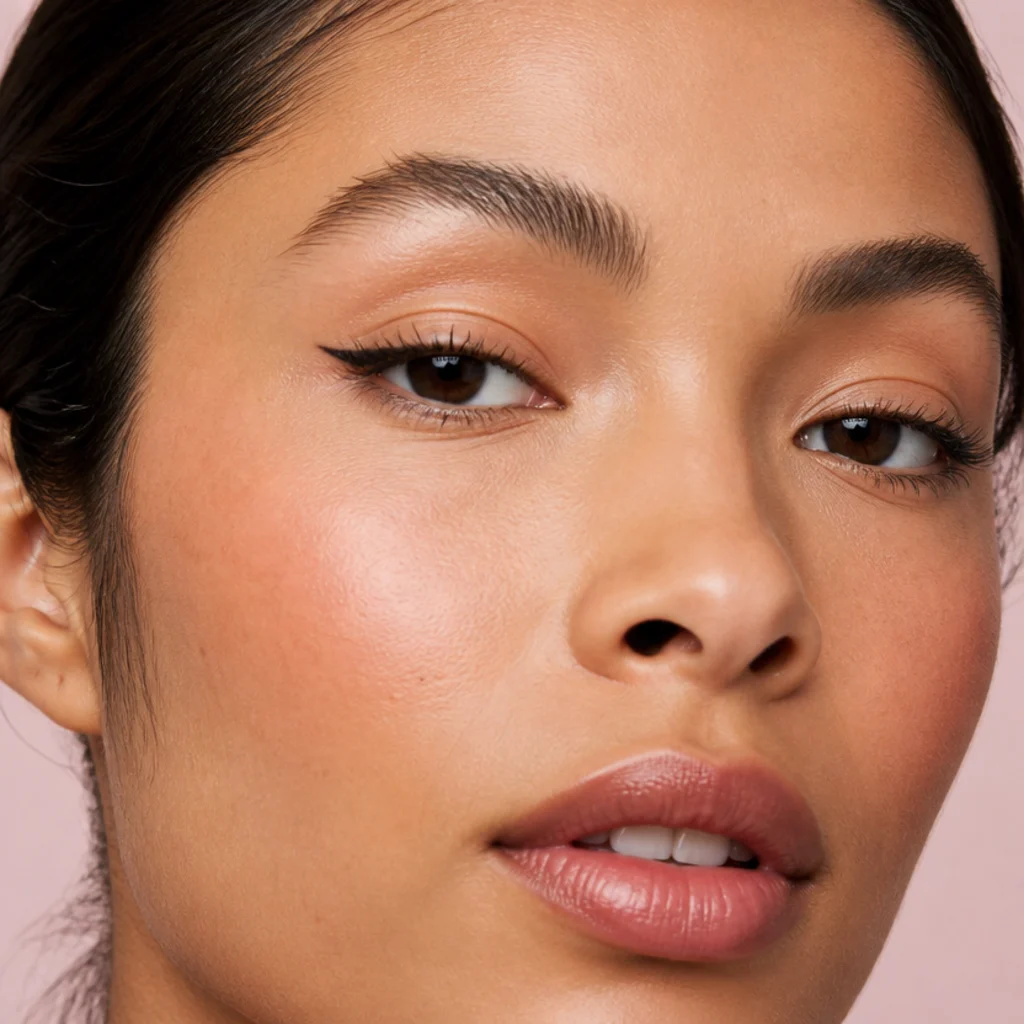
Close-set eyes are the mirror image of the wide-set case: leave the inner corners completely bare and put all your liner on the outer third, extending into a flick. Pulling darkness outward creates the illusion of more space between the eyes and lengthens the overall shape. Start the line around the middle of the lid, keep the inner half light and open, and build weight only as you move toward and past the outer corner. Compare this to idea nine and you'll see how much eye position, not eye shape alone, dictates placement. The technique is nearly identical, just mirrored. A brightening inner-corner highlight amplifies the widening effect. Felt-tip or gel both work; felt-tip gives a cleaner flick tip. Medium upkeep, intermediate difficulty. Ask a pro for "outer-third liner and a flick to widen my close-set eyes." A dab of light shimmer at the inner corner reinforces the extra space.
11Colored Lower-Lash Line
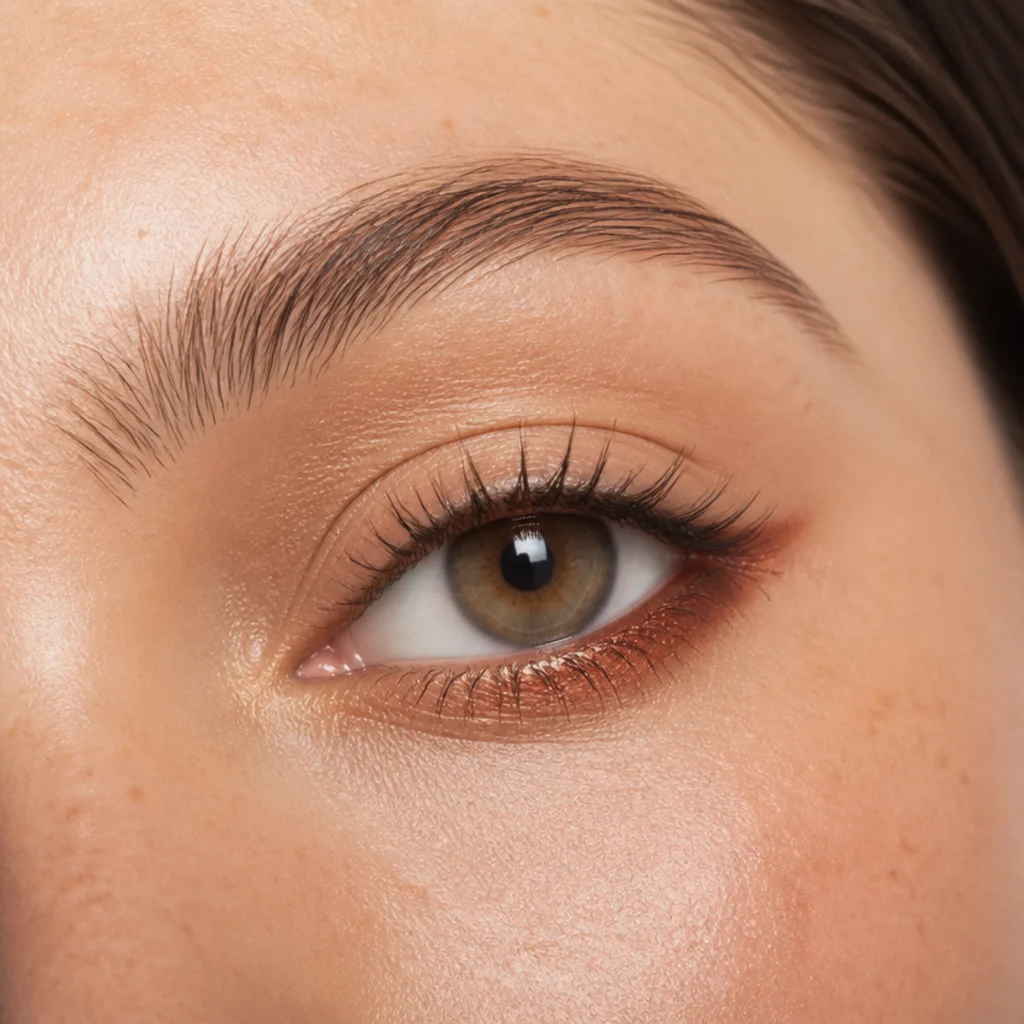
A colored lower line is the lowest-commitment way to make liner feel fresh without a graphic look up top. Smudge a jewel tone, emerald, cobalt or warm copper, along the outer half of the lower lash line, blending softly so it reads intentional rather than slipped. On round eyes it adds a playful lift; on almond eyes it flatters without altering the shape; on downturned eyes, keep it to the outer third so it doesn't weigh the corner down. Color theory pays off here: warm coppers and bronzes make green and hazel eyes pop, cobalt and teal brighten brown eyes, and a soft plum flatters most people. Keep the upper line minimal so the color stays the hero. Lower-lash formulas fade and transfer fastest, so layer the liner over a matching powder shadow to anchor it and extend wear. Medium upkeep. Beginner difficulty. Ask for "a smudged jewel-tone lower line set over matching shadow."
12Puppy-Liner Droop for a Soft Look
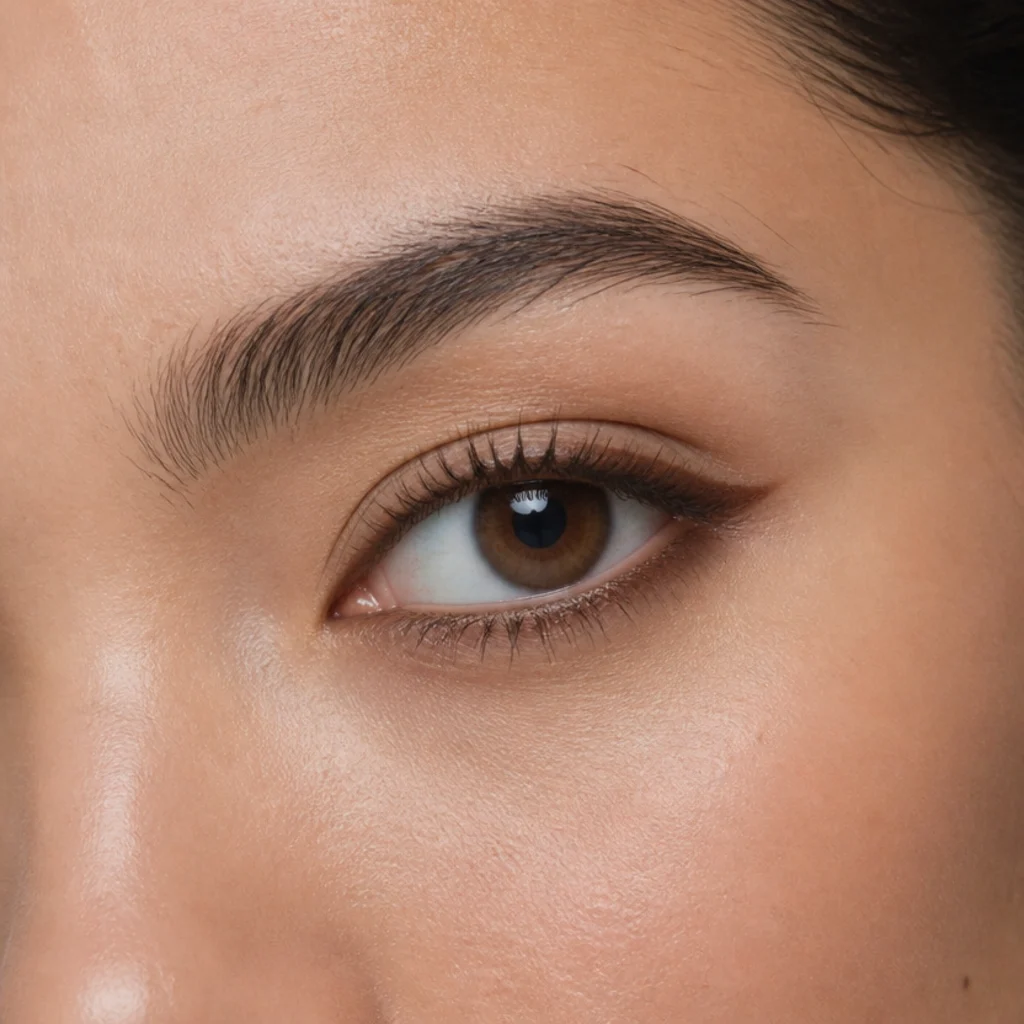
Puppy liner is the anti-cat-eye: instead of flicking up, you extend the line slightly down and out, then connect a soft lower line for a rounder, more youthful finish. It suits almond and upturned eyes that can afford to soften a naturally lifted shape, and it photographs sweet rather than sharp, flattering in diffused light rather than under a hard graphic edge. There's no precise upward angle to nail, so it's more forgiving than a classic wing, but restraint is everything: a heavy downward drag reads tired, so keep the extension short and blur the tail with a cotton bud. Brown reads far softer than black here and keeps the look from tipping into sad-eye territory. Use it cautiously on downturned eyes, which are already dropping. Medium upkeep. Beginner difficulty. Ask your makeup artist for "a softened puppy liner, extended down and out, not up." A rounded lower line in the same shade completes the doe-eyed effect.
13Graphic Double Wing
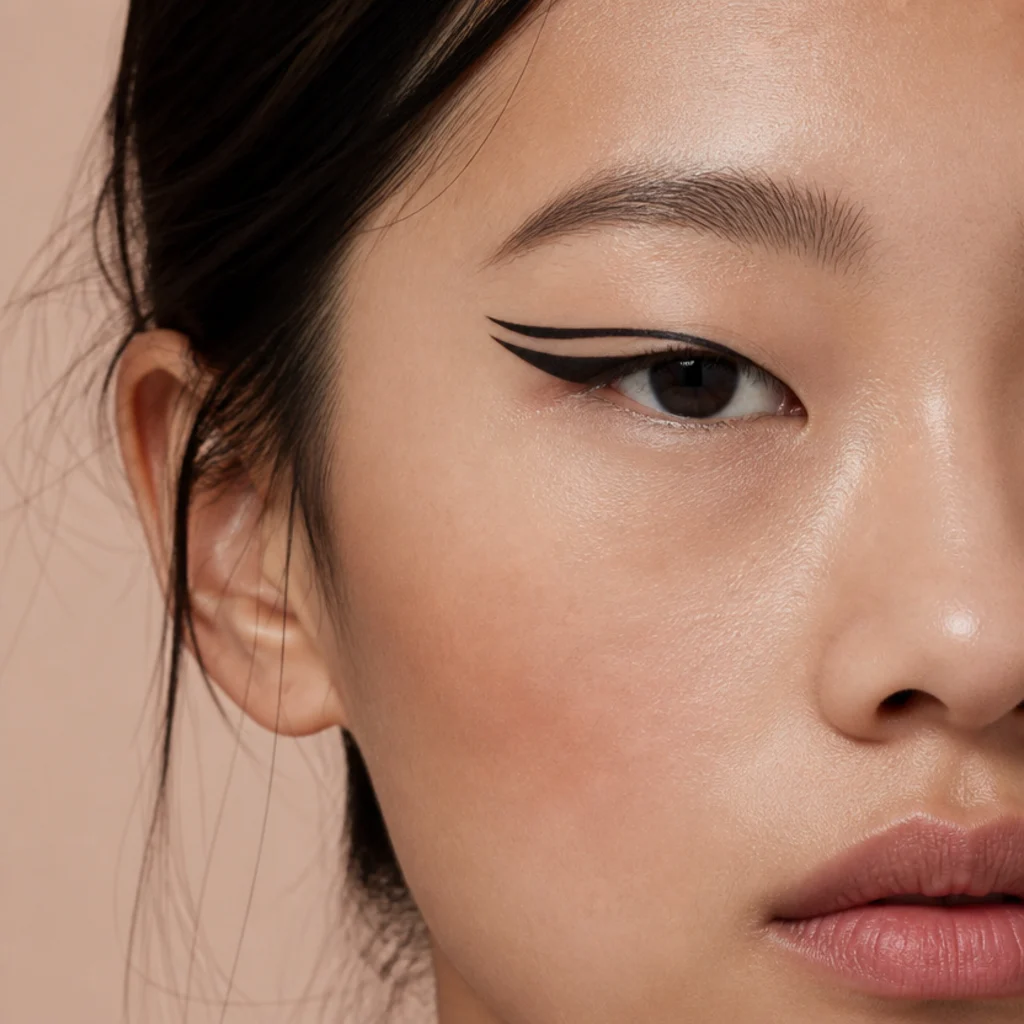
For an editorial, going-out look, a double wing stacks two lines, one along the lash line and a second floating above it, with a clean strip of bare skin between them. Monolids and almond eyes carry it especially well because there's enough flat lid space to show off the negative gap. It rewards patience and a steady hand, so map both lines with a light pencil first, then commit in liquid once the geometry looks right. Keep the two lines parallel and let the gap widen slightly toward the outer corner so it reads deliberate rather than shaky. A fine-tip liquid pen gives the crispest edges, and a cotton bud dipped in micellar water sharpens any wobble before it sets. This is the most advanced idea here and the highest-upkeep: set both lines with matte shadow and carry a bud for touch-ups. High upkeep. Advanced difficulty. Ask a pro for "a graphic double wing with clean negative space that widens toward the outer corner."
14Smudged Pencil "Undone" Liner
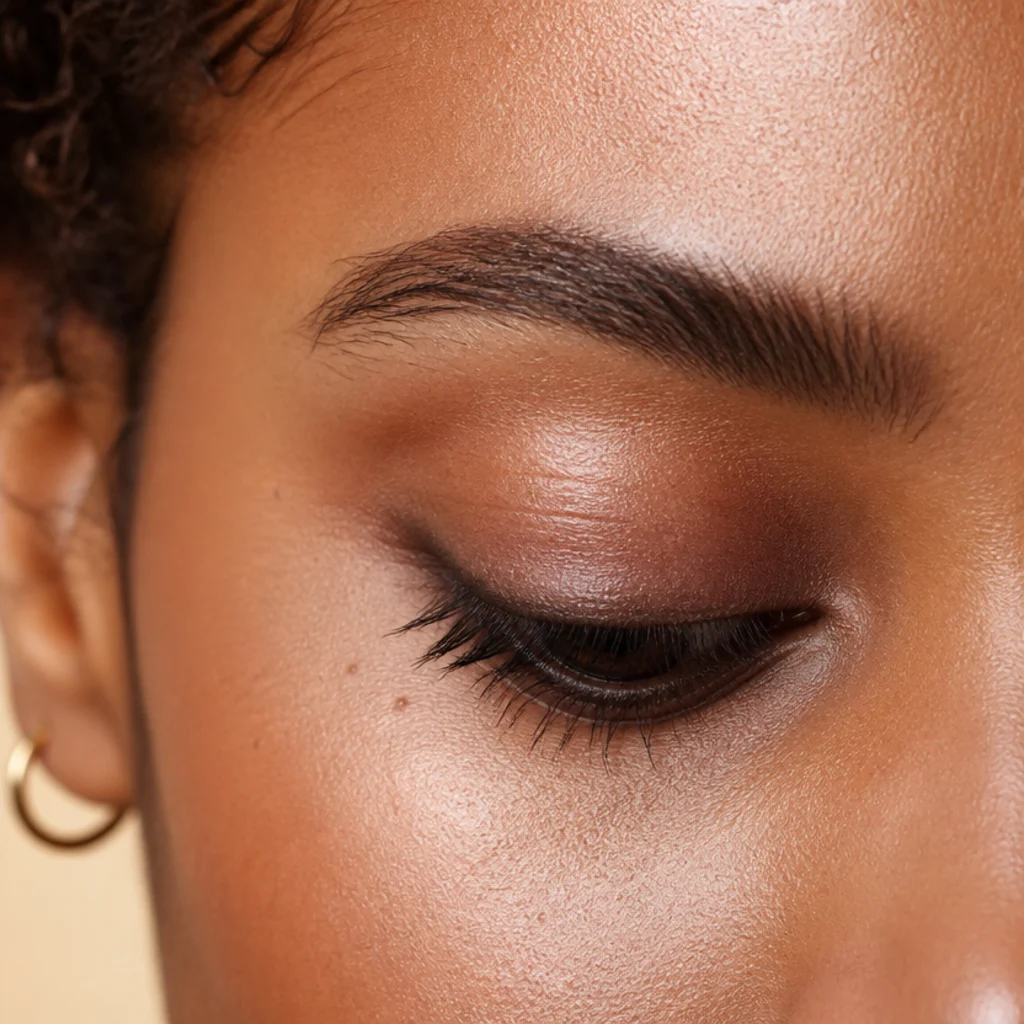
Not every liner needs to be crisp. A smudged pencil line, drawn thick, then blurred with a brush or fingertip, gives a lived-in, softly smoky finish that hides unsteady hands and flatters almost every eye shape. On downturned or deep-set eyes it reads relaxed rather than heavy, as long as you keep it thin and diffuse the edges so it never blocks the eye. It's the most beginner-friendly evening look precisely because imperfection is the point; there's no line to match side to side. Technique is all about timing: use a creamy kohl or gel pencil and smudge within about 30 seconds, before it sets, then lock it with a dusting of matching shadow so it stops migrating. Charcoal reads softer than jet black, and a warm brown suits daytime. Concentrate density at the lash line and fade upward. Medium upkeep, since smoky looks migrate, so set well and blot the under-eye. Beginner difficulty. Ask for "a soft smudged pencil, thin and diffused, set with shadow."
15Reverse Liner for Almond Eyes
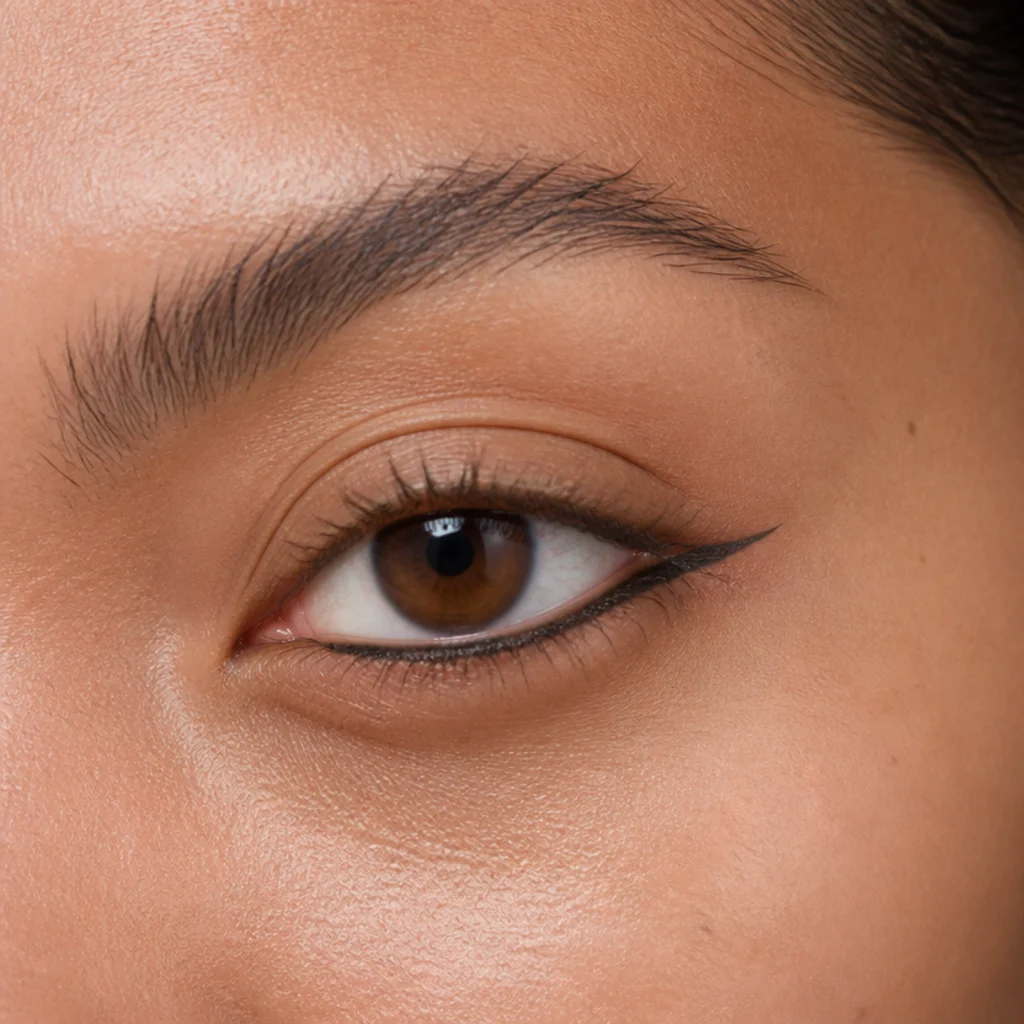
Reverse liner flips the usual placement: a clean line along the lower lash line only, with a bare or barely-defined upper lid. On balanced almond eyes it looks modern and deliberate, drawing attention downward for an open, graphic effect that pairs well with a bold lip or clean skin. Extend the lower line into a small flick at the outer corner so it lifts instead of dragging the eye down, and keep the inner third light so the eye still opens. It emphasizes the lower half, so it works best on shapes that are already lifted. Use it cautiously on downturned eyes, where it can deepen the droop. A precise pencil or a fine liquid both work; liquid reads more graphic and editorial, pencil more wearable. Set the lower line with powder, since lower lines transfer fastest of all. Medium upkeep, intermediate difficulty. Ask your makeup artist for "lower-only reverse liner with a tiny outer flick to keep it lifted."
Pro Tips from the Editor
- Map wings with your eyes open, always. Placement drawn on a closed lid can vanish or sit crooked when you blink. This matters most for hooded and monolid eyes, where the fold or flat lid hides closed-eye work.
- Match formula to your lid, not the trend. Oily or hooded lids need waterproof gel or liquid and a shadow set; dry, deep-set lids can wear a creamy pencil longer without transfer.
- Use a matte shadow as insurance. Pressing a matching powder over any pencil, waterline or lower line roughly doubles its wear and stops the raccoon smudge under the eye.
- Sharp for graphic, blunt for soft. A freshly sharpened pencil or fine felt-tip gives crisp wings; a slightly worn tip or smudger works better for undone, smoky and puppy-liner looks.
- Warm shades open, cool shades define. Bronze, taupe and plum brighten and lift small or deep-set eyes; charcoal and black add contrast and drama on lids with room to spare.
- Fix mistakes with a bud, not more product. A cotton bud barely dampened with micellar water cleans a wobble into a clean edge. Layering over an error only thickens the line.
- Warm the pencil for grip. A few seconds against the back of your hand softens a stiff gel pencil just enough to deposit color in one pass, so it drags less on delicate lids.
How to Choose / Get the Look
Start by identifying your dominant eye shape in a mirror with your eyes open and relaxed. Most eyes are a blend, hooded and downturned, say, or almond with a monolid tendency, so don't expect a clean single label. Check three things: where your crease sits or whether one shows at all, whether your outer corners lift or drop, and how much space sits between your eyes relative to one eye's width. Those three cues point you to a technique far more reliably than a single label does.
Match the goal to the method next. Lift a downturned corner with a steeper flick that starts before the droop; lengthen round eyes with an outer wrap; keep deep-set eyes open with a thin, warm, soft line; make hooded liner visible by mapping it with your eyes open; bring wide-set eyes together with inner-corner darkness, and push close-set eyes apart with outer-third weight. Use the table below as a quick decision key.
| Eye shape / goal | Best technique | Reach for | Skip |
|---|---|---|---|
| Hooded | Floating wing (#2) | Waterproof gel | Tight lash-line wings |
| Almond | Classic cat-eye (#3) | Black liquid or brown gel | Nothing—most looks work |
| Round | Elongating wrap (#4) | Smoky pencil | Thick inner-corner liner |
| Monolid | Gradient smudge (#5) | Buildable cream pencil | Thin flat single lines |
| Downturned | Lift flick (#6) | Firm felt-tip | Heavy lower liner |
| Deep-set | Soft smoke (#7) | Warm bronze or taupe | Dense black wings |
| Wide-set | Inner-corner emphasis (#9) | Soft pencil | Long outer flicks |
| Close-set | Outer-third liner (#10) | Felt-tip or gel | Inner-corner darkness |
If you're new, start with tightlining or a smudged pencil, since both forgive shaky hands, then move up to gel and eventually liquid wings. Choose brown for softer daytime definition and black for evening contrast, and set any lower-lash or lid liner with matching powder shadow to fight transfer. Your brows matter too: balanced eyebrow shapes frame the eye and make liner look more intentional. And remember, these categories are guidelines. If a technique meant for another shape happens to look right on you, it is right.
Frequently Asked Questions
How do I know my eye shape?
Look straight into a mirror with relaxed eyes. Note whether a crease is visible (hooded and monolid eyes hide or lack one), whether your outer corners lift or drop for upturned versus downturned, and the space between your eyes compared to one eye's width for wide-set versus close-set. Check whether your eyes sit forward or recessed under the brow bone for deep-set. Most people combine two or three of these, so treat any label as a starting point, not a strict rule.
What is the easiest eyeliner for beginners?
Tightlining the upper waterline and a smudged pencil are the most forgiving, since there's no crisp line or symmetrical wing to draw perfectly. Both add real definition while hiding an unsteady hand. Work up to gel liner next, which stays workable long enough to correct, and only then to liquid wings, which set fast and demand the steadiest hand.
Why does my winged liner disappear on hooded eyes?
The hood folds over the lash line when your eyes open, covering a standard wing. Map the liner with your eyes open, find the point where the fold sits, and draw a floating tail just above that hidden line so the whole shape stays visible when you blink. Set it with matte shadow so lid oil doesn't transfer the flick upward as the day goes on.
Should eyeliner match my eye color or lash style?
Contrast usually flatters more than matching. Warm coppers and bronzes make green and hazel eyes pop, cobalt and teal brighten brown eyes, and plum suits most people. Coordinate with lash styles for eye shapes too: outer-corner lashes pair naturally with an uplifted wing, while an even, full lash suits inner-corner or wrap placements.
How do I stop lower liner from smudging?
Set it. After applying pencil or gel to the lower lash line, press a matching powder shadow over it with a small brush, pick a waterproof formula, and keep the line thin, since thick lower liner transfers faster and reads heavy. Blotting excess moisturizer or oil off the under-eye beforehand stops the migration before it starts.
What eyeliner shade should I choose for my undertone?
Warm undertones and lighter lashes look softest in espresso, bronze and warm plum, which define without harshness. Cool and neutral undertones can carry charcoal and true black, plus jewel tones like cobalt and emerald. For any eye that reads small or deep-set, a warm shade opens it up more than dense black does; save the blackest black for lids that have room to spare.
Can I use one eyeliner for every look in this guide?
Largely, yes. A good waterproof gel pencil handles tightlining, waterlines, smudged looks, wraps and soft smokes, which covers most ideas here. Add one fine felt-tip or liquid pen for crisp wings, flicks and the double wing, where a pencil is too soft to hold a sharp edge. Those two products cover all fifteen looks.
Does eyeliner placement really change my eye shape?
It changes how your eyes read, not their anatomy. Concentrating darkness pulls the gaze toward it, so inner-corner weight brings eyes together, outer-third weight pushes them apart, an upward tail lifts, and a downward extension softens. Placement is the lever. The shape underneath stays the same, which is exactly why the same pencil can flatter such different eyes.
Is liquid or pencil liner better for me?
It depends on the finish and your lid. Pencil and gel are more forgiving, blend easily and suit smoky, tightlined and soft looks, which makes them a good fit for beginners and drier or deep-set lids. Liquid delivers the crispest graphic edge for wings and double wings but sets fast and shows every wobble, so it rewards practice and a steady hand.