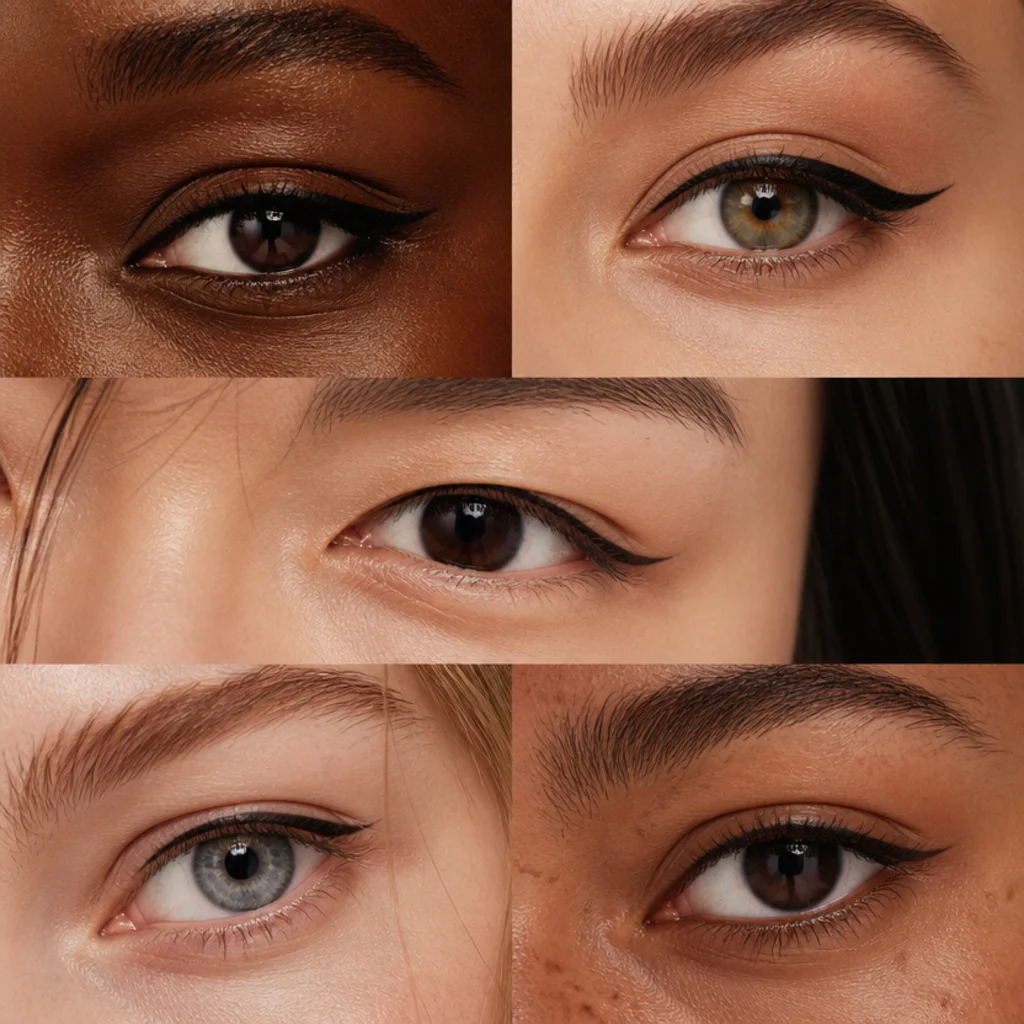
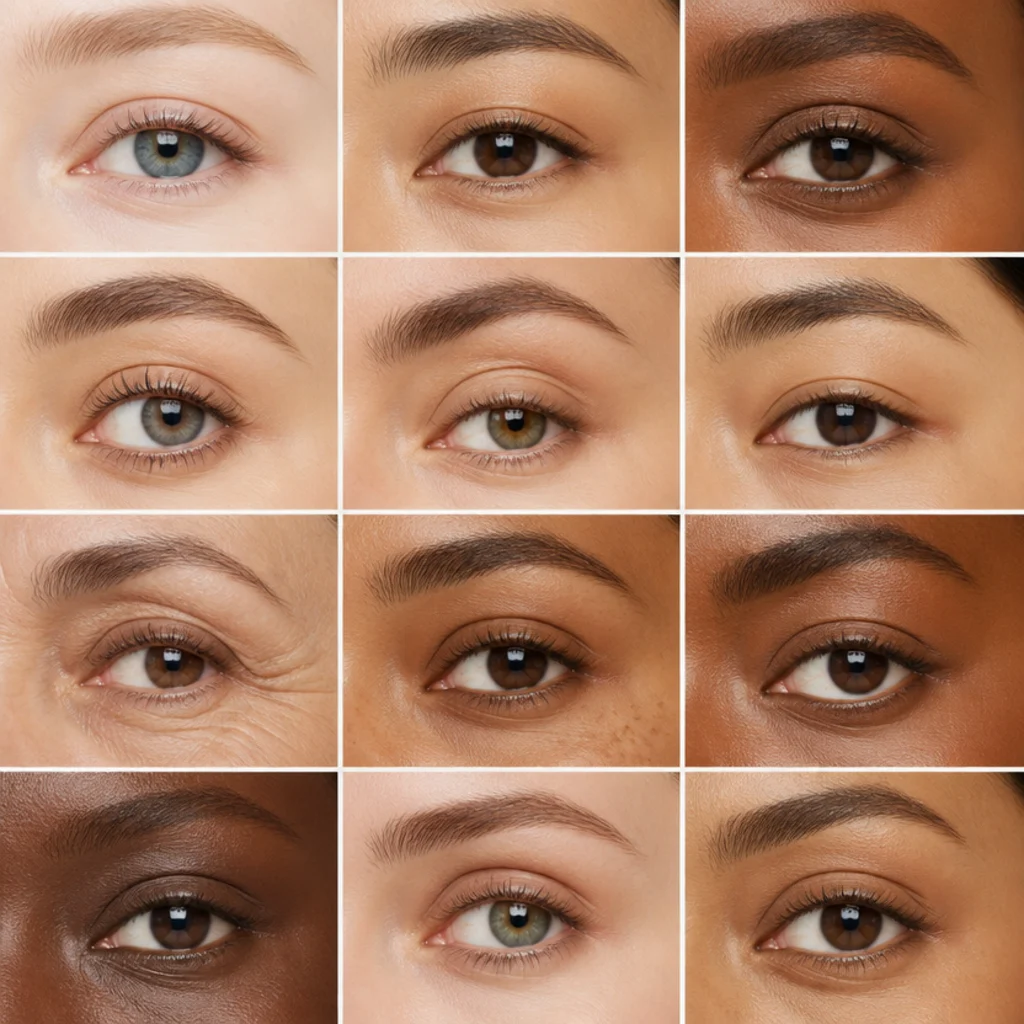
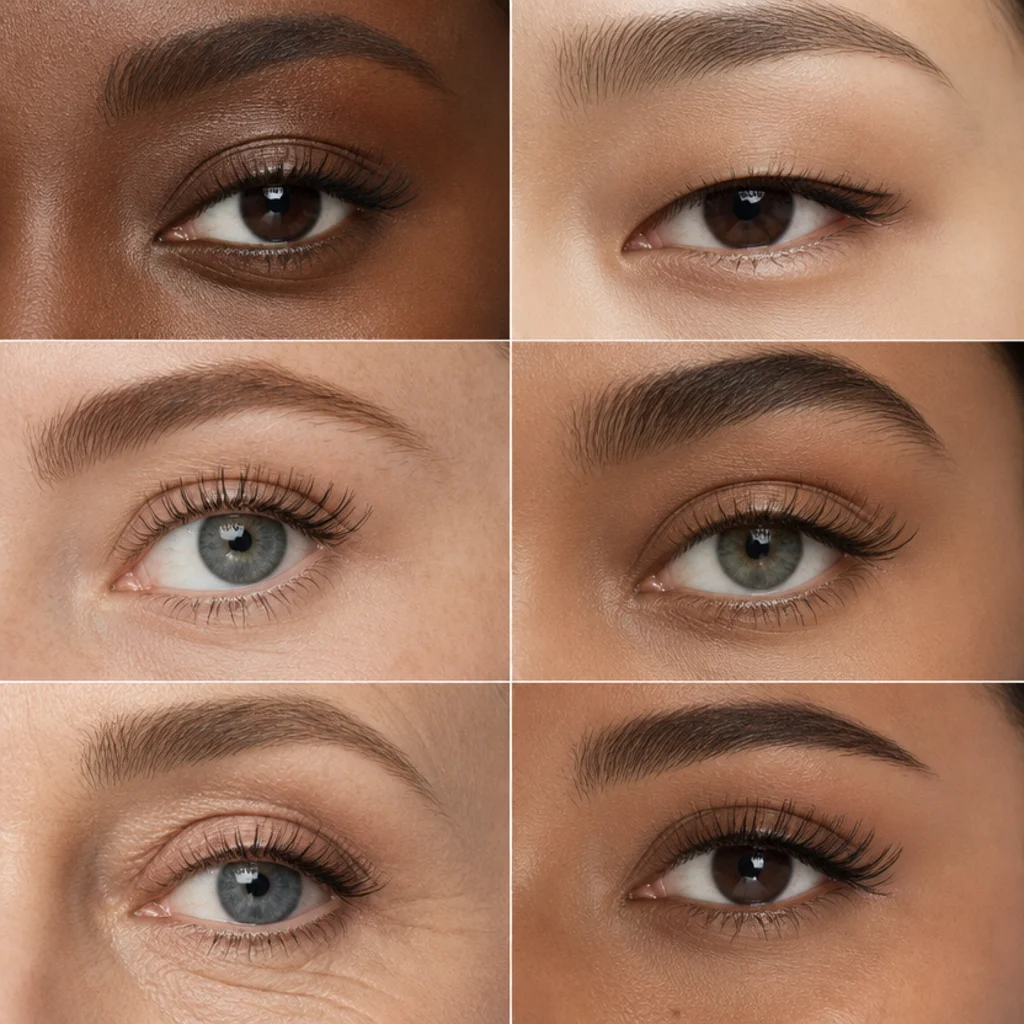
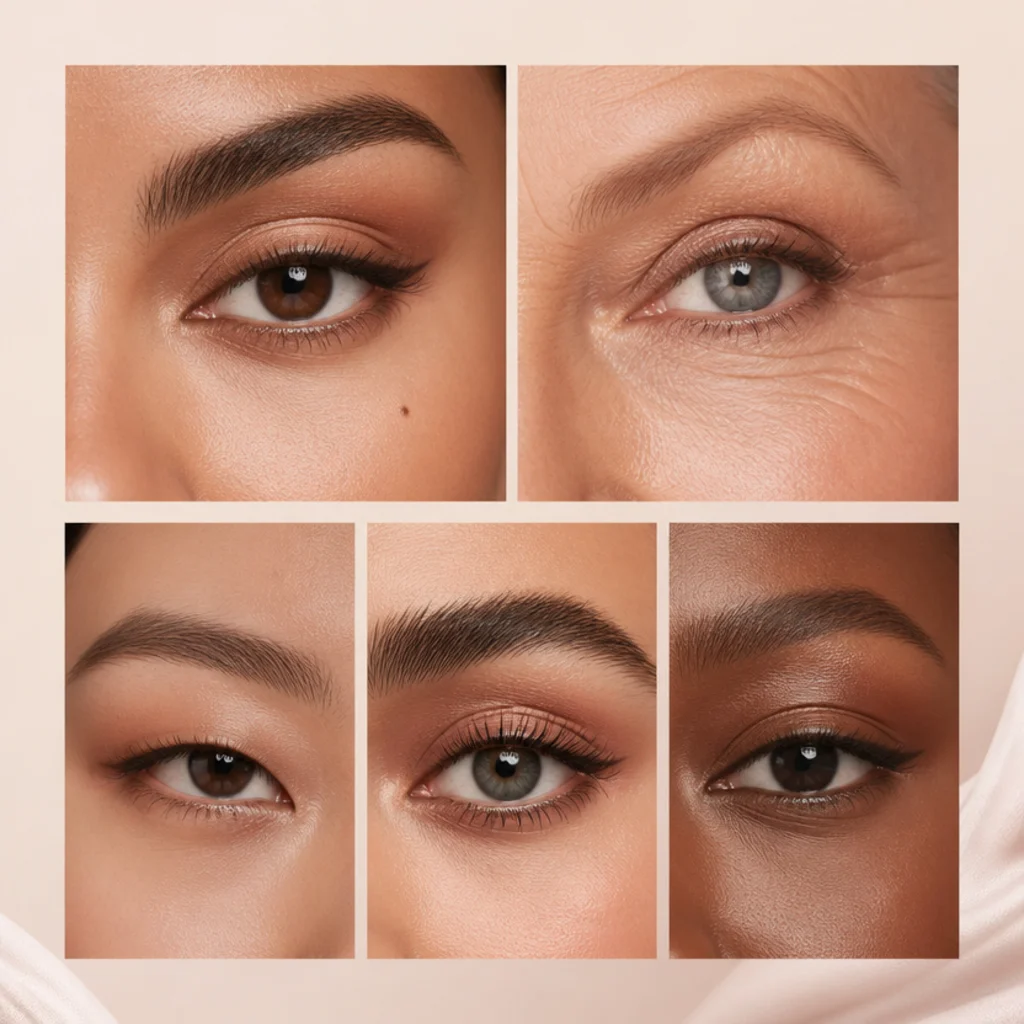
20 Eyeliner Before and After by Eye Shape
Liner is the fastest, cheapest way to change how your eyes read, but the wings that actually land start with your natural shape and how much lid shows when your eyes are open, not with whatever trended this week. These 20 numbered looks move from a near-invisible tightline to a full editorial wing, each an illustrative example rather than a real client photo, so you leave with transferable technique, exact placement, and the language to brief a pro, instead of a screenshot that fights your anatomy.
 Edited by Lena Rose · Published July 11, 2026 · 43 min read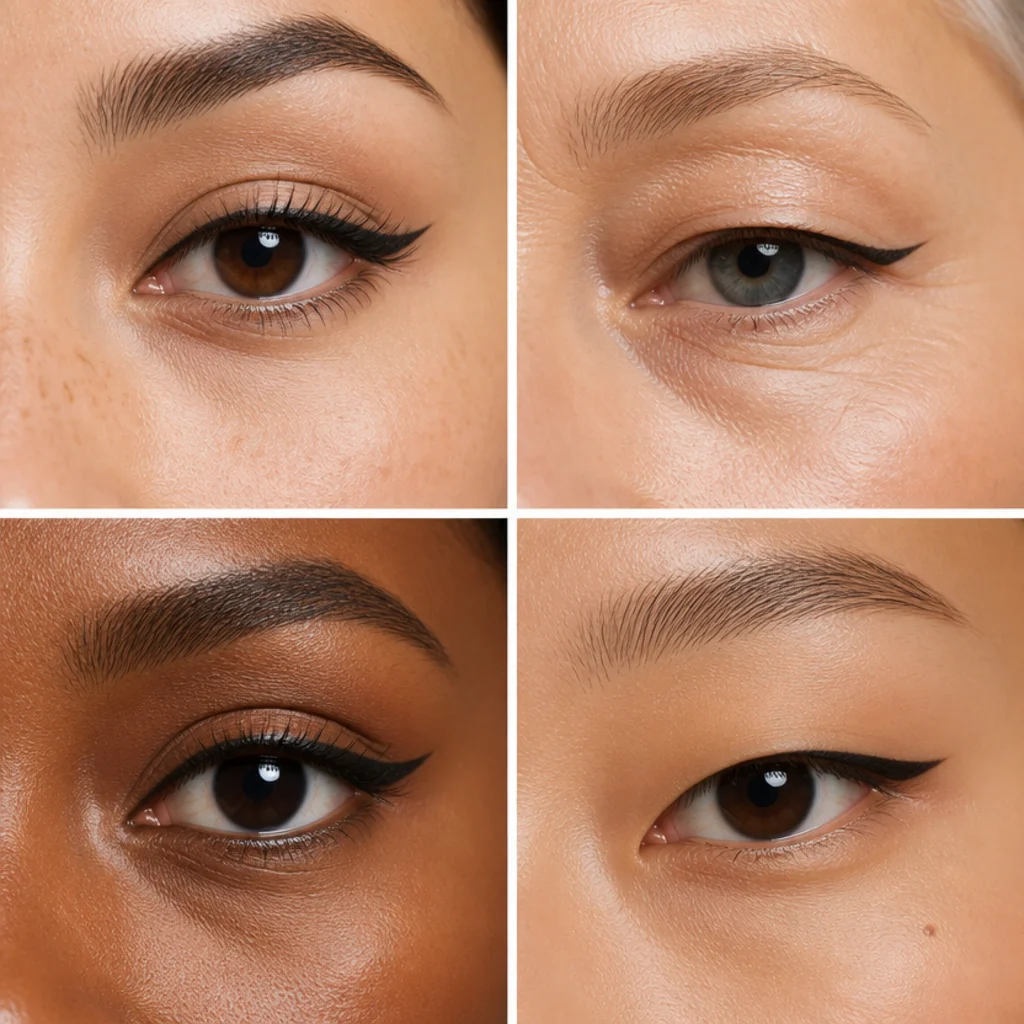
Quick Answer
- Best for: Anyone who wants to place eyeliner by their own eye shape, spacing, and lid coverage rather than copying a wing that disappears, drags the eye down, or crowds an already small lid. Especially useful if your liner looks right closed but vanishes the moment you open your eyes.
- Who might skip it: People committed to a bare, no-liner look, and anyone with active eye irritation, a stye, or a recent lash lift, extension set, or brow procedure who should let the area settle first and avoid the waterline until healed.
- Maintenance: Low for tightline and soft smoke that need only a mid-day press; moderate to high for graphic wings, double lines, cut creases, and colored liner that want a clean daily redraw, a primed lid, and a setting shadow to survive oil and blink-transfer.
- Difficulty: Beginner to advanced. Looks are sequenced so forgiving tightline and lash-line versions come first, and floating wings, cut creases, and colored graphics that demand mapping and symmetry come later.
- Cost: Low to moderate. One reliable gel pencil runs roughly the price of a lunch out; adding a liquid pen, an angled brush, a setting shadow, and a nude waterline pencil pushes a full kit into the mid two figures. Professional application varies widely by market and artist seniority.
- Wear time / longevity: A pencil tightline holds a few hours before it needs a press; a long-wear gel or liquid mapped above the crease and locked with a matching shadow holds eight-plus hours, even on oily or hooded lids. Waterproof formulas extend that but demand an oil-based remover.
- Standout variation: The floating outer wing on hooded eyes (look 6), which reads bold and lifted without vanishing into the fold when the eye opens, the single most-requested fix in this whole guide.
- How to ask your makeup artist: Describe the effect, not a product. Say "lift my outer corner," "elongate a round eye," "widen close-set spacing," or "keep the wing visible when my eyes are open," name your everyday finish (matte, satin, glossy), and bring two reference photos taken with your eyes open.
In This Guide
- Almond Eyes, Soft Tightline Base
- Round Eyes, Rounded-Out Definition
- Hooded Eyes, Above-the-Crease Line
- Monolid Eyes, Gradient Smoke
- Downturned Eyes, Lifted Tail
- Hooded Eyes, Floating Outer Wing
- Upturned Eyes, Balanced Lower Line
- Deep-Set Eyes, Bright Waterline Lift
- Close-Set Eyes, Outer-Third Focus
- Wide-Set Eyes, Inner-Corner Anchor
- Almond Eyes, Classic Feline Wing
- Round Eyes, Elongating Extended Wing
- Monolid Eyes, Bold Visible Flick
- Hooded Eyes, Smoked Lower Half
- Downturned Eyes, Reverse Lower Wing
- Almond Eyes, Double Graphic Line
- Round Eyes, Cut-Crease Frame
- Upturned Eyes, Siren Extended Tail
- Monolid Eyes, Colored Graphic Liner
- Hooded Eyes, Full Editorial Wing
Think of this as a working eye shapes chart you apply at the mirror, not a gallery to admire. Instead of one "best" wing, each look pairs a specific eye shape with liner placement engineered to flatter it, then builds from the softest wearable version to a bolder editorial finish. Eye shapes explained this way turn practical: you learn where your usable lid space sits, how much line survives when your eyes open, and exactly where a tail should point relative to your brow tail. We cover almond, round, hooded, monolid, downturned, upturned, deep-set, close-set, and wide-set eyes, with lash mapping eye shapes and makeup by eye shape woven throughout so liner and lashes push the eye the same direction rather than compete. Two levers matter most and recur in every look below: placement height, meaning how far above the lash root your line sits, and weight distribution, meaning whether color pools at the inner corner, the center, or the outer third. Master those two and you can rebuild any look here from memory, adjust it for a hybrid shape, or scale it up for photos. Treat this eye shapes chart as a starting point, not a verdict, because almost everyone reads as a blend of two or three categories and lids shift with age. Borrow freely, test on your own open lid in daylight, and keep only what looks lifted and balanced on you.
01Almond Eyes, Soft Tightline Base
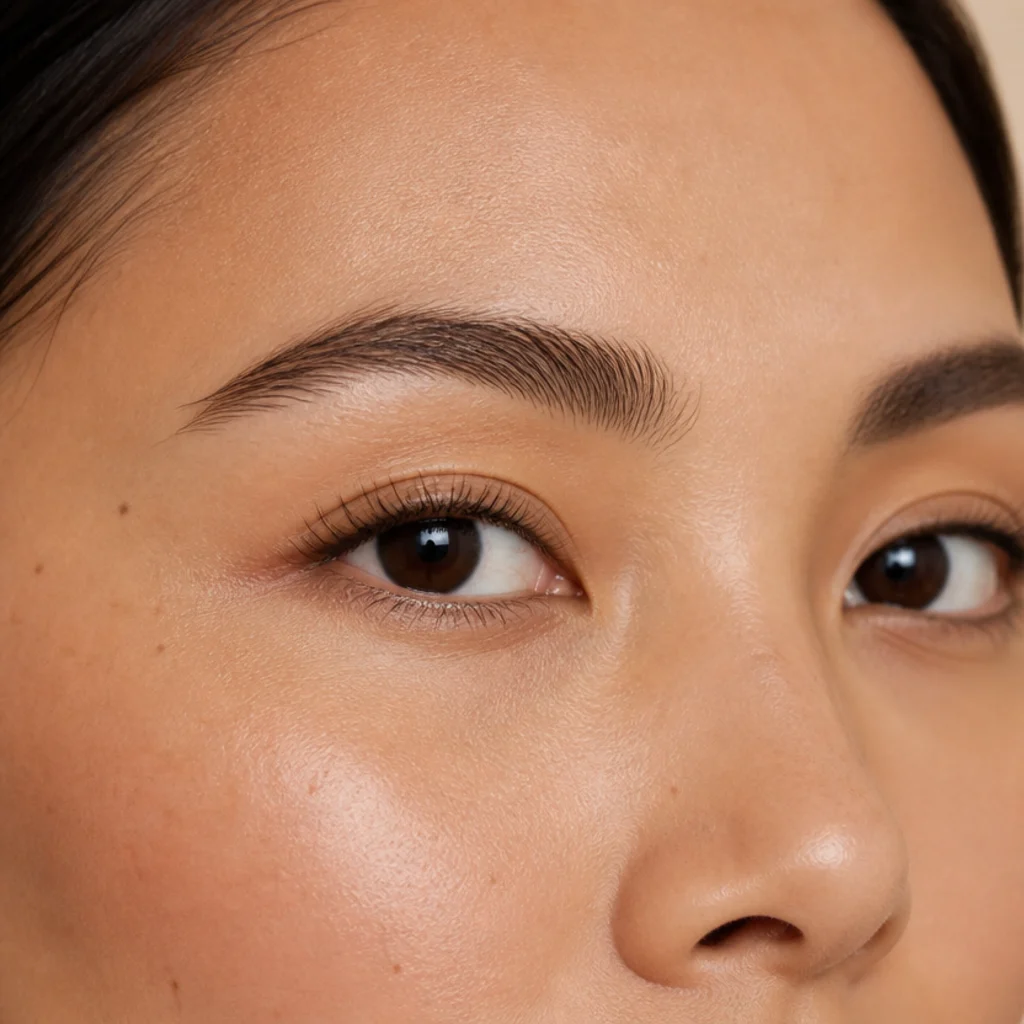
Almond eyes carry a visible, evenly tapered lid with a defined crease, which makes them the most forgiving starting point on any eye shapes chart. The softest "before" here is a tightline: a soft brown or deep taupe gel pencil pressed into the upper waterline and the roots between lashes so it fills the gaps without laying a visible band on the mobile lid. Open-eyed, it reads as thicker, darker lashes rather than makeup, and that's the entire point of a base every other almond look builds on. Reach for a creamy gel-pencil formula that grips the damp mucous membrane; a hard wax pencil skips and a runny liquid floods the rim. Warm brown and cool taupe both flatter, but choose brown for fair-to-medium warm skin and a soft black-brown for deep or cool complexions, since true black can throw a harsh edge at close range. Maintenance stays low here: one mid-day press with a cotton bud keeps it honest for a full workday. Pair it with a single coat of lengthening mascara and skip shadow entirely for an off-duty face. Pro tip: warm the pencil tip against your fingertip for two seconds so it deposits without dragging the delicate rim. It also flatters hooded and monolid eyes, since nothing sits on the mobile lid to get swallowed. Ask your makeup artist for "invisible definition at the lash line, no visible wing."
02Round Eyes, Rounded-Out Definition
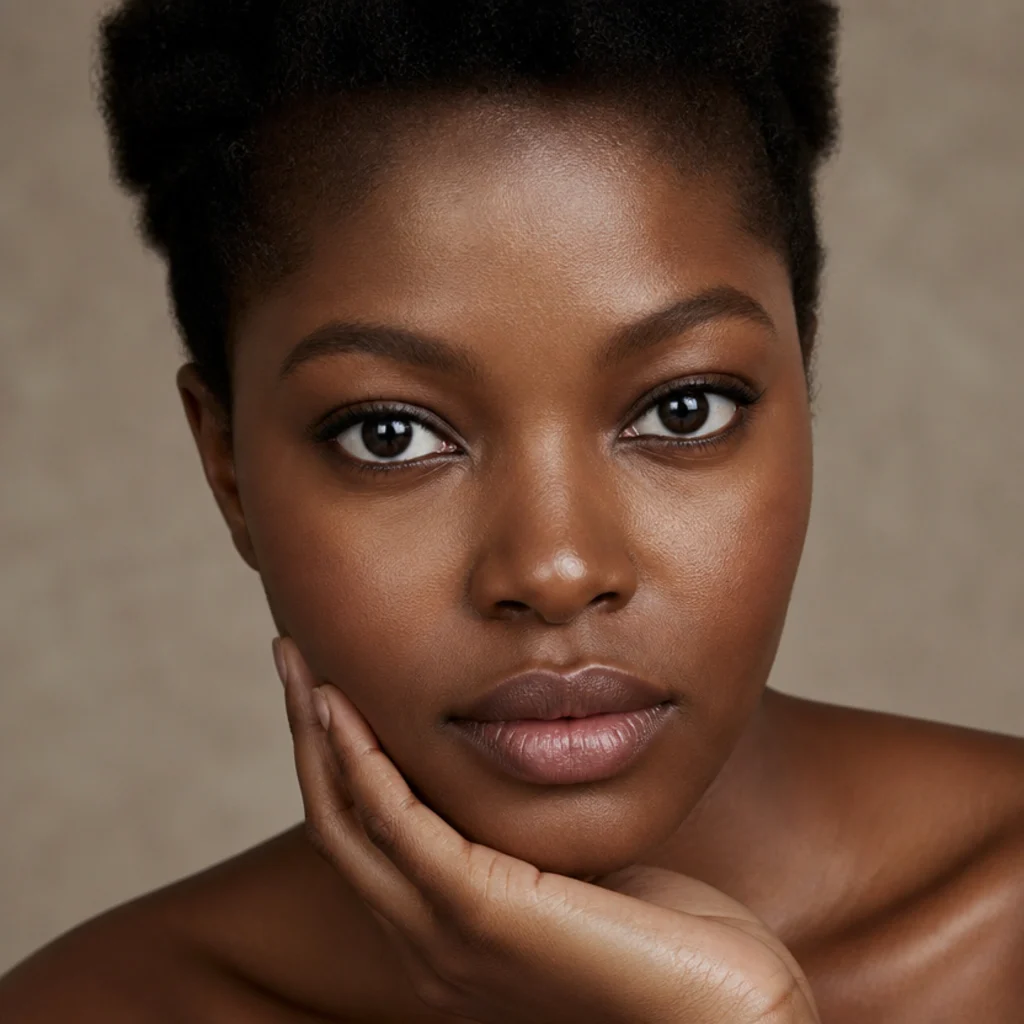
Round eyes show generous lid and a fuller vertical curve, so liner that traces the whole lash line leans into a bright, awake, doe-eyed effect instead of fighting it. Keep the line even in thickness the entire way around rather than flicking it out, and the roundness stays soft and open. This slightly bolder step adds contrast without lengthening, exactly the goal when you want youthful width, not an elongated cat-eye. A twist-up pencil or a soft-tip pen both work; true black reads richest on deep and olive skin, while espresso or a cocoa brown keeps fair, cool complexions from looking heavy or hard. Connect the upper and lower lines fully at the outer corner to reinforce the circular frame, or leave a hair of gap for a lighter, more open finish. This one's low difficulty, a confident everyday step up from a tightline. Balance it with rounded, wispy lashes rather than spiky outer clusters, which would pull the shape long against your intent. Pro tip: line the lower lash line slightly under the lashes rather than on the waterline so the eye stays open, not shrunken. If you later want the opposite effect, an extended tail (look 12) narrows the same shape. Ask your makeup artist for "even liner all the way around, no elongation."
03Hooded Eyes, Above-the-Crease Line
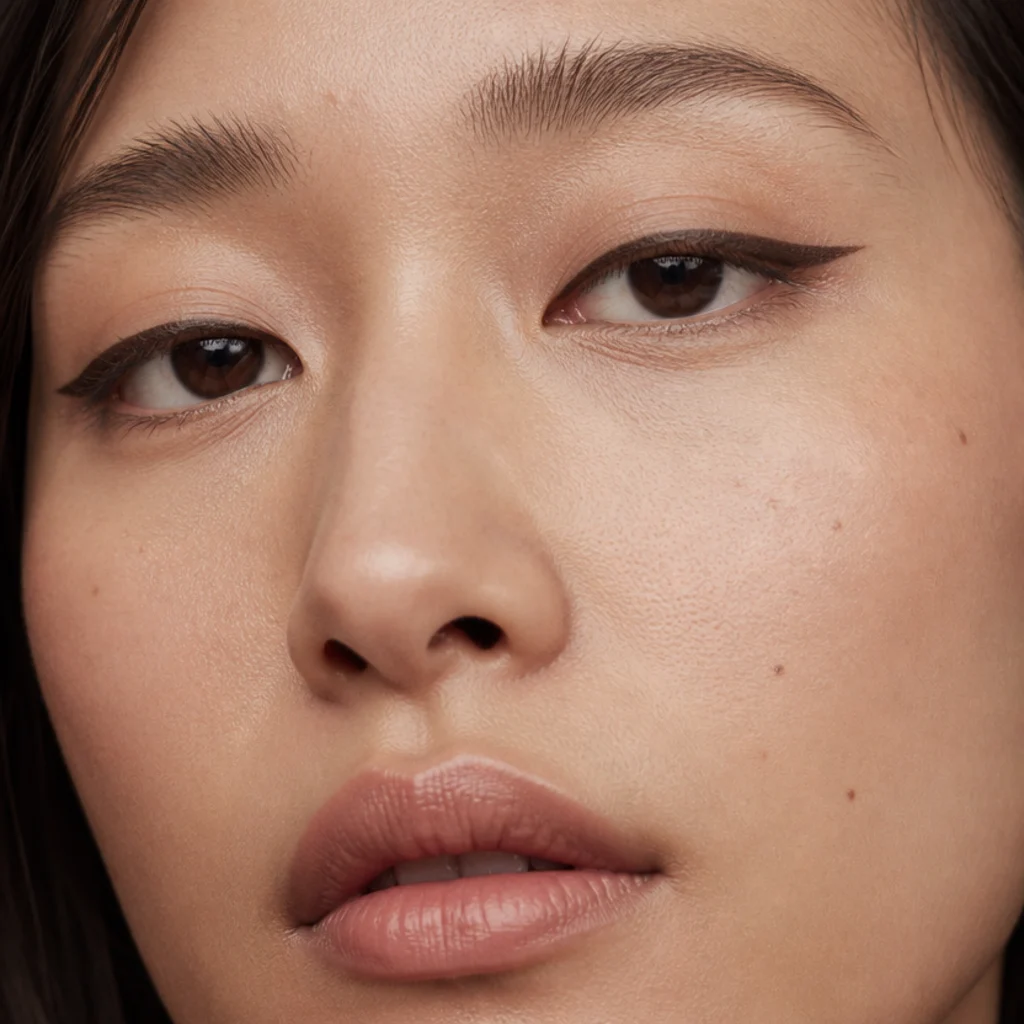
Hooded eyes carry a fold that covers part of the mobile lid, so liner drawn only at the lash root often disappears the moment the eye opens. The correction that changes everything is placing your line slightly higher than feels natural, tracing where the hood actually falls rather than the lash line, so a sliver of definition stays visible with the eye open and relaxed. Draw and check with the eye open, never with the lid stretched flat under a fingertip — a stretched lid lies about where color will land once you let go. This is the single most useful move in the almond vs hooded eyes comparison, since hooded lids need placement mapped for coverage, not for anatomy alone. It suits all ages and skin tones, and it's the foundation the floating wing (look 6) and full editorial wing (look 20) both extend from. Maintenance sits at moderate: oil in the fold lifts and transfers color, so set the line with a matching pressed matte shadow and choose a long-wear gel or liquid over a creamy pencil that will migrate by midday. Deep taupe or soft black-brown looks less severe than flat black across the fold. Pro tip: with your eyes open, dot the highest point of the fold, then connect to that dot so the finished line never drops below your coverage line. Ask your makeup artist to "raise my liner above the fold so it shows when my eyes are open."
04Monolid Eyes, Gradient Smoke
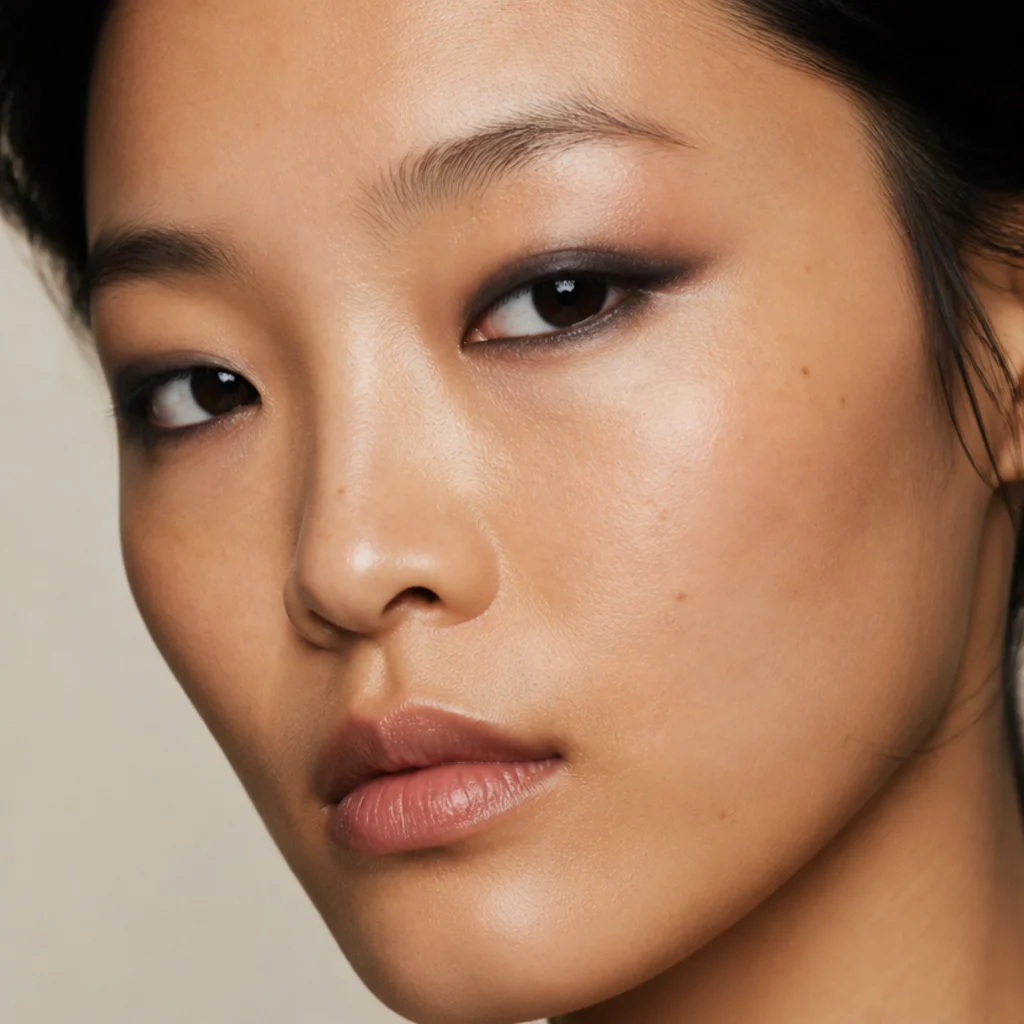
Monolid eyes have little to no visible crease, so a thin lash-line stroke can read as almost nothing once the eye is open and the flat lid absorbs it. A smoked gradient works with that flat plane instead of against it: lay a dark liner right at the lash line, then blend it upward into a soft, diffused haze so there's real color on show whether the lid is down or open. That gradient manufactures the depth a crease would otherwise cast for free. Work with a pencil first and diffuse with a small fluffy pencil brush before it sets, because cream-to-powder formulas turn immovable within seconds. Keep the smoke wider at the center for a rounder, opened effect, or heavier on the outer third to pull length. Espresso, charcoal, and deep plum read especially rich across all skin tones and stay softer than flat black; a hint of bronze through the smoke warms deeper complexions. This one runs moderate on difficulty, mostly because blending upward evenly takes a light, patient hand and a clean brush between passes. Set the whole gradient with a matching matte shadow so it doesn't crease down onto the lash line by afternoon. For lash mapping eye shapes, cluster longer lashes at the outer corner so the smoke and the lashes extend the eye together. Pro tip: build the haze in two thin passes rather than one heavy one, so the top edge fades rather than stops. Ask your makeup artist for "a soft smoked gradient that reads when my eyes are open."
Save this to Pinterest and tag it "liner by eye shape" for quick reference.
05Downturned Eyes, Lifted Tail
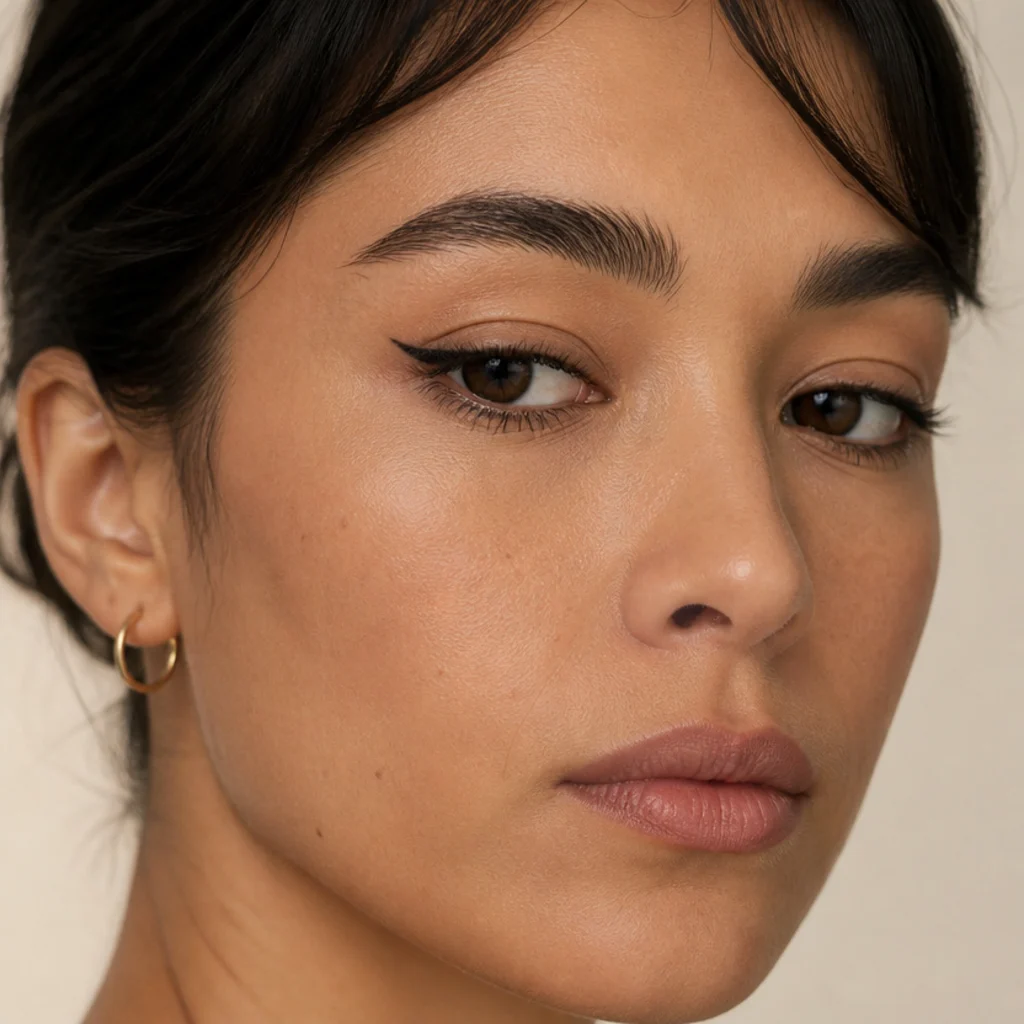
Downturned eyes drop slightly at the outer corner, so the whole job is to counter that angle with an upward lift rather than trace the natural droop. Instead of following the lash line down and out, aim your tail toward the tail of your brow, drawing a short lifted flick that visually raises the corner and resets the expression from soft or tired to alert. Even a subtle quarter-inch version does real work. Keep the lower line minimal, or skip it entirely across the outer corner, so nothing pulls the eye back down and undoes the lift. Use your lower lash line's natural angle as a guide for the wrong direction, then deliberately lift above it toward the brow. This suits downturned and downturned-hooded eyes and flatters mature lids especially, since it lifts without added weight. A firm-tip pencil or a felt pen gives more control on the upward flick than a runny liquid that can slip. This one sits low to moderate on difficulty. Pair it with outer-corner lash length to reinforce the lift, and keep shadow warm and matte so nothing weighs the corner down. Pro tip: rest your elbow on a firm surface and draw the flick in one confident stroke on the upstroke, since hesitation marks read as droop. Ask your makeup artist to "lift my outer corner and angle the tail toward my brow tail, not straight out," and bring a photo.
06Hooded Eyes, Floating Outer Wing
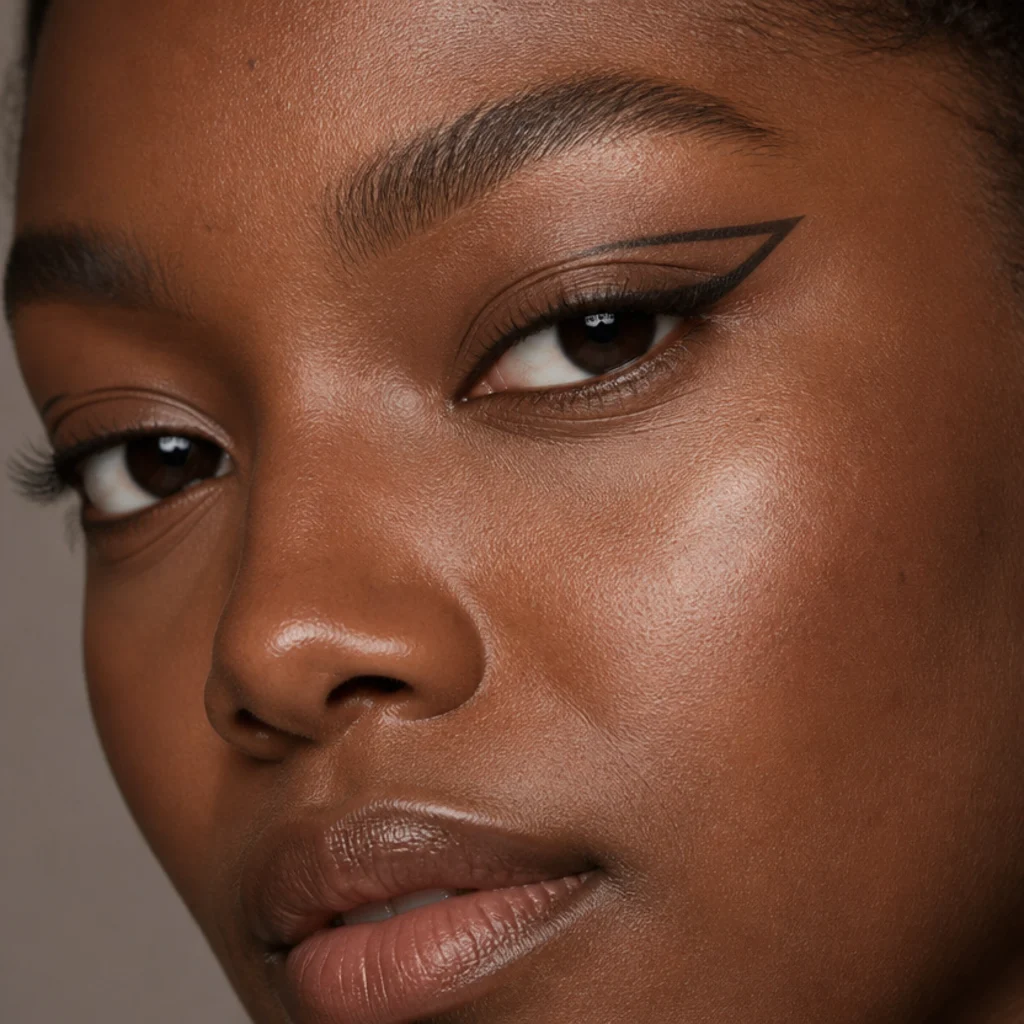
This is the standout look for hooded eyes and the direct answer to "why does my wing disappear." Rather than starting the wing at the lash line where the hood swallows it, draw the tail higher and let it float above the fold, connecting down to a thin lash line only across the outer third. With the eye open the wing stays fully visible and lifts the corner instead of hiding in a crease. Map the angle with your eyes open, mark the intended tip with a tiny dot first, then build the shape back toward the lid so you're drawing to a target rather than guessing. This bolder step reads graphic yet wearable, and it photographs far better than a hidden lash-line wing because the tail catches light on the exposed lid. It suits hooded eyes of every skin tone and age, and it scales up cleanly into the full editorial wing (look 20). Maintenance runs moderate: a long-wear liquid or gel resists transferring into the fold far better than pencil, and a dusting of matching shadow over the base keeps oil from breaking the line by midday. Keep the tail crisp and the lash-line connection whisper-thin so the float reads deliberate. Pro tip: choose a fine-nib liquid pen, not a brush pen, for the outer point, so the tip stays sharp on the mobile skin above the fold. Ask your makeup artist to "float the wing above my hood so it stays visible open."
07Upturned Eyes, Balanced Lower Line
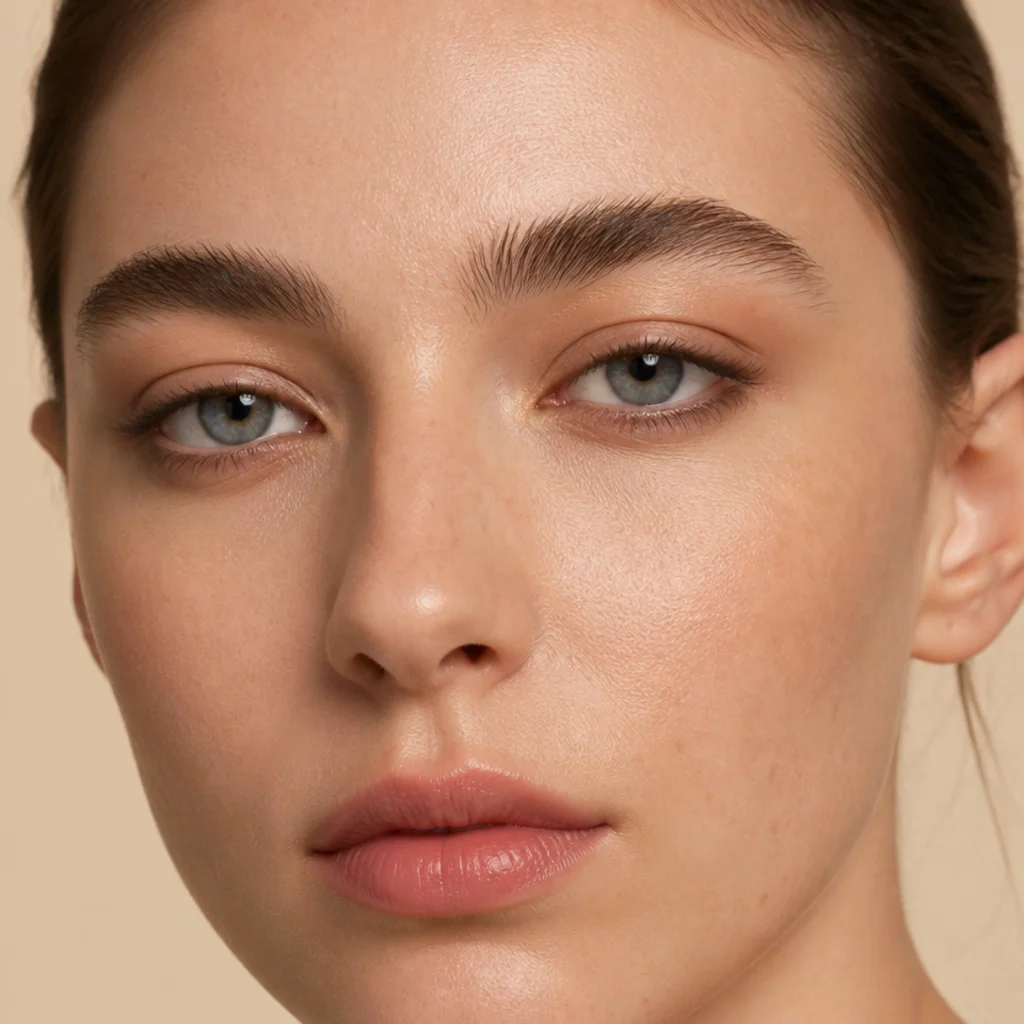
Upturned eyes already lift at the outer corner, so they rarely need an aggressive wing to look expressive. The balancing move is adding soft definition along the lower lash line, which grounds the shape and keeps it from tipping into overly angular or feline territory when that's not the goal. Smudge a little soft brown or cool grey into the outer half of the lower line, then keep the upper line clean and tight to the lashes so the two stay in proportion. The result is even and harmonious rather than exaggeratedly cat-eyed, and it rounds and softens the eye. Use a matte pencil rather than a liquid on the lower line so the edge stays diffused and forgiving, and blend immediately with a smudger before it sets. This suits upturned and almond-upturned eyes across all skin tones; deepen to charcoal or espresso on deeper complexions for more presence without harshness. It's low difficulty, a quick softening trick for a daytime or workplace face. Keep lashes evenly balanced rather than outer-heavy so you don't re-lift the corner you just grounded. Pro tip: stop the lower smudge two-thirds of the way in, never carrying it to the inner corner, so the eye stays open rather than closed-in. If you'd rather celebrate the lift, lean into it fully with the siren tail (look 18). Ask your makeup artist for "lower-lash softening to balance my natural lift, no strong wing."
08Deep-Set Eyes, Bright Waterline Lift
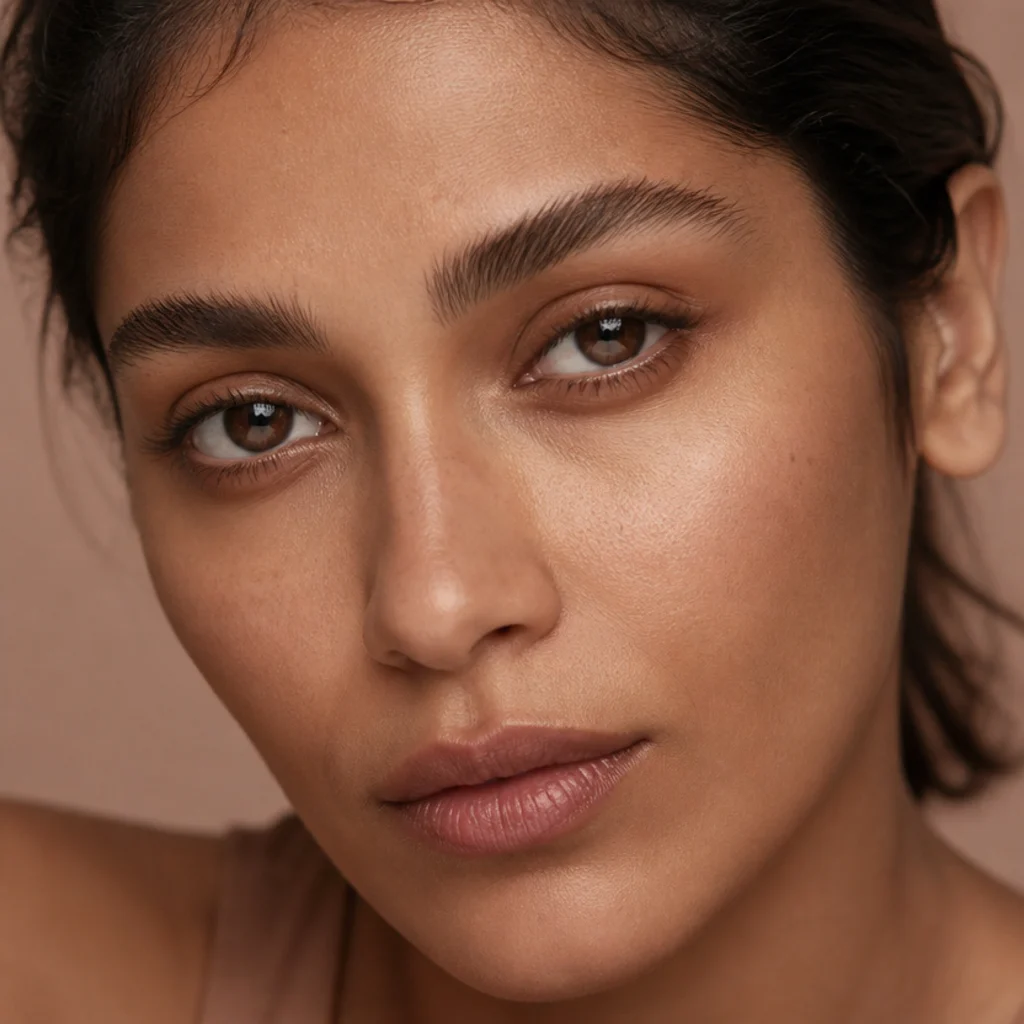
Deep-set eyes sit further back under a prominent brow bone, so heavy dark liner only pushes them deeper into shadow. The brightening approach does the reverse: line the upper lashes with a medium tone and lift the lower waterline with a soft nude or warm beige to bring the eyes forward and open the recessed space. Skip a dark lower waterline entirely, since it visually shrinks an already set-back eye. Keep the upper line moderate rather than thick, so the lid doesn't look crowded under the bone, and keep any shadow light and satin rather than deep and matte, which would deepen the socket further. Choose a waterline nude one shade warmer than your natural inner rim, so it reads awake instead of chalky: peach and soft beige for fair skin, warm caramel and bronze for deep skin, and avoid stark white, which looks surgical. This is an easy, low-difficulty daily brightener you can do in under a minute. For lash mapping eye shapes, evenly balanced lengths keep deep-set eyes from looking hollow at the outer corner. Pair it with a touch of light shimmer on the center lid to pull the eye forward. Pro tip: reapply the waterline nude once after an hour, since the damp rim wears it faster than any other placement. Ask your makeup artist to "brighten my waterline and keep the upper line light so my eyes come forward."
09Close-Set Eyes, Outer-Third Focus
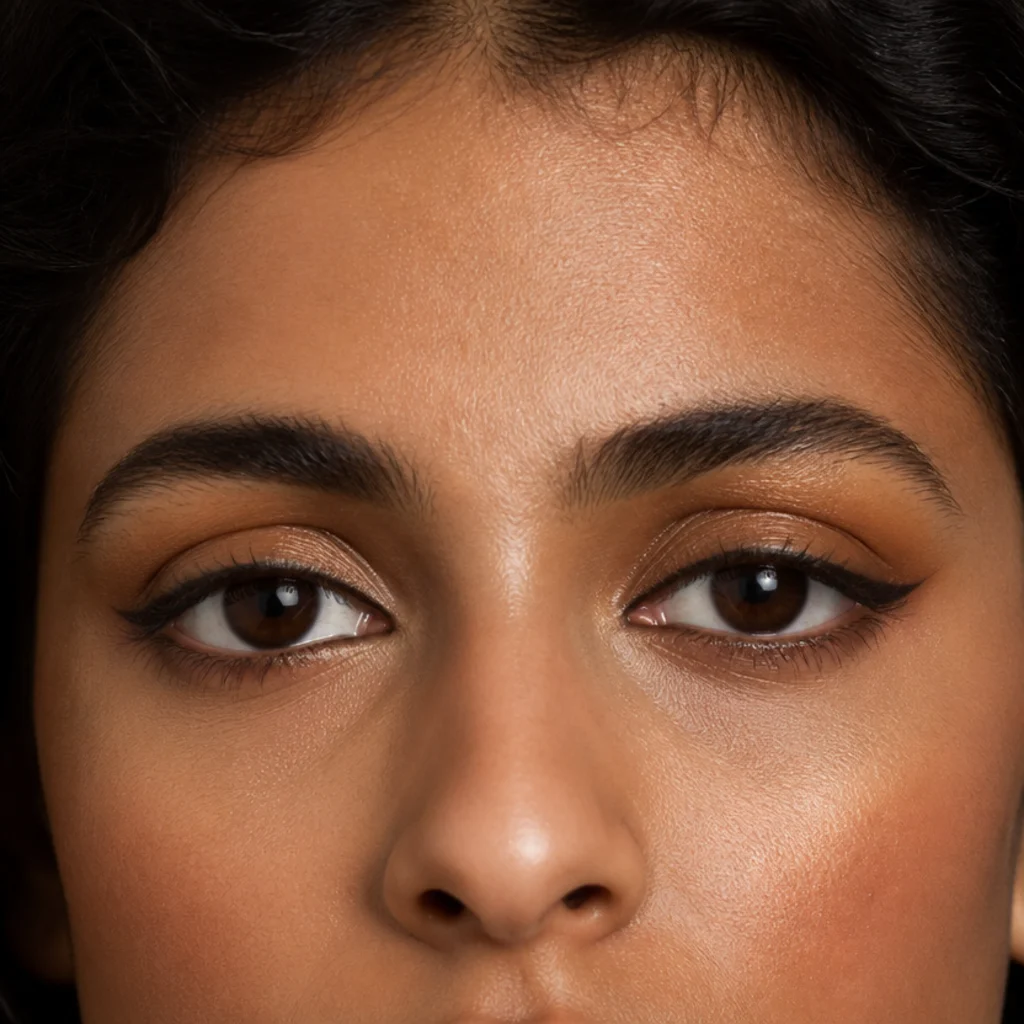
Close-set eyes sit nearer together than one eye-width apart, so the strategy is to pull all visual weight outward and leave the inner corner quiet. Keep the inner third clean, start building color from the center of the lid, then concentrate liner on the outer third with a wing that extends slightly past the corner. That deliberate imbalance manufactures the illusion of wider spacing. Avoid dark inner corners and inner tightlining, which drag the eyes toward the nose and read as even closer. This suits close-set eyes of any shape and skin tone and is one of the clearest examples of makeup by eye shape doing real spatial work. Expect moderate difficulty, because the gradient from clean inner to defined outer needs a soft blend so there's no hard start line mid-lid. A smudgeable pencil you can blend outward is more forgiving here than a hard liquid edge. Pair it with a dab of light shimmer at the inner corner to push the eyes further apart, and place any lash clusters at the outer corner to echo the outward pull. Pro tip: build the wing so its heaviest point sits at the very outer corner and tapers inward, the reverse of how most people instinctively load a brush. Ask your makeup artist to "shift all the weight outward and leave my inner corners light."
10Wide-Set Eyes, Inner-Corner Anchor
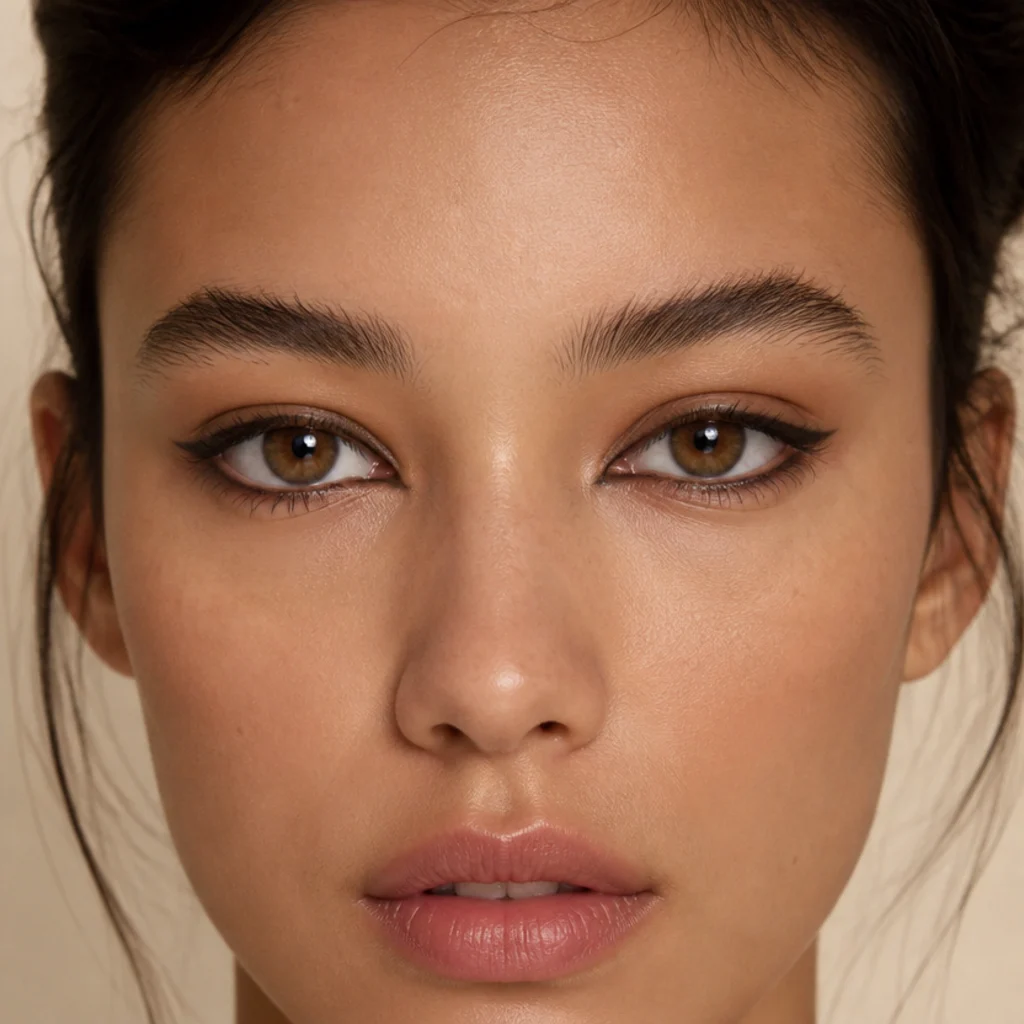
Wide-set eyes sit more than one eye-width apart, so this is the exact mirror image of the close-set fix. Here you extend liner inward, carrying definition all the way into the inner corners to visually pull the eyes closer together and center the face. Keep the line even from inner to outer rather than flicking it dramatically out, because a long outer wing only widens the gap you're trying to close. A soft inner-corner smudge on the lower line reinforces the effect, and skipping inner-corner highlight keeps the space from reading even broader. Deepen the inner corners with a matte espresso or charcoal rather than a shimmer, since shimmer bounces light outward. This suits wide-set eyes on all skin tones and balances broader or fuller central features. Difficulty runs low to moderate, mostly in keeping the inner-corner deposit soft rather than blocky. Keep lashes evenly balanced or slightly inner-weighted rather than outer-flared. Together, this look and the close-set version make the clearest pair on any eye shapes chart for how placement alone reshapes apparent spacing: same liner, opposite weighting, opposite result. Pro tip: line into the inner corner with the eye looking straight ahead, then check with a relaxed gaze, since the tear duct hides color when you look down. Ask your makeup artist to "bring definition toward my nose to close the space, no long outer wing," and say if you want the lower line carried in too.
Save this to Pinterest so both the close-set and wide-set fixes stay together.
11Almond Eyes, Classic Feline Wing
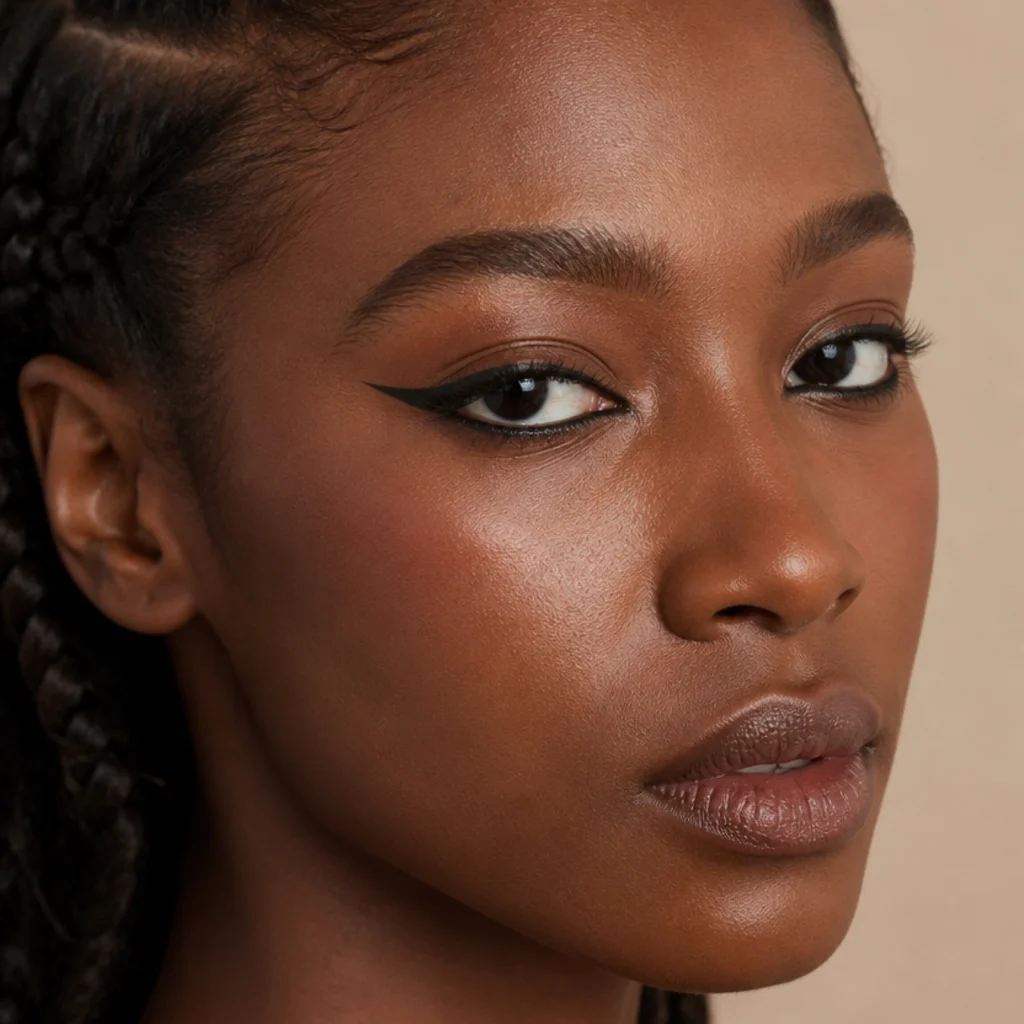
Almond eyes are the shape the classic winged liner was practically designed for, because their natural taper hands the tail a built-in guide. Follow the angle of your lower lash line as an invisible ruler, extend the tail along that imaginary line, then draw the top edge back to the peak of your lid and fill the triangle. The result is balanced, pulling the eye neither up nor down. This is the reference wing every other version adapts from, and almond eyes wear it with the least correction. Build it in stages, tail first, then the connecting hypotenuse, then fill, so you lock the shape before committing ink. A felt-tip pen suits precise sharp edges; a gel and angled brush give a softer, buildable line for a smokier evening finish. It suits all skin tones: deepen to true black for high contrast on deep and olive skin, soften to espresso or a warm brown for fair, cool daytime wear. Expect moderate difficulty, mostly in landing symmetrical tails across both eyes. Match your tail length to your lash flare so the two lines finish at the same point. Pro tip: draw both tails before filling either lid, comparing them open in the mirror, so you catch asymmetry while it's still fixable. Clean the underside with a flat brush and a little concealer to make the edge read intentional. Ask your makeup artist for "a classic wing following my lower lash line angle."
12Round Eyes, Elongating Extended Wing
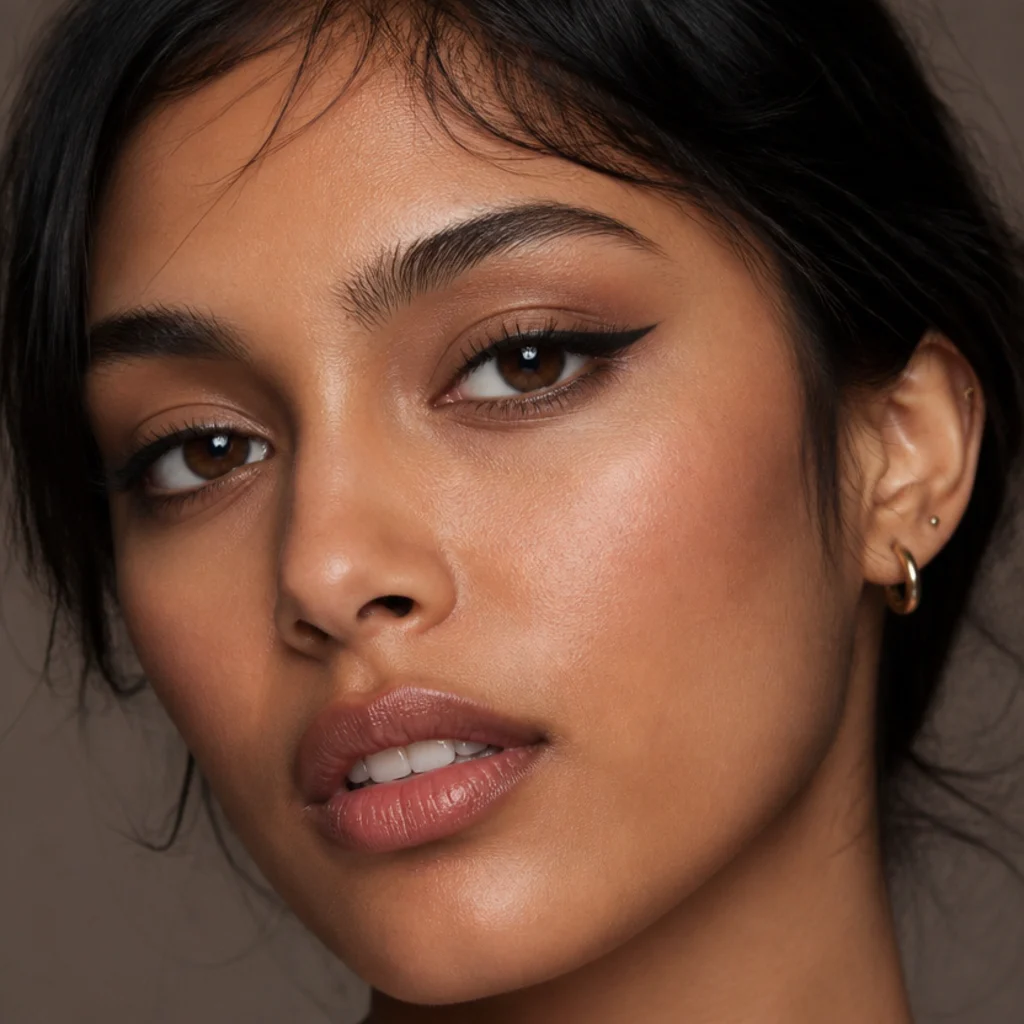
If round eyes want to look longer rather than wider, the extended wing is the tool. Keep the line thin across the lid so you don't add height or roundness, then draw a longer, flatter tail that travels outward more than upward. That horizontal pull stretches the eye and delivers a sleek, elongated shape, the deliberate opposite of look 2, which celebrated the curve. Blend a little liner along the outer third of the lower line to continue the stretch and stop the eye from snapping back to round. Aim the tail lower and longer than a classic almond wing; too much upward angle just re-rounds the eye you're trying to lengthen. This suits round eyes on all skin tones and is a favorite for a sultrier, more elongated evening finish. This one's moderate on difficulty, because holding the lid line thin while extending a long tail takes a steady hand and a fine tool. A liquid pen gives the cleanest long line; a gel smudges too soft for this much length. Reinforce it with outer-corner lash length that runs parallel to the tail. Pro tip: lay a strip of tape from your outer corner toward your brow tail as a straight-edge guide, then trace the lower border of the wing against it. Ask your makeup artist to "lengthen my eyes with a long, low wing, not a lifted one."
13Monolid Eyes, Bold Visible Flick
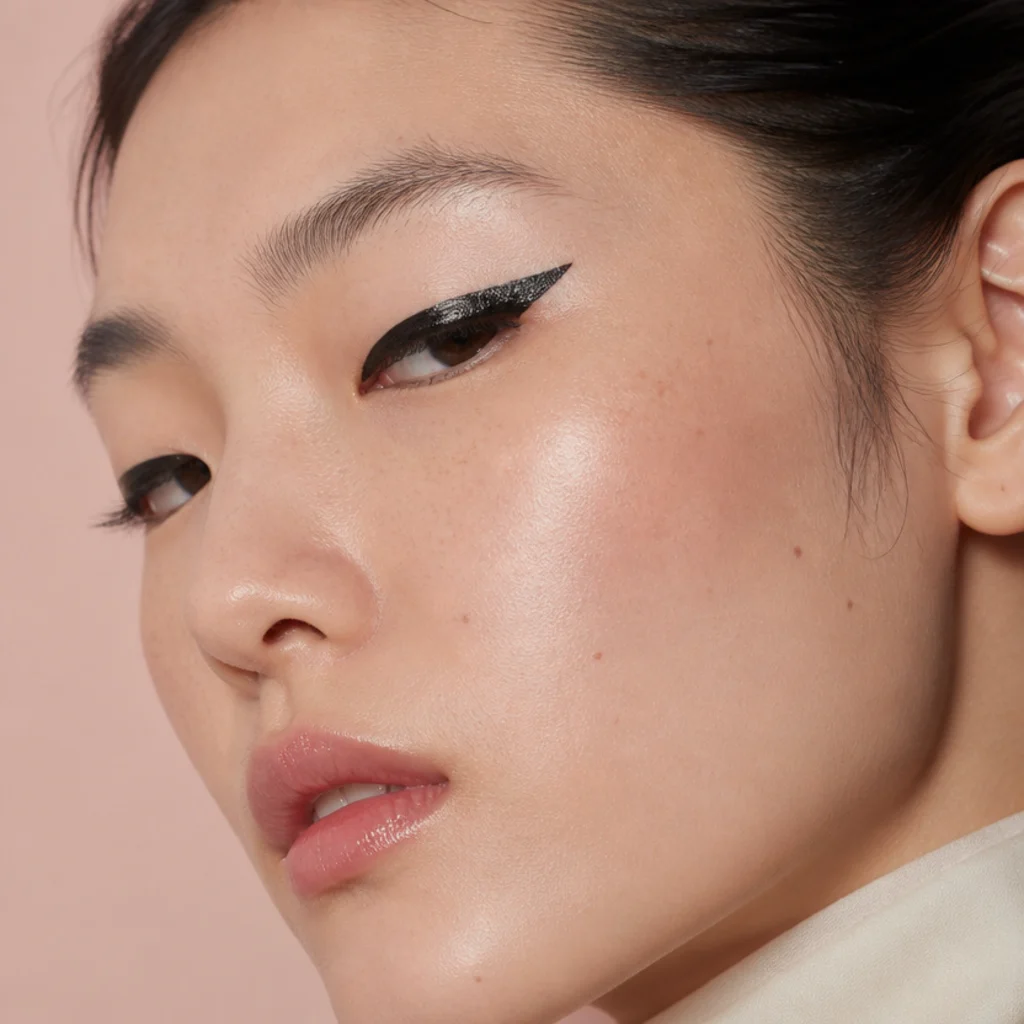
Because monolid eyes have a flat lid with little crease, a wing needs real thickness to remain visible when the eye is open, the opposite instinct from a creased lid where thin lines already read. Draw the line noticeably thicker than you think you need, then extend a bold flick outward and up. Test with your eyes open constantly, because a line that looks dramatic closed can shrink to a sliver once the eye opens and the flat lid absorbs it. Build thickness gradually from the lash line upward rather than drawing one thick swipe, so the top edge stays clean and even and you can stop at the right height. This is where monolid eyes get to be bold and graphic. A satin or glossy black reads striking here, while a matte black keeps it graphic and modern. It suits monolid eyes across all skin tones. Difficulty runs moderate to advanced, since the thickness has to stay symmetrical across both eyes and any wobble shows on the exposed lid. Set the base with a matte shadow so the thickened line doesn't transfer onto the upper socket when you blink. For lash mapping eye shapes, cluster longer lashes at the outer corner to echo the flick. Pro tip: decide the finished thickness at the center of the lid first, then carry that same height out to the flick, so the wing looks engineered rather than tapering by accident. Ask your makeup artist for "a thick wing that stays visible when my eyes are open."
14Hooded Eyes, Smoked Lower Half
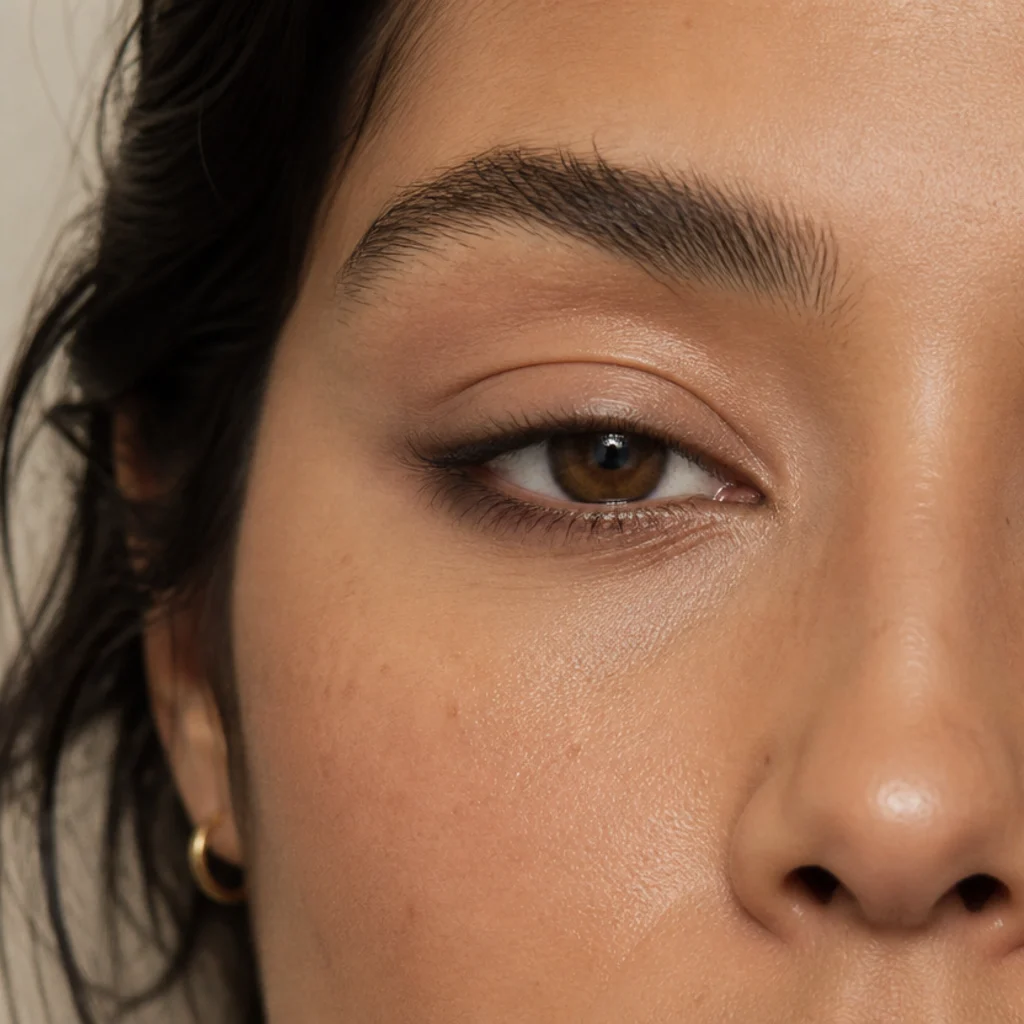
When the upper lid feels crowded on hooded eyes, shift the drama downward instead of fighting the fold. Smoke a soft, diffused line along the lower lash line and outer corner, keeping the upper lid quiet with just a tightline. This adds intensity and depth without competing with the hood for scarce lid space, and it opens the eye by drawing attention below the fold rather than into it. Concentrate the lower smoke on the outer two-thirds and leave the inner corner light, so you elongate rather than close in the eye. Use a pencil and a small blending brush; a matte shadow pressed over the pencil locks it and stops it migrating into a raccoon shadow under the eye by midday. Deep taupe, soft charcoal, or bronze reads softer here than flat black and suits hooded and hooded-downturned eyes on all skin tones. This one's moderate difficulty, mostly in diffusing the edge cleanly so it reads soft, not muddy or blocky. Keep upper lashes lightly coated and lower lashes bare so the smoke, not spider lashes, carries the depth. It layers well with the floating wing (look 6) once you're comfortable running both together. Pro tip: apply an oil-absorbing primer under the lower lash line, not just the lid, since that's where hooded-eye smoke most often smears. Ask your makeup artist to "keep my upper lid quiet and smoke the outer lower line."
15Downturned Eyes, Reverse Lower Wing
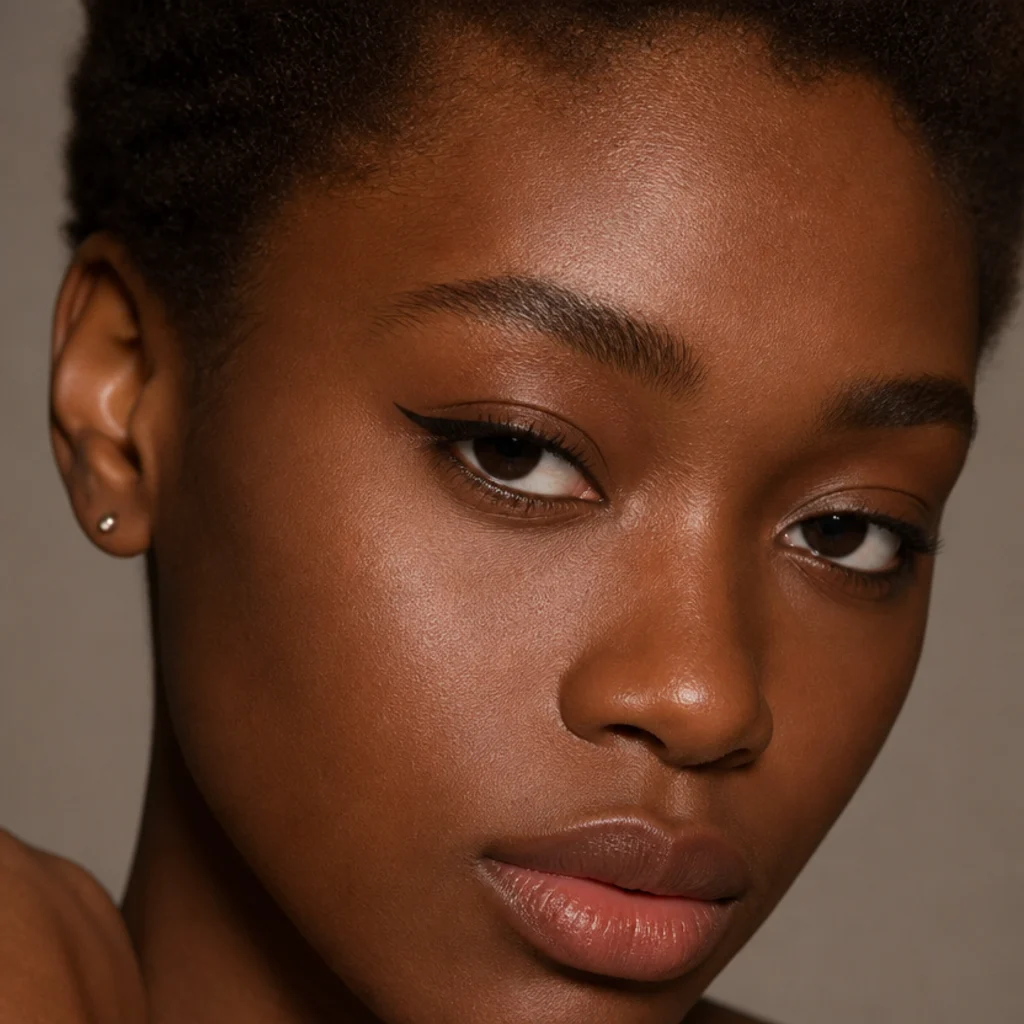
A reverse wing lifts downturned eyes from below, adding a second corrective line where a single upper wing can't fully counter the droop. Extend a short tail off the outer lower lash line, angling it up to meet or nearly meet the upper wing, so the two lines lift the corner together like a bracket cradling the eye. Keep the inner half of the lower line clean so all the lift stays concentrated at the outer corner where the droop actually lives. Draw the upper wing first and use its tip as the target the lower tail reaches toward, which keeps the bracket symmetrical across both eyes. This bolder step reads editorial while still doing genuine corrective work, so it earns its place for evening or photos. It suits downturned eyes on all skin tones and mature lids especially, since the double line lifts without adding lid weight. This one leans moderate to advanced, because matching two tails per eye takes practice and a fine-tip tool. Use a firm felt pen rather than a brush for the lower tail, since the lower rim skin moves and smears easily. Leave a hair of gap where the two tails almost touch, so the bracket reads crisp rather than closed and heavy. Pro tip: keep the lower tail shorter than the upper one; a lower line that matches or exceeds the upper reads as a droop rather than a lift. Ask your makeup artist for "a lower reverse wing to lift my outer corners," and bring a reference photo so the angle is agreed first.
Save this to Pinterest to keep the downturned-eye lift techniques in one place.
16Almond Eyes, Double Graphic Line
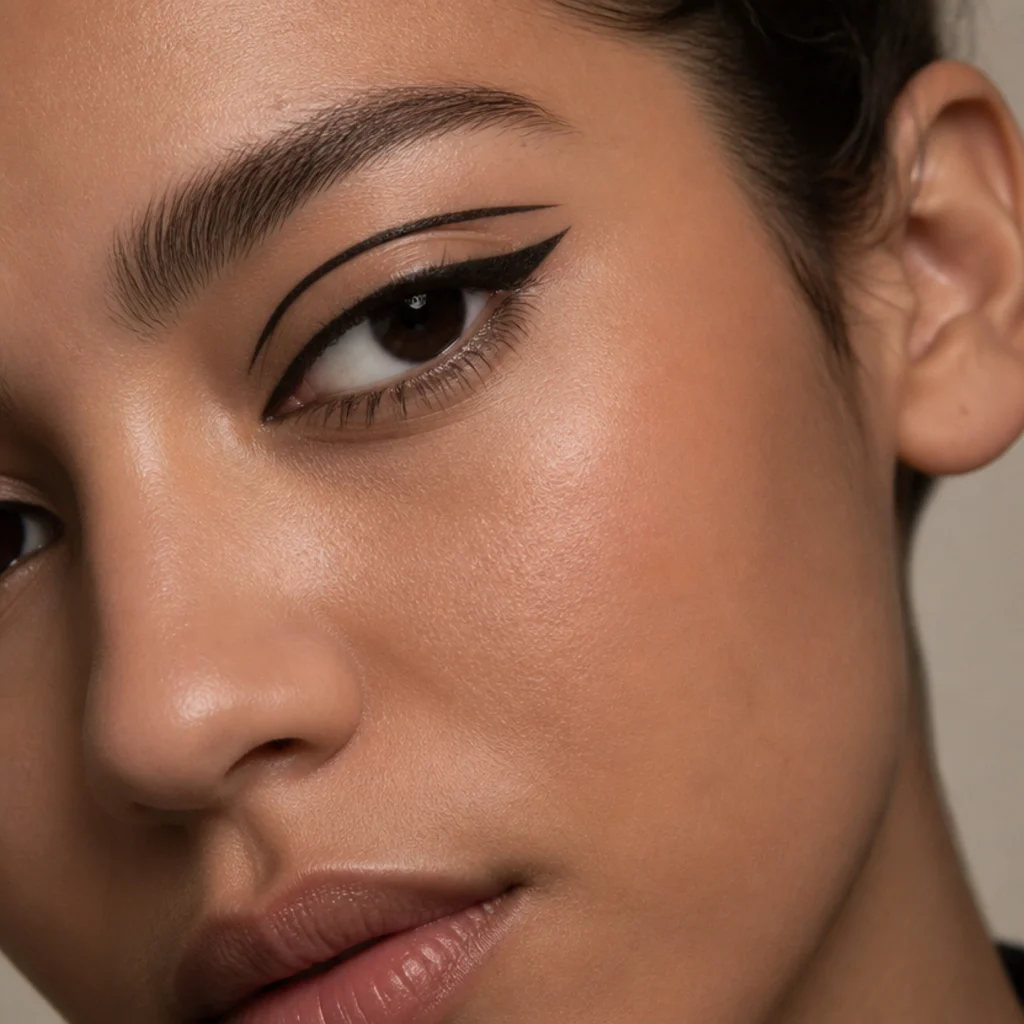
Almond eyes carry enough even lid space to hold a graphic double line, one of the most editorial looks here. Draw your usual line at the lash root, then float a second thinner line parallel above it, leaving a clean strip of bare lid as negative space between the two. The taper of almond eyes keeps both lines reading as intentional rather than crowded or muddled. This is bold, modern, and photographs well because the negative space catches and holds light. Map the upper line with your eyes open so the gap stays even once the lid relaxes, and use a fine liquid pen for crisp parallel edges that a gel can't match at this scale. It suits almond and almond-upturned eyes with a decent amount of visible lid; very hooded lids will lose the upper line in the fold, so borrow the floating-wing logic from look 6 instead. All skin tones work, and a brighter or metallic upper line, gold on warm deep skin, silver on cool fair skin, reads especially striking. This is an advanced look, since both lines must stay parallel and clean through the blink. Keep shadow off the lid entirely so the negative-space strip stays bare. Pro tip: draw the lower line first and let it fully set, then use its top edge as your visual baseline for spacing the floating line evenly above it. Ask your makeup artist for "a graphic double liner with negative space between the lines."
17Round Eyes, Cut-Crease Frame
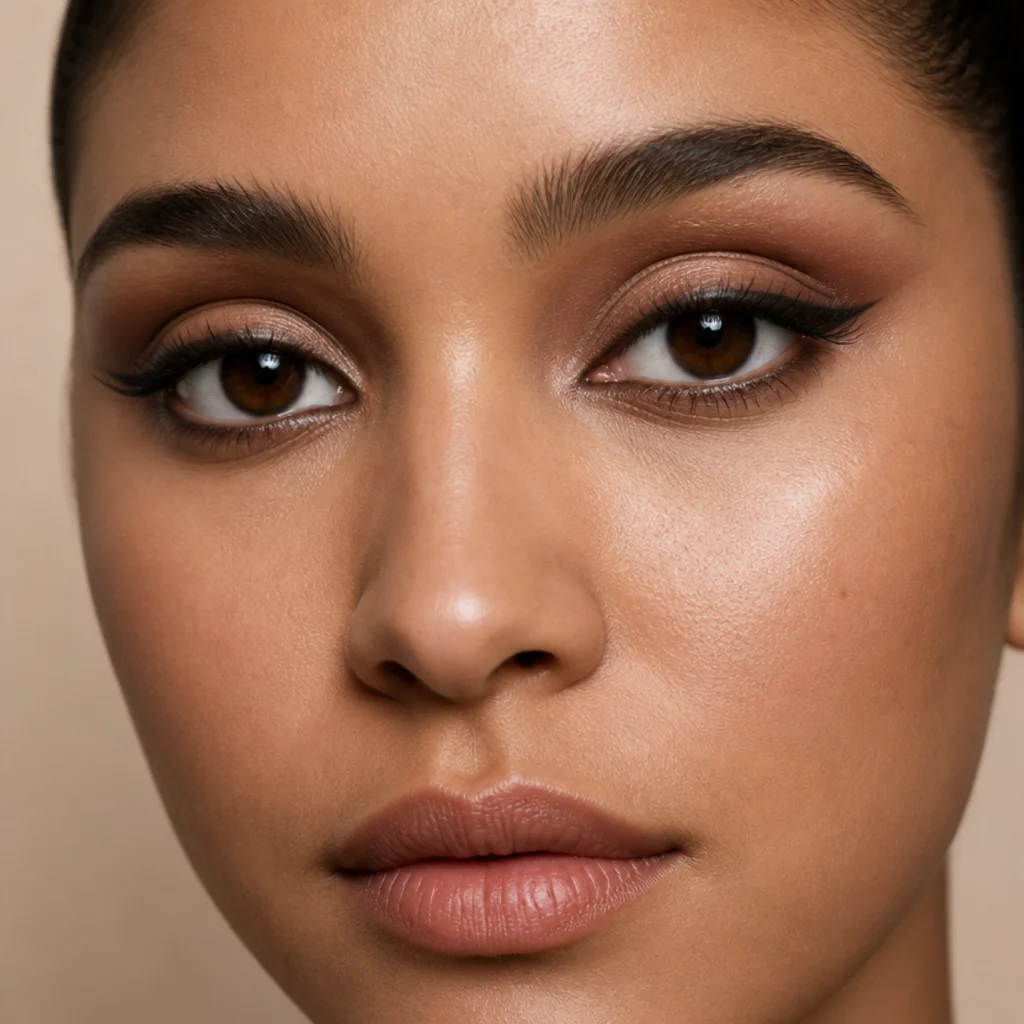
A cut crease uses liner or a deep shade to carve a defined line into the crease, and on round eyes it adds the structure and length the natural curve lacks. Combine a sharp crease line with lash-line liner and a slight outer extension to frame the eye and pull it longer, so a round shape reads more almond. The contrast between the sculpted crease and the clean, open center lid does the elongating work. Place the crease line slightly above your natural fold so it stays visible with the eye open, and blend the upper edge up into the brow bone while keeping the lower edge crisp against the lid. Prime the lid first with an eye primer, because a cut crease sits in the most mobile, oil-prone zone and will smudge into a mess without a gripping base. A matte deep brown reads softer than black for daytime, while black-brown sharpens it for evening. This suits round eyes with visible lid space on all skin tones. This one's advanced, since the crease must be blended cleanly on top and razor-sharp below, and both eyes must match. Expect a longer application time and a setting step; this is a going-out look, not a five-minute one. Pro tip: carve the sharp lower edge of the crease with a flat concealer brush after laying the shade, cleaning the line rather than trying to draw it perfectly in one pass. Ask your makeup artist for "a soft cut crease to lengthen my round eyes."
18Upturned Eyes, Siren Extended Tail
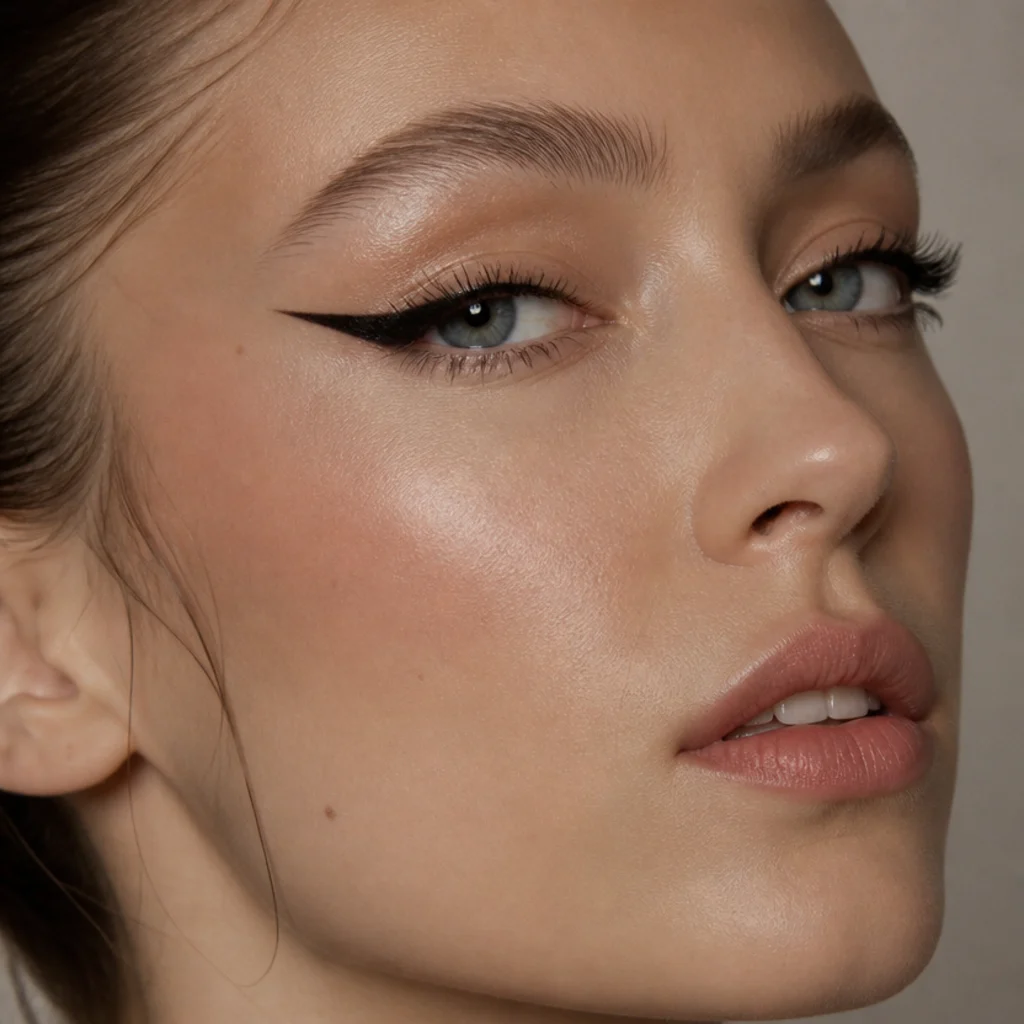
Upturned eyes have a built-in lift, so a siren wing amplifies what your anatomy already offers. Draw a long, sleek tail that follows the natural upward angle and extend it further than a classic wing, creating a dramatic, elongated cat-eye. Because the shape already tilts up, you get maximum payoff with minimum correction, the rare look where working with your natural line does all the heavy lifting. Keep the lid line thin so every bit of drama lives in the tail rather than thickening and shortening the eye. Use a long-wear liquid pen for a tail that holds its point, and support the outer edge with a piece of tape or a card as a straight guide until your freehand line is reliable. This is one of the boldest wearable looks on the list and it photographs beautifully because the tail is fully exposed. It suits upturned and almond-upturned eyes on all skin tones; a glossy black reads sultry, a matte black reads sharp and modern. Difficulty sits at moderate to advanced, because a long tail exposes any wobble mercilessly. For lash mapping eye shapes, extend the outer lashes to run parallel with the tail so the two elongate together. Pro tip: aim the tail toward the end of your brow and keep both tails on the same imaginary line across your face, checking in the mirror before you fill the lids. Ask your makeup artist for "a long siren wing following my natural lift."
19Monolid Eyes, Colored Graphic Liner
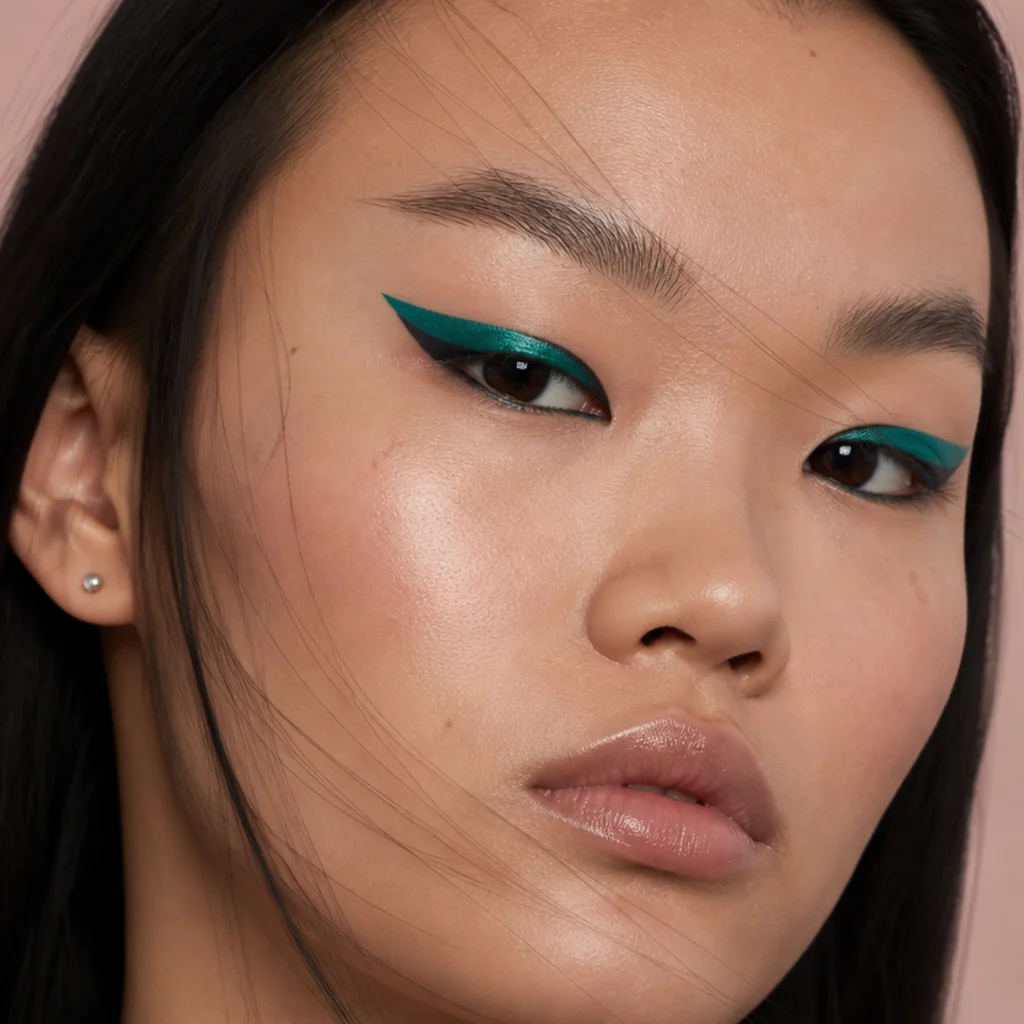
Monolid eyes are an ideal canvas for colored graphic liner because the flat, uninterrupted lid shows off pigment cleanly, with no crease to break the shape. Lay a thin dark base for depth and grip, then draw a bright wing or floating line in a saturated color, cobalt, emerald, or a warm amber, placed high enough to stay fully visible with the eyes open. Because there's no fold to cut through it, the color reads as a crisp, deliberate graphic shape rather than a smear. Choose a shade with real contrast against your skin tone so it pops rather than muddies: jewel tones like emerald and sapphire sing on deep skin, warm brights like amber and coral lift cool fair skin, and electric blue flatters olive tones. Prime first and consider a water-activated liner or a pigmented gel, since colored formulas are often thinner and less opaque than black and need a base to build on. This is the boldest, most editorial look here, and it suits monolid eyes across all skin tones. This one's advanced, because color is less forgiving than black and shows every uneven patch and thin spot. Keep the rest of the face pared back so the liner stays the single statement. Pro tip: outline the shape first with the color, then flood-fill inward, which keeps the edges saturated where they matter most. Ask your makeup artist for "a colored graphic liner that stays visible when my eyes are open."
20Hooded Eyes, Full Editorial Wing
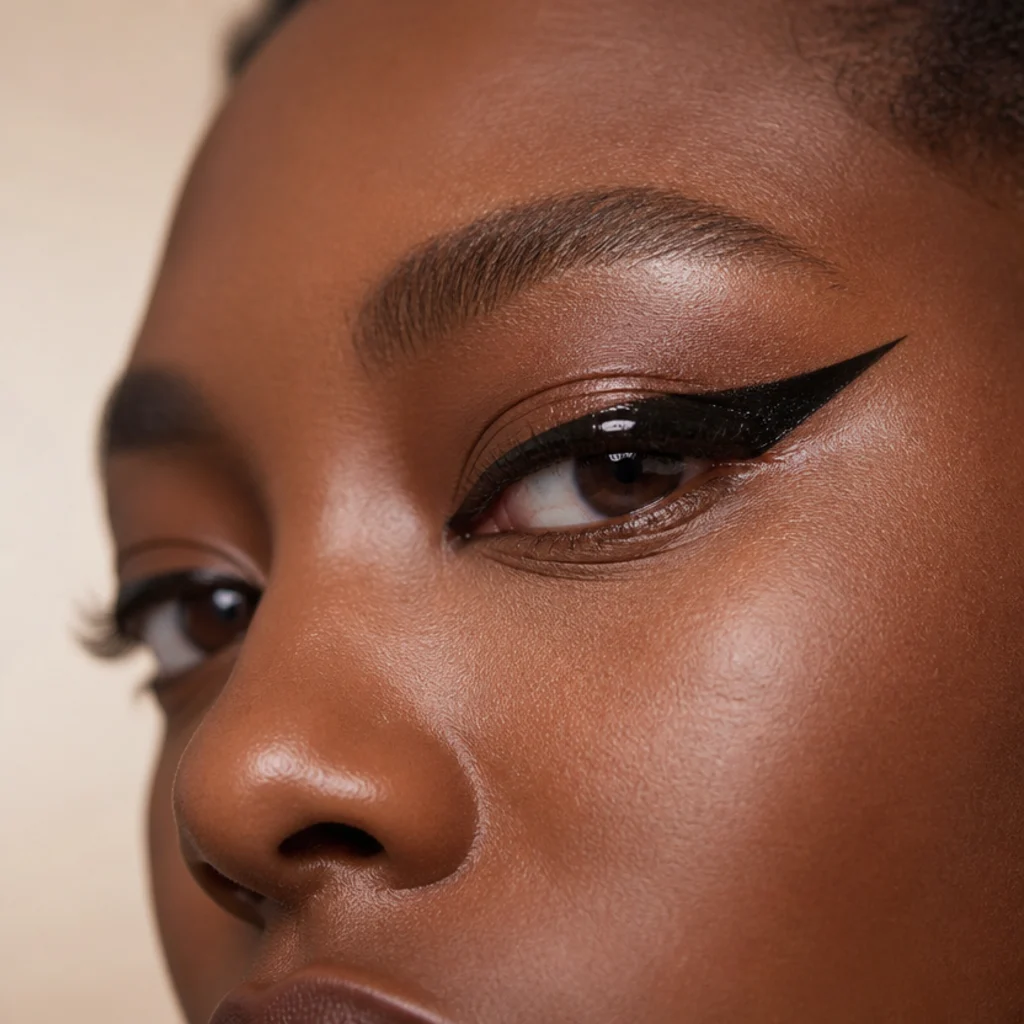
The boldest hooded-eye look brings every earlier trick together: a full editorial wing built entirely above the fold so it stays dramatic with the eye open. Combine the floating-wing placement from look 6 with the added thickness of look 13 and a longer, higher tail, checking constantly with your eyes open because a hooded lid hides more than you expect. This look proves hooded eyes can wear a big graphic wing, as long as it's mapped for coverage rather than drawn at the lash line and quietly swallowed by the hood. Prep makes or breaks it: prime the lid, set the fold with a matte shadow so oil doesn't break the line, and use a long-wear liquid or gel rather than a pencil that will migrate within an hour. Build the height in thin passes so the top edge stays clean once you commit, and keep the lash-line connection thin so the mass lives up on the exposed lid. It suits hooded eyes on all skin tones and every age, and it's a genuine special-occasion and photo look given the prep it needs. This one's advanced, full stop. Confirm a transfer-resistant formula and carry blotting powder for touch-ups if your lids run oily. Pro tip: map the full shape in a light pencil first with your eyes open, correct it, then trace over it in liquid, so you never commit ink to an unproven line. Ask your makeup artist to "build a full wing above my hood so it shows when my eyes are open."
Pro Tips from the Editor
- Always map and check with your eyes open. A wing drawn on a stretched or closed lid can vanish the second you relax, especially on hooded and monolid eyes. Mark the tail tip with a dot first, open your eyes, adjust, and only then commit ink.
- Match your formula to your lid, not the trend. Oily or hooded lids need a long-wear gel or liquid plus a setting shadow; dry or mature lids often move more comfortably with a soft gel pencil that won't skip or catch on fine texture; damp waterlines need a smudge-resistant type.
- Let placement, not just color, do the correcting. Where you concentrate weight (inner, center, outer) and how high you sit above the lash line reshape apparent size and spacing far more than which shade of black you pick.
- Two or three thin passes beat one thick swipe. Building a wing or a smoked line in light layers keeps the top edge clean, the thickness even, and the two eyes matched — it's far easier to correct mid-way than to erase a heavy stroke.
- Draw both tails before you fill either lid. Comparing the two wings open in the mirror while they're still just tails is how you catch asymmetry while it's fixable rather than after you've committed the whole eye.
- Clean up with a flat brush and a little concealer. Sharpening the underside of a wing and the inner edge after the fact is how a freehand line reads intentional; do it after your other eye products so you erase stray fallout at the same time.
- Coordinate lashes with liner direction. Outer-heavy lash mapping reinforces a lift or a wing, while evenly balanced lengths keep round, deep-set, and wide-set eyes open rather than pulled in one direction.
- Prime, and consider a shadow underlayer. A gripping base under any graphic, colored, or cut-crease look stops migration in the most mobile part of the lid, and a matte powder pressed over cream liner locks it for the full day.
How to Choose / Get the Look
Start by identifying your dominant eye shape, then accept that most people overlap two or three categories, so treat this eye shapes chart as a flexible map rather than a rulebook. Open your eyes and look straight ahead in a mirror in daylight, then run three quick checks: how much lid shows when your eyes are open, whether your outer corners lift or drop, and how far apart your eyes sit relative to one eye-width. Those three answers point you to the moves that matter for you and let you ignore the ones that don't.
Use this decision framework to pick a starting look:
| If your priority is... | Focus on... | Best starting looks |
|---|---|---|
| Lifting a drooping outer corner | Upward tail direction, minimal lower line | 5, 15 |
| Keeping a wing visible with eyes open | Placement above the fold | 3, 6, 20 |
| Making round eyes look longer | Thin lid line, long low tail | 12, 17 |
| Widening close-set spacing | Outer-third weight, clean inner corner | 9 |
| Reducing wide-set spacing | Inner-corner definition, even line | 10 |
| Bringing deep-set eyes forward | Bright waterline, moderate upper line | 8 |
| Adding depth on a flat monolid | Smoked or thickened, visible-when-open color | 4, 13, 19 |
| Softening an already lifted eye | Lower-lash definition | 7 |
Then match the formula to your lid and your skill level, because the right tool prevents most beginner frustration:
| Formula | Best for | Finish | Skill level |
|---|---|---|---|
| Gel pencil | Tightline, smudged smoke, waterline | Soft, blendable | Beginner |
| Nude/waterline pencil | Deep-set brightening, lower rim | Matte, natural | Beginner |
| Felt-tip / liquid pen | Crisp wings, double lines, siren tails | Sharp, defined | Intermediate |
| Long-wear gel + angled brush | Hooded floating wings, oily lids, cut crease | Buildable, durable | Intermediate to advanced |
| Water-activated / pigmented gel | Colored graphic liner | Saturated, matte | Advanced |
Then build from soft to bold: master the tightline and lash-line versions (looks 1, 2) before floating wings, double lines, cut creases, or colored graphics. Whatever look you choose, map wings with your eyes open, use a long-wear formula if you crease or have oily lids, and set liner with a matching shadow for staying power. When booking a pro, bring two or three reference photos taken with your eyes open and describe the effect you want, lifted, elongated, wider, closer, or balanced, rather than a single product name, so you and the artist are solving the same problem from the start.
Frequently Asked Questions
How do I find my eye shape?
Look straight into a mirror with a relaxed face and neutral brow in good light. Check for a visible crease (almond, round), a fold covering part of the lid (hooded), or little to no crease (monolid), then note whether your outer corners lift (upturned) or drop (downturned), and how far apart your eyes sit relative to one eye-width (close-set, wide-set) and how far back they sit under the brow bone (deep-set). Most people are a blend of two or three, so pick the closest match and borrow techniques from its neighbors rather than forcing a single label.
What is the difference in almond vs hooded eyes?
Almond eyes show an even, visible lid with a natural taper, so most liner sits roughly where you draw it. Hooded eyes carry a fold that covers part of the mobile lid, which can hide a lash-line wing the moment the eye opens. The core adjustment for hooded eyes is placing liner higher, above where the fold falls, and setting it so it stays visible. If your liner reads fine closed but disappears open, you're almost certainly working with some degree of hooding, even if you also have an almond base shape underneath.
Why does my winged liner disappear when I open my eyes?
That is the classic hooded or partially hooded pattern: the wing was drawn at the lash line, where the fold covers it once the eye relaxes. Map the wing with your eyes open, place a dot where you want the tail tip to land, then float the tail above the crease so it shows. A long-wear liquid or gel resists transferring into the fold, and setting the base with a matte shadow keeps oil from lifting the line by midday. Never judge placement on a stretched lid, since it springs back the moment you let go.
Does eyeliner really change my eye shape?
It can't change your anatomy, but placement shifts how eyes read. Extending a low tail elongates round eyes, concentrating color on the outer third widens close-set eyes, carrying definition inward closes wide-set spacing, and lifting the outer corner counters a downturned droop. These are illusions of light, contrast, and direction — that's the entire logic behind makeup by eye shape. Think of liner as redistributing visual weight rather than redrawing bone structure, and you'll predict what a placement will do before you commit to it.
How does lash mapping relate to eye shape?
Lash mapping means placing different lash lengths across the eye to flatter your shape, and it follows the same logic as liner placement. Longer outer lashes lift downturned and hooded eyes, evenly balanced lengths keep deep-set and round eyes open without pulling them, and outer-corner clusters echo and reinforce a wing. Coordinating lash mapping eye shapes with your liner direction roughly doubles the effect, since the lashes and the line push the eye the same way instead of competing. If you wear extensions or falsies, brief your lash tech with the same effect words you'd give a makeup artist.
Are eye-shape categories strict rules?
No, and treating them as rules is the most common mistake. Eye-shape categories overlap constantly, most people read as a blend of two or three, and lids also change with age, so they are guidelines for where to start, not verdicts about what you're allowed to wear. The techniques here work across every eye shape and skin tone; the point is to help you understand your lid space and spacing so you can adapt any look, then keep whatever looks lifted and balanced on your own open eye. A hybrid shape means you get to borrow from two sets of moves.
What is the best eyeliner formula for beginners?
A soft gel pencil is the most forgiving place to start: it grips well, blends before it sets, and smudges into a soft line if your hand wobbles. Move to a felt-tip or liquid pen once you want crisp graphic edges or long wings, and reach for a long-wear liquid or gel specifically when you have oily or hooded lids that break a pencil down. Save water-activated colored liners for last, since they're the least forgiving. Keep an angled brush and a little concealer nearby to clean and sharpen any edge after the fact.
How do I keep eyeliner from smudging or transferring?
Start with a primed lid, because bare skin and its oils are what lift color into the fold or under the eye. Use a long-wear or waterproof formula on the upper line if you're hooded or oily, set cream and pencil liner with a matching matte shadow pressed over the top, and keep the lower waterline product to a smudge-resistant type since that area is damp. Setting the fold area before a floating wing is the single biggest fix for a line that breaks up by midday. Carry a cotton bud for a quick clean-up rather than relying on a full redraw.
How long does each look take to apply?
Roughly, a tightline or soft lower-lash smudge takes a couple of minutes, a classic or lifted wing five to ten once you're practiced, and the advanced looks, double lines, cut creases, colored graphics, and full editorial wings, fifteen minutes or more including prep and cleanup. Build the softer, faster looks into reliable muscle memory before the graphic ones, and give yourself extra time and good light the first few times you attempt anything mapped above the fold. Doing a practice run on a low-stakes day beats troubleshooting a wing before an event.