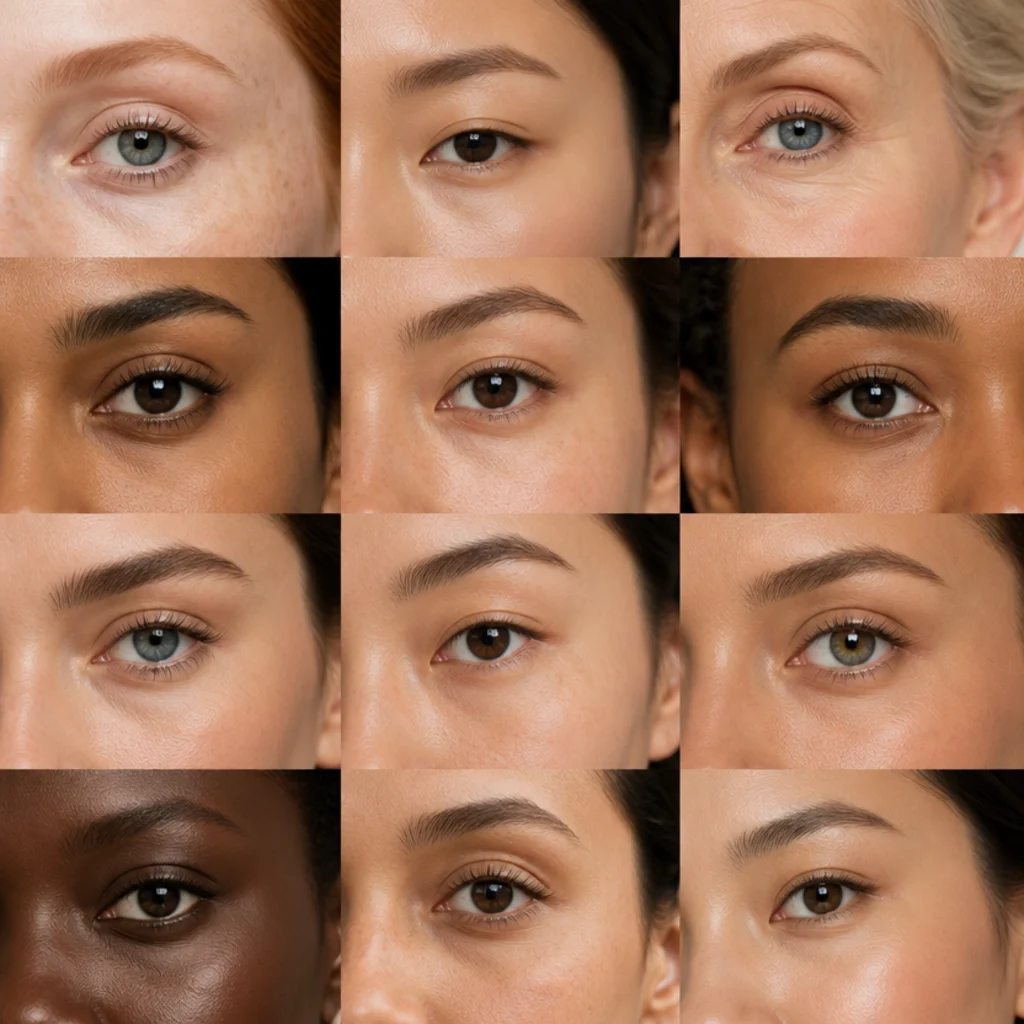
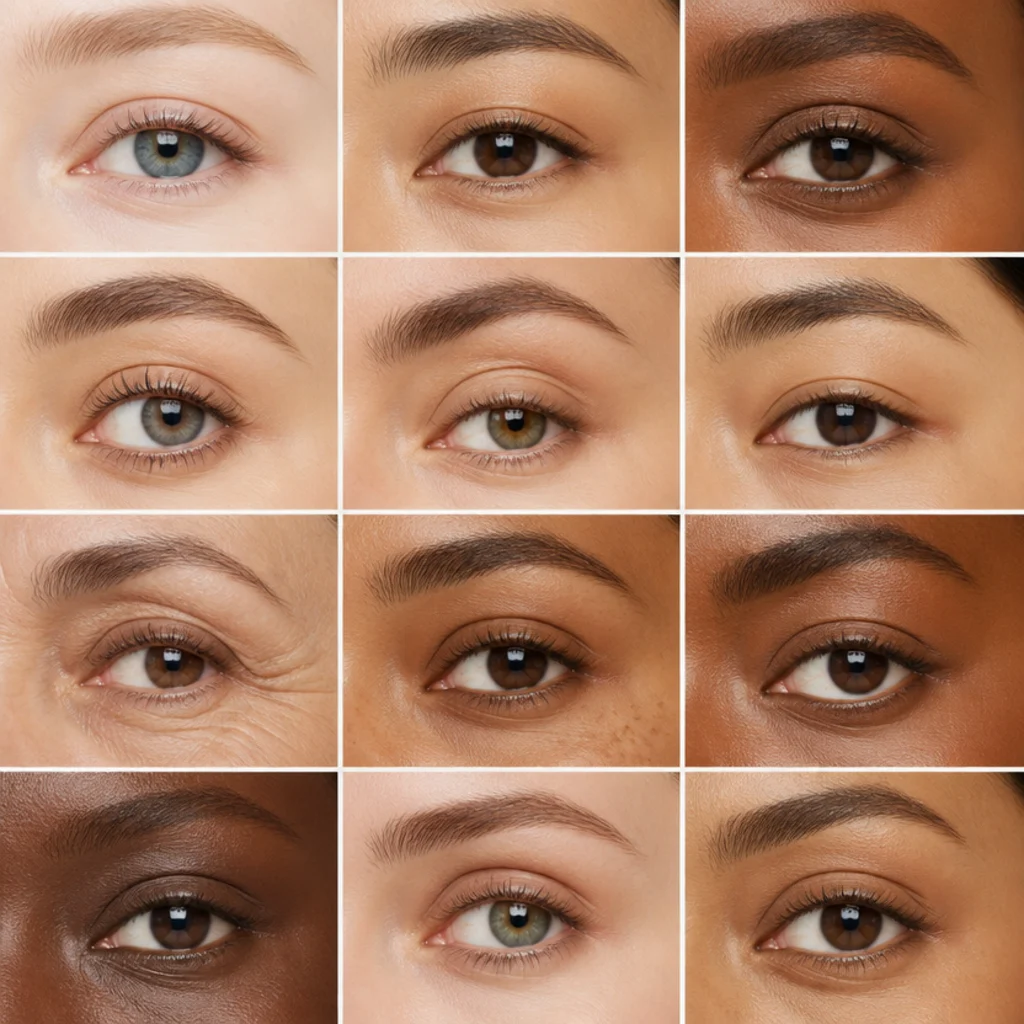
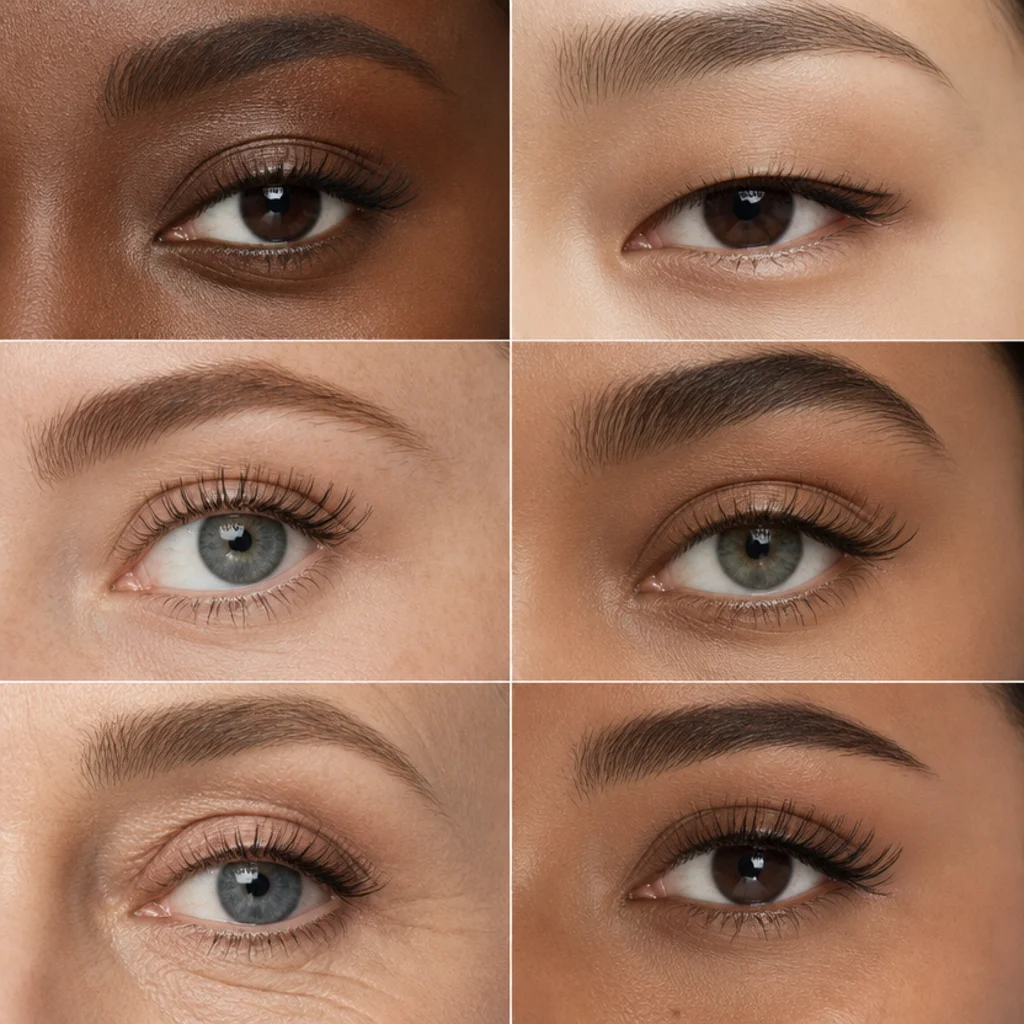
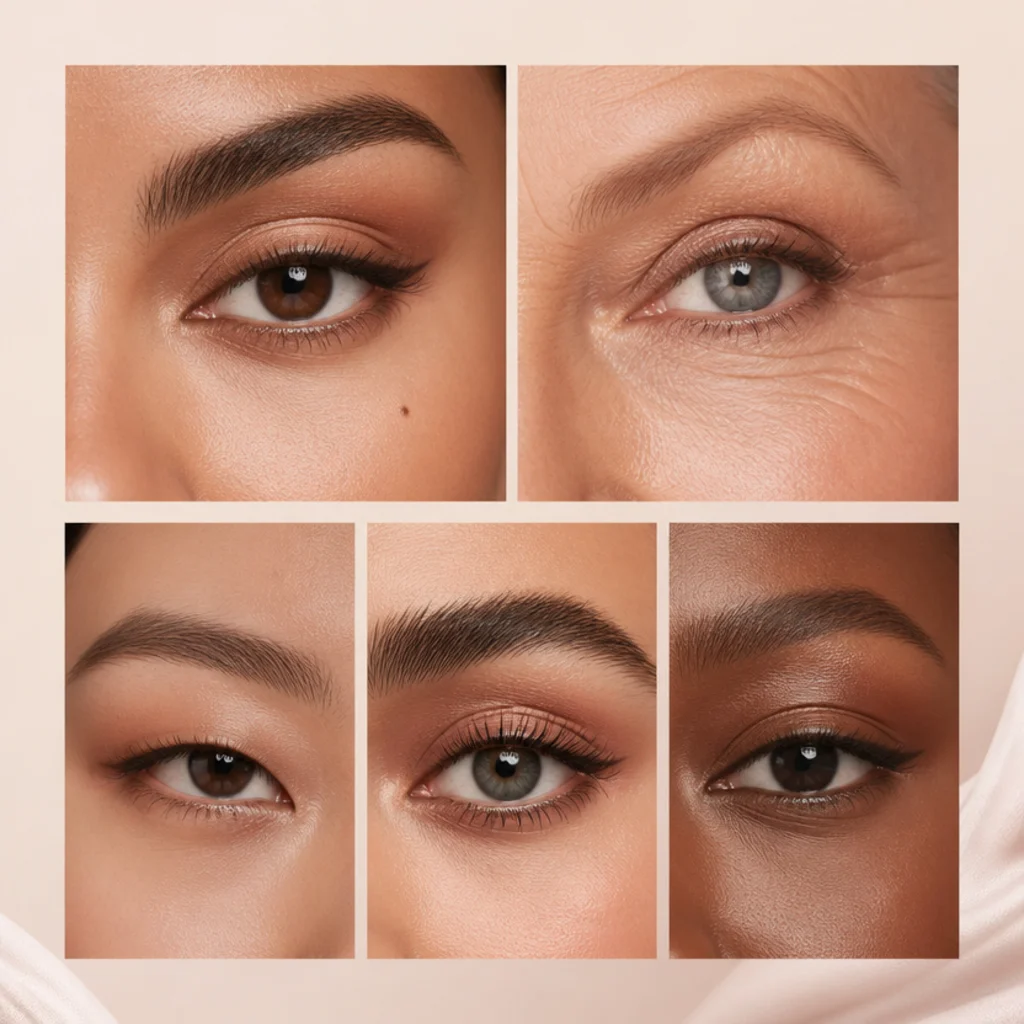
15 Steps to Find Your Eye Shape at Home
Your eye shape decides where liner lifts, where a lash cluster lands, and which shadow placement opens or closes the lid. Read it correctly once, the way a lash artist or pro MUA does, using nothing but a mirror and honest light, and every product and technique decision after that gets faster and more flattering. Here's the step-by-step method, plus the placement logic that turns your read into results.
 Edited by Lena Rose · Published July 11, 2026 · 34 min read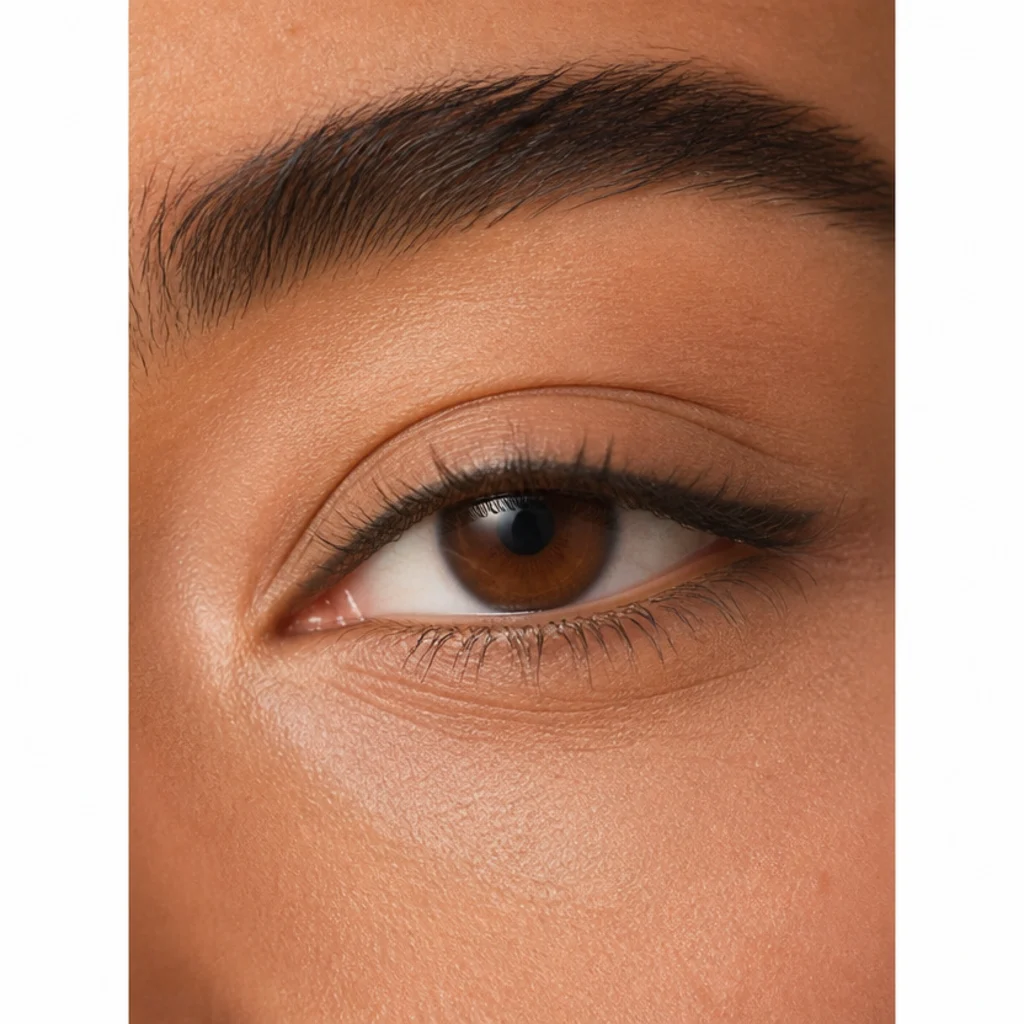
Quick Answer
- Best for: Anyone who wants makeup by eye shape to genuinely flatter — liner angles, lash mapping, and shadow placement that survive an open eye and a full day
- Who might skip it: No one — but if you already know your shape cold, jump to steps 13 to 15 for the placement-and-mapping payoff
- Maintenance: One careful read; re-check yearly or after age, weight, thyroid, or lid-surgery changes shift how your crease and hood sit
- Difficulty: Easy — no tools beyond a table mirror, a handheld mirror, even side light, and your phone camera
- Cost: Free at home; a professional lash-mapping or brow-mapping consult typically runs a low-to-mid two-figure range, and a full pro makeup lesson a mid-to-upper two-figure range, both varying by city and salon tier
- Wear time / longevity: Your read stays accurate for months to a year; adult lids evolve slowly, not overnight, unless a medical or surgical change intervenes
- Standout variation: The look-down-then-up crease-and-lift check that settles almond vs hooded eyes in seconds — the one test most online guides omit
- How to ask your lash tech or makeup artist: Bring a bare-lid photo (straight-on plus three-quarter) and say, "My eyes read as [shape] with [spacing/depth] — what mapping, curl, and liner angle suit that?"
In This Guide
- Set Up Good Light and a Mirror
- Relax Your Face to a Neutral Resting Look
- Check Whether Your Crease Is Visible
- Look for a Hood Over the Lid
- Read Your Outer Corners: Up, Down, or Level
- Find the Outer Corner Angle for Almond vs Round
- Check for Visible White Below the Iris
- Measure the Space Between Your Eyes
- Note Deep-Set or Prominent Lids
- Look at Your Inner Corner and Tear Duct
- Check Your Lid Space When Eyes Are Open
- Read the Overall Silhouette in One Glance
- Combine Traits Against an Eye Shapes Chart
- Map Liner and Lashes to Your Shape
- Save Your Result and Note Your Overlaps
Intro
Knowing your eye shape is what makes makeup look intentional instead of accidental. Most tutorials skip the diagnosis and hand you one universal wing, which is why so many looks flatten a hood, drag down an already-downturned corner, or bury a transition shade in a crease that disappears the moment the eyes open. Once you can name what you're working with, an eye shapes chart stops being a confusing grid of illustrations and becomes a decision tree: it tells you where to lift liner, which third of the lash line wants length, whether a defined crease will read or vanish, and which curl a lash tech should reach for. This guide breaks the process into 15 concrete, repeatable steps you can run at a window in ten to fifteen minutes. You'll assess seven core traits — crease depth, hooding, corner direction, roundness, lid space, spacing, and set — the same variables a professional evaluates, then combine them the way a real eye shapes chart does. Here's the part most guides skip: eye shapes explained online sound rigid, but the six common categories overlap constantly, and nearly everyone lands between two. The goal isn't a perfect label. It's enough clarity to choose flattering techniques with confidence, whatever your eye shape, skin tone, or lid texture.
01Set Up Good Light and a Mirror {#step-1}
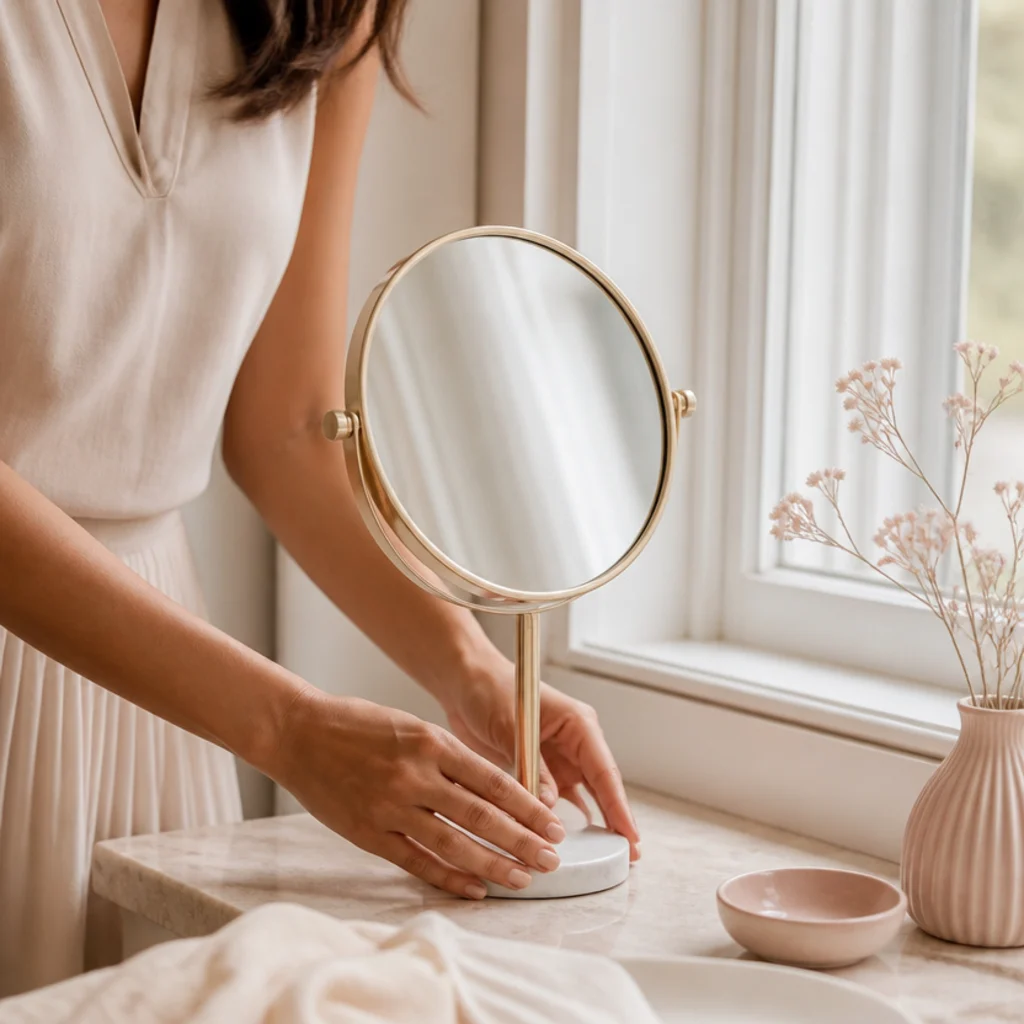
Start with lighting that tells the truth, because bad light invents shapes you don't have. Overhead bathroom bulbs throw a hard shadow straight into the crease and can fake a hooded or deep-set look, while a flat, front-on ring light erases the depth and fold you actually own — it's the same reason your eyes look "different" in an elevator versus your car. Aim for soft, directional daylight from a north-facing window, or a lamp set at eye level and angled slightly to one side (roughly 30 to 45 degrees), so the crease casts a gentle shadow rather than a harsh trench. Sit with a table mirror about an arm's length away so both eyes frame at once, and keep a handheld mirror for your profile; depth and hooding read completely differently from the side. Work on a clean, product-free lid — even yesterday's mascara or a tightline distorts the natural fold. Pro tip: shoot one straight-on and one three-quarter photo now, in identical light, so you can compare later without your brows secretly lifting. If you book a consult, ask your makeup artist to assess you in neutral daylight rather than salon spotlighting.
02Relax Your Face to a Neutral Resting Look {#step-2}
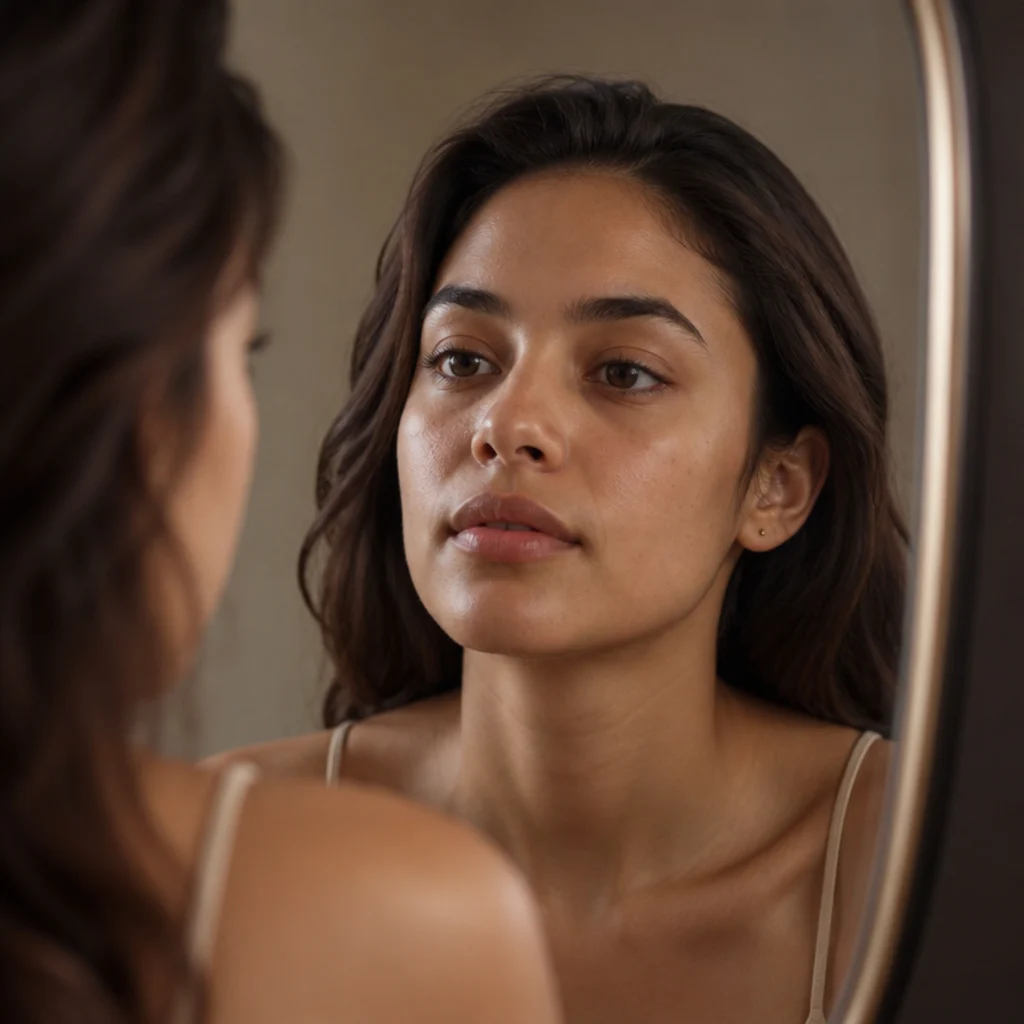
Your eyes change shape the instant you raise your brows, squint, or smile, so you have to read them fully at rest. Look straight ahead, unclench your forehead, and let your brows settle to their true resting position, not the alert, slightly-lifted face almost everyone unconsciously makes in a mirror. That reflex fires the frontalis muscle, pulls the lid taut, and hides a hood that reappears the second you relax — which is why so many people misread themselves as almond when they're actually hooded. To reset, close your eyes, exhale slowly, drop your shoulders, and reopen softly without adjusting anything; some artists have clients gaze at a fixed point across the room for a few seconds first. This neutral resting state is the version your makeup actually lives on through a workday or a dinner, so it's the only baseline worth trusting. Register how open or covered the lids feel, whether one sits lower than the other (mild asymmetry is universal and normal; most faces have a dominant, slightly more open eye), and hold that impression before dissecting features. Pro tip: if your brows creep up, rest a fingertip lightly on the brow bone, not pressing, just a cue to keep it still. Ask your lash tech to map you at rest, since a lifted-brow measurement sets clusters in the wrong place.
03Check Whether Your Crease Is Visible {#step-3}
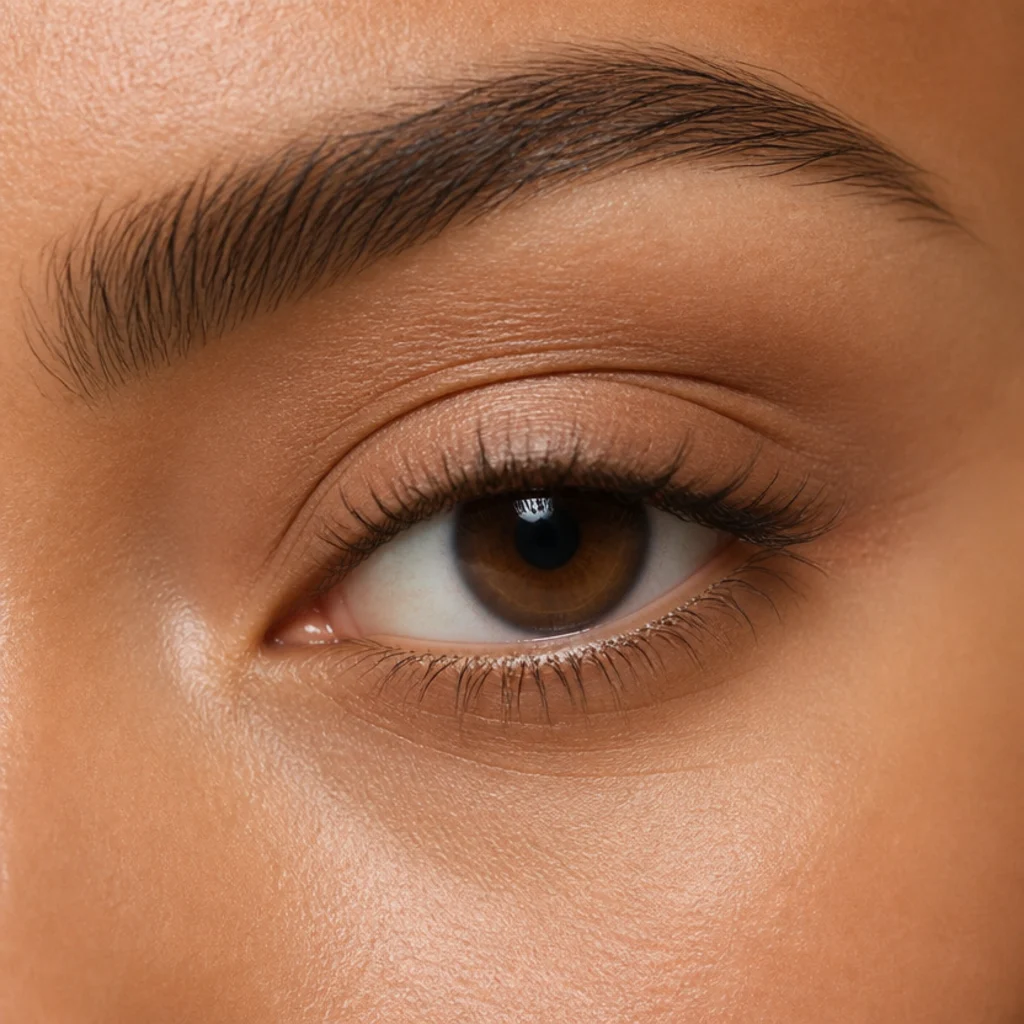
The crease is the fold where your mobile lid meets the softer skin below the brow bone, and its visibility is the first fork in the road. With eyes open and relaxed, look for a defined line tracing above your lash line. An obvious fold with a clear band of mobile lid beneath it means a visible crease, the hallmark of almond and round shapes, and why a cut-crease or a defined transition shade reads cleanly on you. If the fold sits so low that little or no lid shows when the eyes open, or if you see no distinct fold at all, you lean monolid or hooded, and shadow needs to sit higher to stay in view. Distinguish three states, not two: a full crease (fold plus generous lid), a partial or low crease (visible but with a thin lid strip), and a hidden crease (no lid at rest, only when you look down). Check both eyes; a crease that shows more on one side is extremely common and not worth worrying over. Pro tip: press a transition shade a few millimetres above where you think the crease sits and open your eyes. If it vanishes, your working crease is lower and more covered than it looked. Record what you actually see in plain words, then cross-reference with hooding and lid space shortly. Ask your artist how high to float a transition shade if your crease reads low.
04Look for a Hood Over the Lid {#step-4}
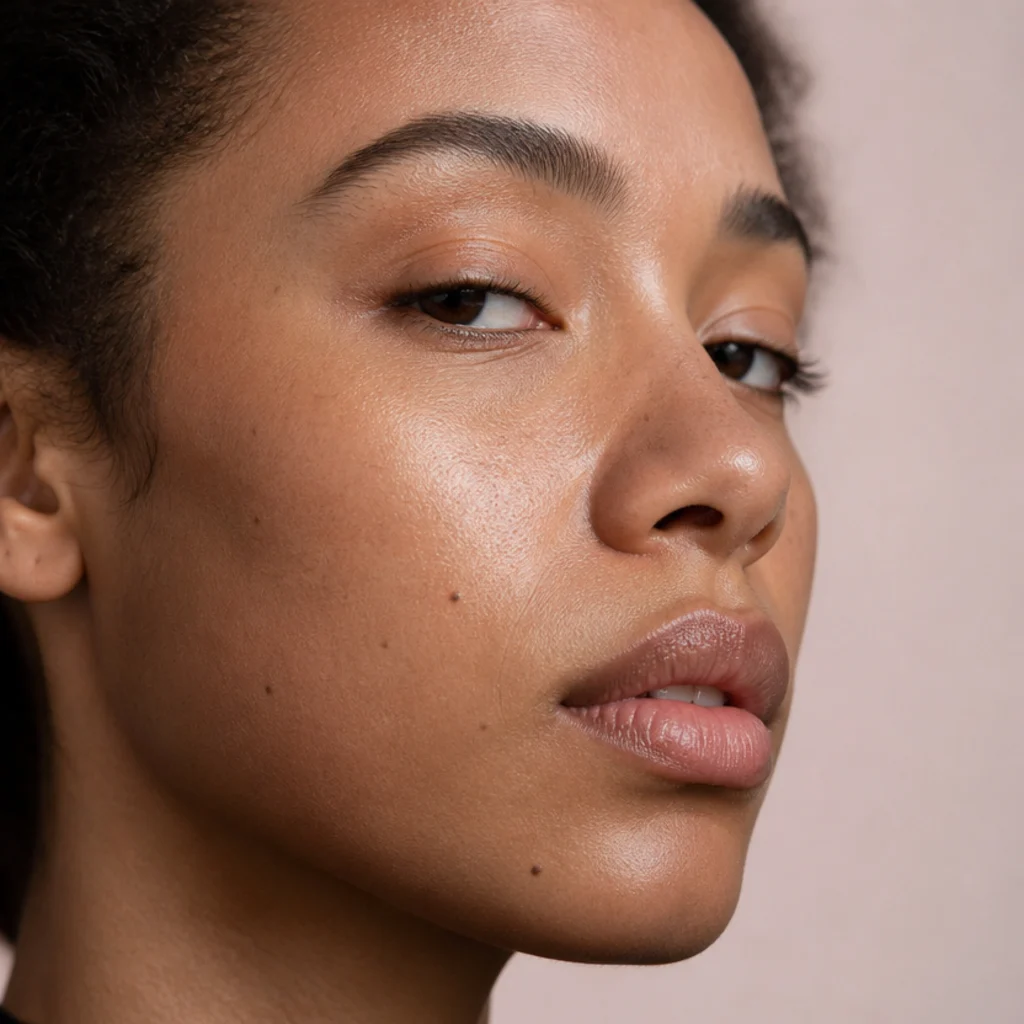
A hood is skin from the brow-bone area that drapes down over the crease and covers part of the mobile lid when the eyes are open. To spot it accurately, keep your eyes open, brows relaxed, and look straight into the mirror: if your crease is tucked out of sight under a soft fold rather than showing above the lashes, that's hooding. Now run the definitive check: look down slowly, then raise your gaze back to level without lifting your brows, and watch the strip of visible lid appear as you look down and disappear as you return to center. That vanishing lid space is hooding in action, and it's the question that trips up most people trying to sort almond vs hooded eyes. Note whether the hood is medial (heavier toward the inner corner), lateral (heavier at the outer third, which most often drops a wing), or even across; the location changes where liner survives. Hooded eyes are one of the most common shapes and are not a flaw. They simply mean liner and shadow belong slightly above the natural crease, blended upward, so color survives an open eye. Pro tip: draw a thin test line, open your eyes, and see how much shows. If it disappears, the hood is eating it and you need to build higher. Ask your lash tech about a lifting curl — an L or M curl clears a heavier hood better than a soft J.
05Read Your Outer Corners: Up, Down, or Level {#step-5}
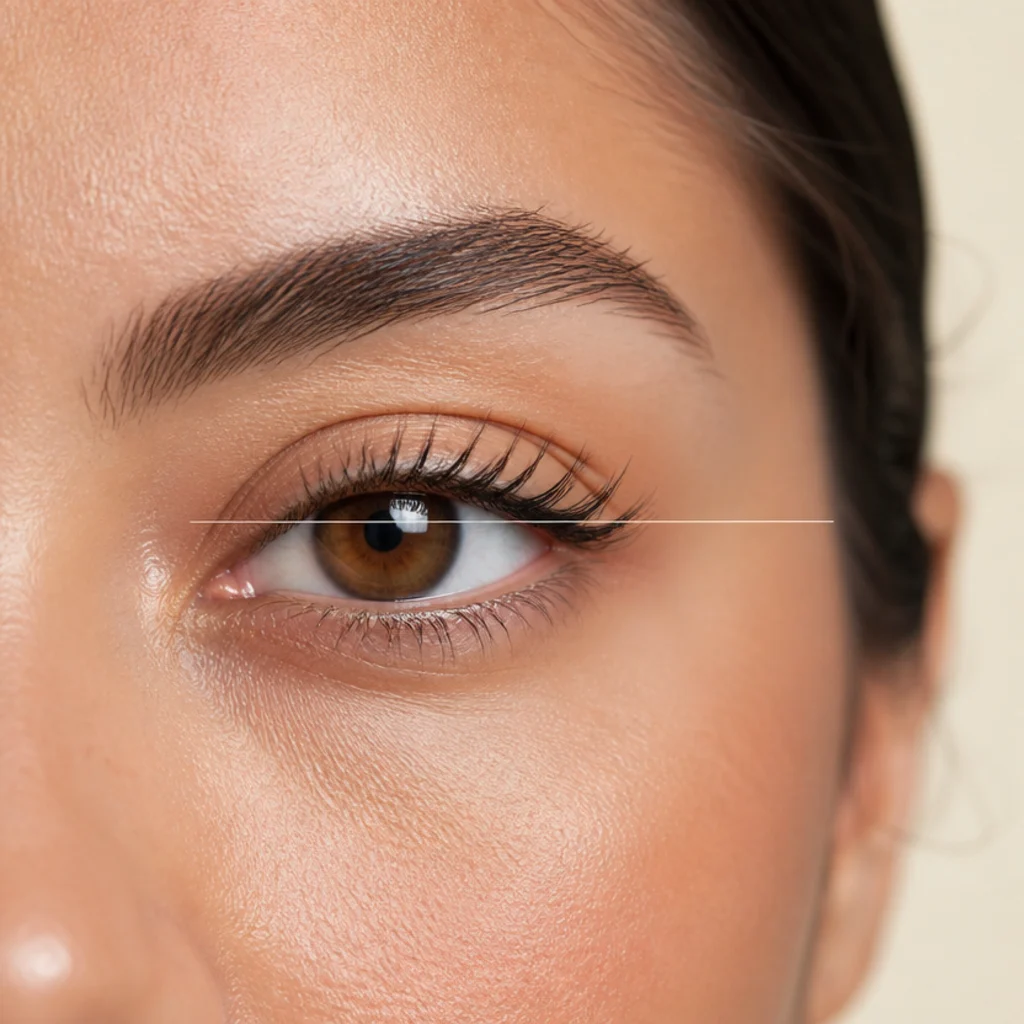
Corner direction drives liner angle more than any other single trait, so read it deliberately. Picture a horizontal line running from one inner corner straight across to the other, and notice where each outer corner falls relative to it. Outer corners sitting above that line mean upturned eyes, with a built-in lift that already does half the work of a cat-eye. Corners dipping below the line mean downturned eyes, which take beautifully to a lifted outer wing that visually raises the tail. Corners landing roughly level point toward almond or round, which you'll separate next. For an objective reading, hold a pen, ruler, or phone edge flat and level across your face at the inner-corner line and see which side of it your outer corners sit on. It removes the wishful guessing that has half the internet convinced they're upturned. Watch for a common combo: a mild downturn paired with a lateral hood, which double-drops the outer corner and needs both a lifted wing and higher placement. Pro tip: downturned corners look dramatically lifted when your wing aims toward the tail of the brow rather than straight out at the temple; a wing that runs parallel to the lower lash line only deepens the droop. Ask your makeup artist to angle your liner toward the end of the brow if your corners drop.
Save this to Pinterest — the outer-corner check is the one people forget when reading an eye shapes chart.
06Find the Outer Corner Angle for Almond vs Round {#step-6}
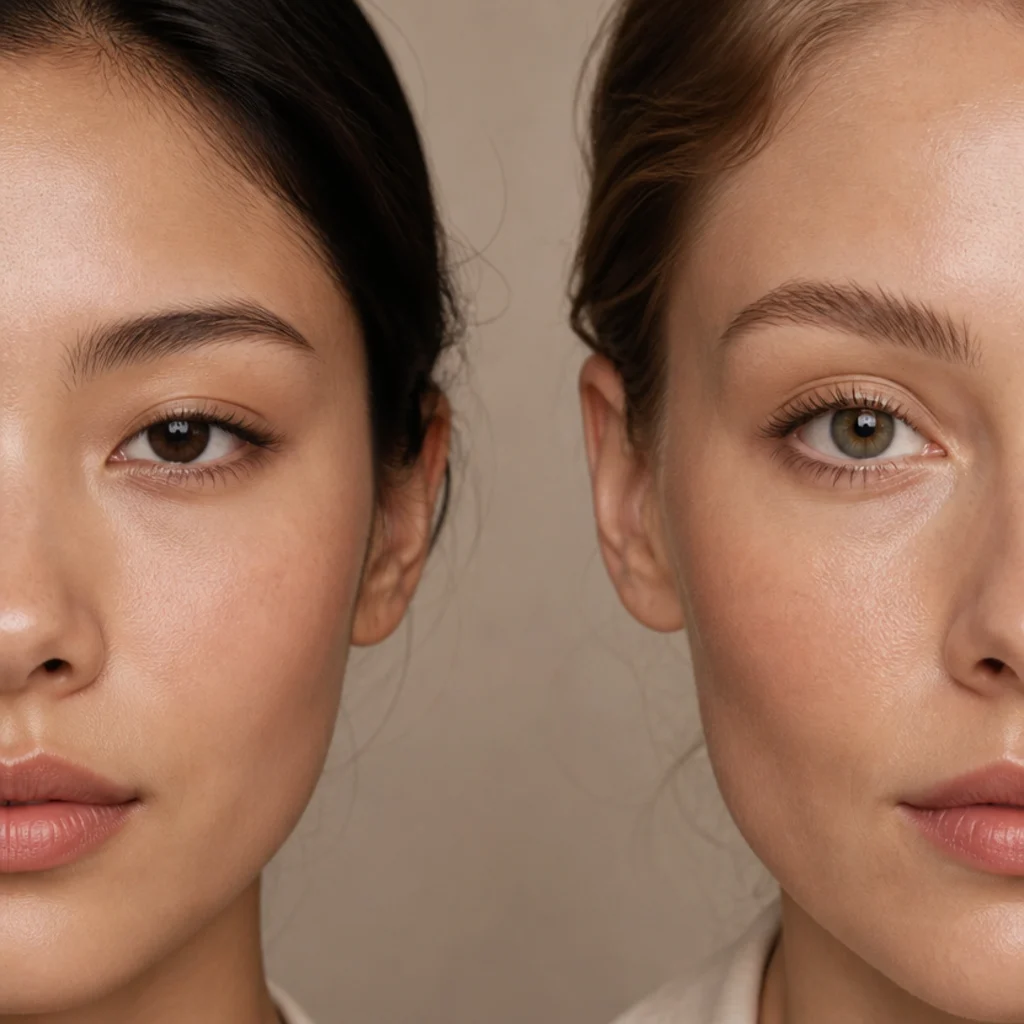
Almond and round eyes both typically show a visible crease and level corners, so the tiebreaker is proportion and taper. Almond eyes read longer than they are tall and narrow to a slightly pointed outer corner, echoing the nut they're named for; the overall impression is horizontal and elongated, roughly a width-to-height ratio wider than about two-to-one. Round eyes look more open and circular, with more curve to the lower lid, corners that feel soft rather than pointed, and often a sliver of visible white beneath the iris (which you'll confirm next). Ask whether your eye stretches outward and tapers (almond) or opens upward and outward in equal measure over a curved base (round). Neither is better or harder; they just want opposite emphasis. Almond eyes flatter a soft outward sweep of shadow that follows their natural length. Round eyes elongate when you deepen and slightly extend the outer corner to add horizontal pull, keeping the lid center matte rather than domed with shimmer that only rounds them further. Pro tip: to make a round eye read longer, keep the inner two-thirds light and concentrate depth and any lash length in the outer third; a small outer smoke does more than a full wing. Ask your lash tech for a "cat" or "squirrel" map to lengthen a round eye, or a "doll" map to open it further.
07Check for Visible White Below the Iris {#step-7}
Look straight ahead in a relaxed, forward gaze and notice whether a band of white sclera shows beneath the iris, the colored part of your eye. A visible strip of white under the iris at rest is a classic round or prominent trait and usually travels with a more open, circular overall look; artists sometimes call it "sclera show." If your lower lid sits right at the base of the iris with little or no white showing below, your eyes read as more level or almond. Treat this as a confirming clue rather than a category of its own. Alone it settles nothing, but stacked with corner direction and crease visibility it reliably tips a borderline read toward round. It also carries a practical styling signal: eyes showing white below the iris can start to look startled or overly wide if you ring the lower waterline in dark liner or pile on heavy lower-lash volume, so a softer lower lash and a smudged mid-brown beneath usually flatter more. Pro tip: to calm a very open round eye, tightline the upper lash line instead of the lower waterline, which adds definition without enlarging. Ask your artist whether a nude or soft-brown waterline suits you better than black, since black waterline shrinks the eye on some and defines it on others.
08Measure the Space Between Your Eyes {#step-8}
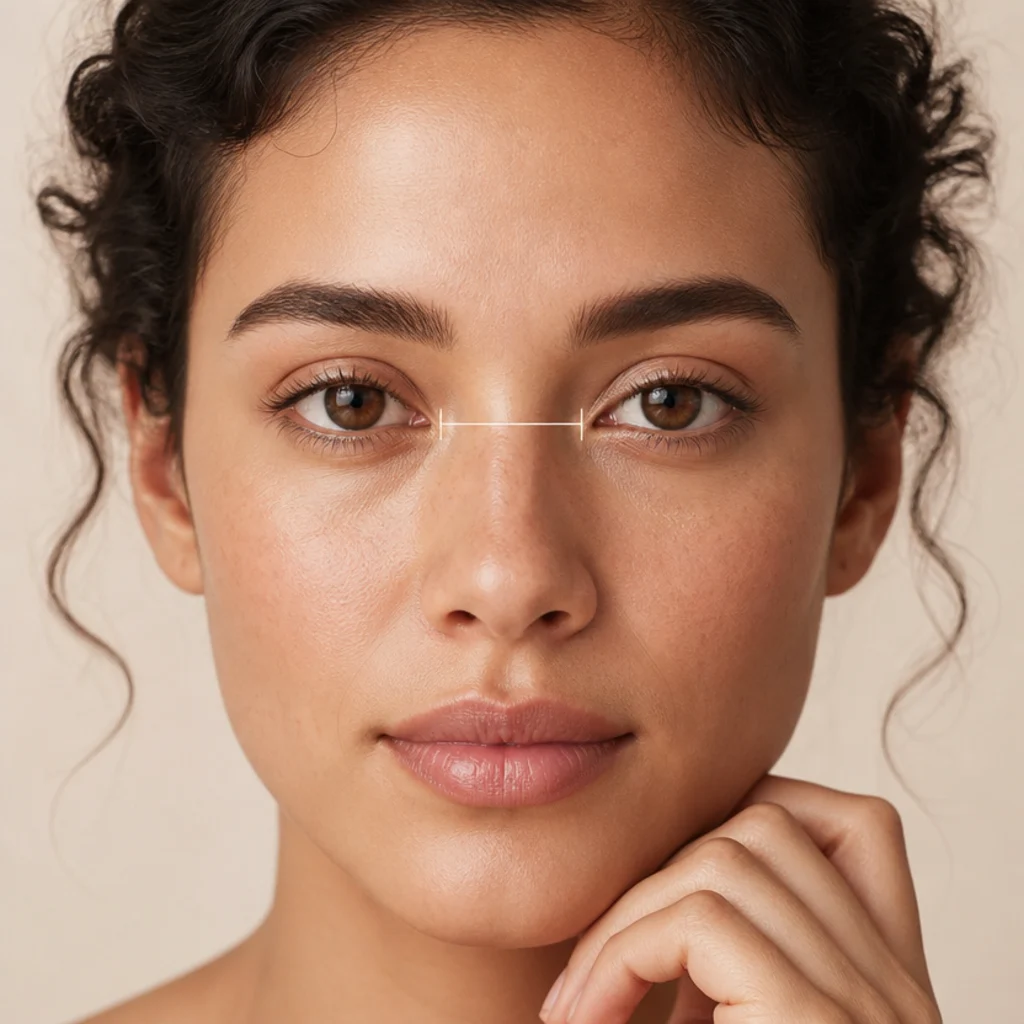
Spacing is a modifier that changes placement even when your core shape stays fixed, so measure it with a real unit rather than a hunch. Use the width of one eye, inner corner to outer corner, as your ruler, then mentally lay that same distance in the gap between your two inner corners. A gap of roughly one eye-width is average spacing. Noticeably less than one eye-width is close-set; noticeably more is wide-set. This reading is fully independent of almond, round, or hooded, yet just as decisive for technique. Close-set eyes look balanced and pulled apart when you brighten the inner corners with a light shade and drive all your depth and any wing outward. Wide-set eyes draw closer when you bring deeper shadow into the inner corner and keep the outer wing restrained rather than extended. Spacing also interacts with brows: a close-set eye reads even closer under brows that start too far in, so a fraction more inner-brow gap helps. Pro tip: an inner-corner highlight is a close-set eye's best friend and a wide-set eye's enemy, so flip the logic depending on which you are. Note your spacing right beside your shape so the final read reflects both dimensions, and mention it to your lash tech, since mapping shifts with spacing as much as with shape.
09Note Deep-Set or Prominent Lids {#step-9}
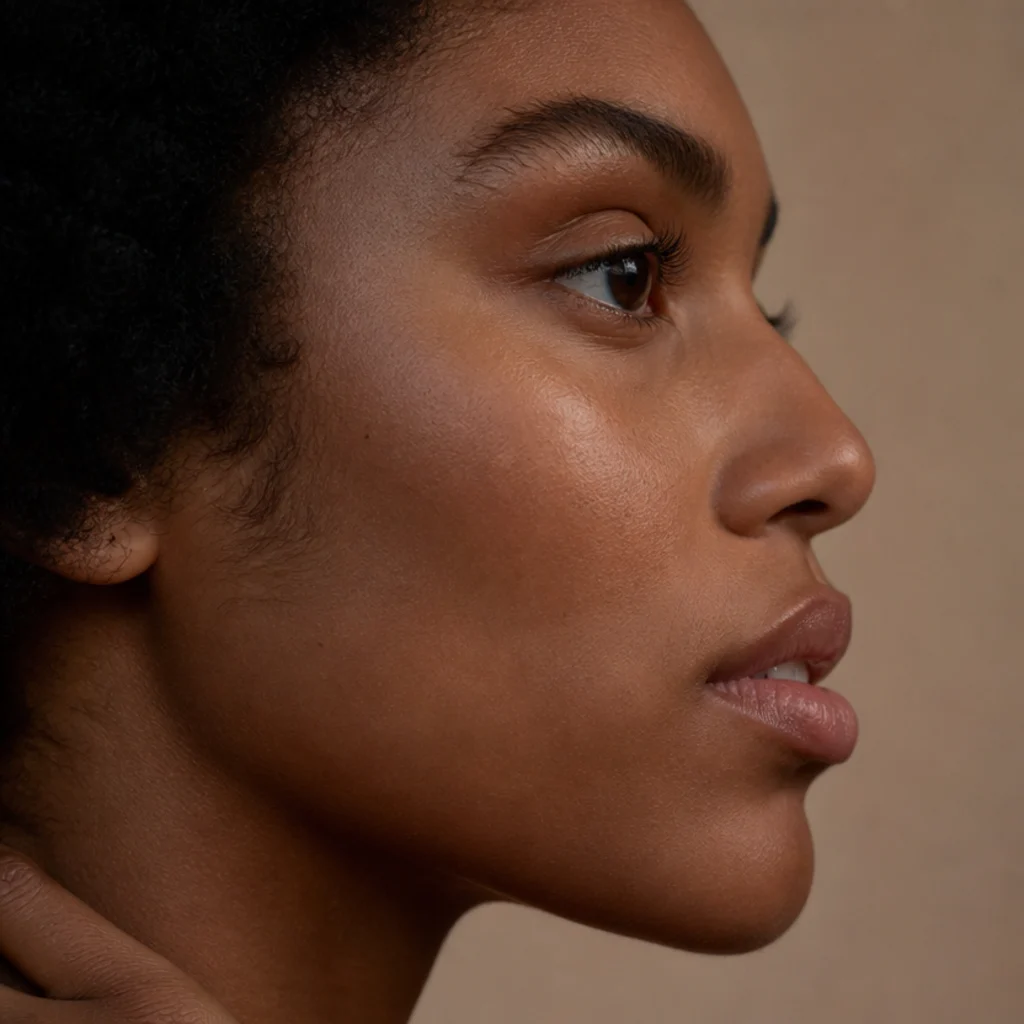
Set, or depth, is nearly impossible to judge head-on and obvious from the side, so turn your head and study your profile in a handheld mirror. If your eye sits back beneath a pronounced brow bone that casts its own natural shadow into the socket, you're deep-set: the lid recedes and the brow bone projects forward of it. If your lid appears to sit forward and full, taking up visible space and doming outward even when your eyes are closed, you're prominent or protruding. The two want opposite treatment. Deep-set eyes come forward and brighten with light, satin, or soft-shimmer shades on the mobile lid, and they overwork fast if you pack dark shadow into an already-shadowed crease. Prominent lids recede and calm with matte mid-tones and a defined but restrained crease, since heavy shimmer only amplifies the forward projection. Depth overlaps freely with every other shape, so treat it as a fine-tuning modifier layered on top of your primary read, not a standalone label. Pro tip: on deep-set eyes, place the crease color slightly lower and lighter than a chart suggests so it doesn't disappear into the natural socket shadow, and skip a heavy lower liner that closes an already-recessed eye. Ask your makeup artist to press a satin lid shade to bring deep-set eyes forward.
10Look at Your Inner Corner and Tear Duct {#step-10}
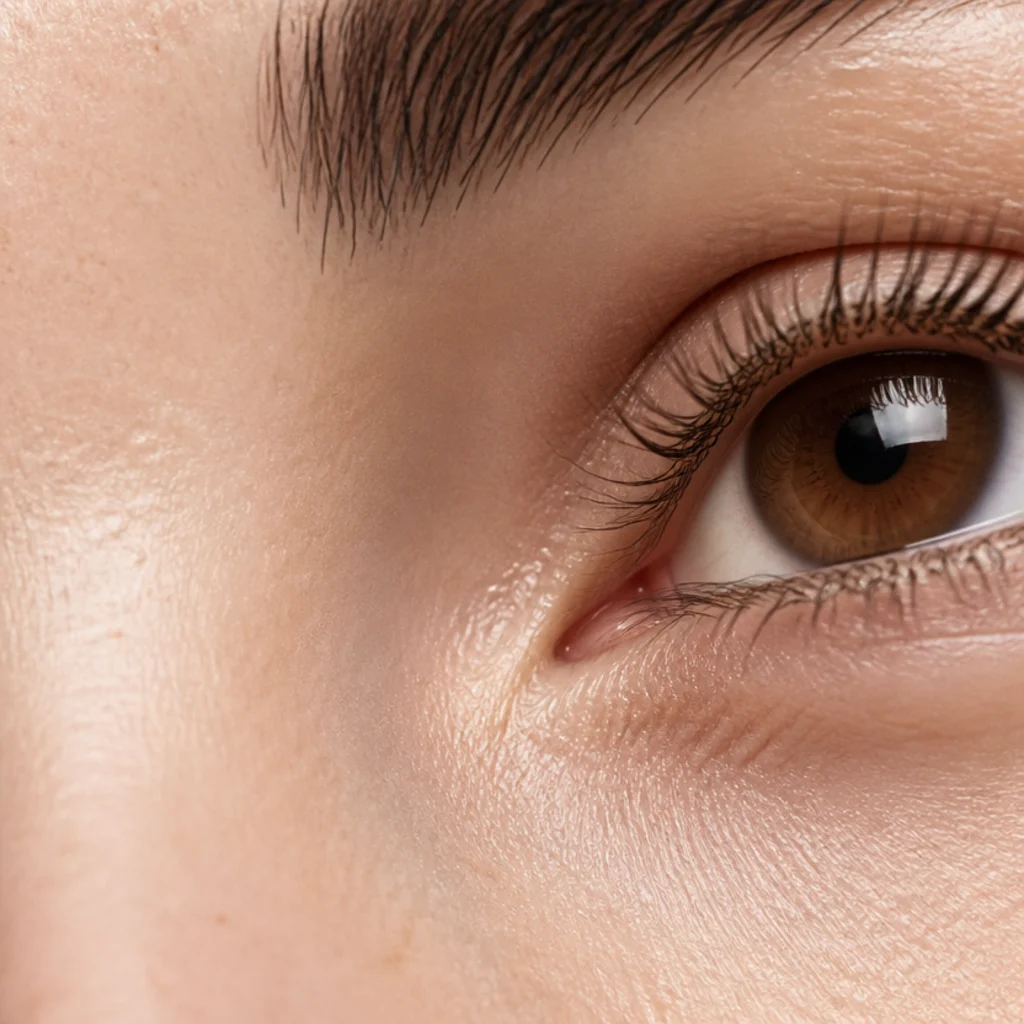
The inner corner holds a small, useful clue. Look gently, without pulling or stretching the skin (any tug rewrites what you see), and notice whether your tear duct is openly exposed or partly covered by a small vertical fold of skin. A fully visible, exposed tear duct is common in almond and round eyes and gives an inner-corner highlight a clean, open surface to sit on. A vertical fold that partly veils the inner corner, called an epicanthic fold, is a normal and widespread trait found across many monolid and hooded eyes and among people of countless backgrounds. It's a feature, not a flaw, and it varies in coverage from a faint crescent to a full veil. This detail governs how far your liner can wrap toward the inner corner before it smudges into the fold, and exactly where an inner-corner brightener reads without disappearing. On an epicanthic fold, stop your liner short of the inner corner and place the highlight on the visible portion just outside the fold. Pro tip: if inner-corner highlight migrates or smudges on you, set a light matte shadow over the shimmer, or lay the shimmer over a sticky cream base so it grips. Add this observation to your growing feature list, and ask your lash tech how far in they can safely map given your inner corner.
Save this to Pinterest for the next time you are decoding eye shapes explained in a rush.
11Check Your Lid Space When Eyes Are Open {#step-11}
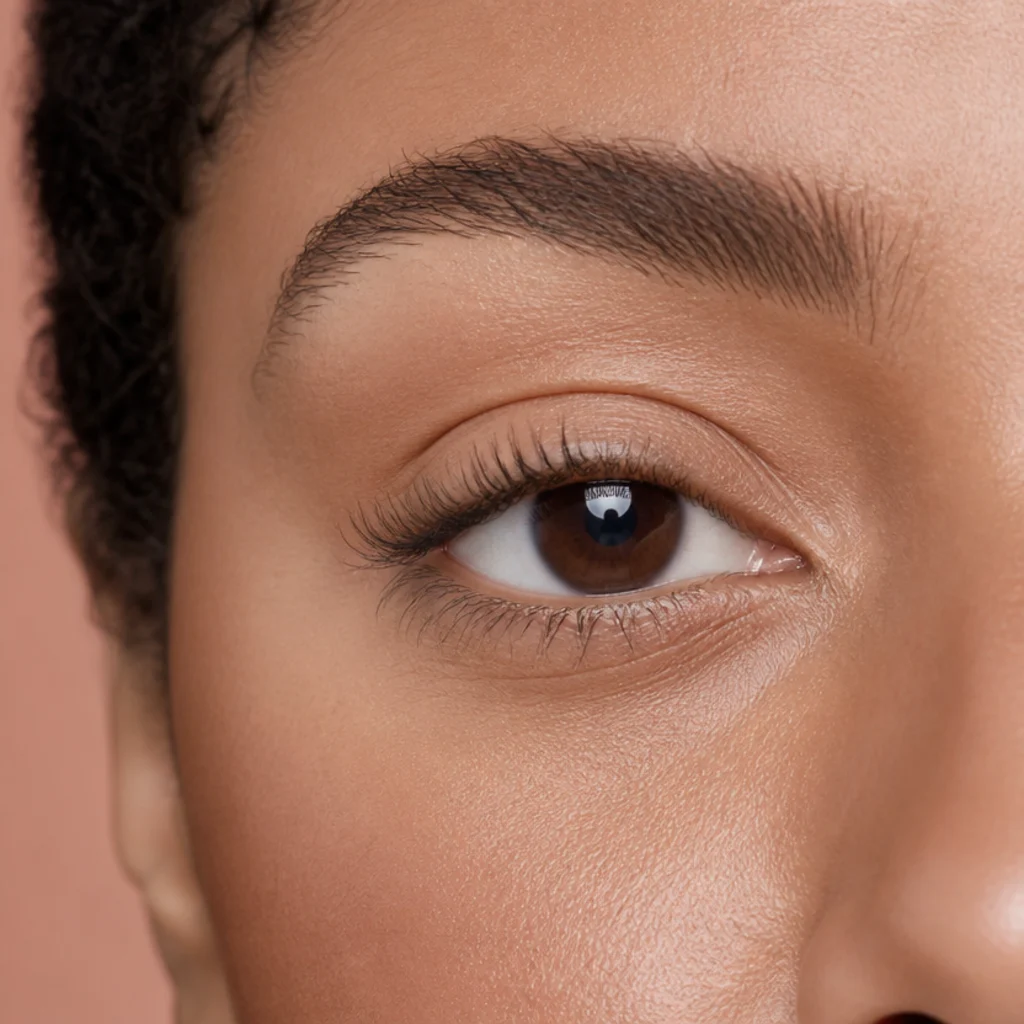
Mobile lid space is the amount of lid you can actually see between your lash line and your crease when your eyes are open, relaxed, and looking level, and it's the trait that most directly dictates technique. Read it looking straight ahead, never looking down, because looking down exposes a generous stretch of lid that vanishes in real life and fools people into overestimating their working canvas. Generous visible lid space gives shadow room to show and usually confirms an almond or round read, meaning a defined crease, a cut-crease, or a graphic lid look will all read clearly on you. Limited lid space, with the crease sitting low or tucked under a hood, points to hooded or monolid and demands a different playbook: place color noticeably higher than the anatomical crease, blend upward and outward so it survives an open eye, and favor a smoked or gradient effect over a sharp cut line the hood will swallow. Judge it in millimetres if it helps; a lid that shows only a hair of skin at rest wants an entirely different approach from one showing a centimetre. Pro tip: photograph the open, level eye and measure lid space on screen. It's far more honest than the mirror, where your brows keep cheating upward. Ask your artist to demonstrate exactly how high your color must float to survive an open eye.
12Read the Overall Silhouette in One Glance {#step-12}

Now pull back from the checklist and take in the whole shape at once, because looking at it as a whole often catches what feature-by-feature analysis misses. Soften your focus, let both eyes register as a single silhouette, and ask which one impression dominates: long and tapered, open and round, lifted at the corners, dropped at the corners, or veiled under a soft hood. This one-glance read works because it bypasses the temptation to over-index on one dramatic feature; a strong lash line, a bright iris, or a bold liner habit can hijack attention and skew a detailed read, while the silhouette sees past it. When your quick impression and your itemized notes agree, you're essentially at your answer and can move on with confidence. When they clash, say your notes scream hooded but the silhouette reads almond, that disagreement is a signal, usually that your brows lifted during the detailed pass or that one feature is louder than it is defining, and the next step helps you reconcile it. A useful trick: flip your reference photo horizontally, which strips away familiarity and lets you see the raw shape as a stranger would. Pro tip: ask a friend to describe your eye shape in one word before you share your findings; an outside first impression is a useful tiebreaker. Pose the same one-word question to your makeup artist at the start of a session.
13Combine Traits Against an Eye Shapes Chart {#step-13}
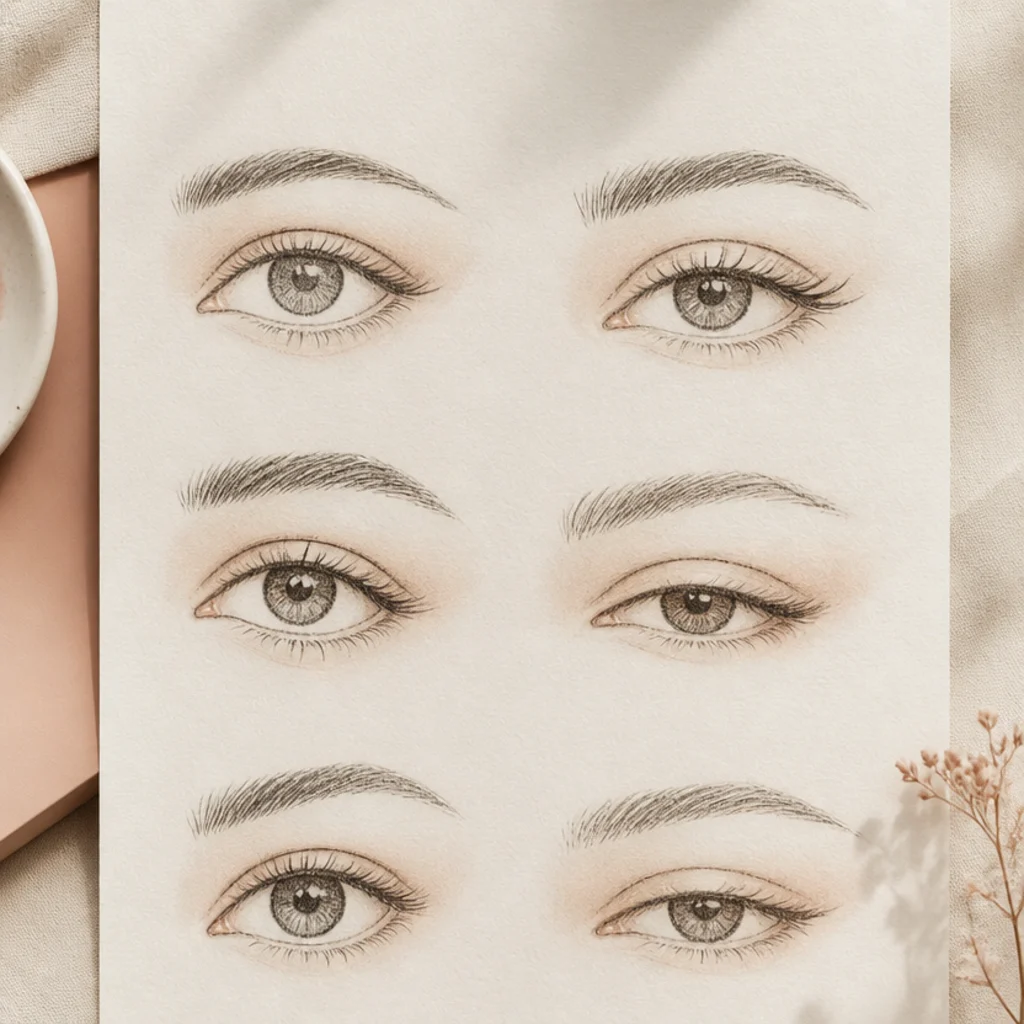
Now assemble everything into a single verdict. Line up your seven core notes — crease visibility, hooding, corner direction, roundness, depth, spacing, and lid space — and read them against an eye shapes chart as a cluster rather than one trait at a time. Six shapes cover the vast majority of people: almond, round, hooded, monolid, upturned, and downturned. Spacing (close, average, wide) and set (deep, average, prominent) are modifiers that layer on top of whichever primary shape you land on, and the strongest reads name all three: a primary shape, a secondary lean, and two modifiers. Match your recorded cluster to the closest chart entry, and expect to sit near two categories rather than dead-center in one; almond-with-a-slight-hood and round-and-close-set are far more common than any textbook singleton. That overlap isn't a failure of your reading. It's how real eyes are built, and the categories are guidelines, not rules that bind you across eye shapes and skin tones. A chart exists to make your makeup choices faster, so let your own features lead and treat the label as a tool you can revise. Use the table below to convert each primary shape into its highest-impact first move.
| Primary shape | Crease at rest | Corners | Lid space | First-move placement | Liner cue |
|---|---|---|---|---|---|
| Almond | Visible, defined | Level, tapered | Generous | Soft outward sweep along the length | Thin line, optional soft wing |
| Round | Visible | Level, curved base | Generous | Deepen and extend the outer corner | Elongate outward, keep center thin |
| Hooded | Hidden under a fold | Any | Reduced when open | Float color above the natural crease | Build tail higher; check with eye open |
| Monolid | Little or none | Any | Minimal | Gradient or slightly thicker line, blend up | Progressive thickness, no sharp cut |
| Upturned | Usually visible | Lifted above line | Moderate | Follow the natural lift, keep it soft | Barely-there wing; do not over-flick |
| Downturned | Usually visible | Dropped below line | Moderate | Wing angled up toward the brow tail | Lift the tail; never trace the droop |
14Map Liner and Lashes to Your Shape {#step-14}
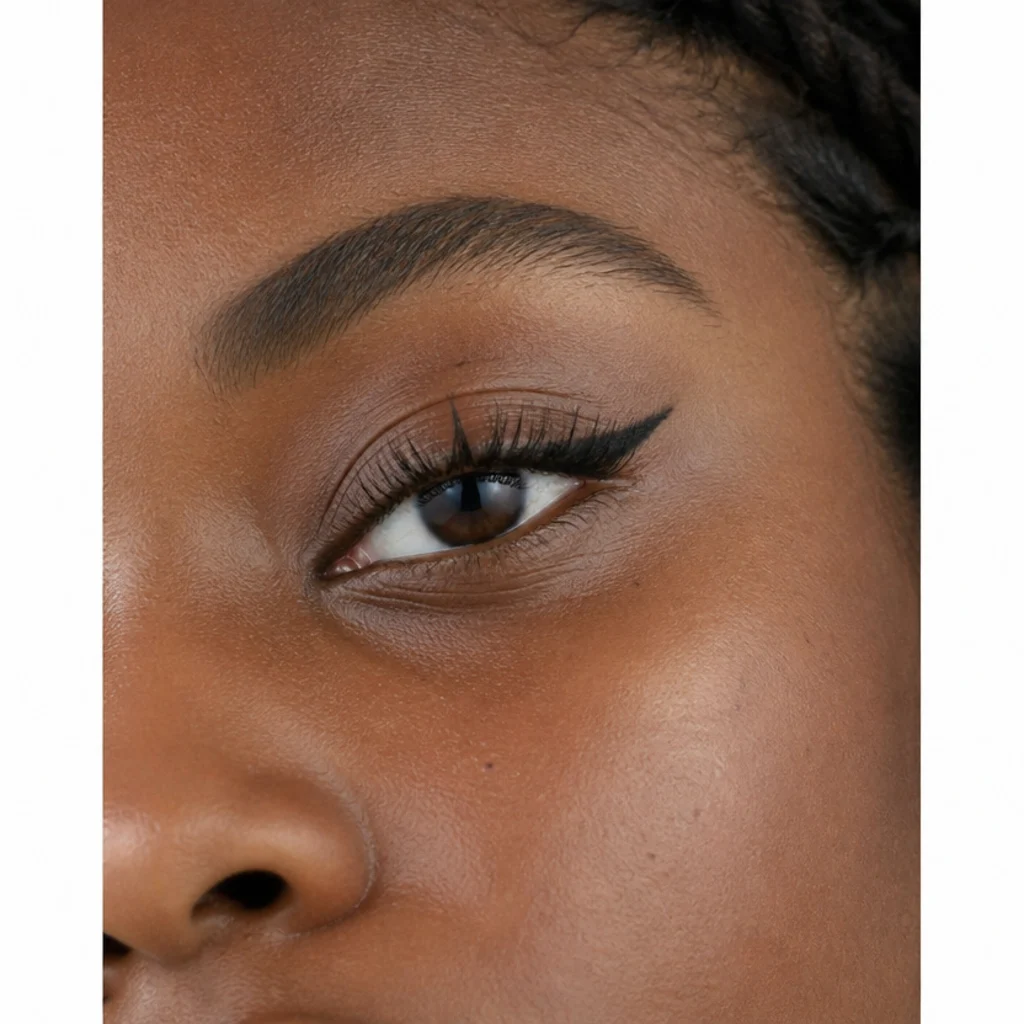
Translate your verdict into technique, where the payoff actually lives. Lash mapping eye shapes means distributing length and curl deliberately instead of applying one uniform strip: concentrate your longest fibers (think 12 to 14 mm) in the outer third for a lifted, elongated effect on almond and downturned eyes; keep length even and centered (10 to 11 mm through the middle) to open round or close-set eyes; and reach for a stronger lifting curl on hooded eyes, an L, M, or CC curl set slightly higher, so the fringe clears the fold instead of pressing into it. For liner, match the natural architecture rather than fighting it. Upturned eyes need only a soft line tracing their existing lift; overdoing the wing tips them into a harsh, feline look. Downturned eyes love an outer wing angled up toward the tail of the brow, which visually raises the dropped corner. Never run the line parallel to the droop. Hooded eyes do best with liner built slightly above the natural crease and checked with the eye open. Monolid eyes carry a smoked gradient or a bold, progressively thicker line beautifully, blended upward so it reads at full open. Pro tip: always draw liner, open your eyes, and assess at rest before committing to length or thickness. The closed-eye line lies. When you book, hand your lash tech your bare-lid photo plus your written shape-and-modifier note so the map starts from data, not guesswork.
15Save Your Result and Note Your Overlaps {#step-15}

Finish by recording what you found so you never run the whole process cold again. Write your primary shape, the secondary shape you overlap with, and your two modifiers, spacing and set, in one short line you can screenshot: for example, "hooded, slightly almond, close-set, average depth." Snap a bare-lid reference photo in the same neutral daylight you used today, straight-on and three-quarter, and date it, because lids shift gradually and a dated baseline lets you actually see change rather than imagine it. Keep this note clipped to your saved eye shapes chart so liner, lash, and shadow decisions become near-instant on busy mornings; some readers save it as a phone wallpaper folder cover or a pinned note. Revisit it once a year, or sooner after any noticeable change from age, weight, thyroid shifts, or a new brow shape that alters how your hood sits. These categories overlap by design and are guidelines rather than a permanent verdict. Your goal here was clarity, not a lifelong label, and the same eye can read differently once brows are groomed or lashes are lifted. With your traits named and written down, makeup by eye shape turns into a small set of fast, flattering choices. Pro tip: store the note in the same album as your favorite finished looks, so you can reverse-engineer the placement that worked and repeat it exactly.
Pro Tips from the Editor
- Read your eyes in the same neutral, slightly side-directional daylight every single time; changing the light source is the fastest way to "change" your shape and second-guess a correct read.
- Photograph the open, level eye and measure lid space and corner direction on screen. The camera doesn't lift its brows the way you reflexively do at a mirror, so the photo is the more honest witness.
- The look-down-then-up test is the most reliable hooding check; watch the lid space appear and vanish rather than trusting a static straight-on look that a lifted brow can fake.
- Treat spacing and set as separate axes from shape. Two people can both be textbook "almond" and need opposite placement because one is close-set and deep, the other wide-set and prominent.
- Note where a hood sits — medial, lateral, or even — not just that you have one. A lateral hood is what silently swallows wings and lash length at the outer third.
- Flip your inner-corner logic by spacing: brighten inner corners to push close-set eyes apart, and darken them to draw wide-set eyes together. The same shimmer helps one and hurts the other.
- Draw any liner, then open your eyes and judge at rest before you commit. A line that looks flawless on a closed lid can disappear or distort the moment you look level.
- Bring a dated bare-lid photo plus your written shape-and-modifier note to any lash, brow, or makeup appointment so the professional maps from real information instead of an on-the-spot guess under salon lights.
How to Choose / Get the Look
Once you know your shape, let it guide rather than restrict you, and work in a fixed order of priority so decisions cascade instead of competing. Start with placement height, the highest-impact choice: hooded and monolid eyes want color lifted well above the natural crease and blended up so it survives an open eye; almond and round eyes have the lid space for a defined or cut crease; downturned corners lift with an upward outer wing aimed at the brow tail; upturned corners need only a soft line following their existing lift. Layer in your modifiers next. Close-set eyes balance when you brighten inner corners and push depth and any wing outward; wide-set eyes draw together with deeper inner-corner shadow and a restrained outer edge. Deep-set lids come forward with light satin shades and a lower, lighter crease; prominent lids calm with matte mid-tones and minimal shimmer. Then choose finish and intensity last, since the same placement reads soft in a matte taupe and dramatic in a dark shimmer. Decide the daytime-to-evening dial only after the map is set.
For lashes, apply the same shape-first logic through lash mapping: concentrate length where it flatters (outer third to lengthen and lift almond and downturned eyes, even and centered to open round and close-set eyes, a higher, stronger lifting curl to clear a hood) rather than one uniform strip, and match volume to your natural lash density so the set stays wearable. If you're booking a lash tech, brow artist, or makeup artist, bring your bare-lid reference photo and say it plainly: "My eyes read as hooded with close spacing — what mapping, curl, and liner angle suit that?" That single sentence hands a professional real, actionable information and saves consult time. A gentle safety note, not a medical claim: keep tools and brushes clean, avoid applying product directly onto the waterline of a sensitive or irritated eye, patch-test new lash adhesives well before an event, replace mascara every few months, and see an eye-care professional for any persistent redness, watering, or irritation rather than troubleshooting it with more makeup.
Frequently Asked Questions
Can my eyes be more than one shape?
Yes, and most are. Eye shape categories overlap by design, so it's common and completely normal to be almond with a slight hood, round and close-set, or downturned with a monolid tendency. The six shapes are guidelines, not rigid boxes. Note your two closest matches plus your spacing and depth modifiers, and choose techniques that suit the blend rather than chasing one perfect label. A strong read names a primary shape, a secondary lean, and two modifiers; that combination, not a single word, is what actually drives placement.
How do I tell almond vs hooded eyes apart?
Run the look-down-then-up test at rest. If a fold of skin drapes over and hides your crease when your eyes are open, and a strip of lid appears when you look down then vanishes when you look back to level, you lean hooded. If your crease shows clearly at rest and the eye tapers to a soft point at the outer corner with generous visible lid space, you lean almond. Keep your brows relaxed throughout, since lifting them hides a hood and fakes an almond read. Many people are honestly both: an almond base with a light hood that only shows at the outer third.
Does eye shape ever change over time?
It can shift gradually. The skin around the lids naturally loses elasticity with age, which can increase or create hooding, and factors like weight changes, sleep, thyroid activity, and fluid retention affect how full or covered lids look day to day. Cosmetic changes like a brow lift, lash lift, or blepharoplasty can shift the read more suddenly. Nothing changes overnight on its own, though, so a dated bare-lid photo and a yearly re-check keep your makeup by eye shape choices current without overthinking it.
Do I need special tools to find my eye shape?
No. A table mirror, a handheld mirror for your profile, and natural light are all you need. A straight edge like a pen, ruler, or phone held level across your inner corners confirms whether your outer corners sit above or below the line, and your phone camera is the most useful "tool" of all, since it captures a resting face honestly and lets you measure lid space and corner direction on screen. Skip fisheye selfie lenses held close, though; they distort proportion. Step back and zoom instead.
Is one eye shape better for makeup than another?
No. No shape is better, easier, or more limited than another; each simply flatters a different set of techniques. An eye shapes chart exists to match the right liner angle, lash map, and shadow placement to what you have, across every eye shape, skin tone, and lid texture. A hooded or monolid eye isn't harder to do. It just follows different placement rules than an almond or round one, and once you know those rules it becomes just as fast.
How do I find my eye shape if I have an epicanthic fold or monolid?
Read the same traits, but weight lid space and placement height most heavily. With a monolid or a prominent epicanthic fold, you'll often see little or no visible crease at rest and reduced lid space when open, so color needs to float higher and blend upward, and a smoked gradient tends to read better than a sharp cut crease. Stop liner short of the inner corner so it doesn't smudge into the fold, and place any inner-corner highlight on the visible skin just outside it. Prime the lid and set liner well, since a fuller lid presses product upward through the day. These are common, widespread traits with their own flattering playbook.
What eye shape suits a cat-eye or winged liner best?
Almond and upturned eyes wear a classic cat-eye most easily, since their level-to-lifted corners and visible lid space give the wing a clean surface to sit on. Downturned eyes look wonderful in a wing too, as long as you angle it up toward the brow tail to counter the drop. Hooded eyes can absolutely do a wing, but draw it with the eye open and build the tail slightly higher so the hood doesn't fold over and hide it — a stamped or "floating" wing traced above the fold often works best. Round eyes get an elongating effect from a wing that extends and deepens the outer corner rather than lifting sharply.
Why does my eye shape look different in photos than in the mirror?
Usually because of light and expression, not because your eyes actually differ. Overhead or harsh light deepens the crease and can fake a hood or deep-set look, while flat front light erases depth. Lens choice matters too: a close phone selfie exaggerates whatever is nearest the camera. People also tend to relax more honestly for a camera than at a mirror, where the reflex to lift the brows kicks in. For the truest read, photograph yourself from a slight distance in soft, side-directional daylight with a relaxed forehead, and trust the resting-face photo over the mirror.
Does eyebrow shape affect how I read my eye shape?
It can influence the impression without changing the underlying eye. A heavily arched or high brow can make lids look more open and hooding less obvious, while a low or straight brow can crowd the lid and exaggerate a hood. Because the brow-bone-to-lid relationship shapes hooding and set, read your eyes with your brows at their natural resting position and, ideally, freshly groomed to their usual shape, so a temporary brow state — overgrown, over-plucked, or mid-regrowth — doesn't skew your verdict. If you recently changed your brow shape, give it a beat before you finalize the read.