15 Dyson Airwrap Before and After Hair Results
Fifteen styling results mapped from barely-there smoothing to full bombshell volume, each one annotated with the hair type it flatters, the realistic upkeep, and the exact words to give your stylist. Every look is an original illustrative example built to show how a finish can read across textures, not a real client photo.
 Edited by Lena Rose · Published July 11, 2026 · 25 min read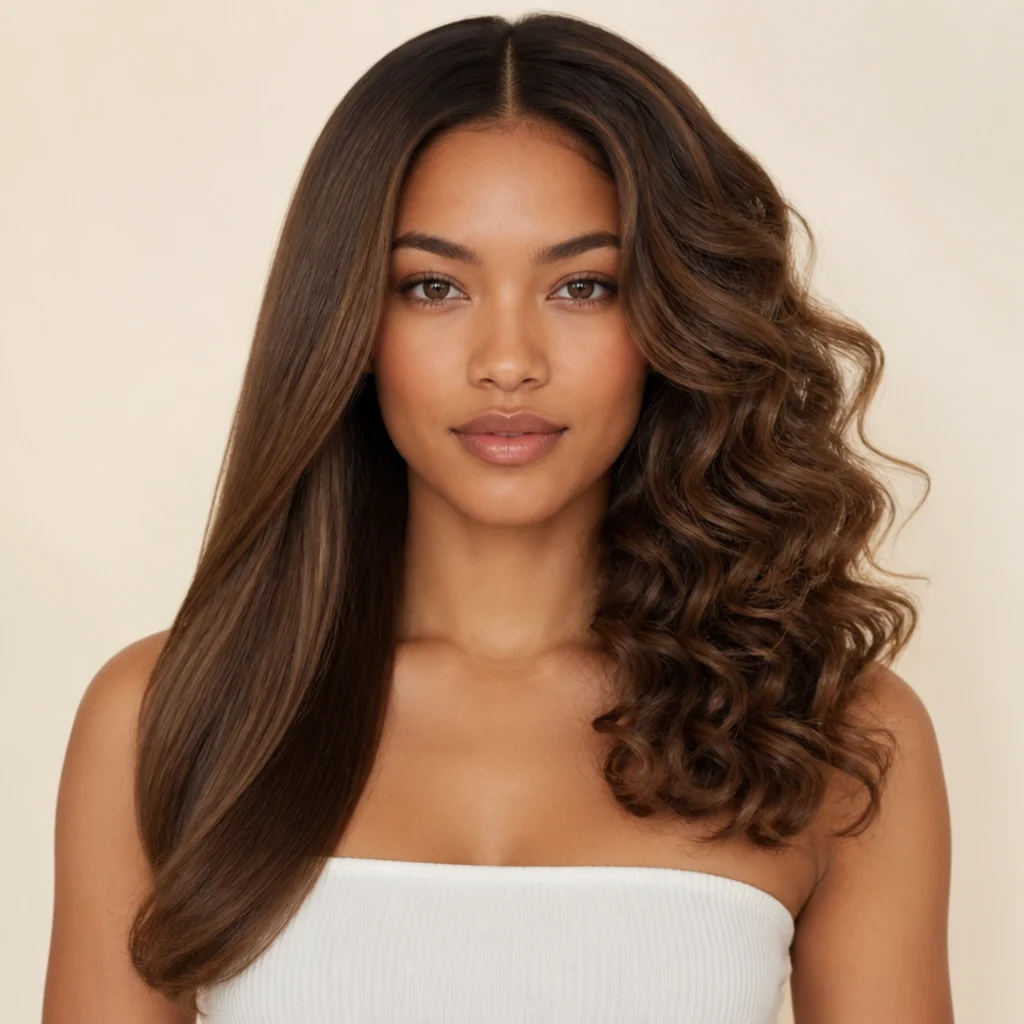
Quick Answer
- Best for: Anyone deciding how a Dyson Airwrap curls result might translate on their own texture, from fine and flat to thick, coarse, and tightly coiled, before committing to the tool or a salon appointment.
- Who might skip it: Very short crops with too little length to wrap, and anyone who wants a permanent tight spiral that survives a workout, sleep, and rain untouched. A curling iron or a set holds those longer.
- Maintenance: Low to moderate. Softer looks refresh with dry shampoo and a re-wrap of two face-framing pieces; the big-volume finishes need overnight protection to survive to day two.
- Difficulty: Beginner to advanced. Smoothing and beach bends are forgiving; sky-high volume, Old Hollywood waves, and full bombshell curls reward practice with section control.
- Cost: Variable. Multi-stylers of this class sit in the premium tier, well above a basic wand; a salon blowout to match a look is typically a mid-range service that varies by region and hair length.
- Wear time / longevity: Roughly a day for loose bends and blowout body, up to two or three days for defined curls on curl-friendly hair with pineappling or loose pin-curls.
- Standout variation: The bouncy 90s bombshell blowout (look 12) for the most obvious before-and-after drama on medium to thick hair.
- How to ask your stylist: Bring one clear reference photo, name the finish and its size ("soft body," "defined ringlet," "open beach bend"), and say where you want volume versus smoothness.
In This Guide
- Sleek Smoothing Reset
- Soft Root Lift
- Barely-There Beach Bend
- Air-Dried to Defined S-Waves
- Frizz-Calmed Natural Wave
- Face-Framing Money Pieces
- Undone Tousled Lob
- Glassy Straight Finish
- Springy Ringlet Curls
- Voluminous Half-Up Body
- Old Hollywood Side Wave
- 90s Bombshell Blowout
- Textured Coily Bounce
- Sky-High Root Volume
- Full Bold Bombshell Curls
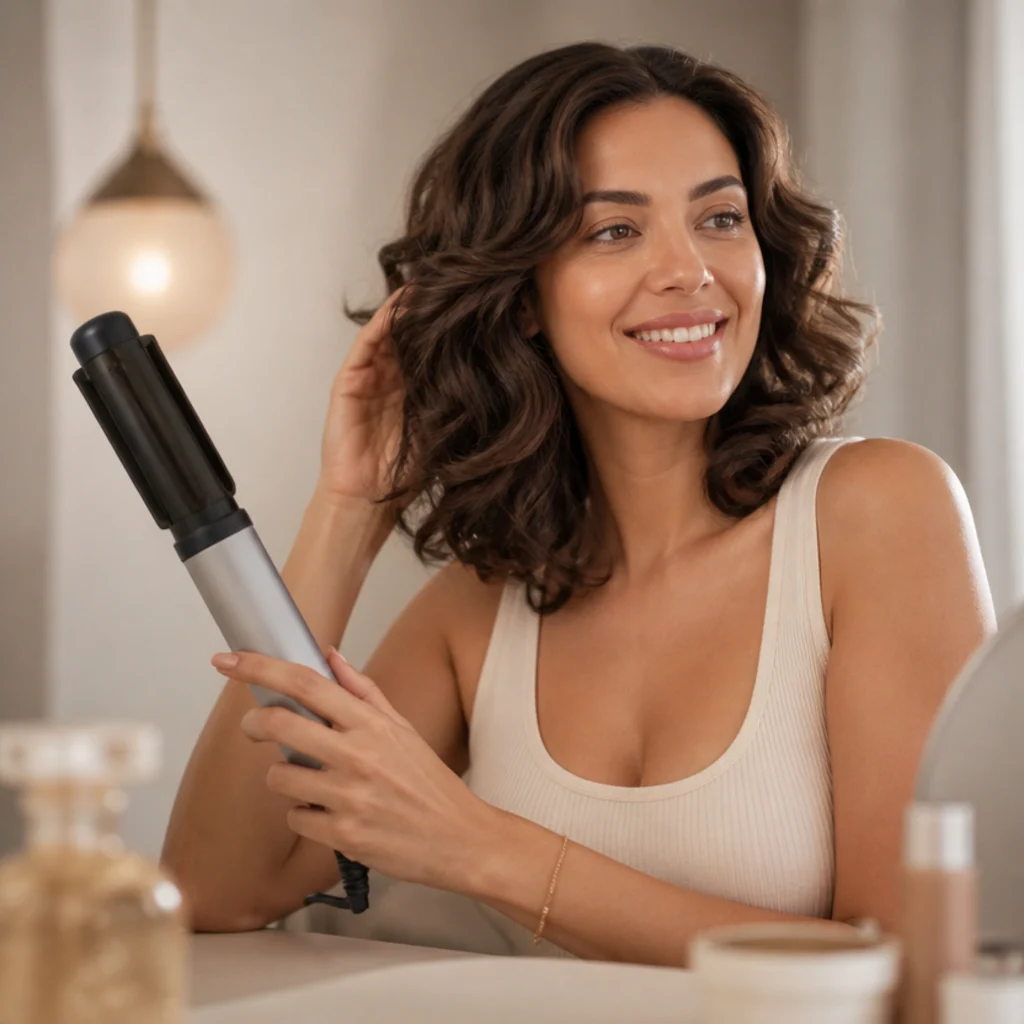
Dyson Airwrap curls sit in an unusual middle ground: more body than a flat iron, softer than a spiral wand, built on airflow that curls damp-to-dry hair with lower direct-heat exposure than a barrel pressed against the strand. That's exactly why the before-and-after searches spike — the finish is hard to picture until you see it on a texture like yours. This guide lines up 15 illustrative results as a deliberate subtle-to-bold progression, so you can trace how far one tool travels, from a quiet smoothing pass to red-carpet volume. Instead of promising a single universal outcome, each entry flags the face and hair type it flatters, the honest upkeep window, the difficulty, and the precise phrasing to hand a stylist. You'll also see where the dyson airwrap vs curling iron question actually changes your decision, and where it's just noise. The dyson airwrap aesthetic that fills mood boards is partly styling and partly a tidy vanity, so we cover dyson airwrap storage too. Read it as a lookbook: choose the finish that matches your length, density, and the effort any given morning deserves.
01Sleek Smoothing Reset
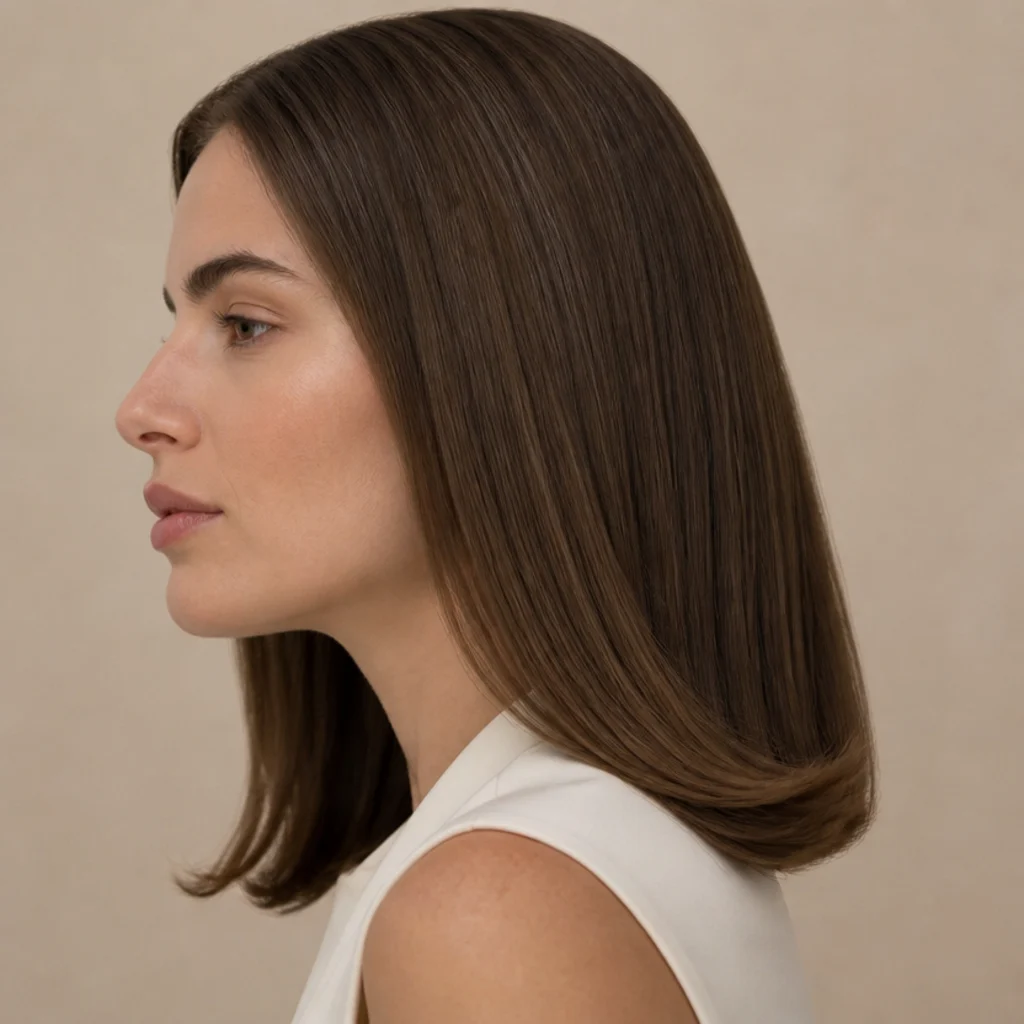
The gentlest point on the scale: a smoothing pass that removes frizz and flyaways without adding curl. In a before-and-after it reads as composure rather than change, a puffy, halo-lit air-dry settling into a flat-but-alive finish with a whisper of inward bend at the ends. Fine to medium hair that wants polish takes to this well, especially cool or neutral shades where shine shows most, and it's a solid fix for anyone growing out layers who needs disconnected pieces to sit as one length. Work the smoothing brush in downward passes on nearly dry hair, then finish the last inch with a cool shot to lock the cuticle flat and boost gloss. Maintenance is minimal, and a silk pillowcase carries it two or three days; skip heavy oils, which drag fine hair down. It's low difficulty, which makes this a good first result to try. Ask your stylist for a "soft smoothing blowout, no curl, just controlled ends and a glassy surface."
02Soft Root Lift
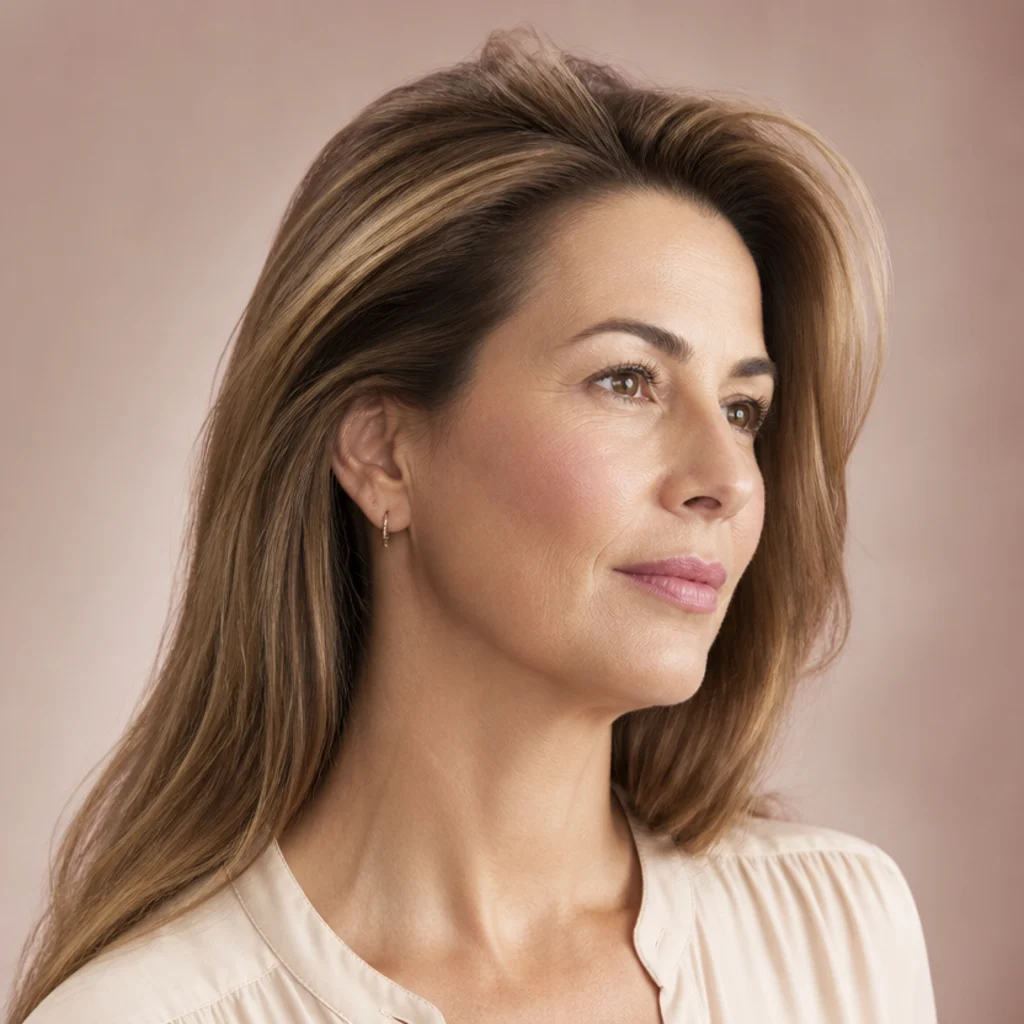
Here the whole story happens at the scalp. Flat, close-to-the-head roots lift into a cushion of volume that reads as density without a single visible curl through the lengths. Fine, low-density, and postpartum-thinning hair benefits most, along with anyone whose style collapses by midday. The trick is direction: lift each root section up and slightly toward the back of the crown, not straight up, so the cushion holds shape as it relaxes. The before sits heavy and parted flat; the after has shadow and buoyancy at the crown while the lengths stay smooth. Maintenance is easy but not permanent, since lift softens through the day; a light mist of root-focused dry shampoo, flipped and shaken at the crown, revives it in seconds. A mousse at damp roots before styling buys extra hours of hold. This stays beginner-friendly. Ask your stylist for "root volume only, lengths left smooth, lifted back off the face."
03Barely-There Beach Bend
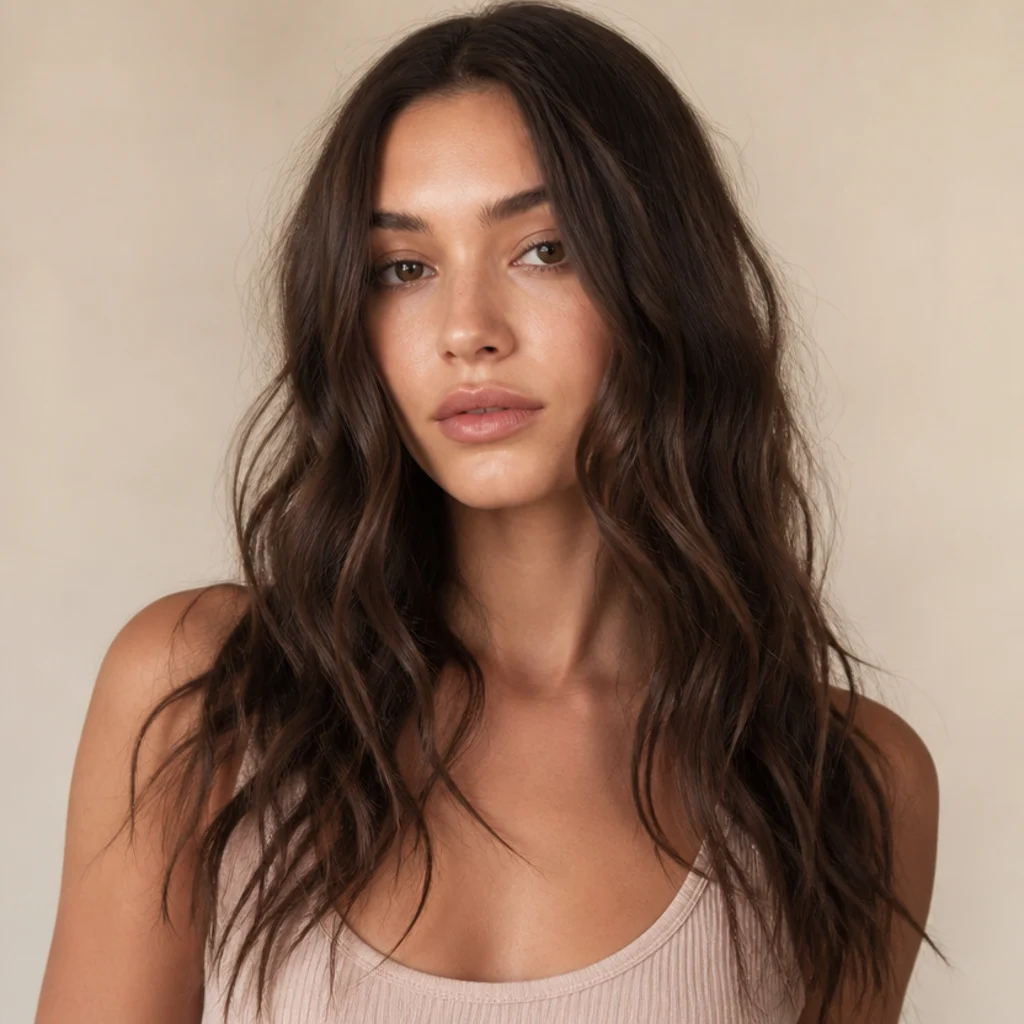
A whisper of texture: open, airy bends rather than defined curls, the kind that look like you slept on loose damp braids. The before-and-after travels from stick-straight or flat to a relaxed, lived-in wave with deliberate gaps between each bend. Long, heavy hair that drops tight curls within the hour is the smart match here, since a wide, loose bend fights gravity far better than a spiral does. Wrap larger sections, leave the last inch or two out of the barrel, and alternate curl direction so nothing clumps into a uniform pattern. It flatters square and heart face shapes by softening the jaw and temples. Upkeep is low and the look ages well into day two, when a spritz of texture spray and finger-raking make it better, not worse. It's beginner difficulty. Ask your stylist for an "undone beach bend, loose and airy, alternating directions, no ringlets."
04Air-Dried to Defined S-Waves
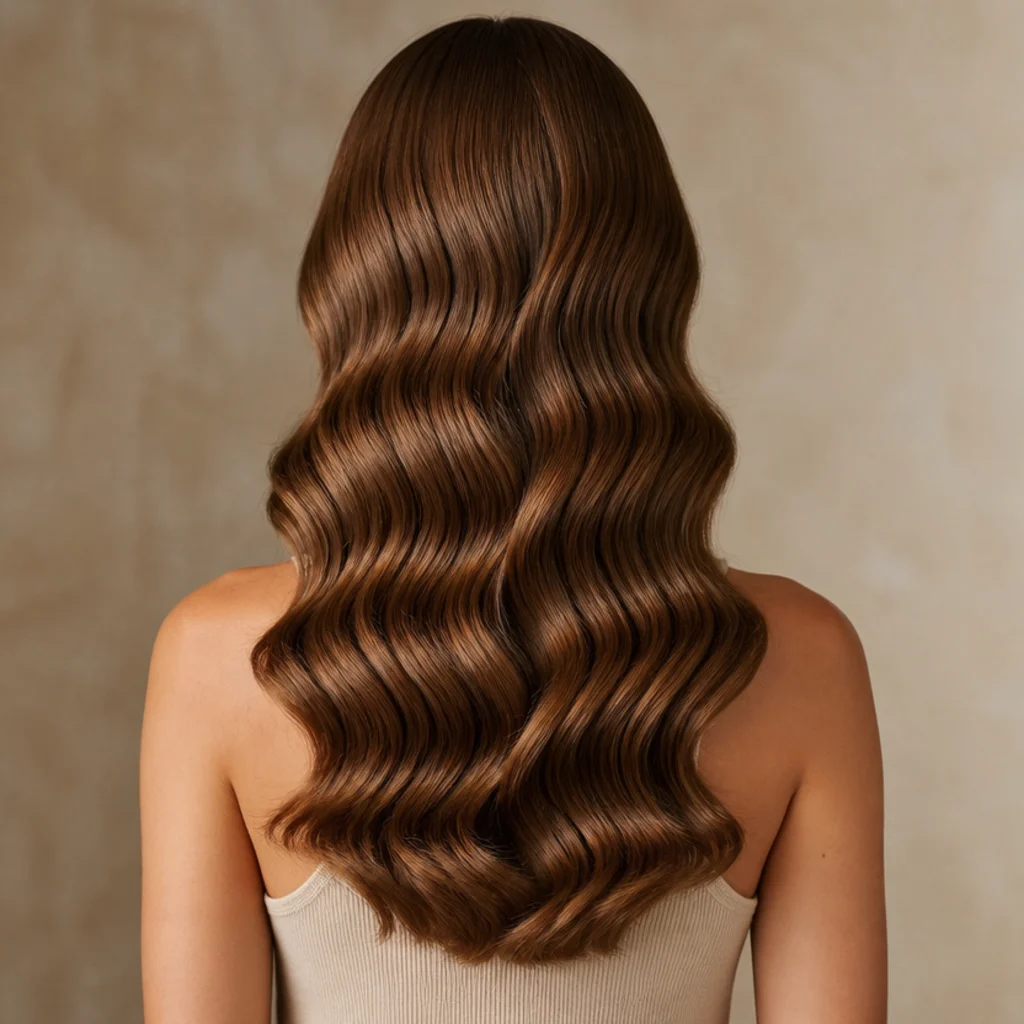
This result reshapes an unstructured air-dry into clean, repeating S-waves that read as intentional. The before is naturally wavy but uneven and slightly frizzy; the after has consistent, ribboned waves that mirror on both sides of the part. Medium to thick hair with an existing 2A to 2C wave suits this best, since it only needs coaxing into symmetry, and it photographs best on mid to long lengths where the repeat shows. Consistency comes from uniform section width and matching how many rotations each piece gets; wrap left-side pieces away from the face and right-side pieces away too, so the pattern stays balanced. Maintenance is moderate because humidity relaxes the ribbon, so a flexible-hold mist and a humidity-resistant finish help it last the day. This edges into intermediate difficulty, since evenness takes reps. Bring a photo and ask your stylist for "uniform S-waves from mid-shaft down, natural-looking, not crimped."
Save this to Pinterest to compare the softer looks side by side.
05Frizz-Calmed Natural Wave
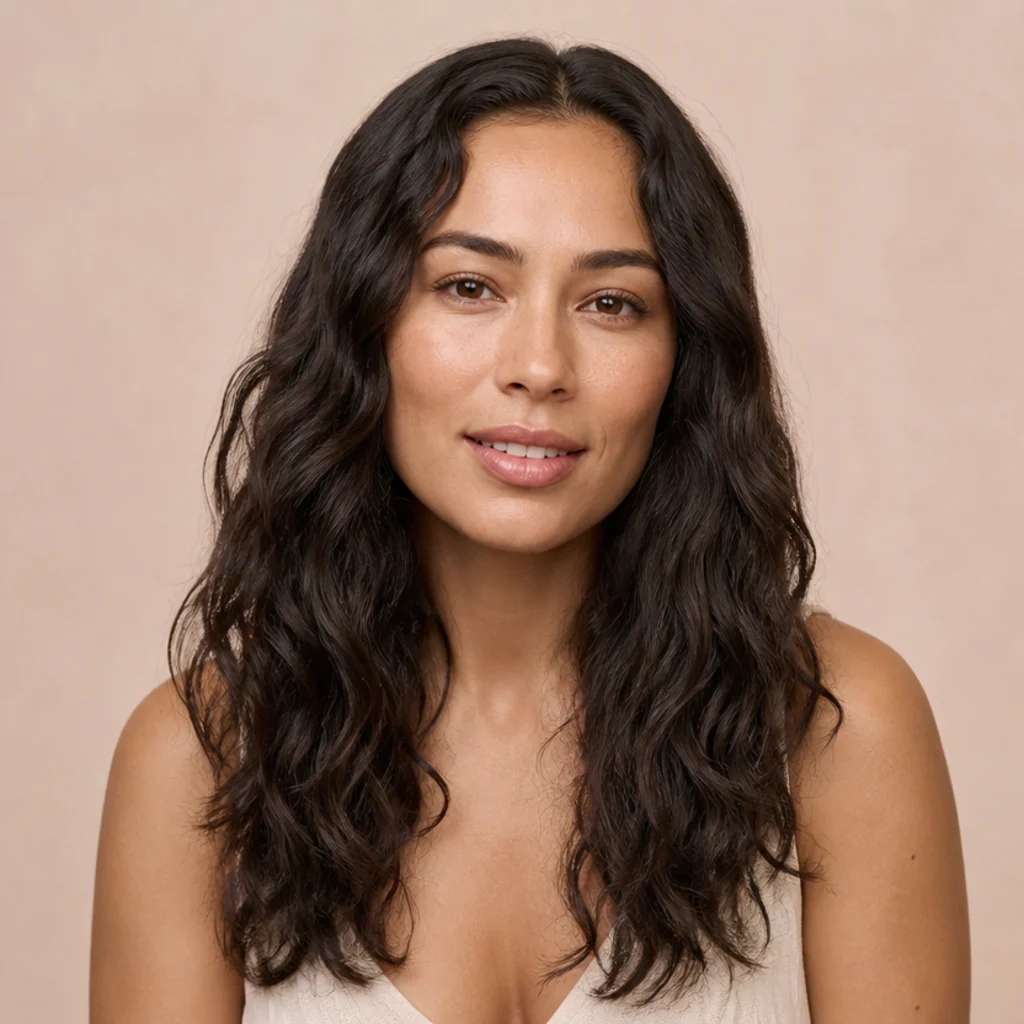
Aimed at naturally wavy and curly textures, this look preserves your own pattern while smoothing the halo of frizz that blurs it. The before is a soft but fuzzy wave; the after has the identical shape with more definition, separation, and shine. 2C to 3A hair that doesn't want to be restyled, only refined, is the ideal candidate, and a curl-cream-then-diffuse base before you touch the tool pays off. Use the styler on nearly dry hair, wrap loosely in the direction each section already falls, and resist over-processing any single piece — that's what flips definition into frizz. Upkeep pairs with a leave-in, a microfiber towel or cotton tee on wash day, and a satin bonnet at night to protect the clumps. Difficulty runs beginner to intermediate, depending on length and density. Ask your stylist to "enhance my natural wave and cut the frizz, keep the same curl size."
06Face-Framing Money Pieces
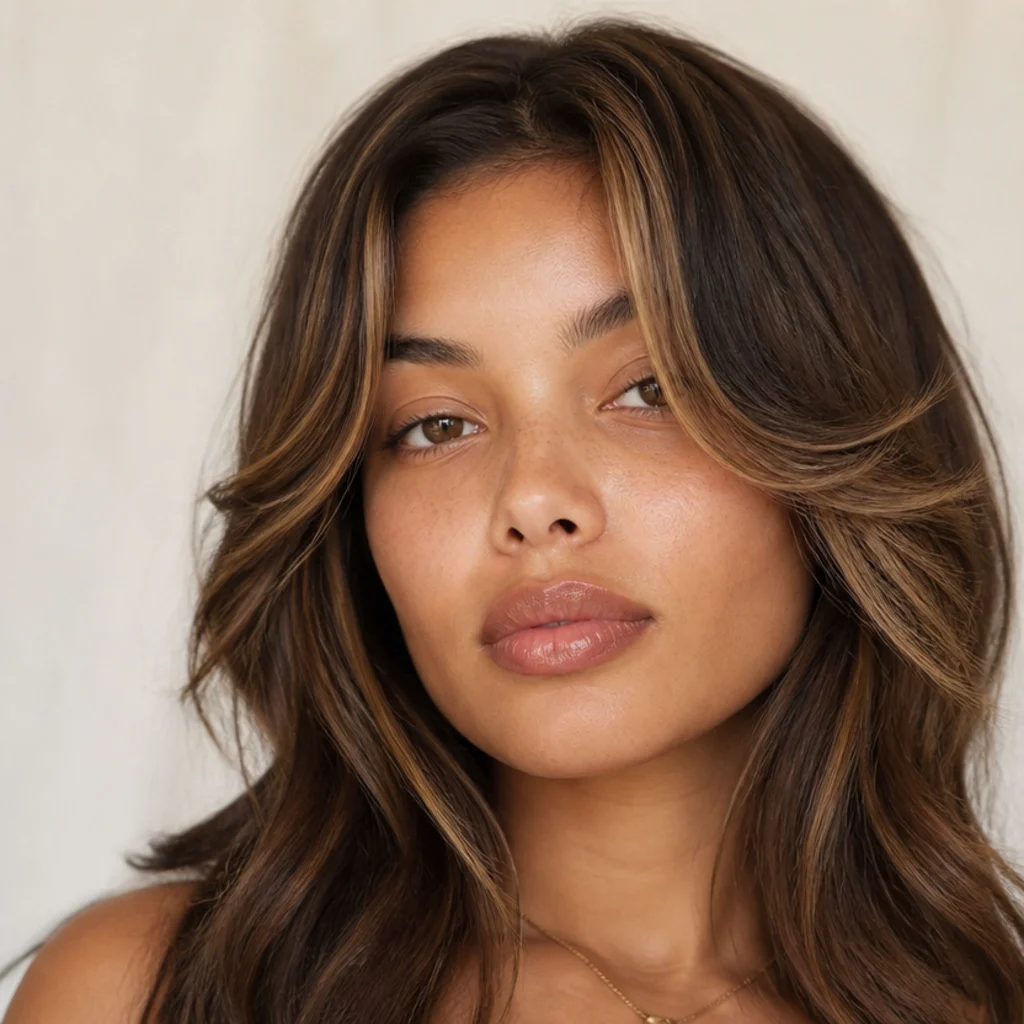
The smallest sections, the biggest payoff. Only the front pieces around the face are shaped, curved back and away like a soft curtain, while everything behind stays as-is. The before-and-after is subtle overall but changes how the whole face reads, lifting the eyes and widening the cheekbones. Money pieces flatter every face shape, and they're especially kind to round and heart shapes because the backward sweep adds vertical lift. Wrap each front section away from the face, hold for a beat longer than the rest, then hit it with a cool shot so the flick sets crisp. This is the two-minute rescue on days you refuse to style the whole head. Maintenance is fast, just a quick re-wrap of two pieces at the mirror, and it's low difficulty. Ask your stylist for "voluminous face-framing pieces swept away from the face, like a soft 90s flick."
07Undone Tousled Lob
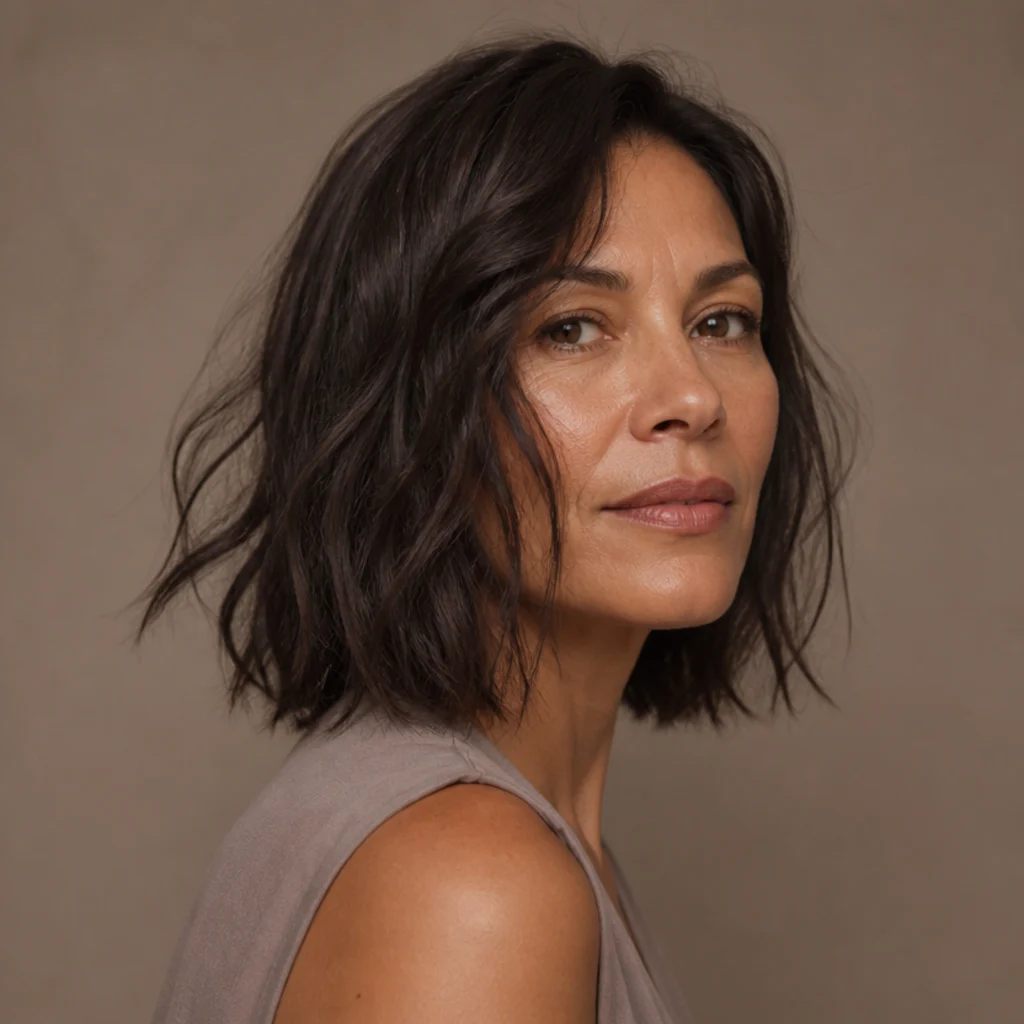
For shoulder-length cuts, this result adds piecey, tousled movement that keeps the look modern instead of formal. The before is a flat, one-length lob; the after has separated, airy texture with bends running in mixed directions for a deliberately imperfect finish. Medium hair and straight-to-wavy textures suit this well, along with anyone who finds uniform curls too polished. The secret is randomness: vary section size, alternate the wrap direction piece to piece, and leave the ends slightly out of the barrel so they stay straight and piecey rather than hooked. A dry texture spray and a rough finger-shake at the roots seals the undone feel, and it improves on day two. Difficulty sits beginner to intermediate. Ask your stylist for a "tousled, lived-in lob with mixed-direction bends and low polish, ends left loose."
08Glassy Straight Finish
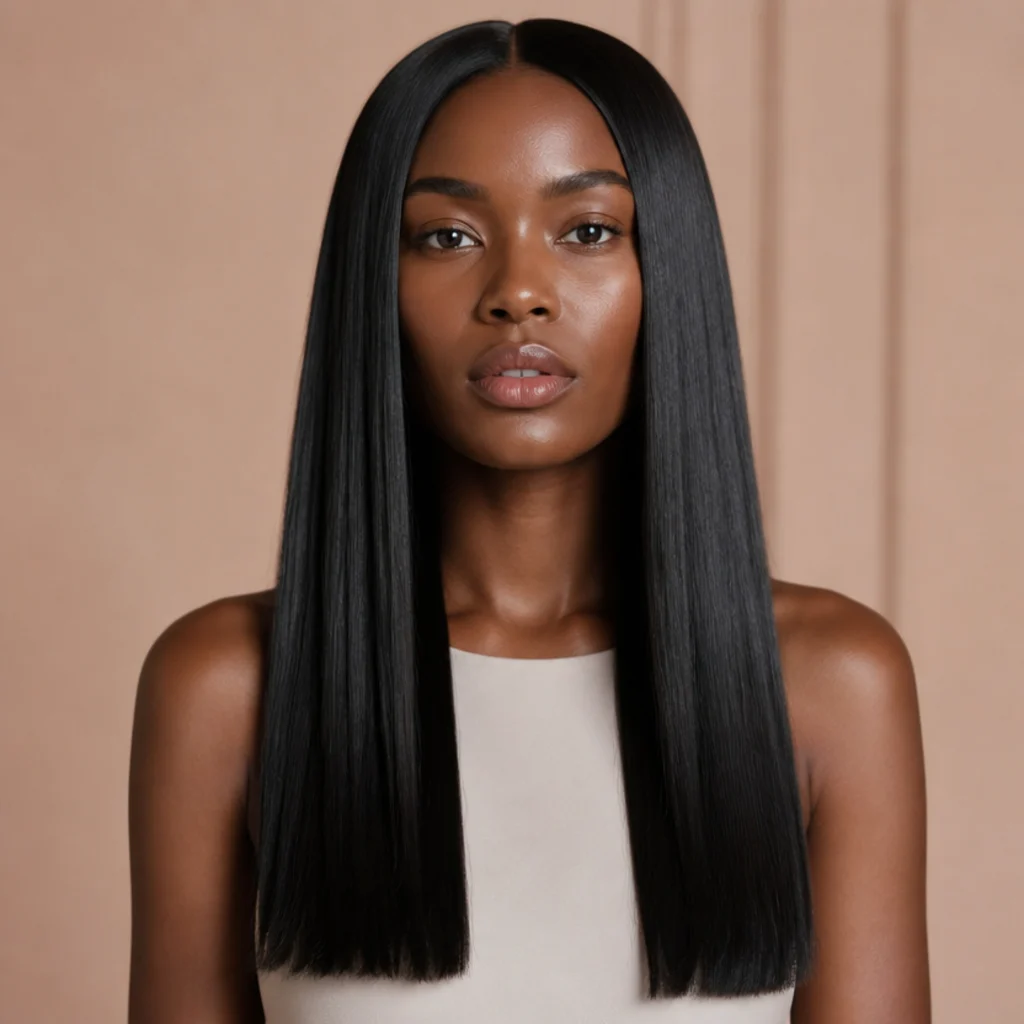
A sleek, poker-straight result with mirror shine, this flips the dyson airwrap vs curling iron comparison on its head, since the goal is zero curl. The before is textured or wavy; the after is smooth, flat, and reflective from root to tip. Most textures chasing a minimalist, expensive-looking finish suit this, though very coarse or tightly coiled hair often gets longer-lasting results from a dedicated flat iron, since airflow alone struggles to hold those cuticles down in humidity. Prime with a smoothing serum, work in small sections with firm downward tension, and finish each pass with a cool shot to set the flat cuticle and lift shine. Maintenance is about defense: a humidity-resistant topcoat and staying out of steam. This runs intermediate difficulty on longer or thicker hair, where holding tension gets tiring. Ask your stylist for a "glass-hair straight blowout, sleek and shiny, zero bend."
09Springy Ringlet Curls
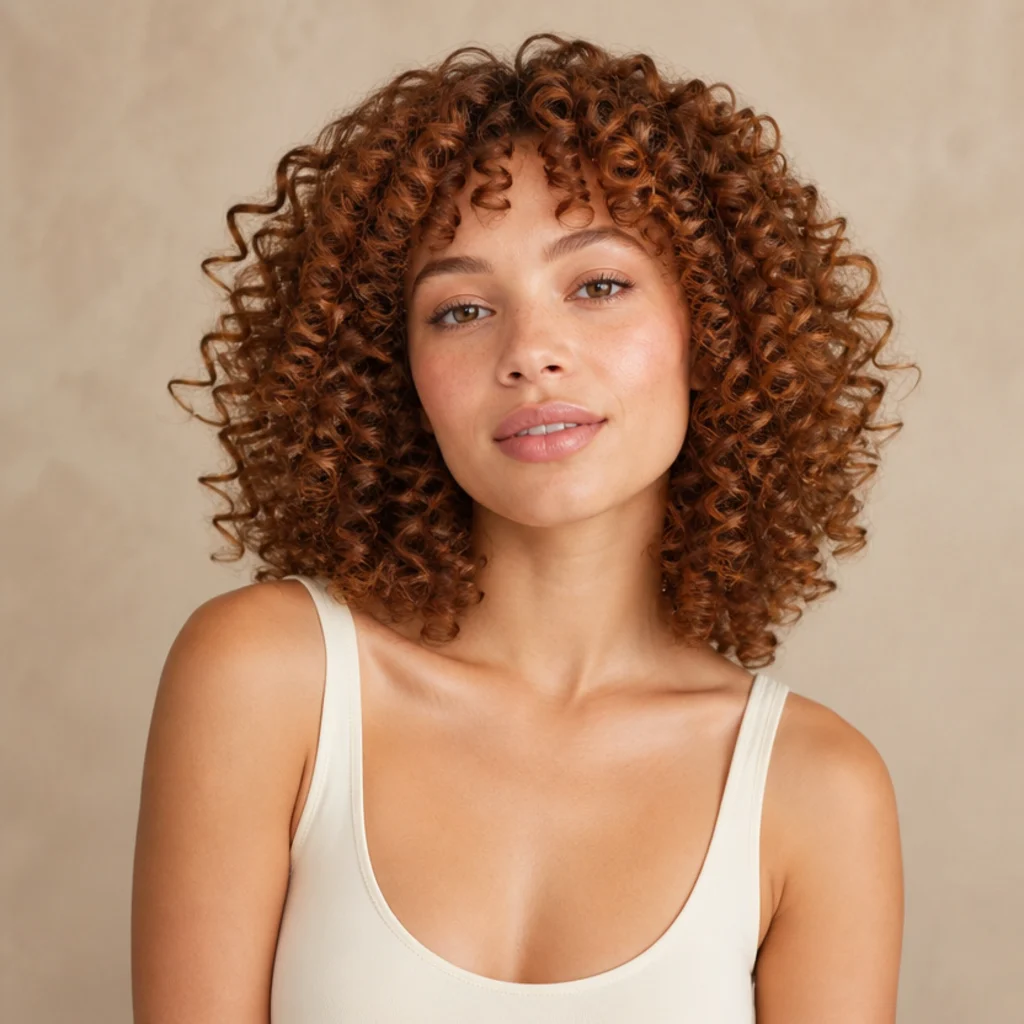
Now the progression turns bolder. This builds defined, springy ringlets with real bounce and separation, the classic dyson airwrap curls most people picture first. The before is flat or loosely wavy; the after is a head of coiled, resilient curls. Medium to thick hair that takes curl well suits this, and it reads especially striking on shorter to mid lengths, where the spring concentrates. Section cleanly, keep pieces small and consistent, wrap alternating directions to avoid a helmet, and let each curl cool fully in your hand before releasing so the bond sets. A flexible hairspray misted section by section locks definition without crunch. Upkeep is moderate; pineapple the hair loosely at the crown overnight to protect the shape. This is intermediate difficulty, since curl direction and section size both decide the outcome. Ask your stylist for "defined ringlets with spring and separation, alternating directions, not brushed out."
10Voluminous Half-Up Body
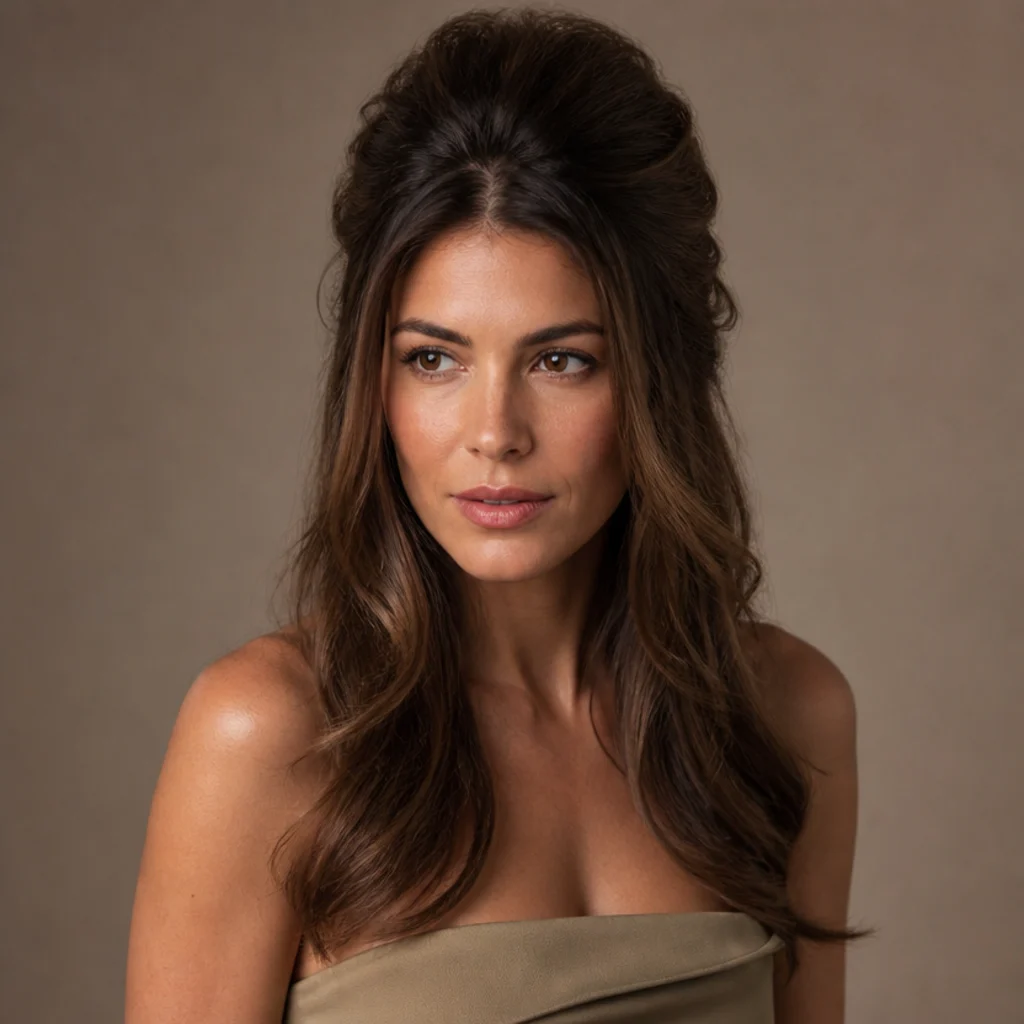
A styling result built to hold an updo: the lengths get soft body while the crown gets lift, so a half-up has shape and staying power instead of slipping loose. The before is flat hair that slides out of clips; the after has grip, movement, and a polished sweep back into the pins. Fine to medium hair that struggles to hold pins suits this best, and it flatters longer, narrower faces by adding width at the sides. Build a base of volume through the mid-lengths first, then set the crown pieces with extra lift and let them cool before you pin, because warm hair pinned tight goes flat. A light backcomb at the crown gives clips something to grab. Maintenance is low once it's set, and difficulty is intermediate. Ask your stylist for "blowout body with crown lift, styled to hold a half-up."
Save this to Pinterest and note which upkeep level fits your routine.
11Old Hollywood Side Wave
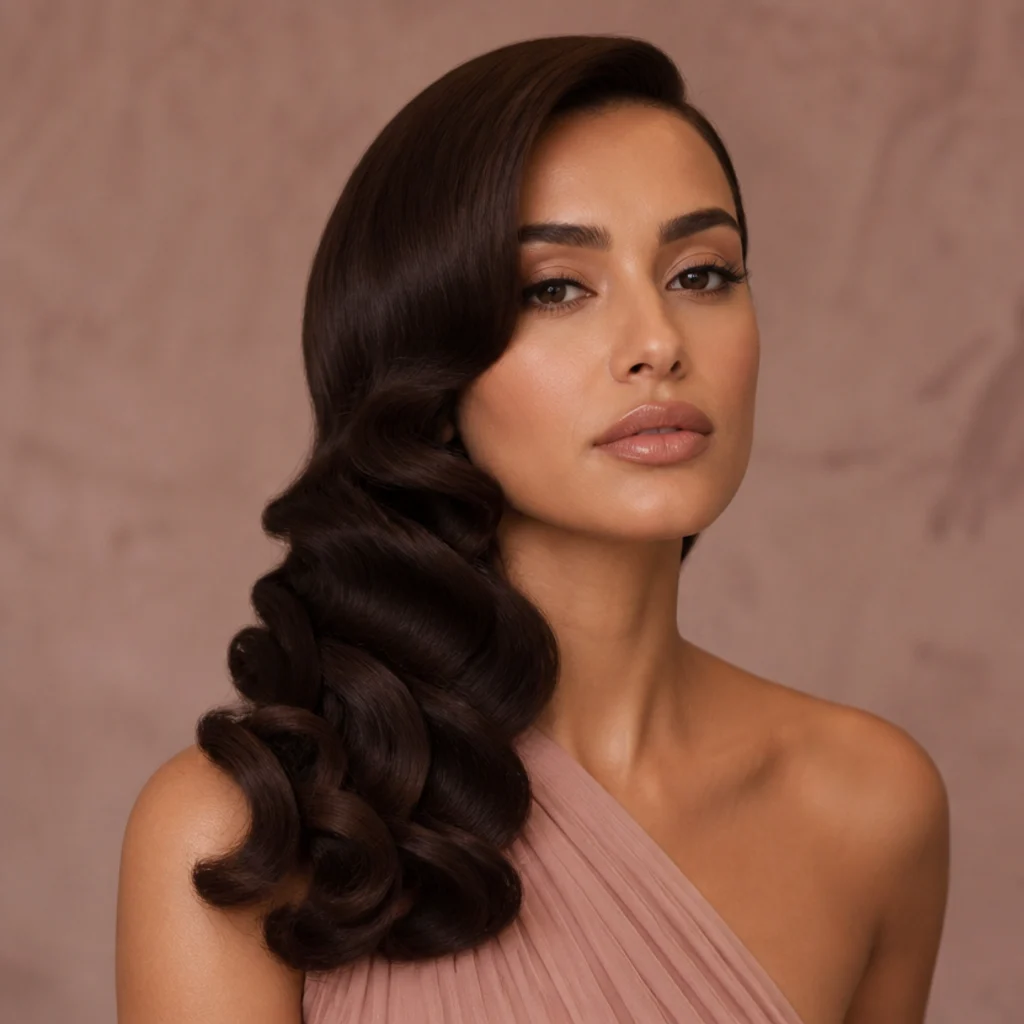
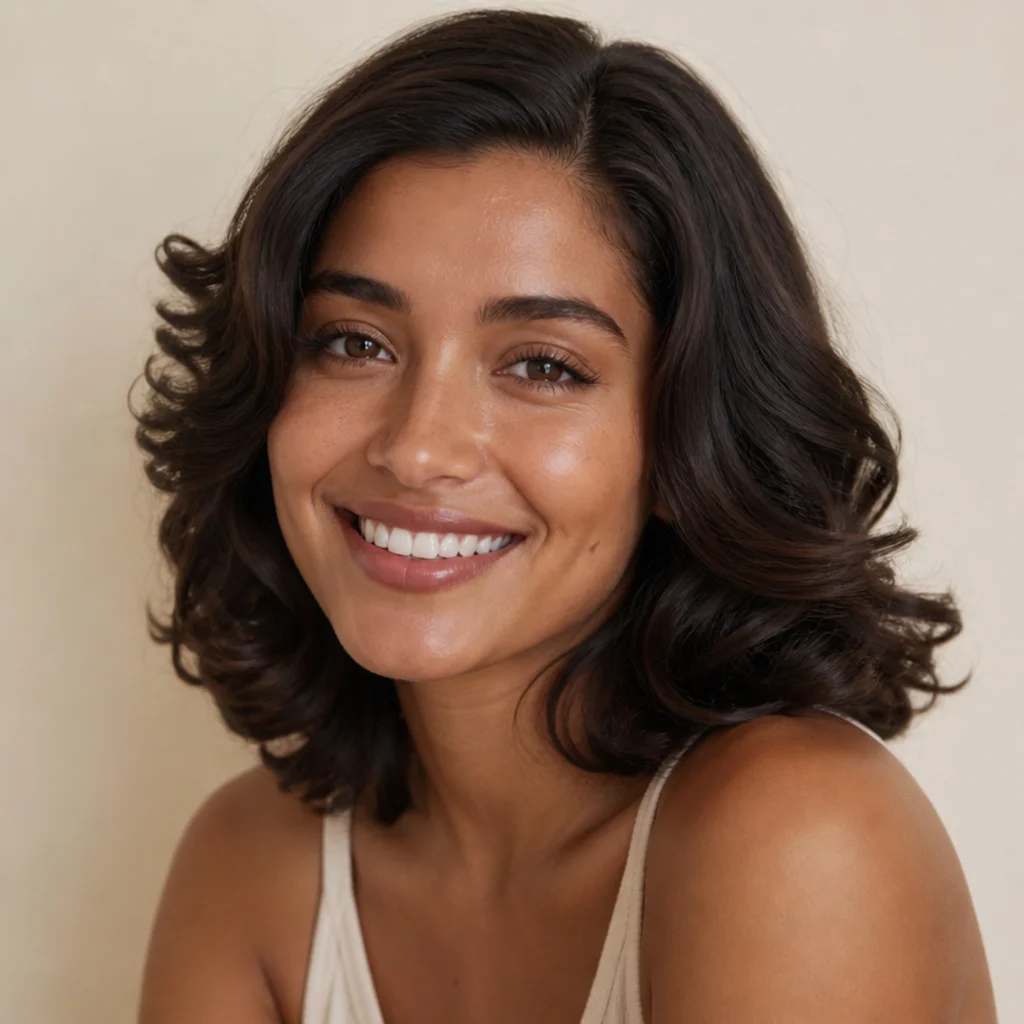
A vintage-inspired result: deep, uniform waves swept to one side and brushed out into a liquid, satin finish. The before is straight or unstructured; the after is sculpted, glossy S-waves cascading over one shoulder. Medium to long hair suits this best. It's a go-to for weddings and black-tie events, and it flatters oval and heart faces, where the side sweep frames a defined jaw. The whole look is won or lost in the brush-out: curl every section in the same direction, let them cool completely, then blend with a soft bristle brush and finish with shine spray to fuse the ridges into one satin ribbon. Set the wave with duckbill clips while it cools for a sharper bend. Maintenance is short-lived, so style it day-of; difficulty runs intermediate to advanced. Ask your stylist for "Old Hollywood side-swept waves, all curled one direction, brushed to a soft satin finish."
1290s Bombshell Blowout
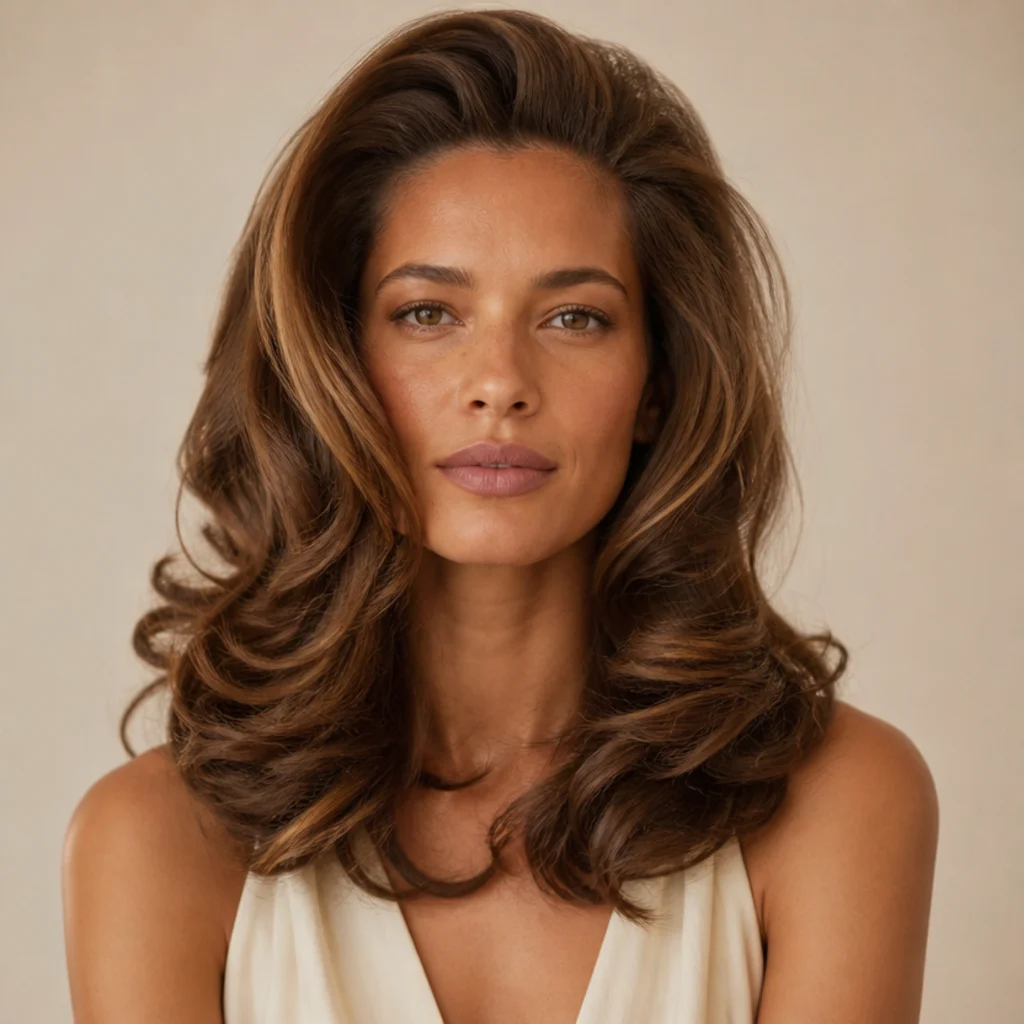
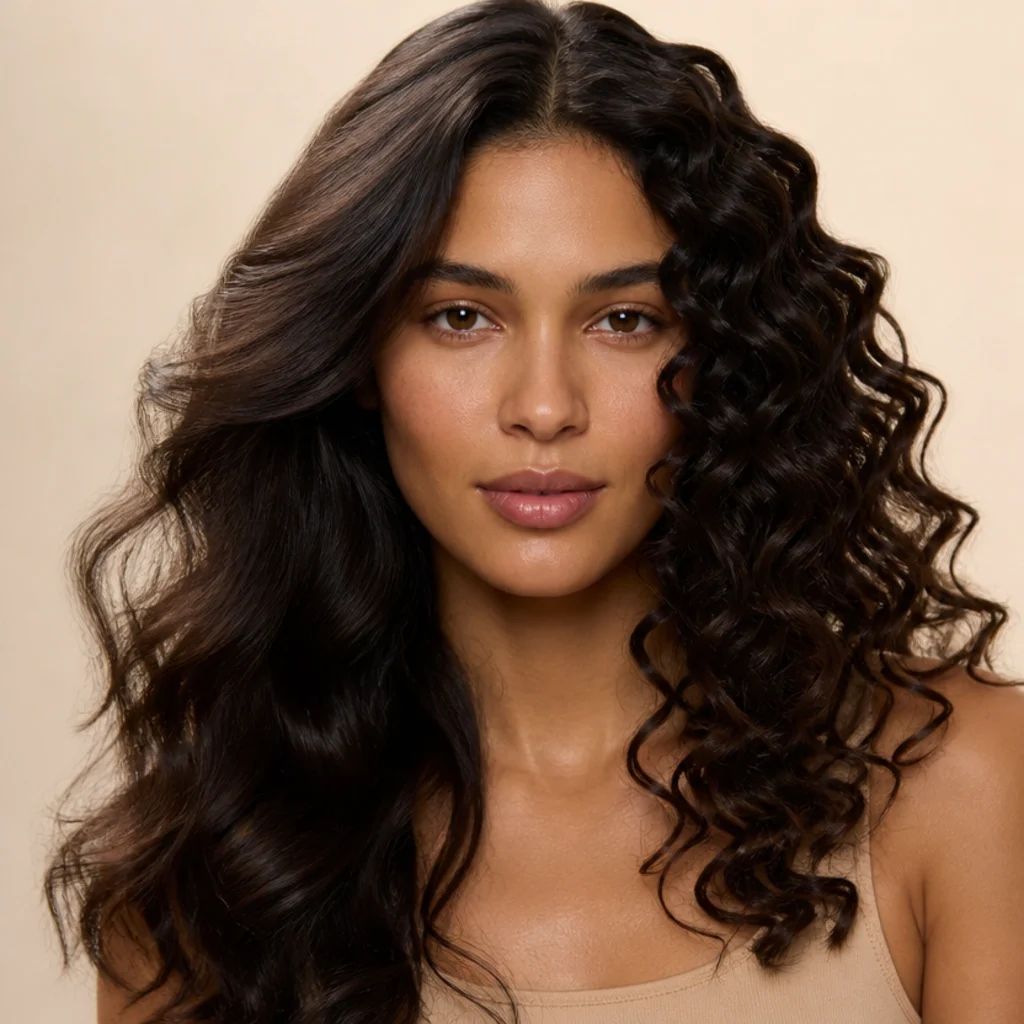
Our standout variation for sheer before-and-after impact: a bouncy, voluminous blowout, big at the crown, swishy through the lengths, with the ends flicked and curved back off the face. The before is flat and lifeless; the after is full-bodied movement in every direction. Most medium to thick textures suit this, and it flatters round and square faces, since the crown height adds length and the flicked ends draw the eye outward. Over-direct the crown sections up and back as they set, then wrap the mid-lengths under for body and the very ends away from the face for that supermodel flick. A volumizing mousse at the root and a cool shot on the crown make the height last. Upkeep is moderate; a night in loose pin-curls or a silk scrunchie preserves the bounce, and it's intermediate difficulty. Ask your stylist for "a 90s bombshell blowout, big bouncy body, ends flicked away from the face."
13Textured Coily Bounce
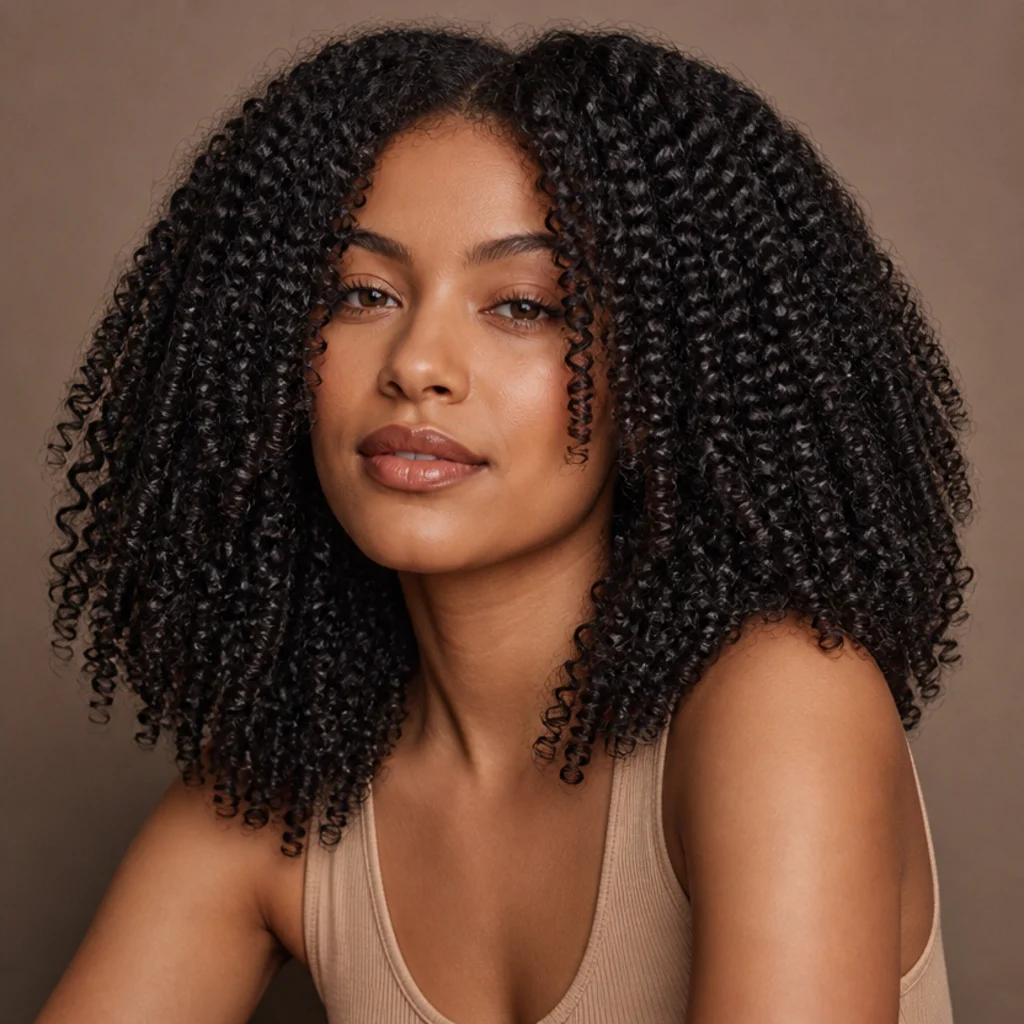
Designed for coily and tightly curled hair, this result adds elongated, uniform bounce while keeping the texture's natural volume rather than flattening it. The before shows shrinkage and uneven definition; the after has stretched, consistent coils with soft shine and a styled-but-natural finish. 3B to 4A textures suit this best, and prep does most of the work: start on stretched, moisturized hair, use low tension so you elongate without straightening the pattern out entirely, and keep sections generous to protect the coil's spring. Sealing the ends and working in halves keeps definition even from crown to nape. Maintenance pairs with a moisturizing leave-in, and a satin bonnet or pineapple at night preserves the stretch through day two or three. Difficulty is intermediate and depends heavily on how hydrated the hair is going in. Ask your stylist for a "stretched, defined coily bounce that keeps my volume, not a straightened look."
14Sky-High Root Volume
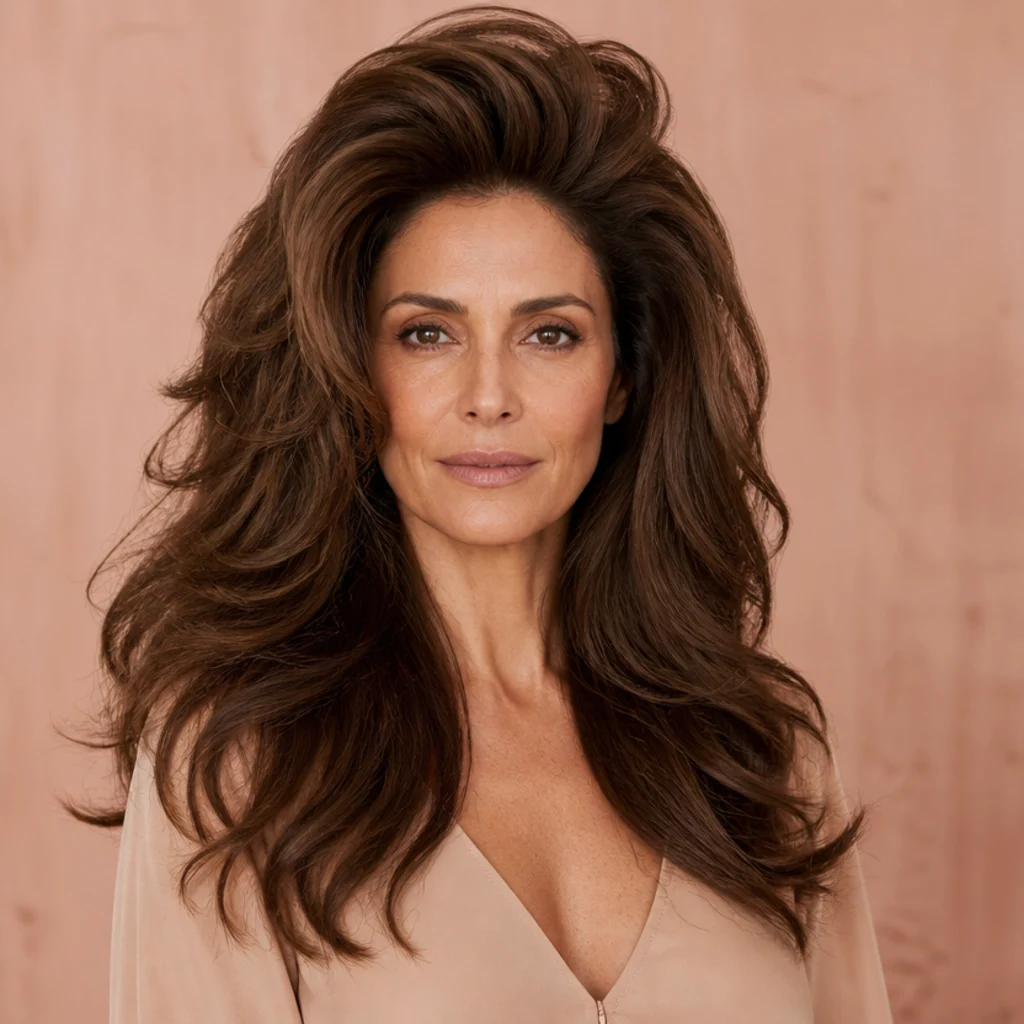
Turning the volume dial to maximum, this look is pure lift, teased-looking height at the crown paired with big, open movement below. The before is deflated and parted flat; the after has runway-level height. Fine hair craving drama and thick hair that can physically carry a big shape both suit this, and it flatters round faces by stretching the silhouette upward. Build height in layers: mist a volumizing spray at damp roots, lift and over-direct each crown section, let it cool before releasing, then discreetly backcomb the base for scaffolding a smooth top layer hides. This is the highest-maintenance look here, because serious root lift relaxes fastest and needs re-teasing or a dry texture spray by afternoon. This one's advanced difficulty. Ask your stylist for "maximum root volume and lift, big open waves below, editorial height at the crown."
15Full Bold Bombshell Curls
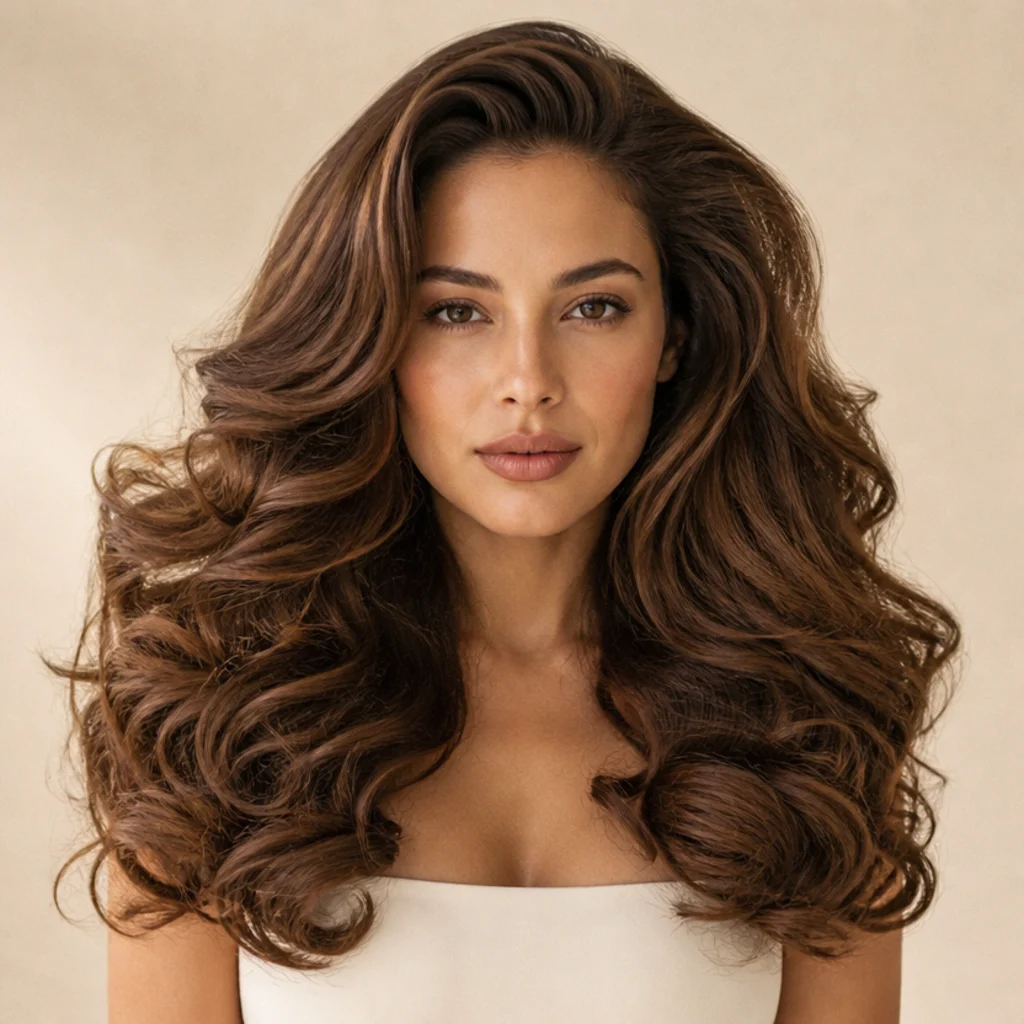
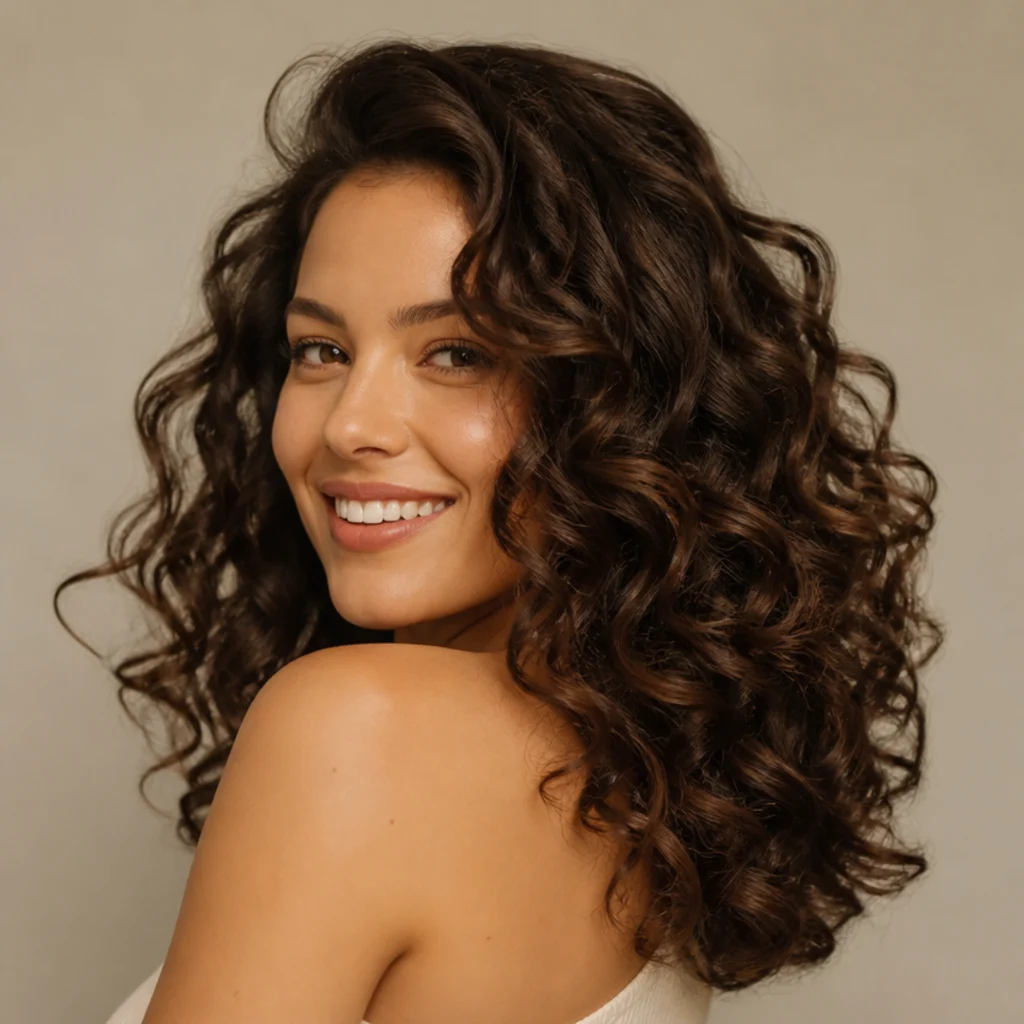
The boldest point on the progression: full, glamorous curls with volume from root to tip, brushed just enough to connect into one lush, cascading shape. The before is flat and undefined; the after is red-carpet abundance. Medium to thick hair that holds curl suits this, and long lengths show the cascade off best. Curl every section, alternating direction and keeping the barrel close to the root for volume that starts high, then let each piece cool completely before you brush — brushing warm curls drops them. Finish with a wide paddle or fingers to marry the curls into one connected wave, then set with flexible hairspray. Maintenance is the trade for drama: loose pin-curls or a silk wrap overnight, and a morning re-wrap of the face-framing pieces. It's advanced difficulty. Ask your stylist for "full bombshell curls, root-to-tip volume, lightly brushed into a connected cascade."
Pro Tips from the Editor
- Curl on nearly dry hair, not soaking wet. Airflow stylers set best around 80 to 90 percent dry; too wet and the curl never locks, too dry and it won't shape. Rough-dry first, then style.
- Cool before you release, every time. The bond that holds a curl or a lifted root sets as the hair cools in place. Releasing a warm section is the single most common reason a look drops by lunch.
- Alternate your wrap direction. Curling every piece the same way creates a helmet; alternating away-from-face and toward-face keeps volume open and natural, especially on looks 9, 12, and 15.
- Match the finish to your density, not the photo. Fine hair gets its biggest payoff from root and volume looks (2, 10, 14); thick, curl-holding hair earns the defined and bombshell finishes (9, 12, 15).
- Prep is the finish. A smoothing serum for glassy looks, a mousse for lift, a curl cream for natural texture; the product you apply damp decides the ceiling of the result more than the styling does.
- Protect it overnight to reach day two. Pineapple curls loosely at the crown, loose pin-curl a blowout, or use a satin bonnet or pillowcase; friction is what flattens a set overnight.
- Guard against humidity with your last step. A humidity-resistant topcoat on smooth and straight looks buys hours; without it, glassy and S-wave finishes are the first to swell and lose their shape.
Comparison at a Glance
| Look | Best hair type | Difficulty | Wear time | Upkeep |
|---|---|---|---|---|
| Sleek Smoothing Reset | Fine to medium, needs polish | Beginner | 2–3 days | Low |
| Soft Root Lift | Fine, low-density | Beginner | Half a day | Low |
| Barely-There Beach Bend | Long, heavy, drops curl | Beginner | 1–2 days | Low |
| Defined S-Waves | Medium to thick, existing wave | Intermediate | ~1 day | Moderate |
| Frizz-Calmed Natural Wave | 2C–3A natural texture | Beginner–Intermediate | 2–3 days | Moderate |
| Springy Ringlet Curls | Medium to thick, holds curl | Intermediate | 2–3 days | Moderate |
| 90s Bombshell Blowout | Medium to thick | Intermediate | 1–2 days | Moderate |
| Textured Coily Bounce | 3B–4A coily | Intermediate | 2–3 days | Moderate |
| Sky-High Root Volume | Fine craving drama / carrying thick | Advanced | Half a day | High |
| Full Bold Bombshell Curls | Medium to thick, long | Advanced | 1–2 days | High |
How to Choose / Get the Look
Start with your hair type and the effort you'll realistically spend, not the boldest photo. Fine or flat hair gets the most obvious before-and-after from the root-lift and volume results (looks 2, 10, 14), because the change is dramatic against a flat baseline and reads as instant density. Thick or coarse hair holds the defined curls and bombshell finishes (9, 12, 15) far longer, so the setup time pays off across days rather than hours. Naturally wavy and coily textures (5, 13) usually look best enhancing what they already have instead of fighting it, and they need the least heat. If you're a beginner, live at the softer end of the scale first: smoothing, beach bends, and money pieces are the most forgiving, the fastest to fix mid-style, and still deliver a visible, flattering change.
Use a quick decision path. First, pick smooth or textured. If smooth, choose the smoothing reset for fine hair or the glassy straight finish for a bolder minimalist look. If textured, decide open or defined: open bends and S-waves (3, 4, 7) for softness and longevity on heavy hair, defined ringlets and bombshell curls (9, 12, 15) for impact on curl-holding hair. Then decide where you want volume, at the root, through the lengths, or both, since that single choice separates a half-up body (10) from sky-high drama (14).
On the dyson airwrap vs curling iron question: a multi-styler like this wins on volume, soft body, and gentler, airflow-based heat, and it excels at drying and shaping in one pass. A curling iron still delivers tighter, longer-lasting spirals with less setup, and it holds better on stubborn or very fine hair that resists a set. Many people keep both, reaching for the styler on volume days and the iron when they need a spiral to survive an event. For dyson airwrap storage, keep barrels and brushes upright in a caddy or the fitted case so attachments don't scatter and heat-safe surfaces stay protected — that's also the tidy vanity dyson airwrap aesthetic people love to photograph. When booking a stylist, bring one clear reference photo and name the finish and its size, never just "curls."
Frequently Asked Questions
Are these real before and after photos?
No. Every look here is an original illustrative example arranged as a subtle-to-bold progression. They're meant to show how different finishes can read across hair types, not to document a specific person's transformation or a tested result. Blushlora has no affiliation with Dyson and implies no product testing.
How long do Dyson Airwrap curls usually last?
It varies with texture, prep, and finish. Loose bends and blowout body often soften within a day, while defined curls on curl-friendly hair can hold two to three days with overnight protection like pineappling or loose pin-curls plus a touch of dry texture spray. Fine, silky hair drops fastest; coarse and coily hair holds longest.
Dyson Airwrap vs curling iron, which should I pick?
If you want volume, soft movement, an all-in-one dry-and-style, and lower direct heat, a multi-styler suits you. If you want tight, durable spirals with minimal fuss that survive humidity and a long night out, a curling iron still has the edge. Many people keep both and choose by the finish they need that day.
What's the best way to handle Dyson Airwrap storage?
An upright caddy, a fitted drawer insert, or the original case keeps barrels and brushes together, dust-free, and off heat-sensitive surfaces while attachments cool. Corralling the attachments is also what creates that clean vanity dyson airwrap aesthetic that photographs so well; a heat-resistant mat under the styler protects the counter between passes.
Which look is easiest for a total beginner?
The smoothing reset, soft root lift, and face-framing money pieces. They use the fewest sections, are quick to redo if one piece goes wrong, and still deliver a visible, flattering change. Money pieces in particular give an outsized payoff for two minutes of effort.
Does the Dyson Airwrap damage or dry out hair?
Airflow stylers rely more on directed air and less on a hot surface pressed to the strand than a traditional iron, which is why many people reach for them on lower-heat days. That said, any heat styling benefits from a heat protectant, nearly dry starting hair, and not over-processing a single section. This is general styling guidance, not a medical or hair-health claim.
How do I make my Airwrap curls last longer and hold overnight?
Curl on nearly dry hair, let every section cool fully in your hand before releasing, and set with a flexible hairspray section by section. Overnight, pineapple curls loosely at the crown or use loose pin-curls and a satin bonnet or pillowcase to cut the friction that flattens a set. A morning re-wrap of the face-framing pieces refreshes the whole look.
Which results flatter my face shape?
Money pieces (6) flatter every shape by opening the eyes. Round faces suit crown height and flicked ends (12, 14) that add vertical length; square and heart shapes soften with open beach bends and side waves (3, 11); oval faces carry almost anything, including the full bombshell cascade (15). Match volume placement to the dimension you want to lengthen.
Can short hair or a bob get these looks?
Yes, with adjustments. Bends, ringlets, tousled texture, and root lift all read well on a lob or bob (looks 3, 6, 7, 9), and shorter lengths often show spring more clearly. Very short crops lack the length to wrap for cascading curls (15) or deep side waves (11), so lean toward root volume and face-framing instead.