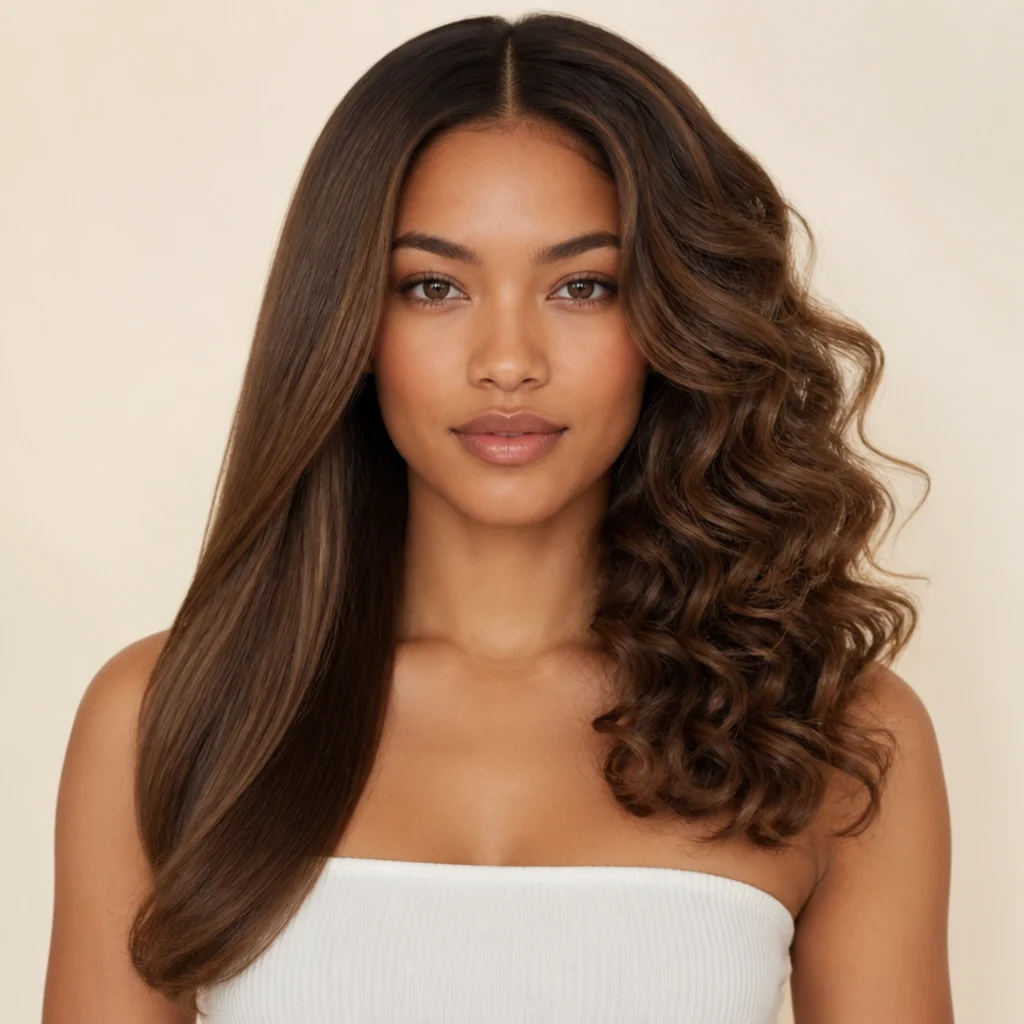
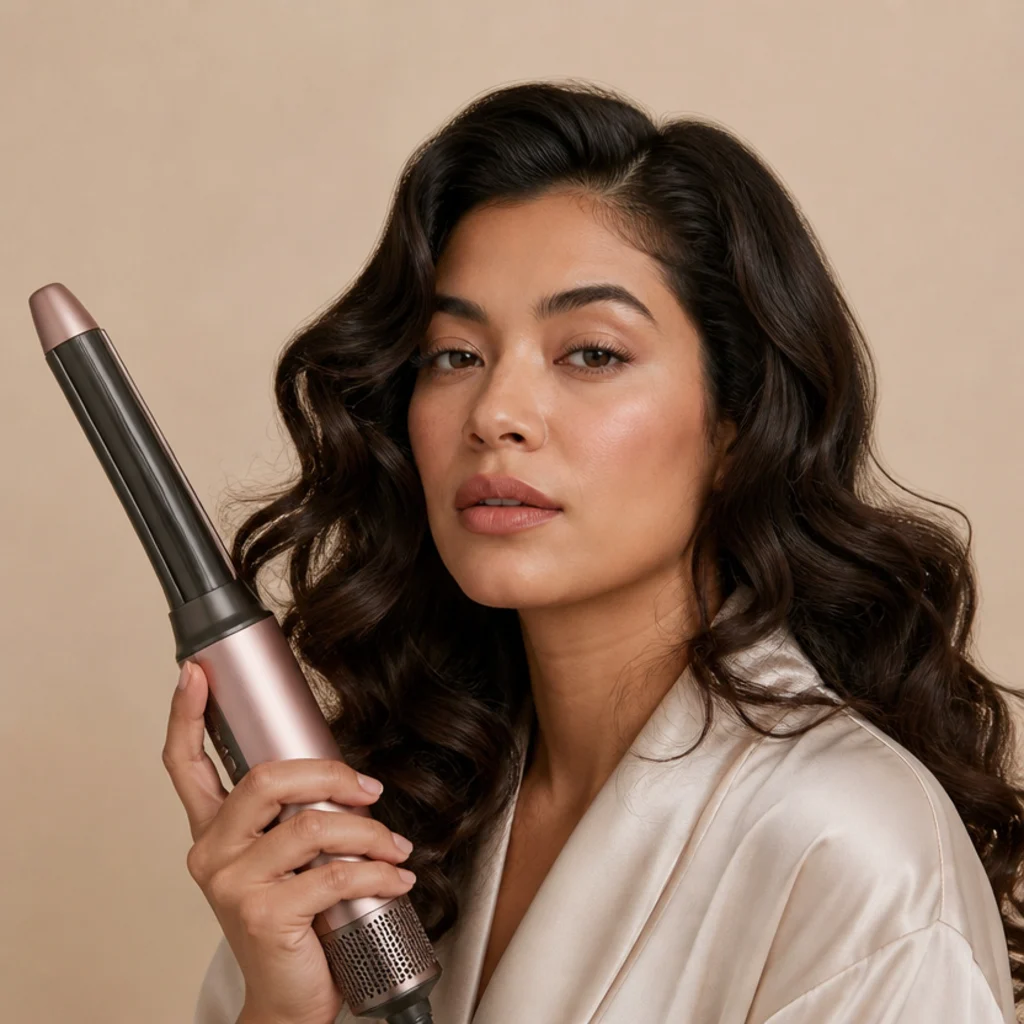
15 Steps to Curl Your Hair With a Dyson Airwrap
The Dyson Airwrap shapes curls with a fast-moving column of air instead of a scorching plate, so bouncy, brushed-out waves feel achievable at home. This guide covers the details most tutorials skip: the exact dampness window, barrel direction, heat-and-airflow pairing, cool-shot timing, and the refresh routine that keeps curls alive for days. It's styling inspiration, not a hands-on tested review.
 Edited by Lena Rose · Published July 11, 2026 · 28 min read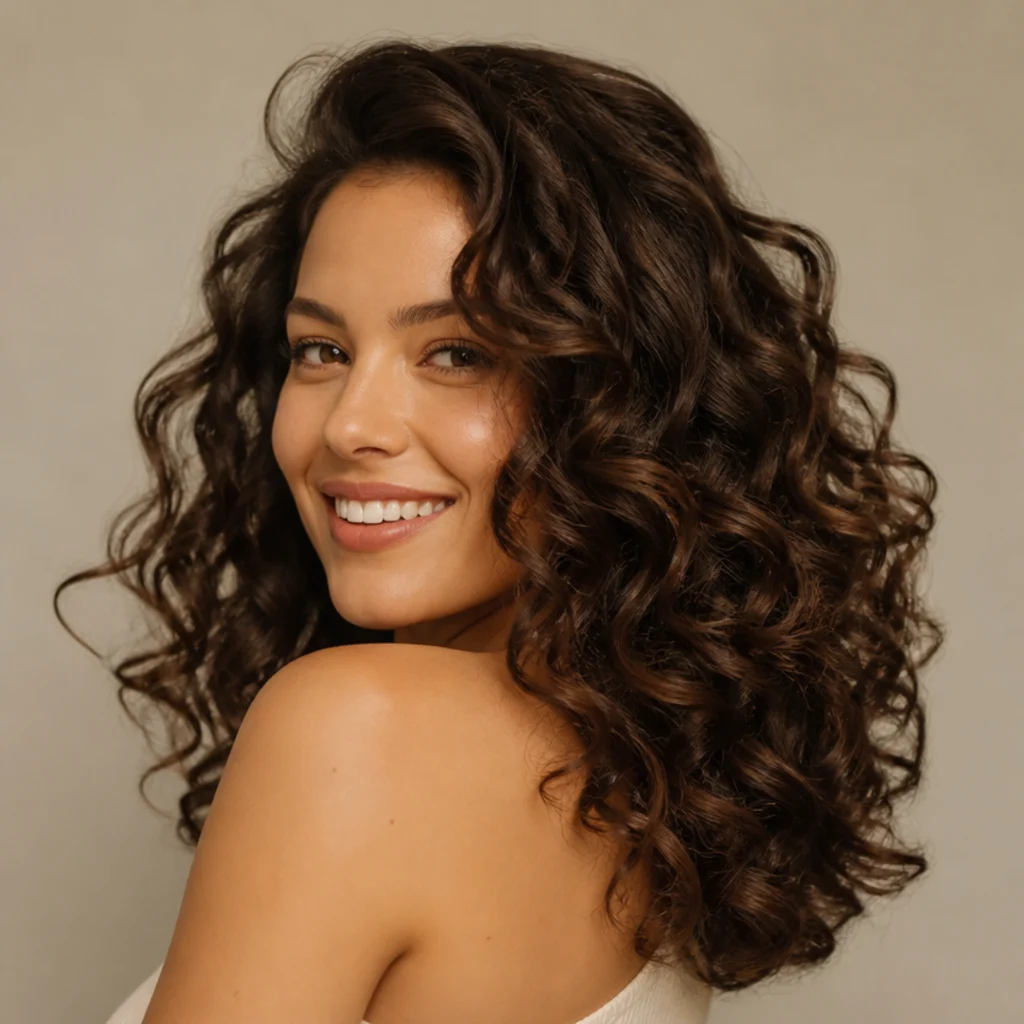
Quick Answer
- Best for: Straight to loosely wavy hair, roughly chin-length to mid-back, that wants blow-dry-style volume with a softer thermal load than a hot iron.
- Who might skip it: Very tightly coiled or 4-type curl patterns wanting definition (a diffuser or wand serves that better), and anyone whose hair is heat-damaged and shedding heavily, where any styling tool should wait.
- Maintenance: Refresh every 2-3 days; re-curl the face-framing pieces and any dropped crown sections rather than restyling the whole head.
- Difficulty: Beginner to intermediate. The real learning curve is sectioning discipline and reading airflow direction, not operating the tool.
- Cost: The tool itself is a premium, higher-tier purchase (varies widely by market and bundle); ongoing cost is minimal beyond a heat protectant and a flexible-hold spray.
- Wear time / longevity: A well-set, cool-shot-locked curl holds most of a day on clean hair; fine textures may soften by late afternoon without a light spray.
- Standout variation: Alternating barrel direction section to section for a lived-in, undone wave instead of uniform ringlets.
- How to ask your stylist: Ask for a "soft, brushed-out blow-dry wave with root volume and face-framing pieces curved away from the cheekbones," and mention whether you want it piece-y or polished.
In This Guide
- Start With Freshly Washed, Damp Hair
- Apply Heat Protectant and Curl-Support Product
- Rough-Dry to 80 Percent
- Attach the Curling Barrel
- Section Hair Into Manageable Zones
- Set Your Heat and Airflow
- Take a Clean, Consistent Section
- Let the Airflow Wrap the Hair
- Hold, Then Count the Curl
- Hit the Cool Shot
- Release and Drop the Curl to Cool
- Alternate Barrel Direction
- Shape the Face-Framing Pieces
- Brush, Finger-Rake, or Leave As-Is
- Set, Store, and Refresh
Curls that look effortless almost always start with a plan, and the Airwrap rewards prep more than raw skill. It relies on the Coandă effect, wrapping hair around the barrel with a spinning column of air instead of pressing it against a hot plate, so dyson airwrap curls tend to fall soft, full, and glossy instead of tight and crisp. That's the finish most people are chasing, and it comes at a cost: airflow needs a specific dampness level and clean, combed sections to grab onto, so the setup does most of the work. Over the 15 steps below, you'll move from wash day through product, the 80-percent dry window, barrel technique, the cool-shot lock, and the refresh routine that stretches a style across several days. This look suits most face shapes and works on straight, wavy, and looser curl textures, though very tight coils usually get better definition from a diffuser or wand. Treat it as a routine you can adjust, dialed up for a polished blowout one day, loosened into a piece-y beachy wave the next. None of this is medical or salon advice; it's a clear, technique-first path to curls that look intentional and actually last.
01Start With Freshly Washed, Damp Hair
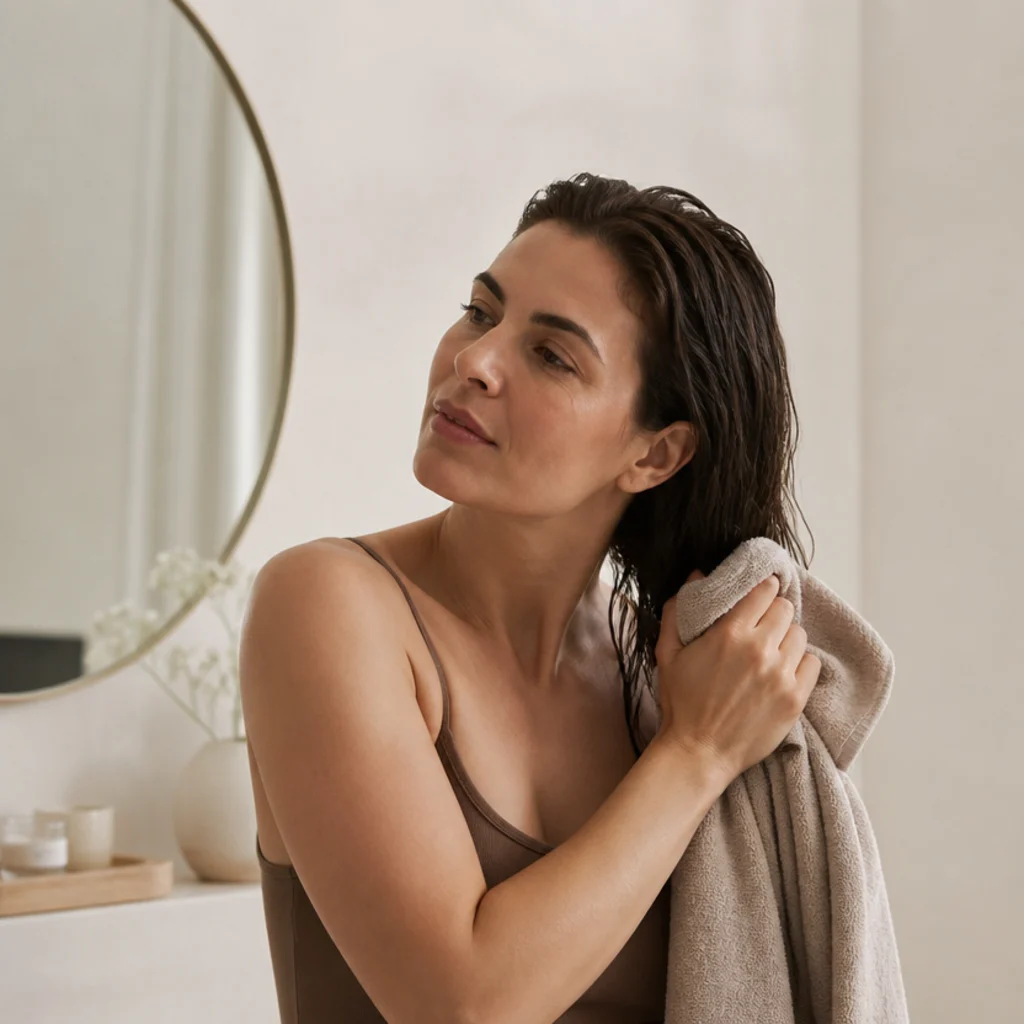
Airflow styling works best on clean, evenly damp hair, not soaking and not bone dry. Shampoo, then use a lightweight conditioner matched to your texture, and keep heavier masks off the roots so volume doesn't get weighed down before you even start. Press excess water out with a microfiber towel or a smooth cotton tee instead of rubbing, which cuts down on cuticle-roughing friction and frizz. You're aiming for the towel-dried stage: strands feel cool and hydrated but no longer drip, which on most textures is a few minutes of gentle blotting. If your hair air-dried past that point, re-mist it to uniformly damp with a fine spray bottle rather than re-wetting patches unevenly. Skipping this dampness reset is the most common reason curls collapse within the hour. The barrel needs residual moisture to re-form the hydrogen bonds that give a strand its shape. Clean roots also hold lift longer, so don't stretch wash day too far when a curl set is the goal. Pro tip: clarify roughly every second wash if you use silicone-heavy products, since buildup makes airflow slip and curls loosen. Ask your stylist for a sulfate-free, curl-friendly wash that won't strip color.
02Apply Heat Protectant and Curl-Support Product
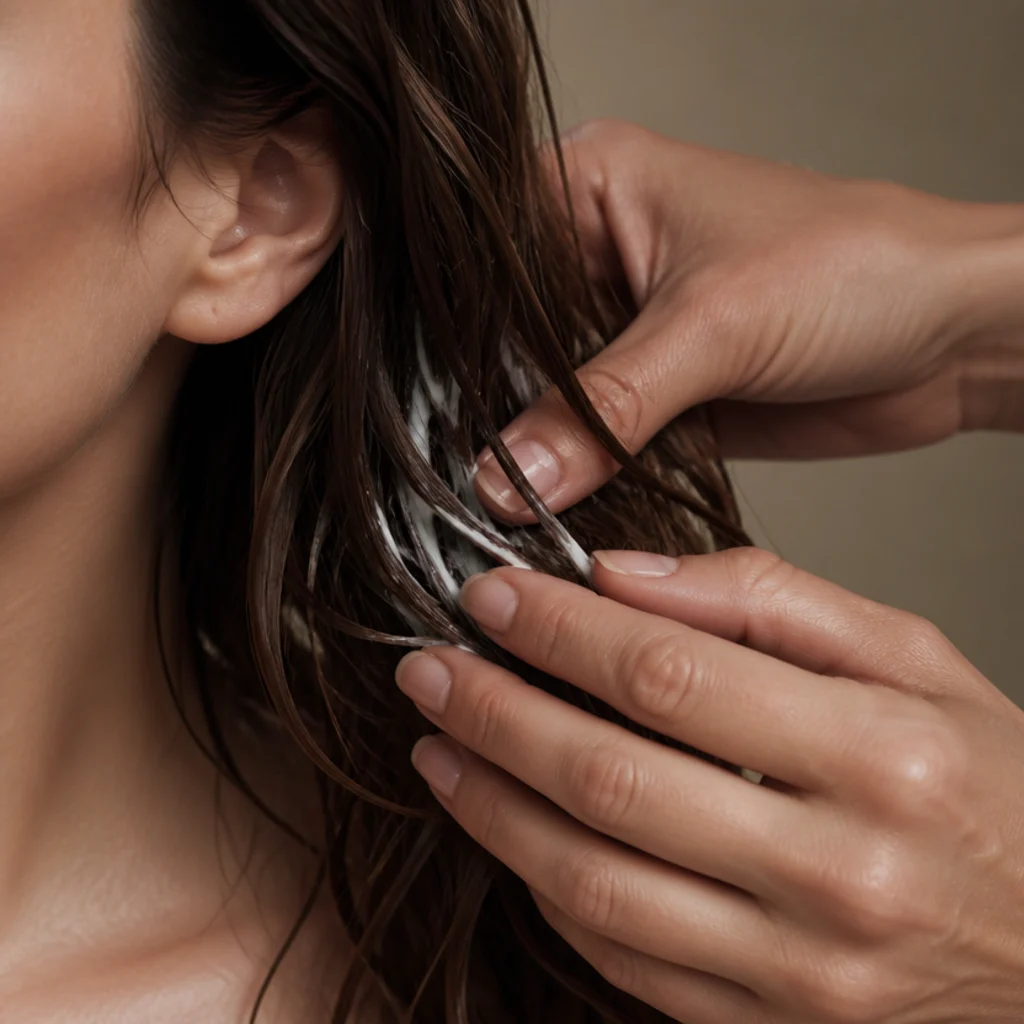
Even with a gentler thermal load than a traditional iron, a heat protectant is worth the ten seconds it takes. Work one labeled for hot-air tools through the mid-lengths and ends, where breakage shows first, then layer on a curl-support product to give the shape something to grip. Match the pairing to your density: fine hair holds better with a volumizing mousse or a light setting mist, medium hair likes a mousse-plus-serum combination, and thick or coarse textures usually do best with a smoothing cream or lotion that tames swelling as it sets. Work everything through with a wide-tooth comb from roots to ends so it's distributed evenly, with no gummy, overloaded patches dragging curls down. Less really is more here: over-saturated damp hair takes longer for the airflow to dry and set cleanly, and wet-looking residue reads as greasy once styled. Pro tip: emulsify cream or serum between your palms first so it lands as a fine film instead of one concentrated streak. Ask your colorist for a bond-supporting protectant if your hair is lightened or highlighted.
03Rough-Dry to 80 Percent
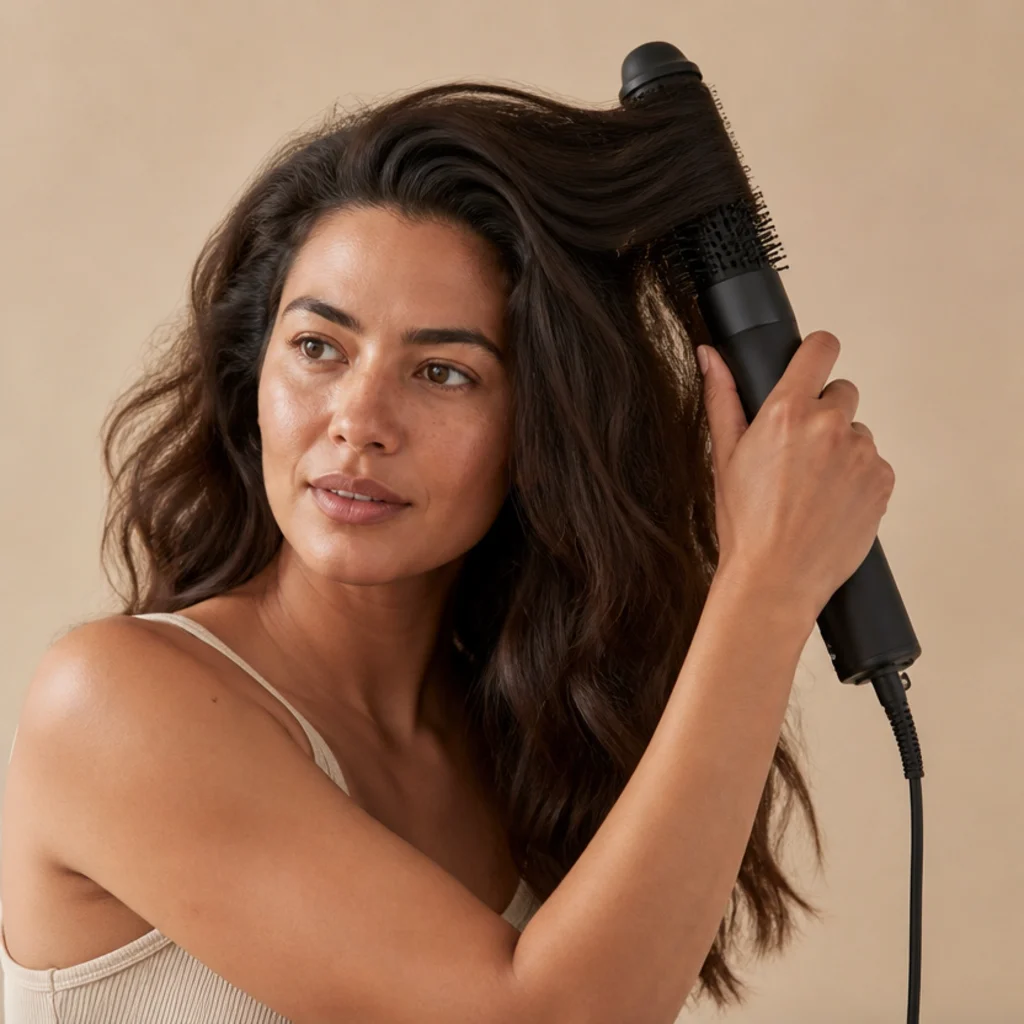
Curling barrels grab best at roughly 80 percent dry, so get there before you attach one. Use the drying attachment or a standard dryer on medium, moving continuously and lifting at the roots with your fingers or a round brush to build volume that outlasts the styling. Rough-drying removes surface water so the barrel spends its energy shaping instead of fighting evaporation, which is what makes the set faster and more durable. You're aiming for hair that feels cool and mostly dry, with just a whisper of dampness left in the mid-lengths; a quick check is that a section no longer feels cold or slick to the touch. Too wet and curls slide loose within the hour. Too dry and the airflow has no moisture left to reshape, so the wrap barely registers. This narrow in-between window is the step most tutorials skip, and hitting it consistently is what separates a set that lasts from one that droops. Pro tip: direct airflow down the hair shaft, root to tip, to smooth the cuticle for more shine. Ask your stylist to point out your natural growth pattern so you dry with it, not against it.
04Attach the Curling Barrel
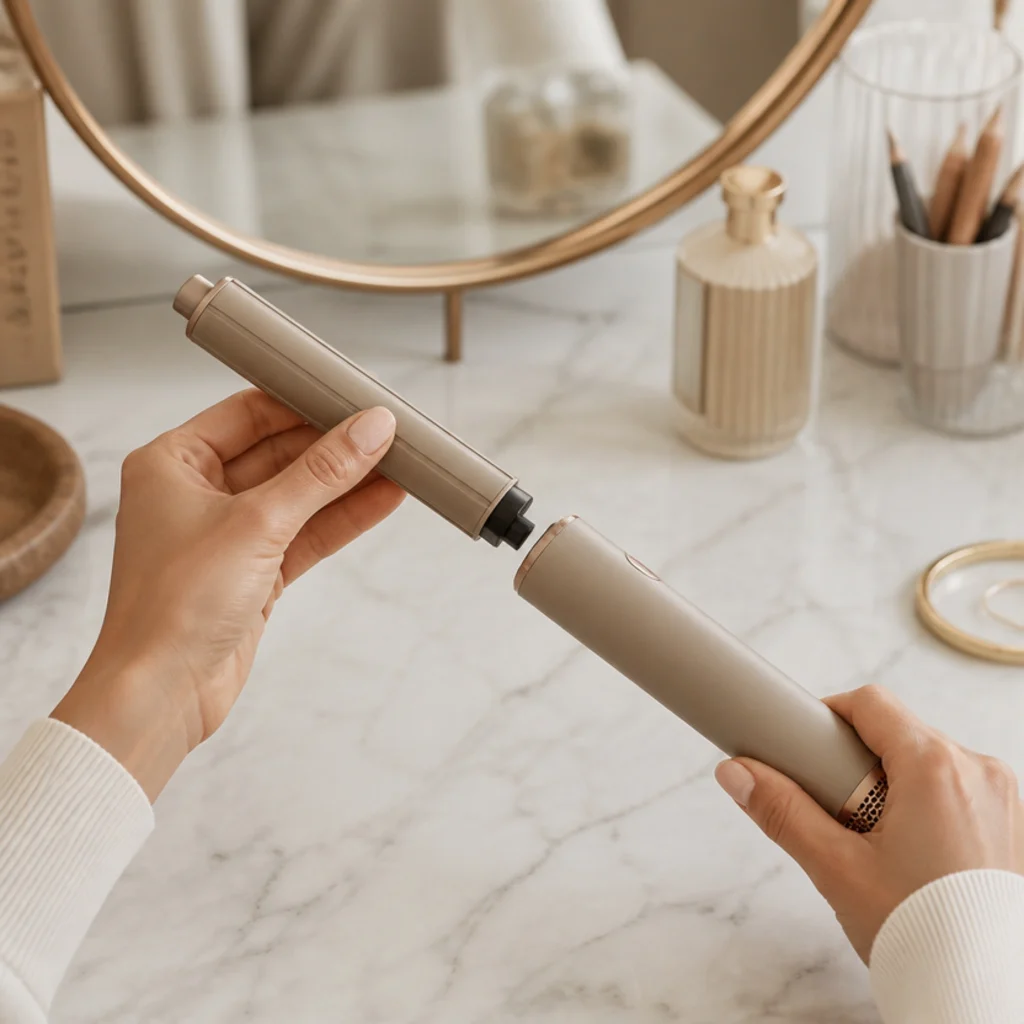
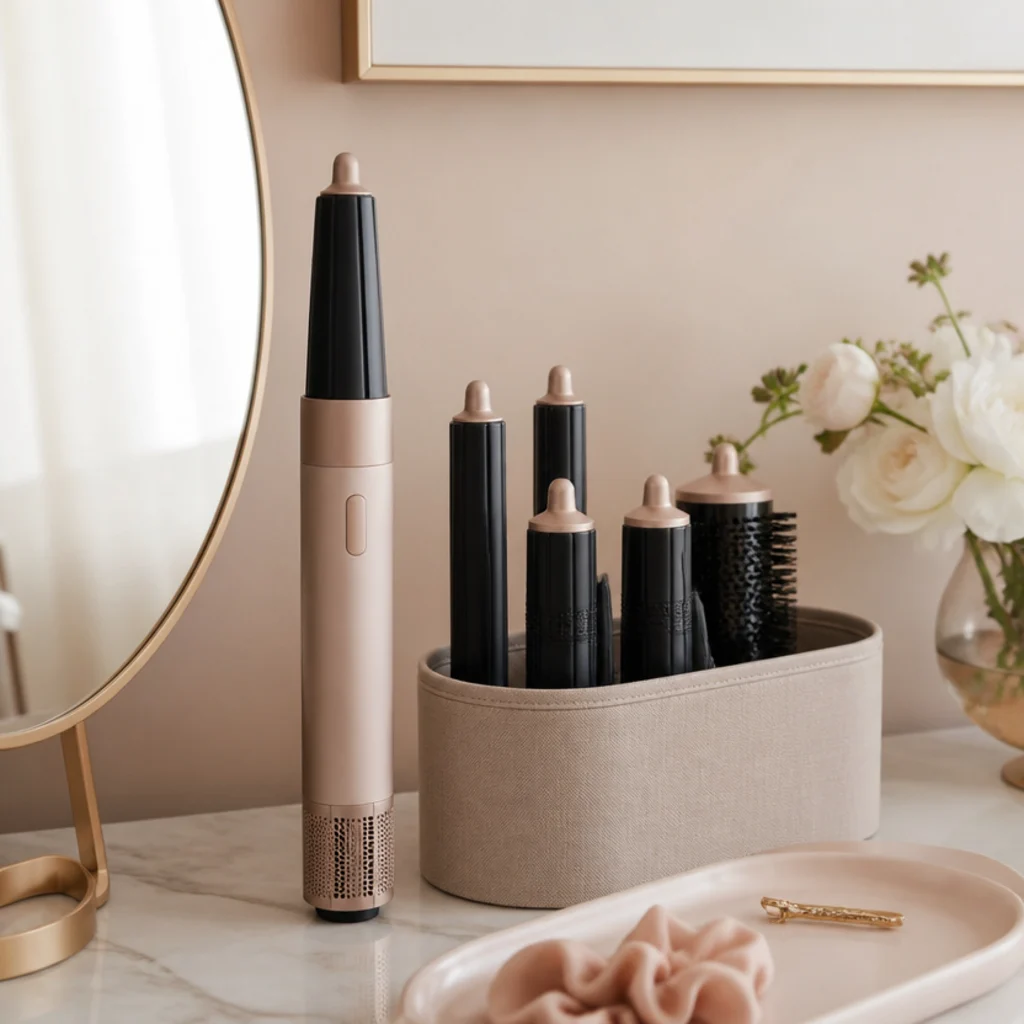
Swap the drying tool for the curling barrel that matches your target look. A smaller-diameter barrel builds a tighter, springier curl with more definition, while a larger one gives a loose, brushed-out wave with that soft blow-dry bend; plenty of people mix both across the head for dimension. Note which barrels are marked for clockwise versus counterclockwise airflow, since that direction dictates how the hair wraps and is the foundation of the alternating technique you'll use later. Make sure each attachment clicks on fully and locks; a partially seated barrel wobbles and wraps unevenly. Lay out your barrels, clips, and comb before you start, since once hair dries past the damp window you lose the easy-wrap advantage and have to re-mist. A calm, pre-arranged vanity is part of what makes the dyson airwrap aesthetic feel like a ritual instead of a scramble. Pro tip: let barrels cool fully before swapping mid-style to avoid a heat-shocked, frizzy handoff between sections. Ask your stylist which barrel size best suits your length before you commit to one look.
05Section Hair Into Manageable Zones
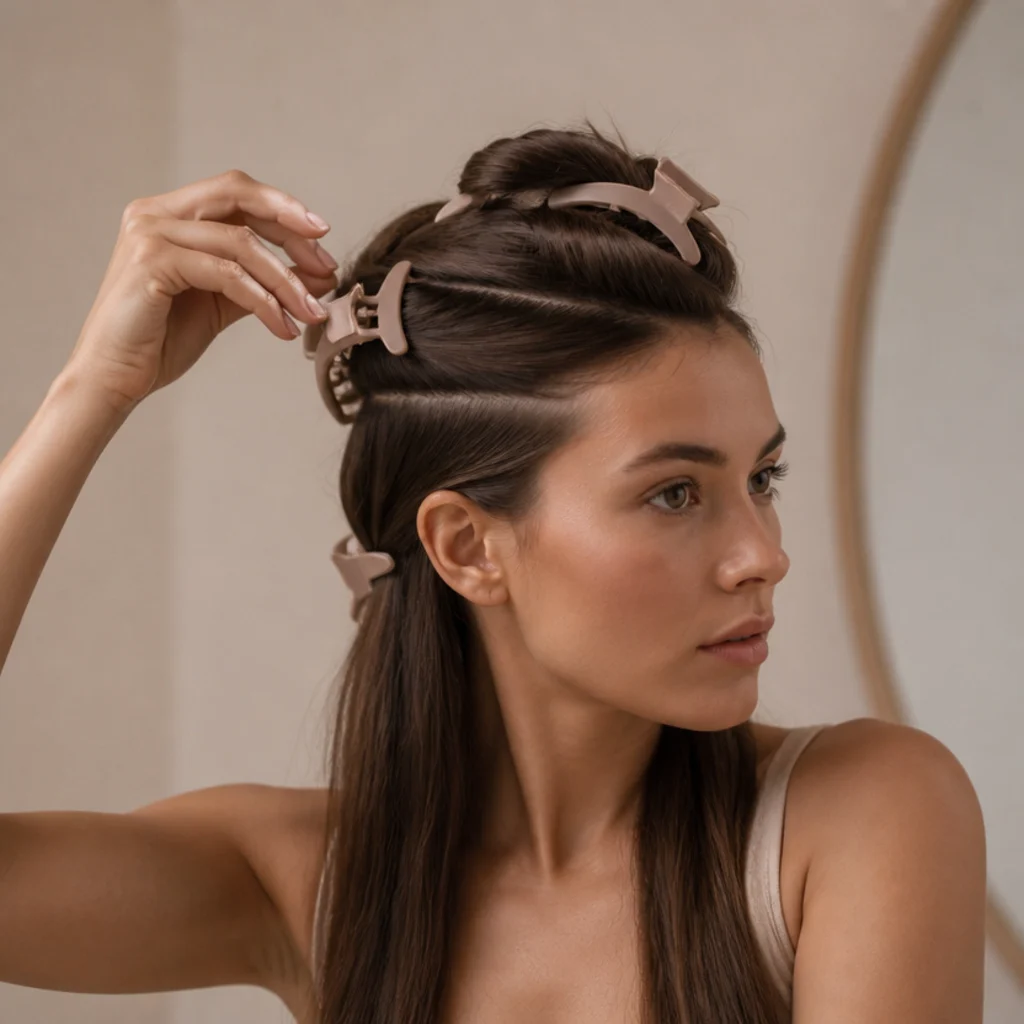
Sectioning is the difference between polished curls and a scattered result, and it's where most beginners rush. Split hair into a lower layer at the nape, a middle layer, and a top layer, clip each away, and work from the bottom up so finished curls fall over unstyled hair rather than the other way around. Keep every working piece roughly the width of the barrel and no thicker than two fingers; on thick or dense hair, add a fourth horizontal layer rather than fattening each section. Clean center or side partings help curls sit together instead of splitting into visible gaps at the crown. The patience pays off most on long or coarse hair, where oversized sections produce half-set chunks that need redoing and end up costing more time than they save. Pro tip: twist and pin the top layers high and forward so they stay out of the way, which also keeps loose ends from catching the airflow too early. Use matte claw clips you can open one-handed, and ask your stylist to show you a sectioning map tailored to your haircut.
Save this to Pinterest — the sectioning map is the step most people wish they had bookmarked.
06Set Your Heat and Airflow
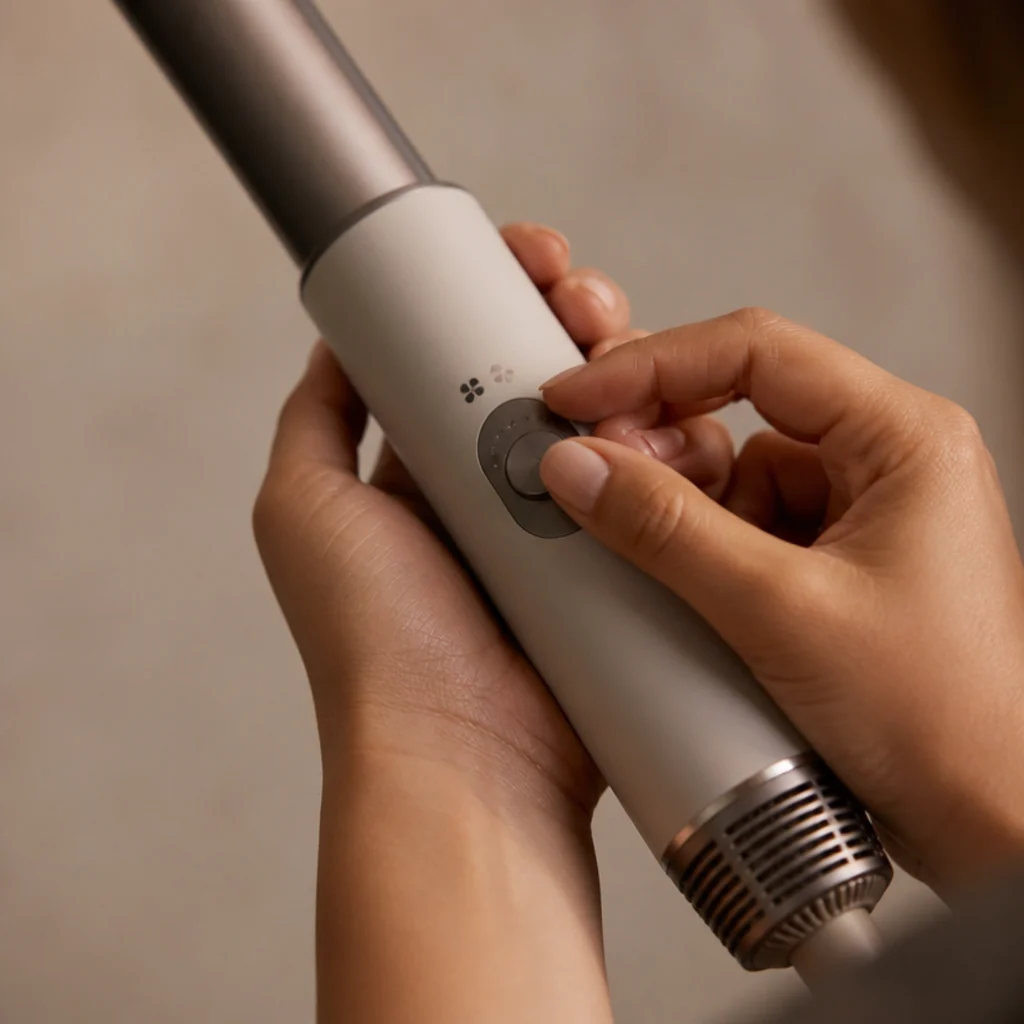
For most hair types, medium heat paired with high airflow sets curls efficiently without pushing extra heat into the strand. Fine, fragile, or chemically lightened hair does better on the lower heat setting, trading a few extra seconds per section for a gentler, more color-safe approach; coarse, dense, or resistant hair can take the higher heat and still set in a reasonable count. High airflow is what draws the hair cleanly around the barrel, so let the air do the wrapping instead of forcing the section by hand. If your styler has a low-heat, high-speed mode, it's a solid everyday default that protects the cuticle. The whole point of an airflow tool is a softer thermal load than a hot plate, so maxing out the temperature rarely helps and often invites frizz. Dial the pairing in once for your texture and reuse it, adjusting only when you switch barrel sizes.
| Hair type | Suggested heat | Airflow | Set count per section |
|---|---|---|---|
| Fine / fragile / lightened | Low | High | 8-10 sec |
| Medium / normal | Medium | High | 10-12 sec |
| Thick / coarse / resistant | Medium (higher if needed) | High | 12-15 sec |
07Take a Clean, Consistent Section
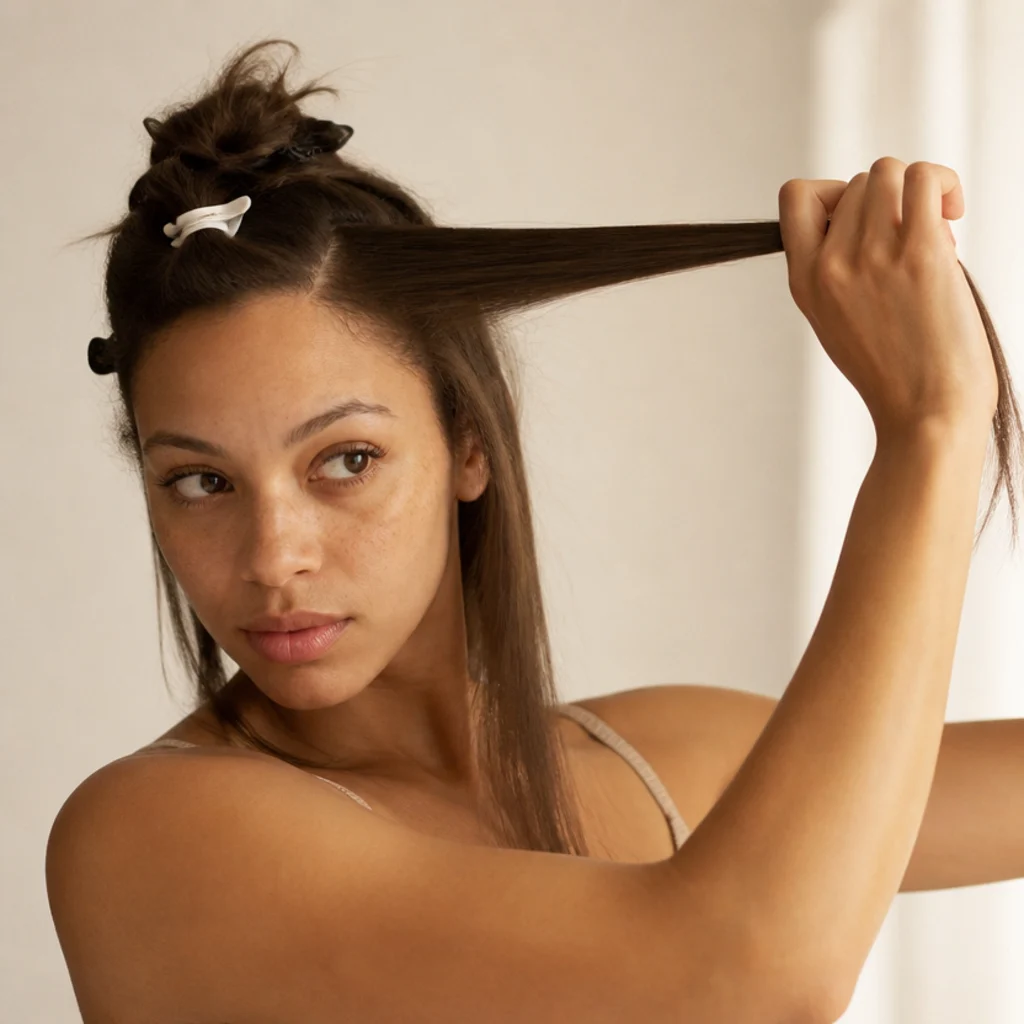
Release one section from your clips and comb it fully smooth so there are no tangles or bumps for the airflow to snag. Consistency is the whole game: keep each section a similar width and thickness so every curl sets in the same amount of time and falls at a matching size. That's what makes the finished head read as deliberate rather than patchy. Hold the section taut at a slight outward angle from the scalp for root lift, then bring the barrel toward the ends, keeping a comfortable distance from your face, ears, and neck. A smooth starting section wraps in one clean spiral and avoids the little kinks that give away uneven technique. If a piece feels too thick to wrap easily, or the ends fan out past the barrel width, split it. Thinner sections almost always set cleaner and hold longer. Pro tip: comb each section one last time right before it meets the barrel, since even a few seconds of resting lets strands drift and cross. Ask your stylist how thin to go for your density if your curls keep loosening.
08Let the Airflow Wrap the Hair
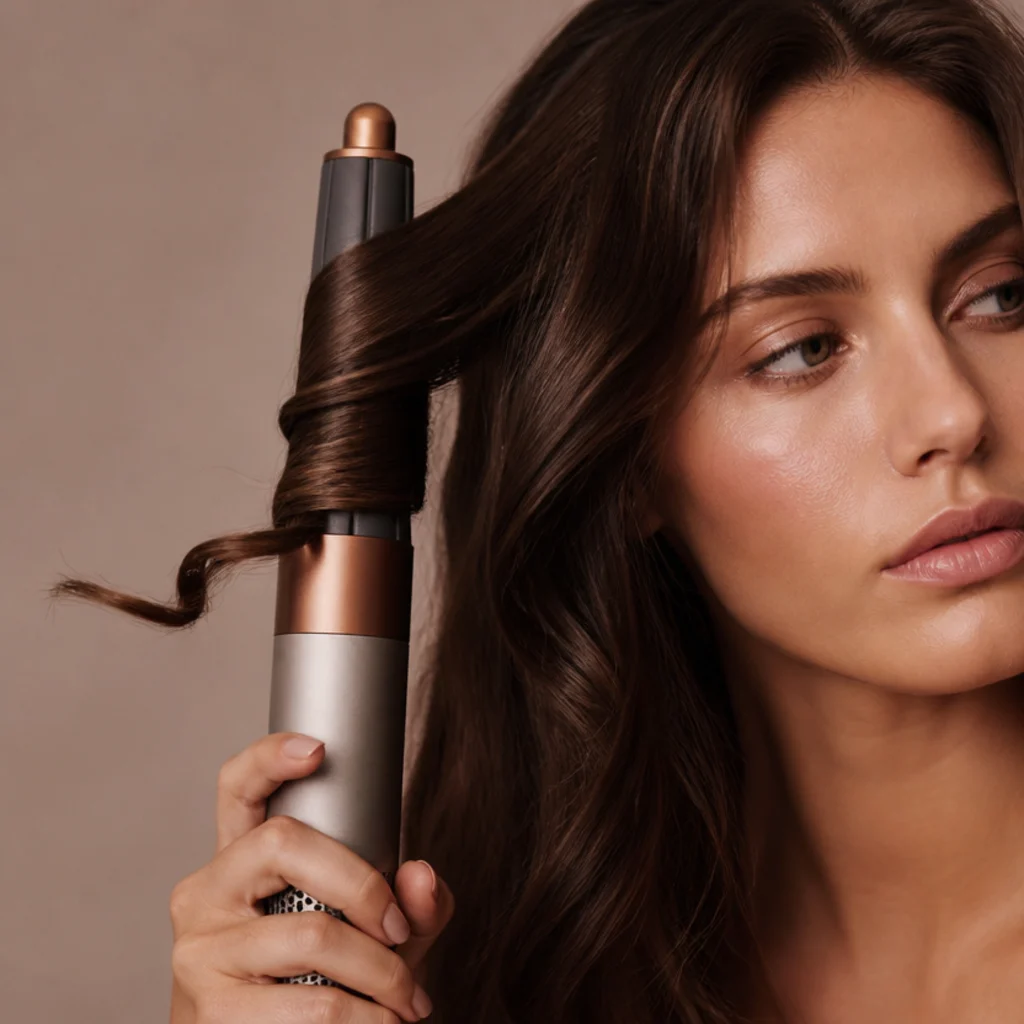
This is the moment that feels a little magical the first few times. Hold the barrel near the ends of your section and let the airflow draw the hair up and around on its own, guiding gently rather than manually winding it the way you would with a curling wand. Keep the barrel pointed in its intended airflow direction so the strand wraps in one continuous, even spiral from ends toward roots. If the ends flick out or refuse to catch, lower the section slightly and let the air grab the very tips before the rest follows; feeding the ends first fixes stubborn flyaway tips. Resist over-wrapping, which bunches hair at the base and produces a fat, loose curl instead of a defined spiral. Spread the section evenly along the barrel's length rather than piling it in one spot. Pro tip: if a section keeps escaping, it's usually too wide or too dry, so split it thinner or spritz a light mist and try again rather than fighting the airflow. Ask your stylist to demonstrate the ends-first catch if your tips keep escaping.
09Hold, Then Count the Curl
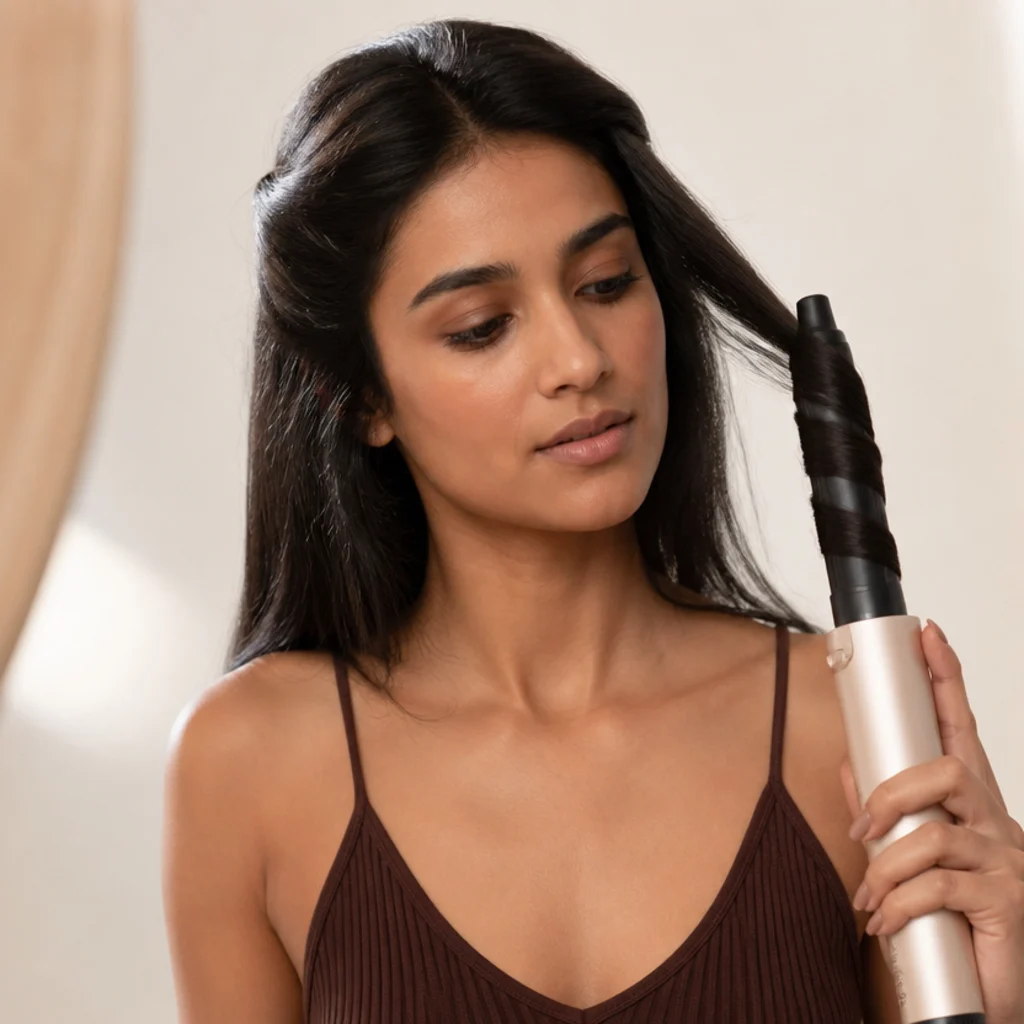
With the section fully wrapped, hold it steady and count a deliberate eight to twelve seconds so the curl sets all the way through, not just on the surface. Thicker, coarser, or more resistant hair wants the upper end of that range or a touch longer, while fine hair sets quickly and can overcook into a tight, brittle coil if you push it too far. This is a heat-plus-airflow set: the strand is being reshaped as warm air moves through and around it, so a consistent count matters more than cranking the temperature. Counting the same beat on every section is what keeps curls uniform in size and springiness across the whole head. Try not to fidget, tug, or shift the barrel mid-count. Disturbing the wrap now turns into a looser, less defined curl the moment you release. Pro tip: count out loud or to a steady rhythm rather than eyeballing it, since rushed, uneven timing is a leading cause of a head that looks half-curled. Ask your stylist what count suits your texture so you're not guessing.
10Hit the Cool Shot
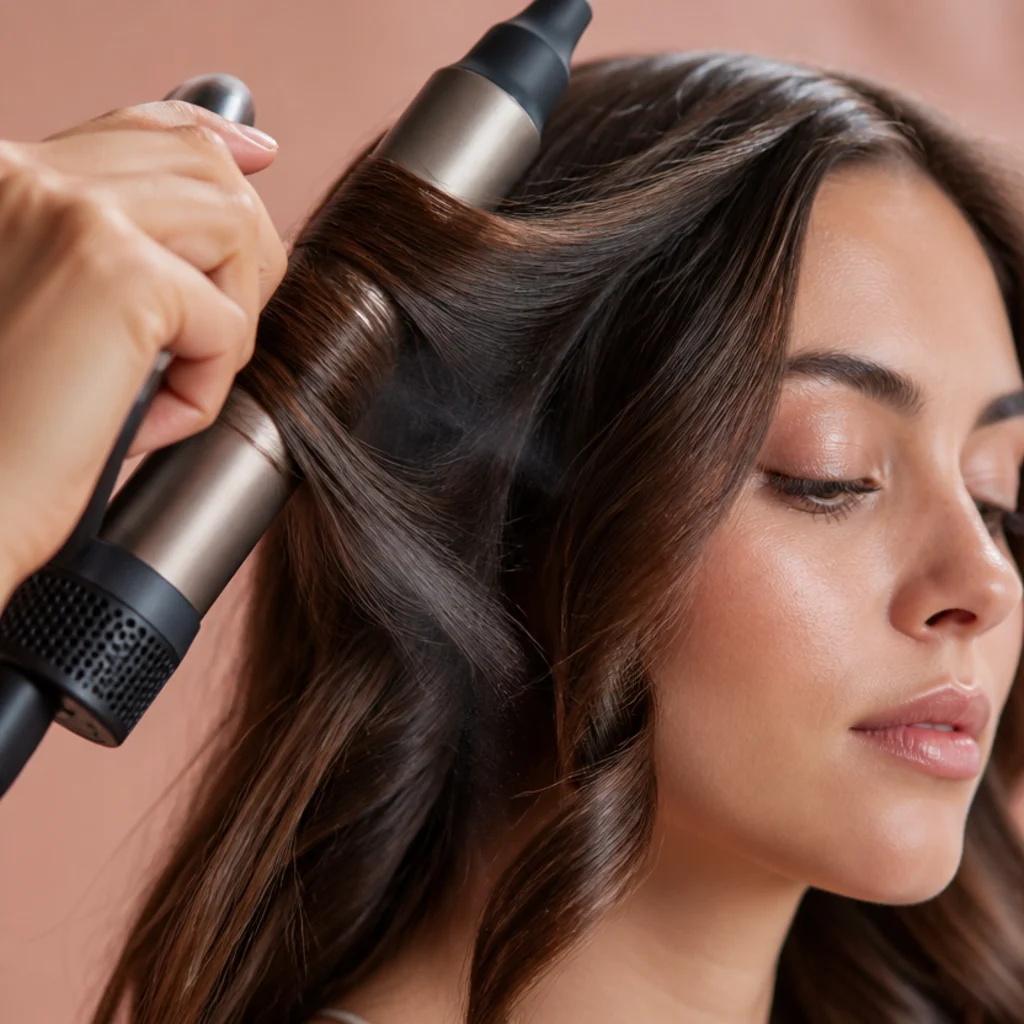
The cool shot is the single most important step for curls that actually last. Right after the warm set, switch to the cool setting for three to five seconds while the section is still wrapped around the barrel. Cool air stabilizes the hydrogen bonds the heat just re-formed, locking the strand into its new spiral before it has a chance to relax. It's the same principle as letting a set curl cool before you touch it, just built into the tool. Skipping this is the number-one reason home curls droop by early afternoon, because a warm curl released straight off the barrel is still soft and pliable. Give every section the same brief cool blast before releasing, and you'll feel the difference in bounce and staying power almost right away. Treat the cool shot as non-negotiable, not an optional flourish. Pro tip: on fine or heat-sensitive hair, lean on a slightly longer cool shot rather than a hotter heat setting, since cooling does the durability work with none of the thermal cost.
Save this to Pinterest — the cool-shot habit is what separates all-day curls from noon droop.
11Release and Drop the Curl to Cool
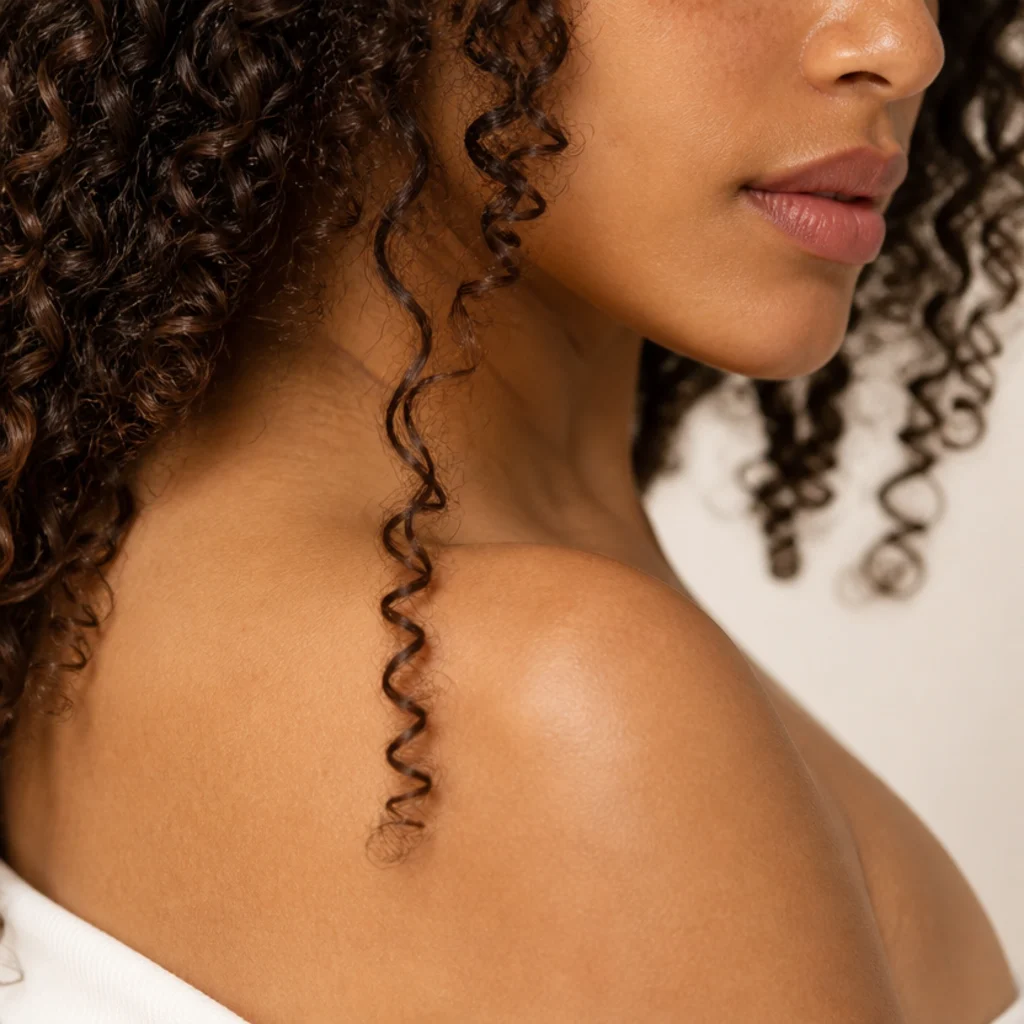
Gently unwind the section and let the curl fall, then leave it alone while it finishes cooling in open air. A just-released curl is still warm, soft, and easy to pull loose, so the less you handle it in the first minute, the more shape it keeps; brushing or raking now trades bounce for droop. For maximum staying power, use the pin-set trick borrowed from vintage roller sets: catch each fresh spiral, coil it up toward the scalp, and secure it flat with a clip or duckbill pin, then release all the pins at the very end once everything is stone cold. That extra cooling time under tension is what gives you the longest hold and the most defined result. If you're short on time, just let each curl drop and move to the next section. You'll still get good shape, just slightly softer. Pro tip: clip pinned curls in the same alternating pattern you curled them so nothing crosses or flattens against the head. Ask your stylist about pin-setting if your curls historically fall within an hour.
12Alternate Barrel Direction
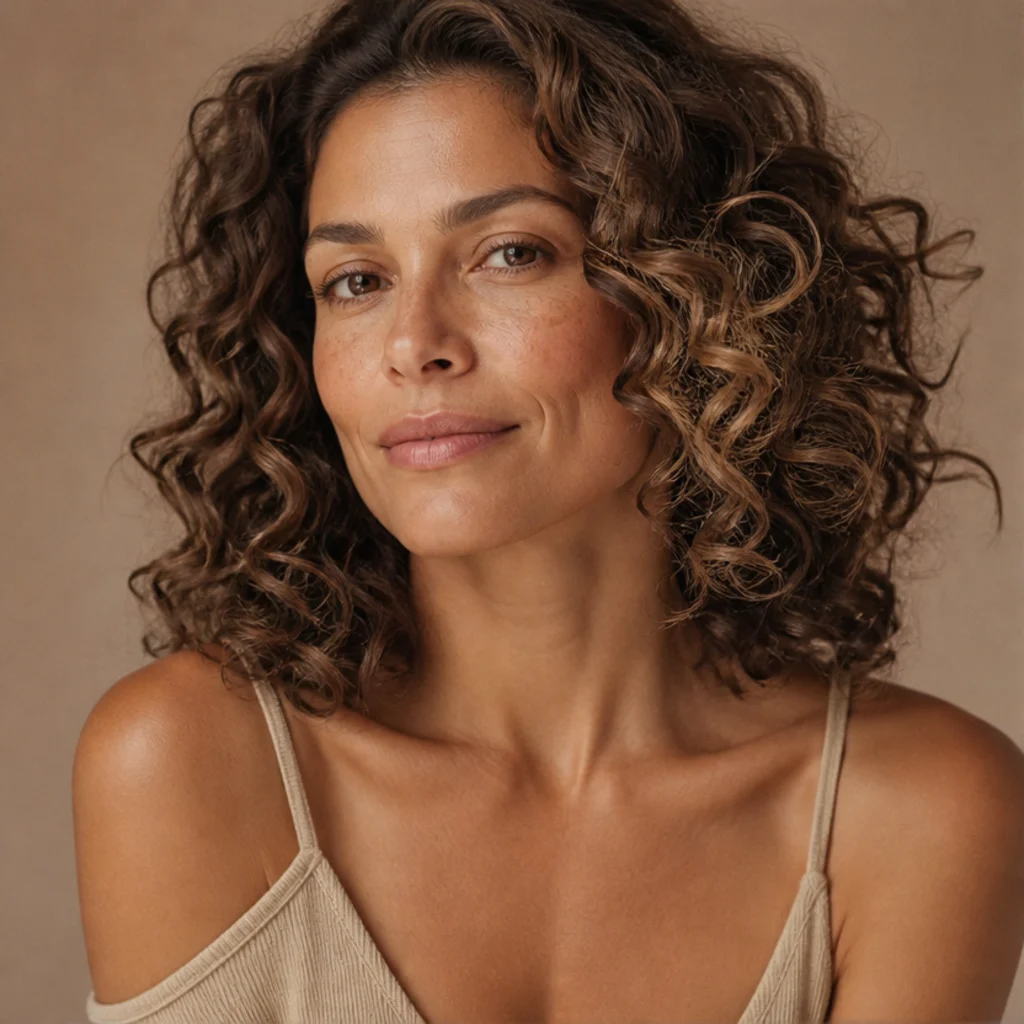
For curls that look natural rather than uniform, alternate the wrap direction section to section, one curl toward your face and the next away. This keeps neighboring curls from merging into a single wall of ringlets and instead builds the piece-y, lived-in movement that reads as modern rather than done. Concentrate the alternation around the crown and hairline, where mixing direction adds the most visible dimension and avoids a helmet-like uniformity. If your styler includes barrels marked for clockwise and counterclockwise airflow, this is where they earn their place, letting you flip direction without re-wrapping by hand. Uniform, same-direction curls still have their moment for a polished, retro, Old-Hollywood finish, but alternating is the go-to for a contemporary, undone wave. It's a small change of habit that noticeably changes the finished shape and dimension. Pro tip: always curl the front-most face-framing pieces away from the face regardless of the alternating rhythm elsewhere, so they open up the features cleanly. Ask your stylist to mark which direction flatters your parting.
13Shape the Face-Framing Pieces
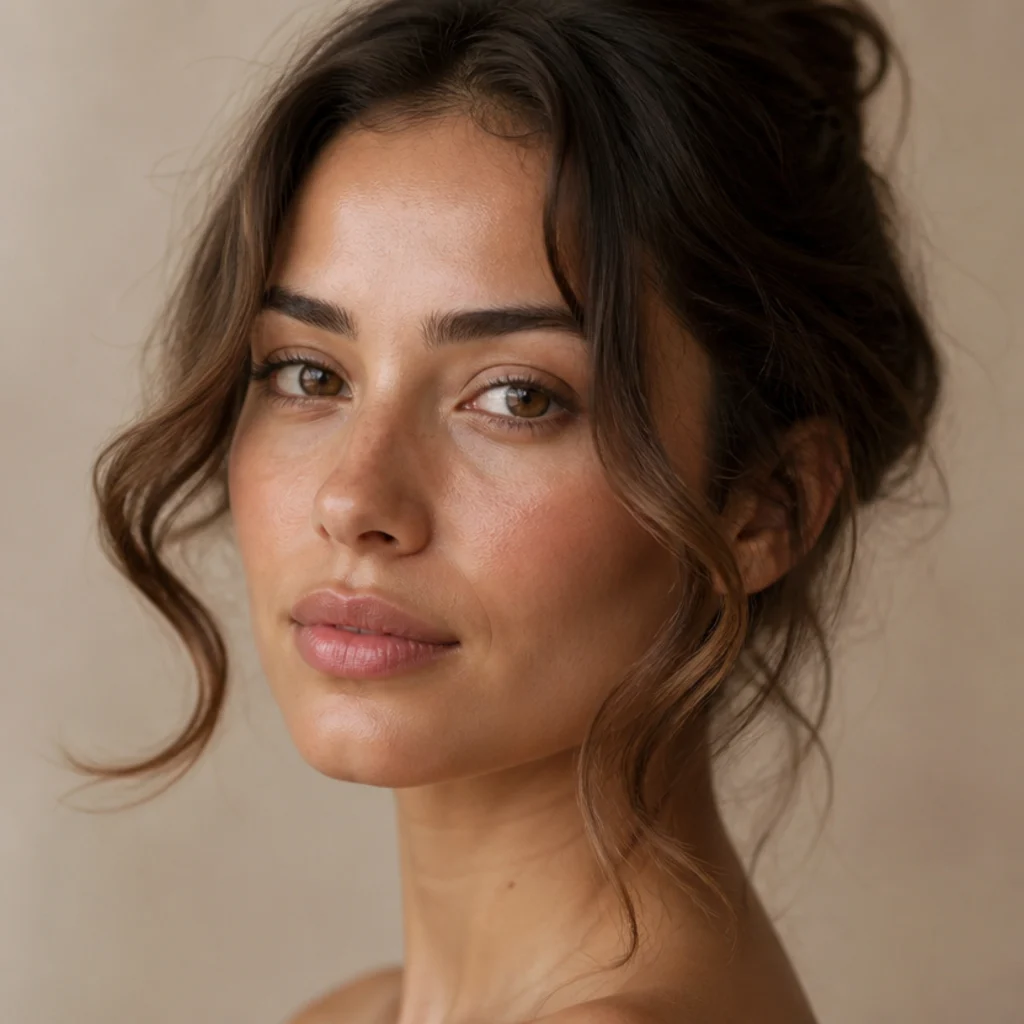
The pieces around your face set the tone for the entire style, so give them dedicated attention instead of treating them like any other section. Curl the front sections away from the face for a soft, curtain-bang effect that opens the features and flatters the widest range of face shapes. Match the bend to your bone structure: round faces lengthen with longer, looser curves that pull the eye downward, angular or square faces soften with a gentler, rounder bend, and heart shapes balance a narrower chin with a curve that adds width at the jaw. Keep these front pieces slightly looser than the rest so they blend into the overall shape instead of standing apart as tight coils. This is also the zone you'll refresh most often between washes, so getting the direction and looseness right now saves real time later. Pro tip: take the face-framing pieces slightly thinner and finish them with an extra-long cool shot, since they get the most touching and movement through the day. Ask your stylist for a face-framing curtain layer at your next cut so these pieces fall exactly where you want them.
14Brush, Finger-Rake, or Leave As-Is
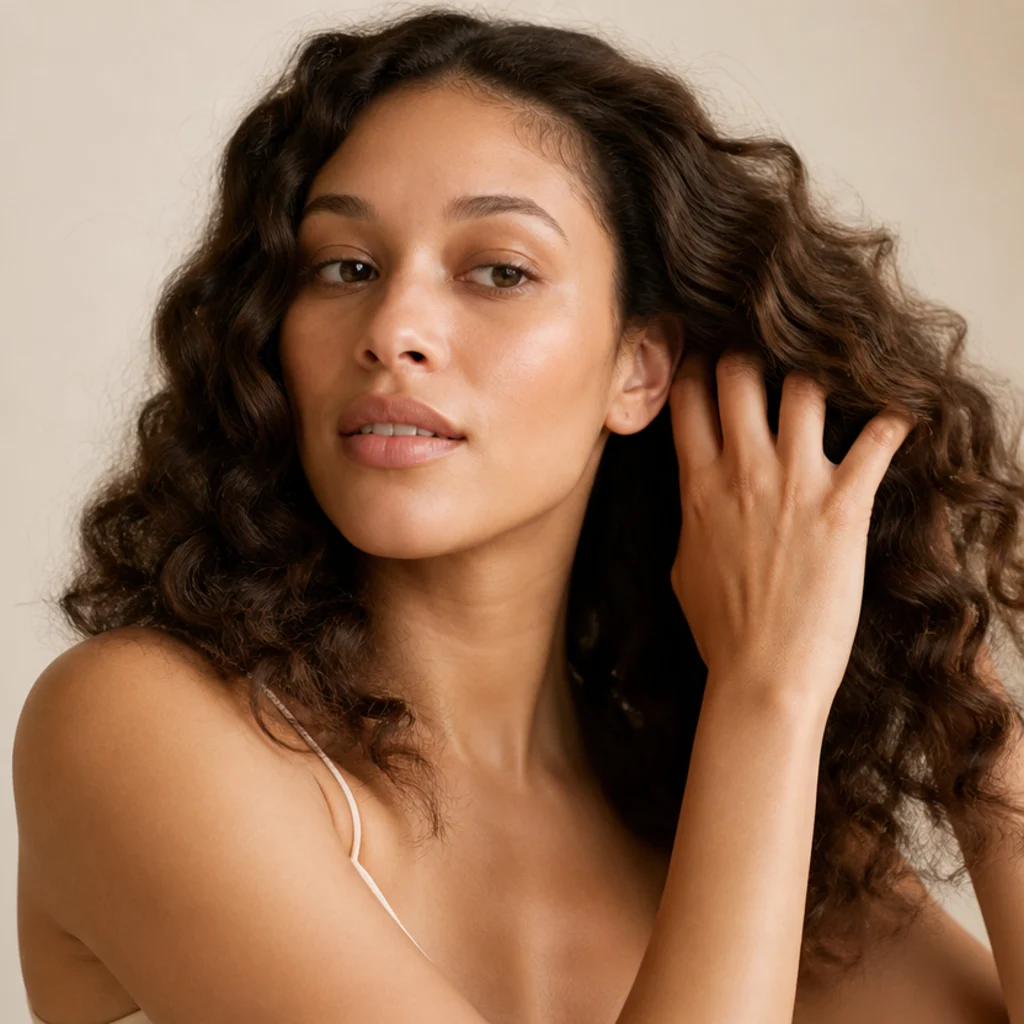
Once every curl is fully cool, choose your finish, because this single decision changes the whole personality of the style. Leave the curls untouched for defined, separated spirals; rake through with your fingers for a softer, more natural wave; or brush them out completely with a paddle or natural-bristle brush for a big, blended, blow-dry look. Always wait until curls are stone cold before any brushing, since working through warm curls relaxes them straight out and wastes the set. Start gentle and go gradually: you can always loosen a curl further but can't re-tighten it without re-curling from scratch. A pea-sized drop of lightweight hair oil or a smoothing cream worked over the mid-lengths and ends tames flyaways and adds a glassy shine without collapsing volume. Pro tip: for the fullest brushed-out result, flip your head upside down and brush from underneath, then shake the hair back into place for lift at the root. This is where personal style takes over, so experiment until the texture matches the vibe you're after.
Pro Tips from the Editor
- Respect the damp window above all else. Nearly every "my curls fell out" problem traces back to hair that was too dry (nothing to reshape) or too wet (no time to set) when it met the barrel. When in doubt, re-mist to uniformly damp and re-rough-dry to 80 percent.
- Cool longer before hotter. If curls don't hold, extend the cool shot to a full five to seven seconds instead of raising the heat. Cooling stabilizes the bond; extra heat mostly adds frizz and cuticle stress.
- Thin sections beat big ones every time. If a curl loosens fast, halve the section width before you change anything else. Barrel-width, two-finger-thick sections are the standard for a reason.
- Clarify buildup on a schedule. Silicone and dry-shampoo residue make airflow slip. A gentle clarifying wash every second or third cycle restores the grip that gives curls their spring.
- Feed the ends first. Stubborn flyaway tips almost always mean the mid-length hit the airflow before the very ends caught. Lower the section and let the tips grab, then let the rest spiral up.
- Set it, then leave it. The first sixty seconds after release decide the hold. Pin it or just don't touch each curl until it's cold; impatience here is the quiet killer of an otherwise good set.
- Pin-set for events, finger-rake for every day. Reserve the vintage pin-and-cool method for occasions that demand hours of hold, and use a quick finger-rake finish for relaxed daily wear.
15Set, Store, and Refresh
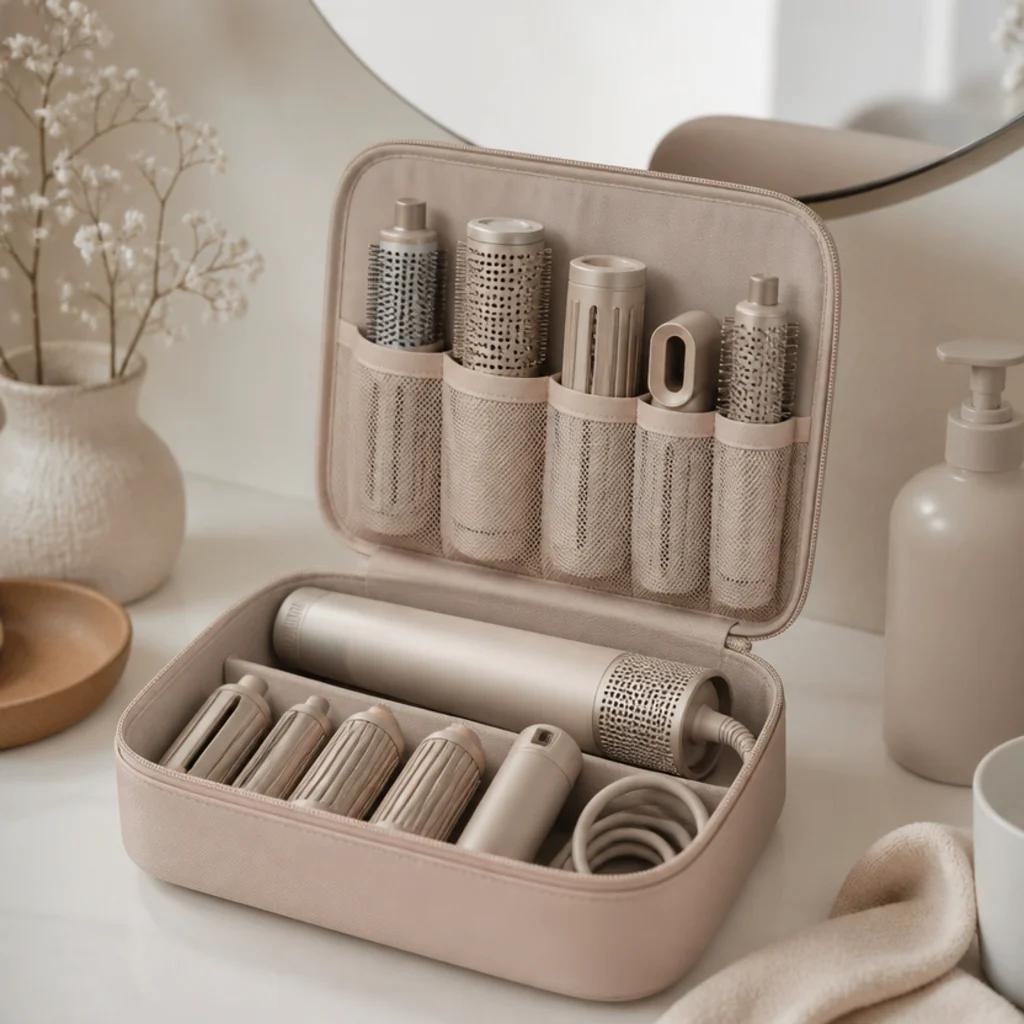
Finish with a light, even mist of flexible-hold hairspray aimed at the roots and mid-lengths rather than drenching the ends, which keeps movement intact while adding staying power. For upkeep, refresh curls every couple of days by re-curling only the face-framing pieces and any crown sections that have dropped; a full re-do is rarely necessary, and a light dry shampoo at the roots revives volume between washes. Smart dyson airwrap storage keeps the whole routine sustainable: let barrels cool completely before packing them, coil the cord loosely in wide loops to avoid internal wire strain, and keep attachments in a dedicated case or a lined drawer organizer so nothing scatters, scratches, or gets lost. A tidy, deliberate setup is part of what makes the dyson airwrap aesthetic feel like a ritual instead of a chore. Pro tip: sleep on a silk or satin pillowcase and loosely pineapple your curls at the crown to wake up with a shape that needs only a quick refresh. Stored well and refreshed lightly, both your curls and your tool stay in noticeably better shape. Ask your stylist for a curl-safe refresh spray suited to your color.
How to Choose / Get the Look
Reliable dyson airwrap curls come down to matching technique to your hair rather than copying one universal setting. Use this quick guide:
- By density: Fine hair wants lower heat, a volumizing mousse or mist, thinner sections, and a longer cool shot so curls don't sink under their own weight. Medium hair takes the standard medium-heat, high-airflow pairing. Thick or coarse hair needs smaller sections, a longer set count, and a cream or lotion that smooths swelling as it sets.
- By length: Shorter, chin-to-shoulder cuts look best on a smaller barrel with alternating directions for movement. Mid-length holds the most versatile blow-dry wave. Long hair carries a looser wave well but demands disciplined sectioning, since weight pulls curls down faster.
- By texture: Straight hair benefits from a touch more heat and a slightly longer count to convince it to hold. Naturally wavy hair sets fastest and often needs only a light product. Very tight coils generally get better definition from a diffuser or wand than from an airflow curl.
- By occasion: For all-day events, pin-set and cool each curl, then finish with flexible-hold spray. For everyday wear, drop and cool, then finger-rake.
On the classic dyson airwrap vs curling iron question, the honest answer is that they do different jobs. A curling iron applies direct, high-contact heat and produces firmer, harder-holding ringlets, good if you love a crisp, structured curl. An airflow styler leans toward softer, blow-dry-style volume with a gentler thermal load and the convenience of drying and shaping in one pass, good for bouncy, natural movement and multitasking. Neither is objectively better. Choose by the finish you want, and know that plenty of people keep both and reach for whichever suits the day.
Frequently Asked Questions
Do curls last all day with a Dyson Airwrap?
They can, if you nail the prep and the cool shot. Curls hold longest on clean hair set to about 80 percent dry before wrapping, then locked with a full three-to-five-second cool shot before release. Fine or straight hair benefits from a light flexible-hold spray and a quick midday re-curl of the face-framing pieces. Skipping the cool shot or over-wetting the hair are the two habits most likely to cut it short.
Should hair be wet or dry when I start?
Neither extreme. Airflow styling works on hair that's towel-dried, evenly damp, then rough-dried to roughly 80 percent before you curl. Fully dry hair gives the barrel no moisture to reshape, so curls barely register; soaking-wet hair can't set within a reasonable count and slides loose within the hour. If your hair air-dried too far, re-mist to uniformly damp rather than curling it bone dry.
Is an airflow styler better than a curling iron?
It depends on the finish you want. In the dyson airwrap vs curling iron comparison, the airflow tool delivers softer, voluminous, blow-dry-style curls with a lower direct-heat load and the bonus of drying and shaping in one pass. A curling iron delivers firmer, longer-holding, more defined ringlets through high-contact heat. Choose based on the look you love, not the marketing; plenty of people own both for different days.
How do I stop my curls from falling flat?
Three fixes cover nearly every case: start with clean roots at the right dampness, keep sections thin and consistent at roughly barrel width, and never skip the cool shot before releasing each curl. Beyond that, over-saturating hair with product, using a barrel too large for your length, and touching curls before they cool all loosen the set. If curls still drop, clarify to remove buildup and cool each curl longer instead of adding heat.
How should I store the tool and attachments?
Let everything cool fully first, then coil the cord loosely in wide loops to avoid straining the internal wiring, and keep barrels in a dedicated case or a lined drawer organizer so nothing gets scratched or lost. Good dyson airwrap storage protects the attachments, keeps your vanity calm, and makes you more likely to actually keep up the routine. Avoid tight cord wrapping around the handle, a common cause of long-term cable wear.
Can I use a Dyson Airwrap on curly or coily hair?
Yes, with adjusted expectations. Looser curl patterns take a soft, elongated wave well, especially with a smoothing cream and thinner sections. Very tight coils and 4-type textures usually get more satisfying definition from a diffuser or a wand, since an airflow curl tends to loosen the natural pattern rather than sharpen it. If you have coily hair and want stretched, blended volume rather than crisp definition, it works well as a blowout-style tool.
How often can I curl without damaging my hair?
Airflow styling uses a lower thermal load than a hot iron, so it's gentler on the strand, but it's still heat, so always use a protectant and avoid daily maximum-heat sets. Refreshing only dropped sections every two to three days is easier on your hair than restyling the whole head each morning. If your hair feels dry, straw-like, or is snapping, scale back frequency, lower the heat, and add a weekly bond-supporting or moisture mask.
Why does my hair frizz instead of curling smoothly?
Frizz usually signals one of three things: too much heat for your texture, hair that dried past the damp window, or product buildup making the airflow slip. Lower the heat, re-mist and re-dry to 80 percent, and clarify if you use silicone-heavy products. Directing airflow down the shaft while rough-drying, then finishing with a drop of lightweight oil on the ends, also smooths the cuticle for a glossier result.
What barrel size should a beginner choose?
Start with the larger barrel. It's more forgiving, wraps hair with less fuss, and produces a soft, brushable wave that hides small technique inconsistencies while you learn. Once your sectioning and timing feel automatic, add a smaller barrel for tighter, springier curls or for mixing sizes across the head. Matching barrel to length matters too: shorter hair suits smaller barrels, and longer hair carries a larger barrel's looser wave well.