15 Dyson Airwrap Curls Ideas for Beginners
New to the multi-styler world and unsure where to point the barrel? These 15 curl ideas break down beginner-friendly shapes by section size, barrel direction, and cool-set time, from barely-there bends to full spirals, so every result is repeatable, not lucky.
 Edited by Lena Rose · Published July 11, 2026 · 26 min read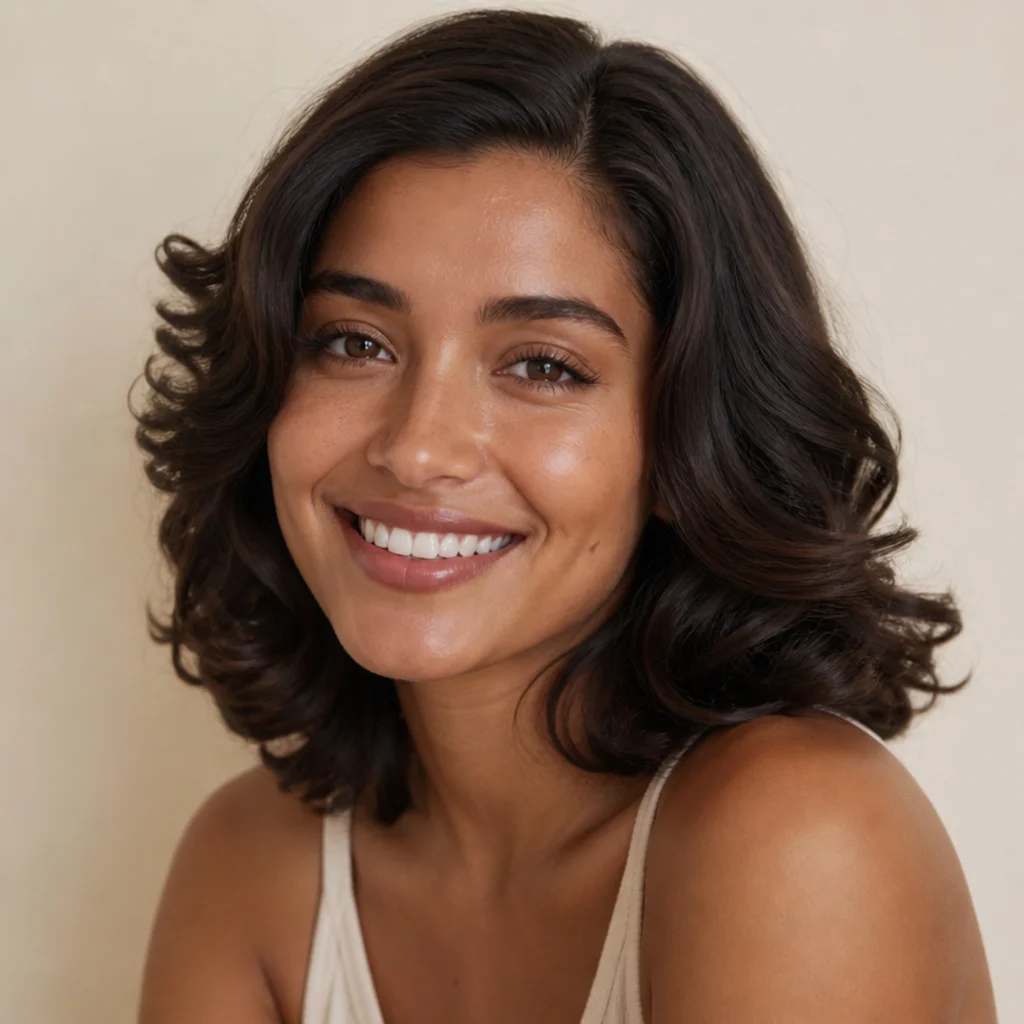
Quick Answer
- Best for: Beginners who want soft, repeatable curls with airflow rather than a scorching metal barrel, and anyone rebuilding confidence after wand mishaps
- Who might skip it: Very short pixie lengths (too little hair to wrap), and anyone chasing rod-set-tight ringlets that only a small-barrel iron delivers
- Maintenance: Low to moderate; loose waves relax by day two, tight spirals hold three-plus days with a satin pillowcase
- Difficulty: Easy to intermediate; nearly every look is decided by three levers, section size, barrel direction, and cool-down time
- Cost: The tool itself is a premium one-time purchase (roughly the high-hundreds range, currency dependent); ongoing cost is minimal beyond a heat protectant and a light-hold spray
- Wear time / longevity: One to three days depending on curl tightness, hair texture, and product; fine hair drops fastest
- Standout variation: The alternating-direction lived-in wave, the most natural and forgiving result for first-timers
- How to ask your stylist: Bring one saved photo, name the shape (wave, bend, spiral, blowout), and specify finish, matte and piecey versus glossy and uniform
In This Guide
- Soft Bouncy Blowout Curls
- Loose Beachy Waves
- Alternating-Direction Lived-In Waves
- Face-Framing Money-Piece Curls
- Voluminous 90s Bombshell Curls
- Tight Ringlet-Style Spirals
- Curled Ends on a Blunt Bob
- Half-Up Style with Curled Lengths
- Curtain Bangs with Soft Bend
- Undone Textured Waves for Fine Hair
- Defined Curls for Coily and Curly Textures
- Sleek Root, Curled Tail
- Old-Hollywood Side-Swept Waves
- Everyday Low-Maintenance Bend
- Curled Ponytail or Half-Bun Finish
Introduction
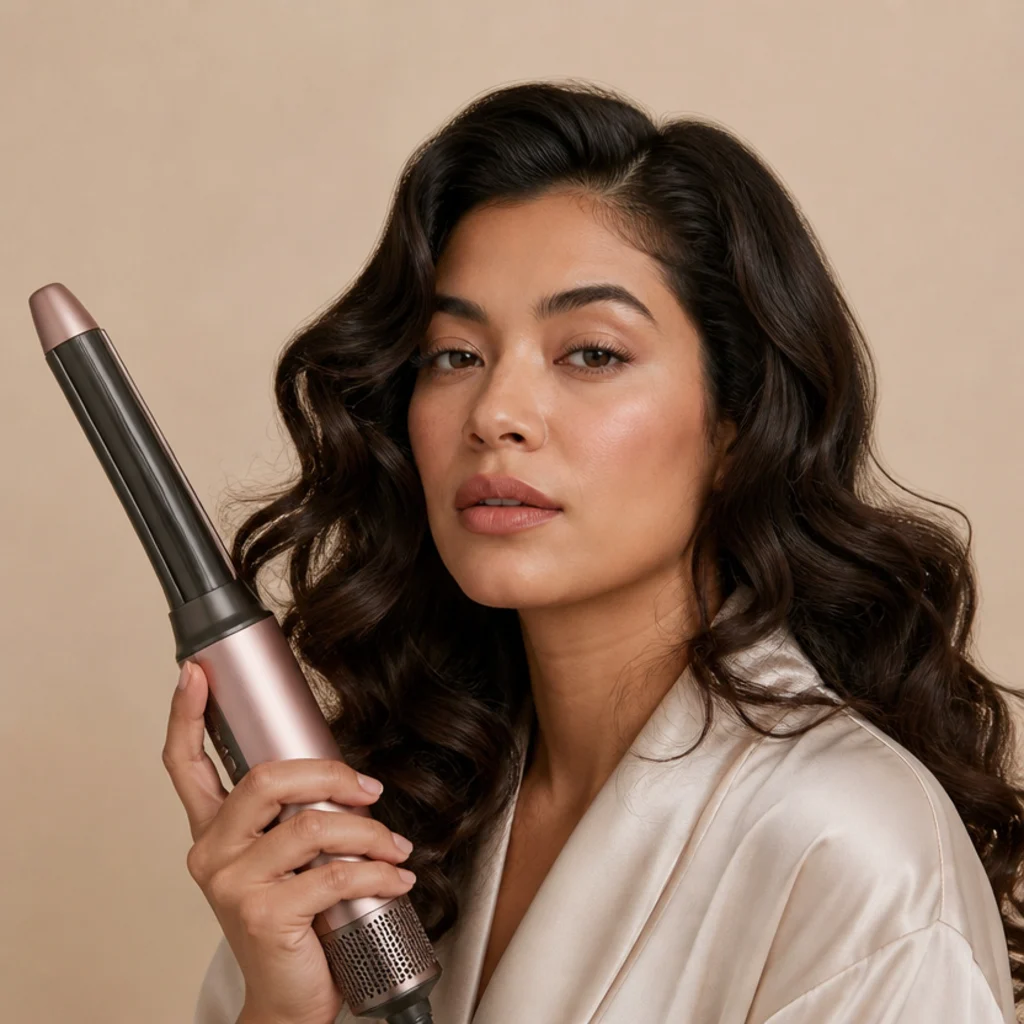
Learning dyson airwrap curls comes down to three choices you make over and over: how wide your sections are, which way the barrel points, and how long you let each curl cool before you let it go. A multi-styler shapes hair with directed airflow instead of one scorching metal barrel, so the heat hitting your strands is lower than a traditional curling iron. That's why beginners tend to relax and make fewer nervous mistakes while they practice. The trade-off is a softer, more lived-in curl than a hot rod gives you, which is part of why these looks read modern instead of costume-y. The 15 ideas below run from the softest, most forgiving bends to defined spirals that reward patience, so you can start where your confidence sits and build from there. Each entry covers the face shapes, hair textures, and lengths it flatters, a realistic maintenance timeline, one concrete pro tip, and the plain-language phrase to hand a stylist if you'd rather they recreate it. Whether you searched dyson airwrap curls, dyson airwrap aesthetic, or dyson airwrap vs curling iron, use this as a starting menu you can adjust to your own hair.
01Soft Bouncy Blowout Curls
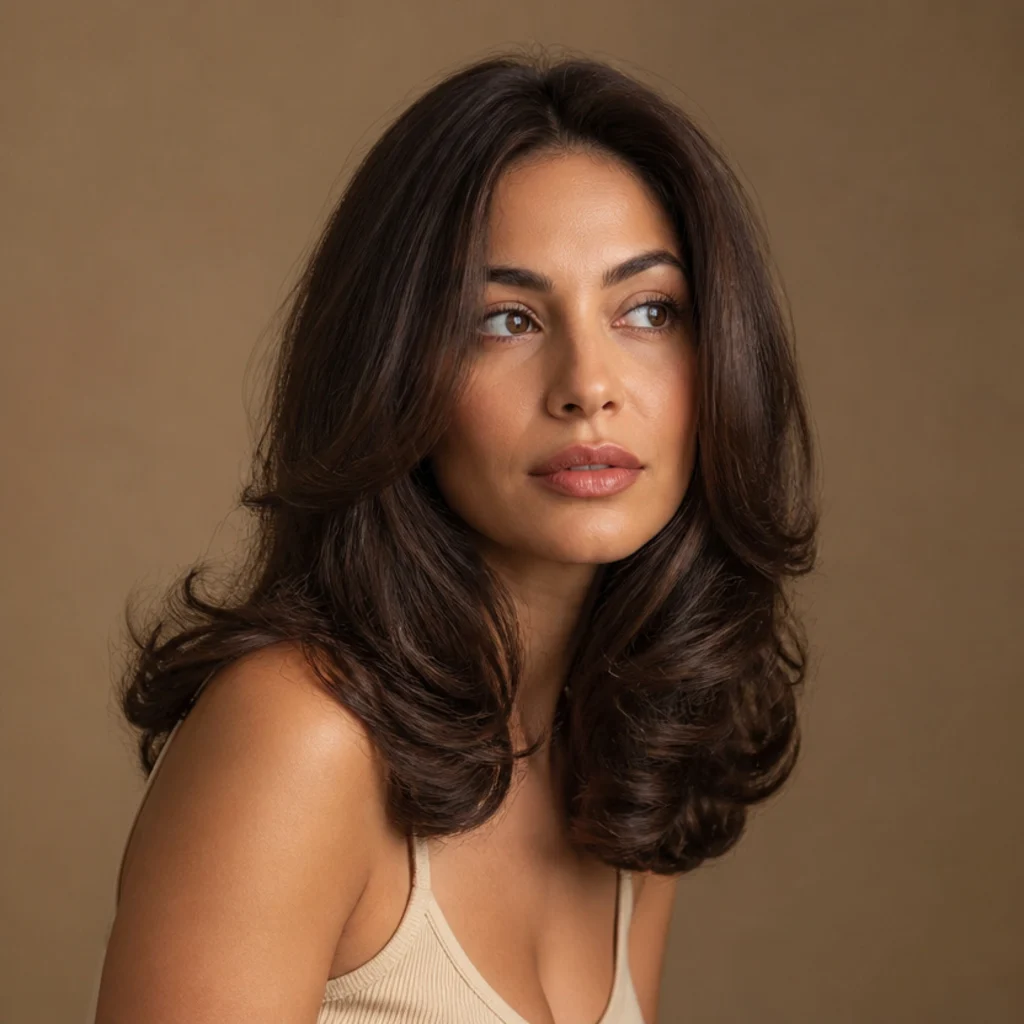
This is the salon finish most people picture first — smooth, lifted roots, gentle body through the mid-lengths, and ends that curve under into a rounded C. Work in roughly two-inch sections on hair that's about 80 percent dry (that's the sweet spot for a clean set), and point the barrel so the ends wrap under and back. Nearly every face shape can wear this, and it looks best on medium to long hair with enough weight to hold a rounded shape; oval and heart shapes get the most out of the crown lift. Upkeep sits at moderate: the polished surface softens after a day, so a quick re-curl on the two front pieces brings the whole look back. Bigger sections are forgiving too, so any unevenness just blends into the bounce. Pro tip: once a section cools, clip it flat against your scalp in a pinwheel for three minutes to lock in root body. Ask your stylist for "a rounded bouncy blowout with the ends turned under, crown volume, and a smooth, frizz-free surface" rather than defined curls.
02Loose Beachy Waves
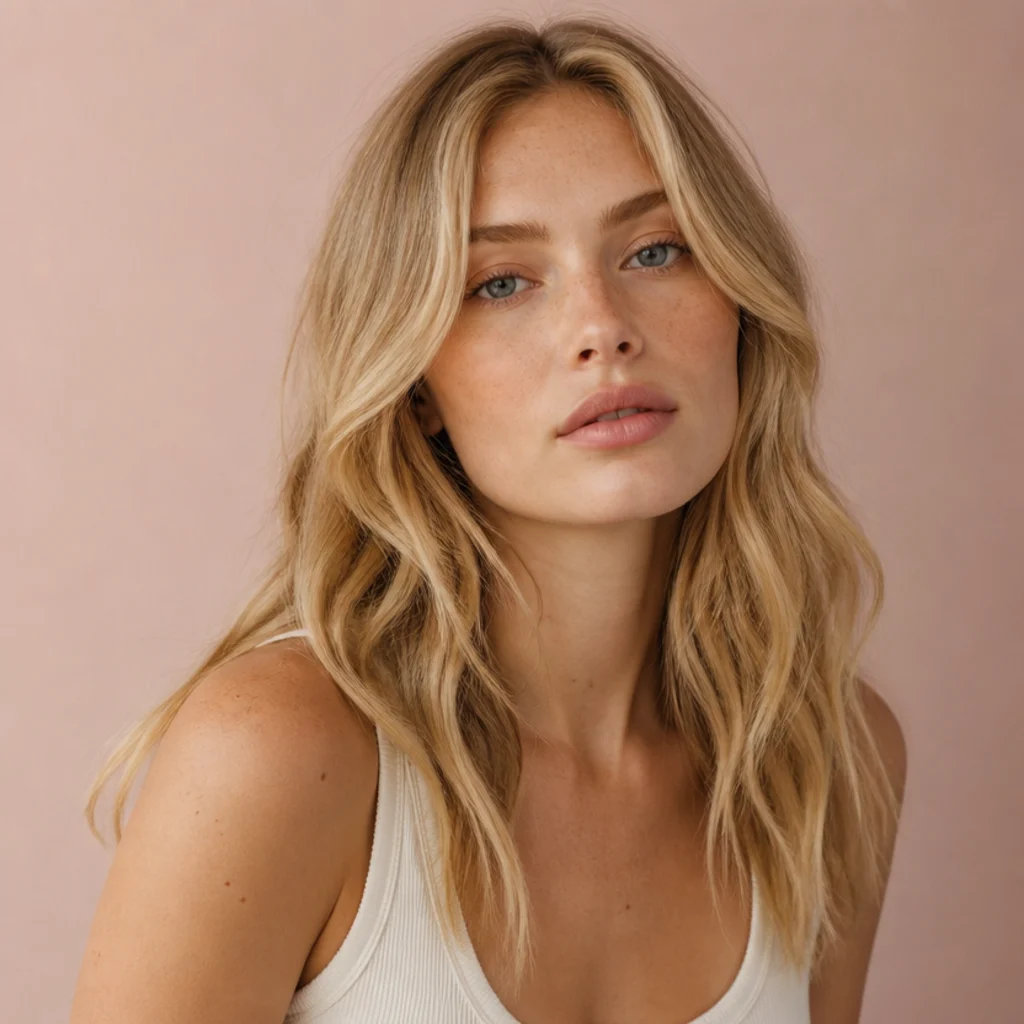
Beachy waves are the low-commitment option for anyone nervous their curls will look too done. The shape is a loose S-bend starting below the ear, with roots left straight and ends deliberately undone. Long and mid-length hair carries this best, and it suits straight-to-wavy textures especially well; cool-toned honey and sandy blondes show the ribboning clearly because light catches the bends. The wave is supposed to look imperfect, which makes this one of the most forgiving dyson airwrap curls to try first — uneven sections just add to the lived-in effect. Skip the last two inches of the ends for a piecey finish, and mist with a salt-free texture spray so the wave stays touchable instead of crunchy. Maintenance is low; a second-day refresh needs nothing more than finger-raking and a light re-spray. Pro tip: alternate the wrap on just the two face-framing pieces so they don't merge into one curtain. Ask your stylist for "loose, undone waves with a straighter root, piecey ends, and a matte, non-glossy finish."
03Alternating-Direction Lived-In Waves
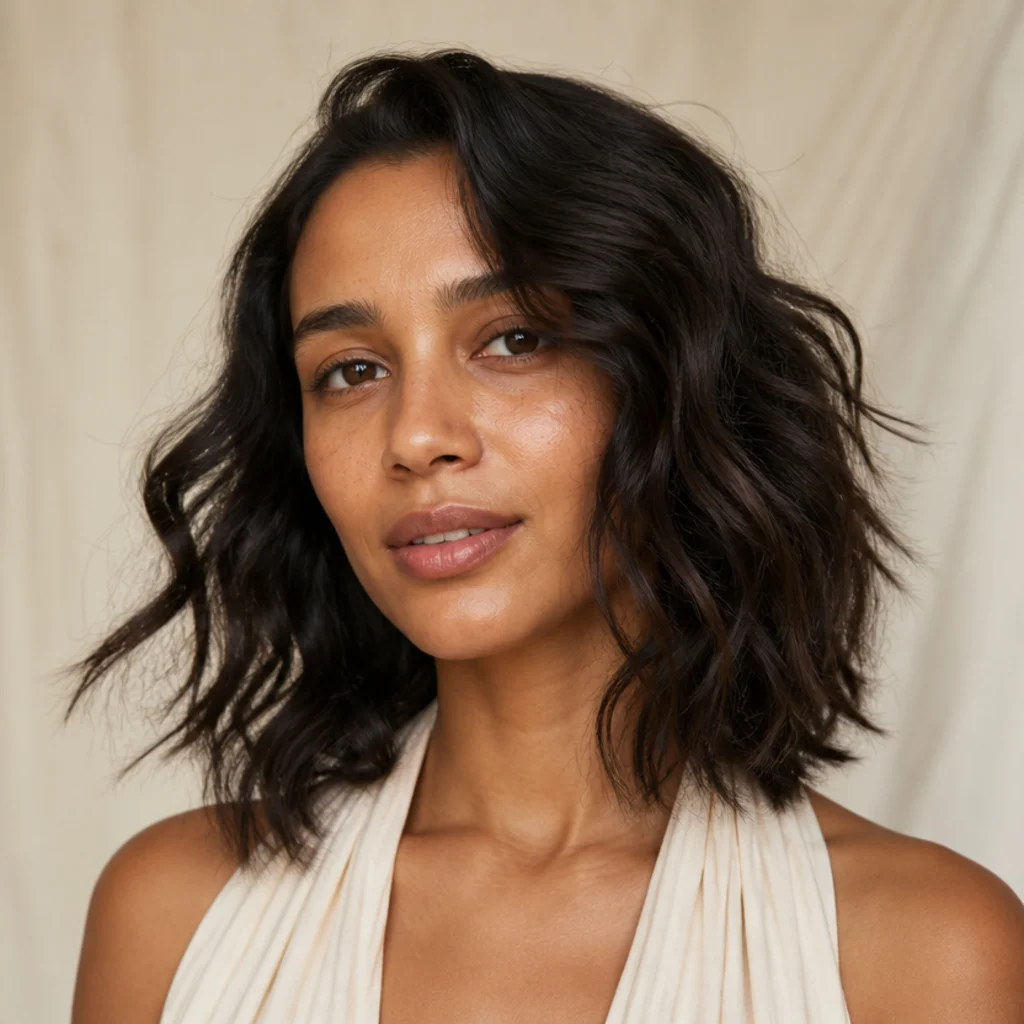
The single trick that makes home curls read natural is alternating barrel direction — one section wrapped away from the face, the next toward it, all the way around. That breaks up the uniform, all-one-way spiral that can look a little dated, and it mimics how hair actually falls. Almost everyone can wear this, and it's especially kind to thick or dense hair that needs its volume broken into believable movement. Difficulty is easy once you build the muscle memory of flipping direction with each pass, and the built-in randomness means any drop-out over the day just looks intentional. It's the standout beginner pick on this list: high payoff, low precision required. Pro tip: leave the very back sections uncurled or barely bent; no one sees them, and the untouched hair adds weight that keeps the front waves from looking overworked. Ask your stylist for "lived-in waves curled in mixed directions, texture over shine," and say you want a tousled finish rather than a glassy, uniform one.
04Face-Framing Money-Piece Curls
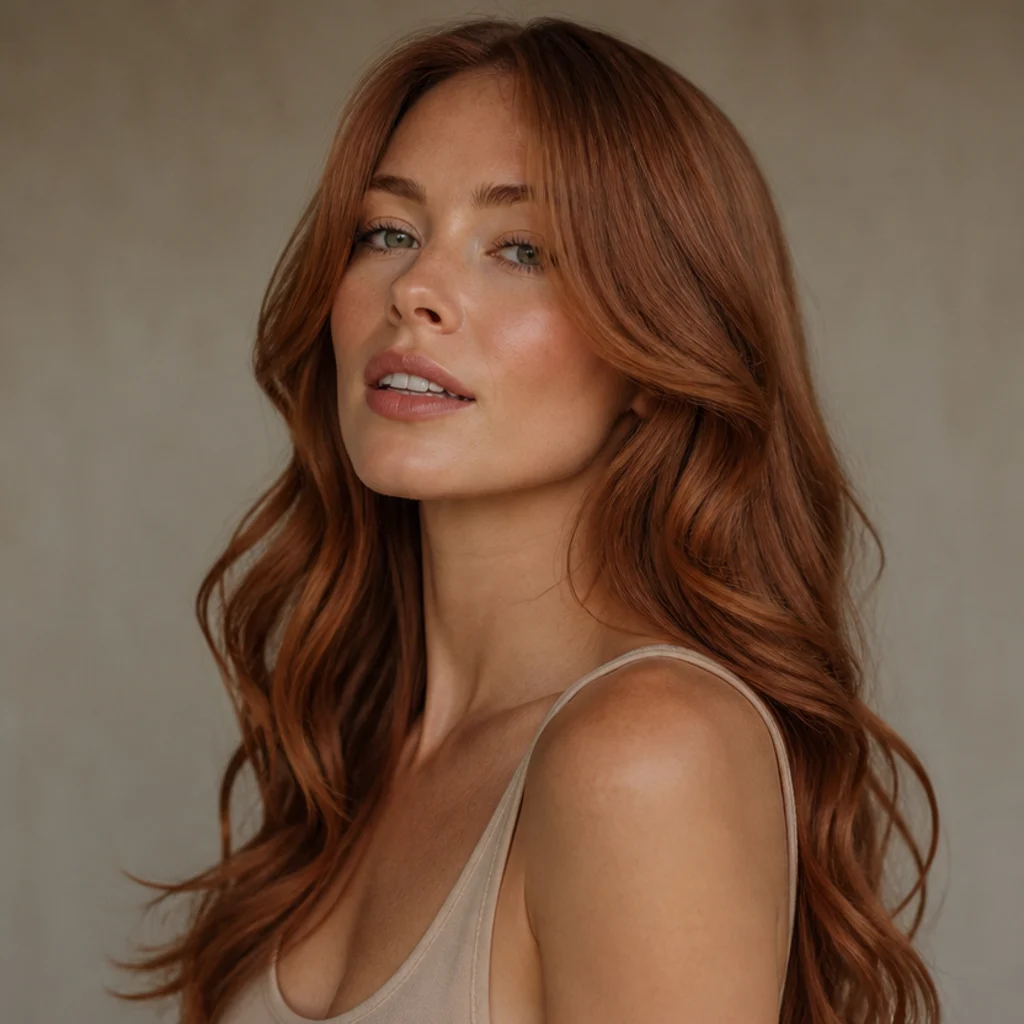
If you only curl one thing, make it the front pieces. Face-framing curls draw the eye up and add polish even when the rest of your hair is straight or barely waved — the highest-impact two-minute look on this list. Wrap the two sections nearest your face away from you for an open, lifted effect; starting the bend at the cheekbone reads soft, starting at the chin reads sleeker. This works on every length and flatters round and square faces in particular, since the outward sweep visually lengthens and softens the jawline. Warm shades like auburn glow when the curl catches light at the cheek. Maintenance is minimal since you're only styling a small amount of hair, and a mid-day re-curl takes seconds. Pro tip: after wrapping, hold the cooled piece back with a clip while you finish your makeup so it sets in the swept-open position. Ask your stylist for "money-piece curls that sweep away from the face," and say whether you want the bend to start at the cheekbone or the chin.
05Voluminous 90s Bombshell Curls
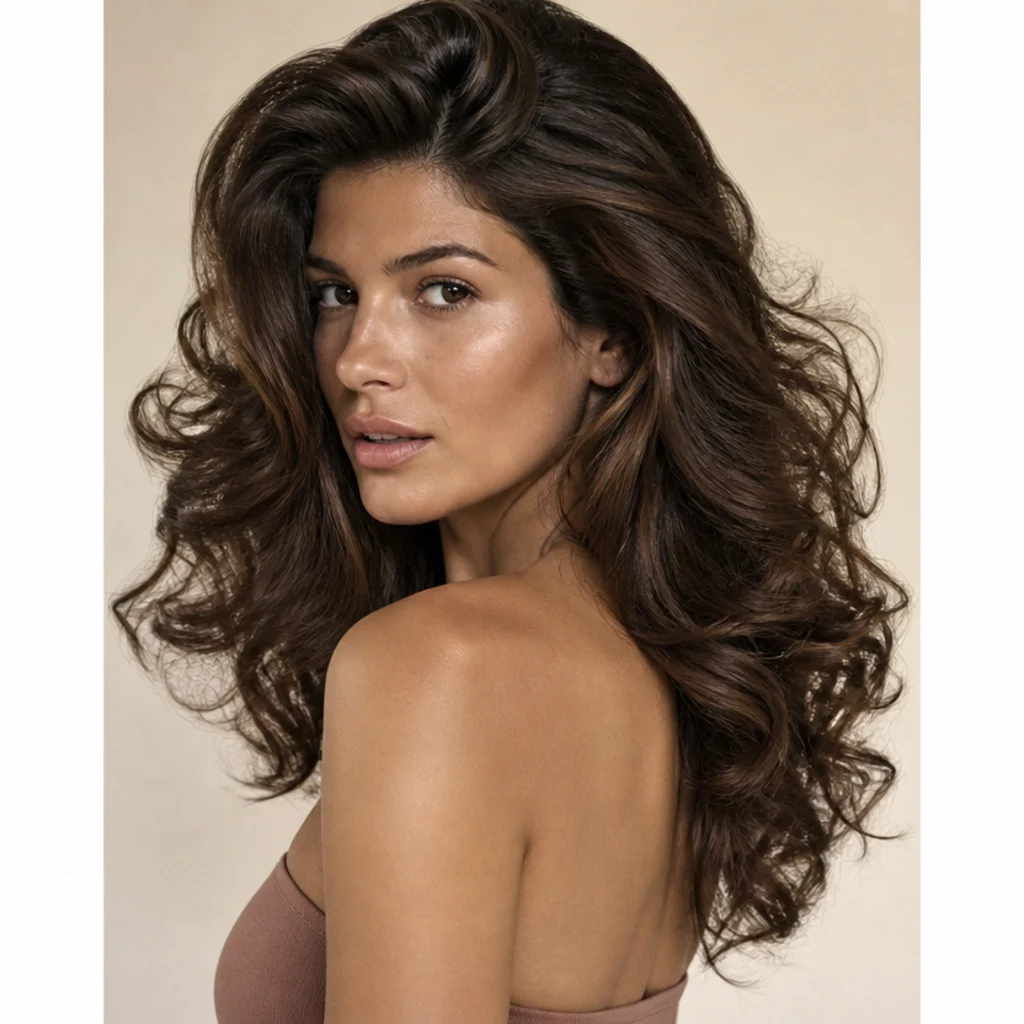
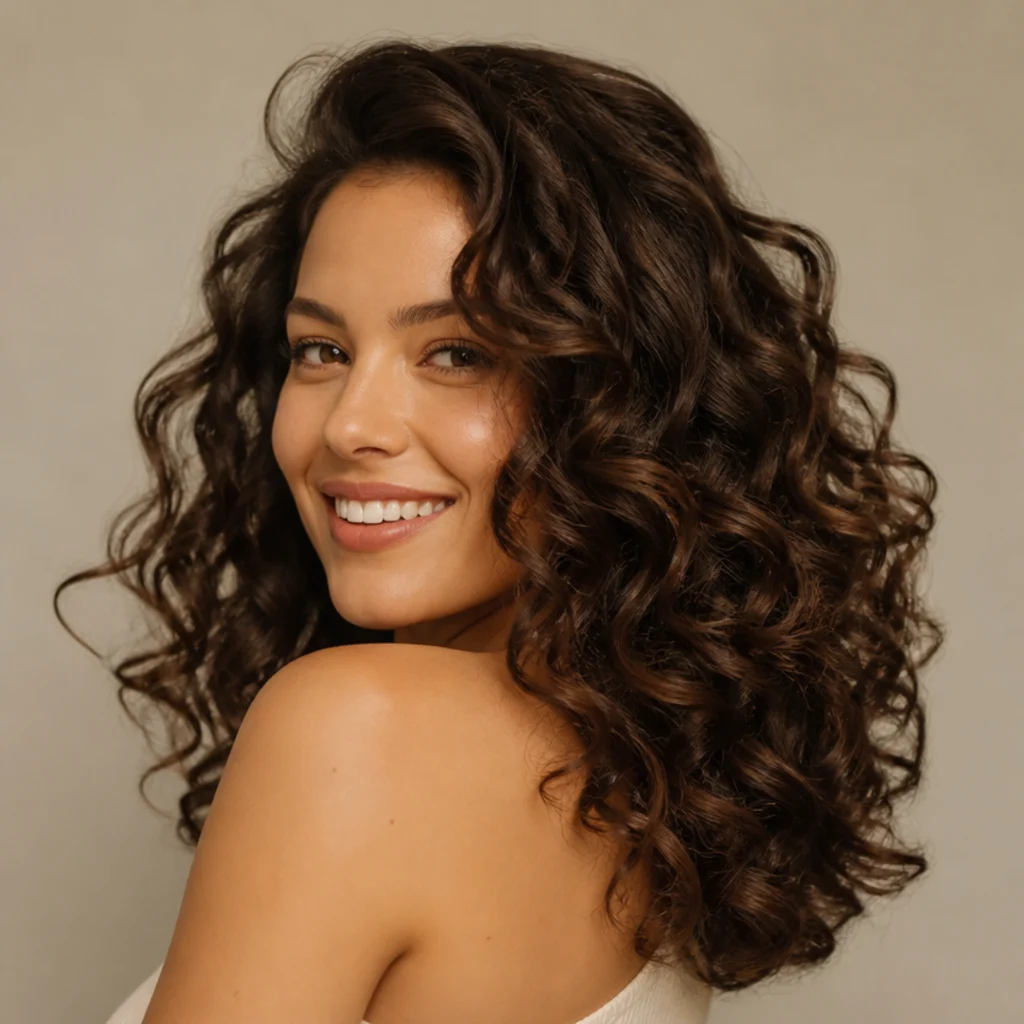
For maximum drama, go with big brushed-out curls that build height at the crown and full, sweeping body. The method is the whole look: wrap generous sections, let each one cool all the way (non-negotiable), then break the set curls apart with your fingers or a soft natural-bristle brush to expand them into that lofty, glossy shape. Medium-to-long hair shows the volume best here, and the technique makes fine hair look convincingly fuller. Upkeep is moderate — the height relaxes over the day, so a targeted root re-lift at the crown keeps it standing. This one lands at intermediate mostly because the cool-and-brush step takes a couple of practice runs to get right. Pro tip: curl the crown sections up and back, then flip your head down to brush; gravity opens the curl into fullness instead of collapsing it. Ask your stylist for "brushed-out voluminous curls with lots of root lift," and reference a full, soft 90s-style finish.
Save this to Pinterest to build your beginner styling board.
06Tight Ringlet-Style Spirals
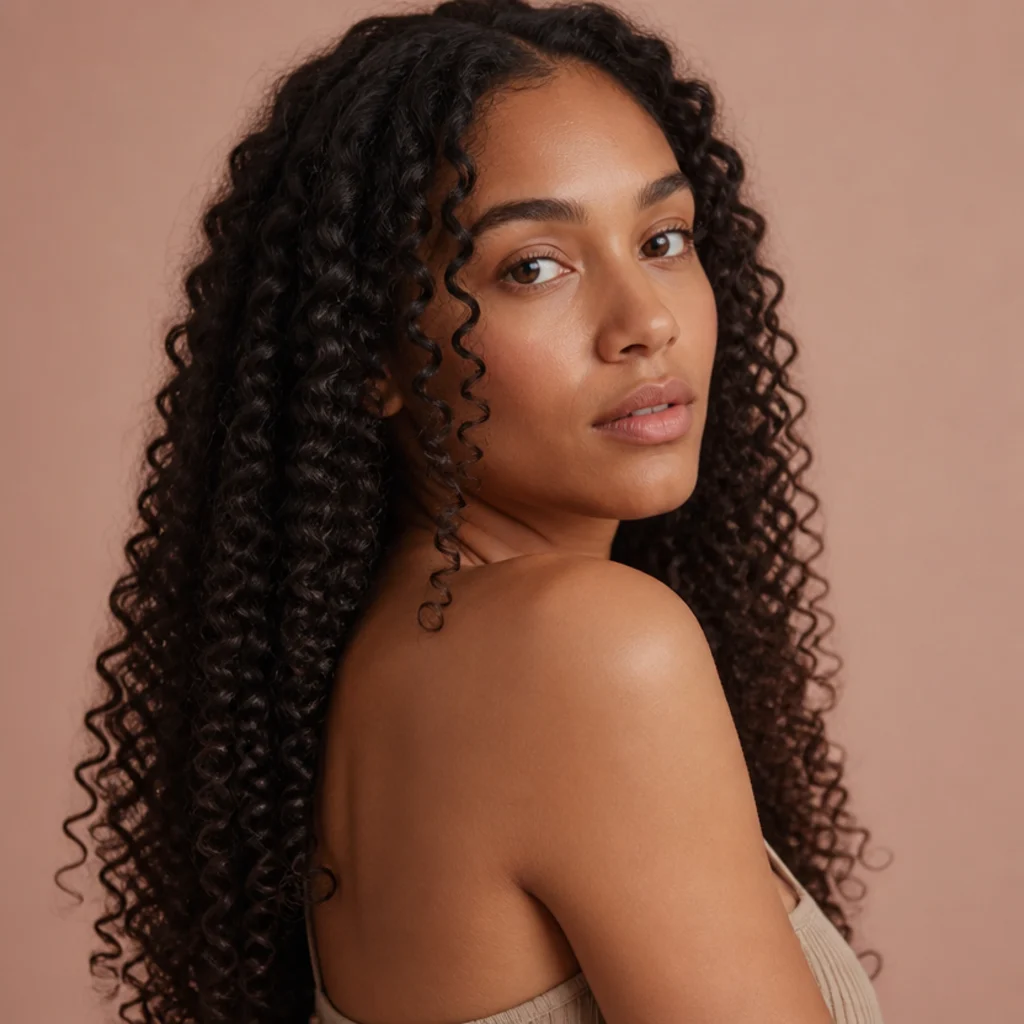
Tighter spiral curls give you a defined, springy result — the longest-lasting look here, and the most formal-reading. Use small sections, an inch or less, wrap slowly so the hair coils cleanly, and let each curl set fully before you release it. Medium to long hair works well, and it's a fun way to add event-ready definition; deep espresso and near-black hair show off the coil edges with the most dimension. This sits at the intermediate end because small sections demand patience and a steady, consistent wrap. Maintenance runs moderate to high: spirals loosen, so the visible front pieces may want a mid-day touch-up. Pro tip: work back-to-front and left-to-right in a set pattern so you never lose your place, and save the face-framing pieces for last, once your hand has warmed up. Ask your stylist for "defined spiral curls in small sections," and say whether you want them left tight or lightly separated for a softer edge.
07Curled Ends on a Blunt Bob
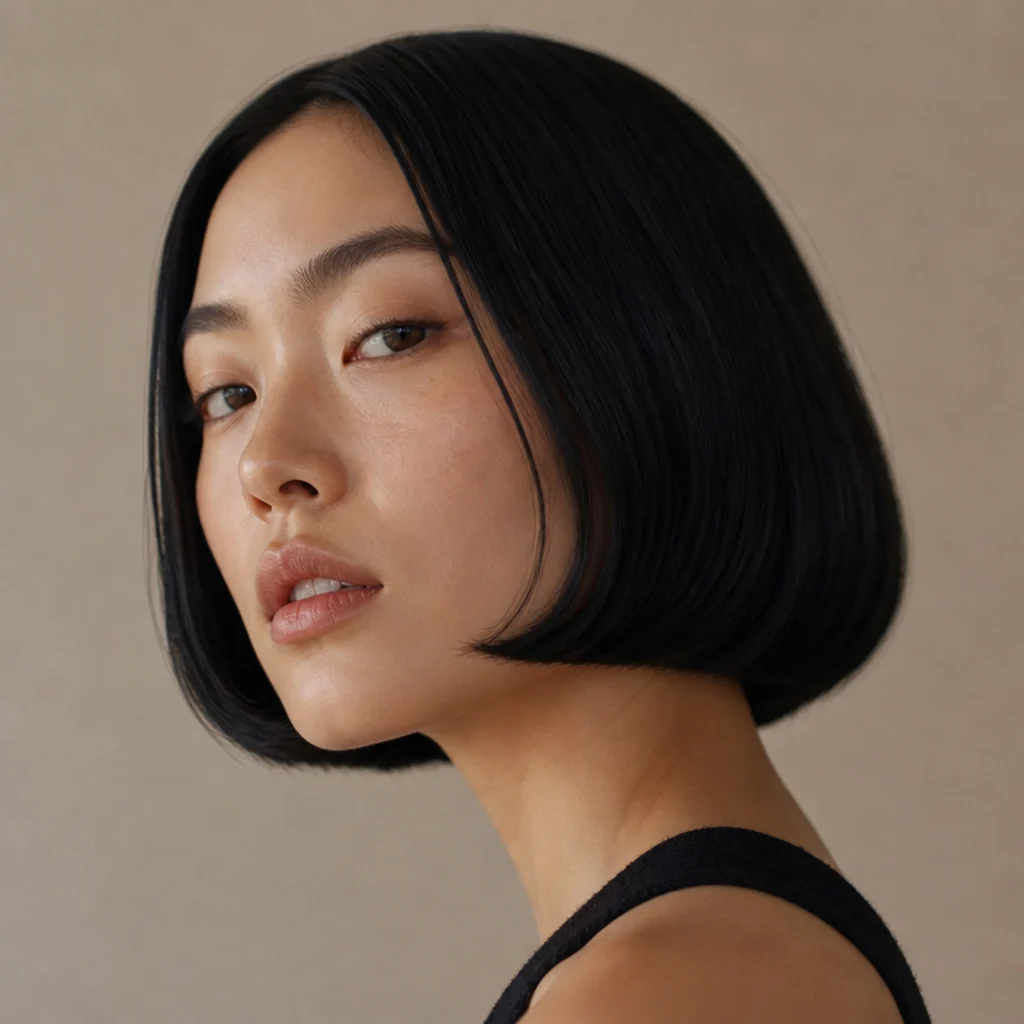
Short hair curls well, and a blunt bob with the ends turned under is one of the easiest looks here to master. You're shaping only the ends into a soft C that hugs the jaw and keeps the cut looking crisp. This suits chin-to-collarbone lengths and flatters anyone who wants a neat, polished finish without much movement; the clean line stands out most on glossy dark hair. Difficulty is low: there's so little hair to manage and the wrap zone is short. Upkeep is minimal, one quick end re-curl resets the whole shape. Pro tip: point the barrel so the ends turn under and slightly forward toward the cheeks; that inward hook gives a bob its tailored, salon-fresh line rather than a flippy 60s edge. Ask your stylist for "a blunt bob with the ends curved under in a smooth C-shape," and mention if you want the front pieces left a touch longer for framing.
08Half-Up Style with Curled Lengths
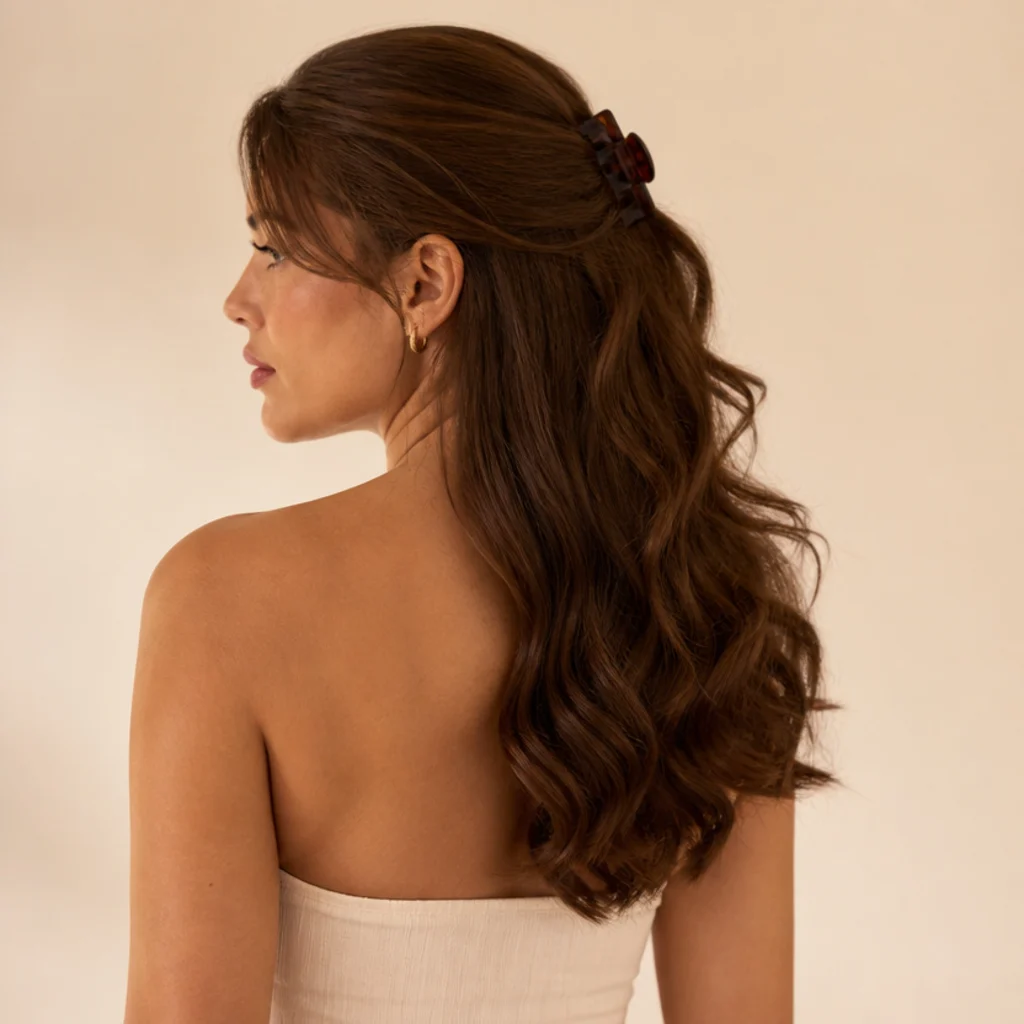
Pairing curls with a half-up section makes styling feel more achievable: you secure the top, then curl only the lengths that actually show. It works on medium to long hair and slides easily from casual to dressier settings. Since the crown is pinned, you skip the root entirely, the trickiest zone for beginners, which is why the payoff-to-effort ratio here is so high. Maintenance is low, and the clipped section hides any looseness or drop-out at the top through the day. Pro tip: curl the loose lengths first, then gather the half-up; that order keeps the barrel away from the secured section and prevents dents where the clip sits. For a slightly dressier version, leave two thin pieces down at the front and curl them away from the face. Ask your stylist for "a half-up style with curled, flowing lengths underneath," and say whether you prefer a sleek or lightly tousled top.
09Curtain Bangs with Soft Bend
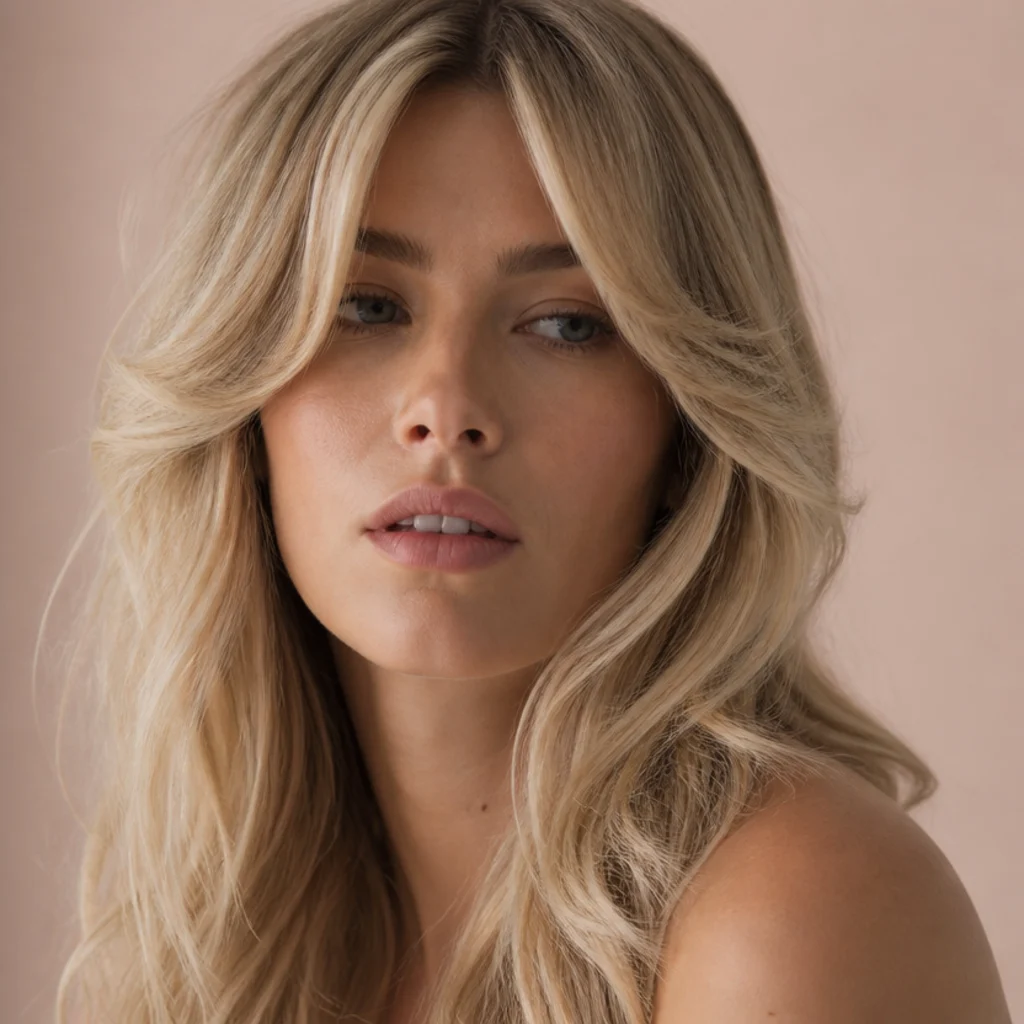
Curtain bangs get their signature swoop from a gentle outward bend, which makes them a good low-stakes drill for practicing barrel direction. Wrap each side of the fringe away from your face so it parts cleanly and sweeps open at the cheekbone. Anyone already wearing curtain bangs or long face-framing layers can use this; it softens the forehead and adds width at the eyes, and it's especially flattering on longer and oblong faces. Difficulty is low: the section is small and fully visible, so you see the result right away and can adjust. Upkeep is quick, bangs are the easiest area to reshape mid-day with a five-second pass. Pro tip: bend on hair that's fully dry and cool, then press the swoop flat against your cheek with your palm for a few seconds to set the open shape. Ask your stylist for "curtain bangs bent away from the center part," and say how much of the swoop you want to show.
10Undone Textured Waves for Fine Hair
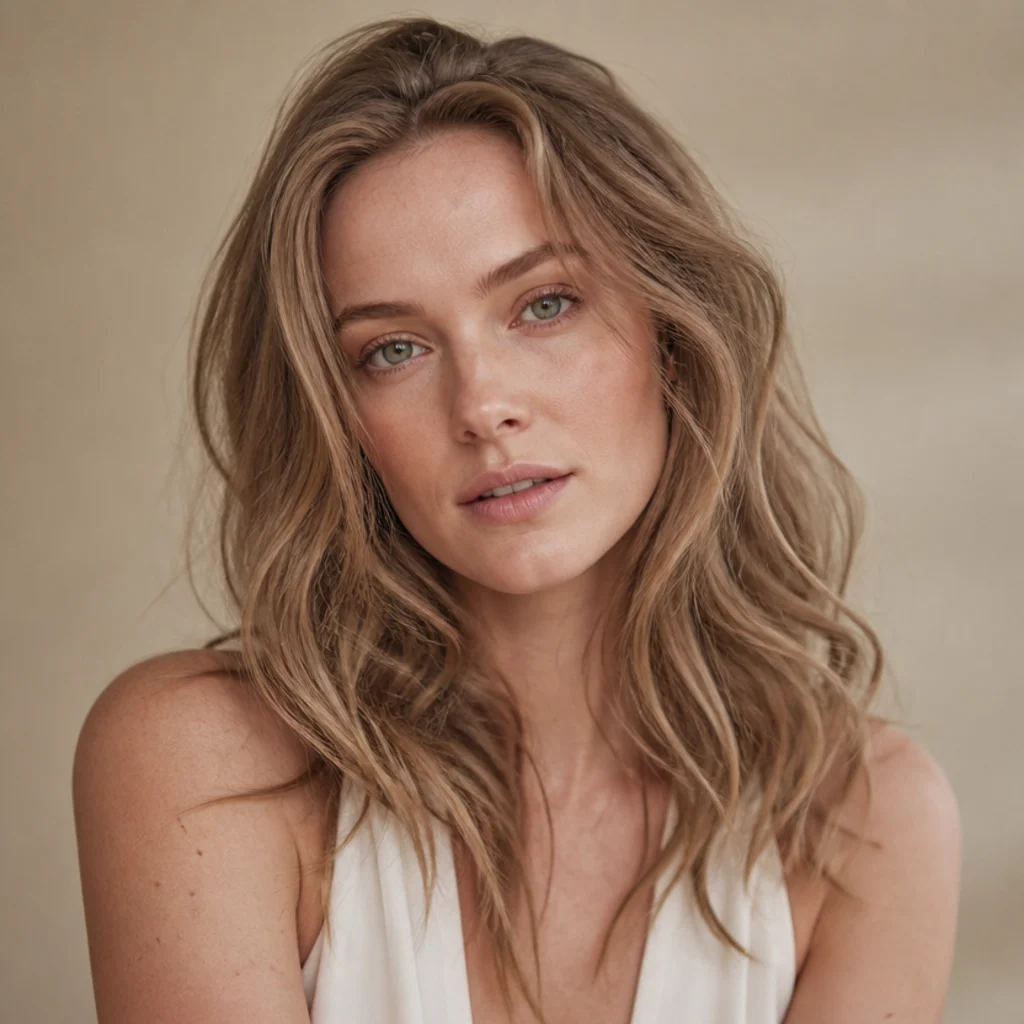
Fine hair benefits from a curl that fakes density without dragging strands down. Loose, undone waves with a little root texture create airy movement and make thin hair read fuller. Keep sections light and slightly smaller than you would on thick hair (fine strands set faster and hold a smaller section better), and finish with a volumizing or texture spray instead of a heavy cream or oil that would collapse the lift. Fine and thin hair at any length is the target here, and it's an easy look because you're going for softness, not precision. Maintenance is low to moderate: fine hair drops faster, so a light, flexible-hold spray extends wear noticeably. Pro tip: mist a texture or dry-volume spray at the roots before you curl, not after, so the curl sets around built-in grip and the volume lasts into a second day. Ask your stylist for "undone textured waves with root volume for fine hair," and say you want body rather than tight definition.
Save this to Pinterest and tag it with your hair type.
11Defined Curls for Coily and Curly Textures
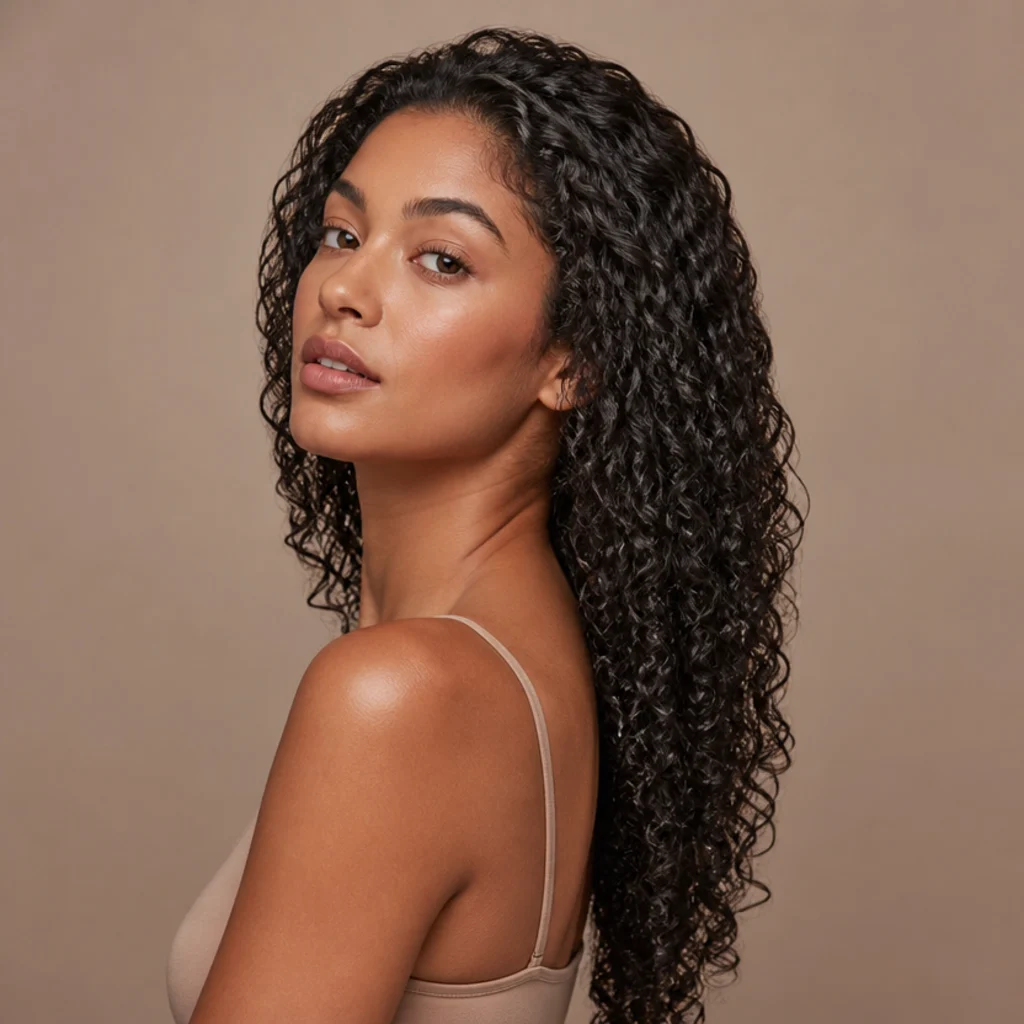
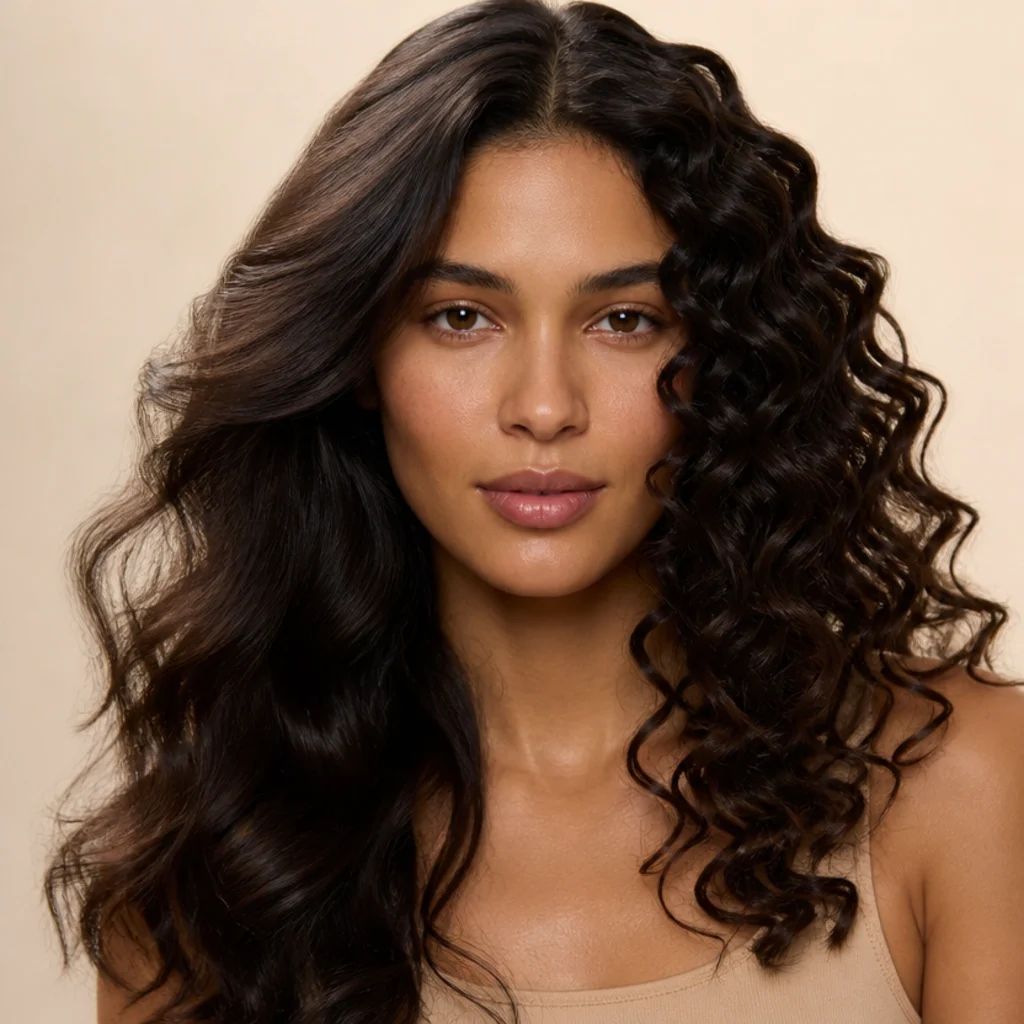
Naturally curly and coily hair can use a multi-styler to smooth, stretch, and define the texture that's already there, rather than manufacture curls from scratch. The result is elongated, more uniform curls that keep their natural volume and root density. This works on wavy, curly, and coily textures (roughly type 2 through 4) and shines when you want a polished-but-natural shape for an event or a reset day. Difficulty sits at intermediate because you're collaborating with your own curl pattern, and prep is the make-or-break step: a moisturizing leave-in or curl cream on damp hair before styling keeps ends from frizzing as they stretch. Maintenance varies by texture, but many people find the shape lasts several days when it's protected by a satin scarf or bonnet overnight. Pro tip: stretch in larger sections than you think you need; over-sectioning coily hair loses length and reads bushy instead of defined. Ask your stylist for "stretched, defined curls that keep my natural volume," and share your curl type so they choose the right prep.
12Sleek Root, Curled Tail
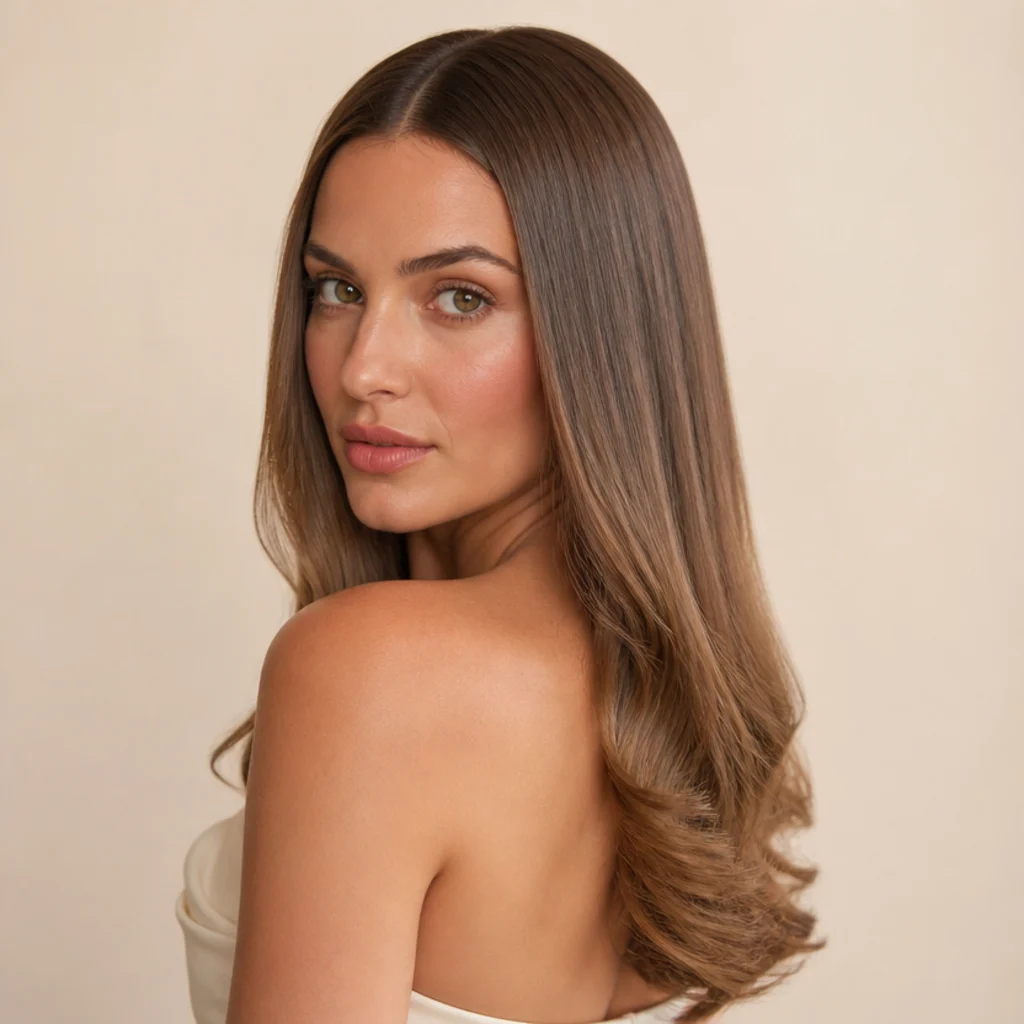
This modern shape keeps the roots and mid-lengths smooth and saves the curl for the bottom third only. The contrast reads sleek and current, and it's one of the most flattering options for long hair: the straight top elongates while the curled tail adds a soft anchor. Straight to wavy textures suit this best, along with anyone after a refined, minimal look; glossy dark blonde and cool brunette show the sleek-to-curl transition cleanly. Difficulty is easy since you're only curling a limited section, though the payoff depends on a tidy blow-dry to get the root smooth first, so budget a few minutes for a straightening pass with the smoothing airflow before you curl. Maintenance is low, and the tail is quick to revive without touching the polished top. Pro tip: start the curl no higher than where your fingers naturally rest at the bottom third; going higher blurs the sleek-versus-curl contrast that makes this look work. Ask your stylist for "a sleek root and mid-length with curled ends only, glossy on top, not all-over waves."
13Old-Hollywood Side-Swept Waves
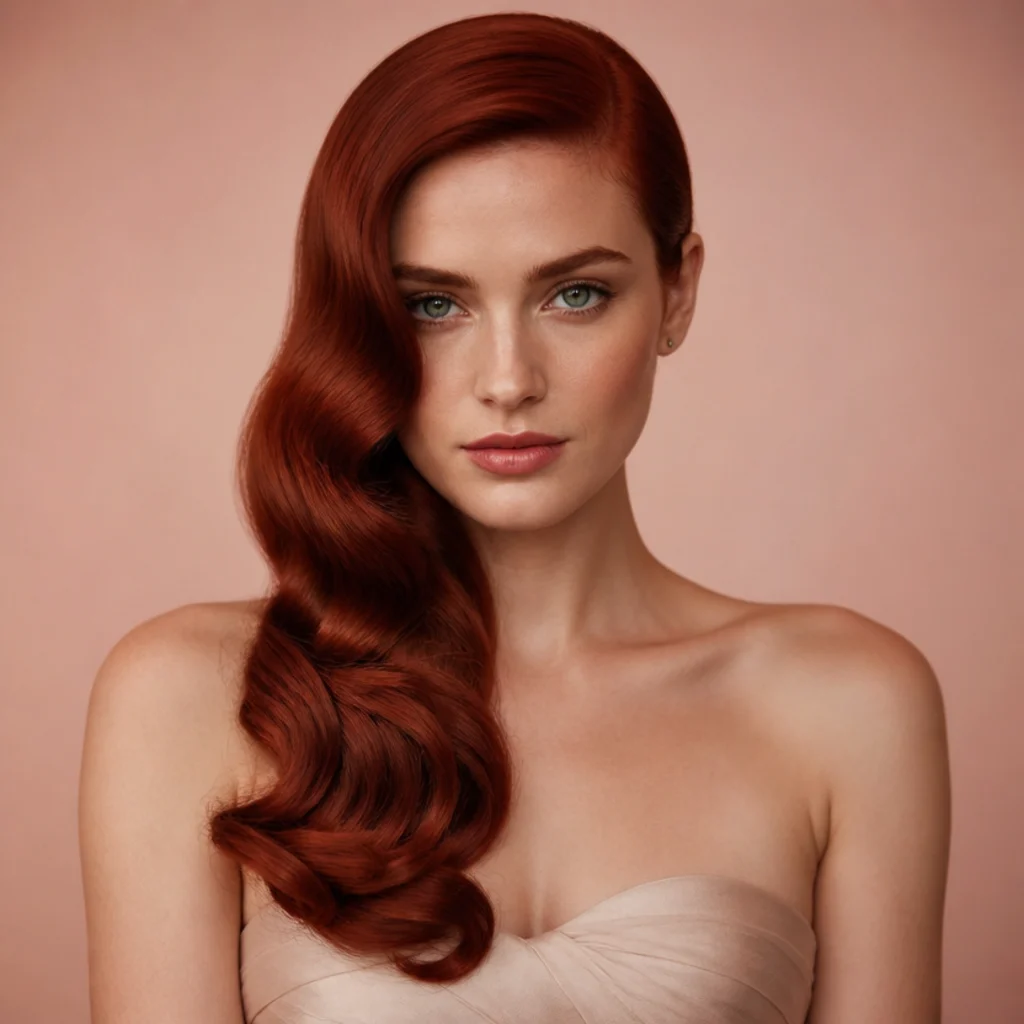
For a vintage, red-carpet feel, uniform waves brushed and pinned to one side create that glamorous Old-Hollywood sweep. Every curl goes the same direction, then gets brushed out into one smooth, continuous S-wave and set over a single shoulder. Medium to long hair carries this well, and it's a strong event look; deep reds and rich brunettes photograph with the most dimension in the ribboning. This is the most demanding style on the list: the brush-out and the pinning take patience, a clean deep side part, and a confident hand with the brush. Upkeep is moderate; lock it with a flexible-hold spray so the wave stays crisp through an evening without going stiff. Pro tip: after brushing out, clip the waves in place with duckbill clips along the ridges for ten minutes, then remove them. That brief re-set is the classic trick for sharp, sculpted vintage waves. Ask your stylist for "side-swept Old-Hollywood waves brushed to one shoulder," and mention if you want a deep side part for extra drama.
14Everyday Low-Maintenance Bend
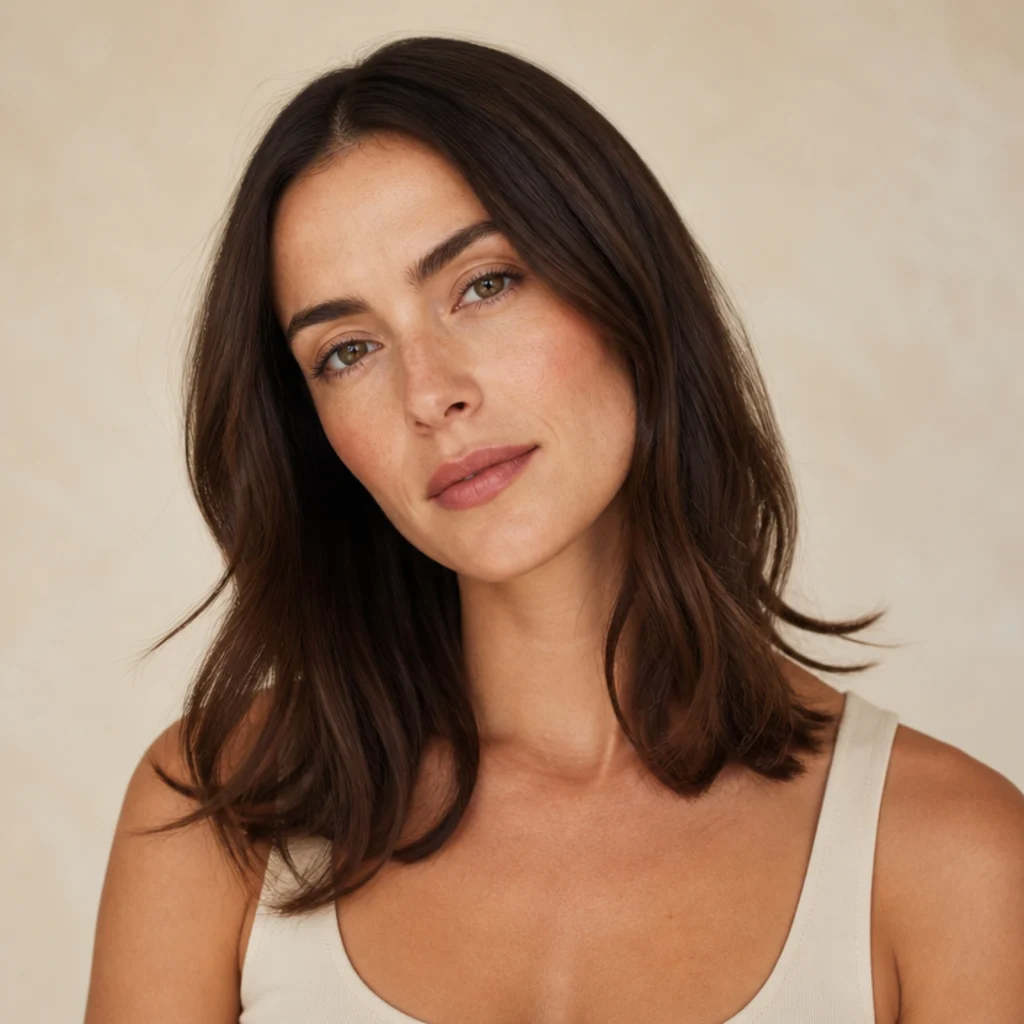
Not every day calls for defined curls. A subtle bend, just enough to add movement and keep ends from hanging flat, is the most wearable, repeatable option for daily life, and the fastest to execute once you know it. Use large sections and one loose pass through the lengths: no tight wrap, no full rotation. Every hair type and length can wear this, and it's the easiest look on the list, which makes it ideal for practicing barrel direction on busy mornings when you have no time for mistakes. Maintenance is minimal, and the soft shape still looks intentional even as it relaxes into your natural fall. Call it the everyday workhorse of dyson airwrap curls. Pro tip: keep the barrel vertical and glide from mid-length to ends in one motion rather than wrapping and holding; that fluid pass is what keeps the bend soft instead of curling into a defined ringlet. Ask your stylist for "just a soft bend through the lengths for movement," and say you want it barely-there rather than a full curl.
15Curled Ponytail or Half-Bun Finish
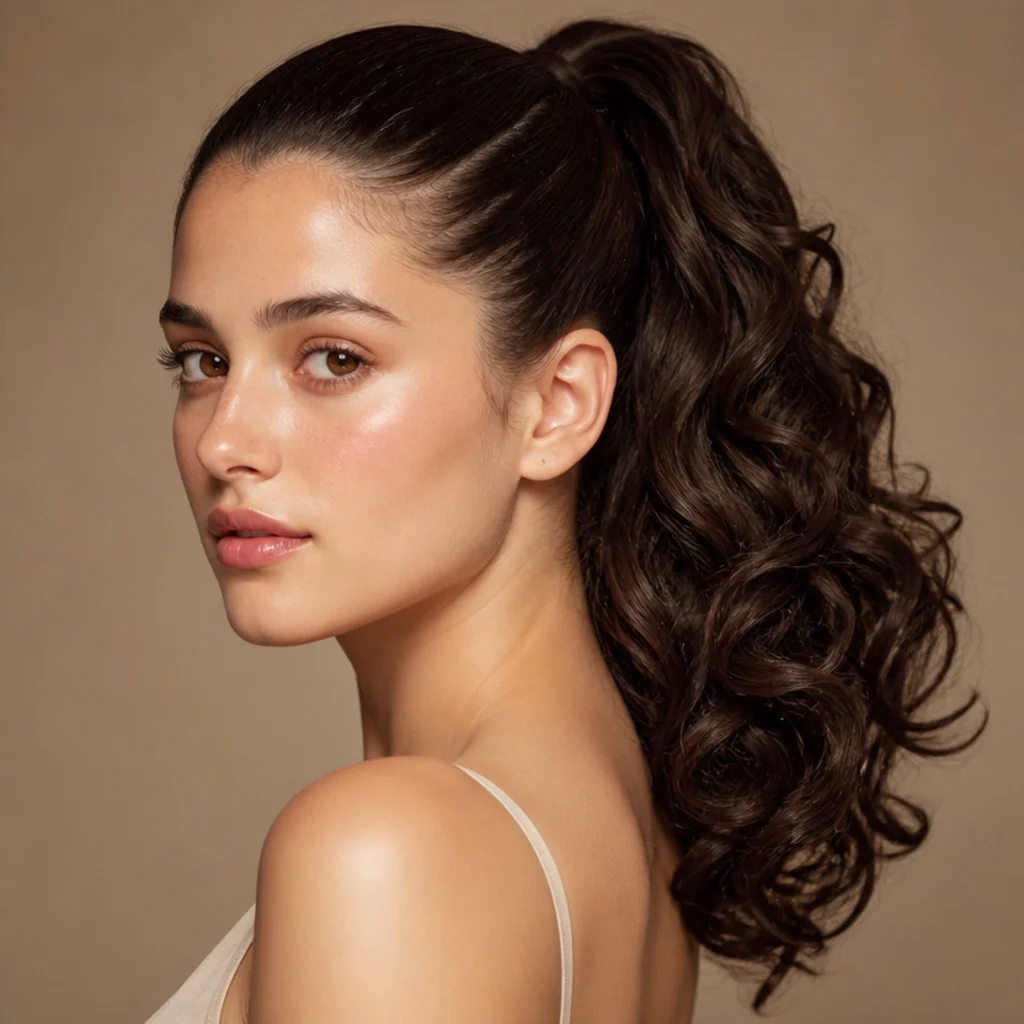
You don't have to wear your hair down to use these curls. Curling the tail of a ponytail or the loose ends of a half-bun adds polish to an updo and dresses up an otherwise plain style fast. Secure the ponytail or bun first, then curl the tail in sections for bounce and body, keeping the barrel angled away from your scalp for safety and easy reach. Medium to long hair suits this best, and it's a go-to for days you want something quick but finished: gym-to-dinner, desk-to-drinks. Difficulty is low because the tail is easy to see, section, and control once it's up off your shoulders. Upkeep is minimal, and the curl actually holds longer worn up, away from the friction of your neck and collar. Pro tip: mist the tail with a light-hold spray and curl in alternating directions so the finished ponytail fans out with movement instead of clumping into one thick coil. Ask your stylist for "a curled ponytail with a bouncy, full tail," and specify a sleek or textured front.
Pro Tips from the Editor
- Set your three levers before you start. Decide section width, barrel direction, and cool-down time up front. Wider sections plus shorter holds give soft waves; narrow sections plus a full cool-set give lasting spirals. Change one lever at a time so you can tell what actually moved the result.
- The cool-down is the curl. Airflow sets the shape as hair cools from warm to room temperature, so never touch, brush, or gather a curl until it is fully cool. Pin each cooled section in a flat pinwheel against your scalp while you finish the rest for noticeably longer wear.
- Style on 80 percent dry hair. Soaking-wet hair will not set and bone-dry hair slips; hair that is mostly dry but not fully takes and holds a curl best. If your hair air-dried completely, mist it lightly damp before wrapping.
- Product order matters more than product amount. Heat protectant on damp hair, a texture or volume spray at the roots before curling, and only a whisper of oil or hold spray after. Heavy cream or oil applied before styling weighs the curl down and shortens wear.
- Curl away from your face at the front, every time. Front pieces wrapped away from the face open and lift; wrapped toward it they close in and can age a look. When in doubt on the rest of your head, alternate directions for the most natural fall.
- Match section size to density, not to the look you want. Fine hair sets faster and holds smaller sections; thick and coily hair needs larger sections to avoid a bushy, over-worked finish. Beginners almost always over-section, so take a wider parting than feels right.
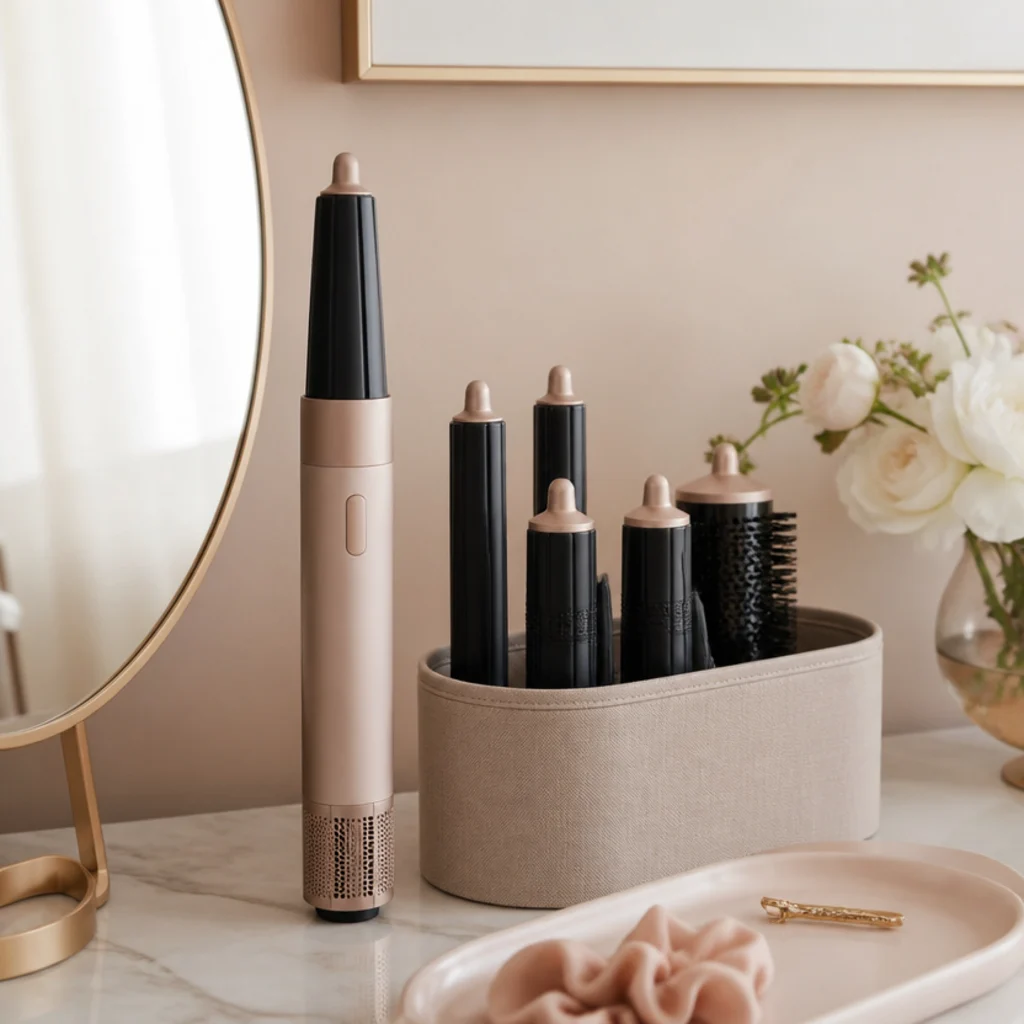
- Store attachments upright and heat-safe. Good dyson airwrap storage, a drawer insert, countertop caddy, or wall holder that keeps barrels and brushes separated, keeps styling low-friction and doubles as a clean dyson airwrap aesthetic on your vanity.
How to Choose / Get the Look
Match the look to your comfort level first, then to the trend. Use this quick decision framework.
| Your situation | Start with | Section size | Cool-set effort | Realistic upkeep |
|---|---|---|---|---|
| Total beginner, want a fast win | Everyday bend, beachy waves, curled bob ends | Large | Minimal | Low |
| Comfortable with direction, want natural movement | Alternating waves, money-piece, half-up | Medium | Moderate | Low to moderate |
| Fine or thin hair chasing fullness | Undone textured waves, soft blowout | Small to medium | Moderate | Low to moderate |
| Curly or coily texture | Defined, stretched curls | Large | Moderate | Varies; scarf overnight |
| Event or maximum drama | Bombshell volume, spirals, Old-Hollywood waves | Small to generous | High, full cool-set | Moderate to high |
Read the table top to bottom as a progression: build the habit of pointing the barrel and letting curls cool on the forgiving looks, then work up to volume and definition. Section size is your biggest lever — larger sections give looser, softer curls, smaller sections give tighter, longer-lasting definition. Always let each curl cool all the way before you touch it; that cool-down is what actually sets the shape. Think about your texture too: fine hair wants light product and airy waves, while curly and coily hair benefits from stretching and defining what's already there instead of forcing a new pattern. Sorting out dyson airwrap storage early, a tidy caddy or drawer insert that keeps attachments organized, keeps styling low-friction so you actually practice more often. If you'd rather a professional recreate a look, bring one saved photo and borrow the descriptive language from the sections above.
Frequently Asked Questions
Are these curls hard for a complete beginner?
Most are approachable. The everyday bend, beachy waves, and curled bob ends are easy, while spirals, bombshell volume, and Old-Hollywood waves take more practice. Start with large sections and simple shapes, change one variable at a time, and skill builds fast because airflow styling is more forgiving than a hot barrel.
How is a multi-styler different from a curling iron?
The core difference in the dyson airwrap vs curling iron comparison is that a multi-styler shapes hair with directed airflow rather than one hot metal barrel, so the temperature hitting your strands is lower. Beginners often find airflow more forgiving and less likely to leave that scorched feeling, while a traditional iron can create a tighter, harder-set curl. Neither is better across the board; it comes down to the finish you want and your comfort level.
Which curl lasts the longest?
Tighter spirals and defined curls hold longer than loose waves, often three days or more on medium and coarse hair. Wear time comes down to fully cooling each section before releasing it, matching section size to your density, and finishing with a flexible-hold spray. Fine hair drops fastest, so smaller sections and root-level texture spray help it last.
Should I curl on wet, damp, or dry hair?
Aim for roughly 80 percent dry. Wet hair won't set, and fully dry hair can slip out of the wrap before it takes. If your hair air-dried completely, mist it lightly damp first; that small amount of moisture is what lets airflow reshape and then set the curl as it cools.
What is the best way to store the tool and attachments?
Good dyson airwrap storage keeps attachments upright and separated so they're easy to grab and fully cool before you put them away. A dedicated drawer insert, a countertop caddy, or a wall-mounted holder all work; the goal is a tidy, heat-safe spot away from water. Plenty of people lean into a dyson airwrap aesthetic with a clean vanity display that doubles as organization.
Can I use these looks on curly or coily hair?
Yes. Rather than creating curls from scratch, focus on stretching and defining your natural texture. Prep with a moisturizing leave-in or curl cream on damp hair, choose elongated defined-curl styles that keep your volume, work in larger sections to protect length, and preserve the shape overnight with a satin scarf or bonnet.
How do I stop my curls from falling out by midday?
Three fixes cover most drop-out: let every section cool fully before touching it, don't over-condition or oil the hair before styling, and set the finished look with a light, flexible-hold spray. Pinning each cooled curl flat against your scalp for a few minutes before you brush it out also locks the shape in noticeably longer.
Do I need heat protectant if it uses airflow?
Yes. Airflow styling still applies warmth to reshape hair, so a heat protectant on damp hair before you begin is worth the extra step to guard against dryness and breakage over time. It also helps the cuticle stay smooth, which reads as more shine and less frizz in the finished curl.
Which look should I practice first?
Start with the everyday low-maintenance bend. It uses the largest sections, the loosest pass, and the least cool-set time, so it's the safest place to learn barrel direction and airflow without pressure. Once that feels automatic, move to alternating-direction waves, then add volume and definition from there.