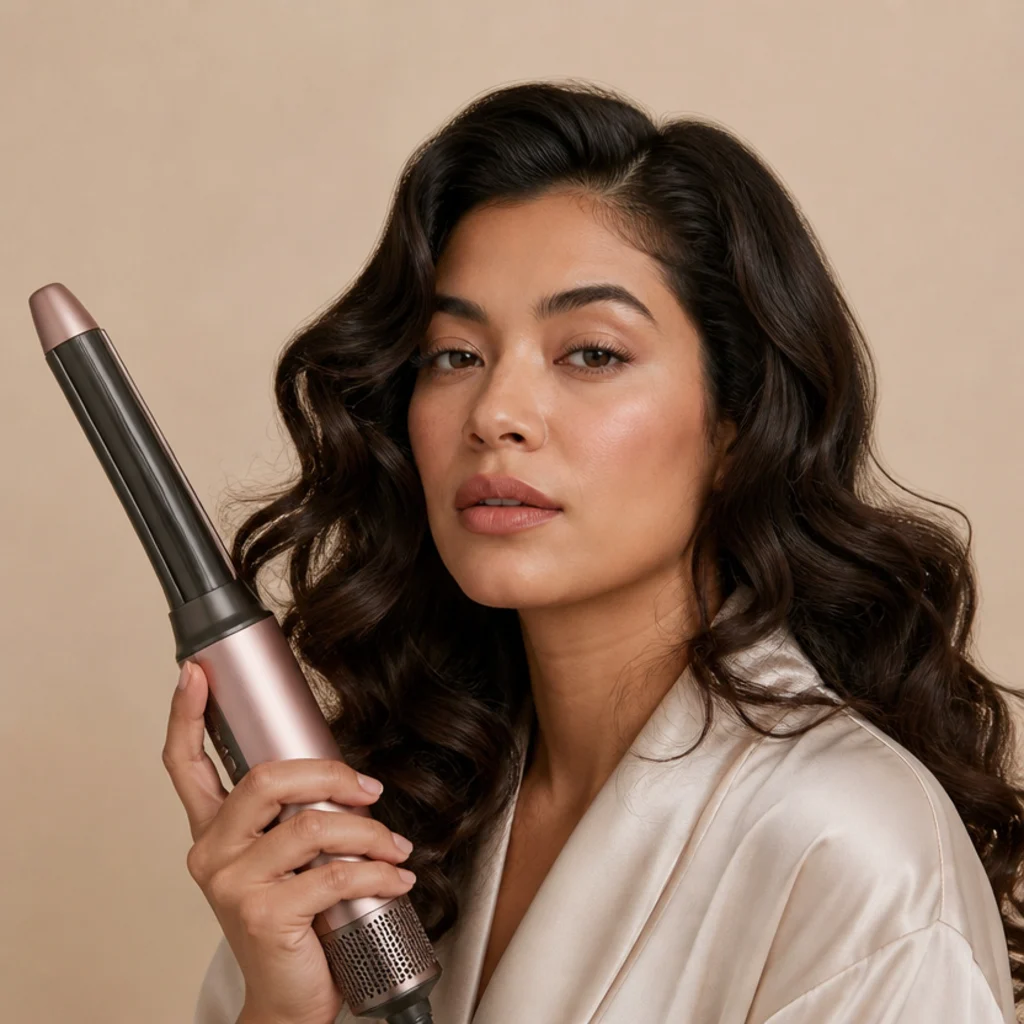
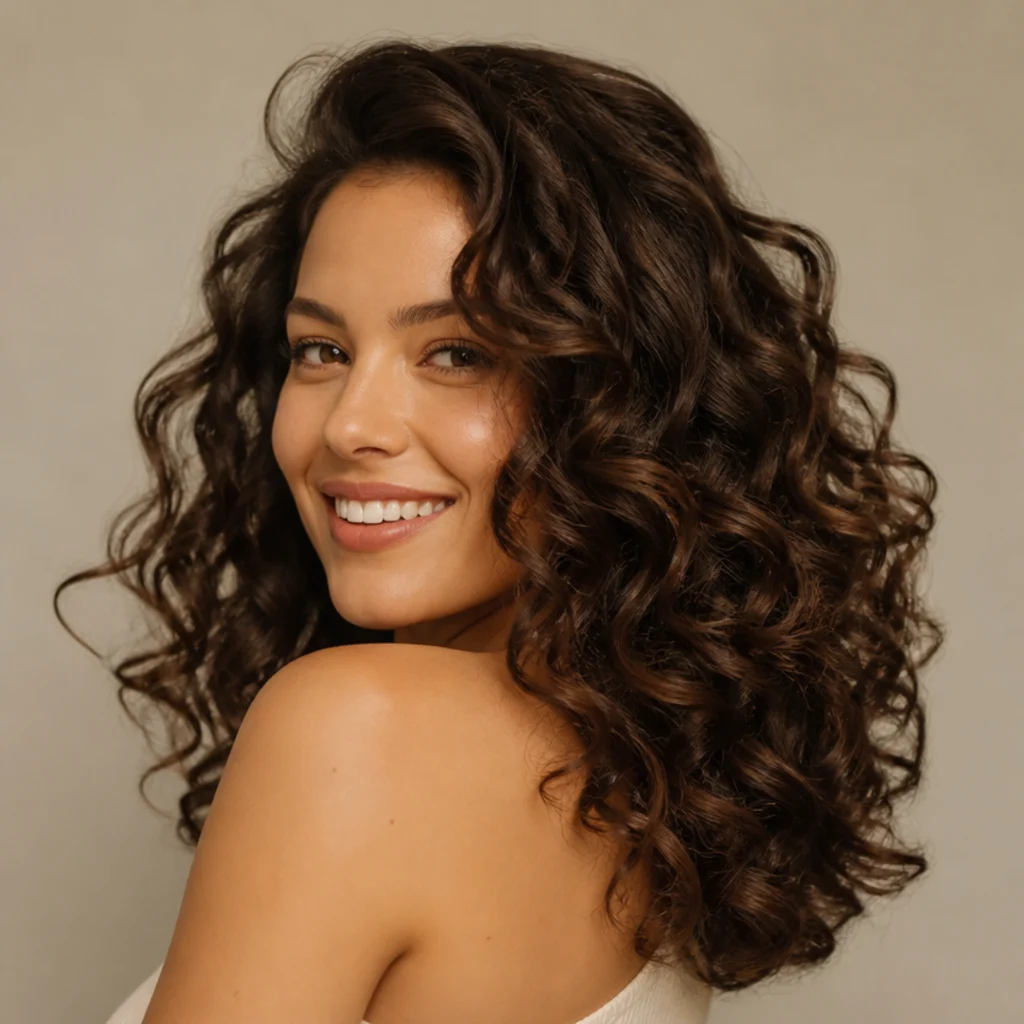
5 Dyson Airwrap Mistakes to Avoid and How to Fix Them
The Dyson Airwrap trades scorching heat for controlled airflow, which is exactly why the curling-iron habits most of us learned quietly work against it. Fix these five prep, sectioning, and setting missteps and you get faster styling, less frizz, and volume that survives past lunch.
 Edited by Lena Rose · Published July 11, 2026 · 15 min read
Quick Answer
- Best for: Anyone chasing bouncy, voluminous dyson airwrap curls, a glassy blowout, or effortless bends without daily heat damage.
- Who might skip it: People who want a tight, all-day ringlet with minimal touch-ups, or very fine hair that goes limp fast and may prefer a Velcro-roller set for staying power.
- Maintenance: Wipe the filter cage weekly (more in dusty or pet-heavy homes), rinse the mesh filter sleeve monthly, refresh curls with a cool-shot pass or dry texture spray on day two.
- Difficulty: Beginner to intermediate. The learning curve is technique, not the machine; most people improve dramatically within three or four sessions.
- Cost: The tool itself is a premium multi-styler (typically the priciest tier of home hot tools); ongoing cost is minimal, mostly a lightweight mousse, heat protectant, and a storage case.
- Wear time / longevity: Roughly 6 to 12 hours on prepped medium hair with a proper cool set; less on fine or humidity-exposed hair, more when curls are pinned to cool.
- Standout variation: Wrapping smaller, damp-not-wet sections with alternating curl direction for defined, natural-looking, long-holding curls.
- How to ask your stylist: Bring a photo of the finish you want, name your texture and length, and ask which barrel size and section width suit your density.
In This Guide
Great dyson airwrap curls come down to habit more than hardware. The Airwrap shapes hair with the Coandă effect: strands wrap around the barrel on a stream of high-velocity air with only moderate heat, instead of pressing against a searing metal surface. That changes what matters. Moisture level, section size, and how you cool a curl count for more than temperature does. When styling comes out limp, frizzy, or short-lived, the culprit is almost always a fixable prep or technique detail, not a faulty motor. Below are the five mistakes that trip up most people, each with a specific fix you can try on your next wash day, plus sectioning specs, a maintenance timeline, storage guidance, and an honest look at how the Airwrap stacks up against a traditional curling iron. You don't need new gadgets, just better timing, sectioning, and setting.
01Styling Hair That Is Too Wet or Too Dry {#mistake-1}
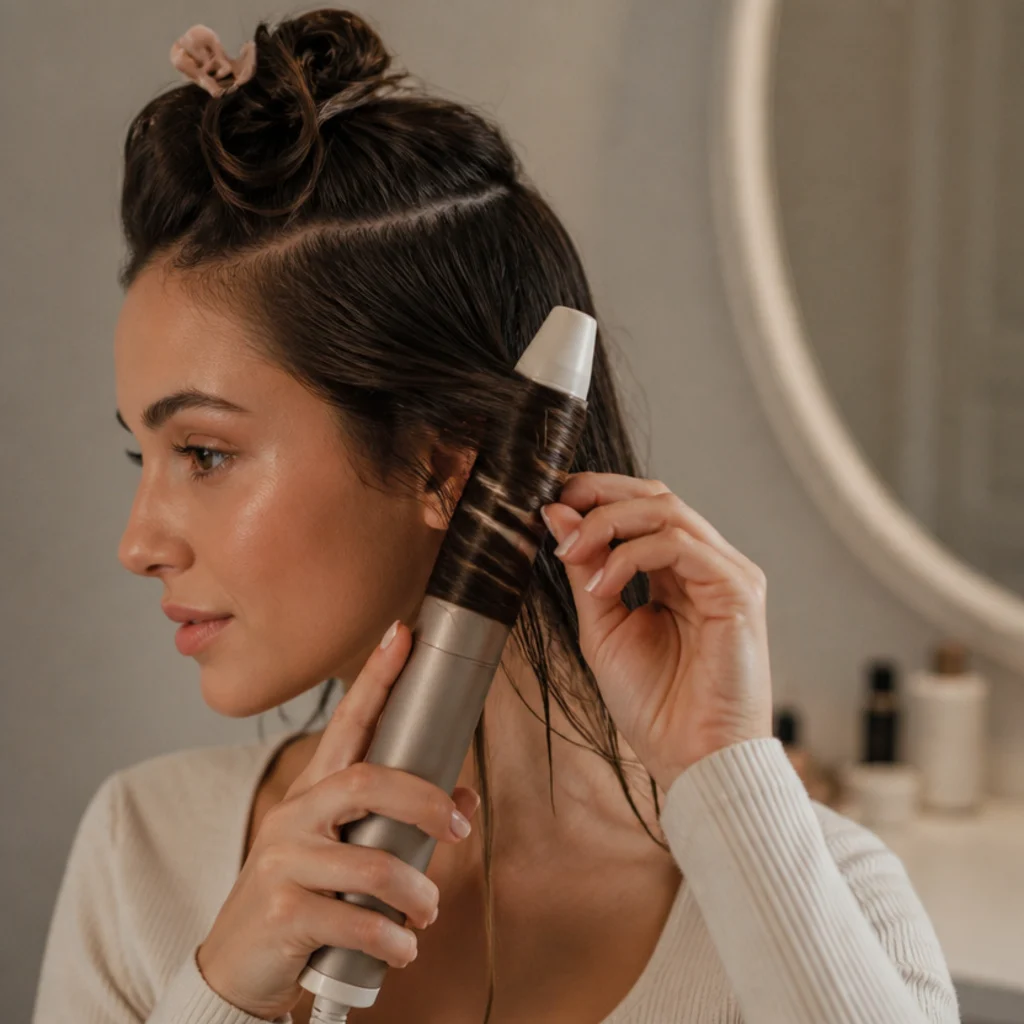
Airflow styling has a narrow moisture window: hair should sit at roughly 70 to 80 percent dry, the point where a section feels cool and damp but leaves no water on your palm. Soaking-wet hair overwhelms the airstream, so the cuticle never fully sets and curls slide out within the hour, often looking stretched and stringy. Bone-dry hair fails the opposite way, giving the air nothing to grip, so strands whip around the barrel without ever locking into shape. The fix: rough-dry with a microfiber towel or the pre-styling dryer attachment, working until sections feel barely damp and no longer cold to the touch. Mist a lightweight heat protectant or a setting spray through mid-lengths and ends for grip without heaviness; skip heavy oils, since they slick the cuticle and let curls slip. Coarse or high-porosity hair tolerates slightly damper sections, while fine or low-porosity hair wants to be closer to fully dry. Ask your stylist for a moisture-control routine matched to your porosity if curls consistently refuse to form.
02Grabbing Sections That Are Too Big {#mistake-2}
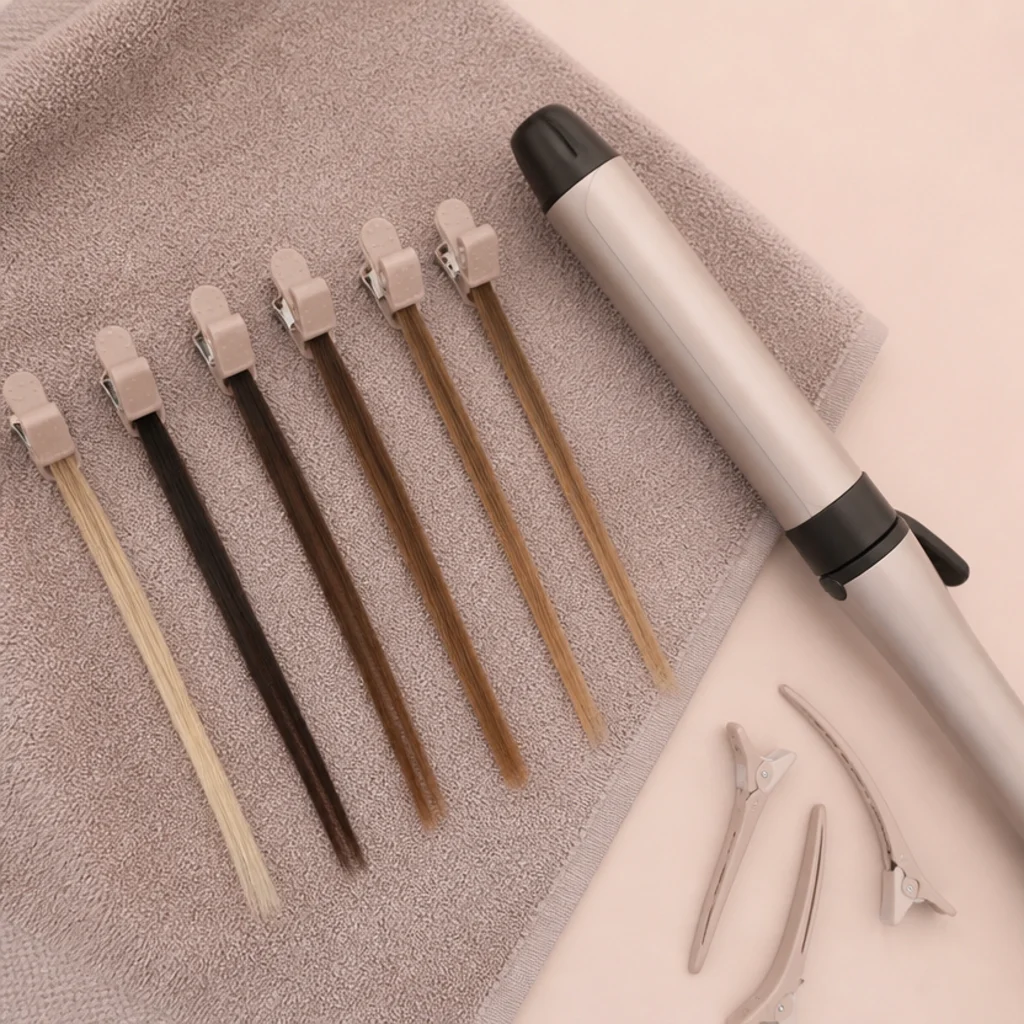
Oversized sections are the fastest route to flat, uneven results. When too much hair loads the barrel, the outer layer shapes while the inner core stays straight, so the curl reads loose, splits at the ends, and collapses within an hour. Thick, coarse, dense, or long hair is most vulnerable because it hides so much un-styled hair inside each wrap. The fix: work with sections roughly the width of the barrel and no thicker than an inch, about the footprint of two fingers, and clip everything else away so each pass gets uninterrupted airflow. Feed the section in slowly and let the air catch the ends first rather than forcing hair onto the barrel. Below, a quick reference for matching section size to density and finish.
| Hair type | Section width | Barrel size | Best finish |
|---|---|---|---|
| Fine or thin | Up to 1.5 in | 1.2 in | Soft volume, gentle bend |
| Medium | 1 in | 1.2 in | Defined bouncy curl |
| Thick or coarse | 0.75 in | 1.6 in | Structured, long-hold curl |
| Curly or coily | 0.75 in, low tension | 1.6 in | Stretched or smooth blowout |
Smaller sections cost a few extra minutes but return springy, defined curls that last. Ask your stylist to mark a sectioning map for your density if your results look patchy.
03Skipping the Cool Shot and Set {#mistake-3}
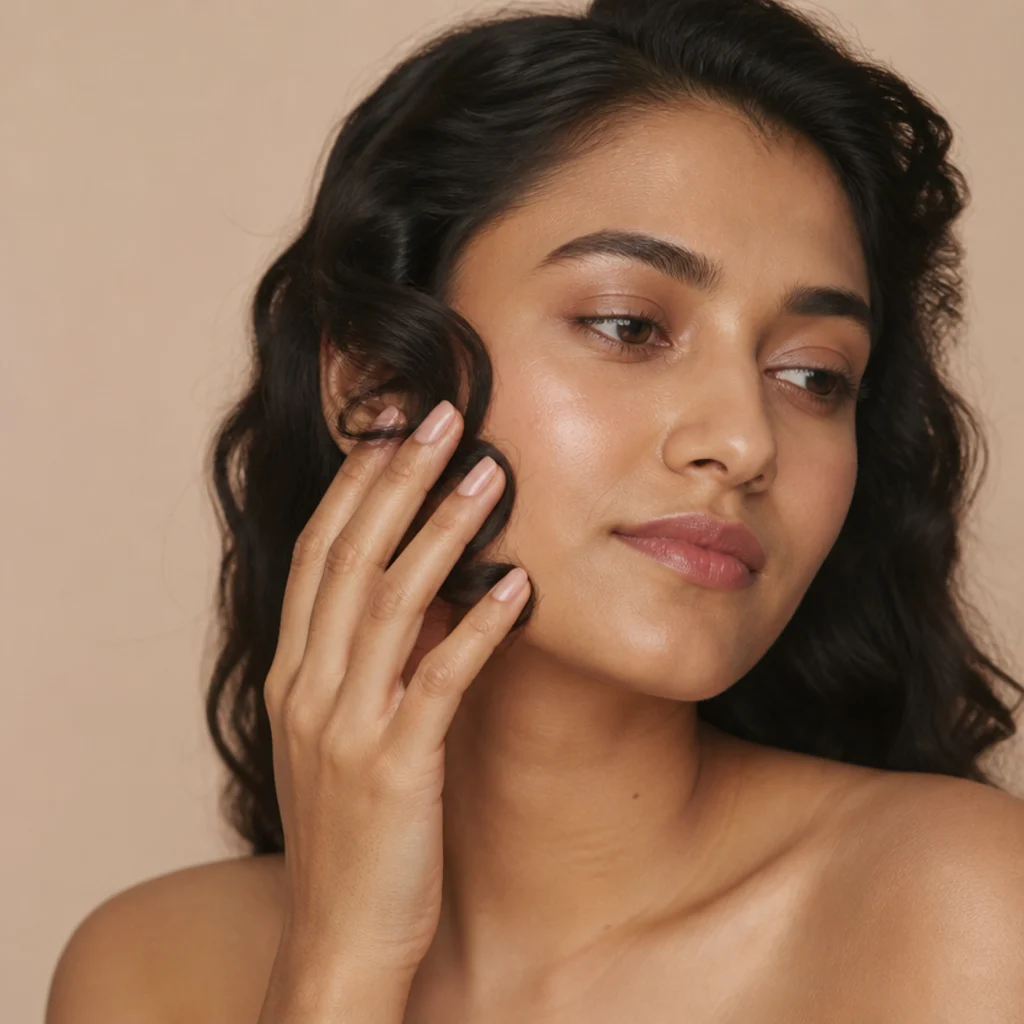
Heat and airflow shape the curl, but cool air is what makes it permanent for the day. Hydrogen bonds in your hair reform as strands cool, so a curl released while still warm relaxes before those bonds ever lock, which is the single most common reason volume disappears by early afternoon. Most people flick the styler off and drop the section immediately, undoing their own work. The fix: hold each wrapped section under the dedicated cool shot for five to ten seconds, then release it gently into your cupped palm and let it cool completely, ten to fifteen seconds, before it bears any weight. For maximum staying power, coil each cooled curl toward the scalp and pin it with a duckbill or sectioning clip, then unpin all of them at the end, a trick lifted straight from classic roller and pin-curl sets. This one habit separates curls that bounce back at hour eight from curls that fall by noon. Ask your stylist to demo the pin-to-cool technique if you want event-level hold.
04Ignoring Filter and Storage Care {#mistake-4}
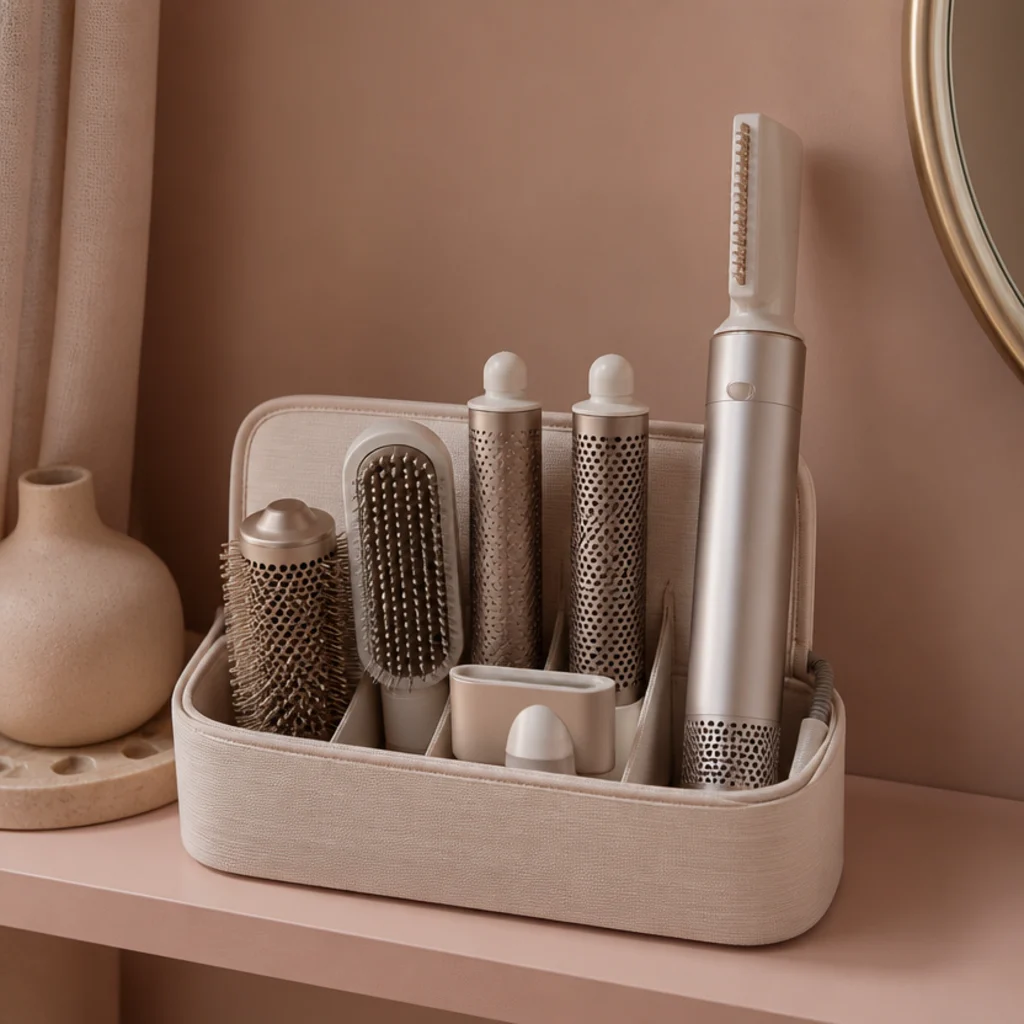
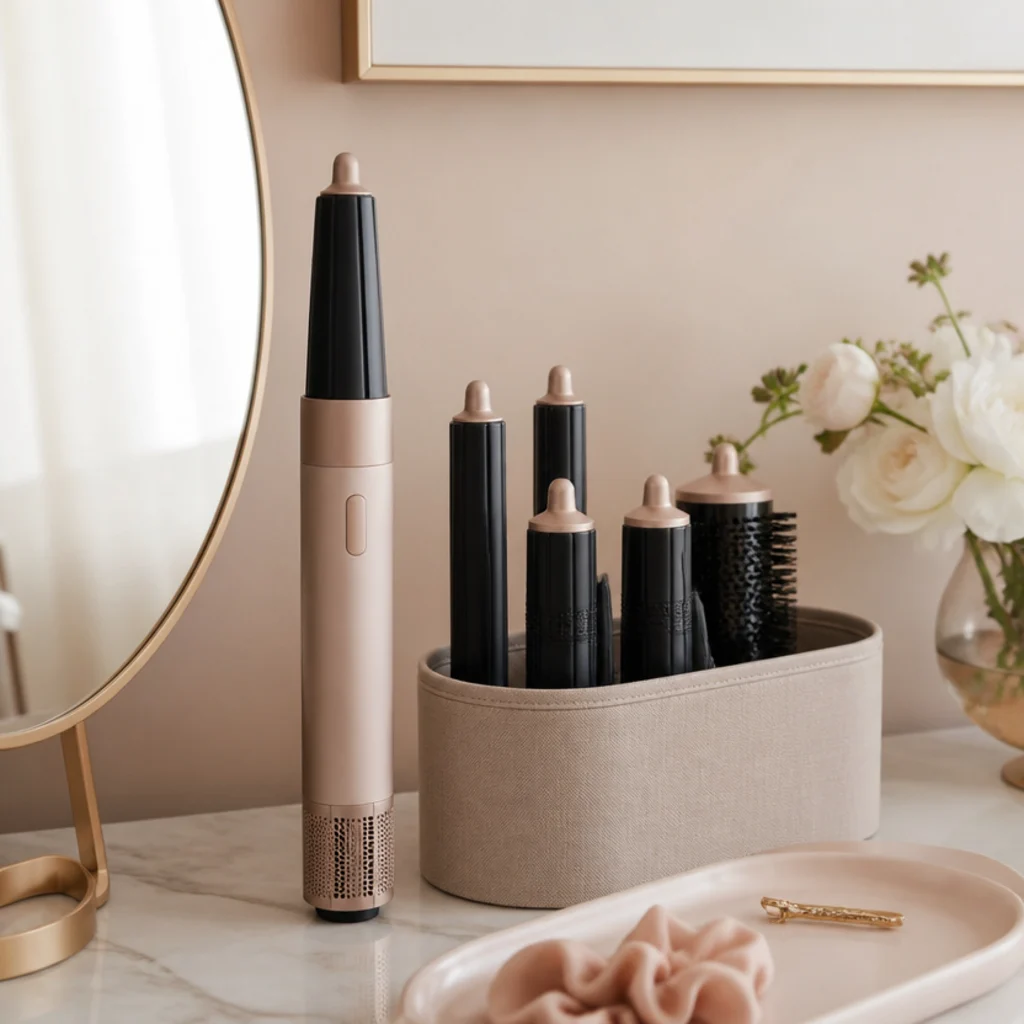
Weak airflow gets blamed on the machine when the real culprit is usually a clogged filter. Lint, dust, and product mist collect on the fine mesh at the base of the handle, choking intake so curls form slowly, unevenly, and with less lift; a repeated overheat cut-off is often the same story. Poor storage compounds it: barrels knock together and dent, bristles bend, and cords crimp at stress points. The fix: brush the outer filter cage weekly with the included cleaning tool, more often in dusty, dry-shampoo-heavy, or pet homes, and once a month slide off the mesh filter sleeve to rinse it under cool water and dry it fully before refitting. For dyson airwrap storage, keep barrels upright and separated in a dedicated case, a felt-lined drawer insert, or a wall-mounted holder so heads never rest on their attachments. Beyond function, that upright, everything-in-its-slot setup is the calm, uncluttered dyson airwrap aesthetic so many people build their vanity around. Well-kept tools hold their airflow strength and style more predictably year after year. Ask your stylist which cleaning cadence suits your product habits.
Save this to Pinterest to keep the filter-care and storage tips handy on wash day.
05Expecting Curling-Iron Hold Without Adjusting Habits {#mistake-5}
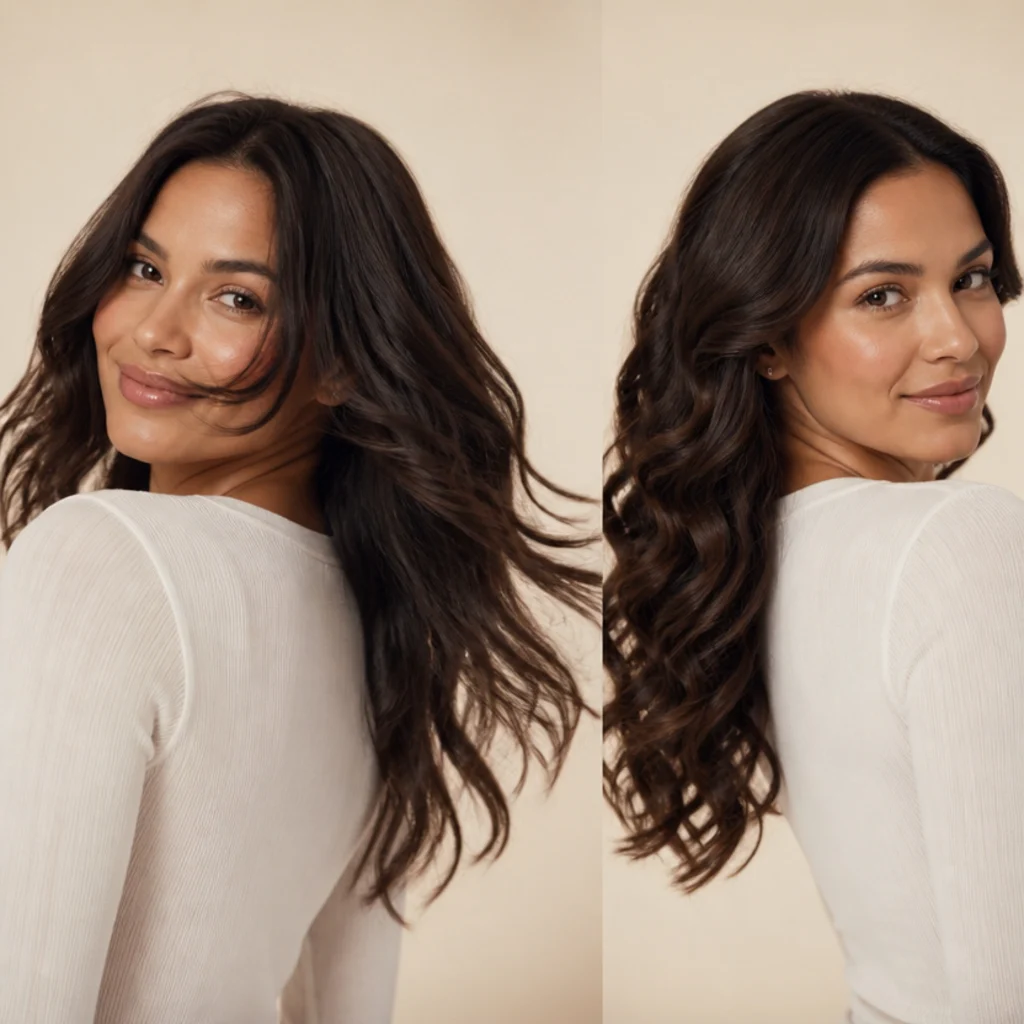
In the dyson airwrap vs curling iron comparison, the two tools are built for different finishes. A hot iron clamps hair against metal at high heat to force a tight, high-tension curl that holds hard; the Airwrap wraps hair on airflow at gentler temperatures to build soft, rounded volume and movement. Judging one by the other's yardstick guarantees disappointment. The fix: adjust technique rather than fighting the tool. Prep with a light mousse or texturizing spray at the roots for grip, wrap smaller sections, alternate curl direction for a lived-in shape, and treat the cool shot as mandatory. When you need firmer hold for a wedding or a long night, mist a flexible-hold hairspray after the curl has fully cooled, or set it and pin it to lock the bend before brushing out. The payoff is less heat exposure and glossier, more natural volume, at the cost of a softer curl than an iron gives. Here is the quick trade-off.
| Factor | Dyson Airwrap | Curling iron |
|---|---|---|
| Heat level | Lower, air-based | High, direct contact |
| Curl character | Soft, voluminous, natural | Tight, defined, structured |
| Hold without product | Moderate | Strong |
| Heat-damage risk | Lower | Higher |
| Learning curve | Moderate | Low |
| Best use | Volume and smooth bounce | Long-lasting defined curl |
Ask your stylist which finish photographs the way you want before you commit to a technique.
Pro Tips from the Editor
- Rough-dry roots first and only take sections down to damp; a cool-to-the-touch section is your green light that the moisture window is right.
- Point the barrel end down and feed hair from the tips, letting the air catch the ends so the curl builds from the bottom instead of bunching at the root.
- Alternate curl direction section to section, wrapping away from the face around the crown, for volume that looks undone rather than uniform and helmet-like.
- Never brush a warm curl. Wait until every section is stone cold, then break curls apart with fingers or a wide-tooth comb for soft, connected waves.
- For fine or slippery hair, mist dry texture spray or a whisper of dry shampoo at the roots before wrapping to add the grip the air needs to hold shape.
- On second-day hair, refresh with a quick cool-shot pass and a little texture spray instead of re-wetting and restyling from scratch.
- If airflow feels weaker than usual, clean the filter before you change anything else in your routine; it's the fix nine times out of ten.
How to Choose / Get the Look
Start by matching prep and section size to your hair type, then let the finish you want dictate barrel choice and cooling effort.
- Fine or thin hair: Use a lightweight root-lifting mousse and slightly larger, up-to-1.5-inch sections so hair does not look sparse. Pin every curl to cool; fine hair drops fastest, so the set step is non-negotiable.
- Medium hair: The most forgiving. Barrel-width, one-inch sections at 70 to 80 percent dry with a reliable cool shot give bouncy, defined dyson airwrap curls with the least effort.
- Thick or coarse hair: Take smaller, three-quarter-inch sections, apply a smoothing cream to damp mid-lengths, and clip away generously so each pass gets full airflow. Budget extra time.
- Curly or coily hair: Use the Airwrap for a soft blowout or a stretched, elongated look rather than a tight curl. Keep tension low, results vary by pattern, and a smoothing prep helps.
For longevity, treat the cool shot as the load-bearing step, let curls cool completely before any brush-out, and store the tool upright so airflow stays strong. When deciding between tools, choose the Airwrap for volume and smooth, glossy bounce and reach for a curling iron when you want a tighter, longer-locked curl for a specific occasion. To ask a stylist for guidance, bring a reference photo of the exact finish you want and name your texture, length, and density so they can recommend barrel size and section width.
Frequently Asked Questions
Why do my dyson airwrap curls fall out so fast?
Almost always one of three things: the hair was too wet, the sections were too big, or the curl was released before it cooled. Style at 70 to 80 percent dry, use barrel-width sections no thicker than an inch, and finish every section with a five-to-ten-second cool shot, letting it cool fully before it moves.
How do I make Airwrap curls last all day?
Cool and set aggressively. Hold the cool shot, drop each curl into your palm, then pin it coiled against the scalp until it is completely cold. Unpin all curls at the end and break them apart with fingers. A flexible-hold spray after cooling adds insurance for long days.
How often should I clean the filter?
Brush the outer filter cage about weekly for typical use, and more often in dusty, pet-heavy, or dry-shampoo-heavy homes. Rinse the removable mesh filter sleeve under cool water monthly and dry it fully before refitting. A clogged filter is the top cause of sudden weak airflow and overheat cut-offs.
What is the best dyson airwrap storage option?
Anything that keeps barrels upright and separated: a dedicated zip case, a felt-lined drawer insert, or a wall-mounted holder. The goal is keeping heads off their attachments so bristles don't bend and cords don't crimp, which also happens to create that tidy dyson airwrap aesthetic.
Is the Airwrap better than a curling iron?
Neither is strictly better; they're built for different finishes. In the dyson airwrap vs curling iron question, the Airwrap gives soft volume, movement, and less heat exposure, while a curling iron delivers a tighter, longer-holding curl. Choose based on the look and the day.
Can I use the Airwrap on very short hair?
Yes, with adjustments. Very short lengths can slip off the barrel, so use the smallest barrel, take fine sections, and add a grip-boosting texture spray. Bobs and lobs generally style well; pixie lengths may get more from the smoothing or volumizing brush attachments than the curling barrels.
Why is my hair frizzy after using the Airwrap?
Frizz usually means the sections were too dry when you started, the airflow speed was too high for your texture, or you brushed the curls while warm. Style closer to the damp end of the window, drop to a lower airflow setting, apply a smoothing cream to damp ends, and only separate curls once they are cold.
Can the Airwrap replace a hair dryer and other hot tools?
For many people it consolidates the dryer, round brush, and curler into one kit, which is part of its appeal. It's less suited to poker-straight sleekness on very coarse hair, where a dedicated flat iron still wins, and to tight, high-hold curls, where an iron holds longer.
Does the Airwrap damage hair less than other hot tools?
It styles at lower temperatures using airflow rather than direct high-heat contact, which generally means gentler daily styling than a hot iron. That said, it's still heat, so use a heat protectant, avoid over-drying, and give hair rest days. This is general styling guidance, not a claim about any specific condition or scalp concern.