25 Effortless Dyson Airwrap Looks to Try This Week
A week of low-effort, high-payoff hair, styled around one versatile multi-styler. From cloud-soft curls to a glassy blowout, each look is sized to real mornings, real face shapes, and real hair textures, with the finish and upkeep spelled out so you know what you're signing up for.
 Edited by Lena Rose · Published July 11, 2026 · 37 min read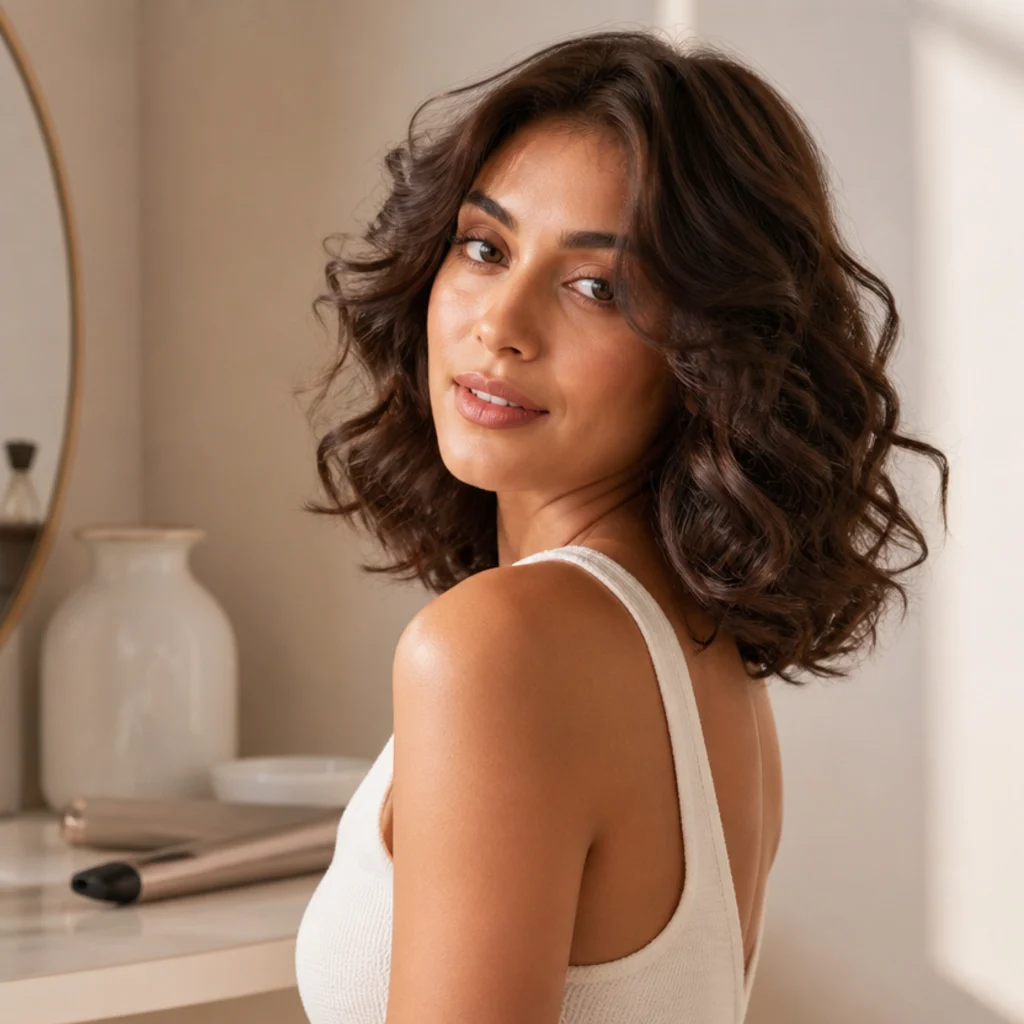
Quick Answer
- Best for: Anyone wanting salon-style volume and movement at home with lower heat exposure and less manual coordination than a hot barrel.
- Who might skip it: Very coarse, resistant, or tightly coiled hair chasing a crisp, all-day set may prefer a traditional iron or wand for staying power.
- Maintenance: Most looks hold one to three days with a light morning refresh; a silk pillowcase, dry shampoo, and pin-curling overnight stretch them further.
- Difficulty: Beginner to intermediate; the barrel and brush attachments do most of the shaping, so technique forgives quickly.
- Cost: The tool sits in the premium tier (roughly the high-hundreds range at retail); ongoing cost is minimal beyond a heat protectant and a flexible-hold spray.
- Wear time / longevity: One to three days per style, longest on medium-density hair set on a full cool-down, shortest on fine or freshly conditioned hair.
- Standout variation: The undone cool-girl bend (Look 3) reads polished but takes only minutes and hides imperfect sectioning.
- How to ask your stylist: Bring two saved photos and name the finish (soft and bouncy, glassy and sleek, or undone and matte) rather than only naming the tool.
In This Guide
- Cloud-Soft Bouncy Curls
- Glassy Straight Blowout
- Undone Cool-Girl Bend
- Voluminous 90s Blowout
- Beachy Piecey Waves
- Face-Framing Money Pieces
- Sleek Low Bun Prep
- Tousled Short-Hair Volume
- Old-Hollywood Deep Waves
- Curtain Bangs Flip
- Voluminous Half-Up
- Soft Corkscrew Ringlets
- Sleek Straight Lob
- Bouncy Wash-Day Reset
- Textured Shag Layers
- Voluminous Ponytail Base
- Soft S-Wave Bob
- Flipped-Out Retro Ends
- Loose Boho Waves
- Sleek Center-Part Curtain
- Voluminous Root Lift
- Mixed-Direction Editorial Curls
- Soft Waves for Fine Hair
- Defined Curls for Coily Textures
- Second-Day Refresh Style
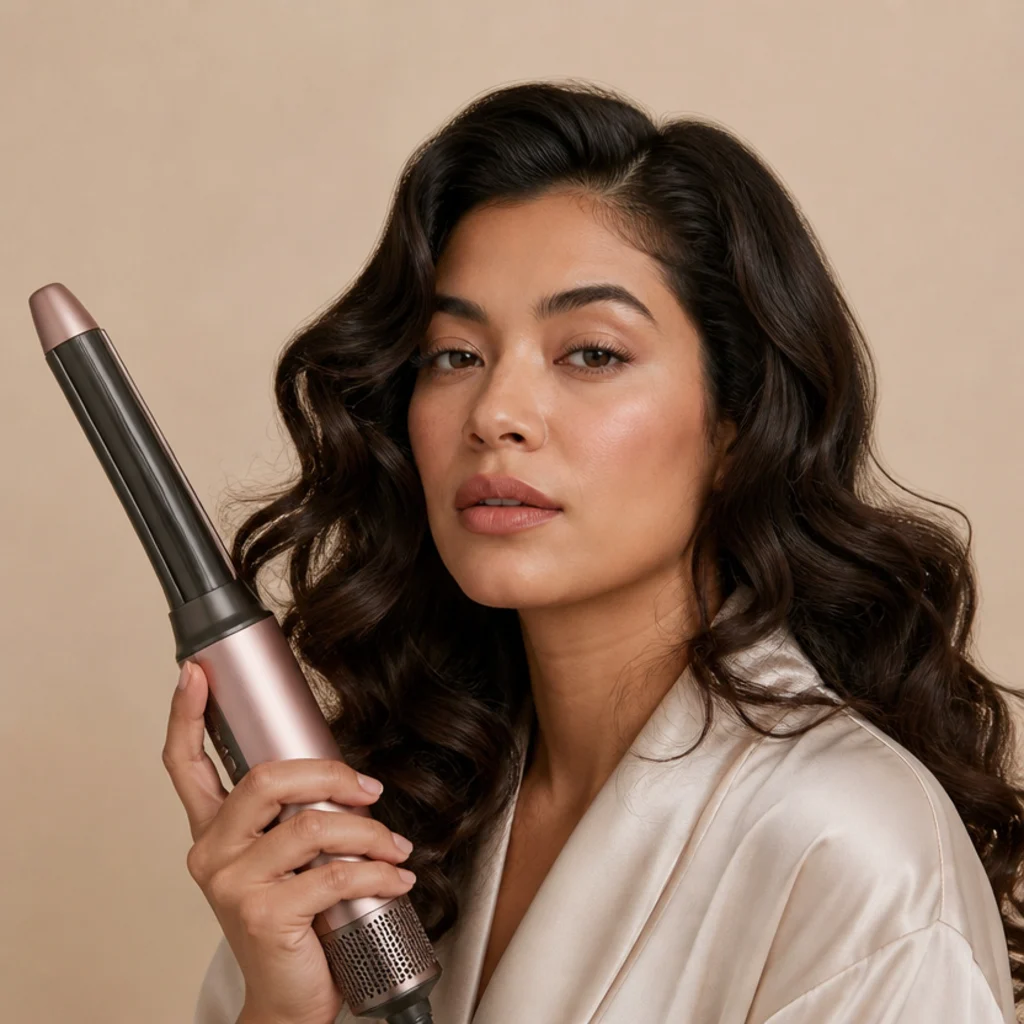
Few tools have shaped the home-styling conversation like the Dyson Airwrap. The idea behind it is different from a hot barrel: it uses a fast column of air to draw the hair around the attachment and set the shape as the strands finish drying, so you build dyson airwrap curls, waves, and blowouts at a lower surface temperature than a scorching iron. That lower heat and the self-wrapping action make it approachable for beginners and quick for anyone squeezing a look into a rushed morning. The trade-off is that airflow gives a softer, more movable set than a wand, so the looks that photograph best lean effortless rather than rigid. This guide walks through 25 distinct styles you can rotate across a week, each matched to specific lengths, densities, textures, and face shapes. For every look you'll find who it flatters, a realistic hold window, a difficulty read, and a script for asking your stylist to cut or color in a way that supports it. Treat it as a visual menu, not a rulebook: save the dyson airwrap curls that suit your hair and its everyday aesthetic, and skip the rest without guilt.
01Cloud-Soft Bouncy Curls
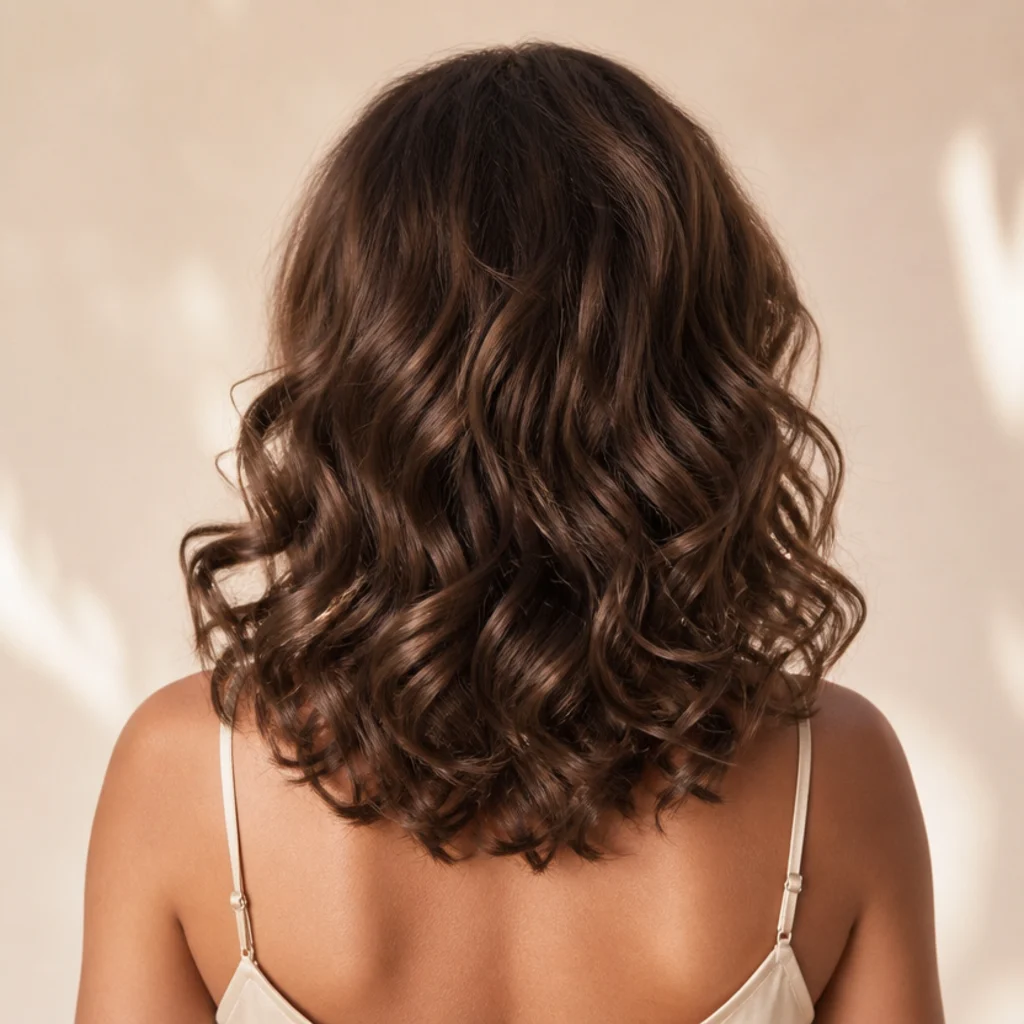
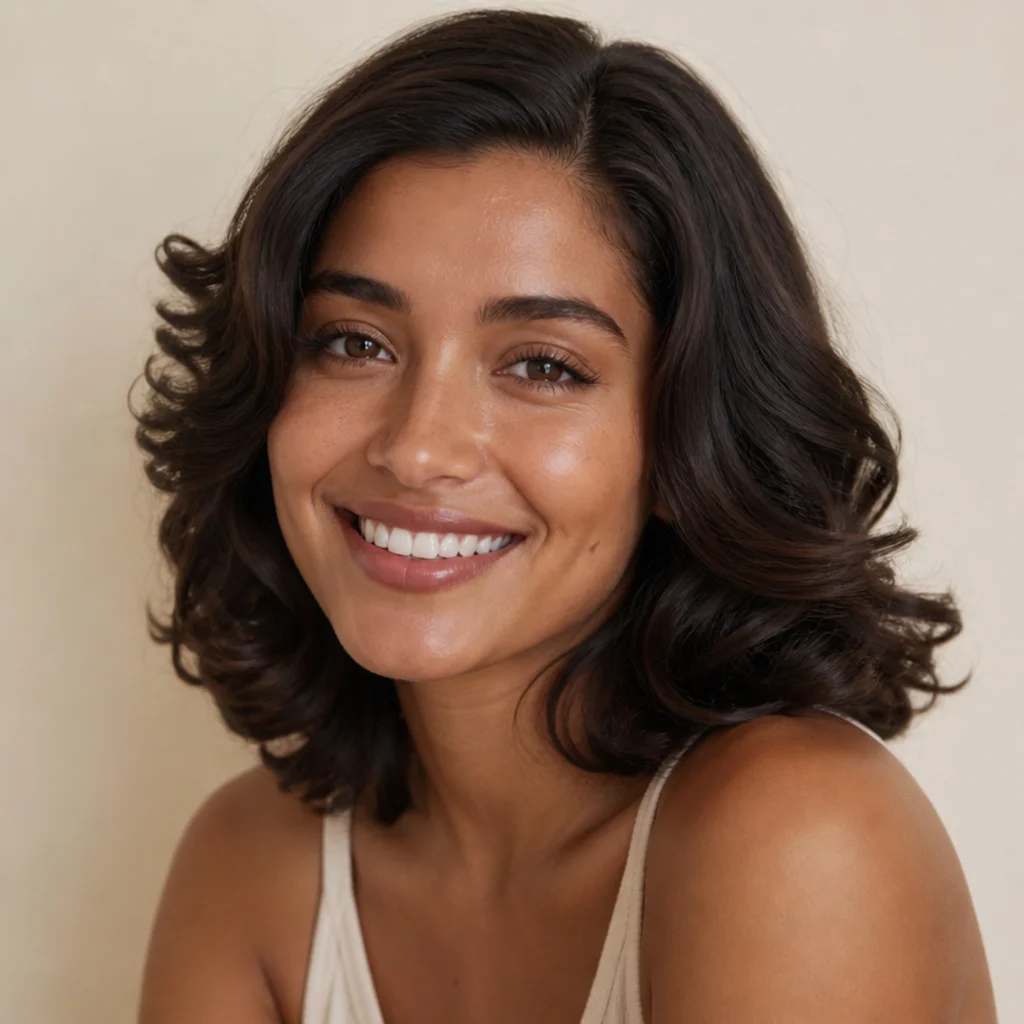
The signature finish: rounded, airy curls with real separation and a bounce that swings when you move. Take one-to-two-inch sections, wrap each around the barrel attachment, and alternate the wrap direction section to section so nothing stacks into a uniform column. The non-negotiable step is the cool-down, letting each curl set cold in your palm or clipped to the head before you release it, because that's what fixes the shape. This suits shoulder-length to mid-back hair with medium density and reads soft on round and heart-shaped faces, where the width at the jaw balances the curve. Expect a comfortable one-to-two-day hold; a morning shake-out plus a mist of flexible-hold spray revives it when it starts to drop. Pro tip: curl the sections framing your face away from the cheeks so the first thing anyone sees opens up your features. Ask your stylist for a soft, bouncy blowout shape with rounded ends rather than tight ringlets. It's the most forgiving entry point into dyson airwrap curls.
02Glassy Straight Blowout
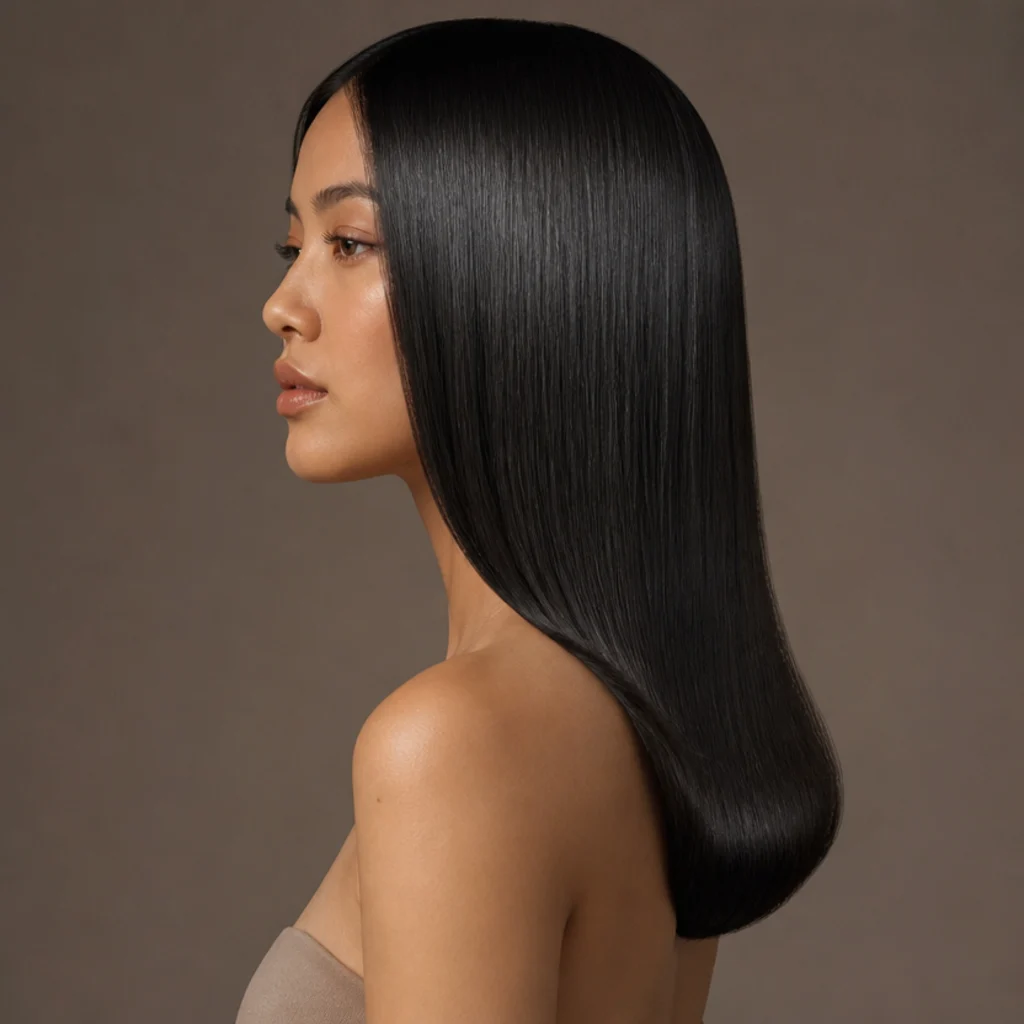
Not every look needs a curl. With the smoothing brush attachment you can draw the hair straight while leaving a soft, rounded edge and a hint of body at the very ends, the difference between a flat-iron finish and a true blowout. Rough-dry to about eighty percent first, then pass through clean, tensioned sections from root to tip; tension is what buys you the glass. This flatters nearly every face shape and looks especially deliberate on blunt cuts and one-length long layers. It holds two to three days if you sleep on silk and resist re-touching, since finger oils are what dull the shine. Very thick or coarse hair should seal with a smoothing serum before styling to fight midday frizz. Pro tip: finish with a cool-shot pass down each section to lock the cuticle flat for extra mirror gloss. In the dyson airwrap vs curling iron debate, this is where airflow wins: it delivers a polished, rounded straight in one pass. Ask a pro for a sleek, mirror-smooth blowout with a soft turn under.
03Undone Cool-Girl Bend
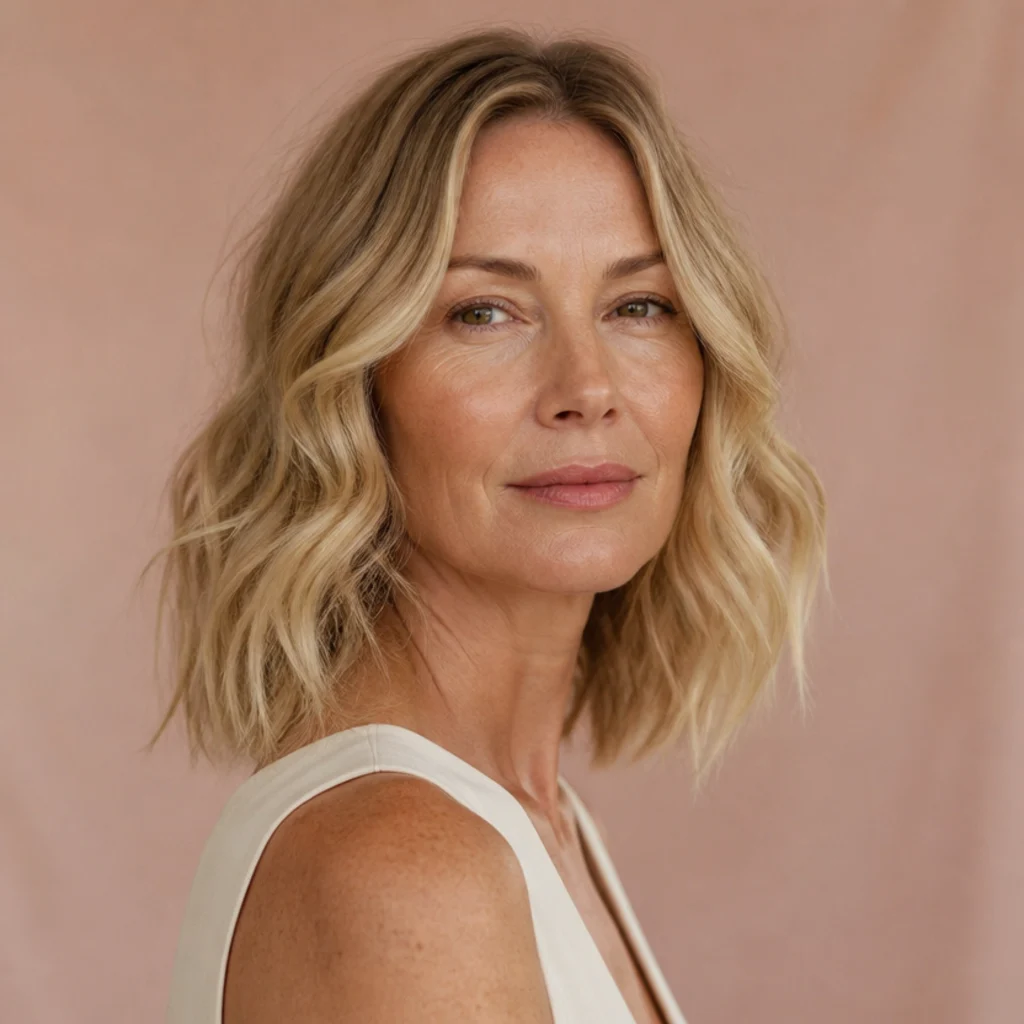
This is the "I woke up like this" bend: a single soft directional wave that curves away from the face without ever resolving into a defined curl. Work in deliberately large sections, wrap loosely with light tension, and once everything is cool break the shape apart with your fingers so it looks lived-in. It suits collarbone-length cuts best and looks especially good with a center or slightly off-center part. Because imperfection is the point, natural fall-out over the day only improves it, which makes this the lowest-commitment style here. It reads beginner-friendly since precision isn't the goal. Pro tip: skip shine spray and reach for a matte texture spray or a touch of dry shampoo through the mids so the finish stays soft and unfussy rather than glossy. For a salon version, ask your stylist for a lived-in, undone wave with a matte finish and a bit of internal layering to keep it from looking heavy. It captures the effortless dyson airwrap aesthetic that makes the tool so pinnable.
04Voluminous 90s Blowout
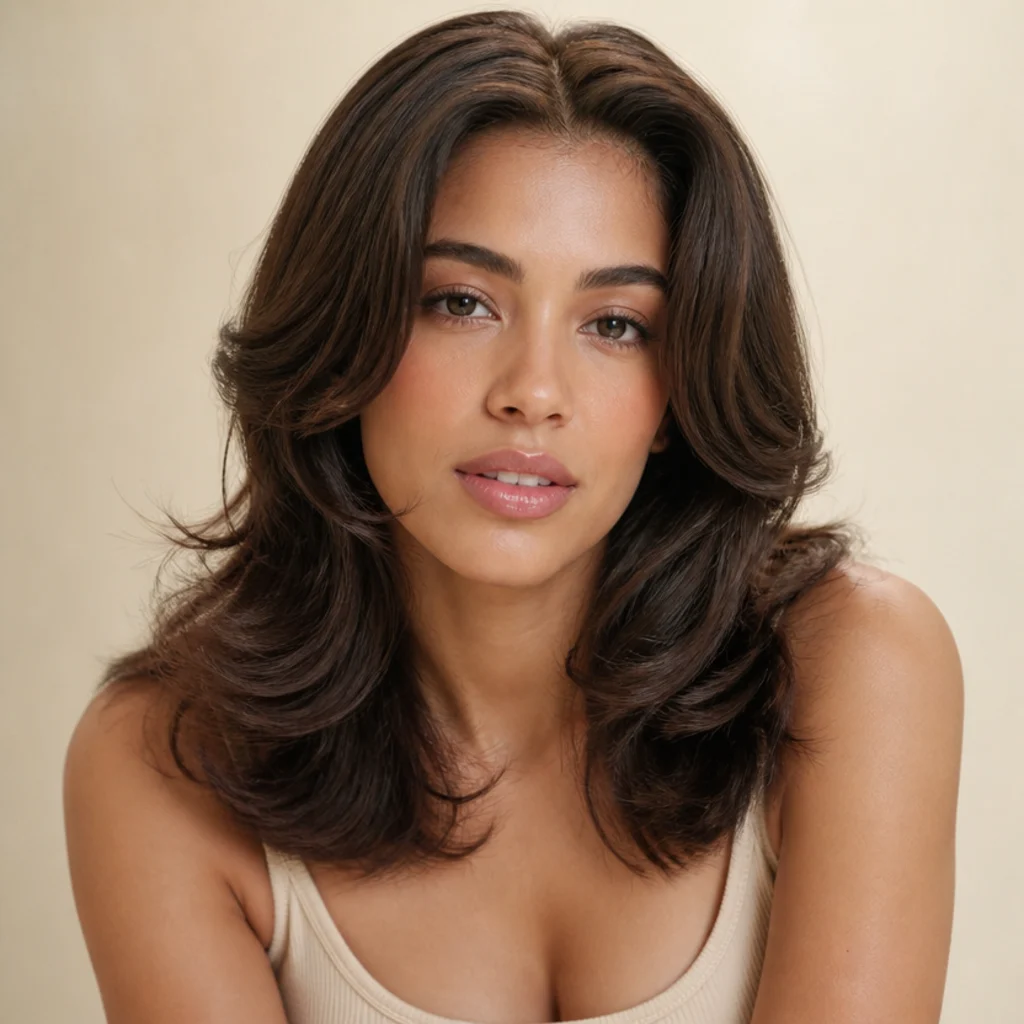
Big, brushed-back, and unapologetically nostalgic, this look leans into supermodel volume. Start at the roots, directing airflow up and back to build a lifted base, then wrap the front sections away from the face so they sweep off the cheekbones. The backward directional wrap is the whole trick, and it takes a few tries to feel natural, which is why this lands at intermediate difficulty. It suits medium to long hair with layers and flatters oval and square faces, where the outward movement softens a strong jaw. Volume like this holds best on freshly washed, product-primed hair with a volumizing mousse at the root; by day two it relaxes into a pretty, softer wave. Pro tip: set the lifted front pieces in a loose pin-curl while you finish the back, then release, so the height cools in place instead of collapsing. Ask your stylist for a bouncy 90s supermodel blowout with face-framing layers cut to fall back rather than forward.
05Beachy Piecey Waves
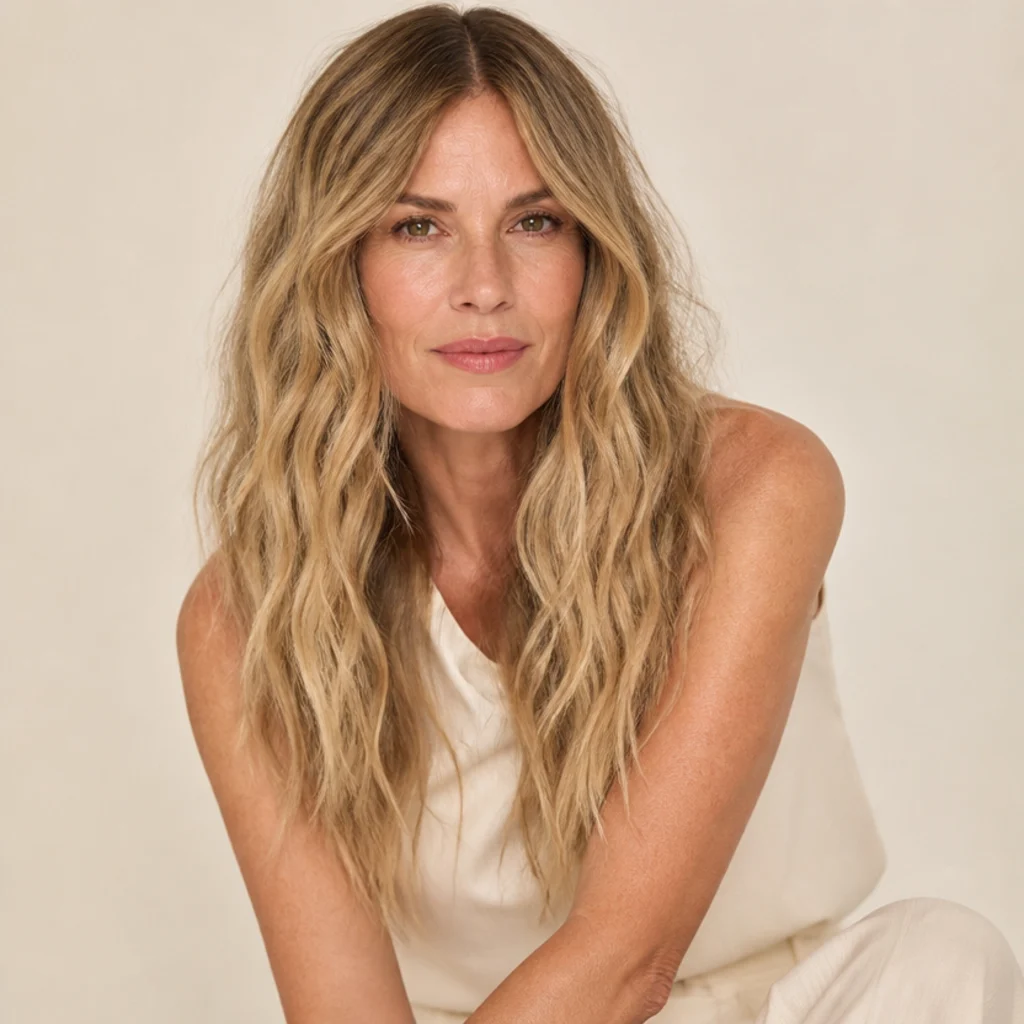
Loose, sea-salt-inspired waves with deliberately piecey ends give a relaxed, off-duty feel. Wrap only the mid-lengths and leave the last inch or two out of the attachment so the ends stay straight and broken rather than curled under, that unfinished tip is what sells the beachy read. This suits long hair and works across most face shapes because the texture stays soft rather than structured. A texturizing or salt-based spray boosts both grip and that faintly gritty finish; overdo it and the waves feel crunchy, so mist from a distance. Upkeep is minimal, and the waves loosen attractively across a day or two. Pro tip: once cool, twist two neighboring waves in opposite directions and shake, which merges them into the irregular, undone pattern real beach hair has. To recreate it in the chair, ask your stylist for long layers and effortless beachy waves with separated ends rather than a uniform curl.
Save this to Pinterest to build your beachy-wave mood board.
06Face-Framing Money Pieces
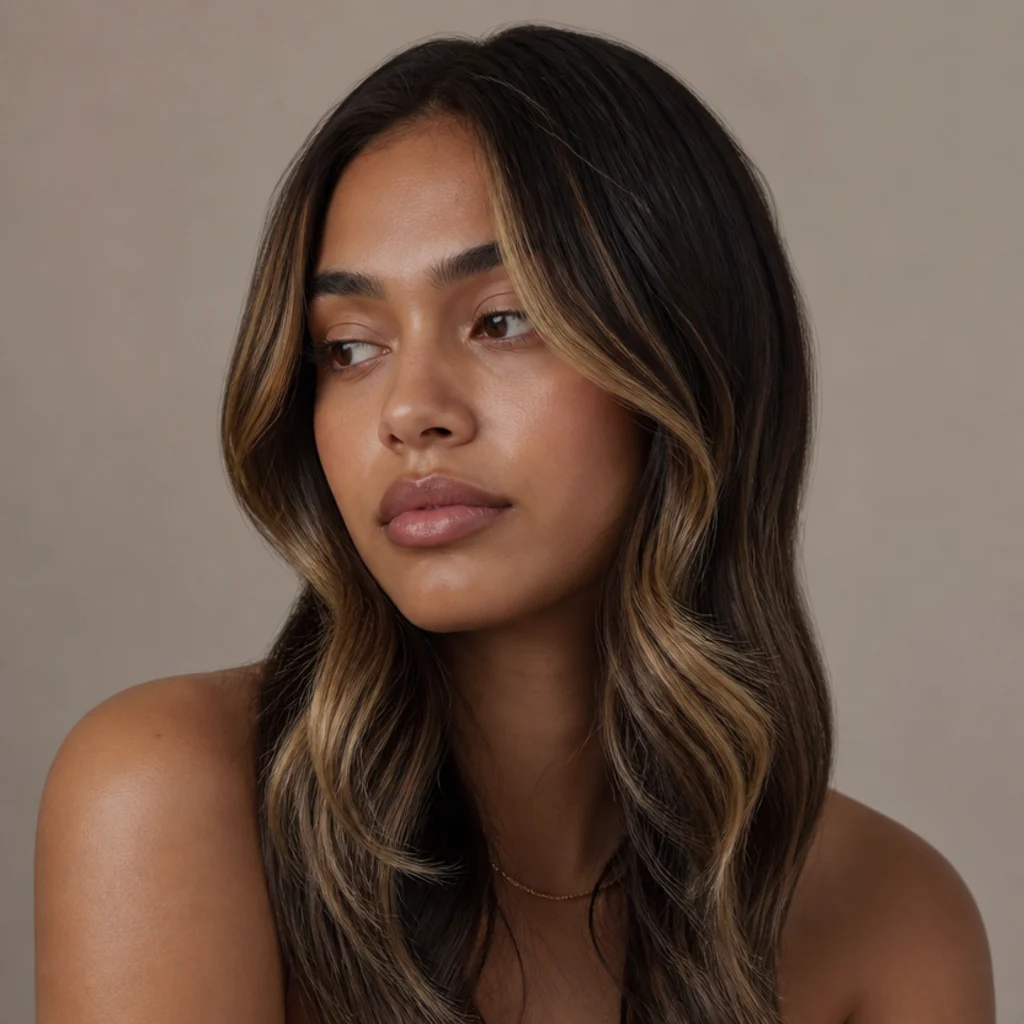
Sometimes the entire look lives in the front two sections. Curl just the face-framing pieces outward, away from the cheeks, to spotlight a highlight or a lightened "money piece," and leave the rest smooth or barely waved. Because the outward curve draws the eye up and out, it flatters every length and is a smart lengthening trick for round and square faces. It's fast, and because you're working such a small area, it holds well and refreshes in seconds midday. That makes it the easiest style here to keep alive from morning to night. Pro tip: curl the two front sections a touch tighter than you think you need, because the exposed front is where fall-out shows first, and a slightly firmer set buys you the whole day. Ask your colorist to place brighter face-framing pieces or a soft money-piece so this shaping has real contrast to show off, and ask your stylist to leave those front sections at a length that curves cleanly at the cheekbone.
07Sleek Low Bun Prep
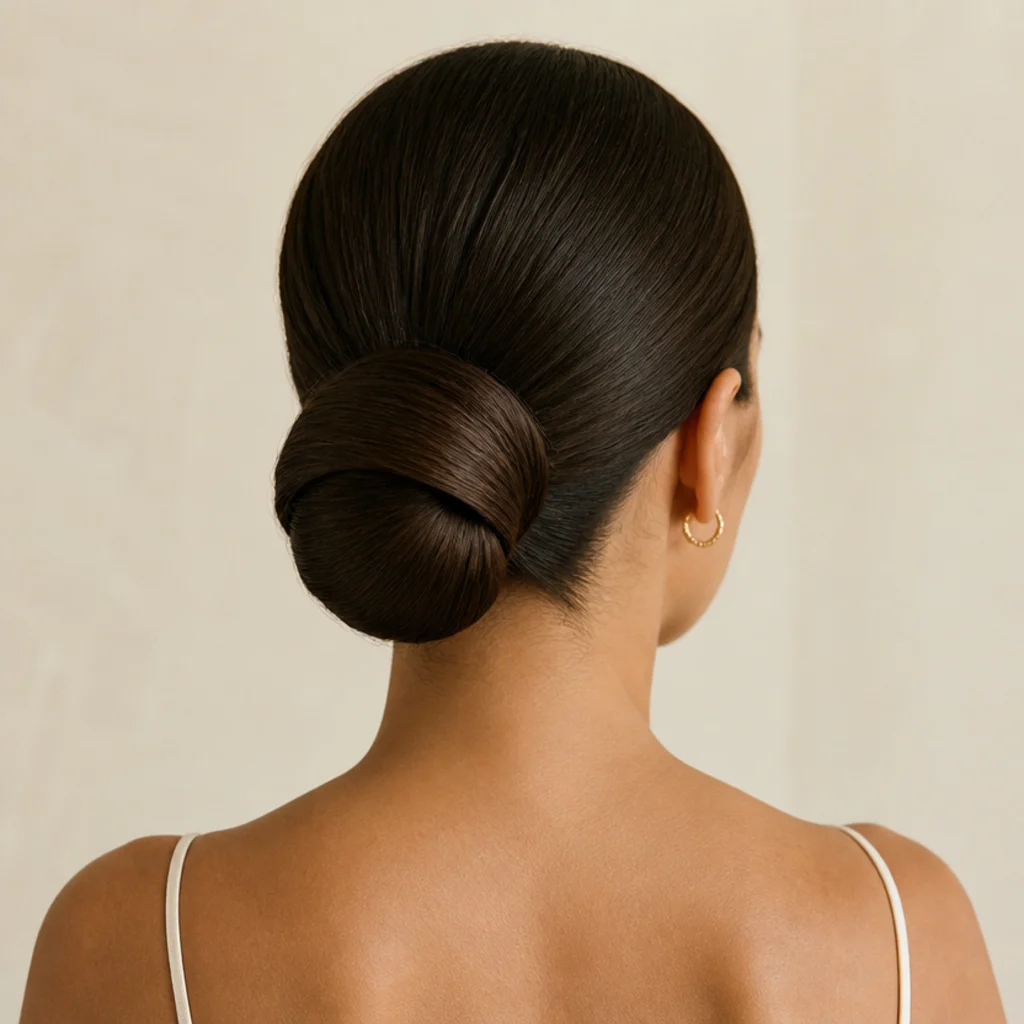
The Airwrap is more than a curler; it earns its keep as a prep tool too. Smooth the hair dead flat with the brush attachment first, working the sides and nape especially close to the head, then gather it into a low, tucked bun for a clean, editorial finish. The smoothing pass tames flyaways and baby hairs far better than a brush alone, which is what separates a polished bun from a messy one. This suits all face shapes and is a genuine rescue for second- or third-day hair that needs to look intentional. Once pinned it holds all day. Difficulty is low. Pro tip: run a pea-size drop of lightweight oil or a flexible wax stick over the smoothed surface before pinning to seal strays and add a quiet, expensive-looking sheen. If you want a stylist to teach the base, ask for a sleek, flat blow-down with no root volume so the bun sits neat and close to the head rather than puffing at the crown.
08Tousled Short-Hair Volume
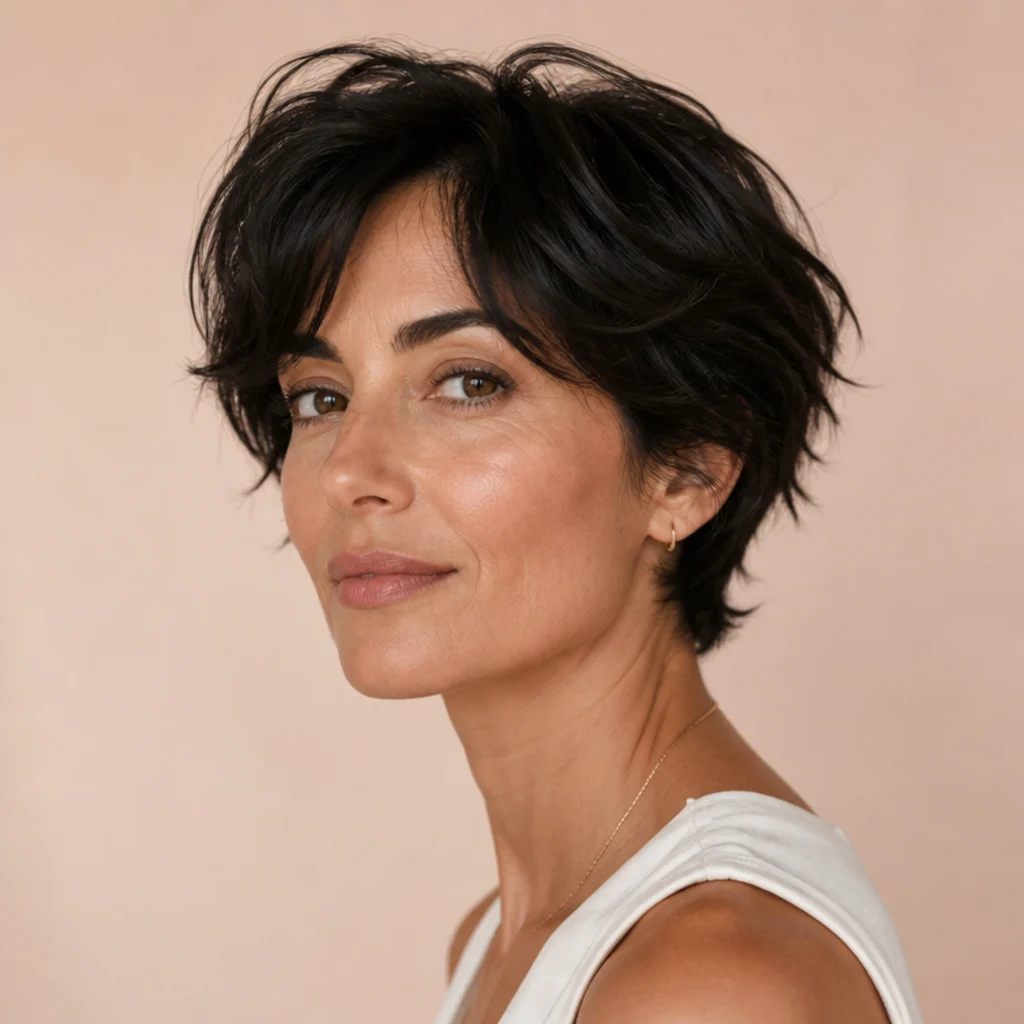
Short hair benefits enormously from directional airflow because a little lift reads as a lot. Use a smaller barrel or the round brush to push height into the crown, then bend individual pieces in varied directions so the shape looks intentional rather than helmet-like. This flatters pixie-to-chin lengths and looks sharp on oval and heart faces, where crown height balances a narrower chin. Upkeep is easy since short styles rebound fast with a little paste or a quick re-bend at the mirror. Difficulty is low to intermediate depending on how much control you want over each piece. Pro tip: work a matte clay or paste through with fingertips only after the hair is fully cool, so you separate and define the pieces without weighing down the lift you just built. Ask your barber or stylist for a piecey, textured cut with graduated layers and built-in movement, which does most of the styling work for you before the tool ever comes out.
09Old-Hollywood Deep Waves
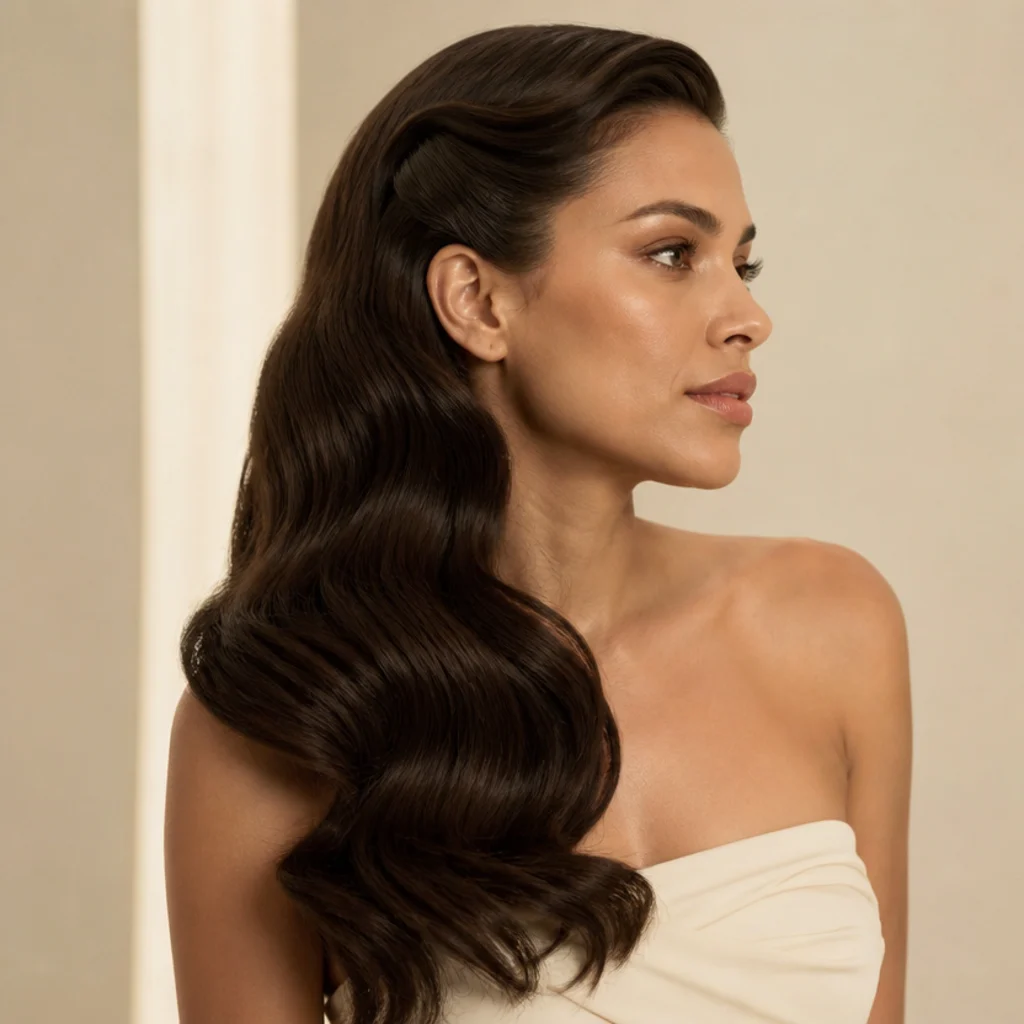
For occasion hair, this is the showpiece. Curl every section in the exact same direction, away from the face, then once fully cool brush the whole set out with a soft-bristle brush into one continuous, glossy S-wave and pin one side back behind the ear. Uniform direction and the brush-out are what create the unbroken ribbon; skip either and you get ordinary curls. It suits long to mid-length hair and flatters oval and long faces, where the sweep adds width. This one takes time and a firm-hold finishing spray to keep the wave crisp under lights, so save it for events rather than errands, and count it intermediate. Pro tip: anchor the wave ridges with duckbill clips while the hair cools, then mist and remove, so the S-pattern is baked in before you ever brush. Ask your stylist for classic old-Hollywood or "Veronica Lake" waves, and bring a reference photo, since the term stretches across a wide range of depths.
10Curtain Bangs Flip
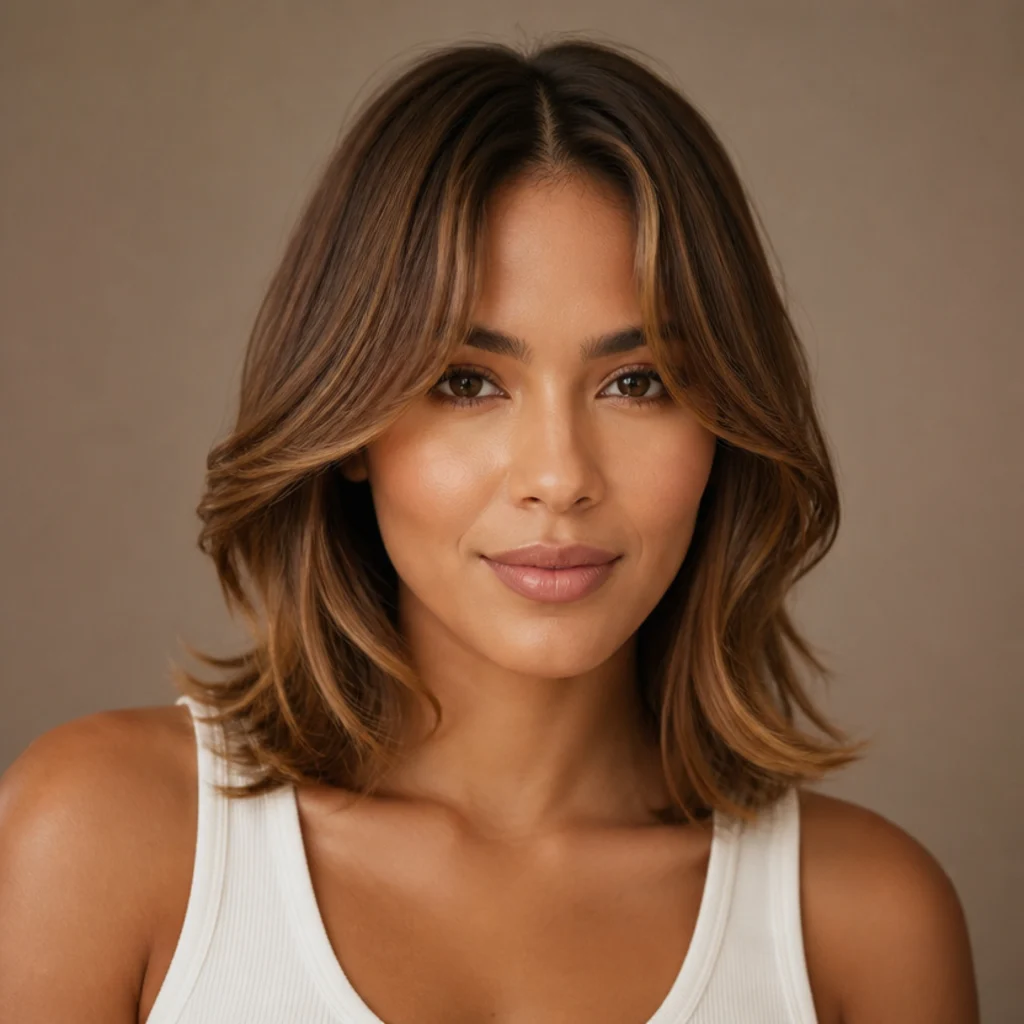
Curtain bangs live or die by the flip. A quick outward bend on each side gives that soft, parted sweep that opens around the eyes and grazes the cheekbones. This suits anyone growing out a fringe and flatters round, square, and heart faces by softening a strong or square hairline. It's fast, though the bangs sit in the highest-friction zone of your face and will need a midday touch-up, since the front shows fall-out before anywhere else. Difficulty is low. Pro tip: flip the bang up and away with the airflow, then immediately press it cool against your forehead with your free hand for a second or two; setting it cold against the shape you want stops it drooping by lunchtime. To get the cut right in the first place, ask your stylist for face-framing curtain bangs blended into your layers with no hard edge, so the flip has a natural landing point instead of a blunt line.
Save this to Pinterest for your grow-out fringe inspiration.
11Voluminous Half-Up
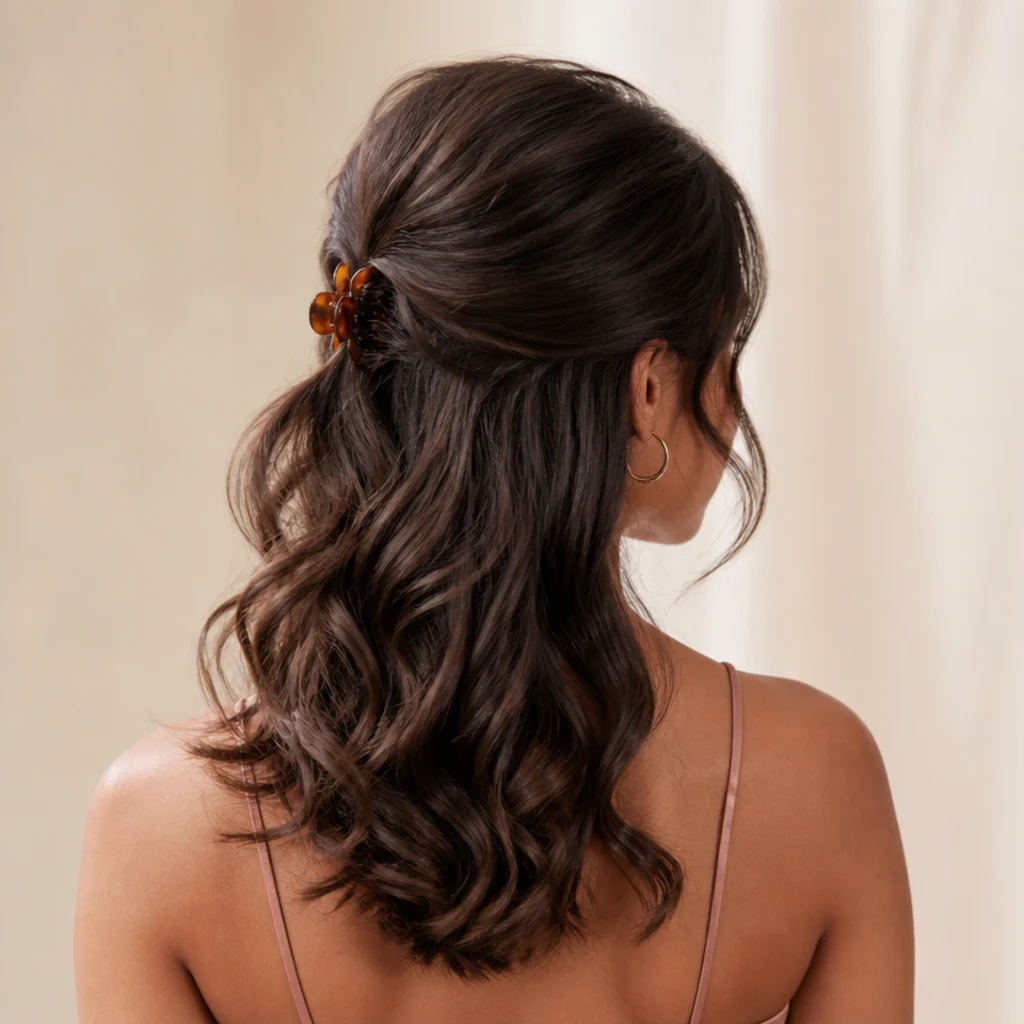
Combine root lift with soft curls for a half-up that feels dressed without any real effort. Build volume at the crown first, curl the lengths loosely, then gather the top section back and secure it, teasing the crown lightly underneath before you pin for that soft bump. This suits medium to long hair and flatters most faces because the added height at the back rebalances the overall shape and draws the eye up. It holds well since the clip or elastic anchors everything, and it is one of the smartest ways to stretch a second-day style into something that looks planned. Difficulty is intermediate, mostly in the crown-teasing. Pro tip: leave two thin pieces down at the front before you gather the rest, so the half-up frames your face instead of pulling everything severely back. Ask your stylist for long layers that support crown volume, which is what keeps a half-up from collapsing flat within the hour.
12Soft Corkscrew Ringlets
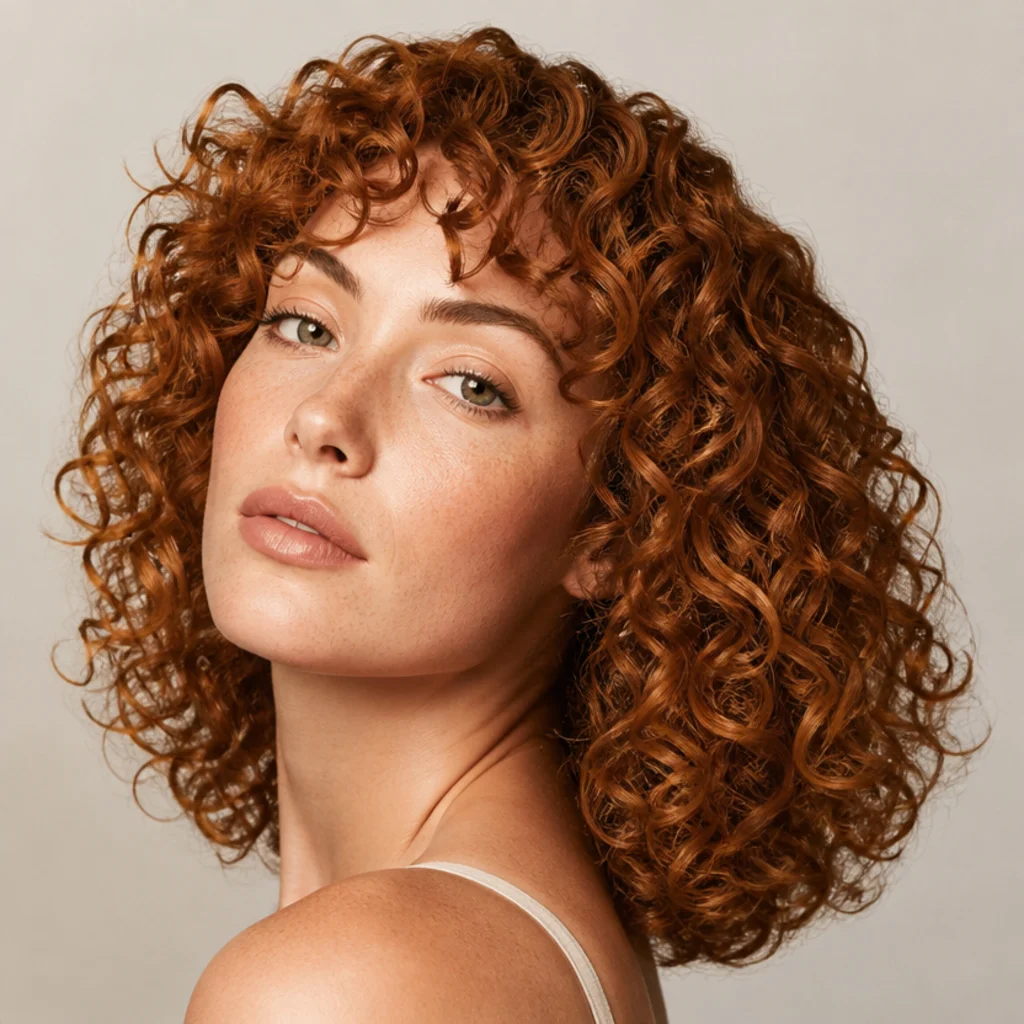
For more definition, drop to a smaller barrel and slimmer, half-inch sections to create springy corkscrew ringlets that still read soft rather than crunchy. The goal is separation and spring, not a tight, uniform perm, so vary your section sizes slightly and keep the tension even. This suits medium lengths and flatters longer face shapes, where the added width fills out a narrow silhouette. Definition like this holds a solid one to two days but benefits from a light-hold spray to protect the bounce, since the smaller the curl the faster gravity pulls it. Expect it to take longer, which lands it at intermediate. Pro tip: once every ringlet is cool, gently pull down through two or three at a time with a drop of oil on your fingers to loosen them into a softer, more polished wave rather than kid-tight coils. Ask your stylist for defined but soft ringlets with visible separation, and specifically say you do not want a uniform, perm-like set.
13Sleek Straight Lob
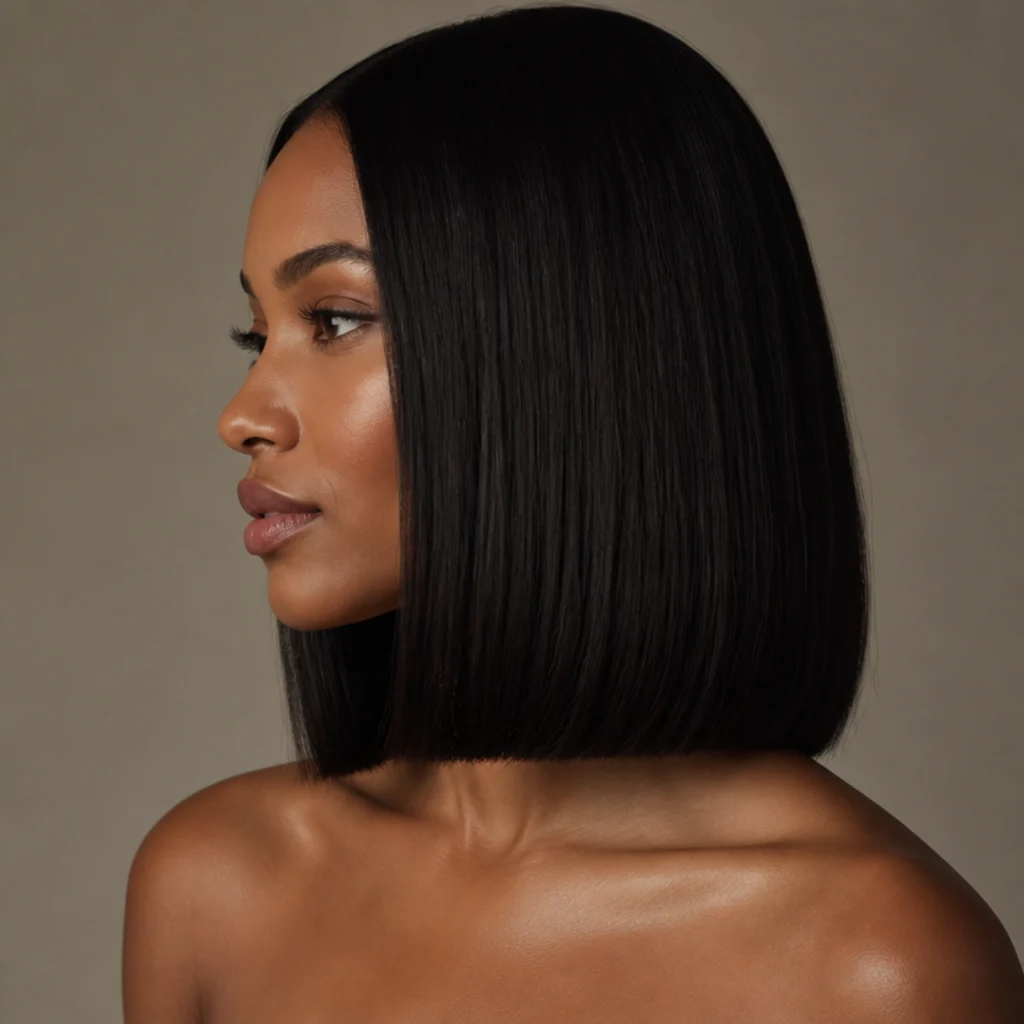
The lob is one of the most wearable cuts of the last decade, and a smooth, straight finish keeps it looking sharp and current. Use the smoothing brush to pull the hair sleek with a subtle inward turn at the blunt ends, which frames the jaw and stops the shape reading flat. This flatters nearly everyone and looks especially deliberate on square and oval faces, where the collarbone-length line elongates the neck. It holds two to three days and resists frizz well if you seal with a lightweight serum through the mid-lengths and ends. Difficulty is low. Pro tip: over-direct each section slightly toward your face as you smooth so the ends turn under on their own; chasing the inward bend separately usually leaves it uneven. Ask your stylist for a collarbone-length lob with a blunt or soft-blunt edge, which is what gives this look its clean, intentional line and lets the ends fall as one weighted shape.
14Bouncy Wash-Day Reset
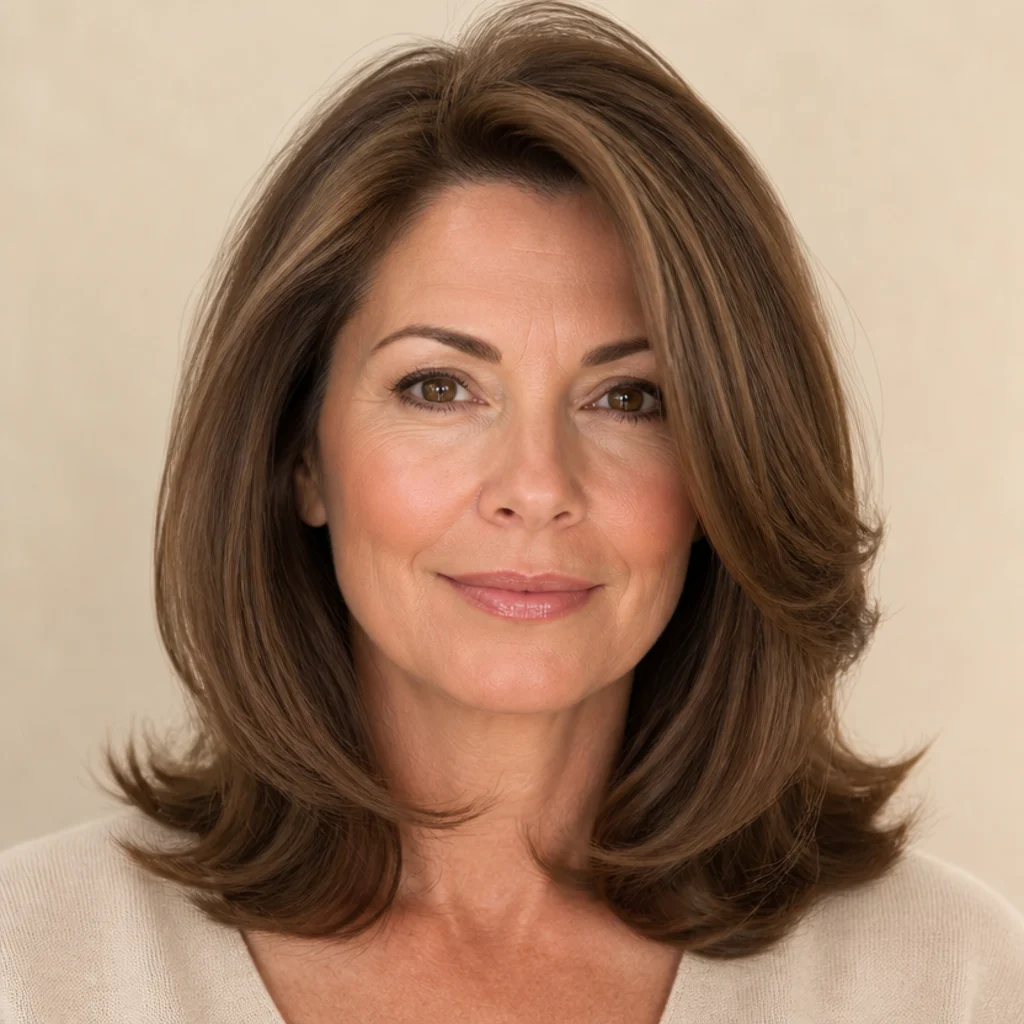
On wash day, dry and shape in one pass for an all-over bouncy blowout with rounded, lifted ends, the everyday workhorse that seeds the rest of your hair week. Rough-dry to roughly eighty percent damp first so the styler is setting shape, not fighting soaking-wet hair, then work methodically section by section from the nape up for the smoothest, most even result. This suits most lengths and densities and matures gracefully, softening into loose waves by day two or three. It holds two days easily and refreshes with dry shampoo at the roots. Difficulty is low to intermediate, mostly a matter of patience with sectioning. Pro tip: clip the top half of your hair up and start underneath at the nape, releasing layers as you climb, so no section dries flat before you get to it. Ask your stylist for a rounded, bouncy blowout finish, and tell them whether you prefer the ends turned under for polish or flicked out for a more playful edge.
15Textured Shag Layers
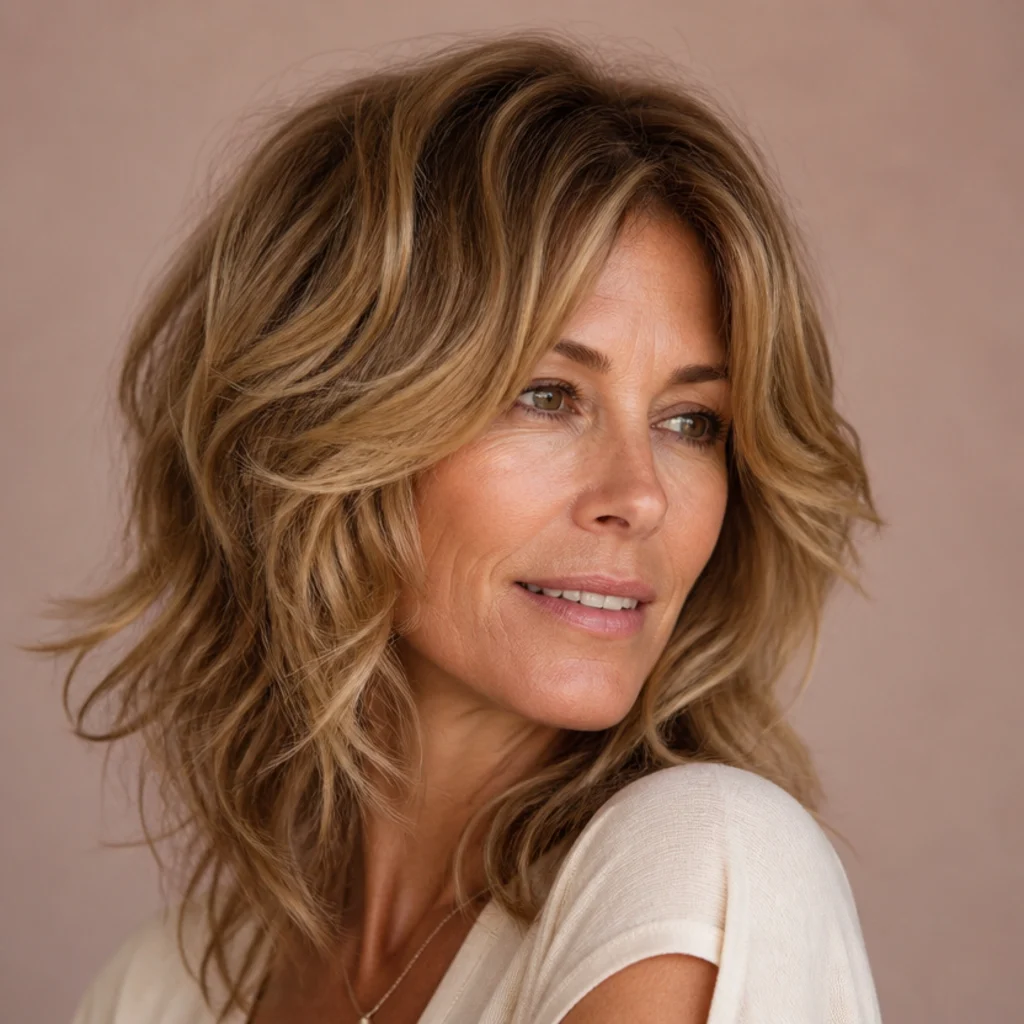
A shag is built on movement, and airflow styling amplifies its feathered, piecey layers instead of smoothing them into submission. Bend the layers in mixed directions, some toward the face and some away, and rough up the roots with the airflow for lived-in, undone volume. This suits wavy and straight hair and flatters oval, heart, and square faces thanks to all the built-in face framing a shag provides. Upkeep is refreshingly casual, because on this cut imperfection reads as intention, not laziness. Difficulty is low. Pro tip: hit only the root area and the shortest face-framing layers with the tool, then scrunch a texture spray through the ends by hand; over-styling the lengths flattens exactly the choppy separation a shag depends on. To get the base right, ask your stylist for a modern shag with plenty of layers, curtain-style face framing, and internal texture, which handles most of the shaping before you ever pick up the styler.
Save this to Pinterest if you are considering a shaggy layered cut.
16Voluminous Ponytail Base
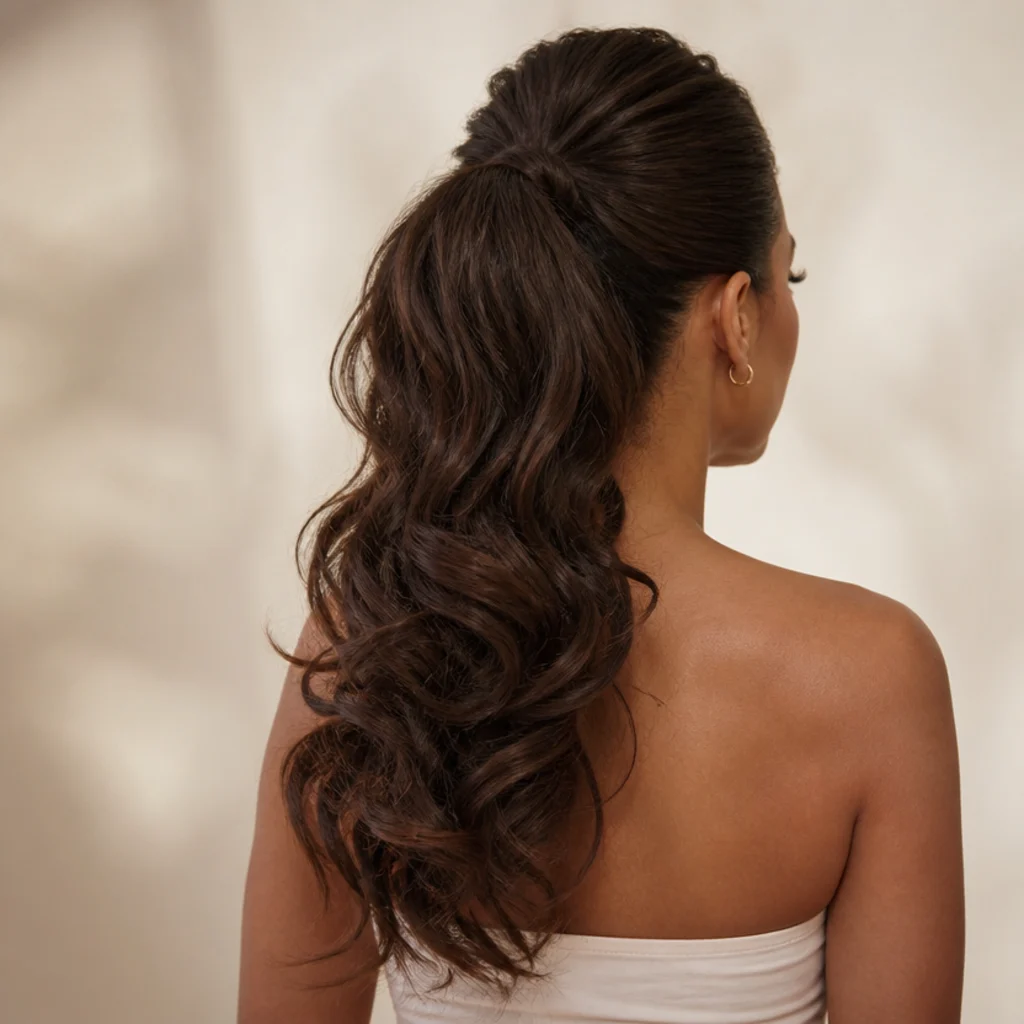
A ponytail feels lifted the moment the length has body and the crown has volume, and the fix is to style before you gather. Curl the mid-lengths and ends first, build a little root volume at the crown, then pull everything into a mid or high pony so the pre-curled tail cascades instead of hanging as one limp block. This suits medium to long hair and flatters most faces because you control exactly how high the base sits. It holds all day once tied, and the pre-curling is the difference between a flat gym pony and a done one. Difficulty is low to intermediate. Pro tip: wrap a thin section of hair around the elastic to hide it, then tug gently at the crown to release a bit of height back after tying, which keeps the pony from looking severely slicked. Ask your stylist about long layers, which give a ponytail dimension and taper rather than a single blunt hem at the bottom.
17Soft S-Wave Bob
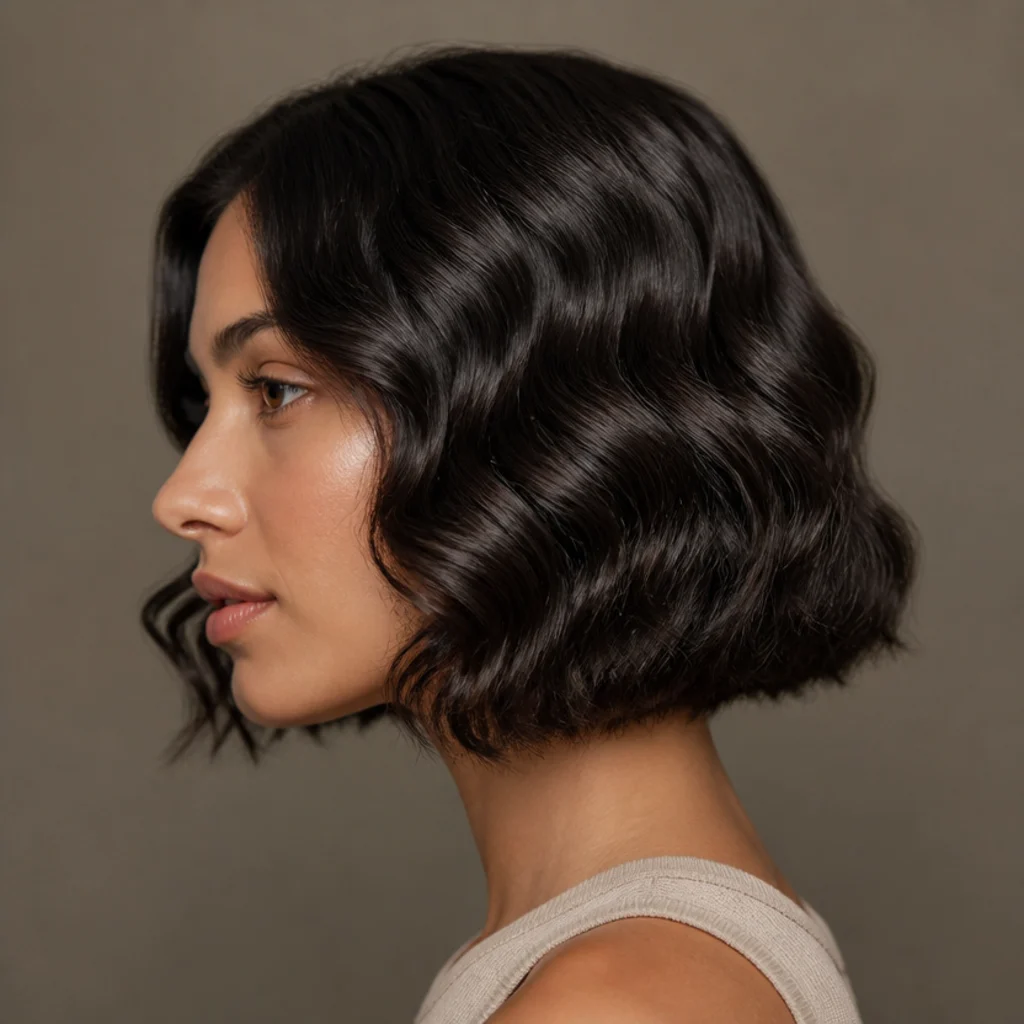
Bobs take beautifully to a soft, uniform S-wave that follows the length from root to tip for a vintage-modern feel. Work in even, consistent sections and keep the wave gentle rather than tight, since at short lengths a hard curl can look set and stiff. This suits chin-to-jaw lengths and flatters oval and heart faces especially, where the wave adds soft width at the jaw. It holds a day or two and still looks intentional as it relaxes rather than falling apart. Difficulty is intermediate, because even sectioning matters when there is so little length to hide an inconsistency. Pro tip: alternate the wrap direction on each section, one toward the face and the next away, so the S-shapes interlock into a continuous ribbon instead of separating into distinct curls. Ask your stylist for a classic bob with a soft, waved finish, and bring a photo so the exact wave depth you want is unambiguous.
18Flipped-Out Retro Ends
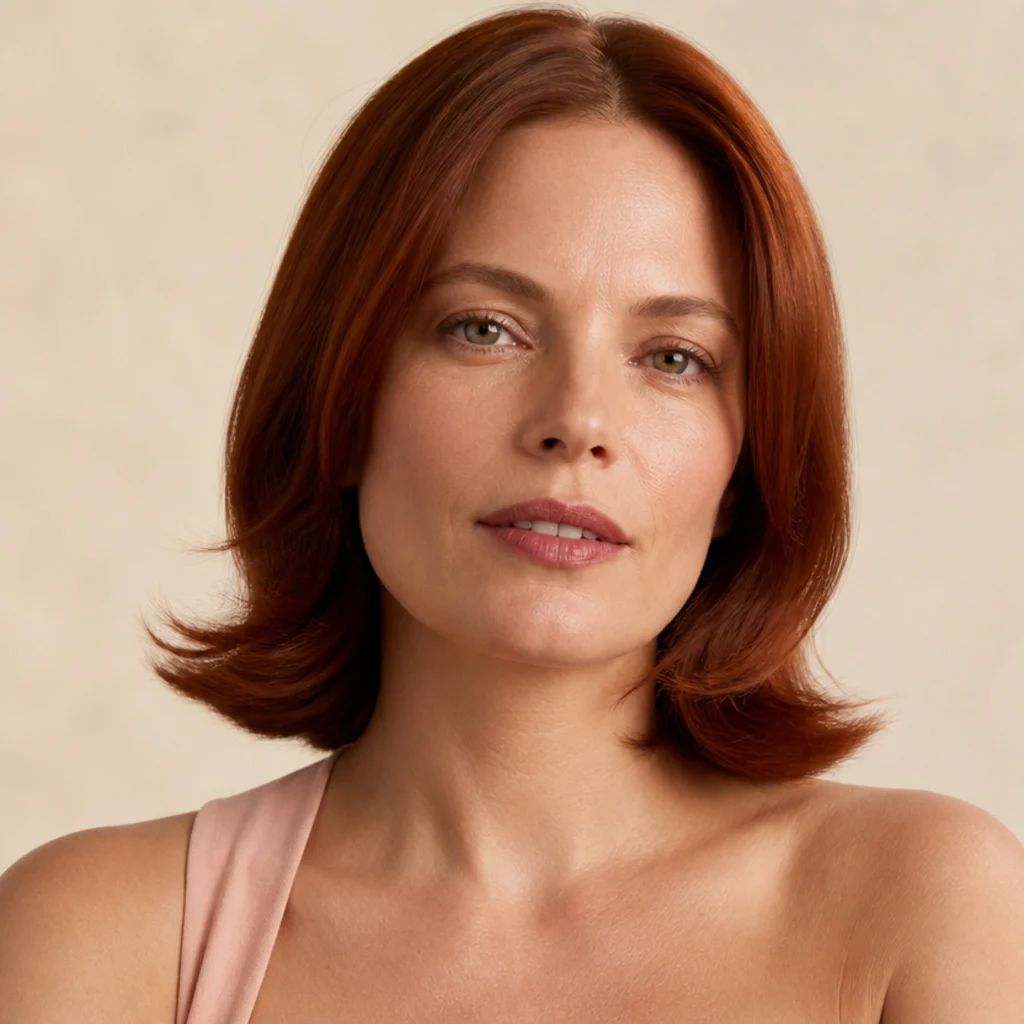
Turn the ends outward for a playful, retro flick that feels fresh again on a modern cut. Smooth the lengths first so the crown stays sleek, then bend only the last couple of inches away from the neck, keeping the flip low and consistent all the way around. This suits shoulder-length and lob cuts and flatters square and round faces by drawing the eye outward and down, away from the widest point. It is quick and forgiving to touch up, since only the ends ever need attention. Difficulty is low. Pro tip: point the airflow slightly upward as you flip so the ends kick out rather than curling under, and press each one cool for a beat to set the direction before moving on. Ask your stylist for a shoulder-grazing cut with a little internal length variation, so the flick looks lively and separated rather than one blunt, uniform shelf turning up all at once.
19Loose Boho Waves
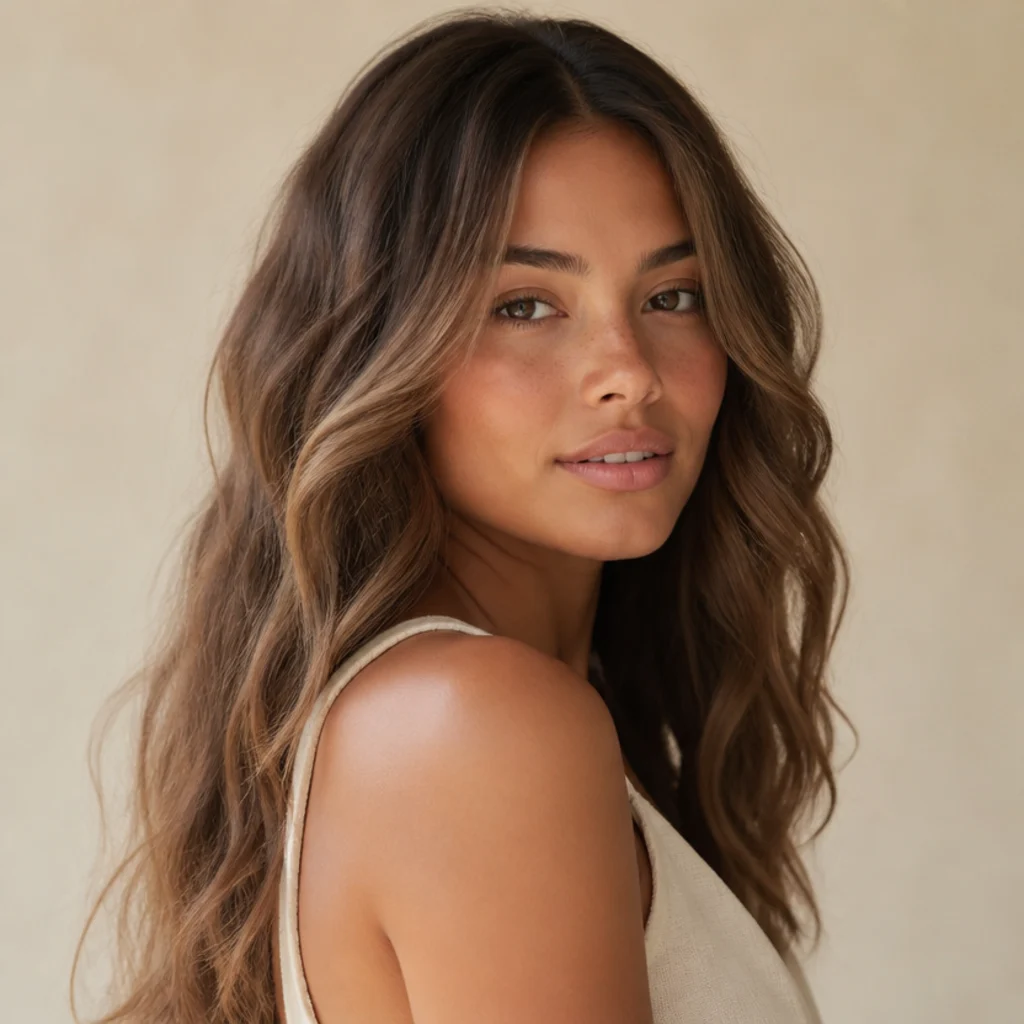
Soft, romantic, and a little undone, boho waves pair a center part with loose, airy curls that get brushed out into a hazy, diffused finish. Curl every section away from the face, let it all cool, then rake through with your fingers to soften and blur the curl into wave. The symmetry of the center part is what gives it that gentle, folk-festival balance. This suits long and mid-length hair and flatters most faces thanks to the even, framing fall on both sides. Upkeep is easy, and the waves only get prettier and more lived-in as they loosen through the day. Difficulty is low. Pro tip: curl the sections on each side of the part away from center in a mirror image, so the two halves frame your face symmetrically instead of both leaning the same way. Ask your stylist for long, well-blended layers, which let boho waves flow in an unbroken line without visible steps or a blunt bottom edge.
20Sleek Center-Part Curtain
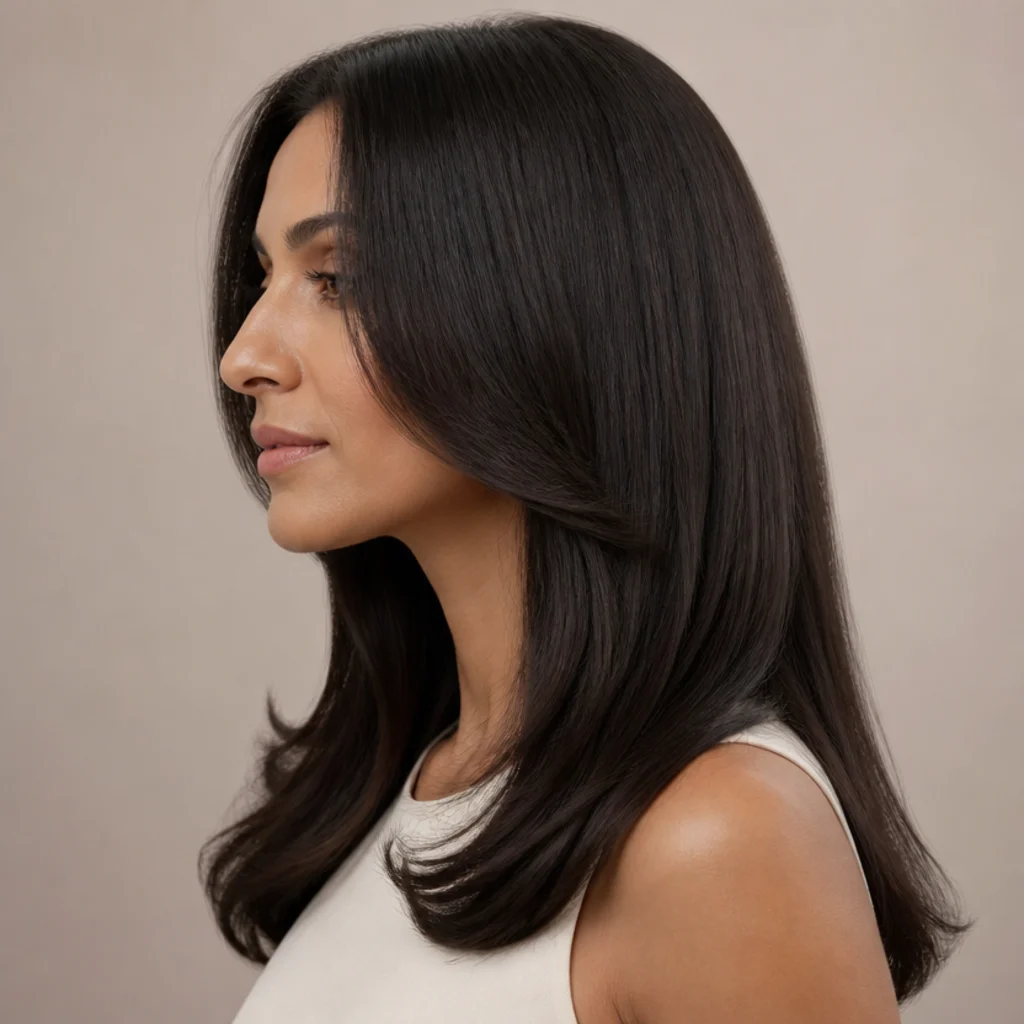
For a minimalist, editorial finish, keep the hair sleek with a sharp center part and let the front fall like a smooth curtain that frames the face. Smooth each side flat with the brush attachment and turn just the very ends softly under so the shape reads deliberate rather than severe. This suits straight and wavy textures and flatters oval and long faces, where the clean vertical lines lengthen without adding width. It holds well and looks expensive even with almost no volume, which is the entire point. Difficulty is low. Pro tip: define the part with the pointed end of a comb and set it with a whisper of gel or a wax stick along the parting line, since on a look this pared-back a fuzzy, uneven part is the only thing that can undo it. Ask your stylist for a clean center part with smooth, face-framing front sections, and say you want minimal root volume for that sleek, understated finish.
Save this to Pinterest for your sleek, minimalist hair days.
21Voluminous Root Lift
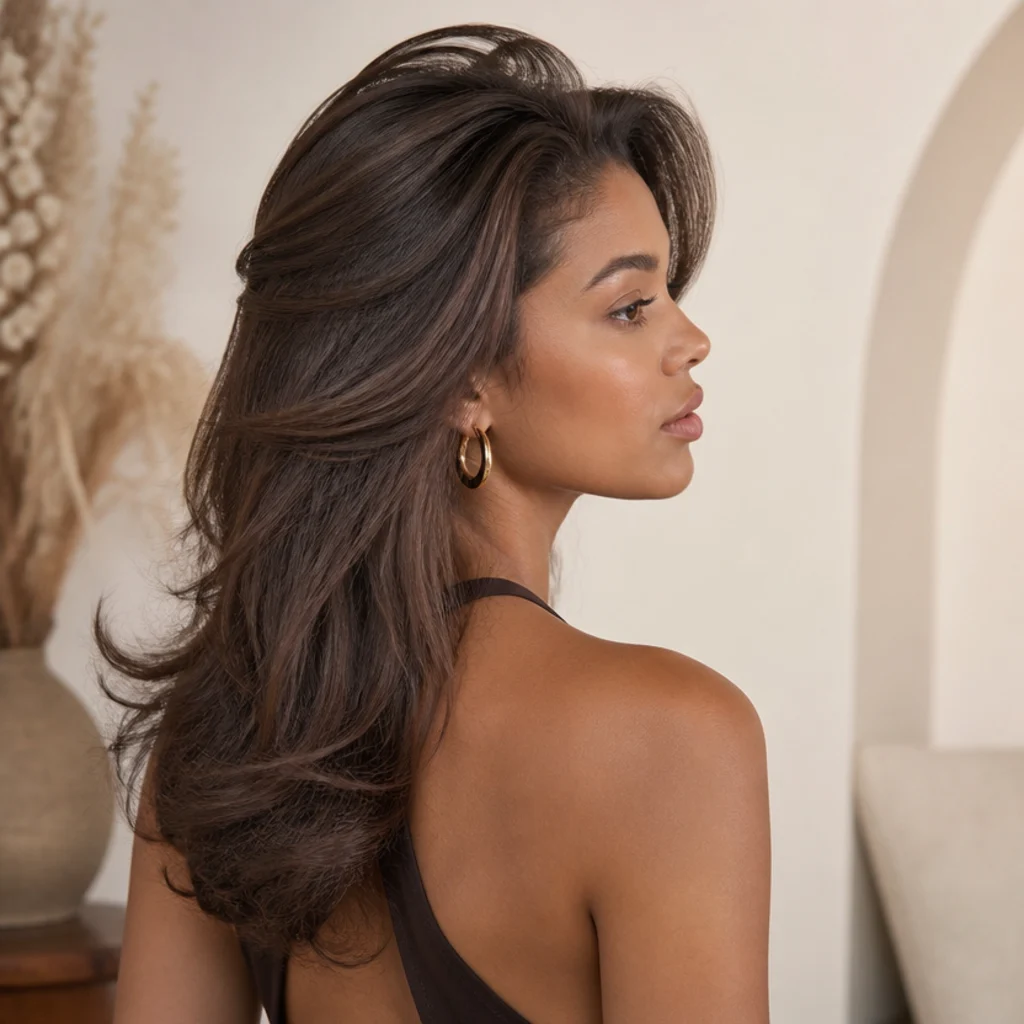
When flat roots are the whole problem, target the airflow at the base to lift the crown and build height that flows down into softer lengths. Lift each section straight up, direct the air up and back at the roots, and hold for a moment before releasing, working methodically across the crown before you style anything else. This suits fine and medium hair especially and flatters round and square faces by adding vertical balance that lengthens the overall shape. Root lift is the first thing to fall, often by day two, so a root-focused texture powder or spray is what makes it last. Difficulty is intermediate. Pro tip: for extra staying power, drop in a few overlapping pin-curls at the crown while it cools, or briefly backcomb the root before you lift, so the height has structure underneath it. Ask your stylist how to lift your specific root pattern and which volumizing products actually suit your density rather than weighing it down.
22Mixed-Direction Editorial Curls
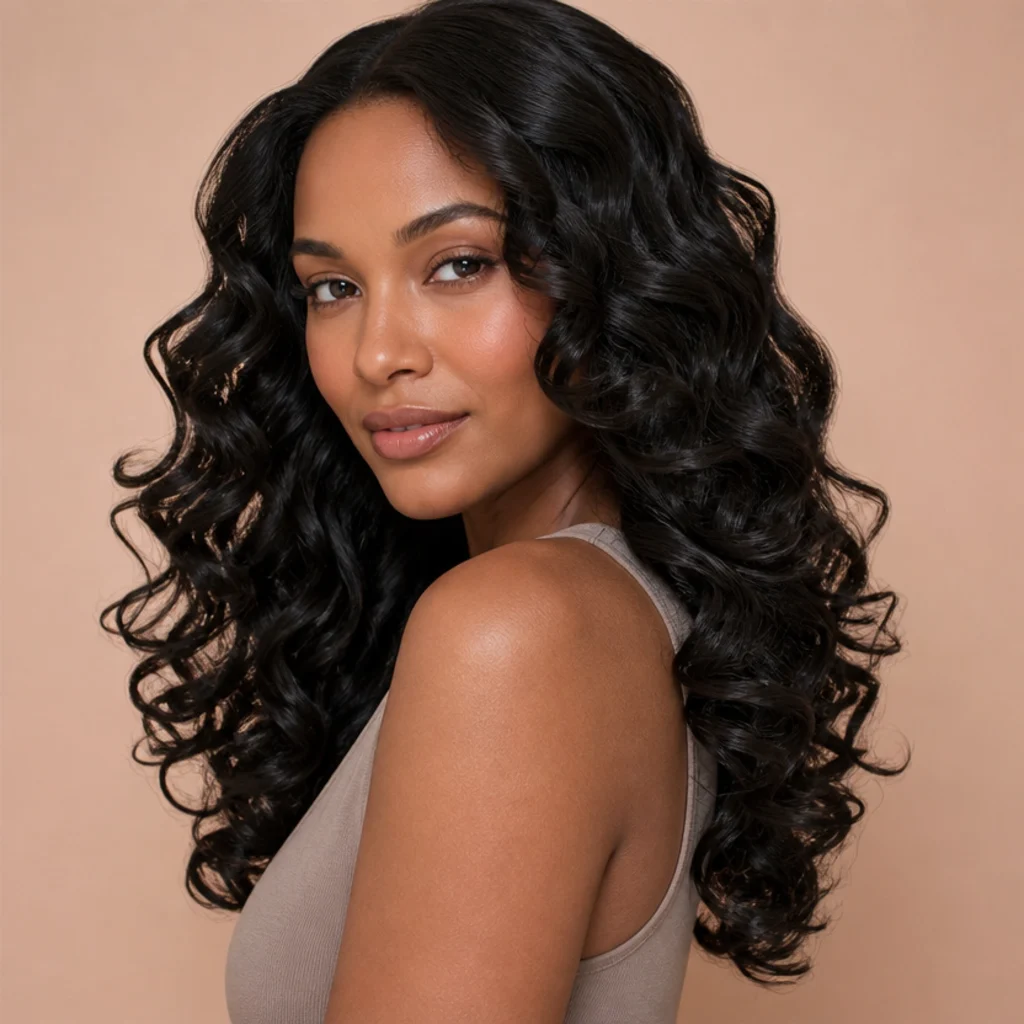
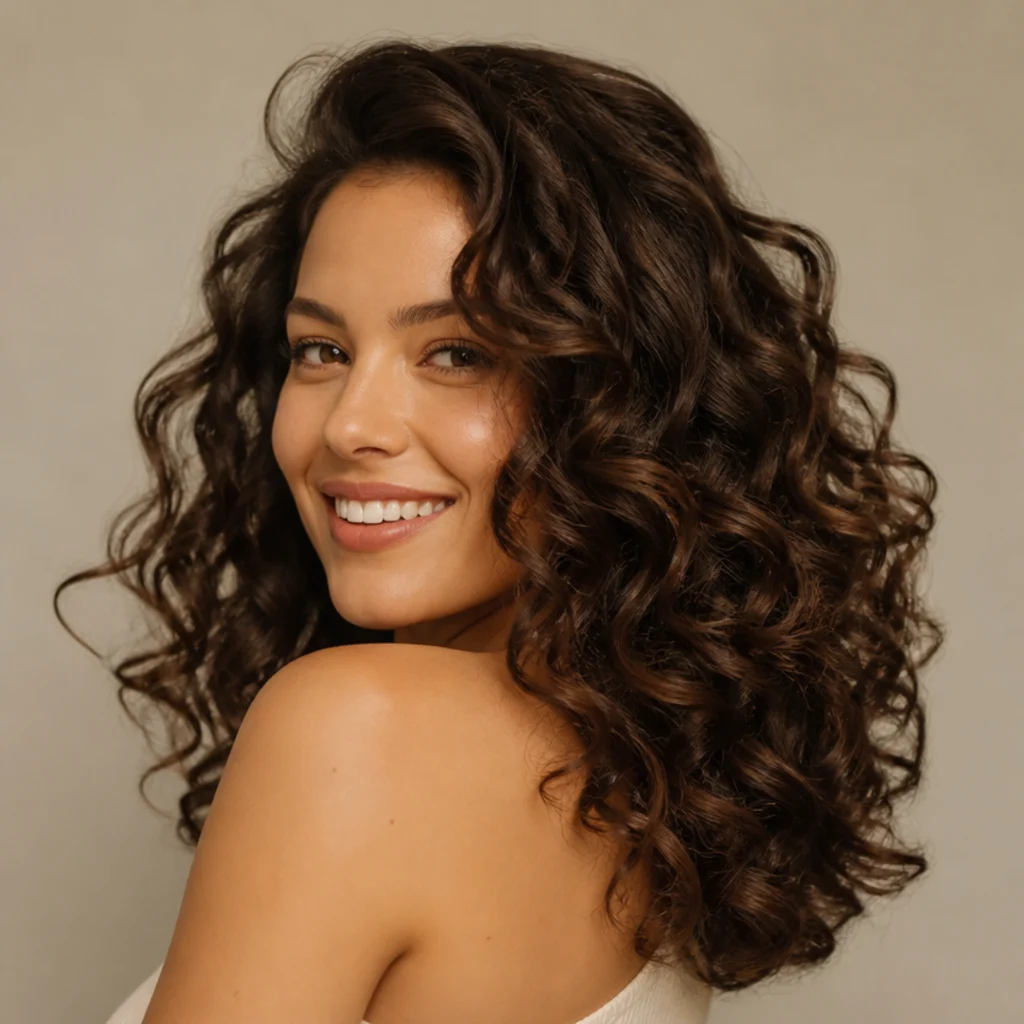
For a fashion-forward finish, alternate the wrap direction on every single section so the result looks intentionally irregular and packed with movement. The rule is that there is no rule: never brush it out, and separate only lightly with fingertips so the curls stay full and dimensional. This suits long and thick hair that can carry the density without looking sparse, and it flatters oval faces, where the volume reads balanced. It holds a day or two and photographs beautifully, which is a large part of its pinnable dyson airwrap aesthetic. Difficulty is intermediate, mostly because tracking which way you wrapped each section takes real focus. Pro tip: wrap the pieces immediately around your face away from it for flattery, then go fully random everywhere behind, which keeps the front polished while the back does the editorial work. Ask your stylist for undone, mixed-texture curls with plenty of volume and a few longer face-framing pieces, rather than a neat, uniform set.
23Soft Waves for Fine Hair
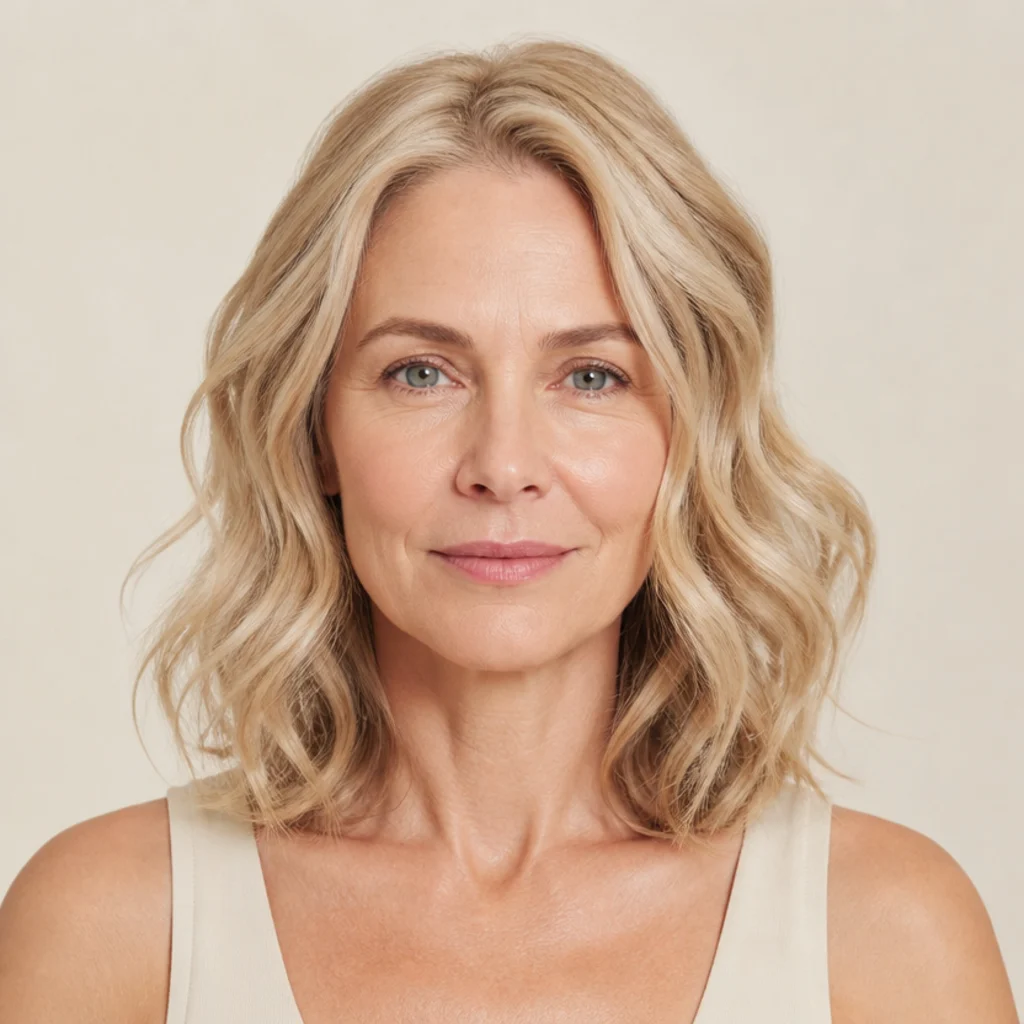
Fine hair needs lift without weight, so keep sections slim, wrap loosely, and prime with a volumizing mousse or lightweight root spray before styling; heavy creams and oils are what flatten fine strands into strings. The airflow approach is gentler than a hot barrel, which helps fragile hair hold a soft wave without looking overworked or fried. This suits fine, thin textures at any length and flatters most faces by building the illusion of density where there is little natural bulk. Upkeep leans on lightweight products and a silk pillowcase to protect the set overnight, since fine waves drop fastest. Difficulty is low to intermediate. Pro tip: style on second-day hair rather than freshly washed, because a little natural texture gives fine strands the grip they need to actually hold a wave. Ask your stylist for a cut with subtle, strategic layers, which builds the impression of fullness that fine-hair styling ultimately depends on far more than any product does.
24Defined Curls for Coily Textures
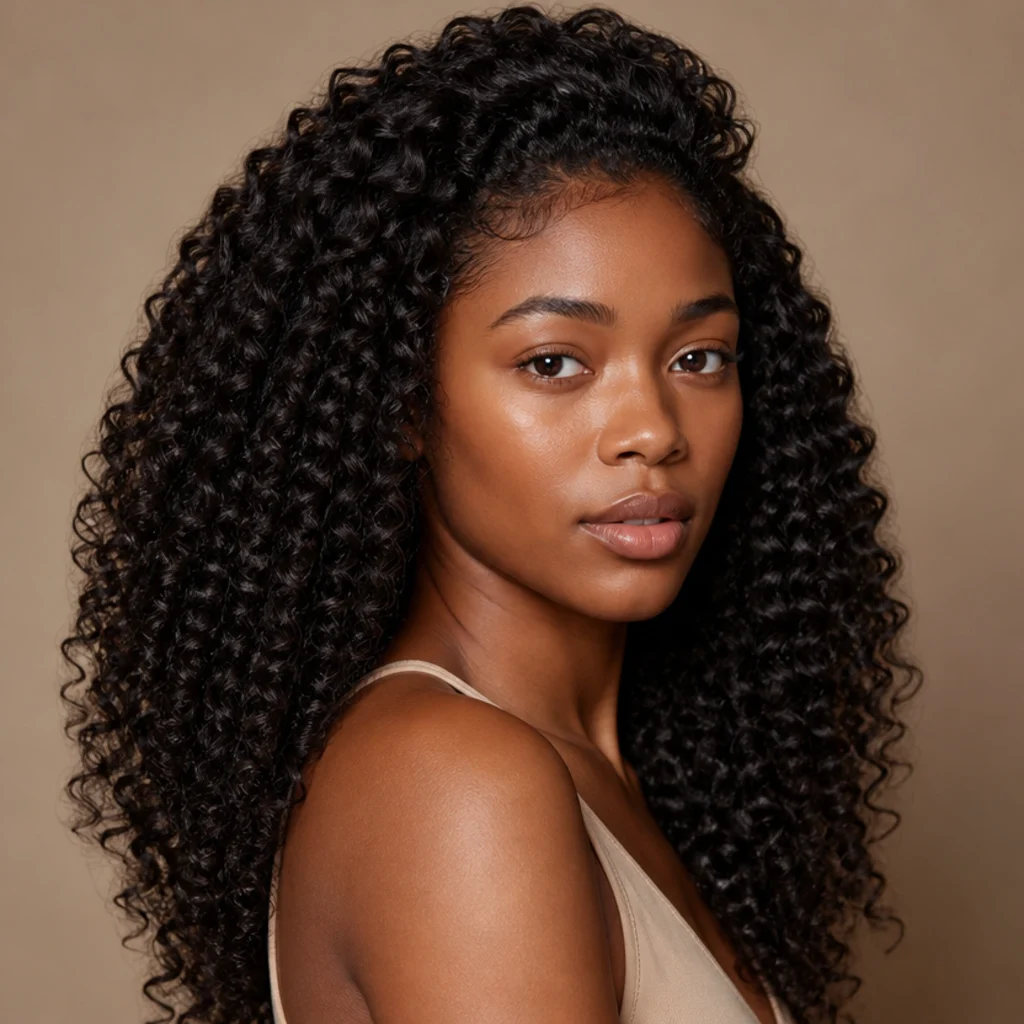
On coily and curly hair, airflow styling can gently stretch and define the natural pattern for a smoother, elongated shape while keeping real body. Start on well-moisturized, fully detangled hair, lead with a heat protectant, and work in generous sections so you elongate rather than fight the coil. This suits type 3 and looser type 4 textures and flatters full, rounded silhouettes, where the stretched length adds shape. Because repeated heat on textured hair risks loosening the natural curl over time, treat this as an occasional, special-occasion look and not a standing weekly routine, and always finish on the lowest heat setting that gets the result. Difficulty is intermediate. Pro tip: stretch with tension and airflow first, then chase the shape with the styler only where you want extra definition, which limits total heat exposure. Ask a stylist experienced specifically with textured and natural hair how to stretch your curls safely and how often is reasonable for your particular pattern and porosity.
25Second-Day Refresh Style
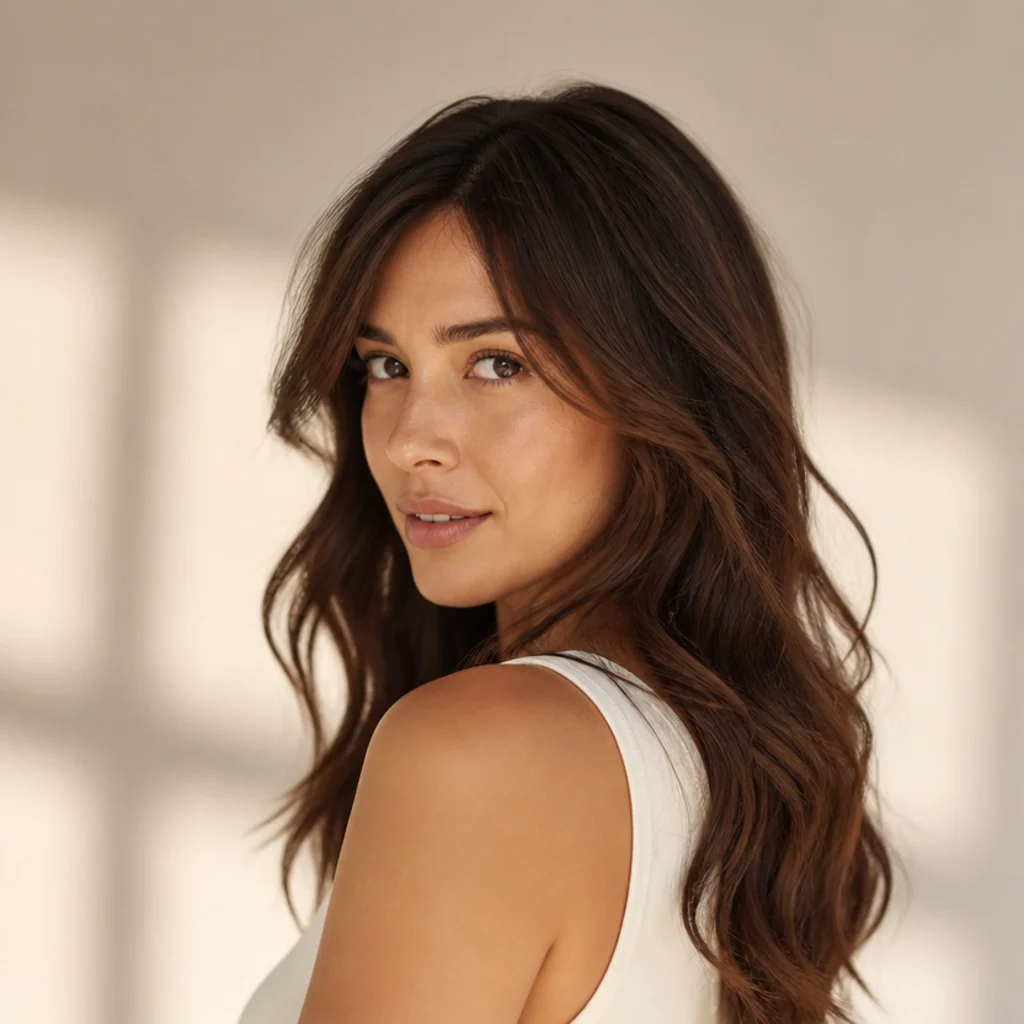
The most effortless look of all is the one you barely restyle. On second- or third-day hair, smooth just the crown, re-bend the handful of sections that have fallen, and refresh the roots with dry shampoo to soak up oil and rebuild grip. You are not starting over, you are spot-fixing, which is the real secret to stretching a single blowout or curl set across an entire week with minimal heat. It works on top of any prior style and flatters everyone, because you're reviving what already suited you. Upkeep is the whole point, and the difficulty is minimal. Pro tip: apply dry shampoo the night before rather than the morning of, so it has hours to absorb oil and you wake up to refreshed roots instead of a powdery cast. There is no cut to request here, just a habit worth keeping: touch up only the pieces that show, and leave everything that still looks good alone.
Pro Tips from the Editor
- Cool is what sets it. Airflow shapes hair as it dries, so the set only locks once the section is fully cold. Release curls into your palm or pin them up while you finish the rest, and never touch a warm curl you want to keep.
- Start damp, not soaking. Rough-dry to roughly eighty percent first. A styler fighting drenched hair gives you frizz and a weak hold; hair at the right dampness sets fast and smooth.
- Match section width to the finish. Wider sections and larger barrels give loose, movable waves; slimmer sections and a smaller barrel build tighter, more defined curls. Section width and barrel size change the curl more than technique does.
- Product before, not after. Prime with a heat protectant and a volumizing or smoothing base while damp. Reserve oils and heavy creams for a light finishing touch, since applied early they flatten volume.
- Alternate your wrap direction. Curling every section the same way stacks into a uniform, dated set. Alternating toward and away from the face reads modern and effortless, and frames the face when the front pieces curve outward.
- Protect the set overnight. A silk or satin pillowcase, loose pin-curls, or a loose top-knot preserve a blowout or curl set so day two needs only a quick refresh rather than a full restyle.
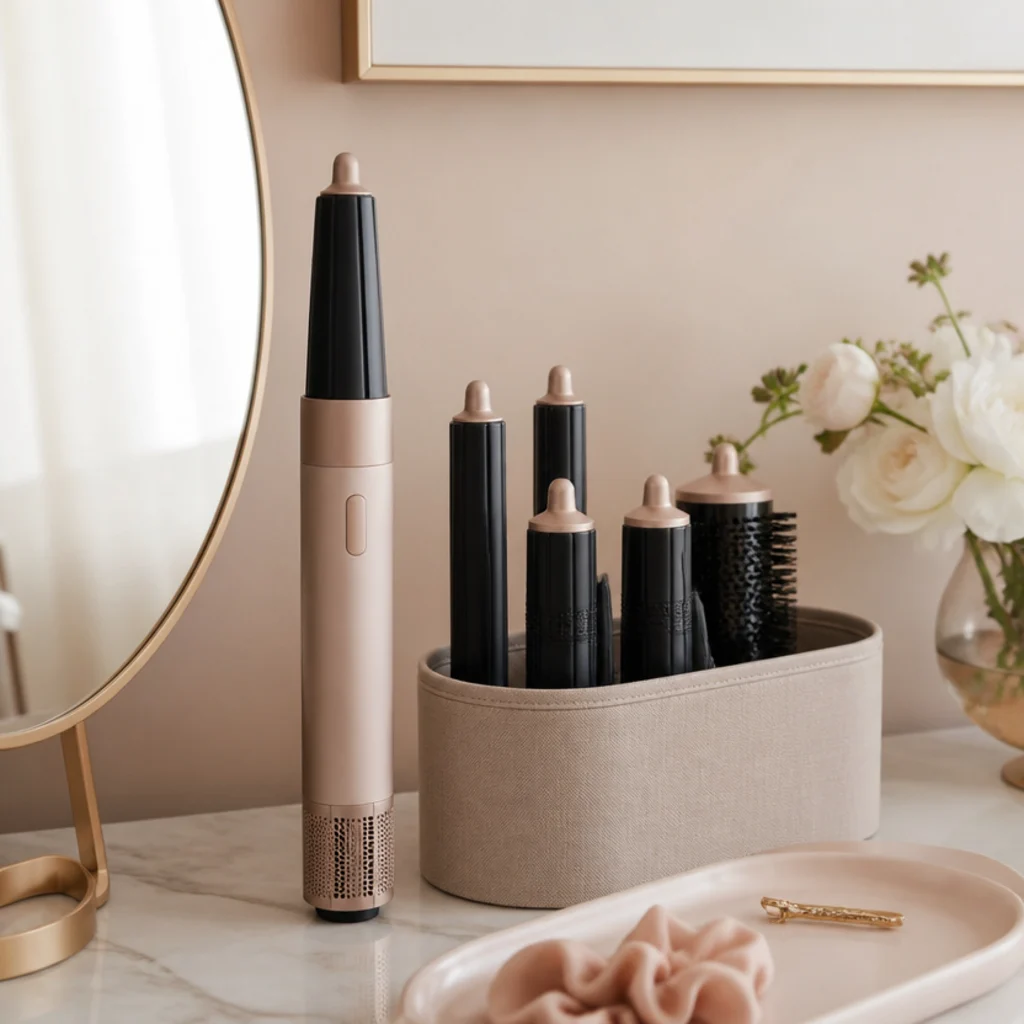
- Sort your storage. Keep barrels and brushes in a dedicated case or a wall-mounted holder so attachments stay clean, cool, and findable; organized dyson airwrap storage shortens your styling time.
How to Choose / Get the Look
Start with two fixed inputs, your length and your texture, then filter by the effort you realistically have that morning. If you are new to the tool, begin with the bouncy curls (Look 1), the glassy blowout (Look 2), or the undone bend (Look 3), all of which forgive imperfect sectioning and inconsistent tension. Fine hair should prioritize root lift, slim sections, and lightweight product; coily and curly textures should lead with moisture, use heat sparingly, and treat defined stretching as occasional rather than routine. Curl size is governed mostly by two dials: section width and barrel diameter. Wider sections on a larger barrel give loose waves, while slimmer sections on a smaller barrel build springy definition. Whatever you choose, let every section cool completely before you release it, because that's the single biggest factor in how long the style survives.
| If you want… | Reach for | Best on | Difficulty | Realistic hold |
|---|---|---|---|---|
| Easy everyday volume | Cloud-Soft Bouncy Curls (1) | Medium density, shoulder to mid-back | Low | 1–2 days |
| Sleek, polished, no curl | Glassy Straight Blowout (2) | Blunt cuts, long layers | Low | 2–3 days |
| Undone, minimal effort | Cool-Girl Bend (3) | Collarbone length | Low | 1 day |
| Occasion glamour | Old-Hollywood Deep Waves (9) | Long to mid, oval/long faces | Intermediate | Event-length with firm hold |
| Lift for flat, fine hair | Voluminous Root Lift (21) | Fine to medium density | Intermediate | 1–2 days |
| Definition on natural hair | Defined Curls for Coily Textures (24) | Type 3 to looser type 4 | Intermediate | Occasional use |
On dyson airwrap vs curling iron: the airflow approach shapes hair as it dries and runs at a lower surface temperature than a hot barrel, which many people find easier, faster, and less intimidating, and which tends to leave hair looking softer and more natural. A traditional iron or wand still wins when you need a tight, stubborn curl that survives humidity on very coarse or resistant hair, so plenty of people keep both and choose by finish. For dyson airwrap storage, a dedicated case or a wall-mounted holder keeps the barrels and brush attachments organized, cool, and dust-free between uses, which also makes styling quicker. When in doubt, bring a saved photo to your stylist and describe the finish you want, not the tool, since the same styler produces everything from a glass-straight blowout to editorial curls.
Frequently Asked Questions
Do these looks damage your hair?
Any heat styling carries some risk, but airflow-based tools generally run at a lower surface temperature than traditional flat irons and wands, which reduces the intensity of exposure. The bigger factors are frequency and preparation: always apply a heat protectant, use the lowest effective heat setting, give fragile or textured hair regular rest days, and never style soaking-wet hair. Treated this way, the styles here are gentle enough for regular rotation on most hair types.
How long do Dyson Airwrap curls last?
Most curls hold one to three days, and where you land depends on your hair type, how completely each section cooled before you released it, and your finishing product. Medium-density hair holds longest; fine and freshly conditioned hair drops fastest. A light-hold spray, a silk pillowcase, and loose overnight pin-curls all extend the set, and a quick morning re-bend of the fallen pieces buys you an extra day without a full restyle.
What is the best way to store the Dyson Airwrap?
A dedicated storage case or a wall-mounted holder keeps the styler and its attachments together, cool, and dust-free. Good dyson airwrap storage also makes styling noticeably faster, since your barrels and brushes stay organized and within reach instead of scattered in a drawer. Let the attachments cool fully before putting them away, and keep them clean of product buildup so the airflow stays unobstructed.
Is the Dyson Airwrap better than a curling iron?
It depends entirely on the finish you want. The airflow approach is gentler, faster for blowouts, and easier for beginners, and it leaves a softer, more natural result. A curling iron or wand creates a tighter, more stubborn curl that holds better in humidity and on very coarse or resistant hair. Neither is universally "better" — which is why many people keep both and choose based on the look and the occasion.
Which look is easiest for beginners?
The cloud-soft bouncy curls (Look 1) and the undone cool-girl bend (Look 3) are the most forgiving, since neither requires precise sections or perfectly uniform curls to look intentional. The glassy straight blowout (Look 2) is a close third if you prefer no curl at all. Start with large sections and a larger barrel, alternate your wrap direction, and focus mainly on letting each section cool before releasing.
How do I keep the style from falling flat by midday?
Falling flat usually comes down to three things: hair that was too wet when styled, sections released before they cooled, or too much heavy product too early. Rough-dry to about eighty percent first, let every section set cold, and keep oils and creams to a light finishing touch. For root volume specifically, add a texture powder or spray at the base, and consider a few pin-curls at the crown while it cools.
Can I use these looks on short hair or a bob?
Yes. Short hair and bobs actually respond quickly because a small amount of lift or bend reads as a lot of shape. The tousled short-hair volume (Look 8), soft S-wave bob (Look 17), and flipped-out retro ends (Look 18) are built specifically for shorter lengths. Use a smaller barrel or the round brush, keep sections even since inconsistencies show more at short lengths, and set each bend cool before moving on.
How often should I heat-style curly or coily hair with it?
Sparingly. Repeated heat on textured hair can gradually loosen the natural curl pattern, so treat stretched or defined looks as occasional rather than a standing weekly habit. Always start on well-moisturized, detangled hair, lead with a heat protectant, use the lowest heat that achieves the result, and stretch with tension and airflow first so you minimize direct heat. A stylist experienced with natural hair can advise a safe frequency for your specific pattern and porosity.
Do I need to buy extra products to get these looks?
Not many. A heat protectant is essential, and a flexible-hold finishing spray covers most styles. Beyond that, match one primer to your goal: a volumizing mousse or root spray for lift and fine hair, a smoothing serum for sleek blowouts, a texture or salt spray for beachy and undone looks, and dry shampoo for second-day refreshes. That short lineup handles nearly every style in this guide.