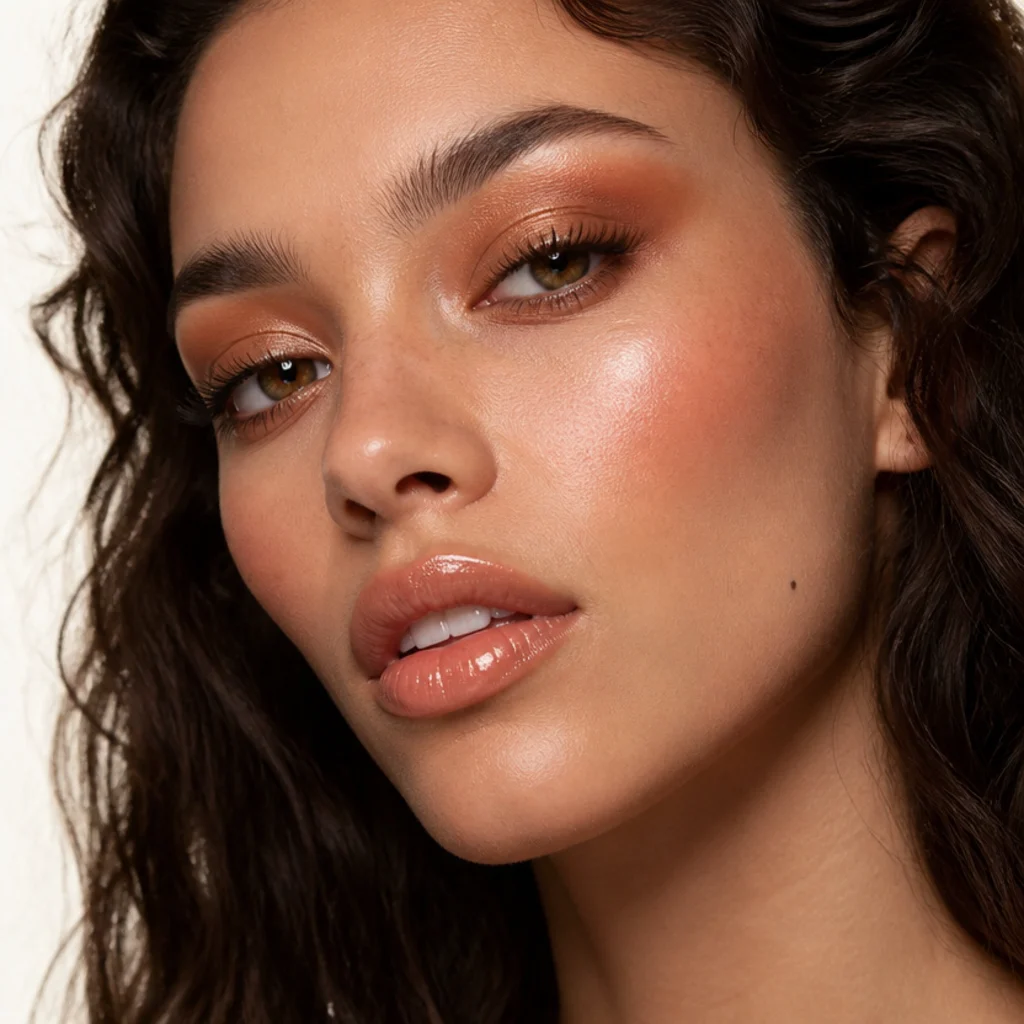
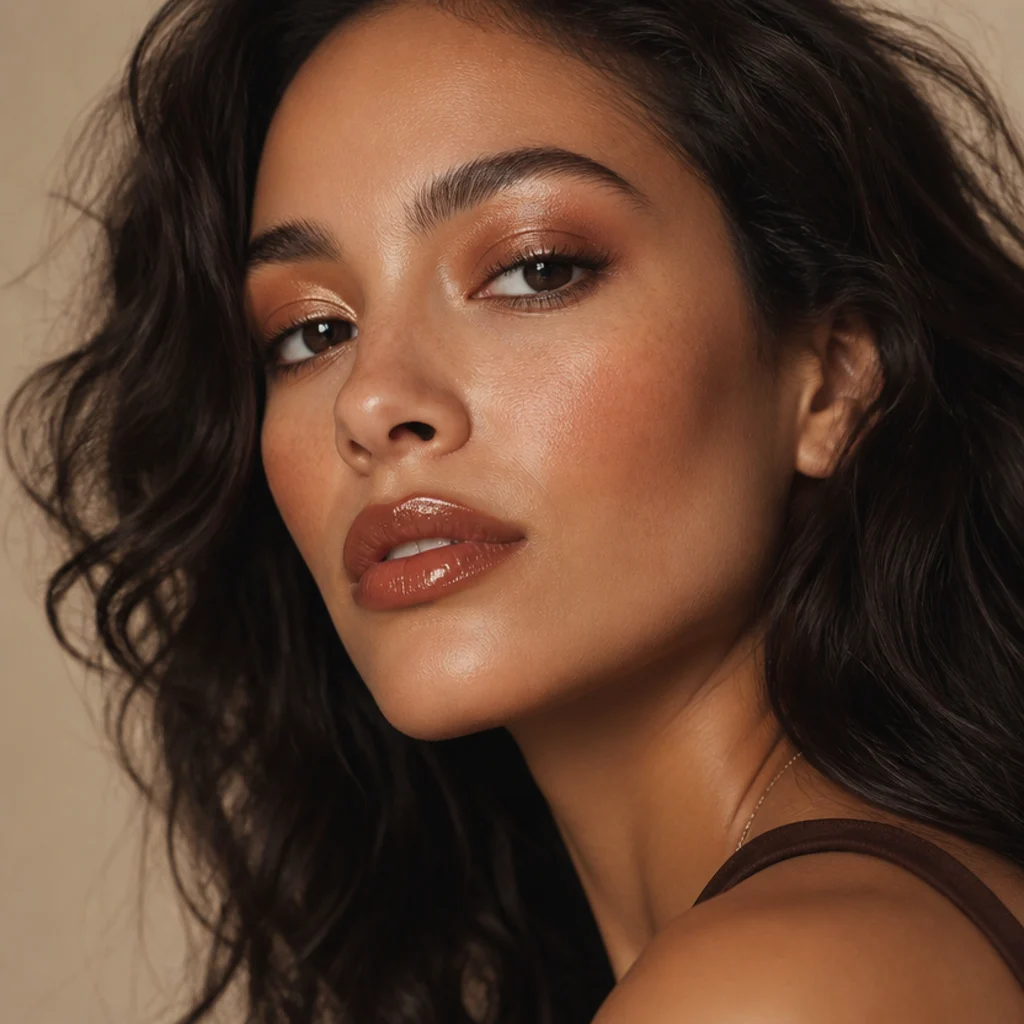
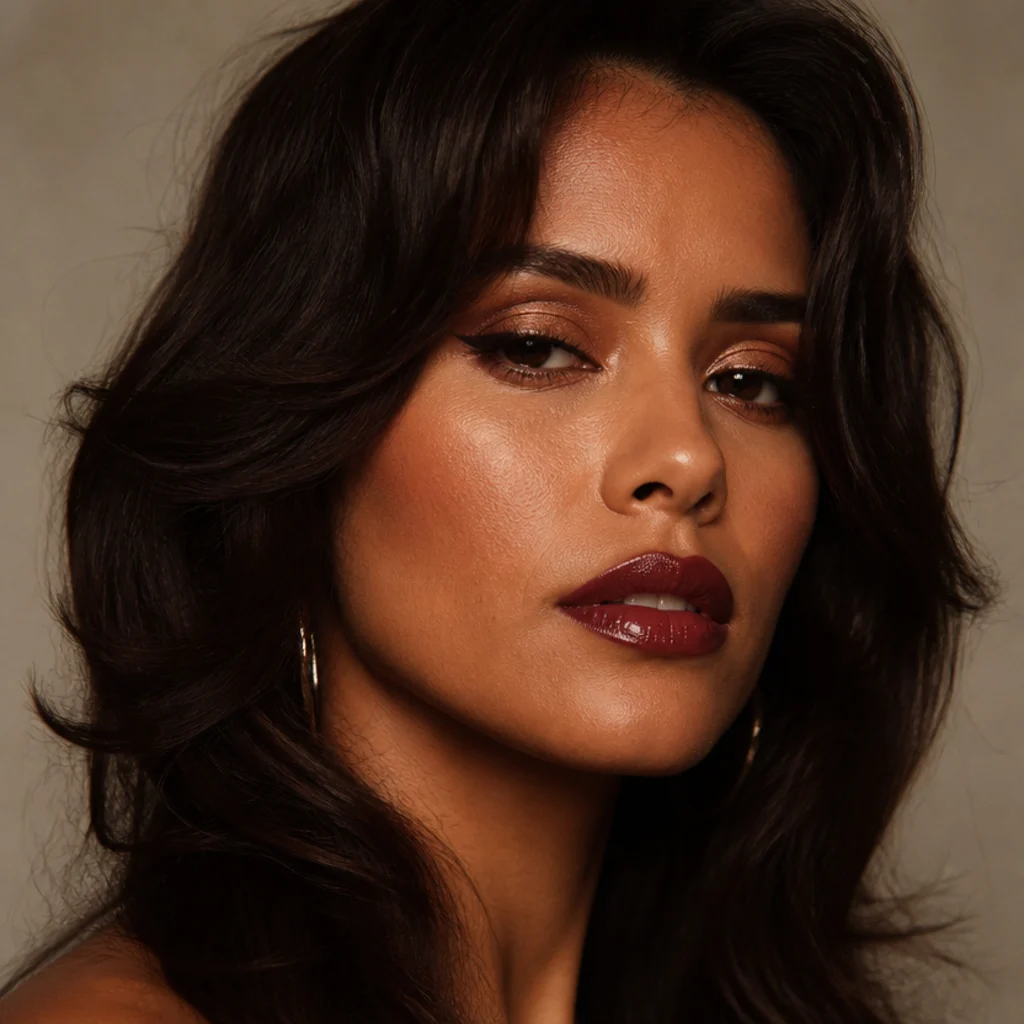
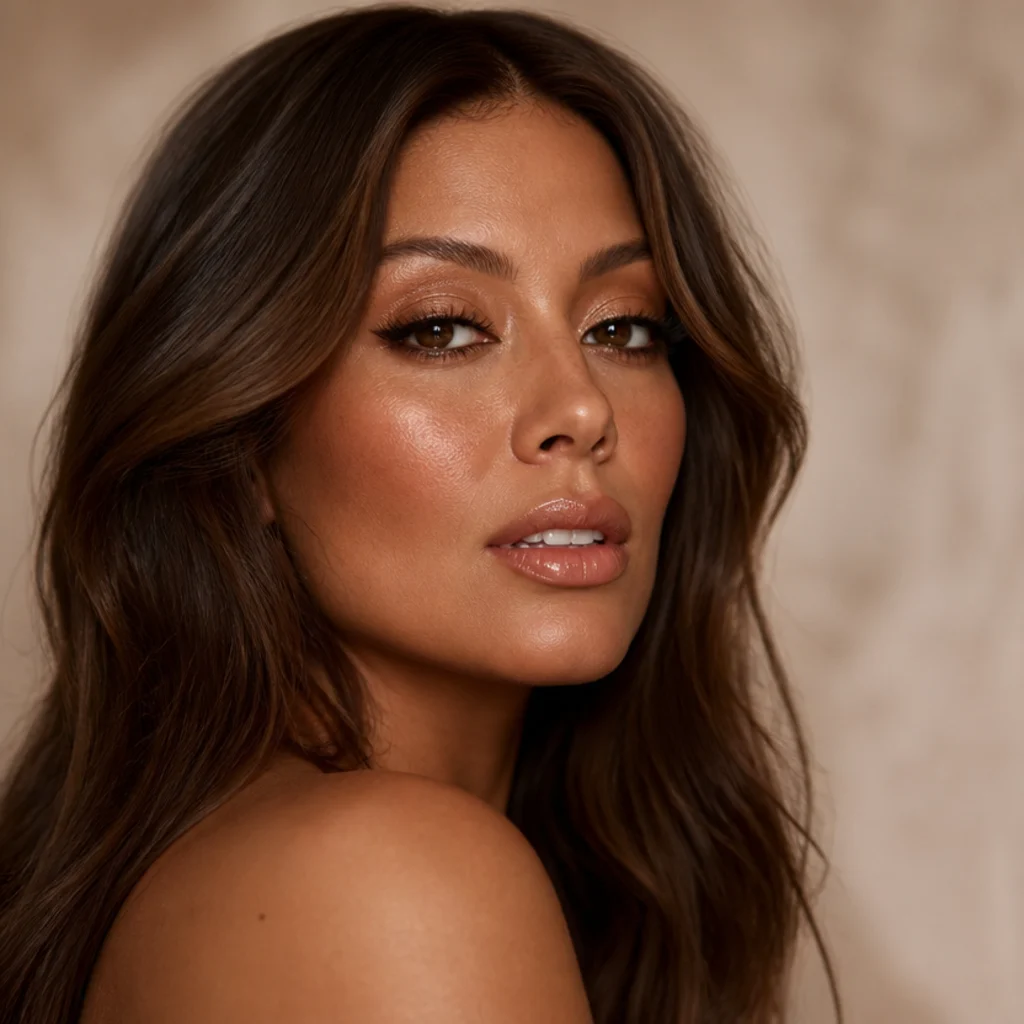
15 Steps to a Perfect 70s Disco Makeup Look
Golden skin, foiled copper lids, and a glossy pout built to catch every light on the floor. This is the disco look broken into 15 precise moves — with the exact shades, textures, and placement pros use to make it read intentional, not costume.
 Edited by Lena Rose · Published July 11, 2026 · 25 min read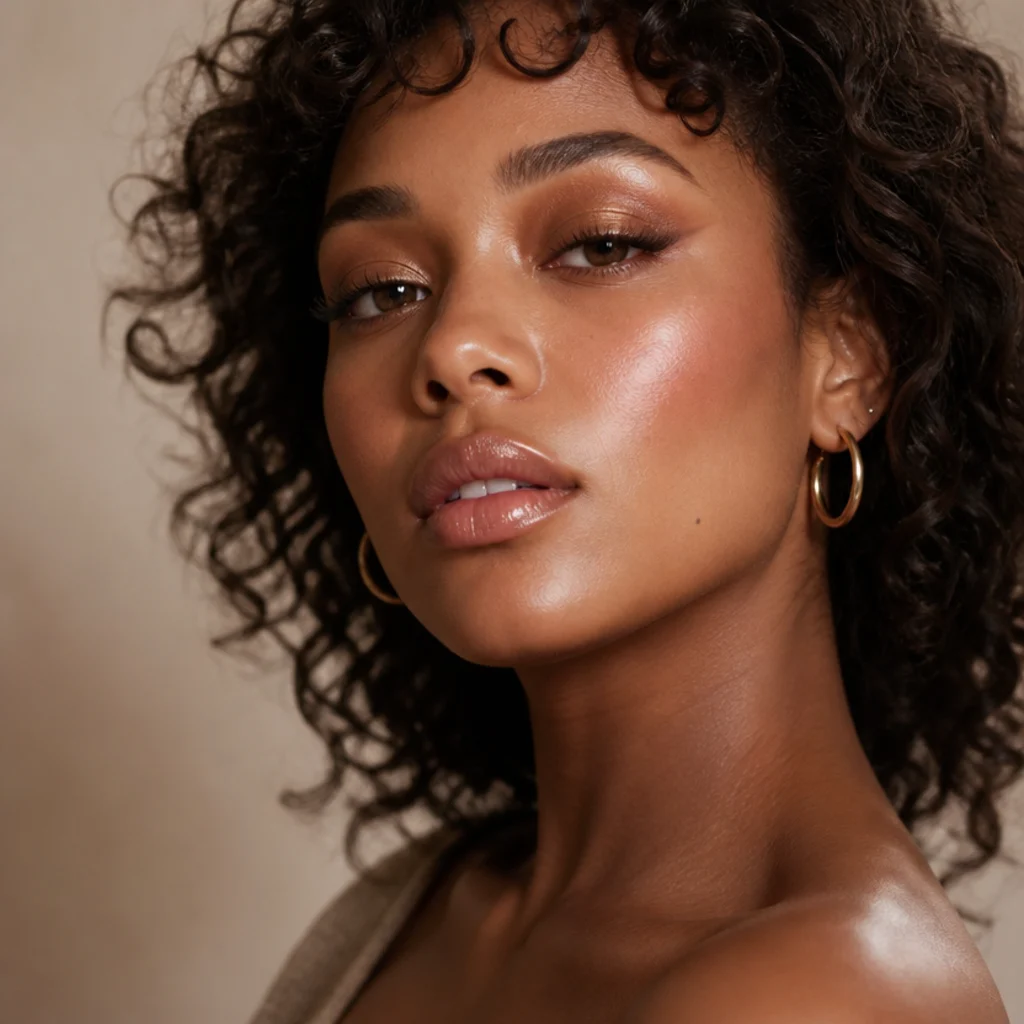
Quick Answer
- Best for: Warm, high-shine retro glamour for parties, themed nights, weddings, and photo shoots; it flatters every skin tone once you match the bronze and gold to your undertone.
- Who might skip it: Anyone who wants a soft matte daytime face, has reactive skin that flares with heavy shimmer, or needs a look that survives a full workday without touch-ups.
- Maintenance: Blot the T-zone and re-dab center-lip gloss every 2–3 hours; the eye holds all night on primer plus setting spray.
- Difficulty: Intermediate — success comes down to warm color placement and smooth blending, not a steady liner hand.
- Cost: Doable with a drugstore kit (roughly $40–$70), or built up from prestige cream bronzer, foiled shadows, and lashes (upward of $150–$250).
- Wear time / longevity: 6–10 hours with primer and a luminous setting spray; gloss is the one element that needs refreshing.
- Standout variation: A Cher-inspired take with straighter, elongated feathered lashes, a lifted deep-bronze crease, and sculpted cheeks.
- How to ask your makeup artist: Ask for "warm bronzed disco glam — golden skin, a foiled copper center lid, soft brown-black smudged wing, and glossy earthy-nude lips," and show one reference photo.
In This Guide
- Prep and Prime Warm-Toned Skin
- Build a Luminous Base
- Bronze the Face for Golden Warmth
- Place a Soft Peach Blush High
- Prime and Wash the Lids in Gold
- Deepen the Crease with Warm Brown
- Add Copper Shimmer to the Center
- Sweep Color Along the Lower Lash Line
- Line the Eyes with a Soft Wing
- Feather and Separate the Lashes
- Groom Full, Natural Brows
- Highlight the High Points
- Line and Fill Glossy Lips
- Add Center-Lip Shine
- Set Everything for the Dance Floor
Disco-era beauty ran hot: golden skin, foiled lids, lips that threw light back at the room. A good 70s glam makeup face still looks modern because it's built around reflection — every layer bounces light instead of absorbing it, which is why matte formulas and cool undertones fall flat here. If you've saved a bronzed retro look to a mood board and stalled at step one, the problem isn't skill, it's sequence: you build several soft, luminous layers that resolve into one continuous glow rather than chase a single dramatic feature. This guide walks through 15 concrete steps, from prepping radiant skin to locking the finished face so it survives a hot, crowded room. Along the way you'll find shade logic by undertone, texture-pairing rules that stop shimmer from creasing, and placement tweaks for hooded, round, and close-set eyes. Learn the warm-color placement behind classic 70s inspired makeup and you can dial it from a whisper of gold to full Studio 54 without losing the era.
01Prep and Prime Warm-Toned Skin {#step-1}
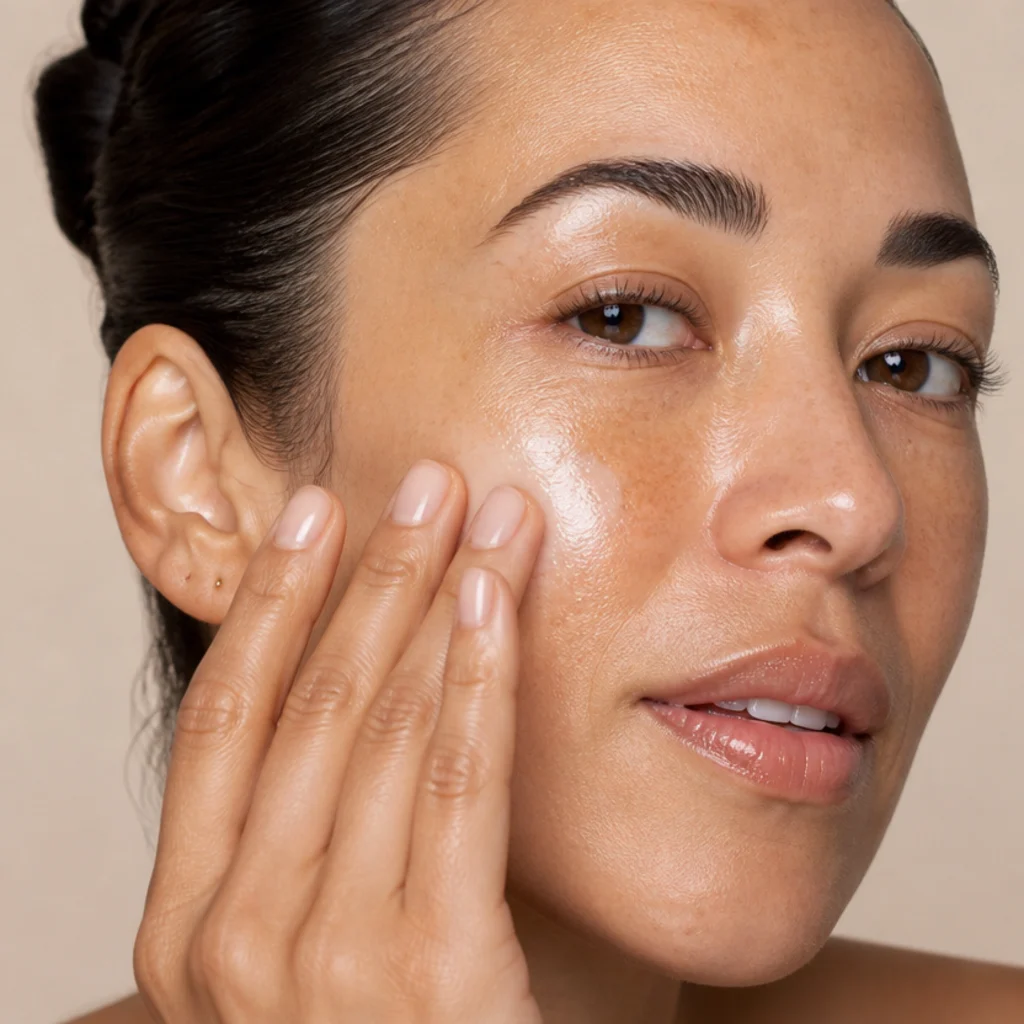
Shimmer shows every flake, so start with a gentle exfoliation the night before and a moisturizer that's fully absorbed by the day of. Let hydration sink in for a full minute, then press — never rub — a satin or radiance primer over the center of the face where light naturally hits: forehead, nose bridge, and the tops of the cheeks. Reach for a glycerin- or squalane-based glow primer rather than a silicone blurring type, which can mute the sheen you're building toward. If your skin runs oily, use a lightweight mattifying gel primer only across the T-zone and keep the cheeks luminous, so the finish reads lit-from-within instead of greasy under warm bulbs. Combination and mature skin do best with a hydrating primer everywhere and a pinpoint of pore-blurring product on the nose. This layer gives bronzer and metallic shadow something to grip, and that grip is what stretches wear across hours of dancing. Ask your makeup artist for a "radiance-boosting, grip-style primer" if you're shopping at a counter.
02Build a Luminous Base {#step-2}
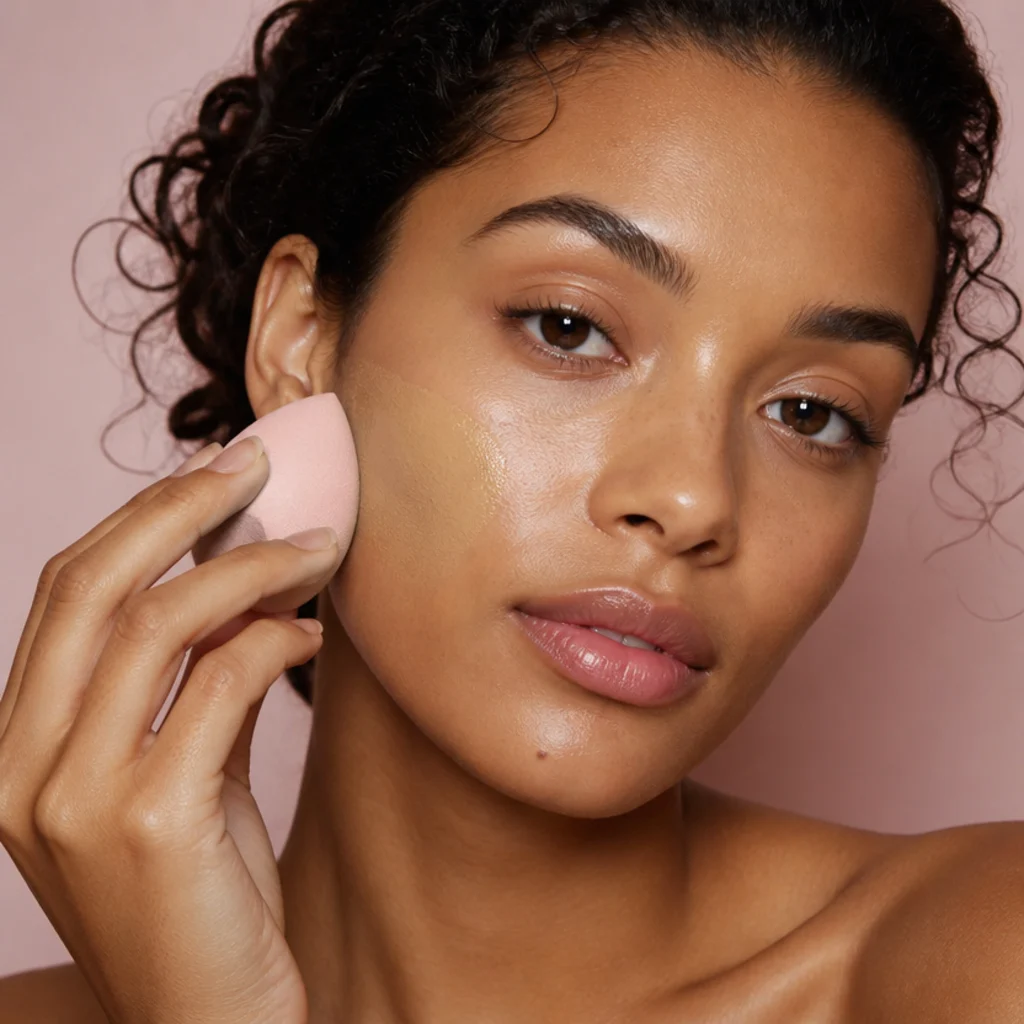
70s beauty was all about skin that looked lit from within. Choose a foundation in the natural-to-radiant range and apply it sheer, building coverage only where you need it. A damp sponge bounced over the skin presses product into a second-skin finish; a dense brush buffs on slightly more coverage over redness or texture. Match the shade to your neck, not your jaw, and lean a half-step warm so the bronze that follows reads intentional rather than muddy. Spot-conceal under the eyes and around the nose with a creamy, hydrating formula one shade brighter, then tap the edges out so nothing sits in a hard border. Skip heavy full-coverage matte foundation and color-correcting layers here — the drama belongs on the eyes and lips, and a flat base kills the glow. If your skin is very dry, mix a drop of liquid illuminator into the foundation on the back of your hand. Base holds about 8 hours before it needs a blot; ask your artist for a "skin-finish" or "luminous" formula.
03Bronze the Face for Golden Warmth {#step-3}
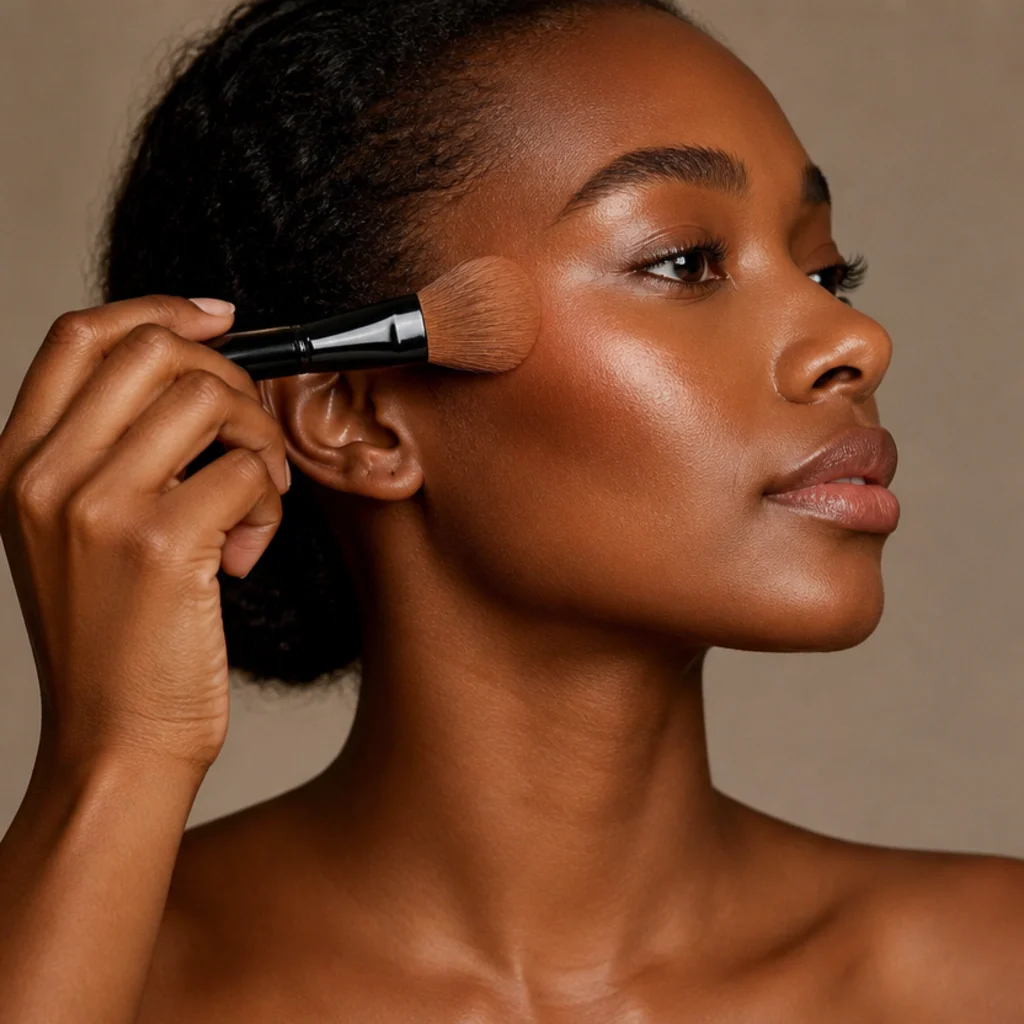
Warmth is the spine of this look, so bronzer does more work here than blush. Sweep a golden-toned product around the perimeter of the face — hairline, cheekbones, temples, and jaw — then drag the leftover on the brush lightly across the lids to unify the whole face in one tone. Choose a bronzer one to two shades deeper than your skin with a true warm undertone; matte or soft-satin textures flatter, while frosted or orange-based ones look dated. Fair skin glows in soft honey, medium in amber, olive in warm terracotta, and deep skin in rich caramel or copper-bronze. Build in circular motions with a fluffy brush so there's no cut edge, and mirror-check in daylight to confirm it melts rather than stripes. Pro tip: for a cream-on-cream disco finish, use a cream bronzer over your luminous base and set only the T-zone — that keeps the cheeks reflective. Ask your artist to "warm up the perimeter and lids, no contour carving."
04Place a Soft Peach Blush High {#step-4}
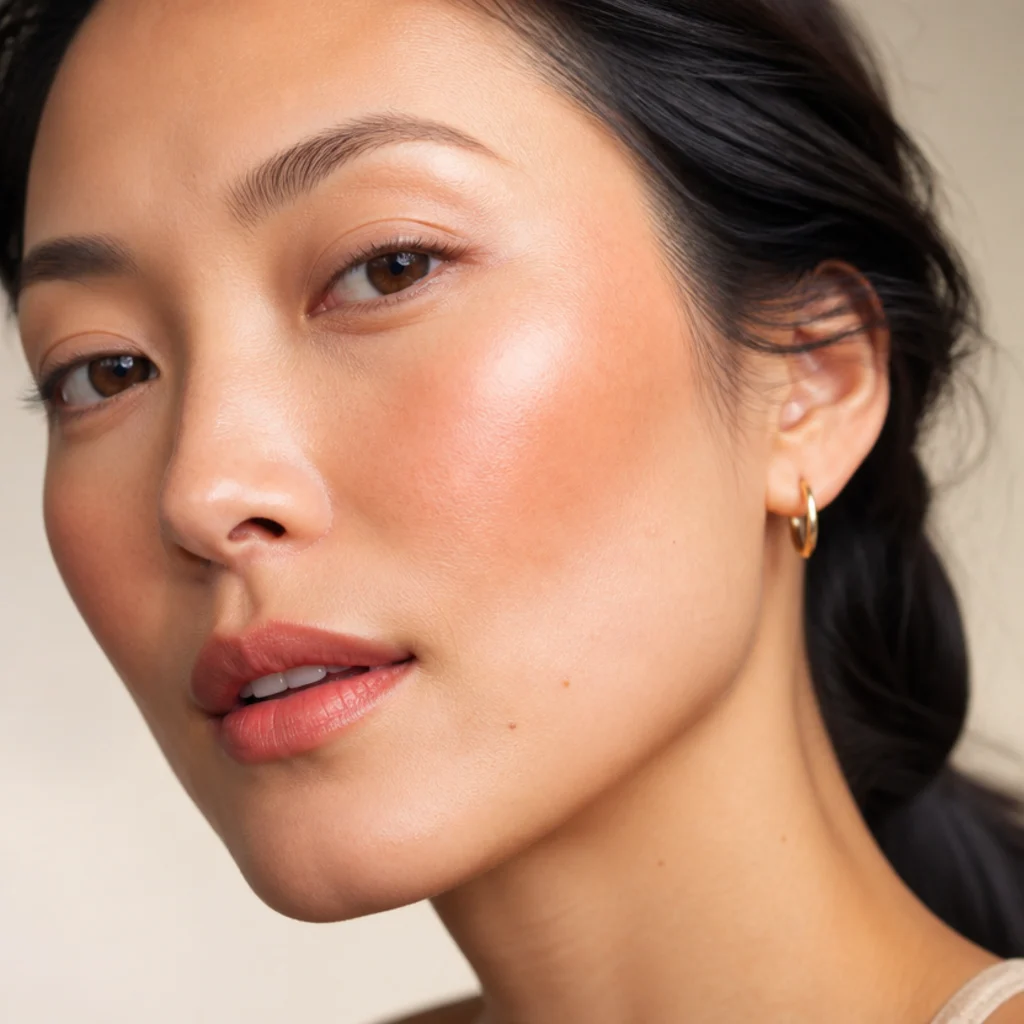
Over the bronze, add peach, coral, or warm-rose blush placed higher than usual — right on the apples and sweeping up toward the temple, so it reads flushed-from-dancing rather than doll-round. Match texture to your base: cream or liquid blush melts into a luminous foundation, while powder locks best over powder-set skin. Warm peach flatters fair and light-medium tones, coral suits medium and olive, and terracotta or berried-coral glows on deep skin. The trick is overlap — blend the lower edge of the blush into the top of your bronzer so the two become one continuous wash of warmth with no visible seam. Build in two thin layers rather than one heavy pass; you can always deepen the apple, but you can't easily lift a stripe. For round faces, extending the sweep more toward the temple adds length. Blush fades faster than bronzer, so a cream-then-powder sandwich holds longer. Ask your artist for a "lifted, high-placed warm flush."
Save this to Pinterest — the blush placement here is what gives the look its glow.
05Prime and Wash the Lids in Gold {#step-5}
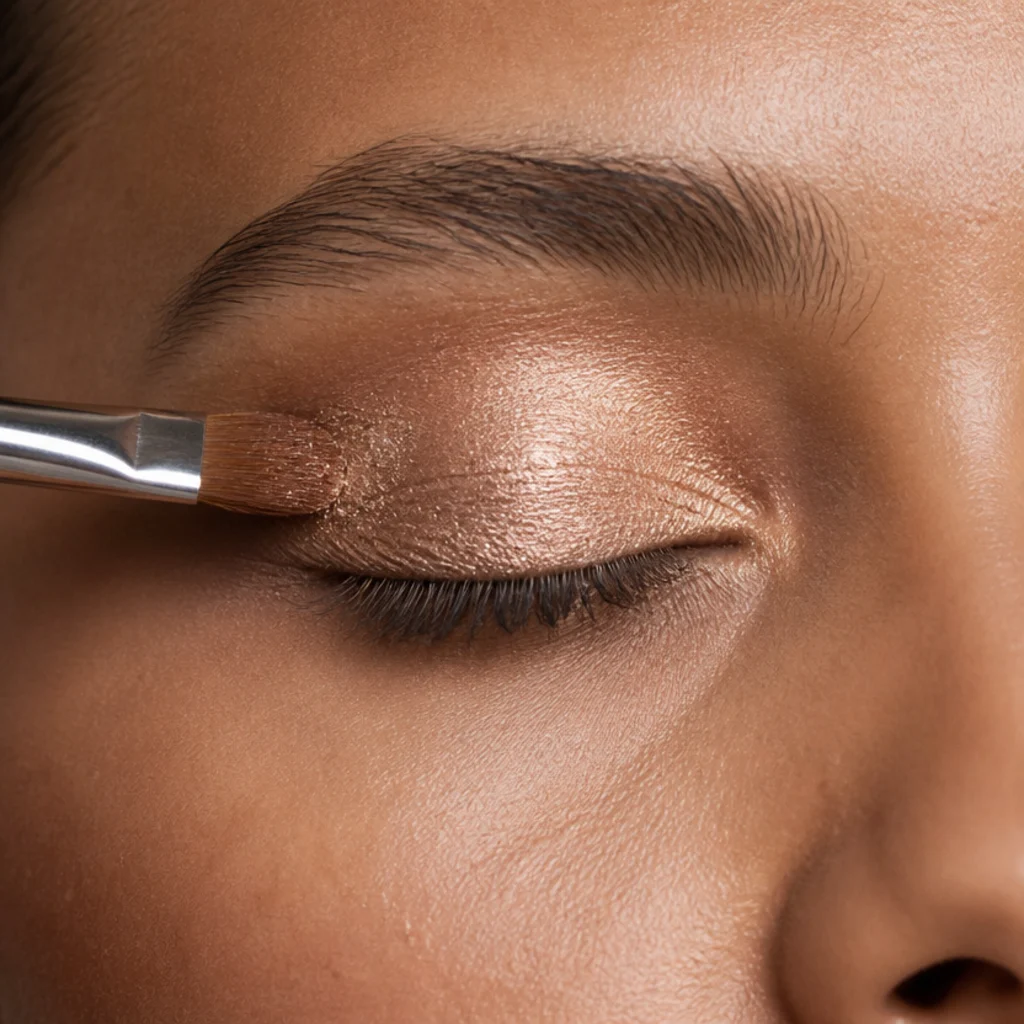
An eye primer is non-negotiable for metallics — it gives shimmer a tacky base to cling to and stops it sliding into the crease by hour three. Once it sets, pat a warm gold or champagne shade across the entire mobile lid as your foundation color, using a flat shader brush and a press-and-roll motion rather than a sweep, which keeps the reflect intense and cuts fallout. Dampening the brush lightly amplifies the metallic payoff. This luminous base sets the disco tone and makes every layer above it read richer. For hooded eyes, carry the wash slightly above the natural crease so the color stays visible with eyes open; for deep-set eyes, keep the brightest gold toward the center to push the lid forward. Gold flatters most skin tones, but if you want something softer, a rosy champagne reads warm without full foil. Warm-brown eyes gain depth from antique gold; cool complexions can steer toward a peachy champagne. Ask your artist for a "foiled gold wash, patted not swept."
06Deepen the Crease with Warm Brown {#step-6}
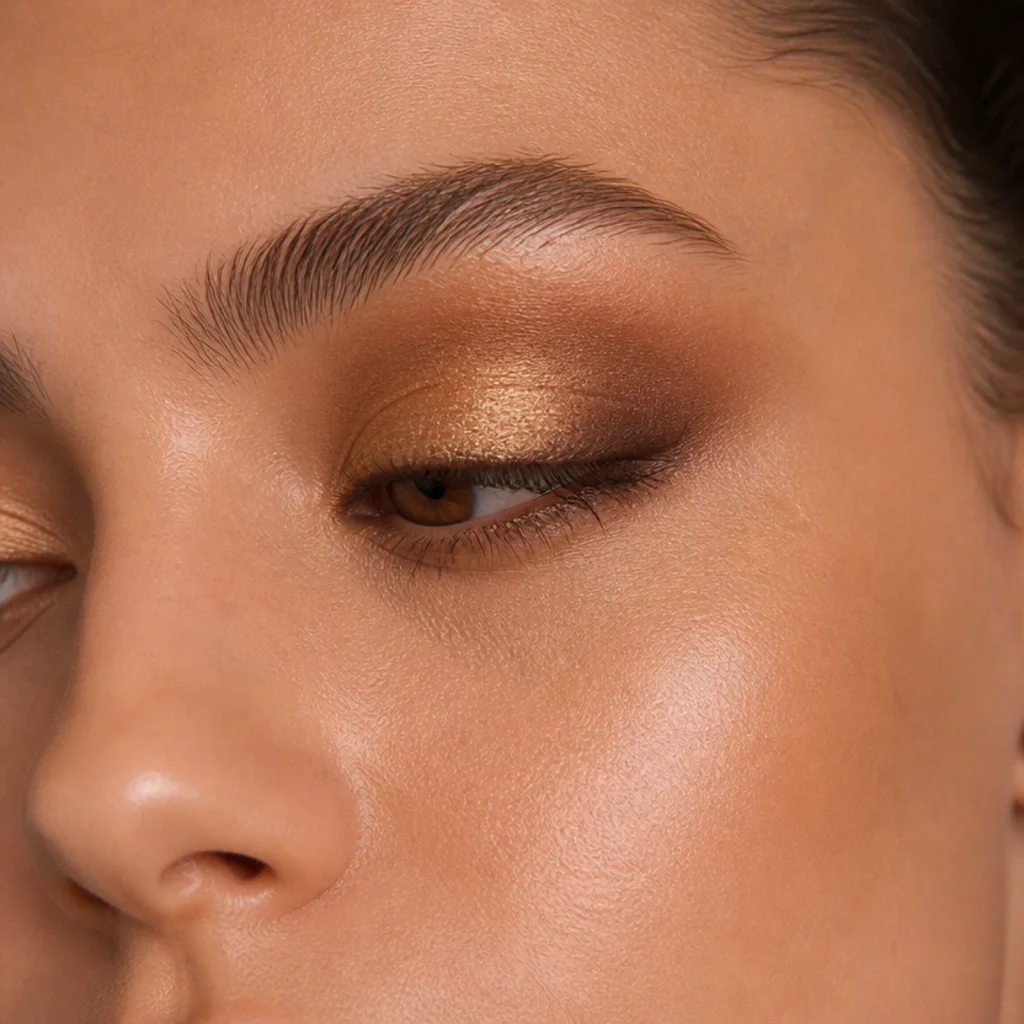
Dimension comes from the crease, so work a warm brown — chestnut, terracotta, or bronze — into the socket with a fluffy blending brush and small windshield-wiper motions, starting with almost nothing on the brush and layering to depth. Thin passes are what separate a soft smoky gradient from a muddy smudge. Keep the shade warm; anything ashy or taupe-cool fights the palette and grays the whole eye. Set your crease color a touch below the actual crease so it stays visible when your eyes are open, then blend the top edge up into clean skin so there's no hard line, only gold fading to brown. For a cher makeup 70s effect, elongate the crease outward and lift it toward the tail of the brow for a stretched, editorial socket. Hooded and mature eyes benefit from a slightly higher, more diffused placement. Pro tip: tap excess off the brush onto the back of your hand before every dip. Ask your artist for a "warm, elongated cut crease, kept soft."
07Add Copper Shimmer to the Center {#step-7}
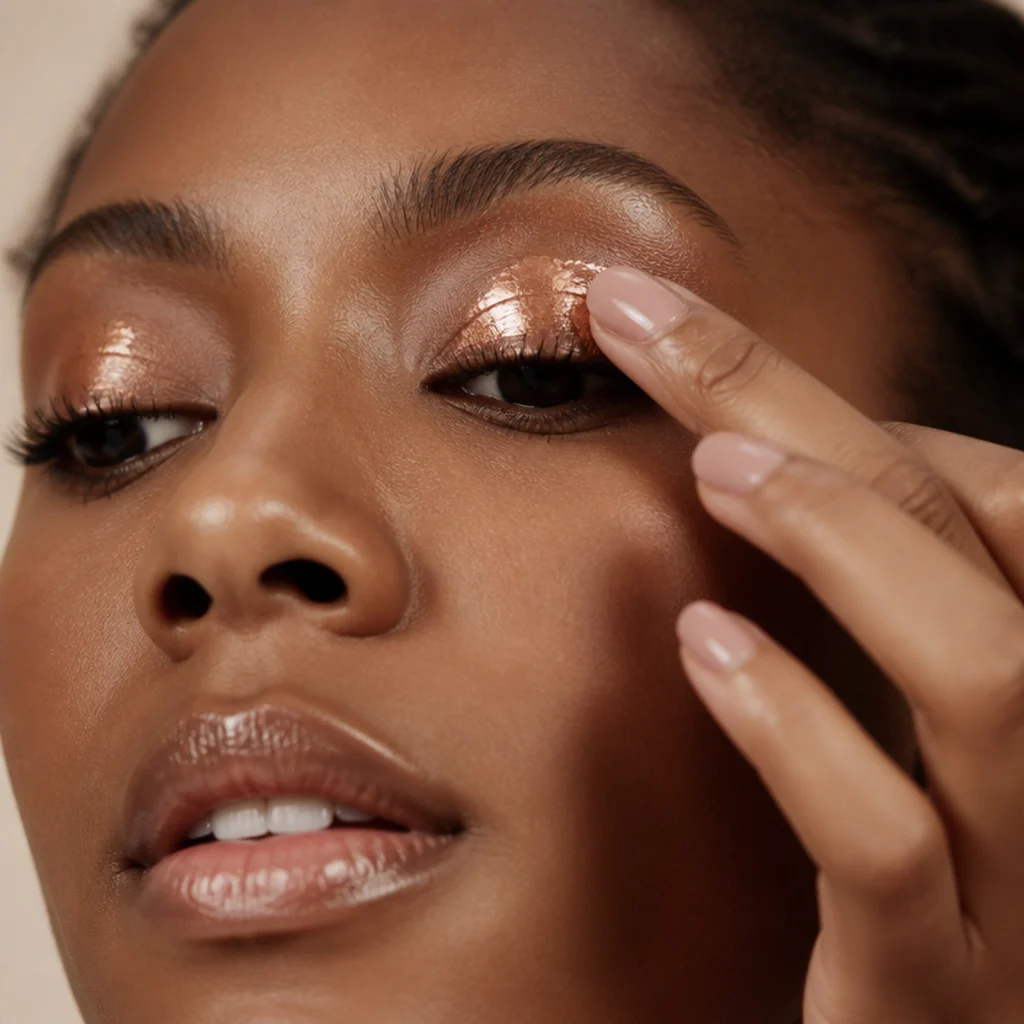
This is the step that turns warm eyes into true dance-floor glam. Press a metallic copper or bronze shimmer onto the center of the lid, directly above the pupil, where it will flash with every movement under party lighting. A fingertip or a flat, firm synthetic brush and a straight patting motion give the most reflective, foil-like payoff — sweeping only knocks the sparkle loose. A whisper of setting spray misted onto the brush before you pick up the pigment turns a satin shadow into liquid metal and locks fallout down. Keep the shine concentrated in the center rather than spread wide, because a bright midpoint makes eyes look rounder, larger, and more awake, while an all-over foil flattens them. On deeper skin, a rose-copper or bronze foil reads especially rich; hazel and green eyes pop against warm copper. Let the earlier crease work stay slightly deeper at the outer corner so the center lifts by comparison. Ask your artist for a "foiled copper center, pressed damp."
08Sweep Color Along the Lower Lash Line {#step-8}
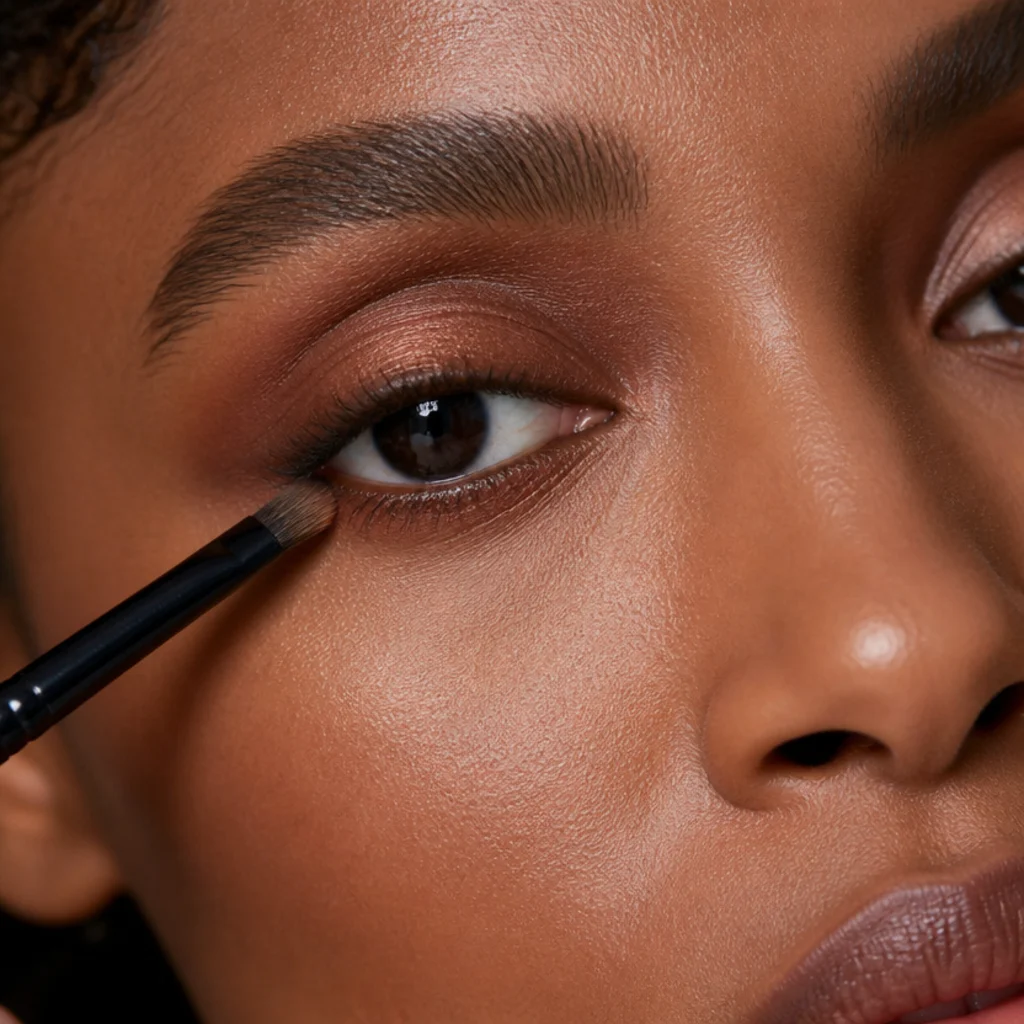
Framing the lower lash line wraps the warmth around the eye so the top and bottom stay balanced instead of top-heavy. Smudge a warm bronze or brown shadow along the lower lashes with a small pencil brush or a soft eye pencil you diffuse quickly, keeping it soft and blurred rather than a drawn line. Add a fleck of the center copper to the middle of the lower lash line for an extra light-catch that mirrors the lid. Placement should respond to your eye shape: for smaller or close-set eyes, concentrate the color on the outer two-thirds and leave the inner corner clean so you don't close the eye down; for round eyes, extend it slightly past the outer corner to lengthen. Connect the outer end of the lower line up into the outer crease so the whole eye reads as one shape. Pro tip: tightline a warm-brown pencil into the lower waterline for depth without harsh black. Ask your artist for a "smudged bronze lower frame."
09Line the Eyes with a Soft Wing {#step-9}
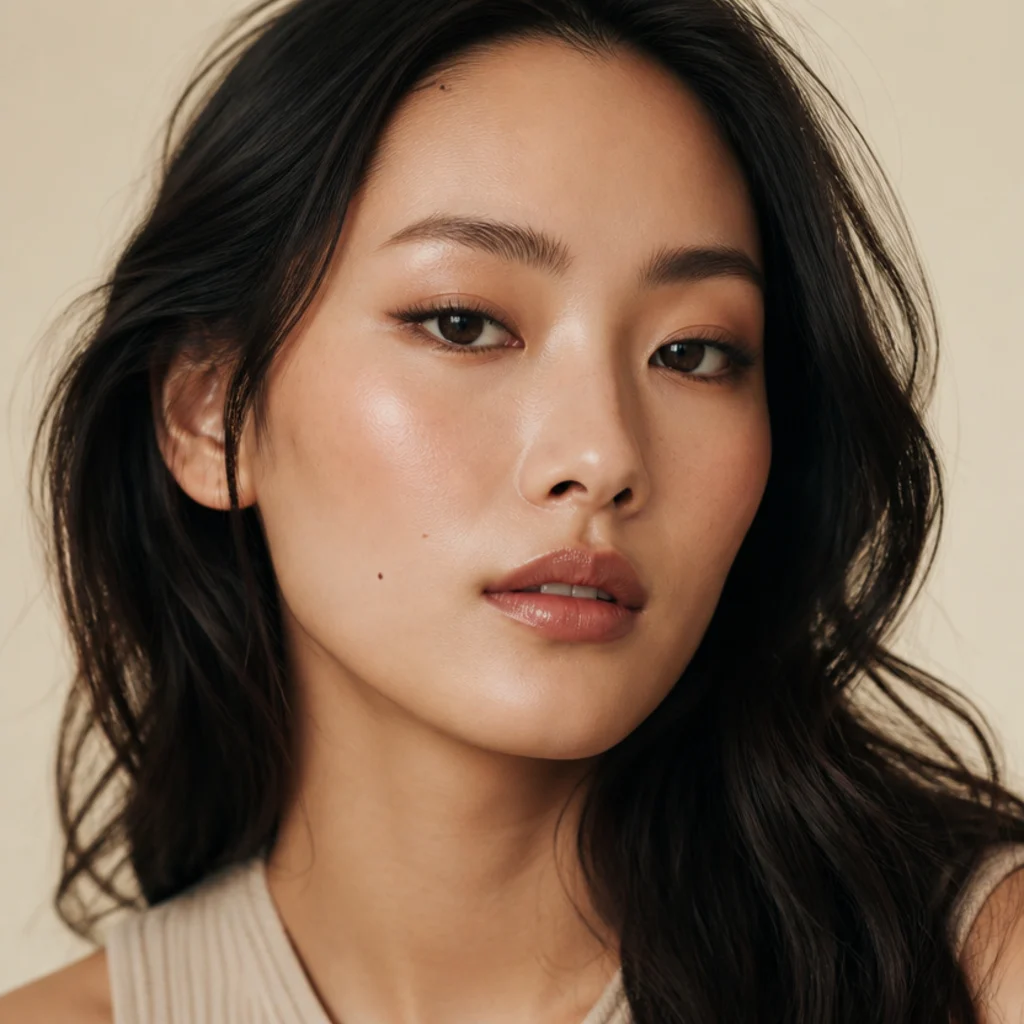
Skip stark jet-black liner — a brown-black, deep bronze, or espresso reads more era-authentic and blends into the warm shadow instead of cutting a hard graphic edge. Draw along the roots of the upper lashes first to fill any gaps, then flick a short, low wing from the outer corner, following the imaginary line that extends your lower lash line upward and out. Keep the whole thing slightly smudgy rather than razor-sharp for that lived-in, glowing 70s finish; a smudge brush softening the edge sells it. Tightlining the upper waterline makes the lash base look denser without adding weight. For hooded eyes, keep the wing thin and its tip above the hood line, then check the shape with eyes fully open so the flick doesn't disappear into the fold. Downturned eyes lift when the wing angles up more steeply. Pro tip: stamp the wing angle with a card edge, then connect it. Ask your artist for a "soft, low, smudged brown wing."
10Feather and Separate the Lashes {#step-10}
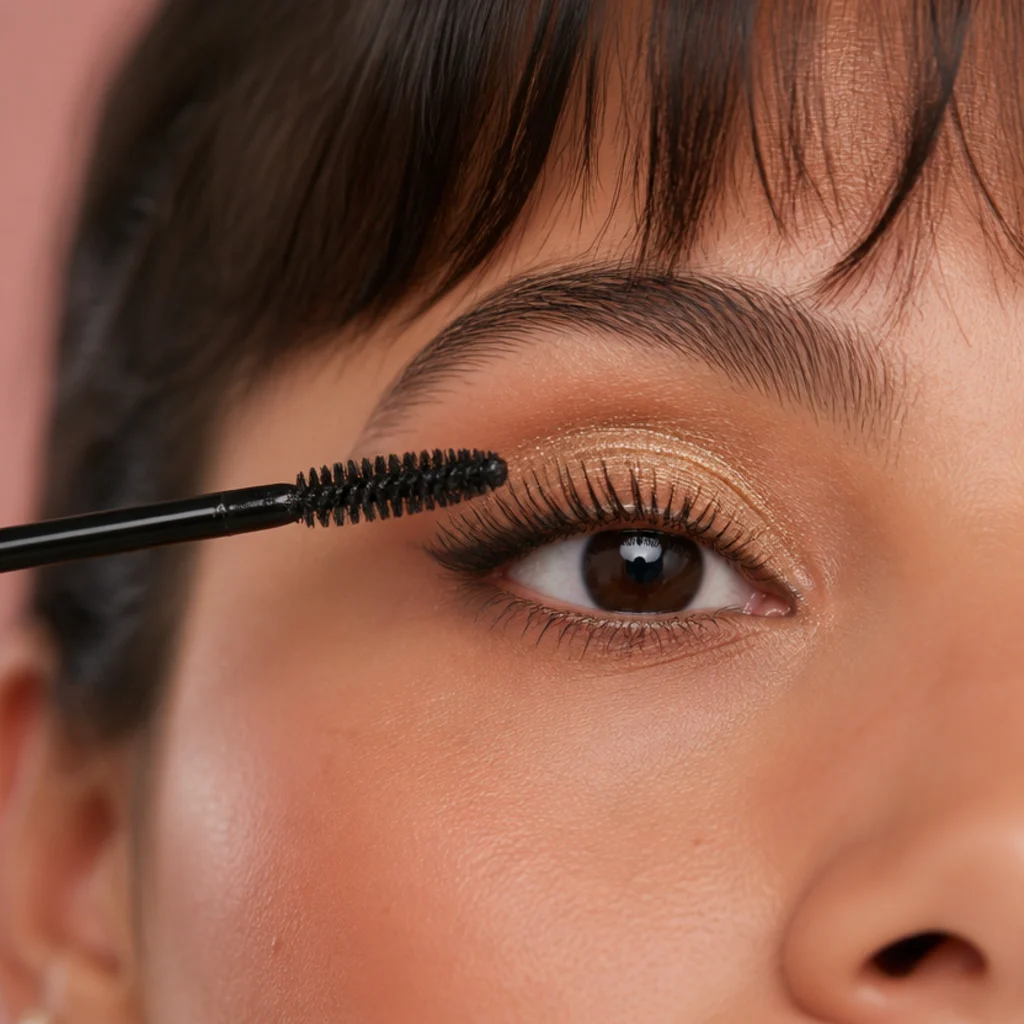
Lashes define the decade, but the goal is long, feathery, and spiky, not a dense wall. Curl first with a full-crimp of the lash curler at the root, then coat with a lengthening (not volumizing) mascara, wiggling the wand at the base and combing cleanly through to the tips for separation. Let each coat dry for 30–60 seconds before the next so nothing clumps. For real disco drama, add spiky individual clusters or a lightweight strip lash, and place a few individuals on the lower line for that doll-like, spider-lash flutter Cher and her contemporaries wore. Apply lash glue with a thin line, let it go tacky for 20–30 seconds until the shine dulls, then set the band as close to your own roots as possible. A clean, dry spoolie combed through at the end re-separates the fringe and keeps it feathered. Ask your artist for "feathery, separated lashes with a few spiky individuals," and specify demi-wispies if you want lightweight strips.
Save this to Pinterest — pin it next to your favorite lash inspiration.
11Groom Full, Natural Brows {#step-11}
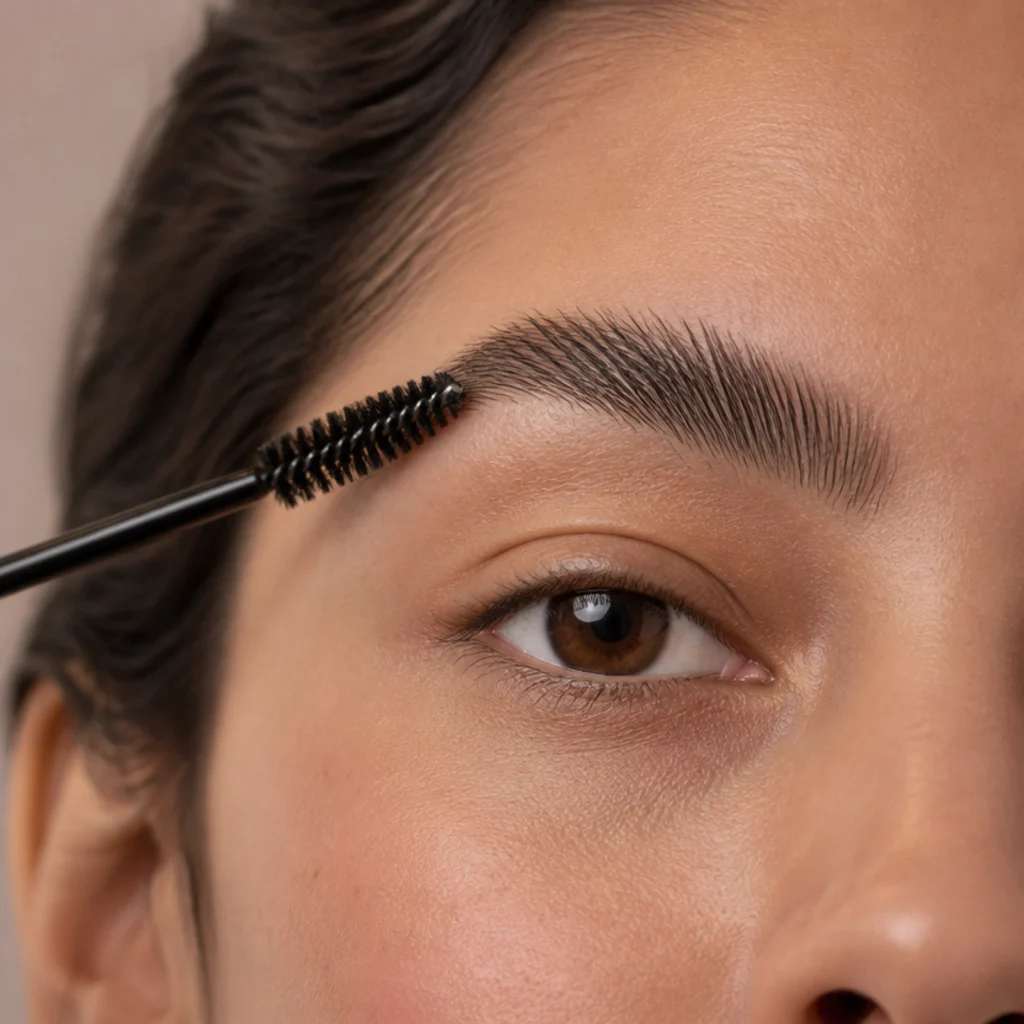
The decade favored fuller, softly groomed brows with a natural arch, so skip anything sharply sculpted or over-drawn. Brush the hairs up and outward with a spoolie to reveal the real shape, then fill only sparse gaps with light, hair-like flicks using a fine pencil or brow pen a shade close to — or slightly lighter than — your natural color. A tinted or clear brow gel locks the fluffy texture in place while keeping movement. Full, balanced brows anchor the strong eyes and warm cheeks so the face doesn't read top-heavy. If your brows are naturally sparse, build with feathery strokes across the front and body rather than blocking in a solid shape, and keep the front softest so it looks grown-in. Match undertone too: warm-brown or taupe-brown pencils suit this palette better than cool grays. This natural framing is what ties your 70s makeup and hair together. Ask your artist for "full, fluffy, brushed-up brows — natural, not carved."
12Highlight the High Points {#step-12}
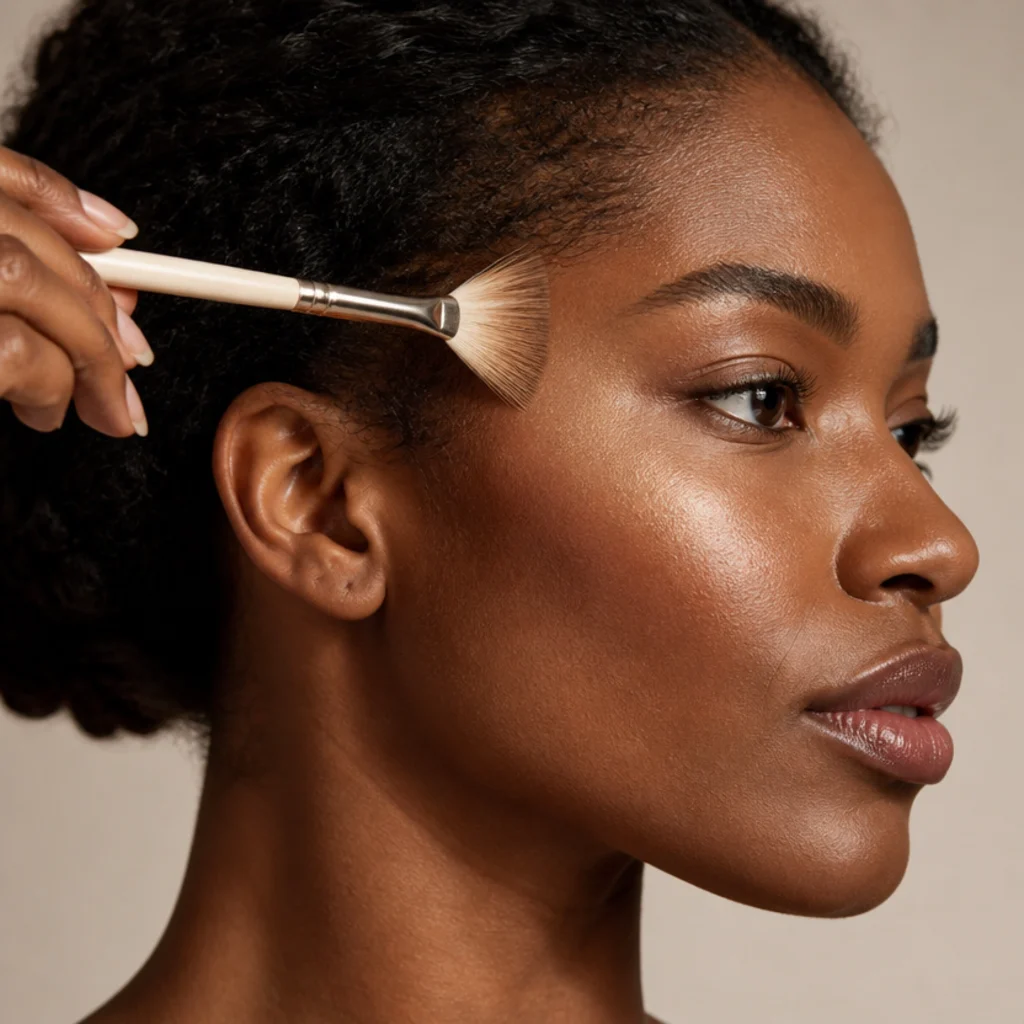
Layer glow onto the high points where light naturally lands: the tops of the cheekbones, the brow bone, the inner corners of the eyes, the cupid's bow, and a fine line down the nose bridge. Choose a warm gold or champagne highlighter — icy silver and pearl fight the golden palette and can look ashy over warm skin. On deep skin, a bronze-gold or copper highlight reads especially rich; on fair skin, a soft champagne keeps it from going brassy. Tap the product on with a small fan or a fingertip for the most skin-like, molten sheen rather than a sharp stripe, and keep it off the center of the cheek where it can emphasize texture. A liquid or cream highlighter pressed on before powder gives a wet, lit-from-within glow that suits disco lighting; a fine powder on top makes it catch harder. Pro tip: a dot of highlighter right at the center of the copper lid doubles the flash. Ask your artist for a "warm, molten gold glow on the high points."
13Line and Fill Glossy Lips {#step-13}
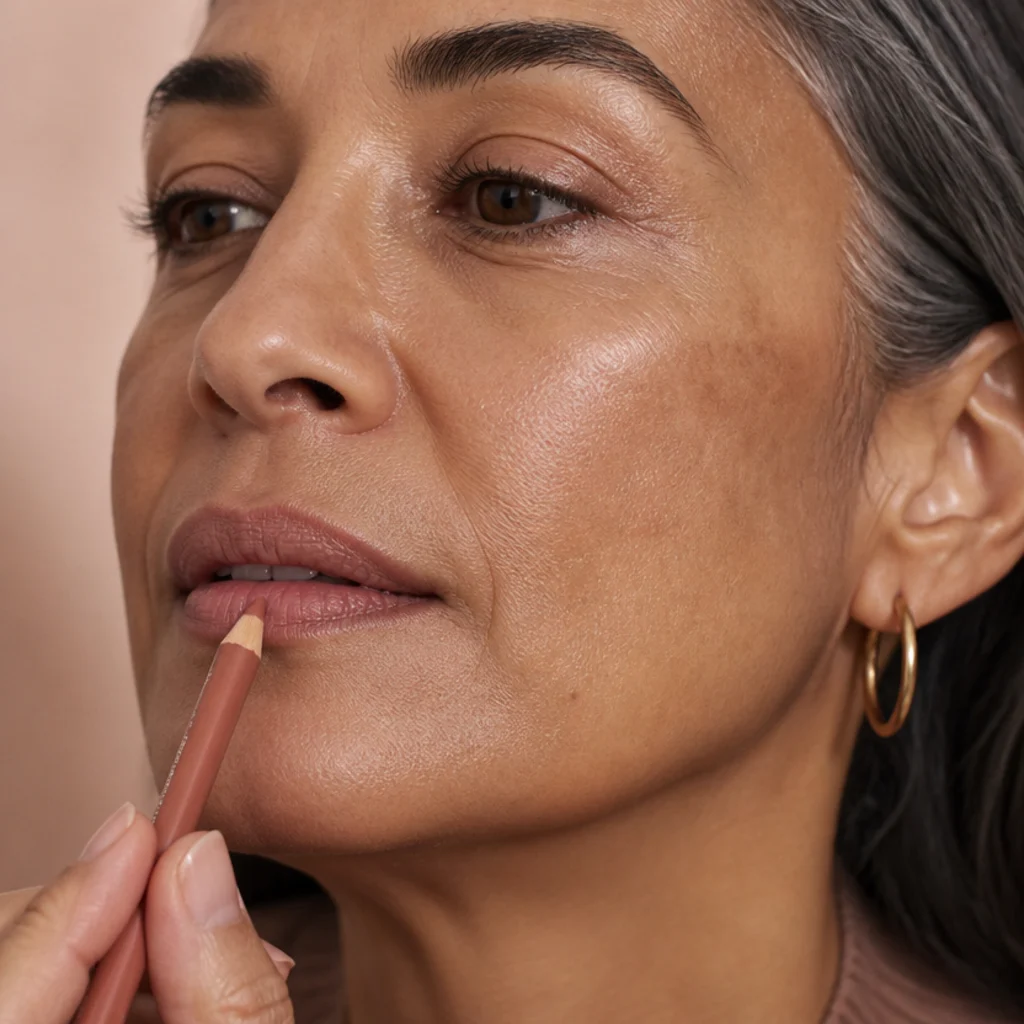
Reach for warm nudes, peaches, soft roses, and brownish nudes rather than bright reds — earthy tones feel most authentic to the era and let the eyes lead. Line the lips with a pencil matched close to your natural lip tone, tracing just to the edge (or a hair over the top bow for fullness), then fill the entire lip in with the liner as a base so the color grips even after the gloss migrates. Blurring the liner slightly inward before you add product gives a soft, blurred fullness rather than a hard ring. Cool or blue-toned lip colors clash with the warm face, so keep everything golden-warm. This filled-in base stops gloss from feathering and lets you refresh shine through the night without redrawing the whole mouth. For thin lips, keep the liner soft and add the shine to the center; for full lips, define the edge more crisply. Ask your artist for an "earthy warm-nude lip, lined and filled under gloss."
14Add Center-Lip Shine {#step-14}
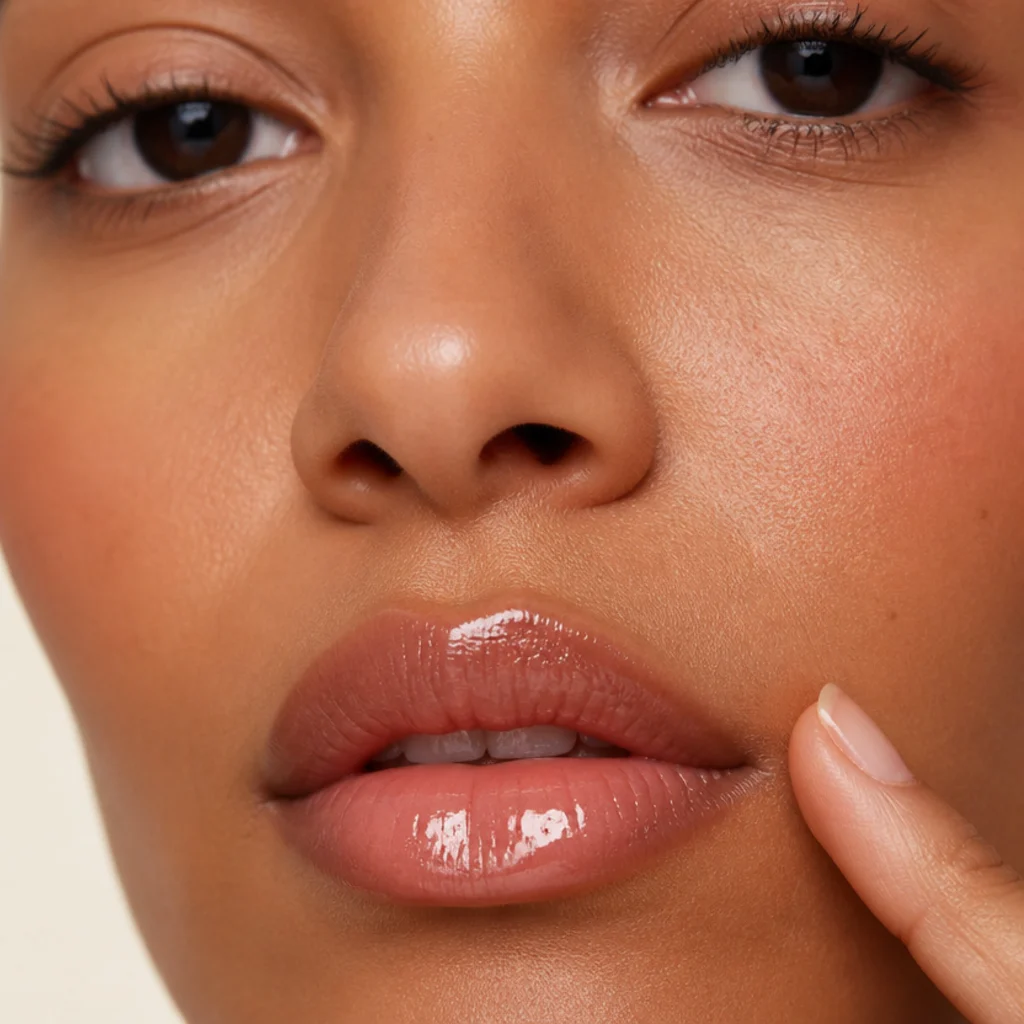
Gloss is the whole point of a disco lip, so apply a warm-toned or clear high-shine gloss over your lined-and-filled lips, then dab a little extra in the very center of the lower lip to create a plump, light-catching pout. That center highlight is an optical trick — the concentrated shine reads as fullness and dimension. For staying power, build a sandwich: a longwear liquid lip or stain first, blotted, then gloss on top, so the color survives drinks and dancing while the shine refreshes independently. Avoid overly thick, sticky glosses that grab flyaway hair on a sweaty floor; a cushiony non-tacky formula wears more comfortably. This is the element most likely to fade, so it's the one thing worth keeping in your bag. Pro tip: press lips on a tissue after gloss, then re-dab only the center to keep shine without slip. Ask your artist for a "clear or warm high-shine center-lip gloss over a stain."
15Set Everything for the Dance Floor {#step-15}
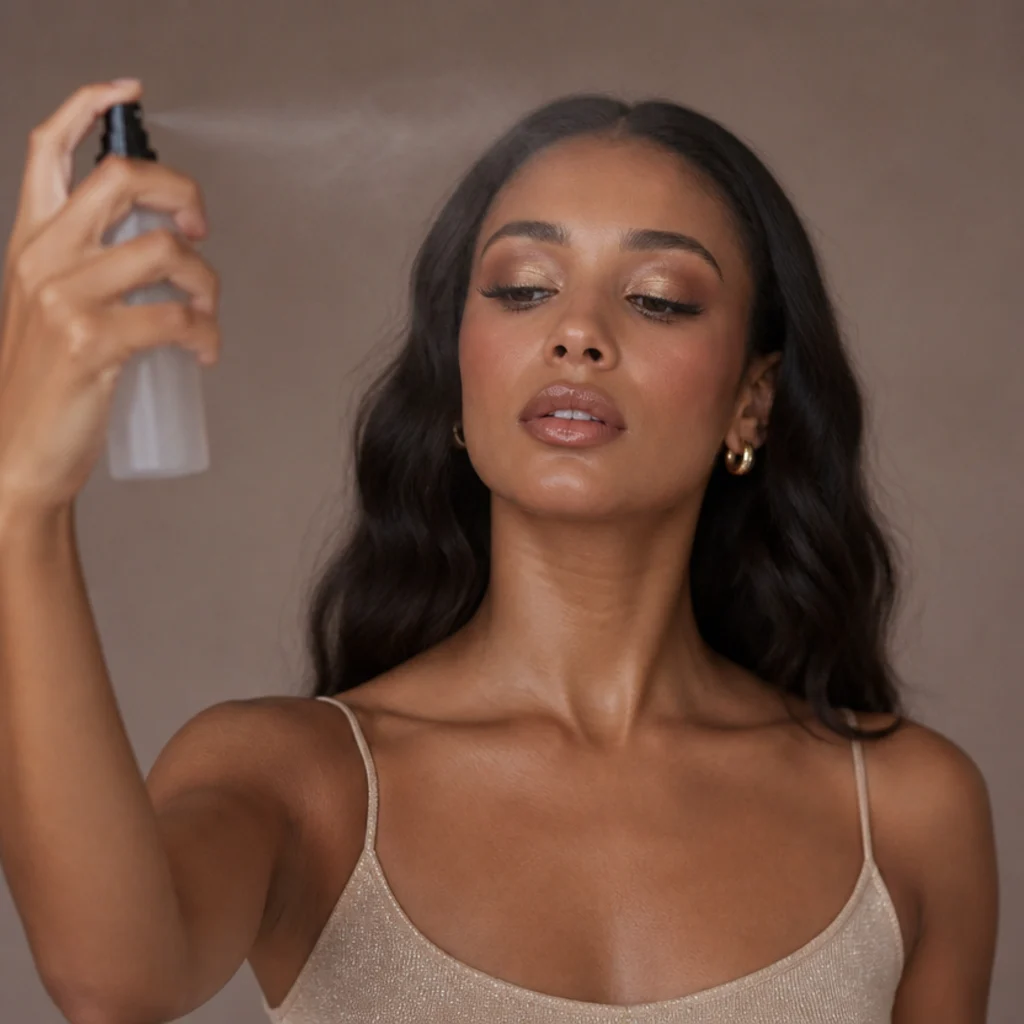
Lock it all in with a fine mist of setting spray held about arm's length so it falls as a light veil rather than wet droplets. Choose a luminous or natural-finish spray, never a fully matte one, so you keep the glow you spent 14 steps building. Setting spray melds the cream and powder layers into one, dissolves any powdery edges on the crease and cheeks, and helps everything survive a hot, crowded room. Let it dry undisturbed without pressing your face. For extra staying power in the heat, dust a translucent powder only on the T-zone before you spray, leaving the cheeks reflective. Then pack a smart touch-up kit: blotting papers, your gloss, a mini highlighter, and a cotton swab for any lower-liner smudge. Pro tip: a second, lighter mist after the first fully dries deepens the melded, second-skin finish. Ask your artist for a "luminous, long-wear finishing mist." Your warm, shimmering, feathery-lashed look is ready for the lights.
Pro Tips from the Editor
- Reflect, don't absorb. Every product choice should bounce light: satin base, cream bronzer, foiled shadow, gloss. Introduce one flat matte or cool undertone and the look loses its disco DNA.
- Set the eye before the base. Do the full eye look first so shimmer fallout drops onto bare skin you can wipe clean, then move to foundation, bronzer, and blush. It saves you redoing the cheek under every eye.
- Tap off before every dip. Warm browns and coppers are pigment-dense; knocking excess onto the back of your hand before each pass is the difference between a soft gradient and a muddy socket.
- Damp brush for metal, dry brush for blend. Use a lightly misted flat brush to lay foiled copper and gold, and a clean, dry fluffy brush to diffuse edges. Never blend metallics with the brush that applied them.
- Warm your undertone across the whole face. Bronzer, blush, highlight, and lip should all sit in the gold-peach-terracotta family. One cool element — a pink highlight, a rosy blush — fights the rest.
- Glue goes tacky, then sticks. Lash strips fail when the glue is still wet; wait 20–30 seconds until the shine dulls, then place. Trim any excess band length from the outer end so it doesn't poke the corner.
- Blot the T-zone, never the cheeks. When you touch up, press blotting paper only on the nose and forehead so you keep the cheek glow intact instead of flattening the whole face.
How to Choose / Get the Look
70s glam makeup works because it scales, so pick your intensity by occasion and comfort. Use this quick framework:
| Level | Do these steps | Best for | Time | Difficulty |
|---|---|---|---|---|
| Soft glow | Gold lid wash, bronzer, peach blush, glossy nude lip, highlight | Dinners, daytime themed events, first-timers | ~15 min | Easy |
| Full disco | All 15 steps with copper center and smudged wing | Parties, weddings, photos | ~30–40 min | Intermediate |
| Cher editorial | Full look plus elongated lifted crease, sculpted cheeks, straighter feathered lashes | Stage, costume, bold nights out | ~45+ min | Advanced |
Then let your features fine-tune placement. Hooded and deep-set eyes want the crease and shimmer carried higher so color reads with eyes open; round eyes stretch elongated with more outer-corner depth; downturned eyes lift with a steeper wing. For skin tone, hold every warm undertone in the same family — honey and peach on fair skin, amber and coral on medium, terracotta on olive, caramel and copper-bronze on deep skin. Coordinate the hair too: soft voluminous waves, a flipped blowout, feathered layers, or a sleek center part all echo the era and round out the 70s makeup and hair story. Build in thin layers and blend as you go — warmth and glow applied gradually is what reads authentic rather than costumey.
Frequently Asked Questions
What colors define 70s disco makeup?
Warm, earthy, and metallic tones lead: gold, copper, bronze, terracotta, peach, and warm nude. The palette is built on golden skin, foiled warm eyes, and glossy natural-toned lips. Cool icy shades, blue-based reds, and silver highlighters feel out of place because they absorb light and gray the warmth. If a color leans toward orange-gold rather than pink or blue, it usually belongs.
How is Cher's 70s makeup different from general disco glam?
Cher's look intensifies the same warm base into something more editorial: straighter, elongated feathered lashes on top and bottom, a lifted and elongated crease that stretches toward the temple, sharply sculpted warm cheeks, and glossy nude lips. General disco glam keeps the crease rounder and the lashes fluttery rather than graphic, so a cher makeup 70s version is essentially the same recipe with more lash drama and a more stretched socket.
Is this look hard for beginners?
It's intermediate, mostly because of warm color placement and smooth blending rather than precision. Beginners can capture the spirit with just a gold lid wash, bronzer, peach blush, brown-black smudged liner, and gloss — skipping the copper center and false lashes. Doing the eye before the base also removes the stress of fallout. Our beginner guide below breaks the simplified version down step by step.
How do I keep the shimmer from creasing or fading?
Prime the lids, pat metallics on with a firm flat brush instead of sweeping, and mist a little setting spray onto the brush before pressing on foiled shades. Finish the whole face with a luminous setting spray. Oily lids benefit from a thin layer of translucent powder over the primer before shadow. Together these keep copper and gold locked and reflective for a long night.
What hair suits a 70s inspired makeup look?
Movement and volume are the theme: soft voluminous waves, a bouncy blowout with flipped ends, feathered face-framing layers, a shag, or a sleek center part all complement 70s inspired makeup. The volume balances the warm, glowing face and completes the era. If your hair is short or textured, a defined, voluminous style with a deep side or center part reads just as authentic.
Can I wear 70s disco makeup during the day?
Yes — scale it to the soft-glow level. Keep the gold lid wash sheer, use bronzer and peach blush, add a smudge of brown liner, and finish with a tinted gloss, skipping the copper foil, false lashes, and heavy highlight. That gives you the warm, lit-from-within disco spirit in a version that reads polished under daylight rather than stage lights.
What products do I actually need to start?
A radiance primer, a natural-to-radiant foundation, a warm cream or powder bronzer, a peach or coral blush, a small warm eyeshadow palette (gold, chestnut, copper), a brown-black pencil or gel liner, a lengthening mascara, a warm-nude lip liner, a high-shine gloss, and a luminous setting spray. False lashes and a dedicated highlighter are optional upgrades for the full-disco and Cher-editorial versions.
How long does this look last, and how do I refresh it?
With primer and a luminous setting spray, expect 6–10 hours. The eye and bronze hold longest; blush softens next, and gloss fades first. To refresh, blot only the T-zone, press a little cream or powder blush back onto the apples if needed, and re-dab gloss in the center of the lower lip. Avoid touching the shimmer directly — a mist of setting spray revives the glow without disturbing it.
Does this work on mature or textured skin?
Yes, with a few tweaks: hydrate well, use a serum-style or luminous foundation applied thinly, and keep powder only on the T-zone so the cheeks stay dewy. Pat cream products rather than dragging, place crease color slightly higher and softly diffused so it doesn't settle into the fold, and choose a fine, molten highlighter over a chunky glitter. The warm palette flatters across ages.