15 Easy 70s Makeup Ideas for Beginners
The 1970s ran on warmth: sun-baked bronzes, russet creases, and skin lit from within. These 15 beginner-friendly ideas isolate each move into one repeatable step, so you can borrow the era's glow with shade names, placements, and upkeep windows that actually hold up in real light.
 Edited by Lena Rose · Published July 11, 2026 · 24 min read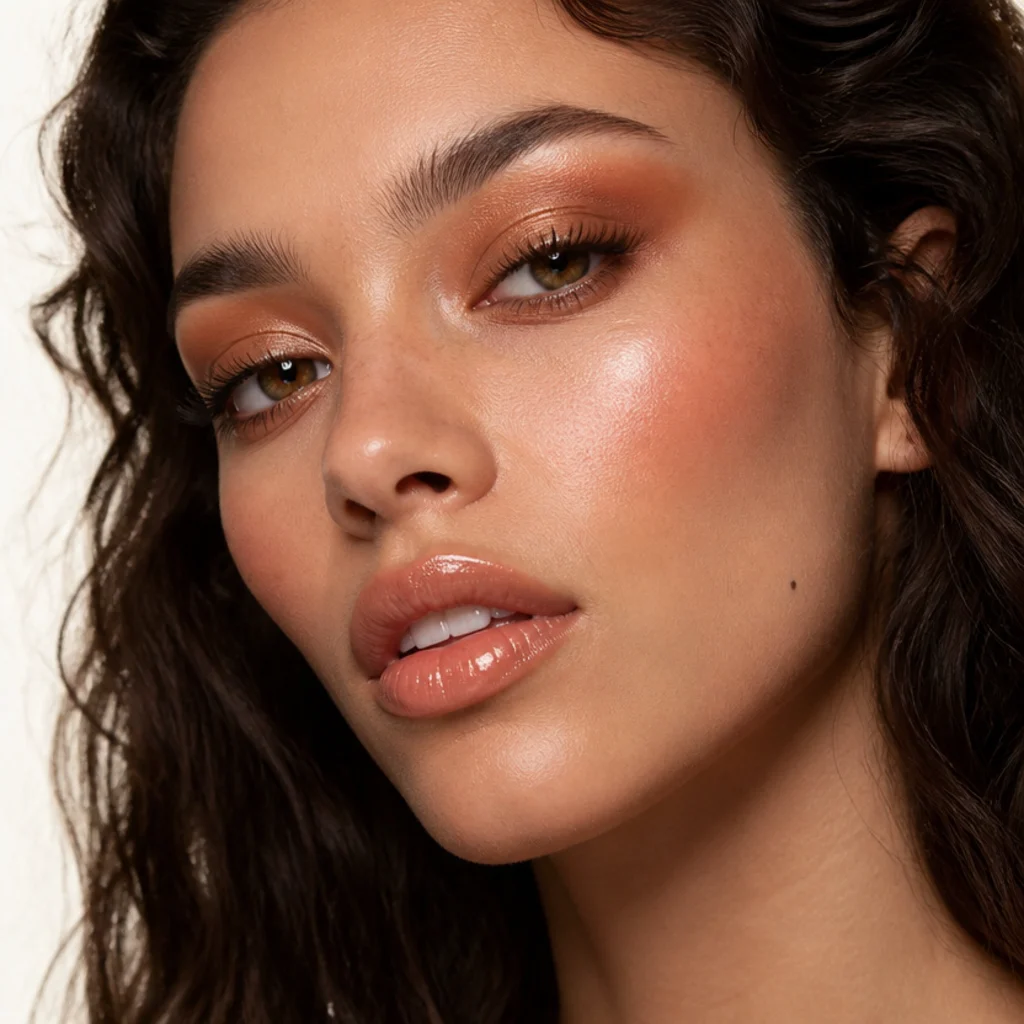
Quick Answer
- Best for: Beginners who want retro warmth without full-glam commitment; every skin tone, undertone, and eye shape, since warm diffused color is universally forgiving.
- Who might skip it: Anyone who prefers cool-toned, graphic, high-contrast makeup (sharp black wings, mauve or icy shadow) will find these looks fight their instinct.
- Maintenance: Low to medium. Powder looks hold 6-8 hours; cream shadows and waterline liner need a mid-day touch-up or a powder set to reach the same.
- Difficulty: Mostly easy (one product, blended with a finger); three looks (Cher-inspired lid, copper smoke, sunset gradient) want a steadier hand and a fluffy brush.
- Cost: Entry-friendly. A capsule of four core shades runs roughly $30-70 drugstore or $90-160 at the counter; you likely own half already.
- Wear time / longevity: 5-8 hours for powder-based looks; set creams with a matching powder to avoid crease slip by hour four.
- Standout variation: Bronze wash lid melting into a russet crease, the single most era-defining eye of the decade.
- How to ask your makeup artist: Request a "warm monochrome eye, diffused edges, no black liner" and name the one idea below you want to learn to repeat at home.
In This Guide
- Golden Bronze Lid Wash
- Russet Crease Blur
- Terracotta Blush Drape
- Feathered Lower Lashes
- Glossy Peach Lip
- Soft Brown Waterline
- Cher-Inspired Sleek Lid
- Frosted White Highlight
- Warm Copper Smoke
- Berry-Stained Disco Lip
- Full Feathered Brow
- Peachy Cheek Glow
- Mustard-Gold Pop
- Nude Beige Everyday
- Bronzed Sunset Gradient
Intro
The 1970s made warmth the whole point of a makeup look. Where the 1960s leaned cool and graphic, all cut creases and stark liner, 70s glam makeup traded in golden bronzes, spicy russets, terracotta cheeks, and a lit-from-within glow that read the same under disco lights or afternoon sun. That shift is a gift for beginners: warm tones diffuse into each other, so a slightly uneven blend still looks intentional, and most of these looks start with a single cream or powder you can apply with a fingertip.
The palette is having a real moment again, too. Golden-hour bronze, sunset gradients, and glossy peach lips keep showing up across fashion editorials and beauty feeds, so learning these now is less costume, more current. This guide breaks the decade into 15 distinct, repeatable ideas. Some are five-minute everyday warm-ups; others nod to the sleek, elongated eyes of icons like Cher or the frosted shimmer of the disco floor. For each you'll get exact shades and finishes, who it flatters by eye shape and undertone, a realistic upkeep window, one concrete pro tip, and the phrase to use if you'd rather have a professional build it for you. Pick one, master it, then layer and mix — that's how 70s inspired makeup was worn the first time around too.
01Golden Bronze Lid Wash
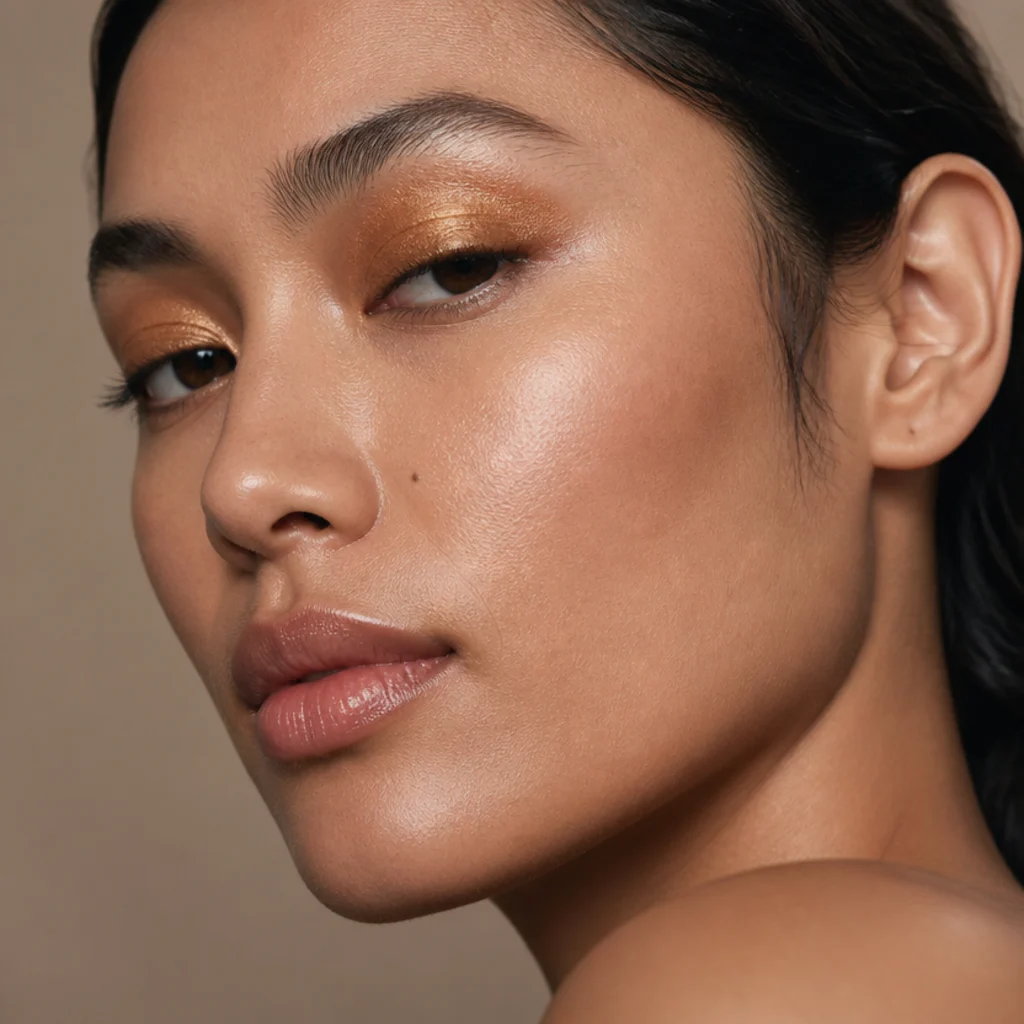
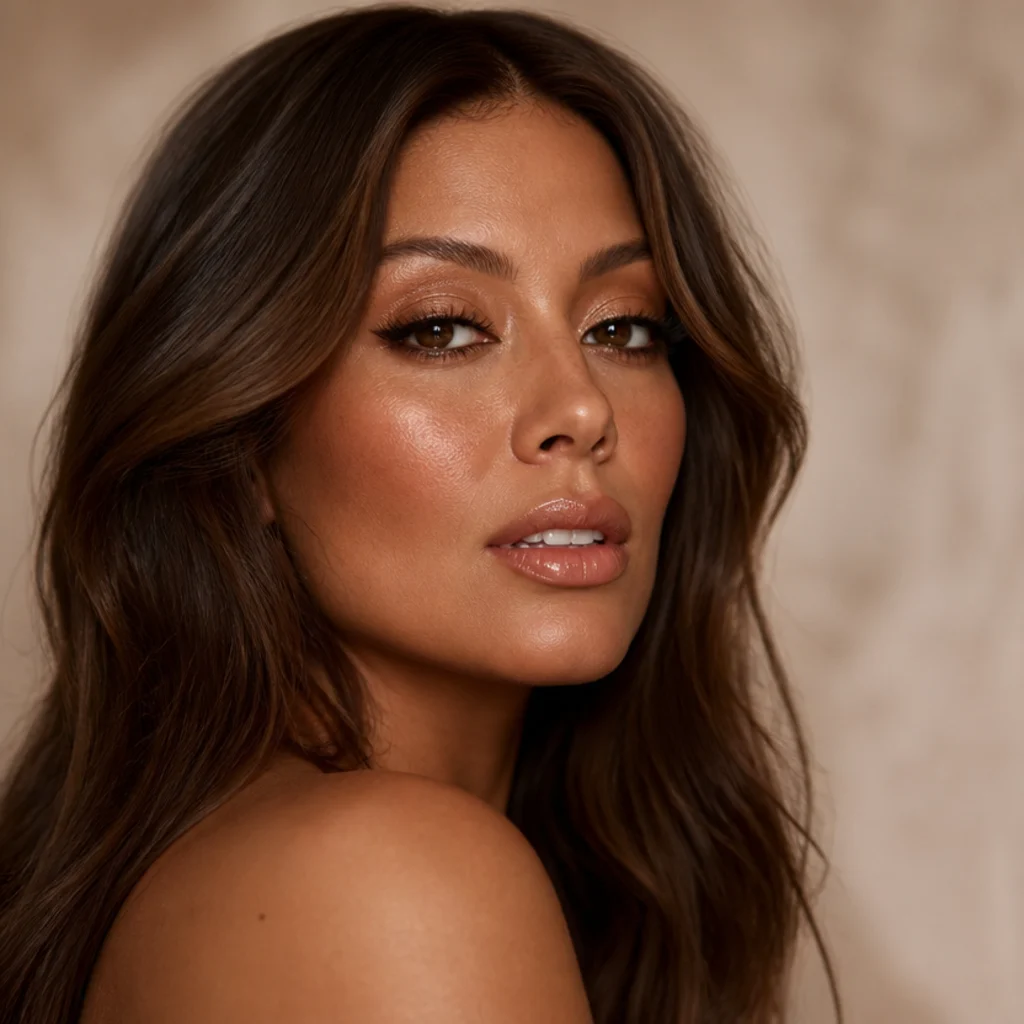
This is the easiest way into 70s glam makeup out of everything on this list. Choose a golden-bronze cream in a soft satin finish, not heavy glitter, then swipe it across the mobile lid with a flat fingertip and press-roll the top edge into the socket to fade it out. Fair skin looks best in a light honey-bronze, medium skin in true golden bronze, and deep complexions in an antique or reddish gold that won't turn ashy. The wash sits low and open, so it works on every eye shape. Cream can slip on oily or hooded lids; set it with a matching bronze powder to push wear past hour four, and expect to touch up a bare cream by midday. This one is about as beginner as makeup gets. Pro tip: tap a sticky cream-shadow base or a dot of concealer down first so the bronze grips and the color reads truer. Tell your makeup artist you want a "one-finger monochrome warm wash" and you'll be able to copy it yourself in under three minutes.
02Russet Crease Blur
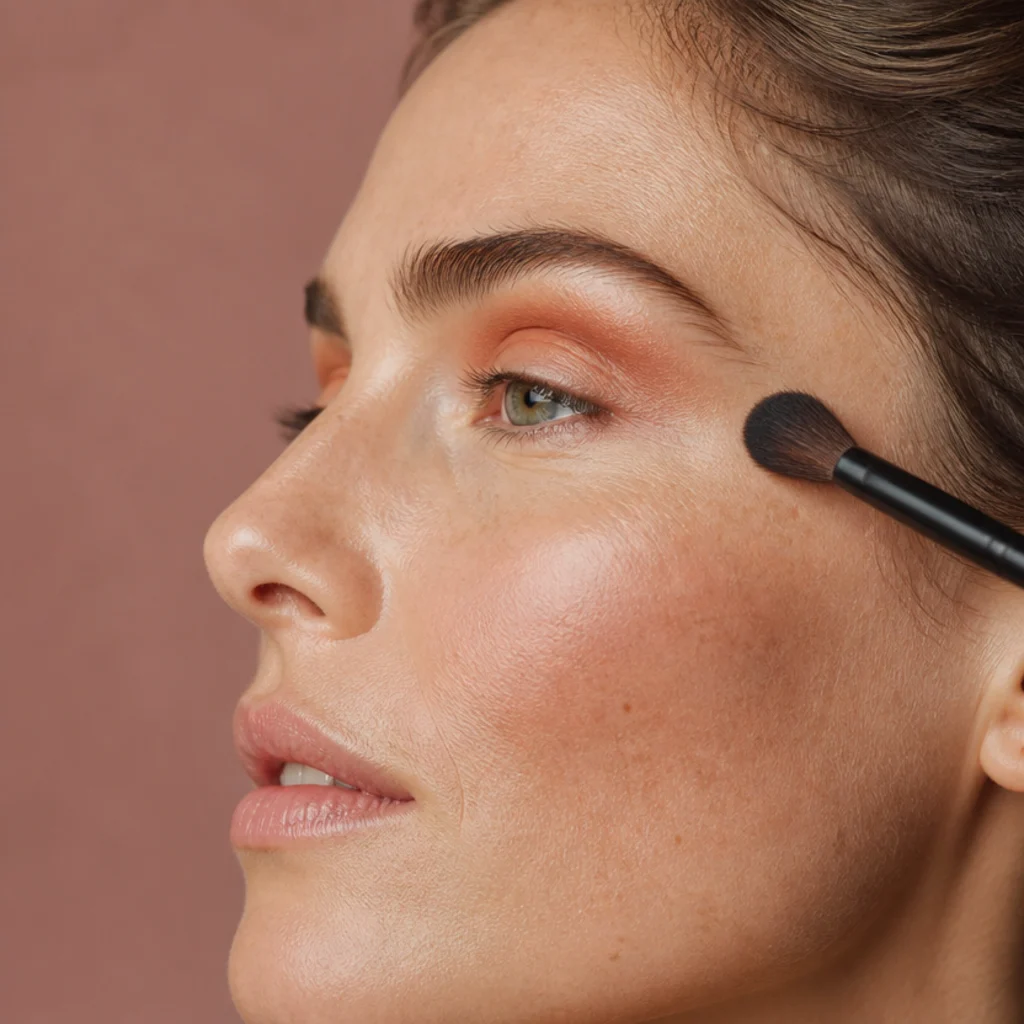
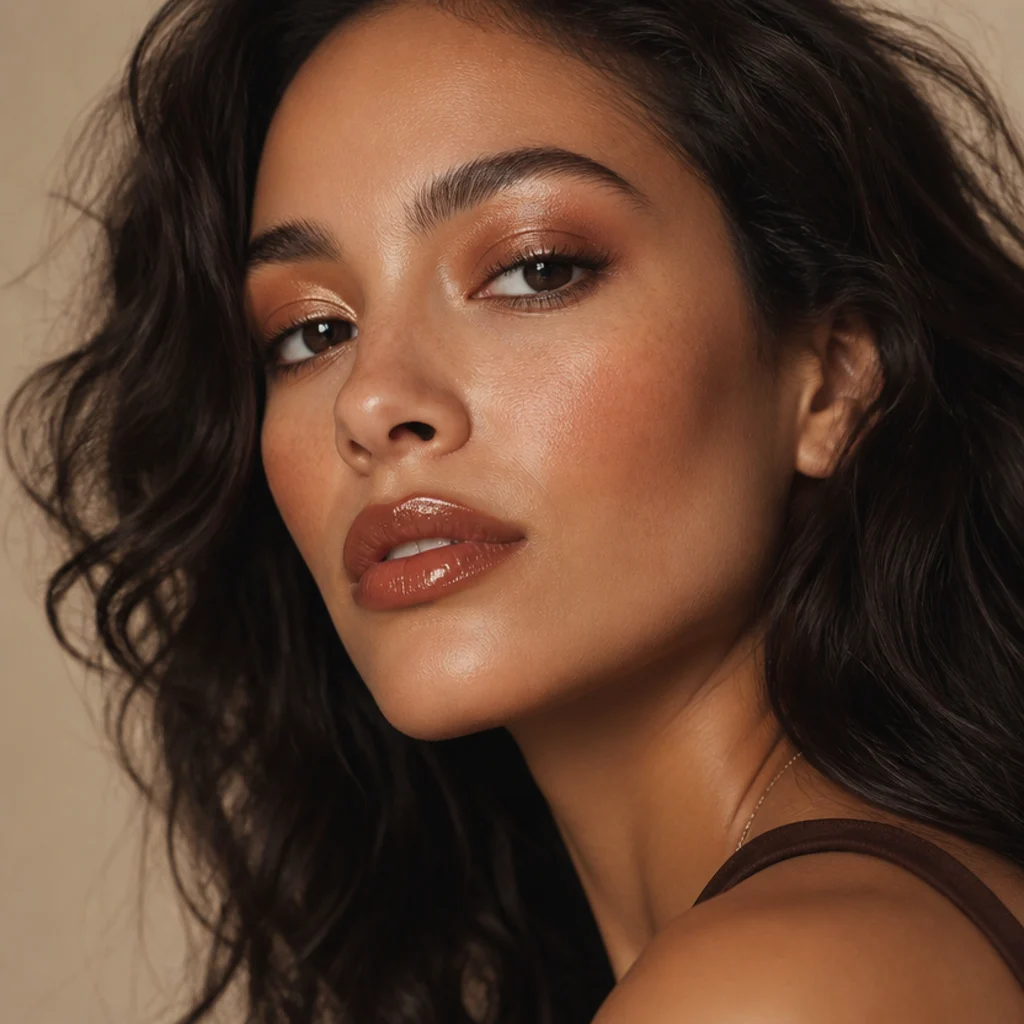
Load a fluffy blending brush with a warm reddish-brown, brick, or cinnamon powder, tap off the excess on the back of your hand, then sweep it through the crease in small windshield-wiper strokes, keeping the color above the lash line so it reads as shadow rather than smudge. This is the era's fingerprint, the fastest way to add depth without a hard edge. Green, hazel, and brown eyes warm up especially well under it. Hooded eyes should float the color slightly above the natural crease so it still shows with the eye open; downturned eyes should stop the blur before it drags past the outer corner. Upkeep is low, and it layers cleanly over the bronze wash from idea one. Pro tip: build in two or three sheer passes instead of one heavy dip. Russet turns muddy fast once you overload the brush. Ask a makeup artist for a "diffused warm crease with the lid still showing."
03Terracotta Blush Drape
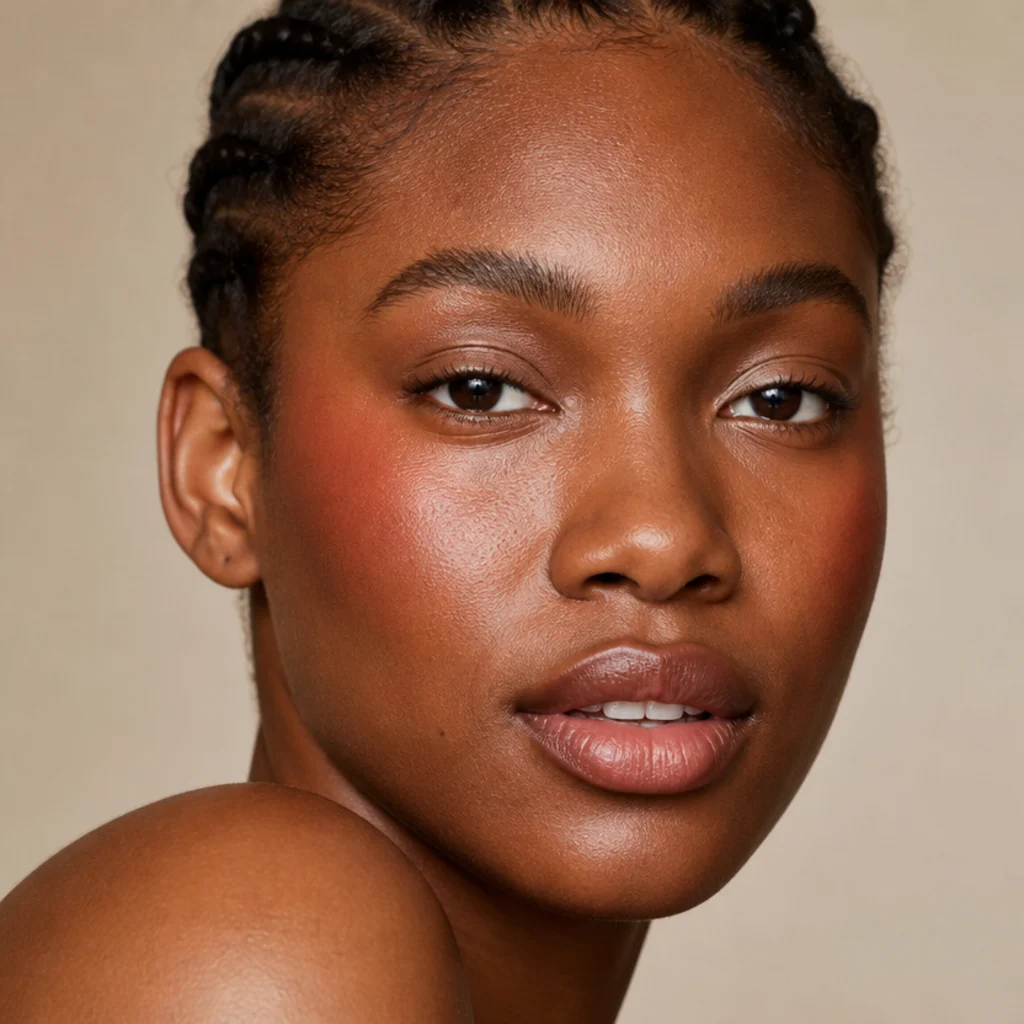
Blush draping was everywhere in the decade, and it still reads instantly pulled-together. Smile lightly to find the apple of your cheek, then sweep a terracotta or brick blush up and back toward your temple, letting it connect loosely to the outer eye. That lifted, elongated placement, not a round cheek pop, is what separates a retro drape from a modern one. Cream formulas melt into dry or mature skin for a lit finish; powder holds longer on combination and oily skin. Fair complexions suit a brightened coral-terracotta, medium skin a true clay, and deep skin a rich burnt brick that won't fade into nothing. Powder draping holds 6-8 hours; cream needs a powder dusting on top to match that. Pro tip: apply the drape before foundation for a diffused, skin-like effect, or after for a bolder, more graphic statement. Ask a pro for "70s blush draping" and tell them how high up the temple you want it to go.
04Feathered Lower Lashes
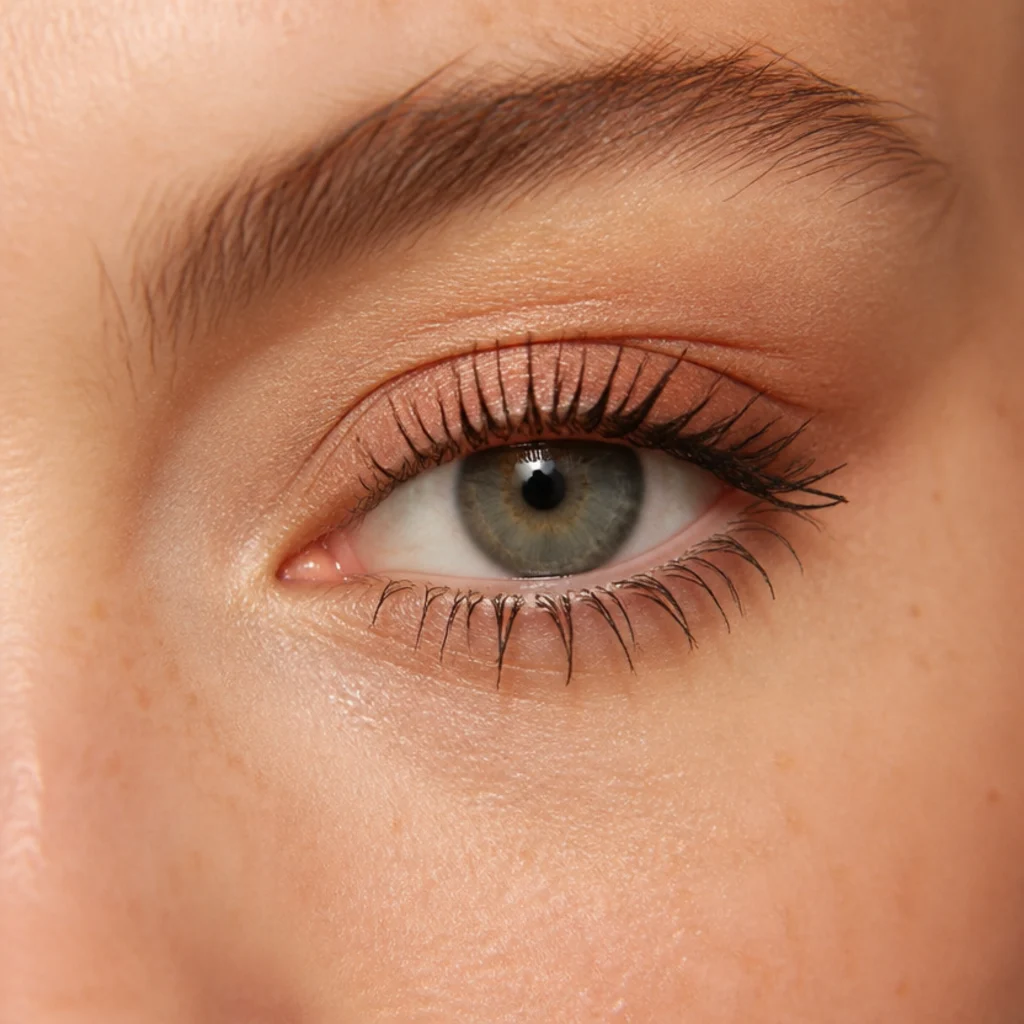
Coat the lower lashes with a light hand: wiggle a brown mascara wand at the root, then pull straight down so each lash stays distinct instead of clumping together. One thin coat is the whole look. Spidery, separated lashes top and bottom gave 70s eyes their doll-like openness, and brown reads softer and more period-accurate than black in daylight. Round and downturned eyes get a wide, framed base from this; it also visually rounds out narrow eyes. Maintenance sits at moderate, since lower-lash mascara transfers under the eye as it wears. Press a folded tissue underneath as a shield before you apply, then set with a whisper of translucent powder. Pro tip: comb through with a spoolie or dry clean wand to separate lashes before the mascara sets. Want it fuller? Ask your lash tech for "spiky, textured individuals" rather than a uniform full set.
05Glossy Peach Lip
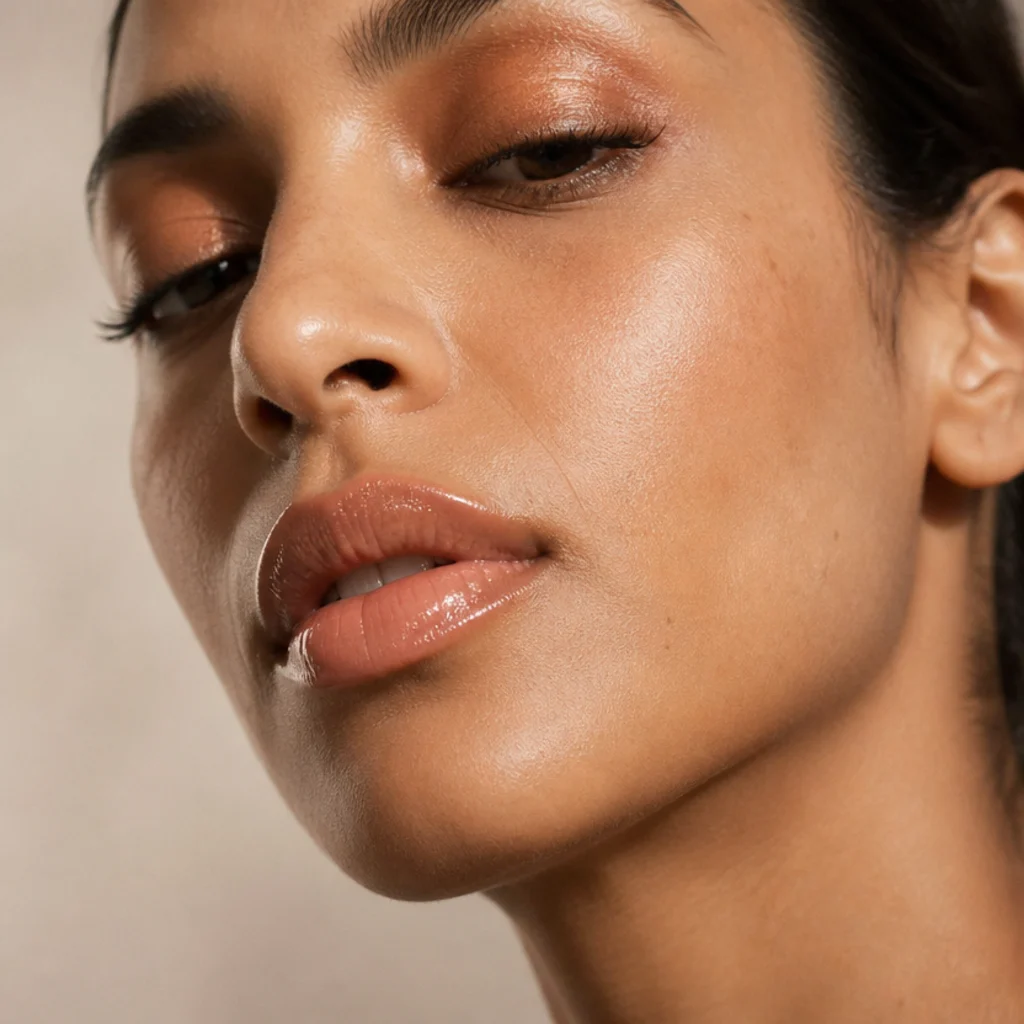
After a warm eye and cheek, keep the lip soft and luminous. Use a sheer peach gloss on its own, or dab a peach cream into the center of the lips and top it with clear shine for a fuller, disco-era finish that still lets your natural lip show through. Warm and neutral undertones can wear it straight; cooler skin should shift toward a peachy-rose so it doesn't look sallow. Placement precision doesn't matter much here, which makes this the lowest-commitment idea on the list, but gloss is also the shortest-wearing: plan to reapply after drinks or a meal, roughly every two to three hours. Pro tip: line and lightly fill with a nude-peach pencil first, so when the gloss wears off you're left with a soft stain instead of bare lips. At the counter, ask for a "warm peach sheer" and test it in daylight by a window before you buy.
Save this to Pinterest to build your own 70s look board.
06Soft Brown Waterline
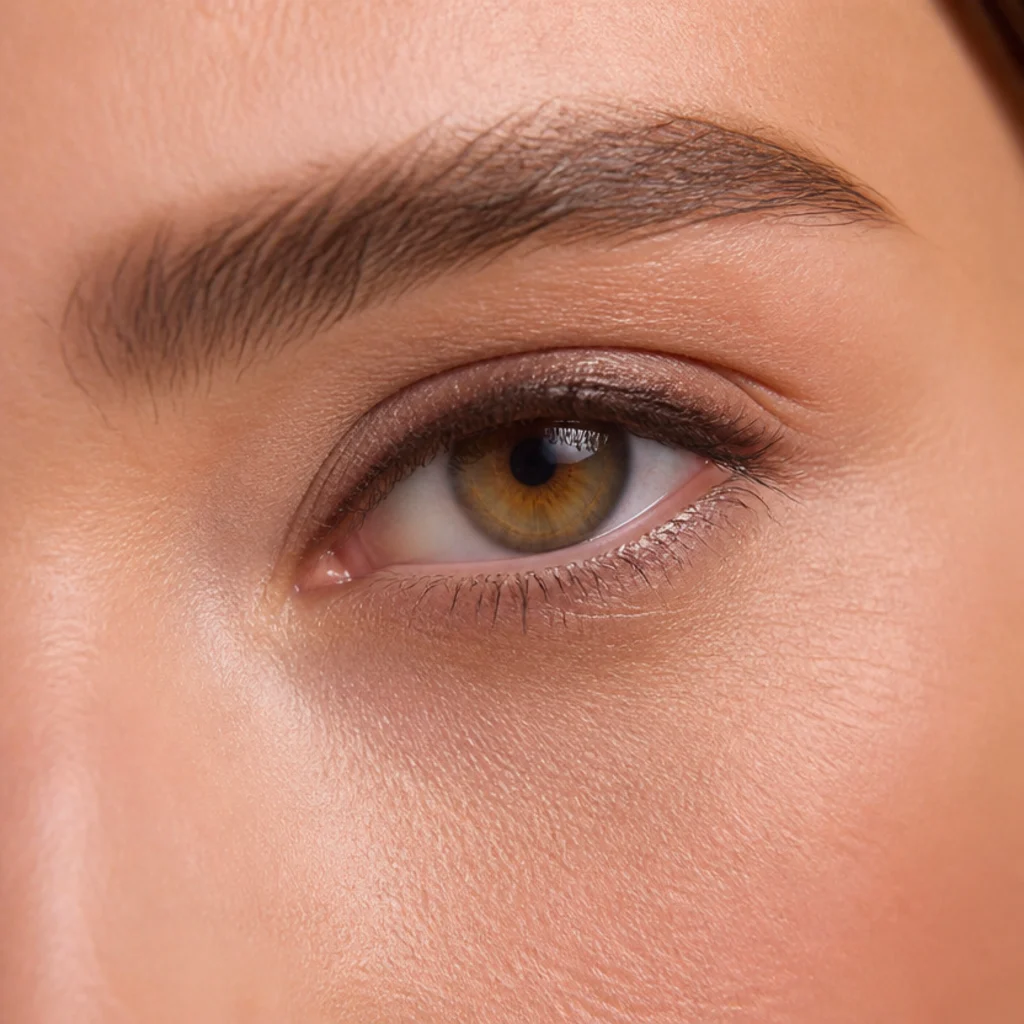
Skip the harsh black liner. Warm a soft brown pencil against your fingertip for a second so it glides instead of drags, tightline it into the upper waterline and lash roots in short taps, then soften the top edge upward with a cotton swab or a small smudger. The result adds definition without losing that sunlit, period-correct feel. It suits anyone who finds black liner too severe, and it's especially kind to smaller, hooded, or downturned eyes that dark liner tends to close down. Maintenance runs medium, since waterline product fades and migrates; press a matching brown or bronze powder over the line with a small brush and you'll roughly double its stay. Pro tip: pick a waterproof or gel-based brown pencil so oil from the waterline doesn't lift it within the hour. Ask a pro for a "soft brown tightline, no wing" to keep the definition diffused.
07Cher-Inspired Sleek Lid
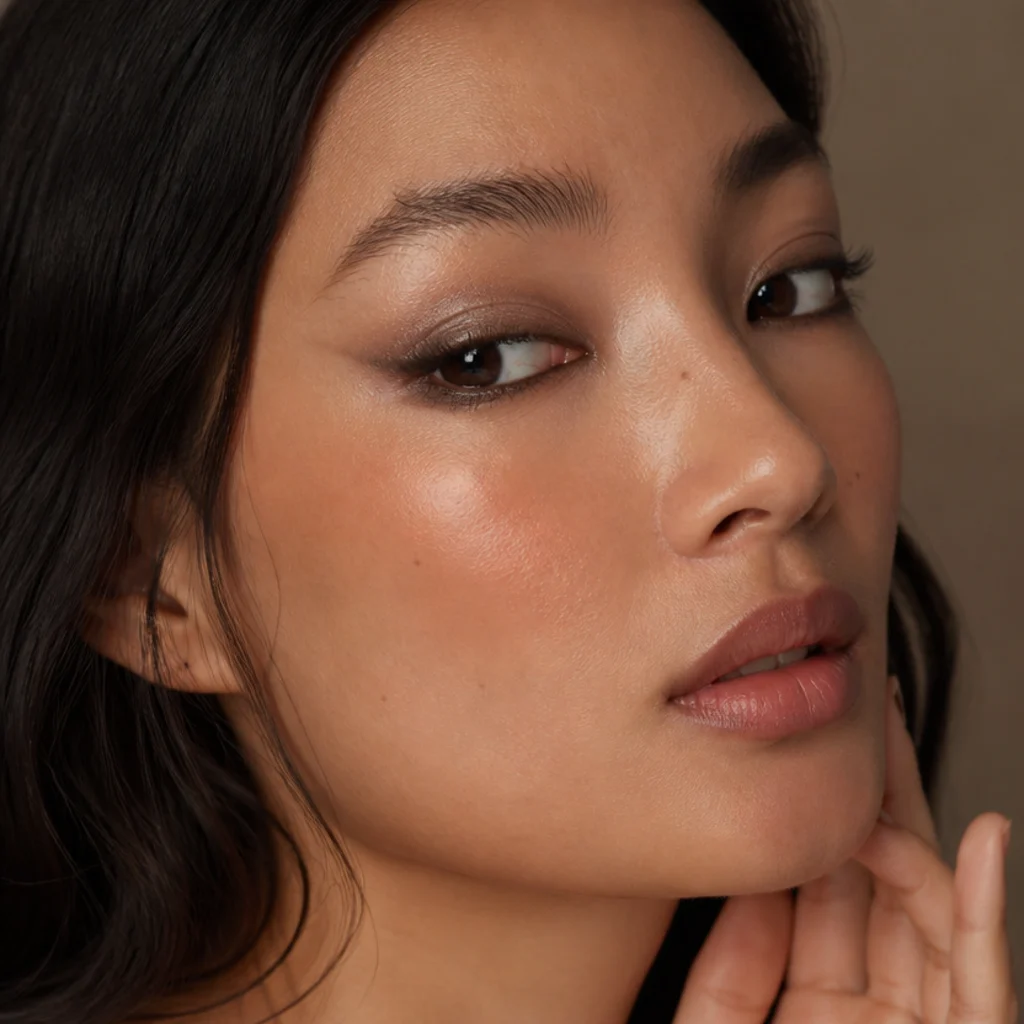
For a more dramatic night, remember that cher makeup 70s style went long, sleek, and glossy rather than smoky. Keep the lid mostly one satin taupe or warm bronze, extend the outer corner slightly up and out following the angle of your lower lash line, then buff away every hard edge so the shape looks stretched instead of lined. The goal is a clean elongation, nothing sharp. Almond, monolid, and slightly downturned eyes carry that horizontal pull best; round eyes get a nice lengthening effect from it too. Upkeep runs medium, since satin finishes migrate on warm lids, so a thin powder base underneath isn't optional here. Give yourself a steadier hand and good light before you start this one. Pro tip: map the outer extension with a pale nude pencil first, check both sides match with your eyes open, then pack shadow over it. Tell your makeup artist you want a "70s elongated satin eye, Cher-inspired, no heavy smoke."
08Frosted White Highlight
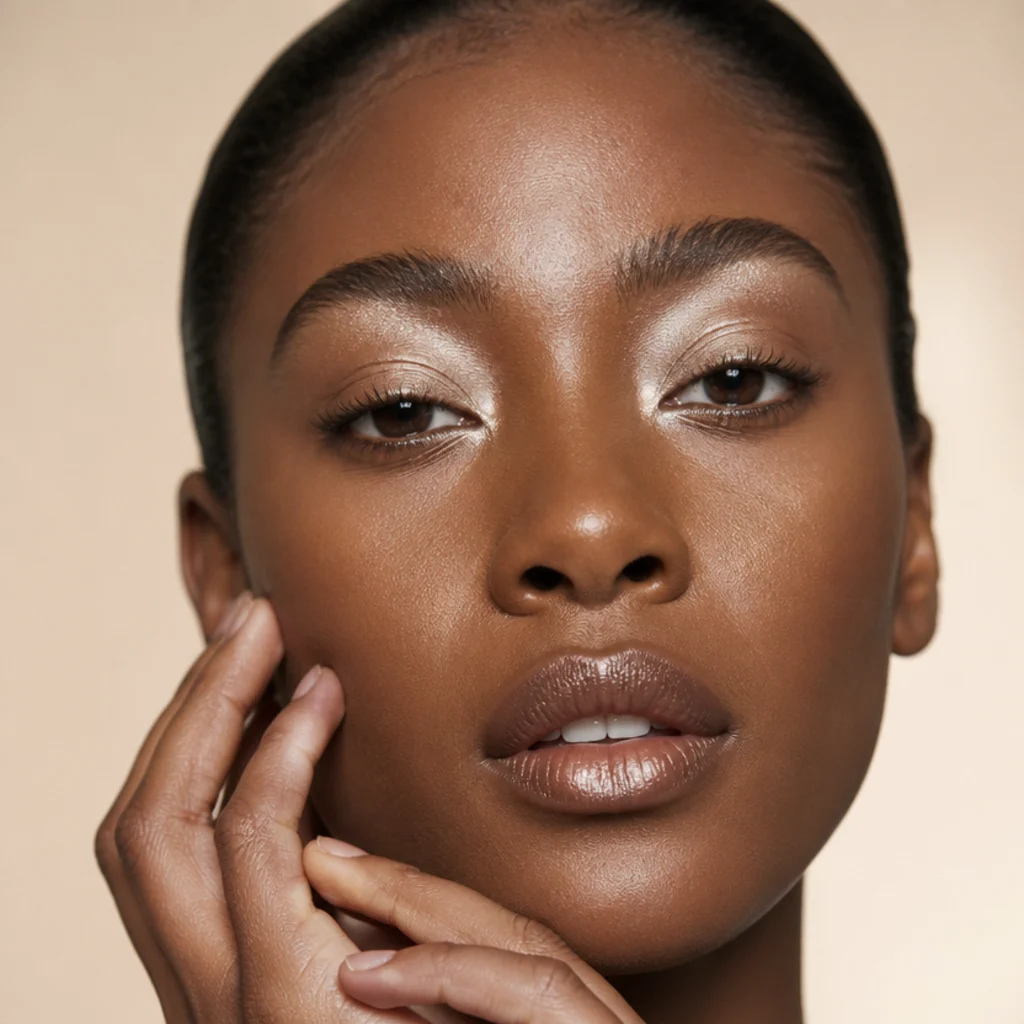
A touch of frost is pure disco. Press a white or pearl shimmer onto the inner corners and just beneath the brow bone, using a flat fingertip or a small packing brush; pat rather than drag so the color stays concentrated and reflective where you want it. This works across skin tones, though deep complexions tend to look richer in a champagne or pink-pearl frost than in stark chalky white. Maintenance is low, but heavy metallic shimmer can settle into fine lines and crepey areas, so keep it to two small accent points and press instead of piling it on. Pro tip: tap the frost over a dab of concealer or cream shadow at the inner corner. The tack makes it cling and cuts down on fallout onto your cheek. Ask a pro for a "frosted inner-corner and brow-bone pop, just a hint."
09Warm Copper Smoke
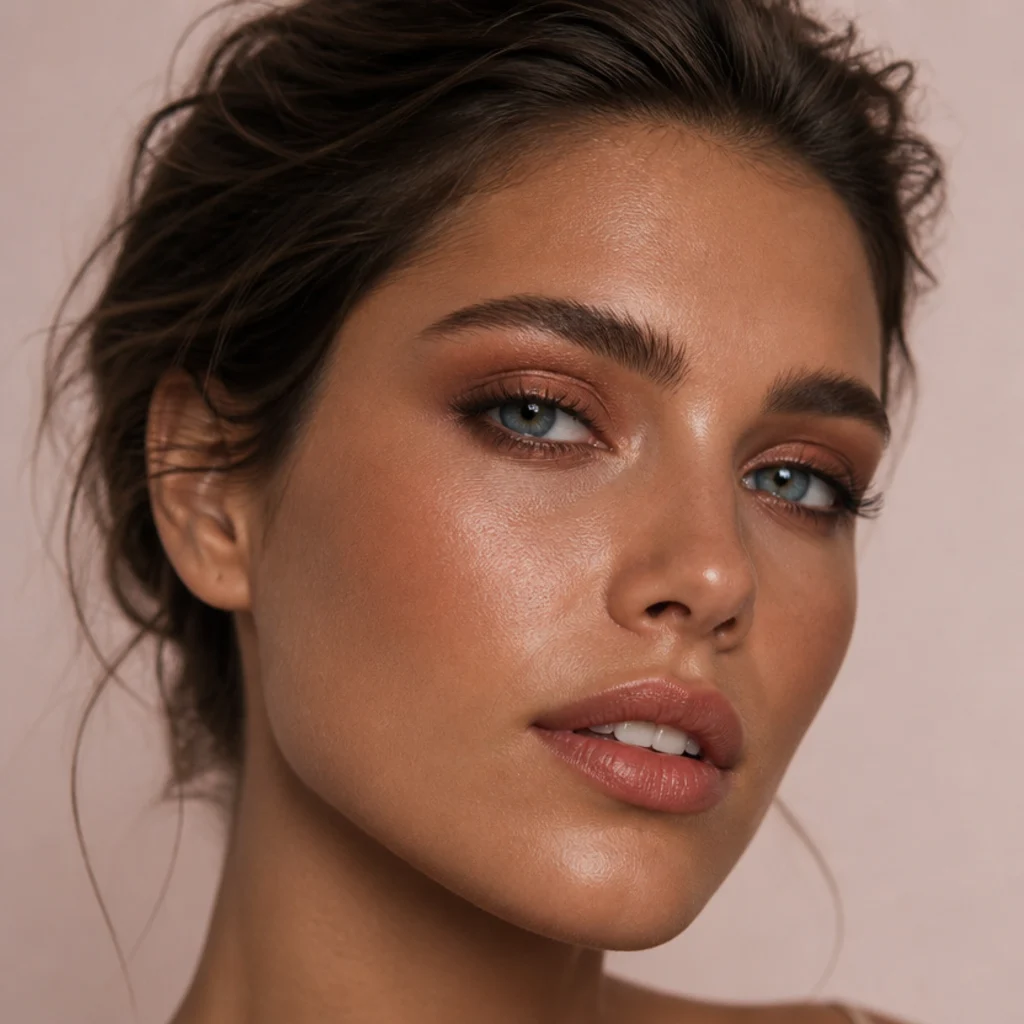
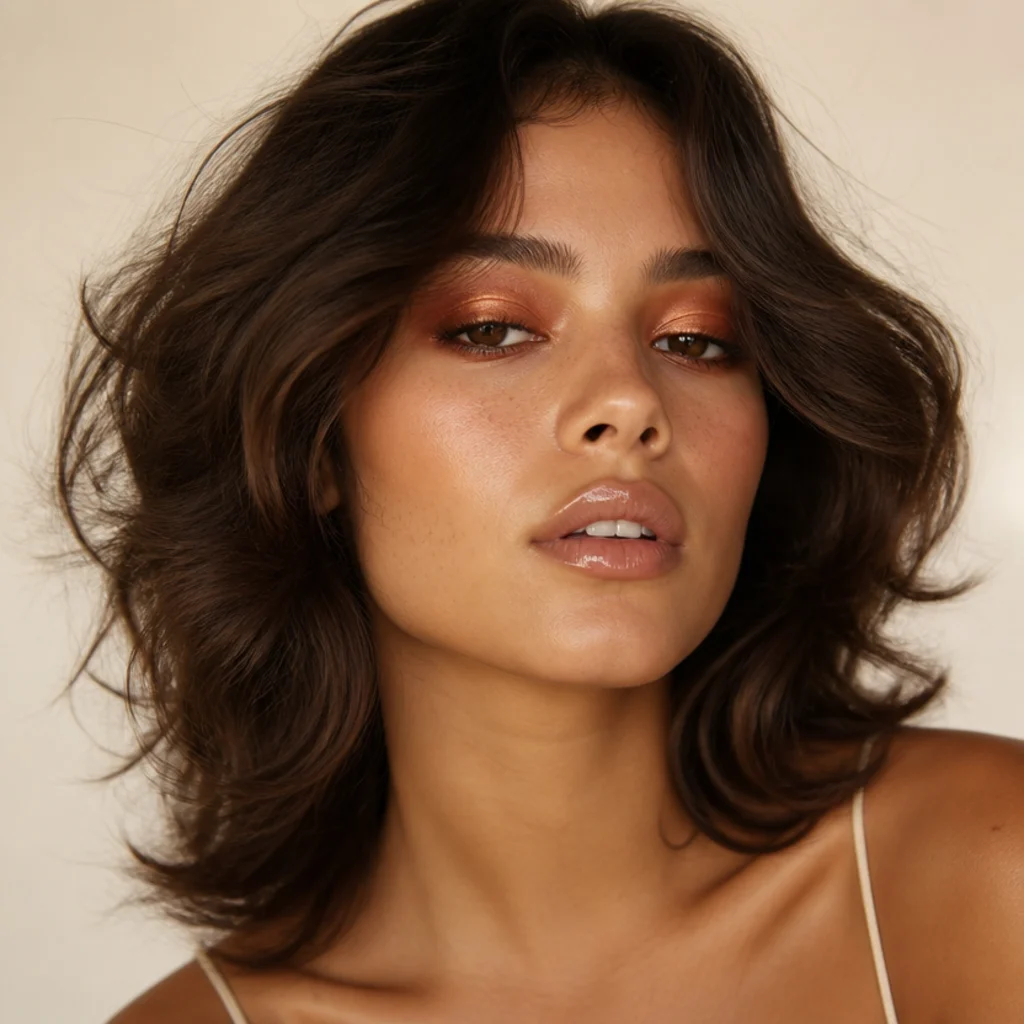
Pack a copper shimmer onto the mobile lid with a flat brush or fingertip, then take a clean fluffy brush and buff the outer and upper edges into a soft haze. Because copper is warm, any unevenness just reads as glow, not error, which makes this the forgiving cousin of the classic black smoky eye. Blue and gray eyes pop through the complementary contrast, and it looks especially rich against warm, deeper skin. For more drama, add a smudge of warm brown into the outer V. Upkeep is medium: shimmer fallout is common, so either do your eyes before foundation or lay a folded tissue under the eye and sweep the fallout away afterward. Pro tip: spritz a setting mist onto the flat brush before the final press of copper. It intensifies the metallic shine and locks down loose shimmer. Request a "warm copper halo with soft, not sharp, edges."
10Berry-Stained Disco Lip
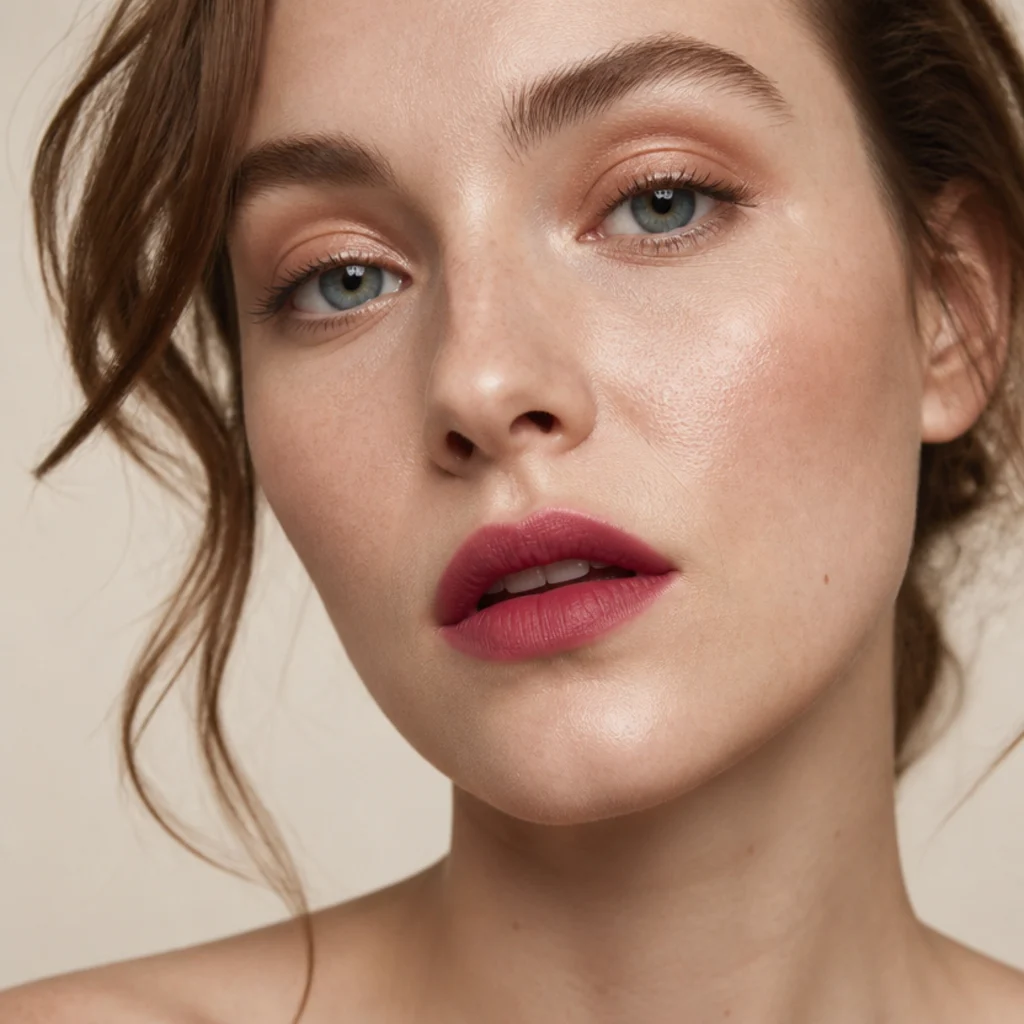
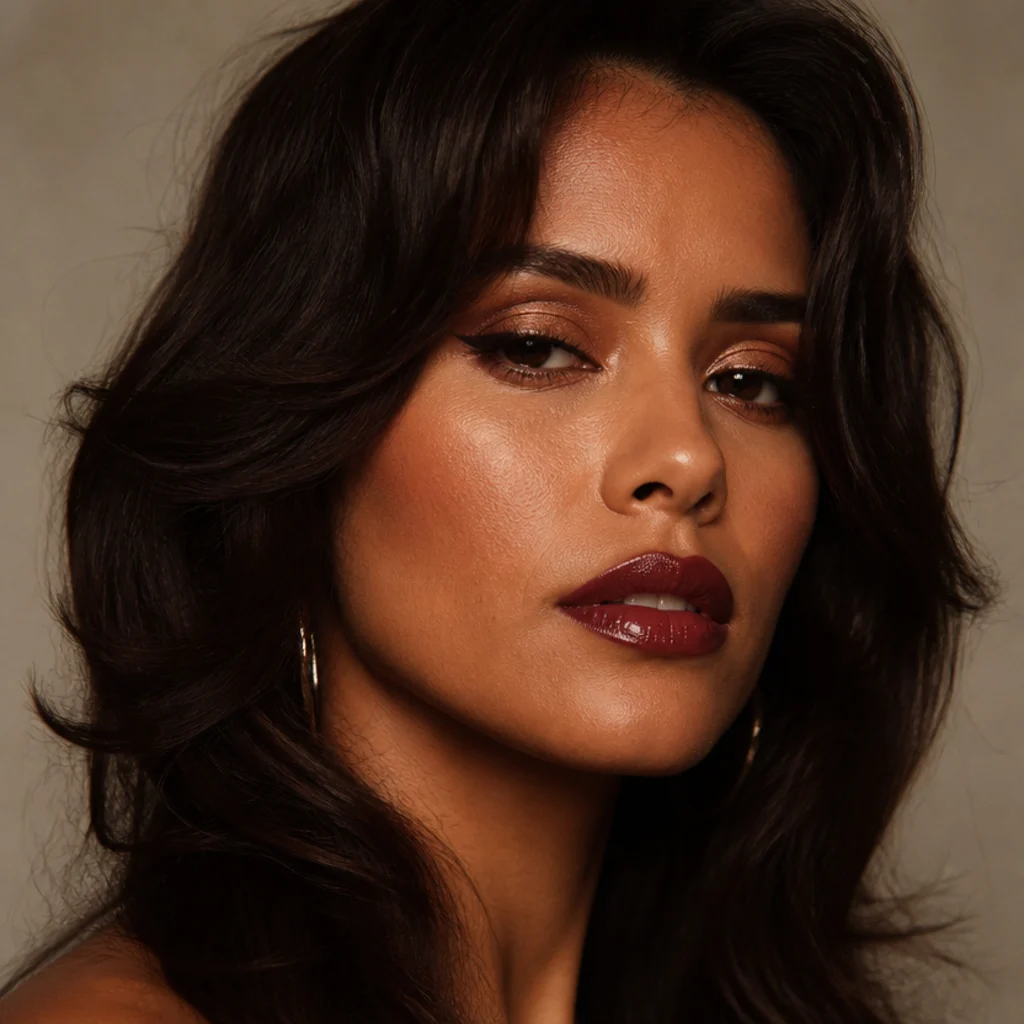
Apply a berry or wine lip color across the lips, then press them onto a folded tissue to leave a stained, lived-in wash instead of full opaque coverage. Nightlife called for a deeper mouth, and a blotted stain is far easier to wear than a bold slick: it won't feather or bleed into fine lines, and it survives a drink. Cool and neutral undertones can wear it directly; warmer skin should lean toward a brick-berry or plummy-red so it reads intentional rather than off. Maintenance is low once it's stained down, though the very center may need a light re-press after eating. Pro tip: dust a little translucent powder over the first blotted layer, add a second layer, and blot again. The two-layer stain lasts through most of a night out. At the counter, ask for a "berry stain, blotted matte" and swatch it before you commit to a full bullet.
Save this to Pinterest so your night-out look is ready to go.
11Full Feathered Brow
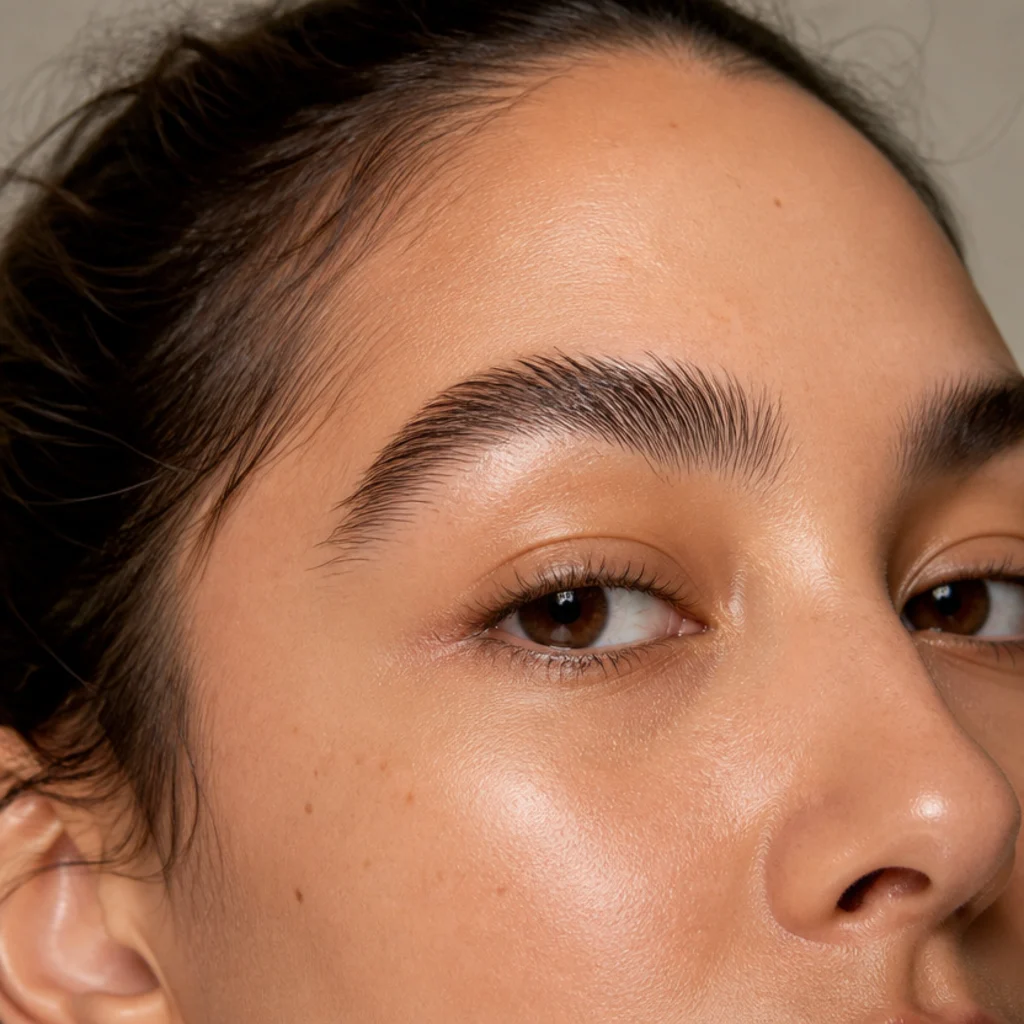
The 70s let brows breathe. Instead of carving a sharp shape, brush them up and outward with a clear or lightly tinted gel to keep them full, fluffy, and feathery, then fill only the sparse patches with tiny hair-like strokes using a fine pencil a shade lighter than your brow hairs. A soft, full brow balances warm eye color instead of competing with it, so this flatters just about every face, and it's a two-minute upgrade. Upkeep is the lowest on this list: put the tweezers down and let the shape grow in for a few weeks before you touch it again. Pro tip: a laminate-style brow gel or a swipe of clear soap on a spoolie holds the hairs up and outward all day for that brushed-up effect. If you book an appointment, ask your brow technician for a "natural, feathered, minimal-shaping" finish, and say clearly that you're growing them out.
12Peachy Cheek Glow
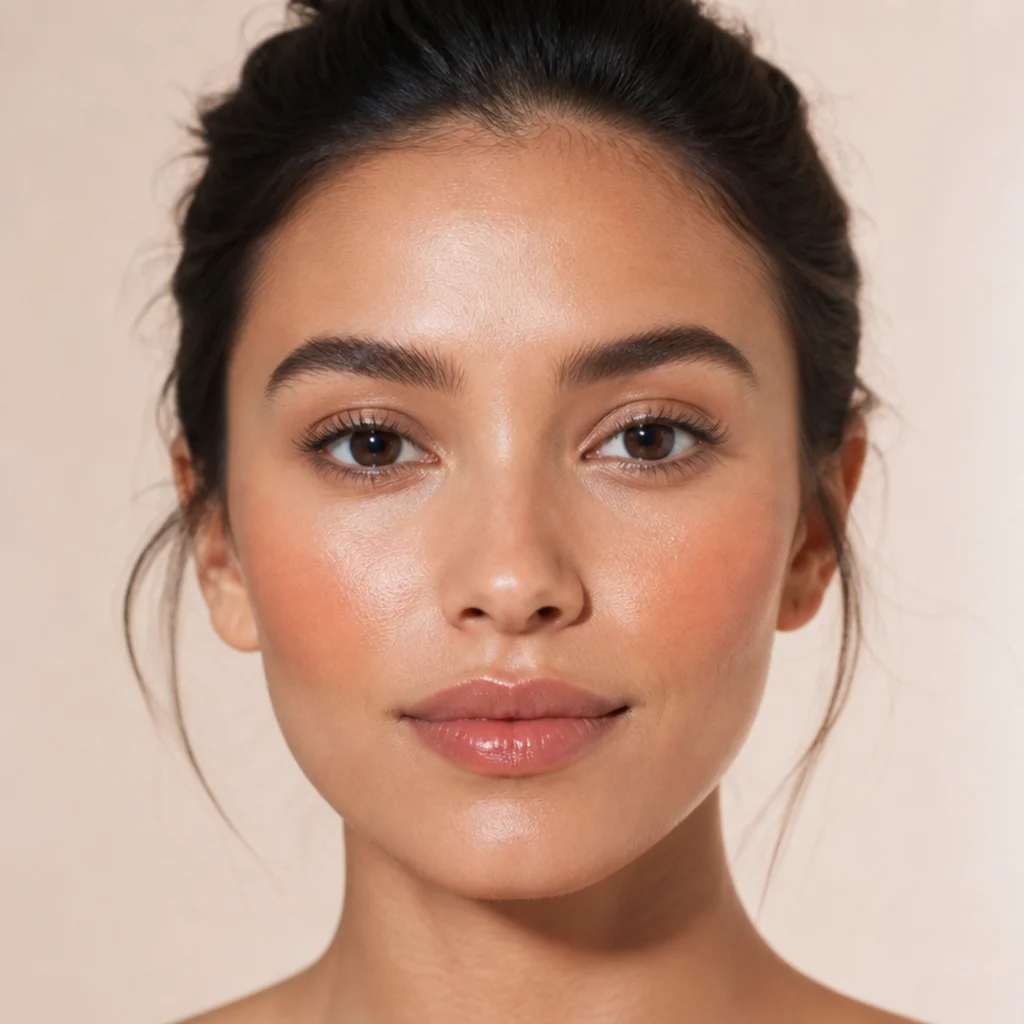
Tap a sheer peach cream blush high on the cheekbones and blend upward and out with your fingertips for a lit-from-within warmth, a softer daytime alternative to the terracotta drape. Cream over bare or lightly covered skin gives that dewy, skin-like finish powder can't fully replicate. Warm and neutral undertones suit it at every depth; deep skin looks especially good in a peachy-copper or warm coral so the color still registers. Maintenance is low, though cream fades faster on oily skin, so press a matching peach powder over the top to stretch it through a full workday. Pro tip: warm the cream between two fingers before applying, then tap it on in thin layers. Body heat sheers it out and helps it melt into skin instead of sitting on top. Ask your makeup artist for a "sheer peach cream, high placement" if you want that specific glow.
13Mustard-Gold Pop
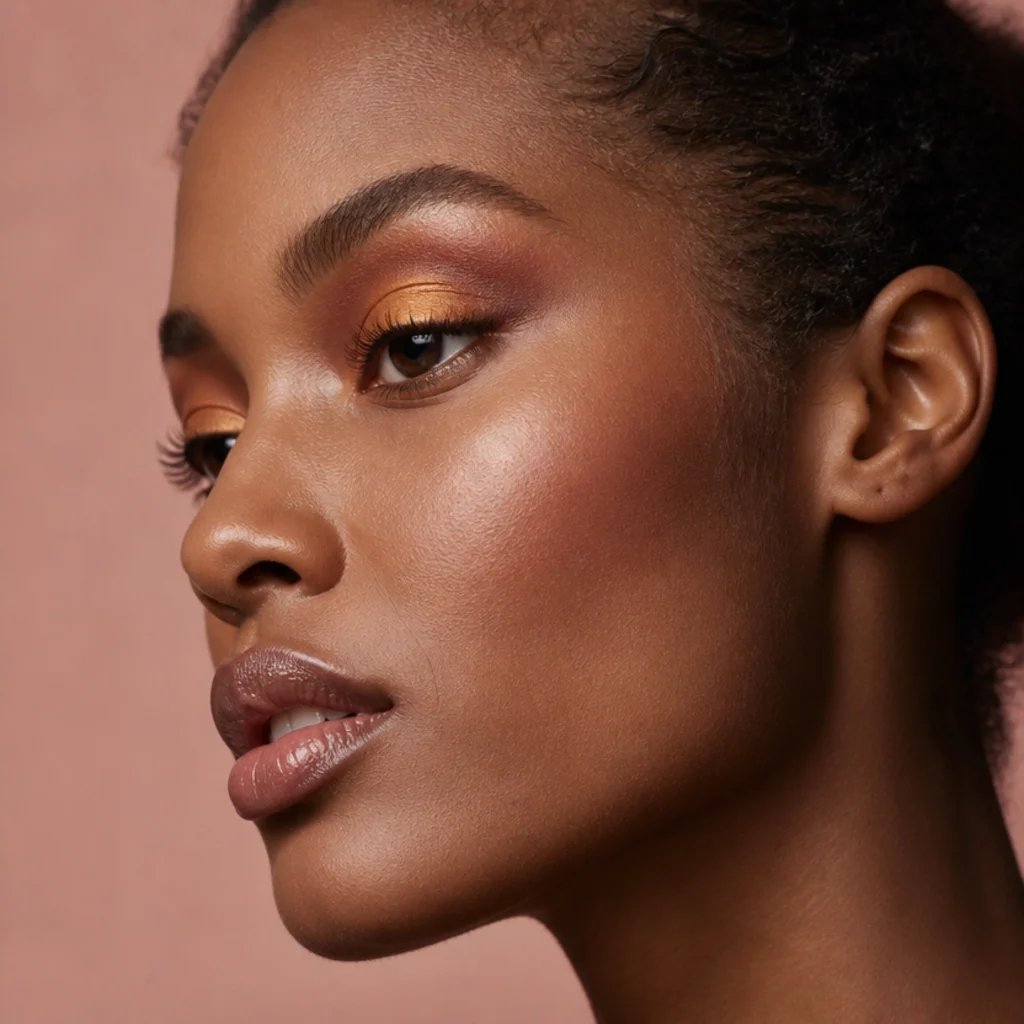
Want a bit of the era's daring color? A mustard or antique-gold shadow patted onto the center of the lid is unexpected but wearable once you see it done right. Keep it to the center third and let the russet crease from idea two frame it on either side, so the yellow-gold reads as a glow spot rather than a flat block of color. It looks striking against brown and hazel eyes, warm on warm, and sits well on deeper skin tones too. Maintenance runs medium, since saturated shadows can fade patchily; a sticky cream base or a swipe of concealer under the gold keeps the pigment true and stops it fading out unevenly. Pro tip: apply the gold with a dampened flat brush. A touch of moisture intensifies a metallic and makes the center-lid pop more reflective. Ask a pro for a "gold center-lid pop framed by a warm crease."
14Nude Beige Everyday
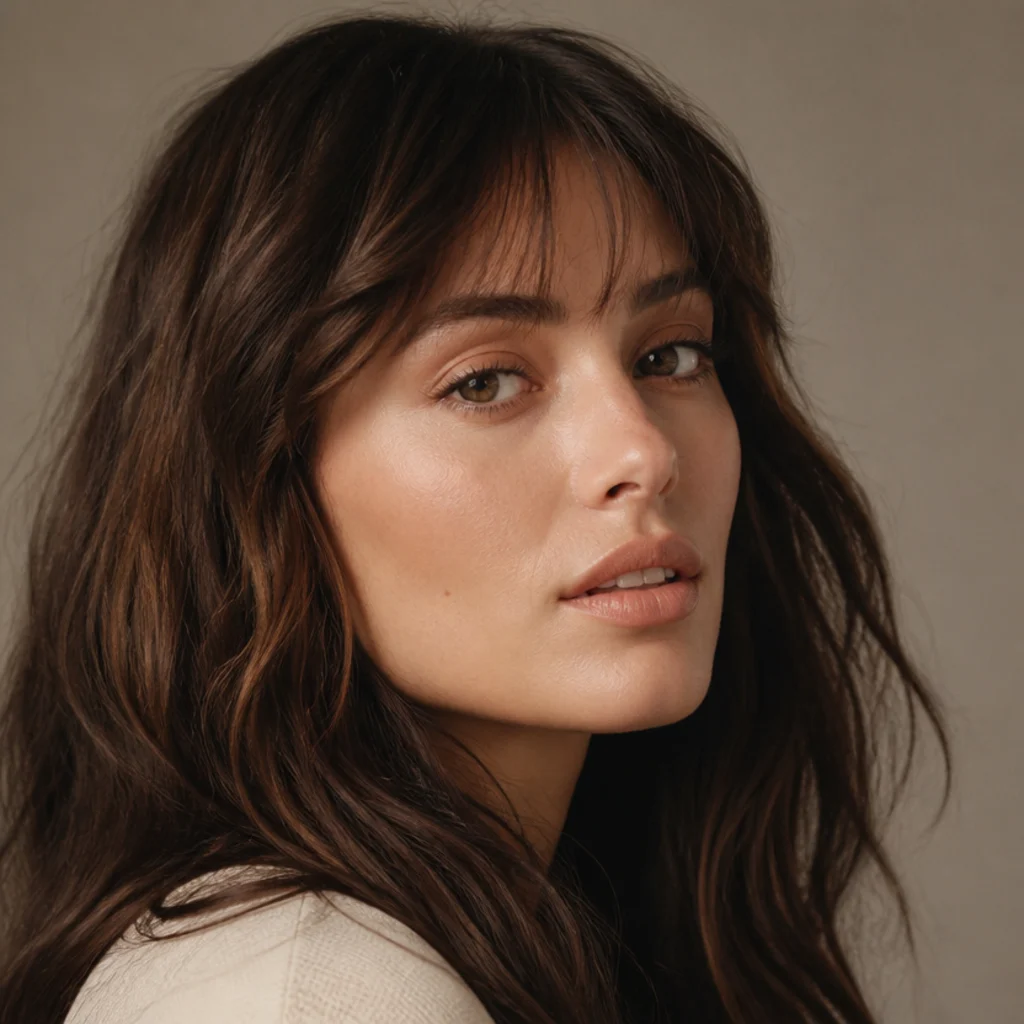
Not every 70s look was loud. For the office or errands, a warm beige matte washed across the lid, one coat of brown mascara, and a nude-peach lip capture the decade's earthy palette in under five minutes. It's the most versatile idea on this list and suits every skin tone and eye shape; deeper complexions should reach for a warm caramel-beige rather than a pale putty so the lid doesn't go grey. Upkeep is minimal, and its real value is as a base: it layers cleanly under any bolder idea here for a fast desk-to-dinner switch. Pro tip: choose a beige one shade deeper than your lid so it adds subtle dimension instead of washing you out, and blend a hint into the crease to fake soft depth. If you want it done once so you can learn the placement, ask for a "warm neutral matte wash" you can recreate at home.
15Bronzed Sunset Gradient
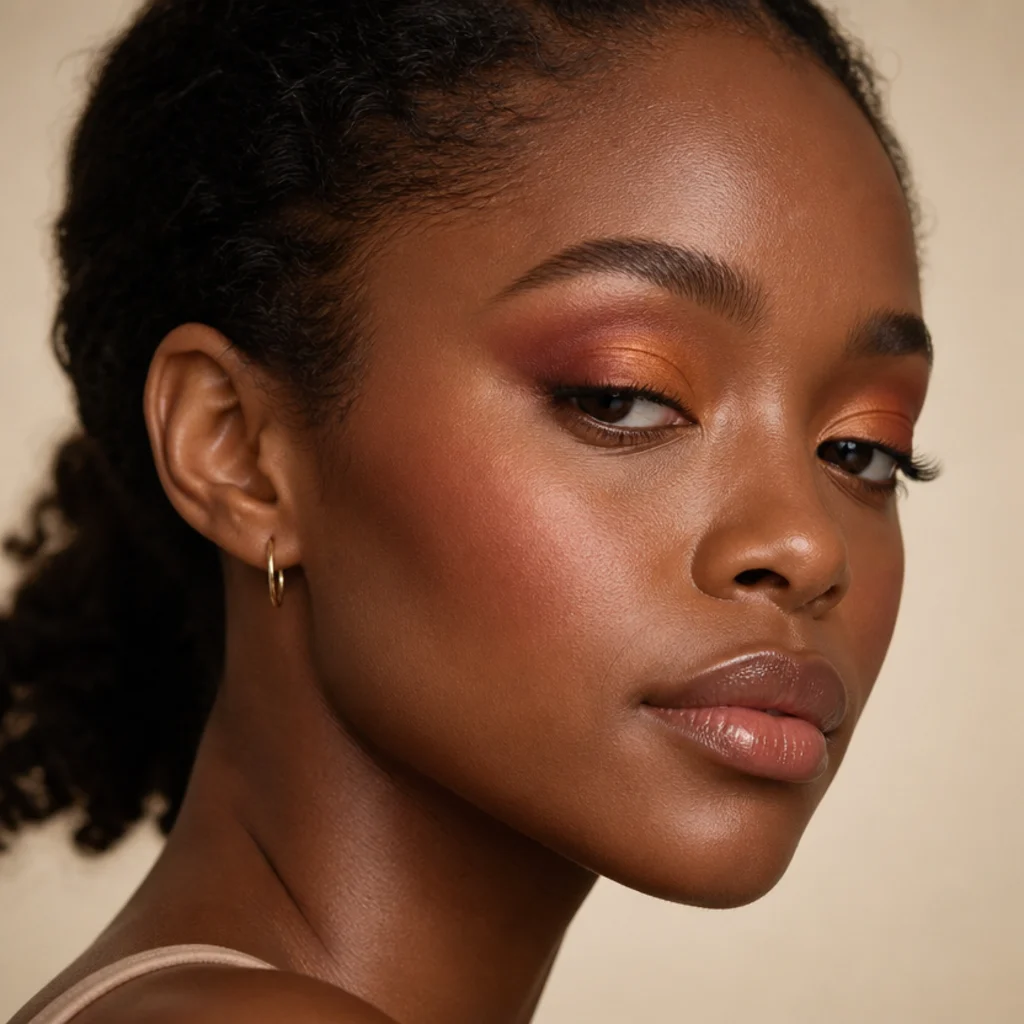
The showpiece pulls the whole era together: golden bronze on the inner lid melting into deep russet at the outer corner, like a sunset across the eye. Lay bronze on the inner two-thirds first, then russet on the outer third and into the crease, and take a clean fluffy brush to buff only where the two meet, back and forth, until there's no visible seam. It's still just two shades and a blending brush at heart, but it rewards patience and makes for the most complete 70s eye on the list. Deep skin tones look especially rich in the warm-to-red fade; lighter skin should keep the russet sheer so the gradient stays soft. Maintenance runs medium given the shimmer and layering, so a primer underneath is worth it. Pro tip: keep one dedicated clean brush that never touches color and use only that to blend the seam. A pigment-loaded brush will muddy the transition. Ask your makeup artist for a "bronze-to-russet gradient, no visible seam" and tell them this is your statement eye.
Pro Tips from the Editor
- Warm your creams, cool your setting. Body heat sheers cream shadow and blush into skin, but set the finished look with a light warm-toned or translucent powder; a cool powder can flip a golden 70s look grey.
- Buy brown mascara before black. It's the most period-accurate swap you can make, and it softens any of these eyes for daytime instantly. Save black for the Cher-inspired night look only.
- A sticky base is your longevity trick. A dab of concealer or a dedicated cream-shadow base under bronze, gold, or copper stops creasing, deepens the payoff, and holds shimmer in place for hours.
- Blend in sheer passes, never one heavy dip. Russet, terracotta, and copper turn muddy the instant you overload the brush. Tap off excess, build in two or three light layers, and stop early.
- Match undertone before you match trend. Golden and copper sing on warm skin; cooler complexions should pull the same looks toward peachy-rose lips, taupe lids, and champagne frost so nothing goes ashy.
- Do eyes before base for any shimmer look. Copper smoke, gold pop, and the sunset gradient all shed fallout; finishing the eye first means you can wipe stray shimmer away and lay foundation over a clean cheek.
- Keep one blending brush pigment-free. A dedicated clean fluffy brush is what makes gradients and creases look diffused instead of smeared; wash it or dust it off between colors.
How to Choose / Get the Look
Start with your comfort level, not the boldest photo. If you've never done a warm eye, begin with the Golden Bronze Lid Wash (idea 1) and the Nude Beige Everyday (idea 14); both are one-product, five-minute looks that teach placement without pressure. Once blending feels automatic, add the Russet Crease Blur and Terracotta Blush Drape for depth and structure. Reserve the Warm Copper Smoke, Cher-Inspired Sleek Lid, and Bronzed Sunset Gradient for evenings when you have twenty unhurried minutes and good light.
Then match the shade family to your undertone and eye shape. Use the quick guide below to skip the trial and error:
| Your feature | Reach for | Ease into later | Skip or adjust |
|---|---|---|---|
| Warm / golden undertone | Golden bronze, copper, terracotta, peach lip | Mustard-gold pop, sunset gradient | Icy or blue-based shades |
| Cool / pink undertone | Taupe lid, russet crease, peachy-rose or berry lip | Cher-inspired satin eye | Stark white frost (use pink-pearl) |
| Deep skin tone | Antique gold, deep copper, brick, berry, champagne frost | Full sunset gradient | Pale putty beige, chalky white |
| Hooded / monolid eyes | Bronze wash, elongated Cher lid | Russet floated above the crease | Heavy dark smoke on the lid |
| Round / downturned eyes | Feathered lower lashes, soft brown waterline | Copper smoke pulled outward | Rounded central-only color |
For 70s makeup and hair as a full look, keep the makeup warm and let the hair carry the rest: soft blown-out waves, a center part, curtain fringe, or a loose shag all read instantly of the decade without adding makeup weight. When you book a professional, name the specific idea, your undertone, and your skill level so they build something you can actually reproduce at home rather than a one-night creation.
Frequently Asked Questions
What makes makeup look "70s" rather than modern?
Warmth, softness, and diffusion. The decade favored golden bronzes, russet creases, terracotta cheeks placed high and lifted, and glossy or stained lips, all with blended, blurred edges instead of sharp graphic lines. Brows were fuller and brushed-up rather than carved. A modern face tends to be cooler, more contoured, and higher-contrast; dial those back and warm everything up and it reads 70s.
Is 70s glam makeup hard for beginners?
Not at all, and that's the point of this list. Most looks are forgiving because warm, soft edges hide uneven blending, unlike a crisp black wing that shows every wobble. Start with a single cream shadow washed across the lid with your finger, add a russet crease once that feels comfortable, and only then move to the shimmer and gradient looks.
What colors should I buy first?
A four-shade capsule covers almost everything here: a golden-bronze shadow, a warm reddish-brown for the crease, a terracotta or brick blush, and a sheer peach lip. Add a brown mascara instead of black and a soft brown eyeliner pencil, and you can build at least ten of these fifteen looks. Choose satin and matte finishes over heavy glitter for the most wearable, period-accurate result.
How do I get a Cher-inspired 70s eye?
Keep the lid one sleek satin shade, usually taupe or warm bronze, and extend the outer corner slightly up and out along your lower lash line, buffing away any hard edge so the eye looks elongated rather than lined. The look is long, clean, and glossy, not a heavy smoke, which is exactly why it reads as cher makeup 70s. Map the outer shape with a nude pencil first so both eyes match before you add color.
Does 70s makeup work for deeper skin tones?
Yes, and the warm palette tends to flatter rich complexions especially well. Reach for antique gold, deep copper, brick, and berry, choose a champagne or pink-pearl frost over stark white, and pick a warm caramel-beige instead of a pale putty for neutral looks. A sticky cream base under gold and copper keeps the pigment vivid rather than letting it fade dull.
How do I keep cream shadow and blush from creasing or fading?
Two moves. First, lay a thin sticky base, a dab of concealer or a dedicated cream-shadow primer, so the color grips. Second, set with a matching powder shade: bronze powder over bronze cream, peach powder over peach blush. That combination pushes a cream look from a midday touch-up to a solid 6-8 hours, especially on oily or hooded lids.
Can I wear 70s makeup to the office or in daylight?
Absolutely. The Nude Beige Everyday, Peachy Cheek Glow, Soft Brown Waterline, and Full Feathered Brow are all deliberately low-key and read as polished rather than costume. Keep finishes matte-to-satin instead of high shimmer, choose brown mascara over black, and skip the frost for daytime; save the copper smoke and berry disco lip for evening.
What's the difference between blush draping and normal blush?
Placement and direction. Standard modern blush usually sits round on the apple of the cheek for a youthful pop. A 70s drape sweeps up and back from the apple toward the temple, connecting loosely to the outer eye, which lifts and elongates the face. That diagonal, elongated lift is the whole retro signal, so extend it higher than you normally would.
Do I need special brushes to do these looks?
No. Most of this list is finger-friendly, especially the cream wash, peach cheek, frost, and gold pop. The two tools worth owning are one fluffy blending brush for the russet crease and gradient, and a spoolie for separating lashes and grooming brows. A small smudger for the waterline is a nice third but not essential for beginners.