5 Leopard Print Nail Mistakes to Avoid
Leopard print looks deceptively simple, yet a handful of small missteps turn a chic animal print into a busy, smudged blur. Here are the five mistakes we see most often, with the exact color, scale, and sealing fixes that keep every spot crisp, balanced, and wearable.
 Edited by Lena Rose · Published July 11, 2026 · 15 min read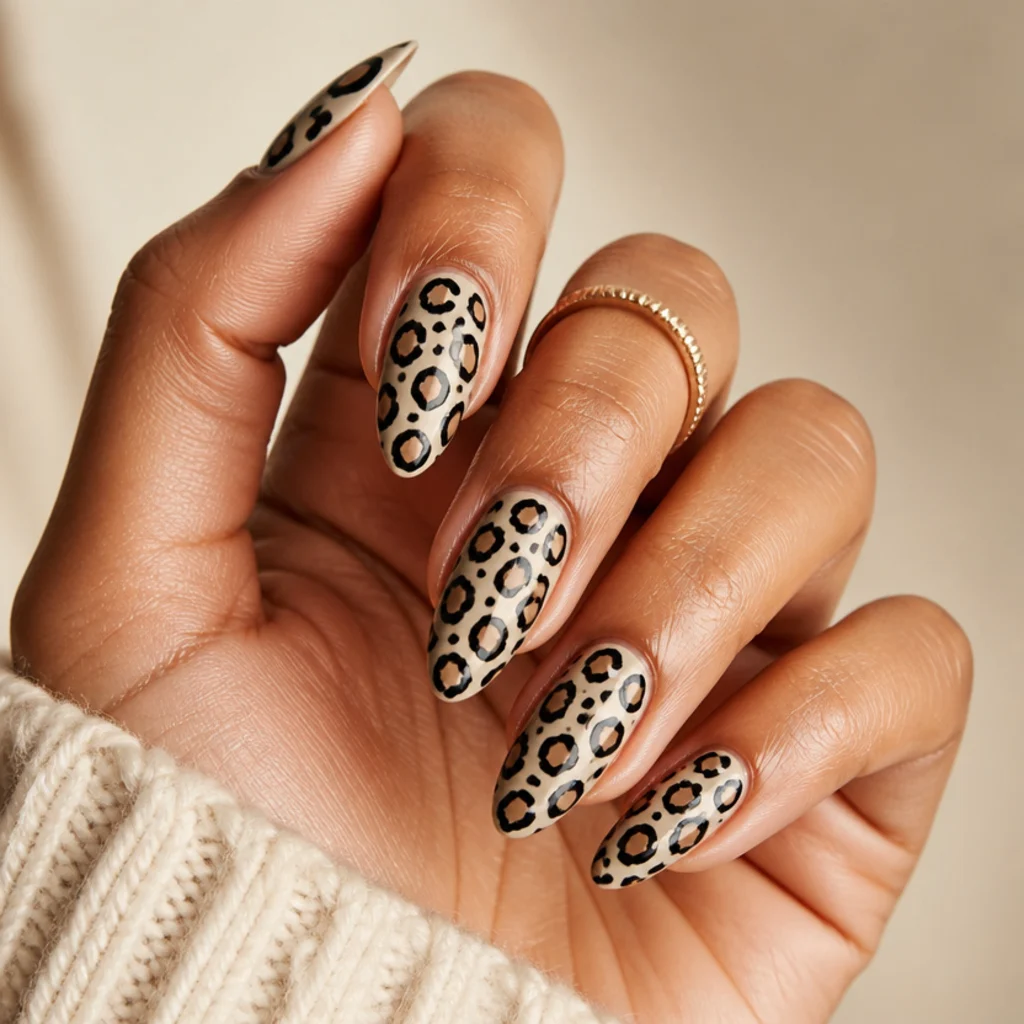
Quick Answer
- Best for: Anyone who loves animal print but wants it to read editorial rather than novelty, especially fans of neutral beige, black, or white leopard print nails.
- Who might skip it: Anyone who prefers a fully filled, maximal print, or who wants a five-minute manicure. Leopard is a detail look that rewards patience.
- Maintenance: Moderate. Gel and acrylic sets hold the print sharp for two to three weeks; a gloss top-coat refresh around day seven keeps the spots from dulling.
- Difficulty: Beginner to intermediate. A dotting tool makes the centers easy; the broken outlines are the part worth practicing.
- Cost: DIY roughly the price of a base, a brown, a black, and a good top coat you likely own. Salon freehand nail art typically runs a mid-range add-on above a standard gel or acrylic set, more for full-hand print than a two-finger accent.
- Wear time / longevity: Two to three weeks on gel or acrylic; five to seven days for regular polish before outlines start to soften.
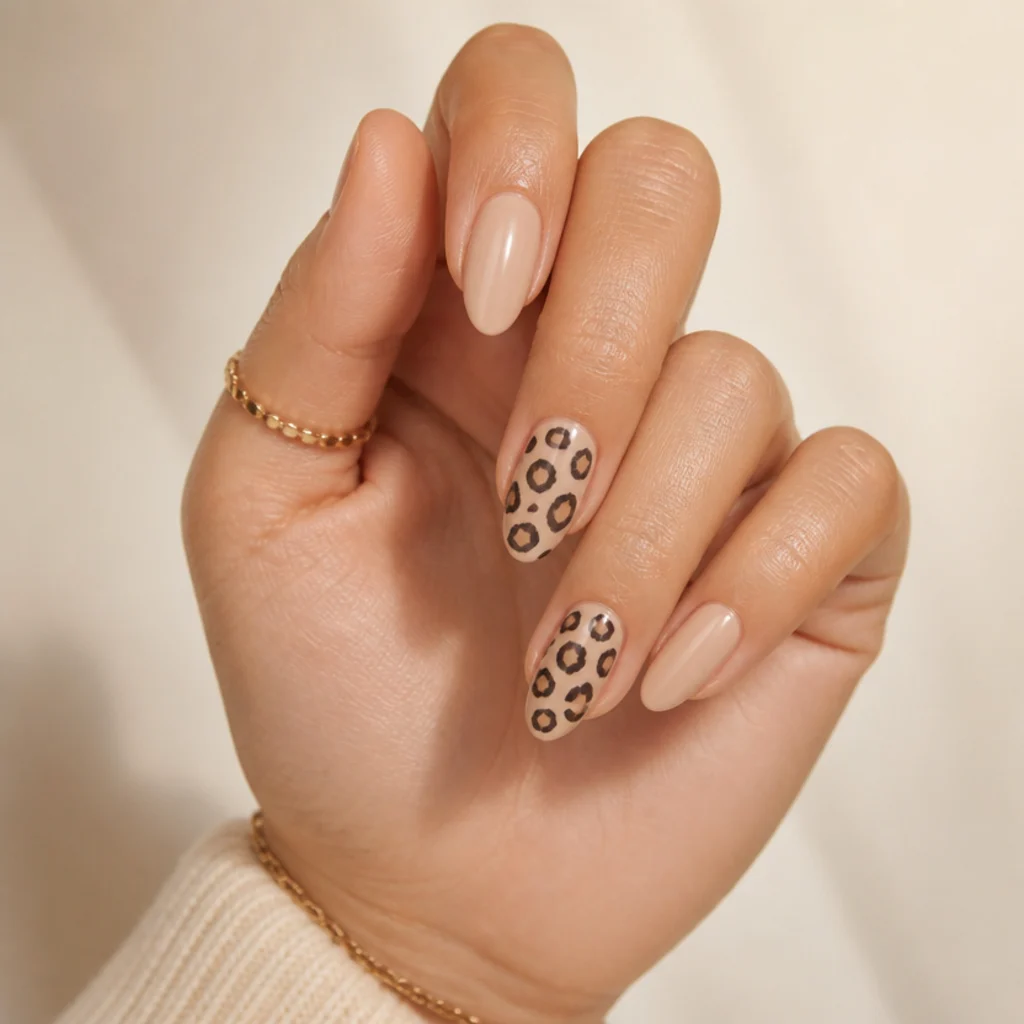
- Standout variation: A neutral base with black leopard print nails on just the ring and index fingers, so the print pops without overwhelming the hand.
- How to ask your nail tech: Bring two or three references and name your base color, number of accent fingers, spot size, warm-brown or cool-grey centers, and request a gel top coat for longevity.
In This Guide
Leopard is one of the most requested nail-art looks, and for good reason: it flatters every skin tone and works on short leopard print nails just as convincingly as on long leopard print acrylic nails. But the print rewards restraint and structure over enthusiasm. Nearly every version that goes wrong fails for the same handful of reasons: spots crammed edge to edge, identical circles that read as polka dots, outlines that blur into mud, or a base color that fights the pattern instead of framing it. The good news is that a real leopard rosette is built, not dabbed. Once you understand its anatomy, a soft irregular center wrapped in a broken, hand-drawn crescent, every one of these mistakes gets easy to sidestep. Below we walk through the five we see most, from both beginners and salon clients, with a specific fix for each. Whether you're freehanding black leopard print nails at your kitchen table or bringing a reference to your tech, these adjustments keep the pattern crisp, proportioned, and comfortable to wear well beyond the first day.
01Overcrowding Every Nail With Spots {#mistake-1}
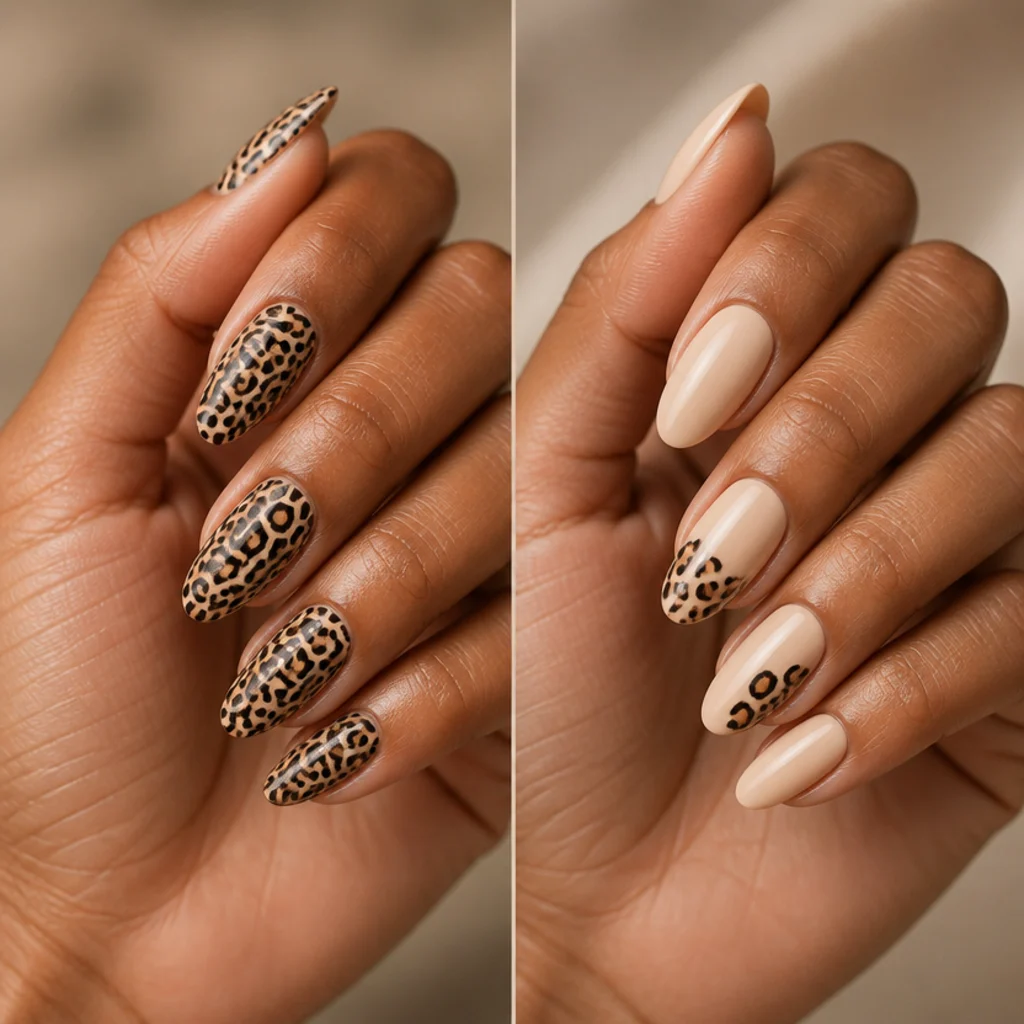
The most common mistake is treating each nail as a canvas that must be filled corner to corner. Packed-in rosettes leave the eye no place to rest, so the print reads frantic rather than refined, and the individual spots lose the negative space that makes them legible. Composition solves it, not addition. Leave a few millimeters of bare base between clusters and think of the spots as scattered across the nail, not tiled onto it; three to five well-placed rosettes almost always look more intentional than a plate covered in them. An accent strategy helps enormously: print only two fingers, usually the ring and index, and keep the rest a solid neutral or sheer nude. This is especially flattering on short leopard print nails and on wider nail beds, where full print quickly looks cluttered. Pro tip: cluster spots slightly denser toward the cuticle and let them thin out toward the free edge, which mimics how real markings fall and elongates the nail. Ask your nail tech for a two-finger accent set if you want maximum impact with minimum busyness.
02Making the Spots Too Big or Too Uniform {#mistake-2}
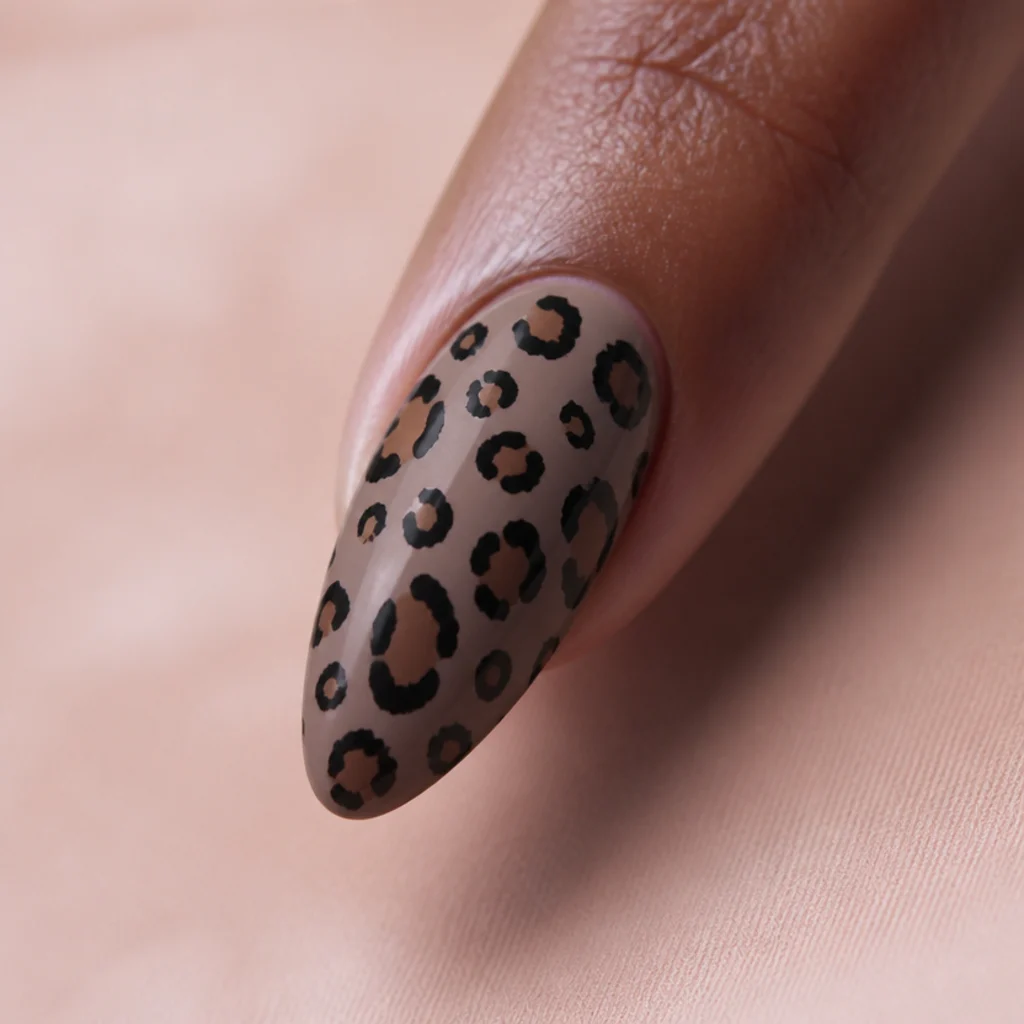
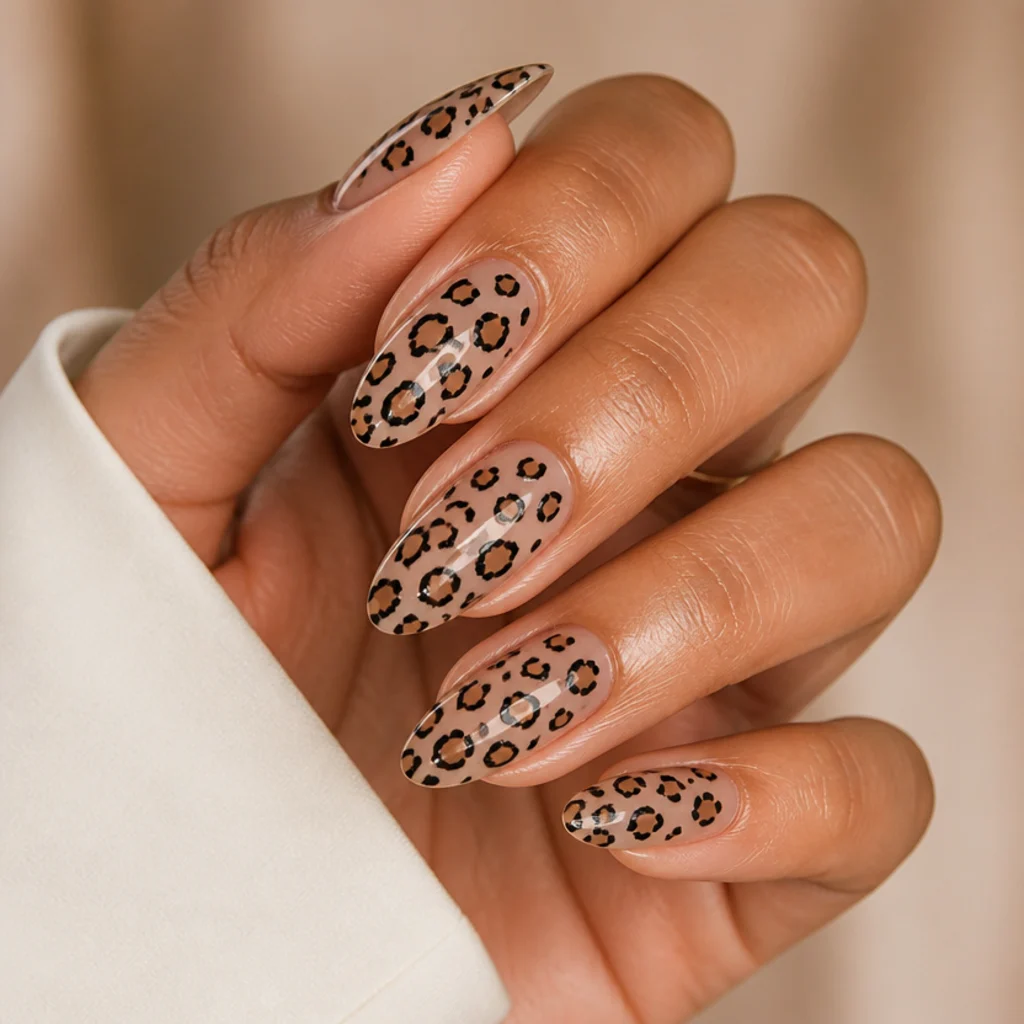
Real leopard markings are irregular in both size and spacing, so identical, evenly spaced circles instantly read as fake polka dots. Oversized spots are the other trap: one large rosette can swallow a short nail and flatten the delicate, editorial quality that makes the print feel expensive. Deliberate variation is what fixes it. Mix small, medium, and slightly larger shapes on the same nail, keep some ovals rather than perfect rounds, and let a few spots run partway off the side or free edge instead of sitting neatly centered. Vary the gaps too, some rosettes almost touching, others floating alone. Scale to the nail: on short leopard print nails keep centers small and few so they stay in proportion, and reserve bolder clusters for longer leopard print acrylic nails that have the length to carry them. Pro tip: a dotting tool or the tip of a thin liner brush gives far more control than a full brush, and pressing with slightly different pressure each time builds the organic randomness you want. Ask your nail tech to vary spot scale across the hand rather than repeating one stamp size.
03Skipping the Broken Outline Around Each Spot {#mistake-3}
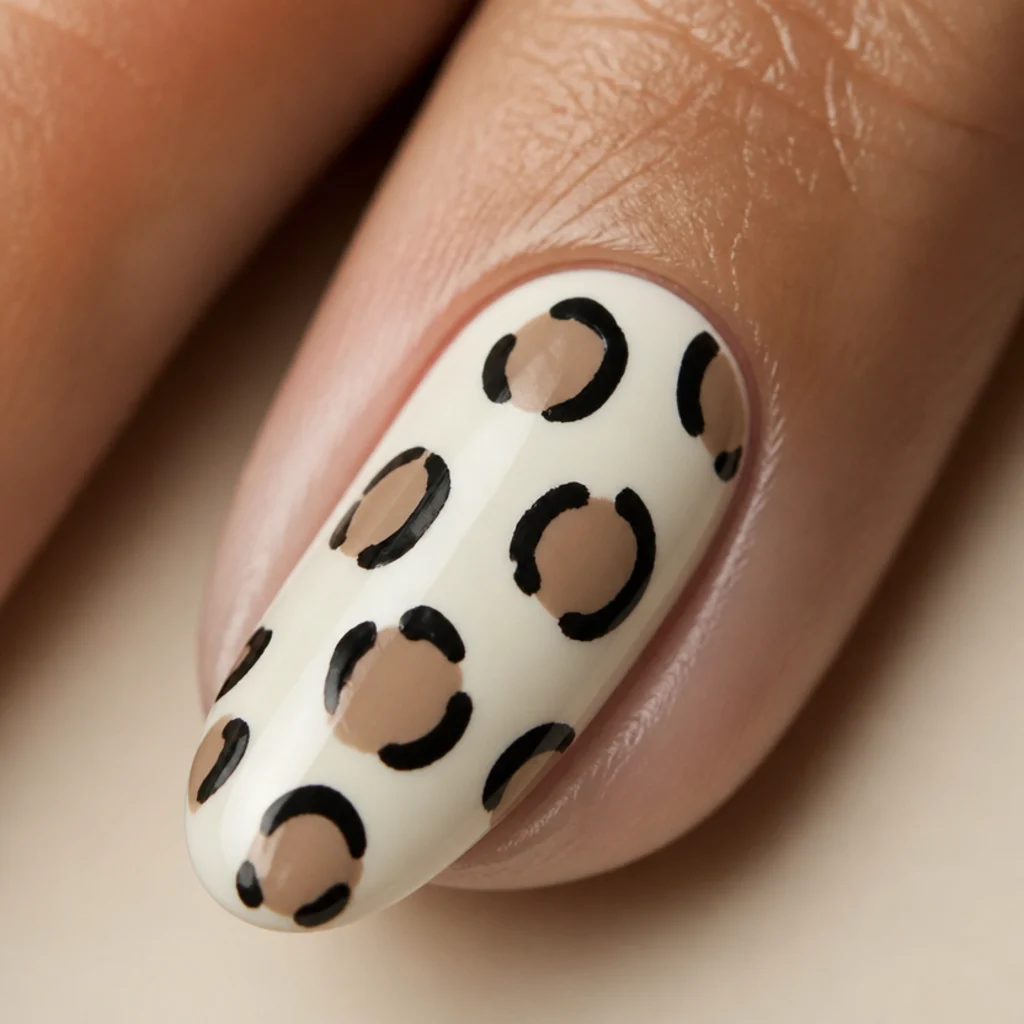
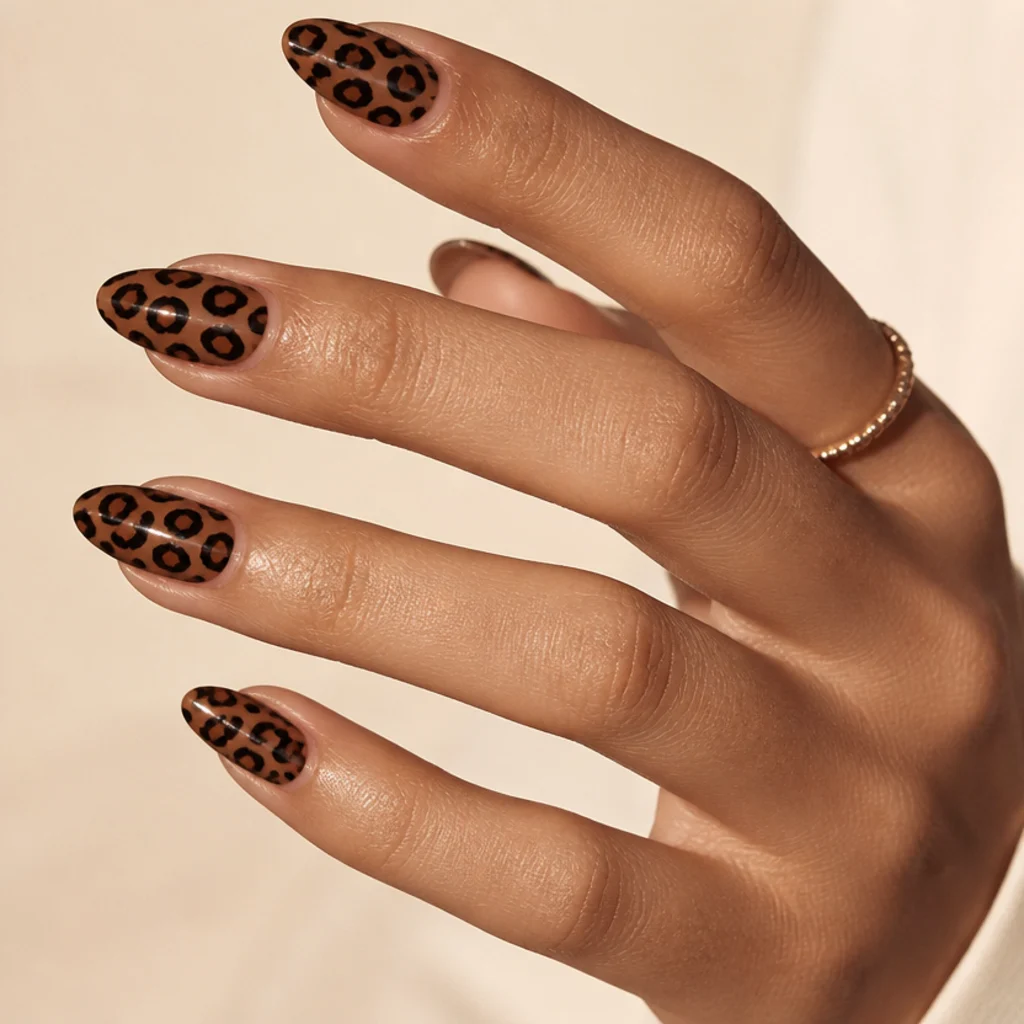
What separates a convincing rosette from a plain dot is the broken, C-shaped outline that frames it. Beginners often paint solid filled circles, or ring each center in a clean unbroken loop, then wonder why the look falls flat, one reads as a dot, the other as a target. Build the spot in layers instead. Start with a soft base shape in a mid tone such as caramel, cocoa, or warm grey, let it set, then add two or three broken black crescents and short commas that hug the shape without fully circling it. Leave clear gaps in the outline so it looks hand-drawn and slightly ragged rather than machine-cut. For classic black leopard print nails keep those strokes thin and irregular; for white leopard print nails, swap the warm center for soft grey or taupe so the black outline still has enough contrast to register against the pale base. Pro tip: dilute your black slightly or use a near-black espresso for the crescents so the outline frames rather than shouts. Ask your nail tech for open, broken outlines rather than solid rings if you want the realistic, editorial finish.
04Clashing Colors and a Muddy Base {#mistake-4}
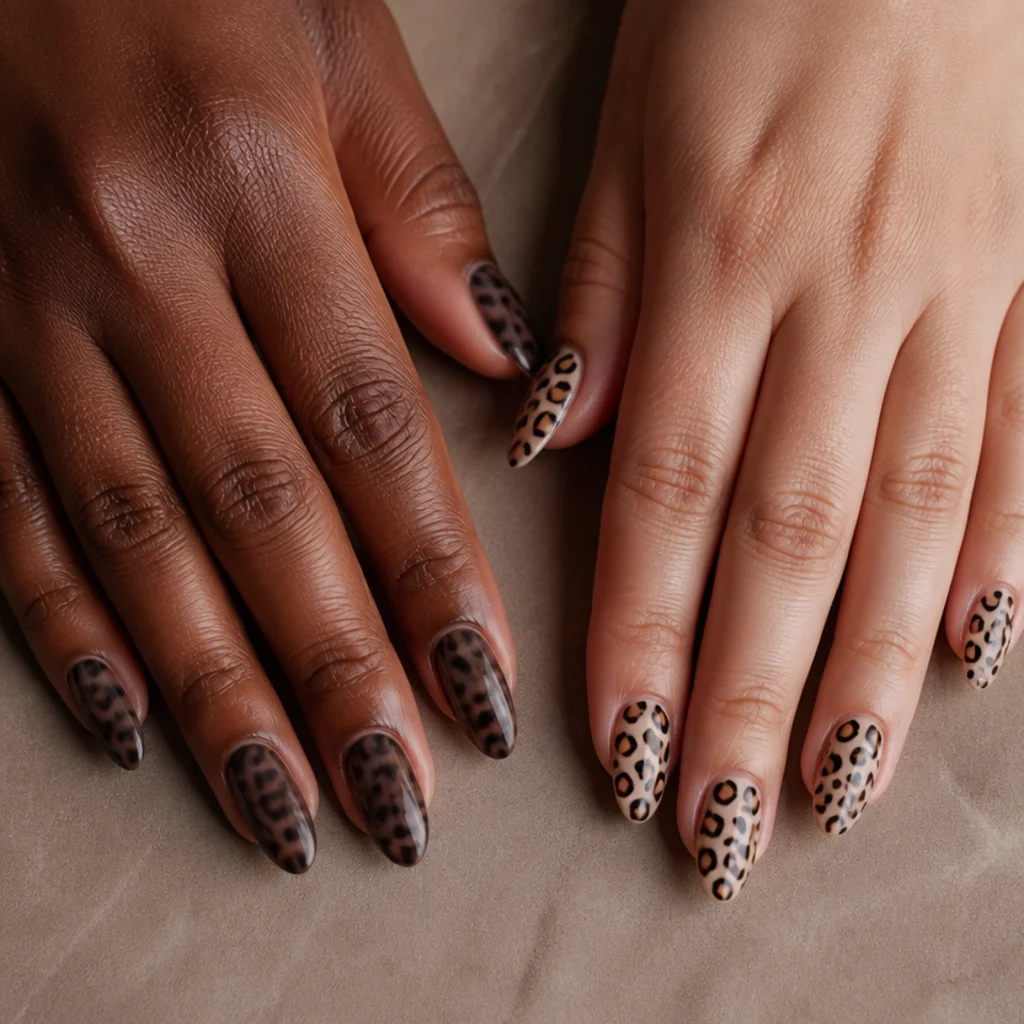
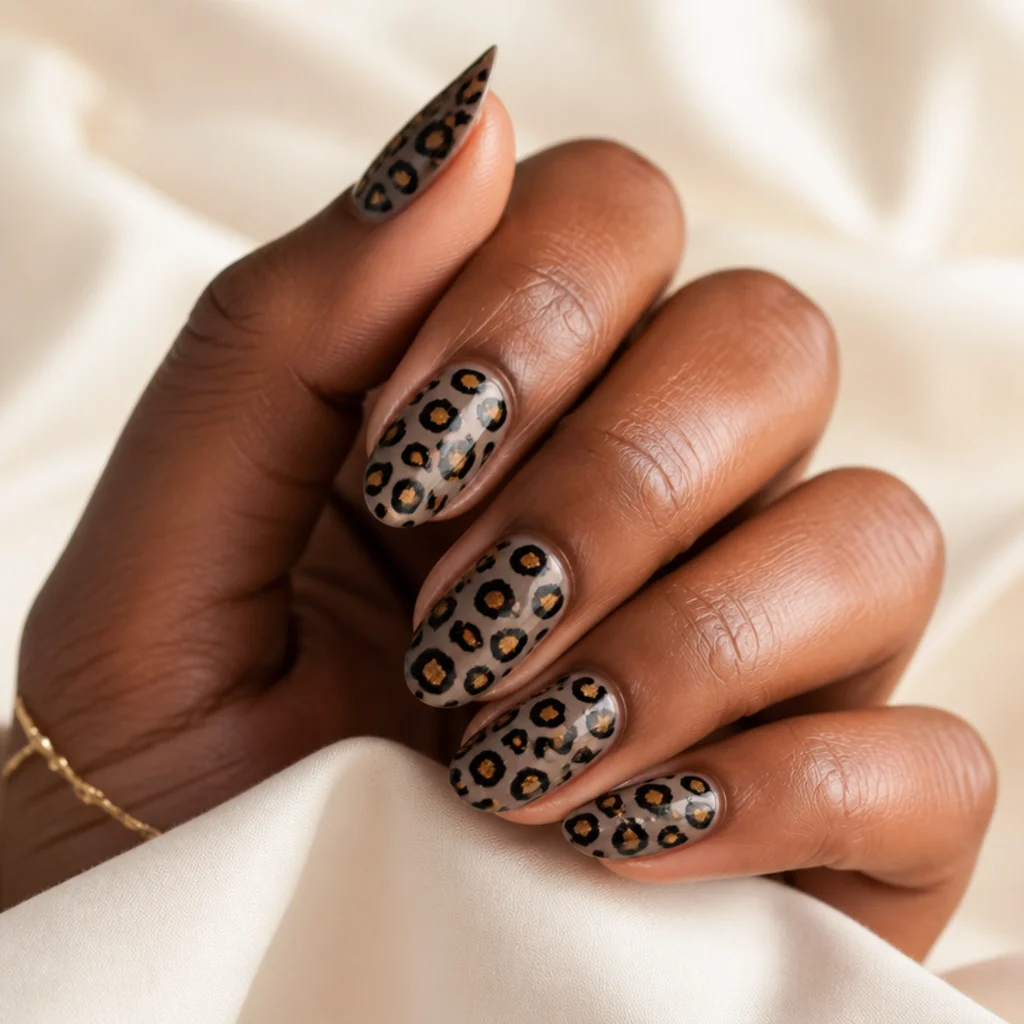
Color choices make or break the look, and the failure is almost always value, how light or dark a tone reads, rather than hue. A base that sits too close in value to the spot centers turns the whole nail muddy and swallows the outlines, while high-contrast novelty brights tip an elegant print straight into costume territory. Anchor the design with a considered base and mind the value gaps. Warm neutrals, beige, camel, soft caramel, and nude, are the most versatile and flatter the widest range of skin undertones, reading especially clean on warm and neutral tones. For a cooler, graphic feel, white leopard print nails with grey-and-black spots look modern and gallery-crisp, and suit cool undertones beautifully. If you want drama, keep it tonal: black leopard print nails with charcoal and gold accents read luxe rather than loud. Whatever the palette, make sure base, center, and outline each differ enough in value that the black stays legible. Pro tip: squint at your test nail or view it in greyscale on your phone; if the spots vanish, your values are too close. Ask your nail tech to match your base to your undertone before committing the whole hand.
| Look | Base | Spot center | Outline | Best undertone |
|---|---|---|---|---|
| Everyday neutral | Beige / nude | Caramel, cocoa | Espresso-black | Warm, neutral |
| Cool editorial | Soft white / cream | Grey, taupe | True black | Cool, neutral |
| Tonal drama | Charcoal / black | Deep grey, gold | Black | All (statement) |
Save this to Pinterest so you have the color pairings handy at the polish rack.
05Forgetting to Seal, So the Print Smudges {#mistake-5}
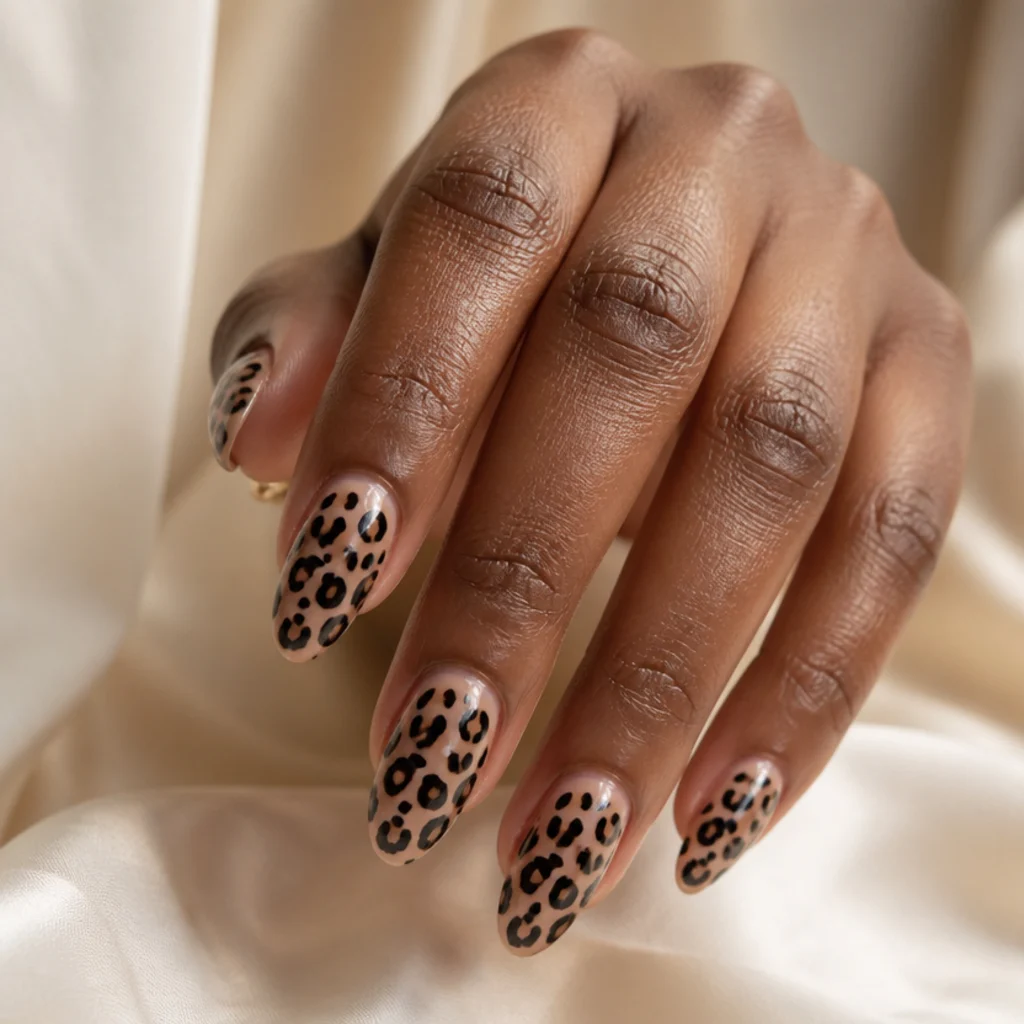
All that careful detailing stays fragile until it's locked down, and this is where hours of work most often unravel. Rushing the top coat, or dragging its brush across crescents that haven't fully set, smears the outlines and pulls color into streaks that no amount of patience afterward can fix. Sequencing and a light hand fix it. Let each print layer set before adding the next. With regular polish, wait a few minutes past touch-dry before the top coat, then float it on in one or two confident passes rather than scrubbing it back and forth over the art. A gel top coat cured under a lamp gives the most durable, smudge-proof finish and keeps spots sharp for weeks, which is exactly why leopard print acrylic nails and gel sets hold up so well. Cap the free edge on every nail to slow chipping, and refresh with a fresh gloss layer around day seven to revive shine and reseal the outlines. Pro tip: if you're on regular polish, a fast-drying top coat with a wide brush minimizes strokes over the art and cuts smudge risk sharply. Ask your nail tech for a glossy gel top coat and a sealed free edge for the longest-lasting print.
Pro Tips from the Editor
- Practice the rosette on a nail wheel or a single test nail first; dialing in your center-to-crescent ratio once saves you redoing a full hand.
- Build spots wet-on-dry, not wet-on-wet, letting the caramel center set before the black crescents keeps the two colors from bleeding into a muddy halo.
- Keep two blacks on hand: a diluted espresso for soft, realistic outlines and a true black for the odd sharp accent, mixing them adds depth.
- Angle a few rosettes so their open side faces the same general direction; real markings flow rather than scatter randomly, and a loose directional pull looks more authentic.
- Thin your polish with a drop of thinner (never acetone) if your liner drags, a smooth-flowing brush makes broken crescents far easier than a gummy one.
- Photograph your test nail in greyscale to check contrast before committing; if the print reads clearly in black and white, your color values are right.
- Store the exact shades you used in a note on your phone so a salon touch-up or at-home refresh matches the original set.
How to Choose / Get the Look
Start with the base and let every other decision follow from it. Choose your vibe first: for an easy, forgiving everyday manicure, a neutral beige or nude base with a few scattered black leopard print nails as accents is the most wearable choice; for something cooler and more graphic, reach for white leopard print nails with grey-and-black spots; and when you want drama, go tonal with charcoal, black, and a whisper of gold. Then match scale to length: keep spots small and sparse on short leopard print nails, and reserve larger, bolder clusters for longer leopard print acrylic nails with room to carry them. Next, decide on coverage: a two-finger accent reads modern and is quicker to execute, while full-hand print makes a statement but demands tighter consistency. Finally, pick your format: gel or acrylic for longevity and a foolproof cure, regular polish for a low-commitment trial. When booking a pro, bring two or three reference photos and be specific, name the base color, how many accent fingers, spot size, warm-brown or cool-grey centers, and ask whether they will freehand or stamp; request a gel top coat either way. Painting at home? Do one test nail to lock in your dotting and outline technique before committing to the full set.
Frequently Asked Questions
Are black leopard print nails hard to do at home?
Not once you break the spot into layers. Paint a soft caramel or cocoa center, let it set, then add broken black crescents around it rather than a solid ring. A dotting tool for the centers and a thin liner brush for the outlines make black leopard print nails very achievable for beginners; a single test nail first is the shortcut to a clean full hand.
Do leopard print nails work on short nails?
Yes, and they can look especially chic. Short leopard print nails read best with smaller, fewer spots and a neutral base so the print stays in proportion to the plate. Accent just one or two fingers instead of covering the whole hand, and keep denser clusters near the cuticle to visually lengthen the nail.
What base color suits white leopard print nails?
A soft white or cream base with grey-and-black spots keeps white leopard print nails clean and modern. Swap the usual warm-brown center for grey or taupe so the black outlines still stand out against the pale base, and keep the whole palette cool for the most graphic, editorial effect, it flatters cool and neutral undertones particularly well.
How long do leopard print acrylic nails last?
With a gel top coat and a sealed free edge, leopard print acrylic nails typically hold their print sharp for two to three weeks before regrowth, rather than smudging, becomes the reason to rebook. A fresh gloss layer around day seven revives the shine and reseals the outlines against everyday wear.
What is the secret to realistic-looking spots?
Irregularity and a broken outline. Vary the size and spacing, let a few rosettes run off the nail edge, keep some centers oval rather than round, and frame each with an open C-shaped crescent instead of a full circle. Uniform, evenly spaced dots ringed in clean loops are exactly what make leopard read as costume rather than chic.
How do I stop my leopard spots from bleeding together?
Work wet-on-dry. Let the center color set before adding the black crescents so the two don't blend into a muddy halo, and resist overloading the brush. If your polish is thick and dragging, thin it with a proper polish thinner, never acetone, so each stroke lays down cleanly and holds its edge.
Should the leopard print go on every nail or just accents?
Either works, but coverage changes the mood. A two-finger accent, usually ring and index, over solid neutral nails looks modern, wears forgivingly, and is faster to execute. Full-hand print makes a bolder statement but demands consistent spot scale and spacing across all ten nails, so it's worth a practice run or a skilled tech.
What top coat keeps leopard print nails from smudging?
A gel top coat cured under a lamp is the most smudge-proof and keeps outlines sharp for weeks. On regular polish, choose a fast-drying top coat with a wide brush, wait past touch-dry, and float it on in one or two passes rather than scrubbing over the art, which is what pulls the spots into streaks.
Can I get leopard print on a gel or dip manicure?
Yes. Freehand leopard sits happily over gel, dip, or acrylic, the technique is the same soft center plus broken crescents, just sealed under the appropriate top coat. Gel and dip both cure to a hard, durable finish, so the print resists smudging while wet and holds its detail through the life of the set.