20 Foxy Eyes Before and After Makeup Looks
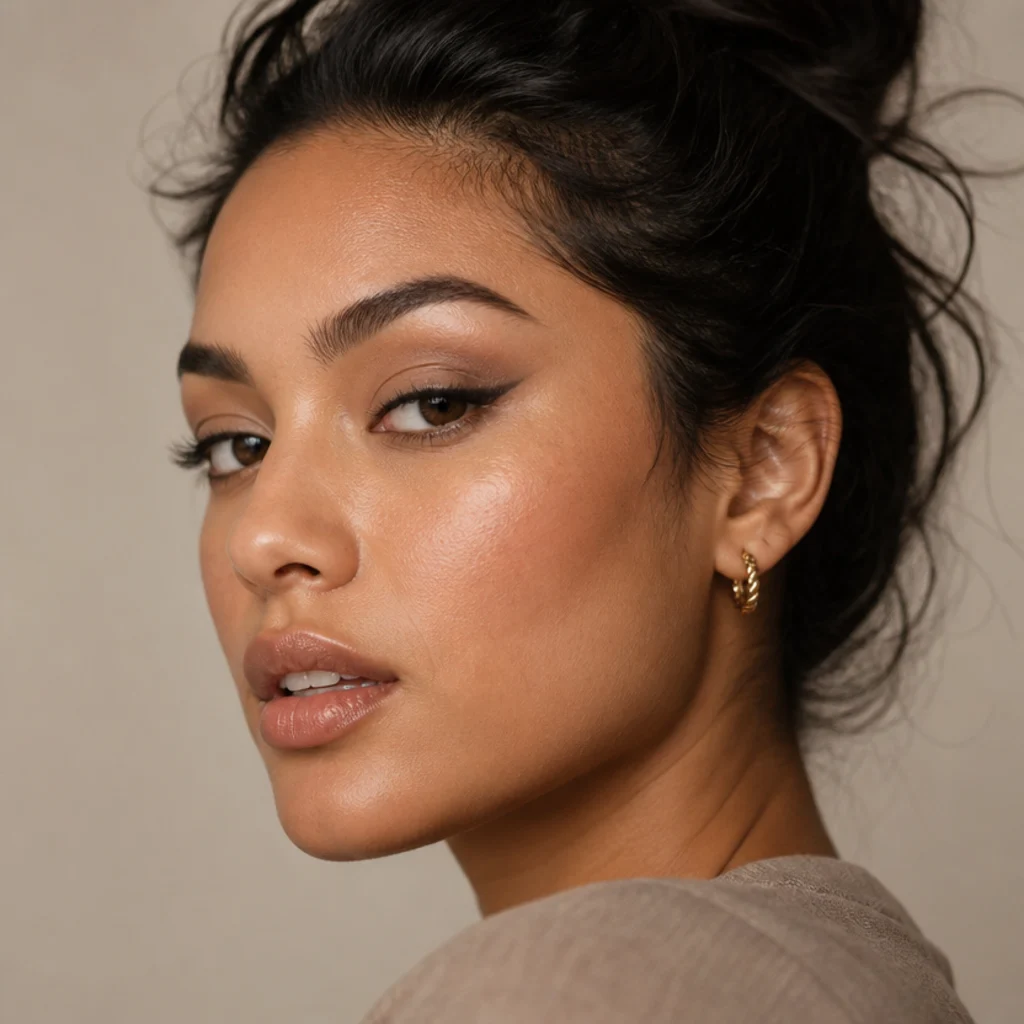
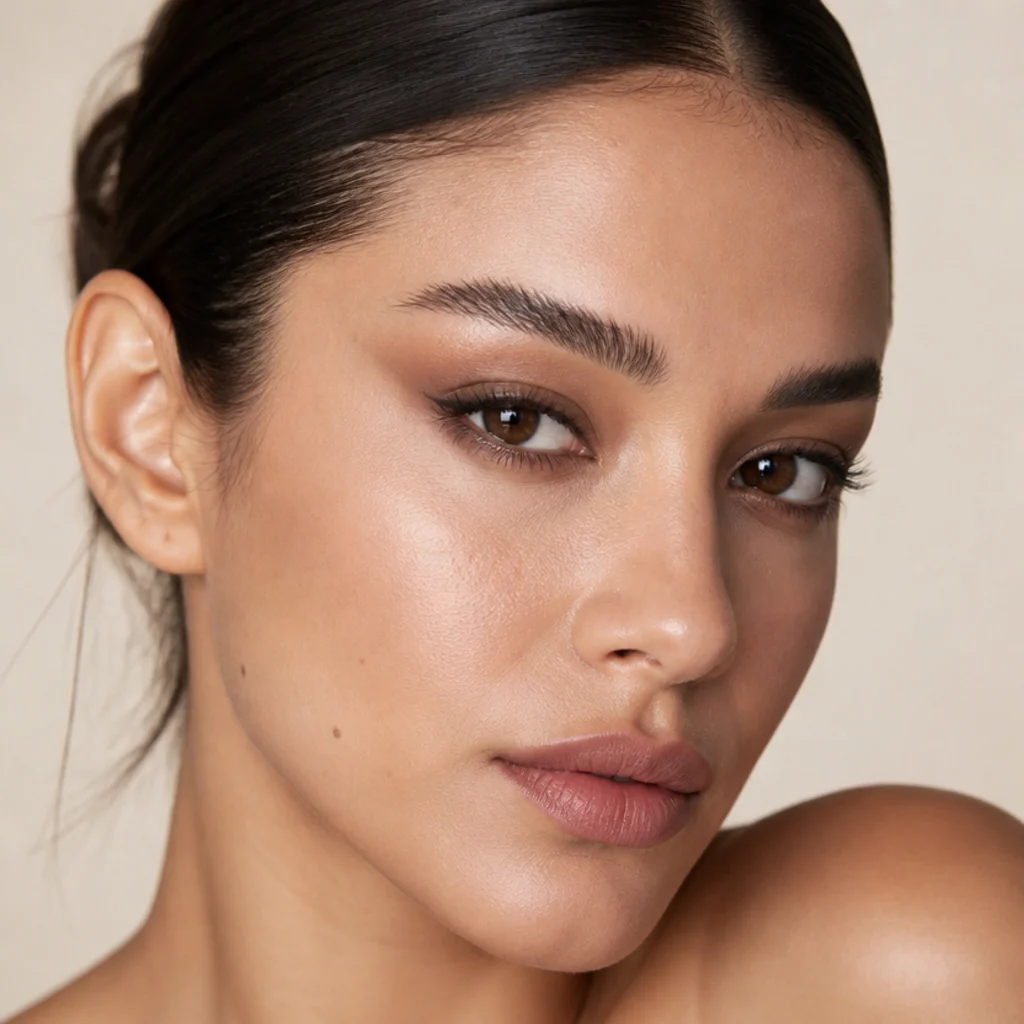
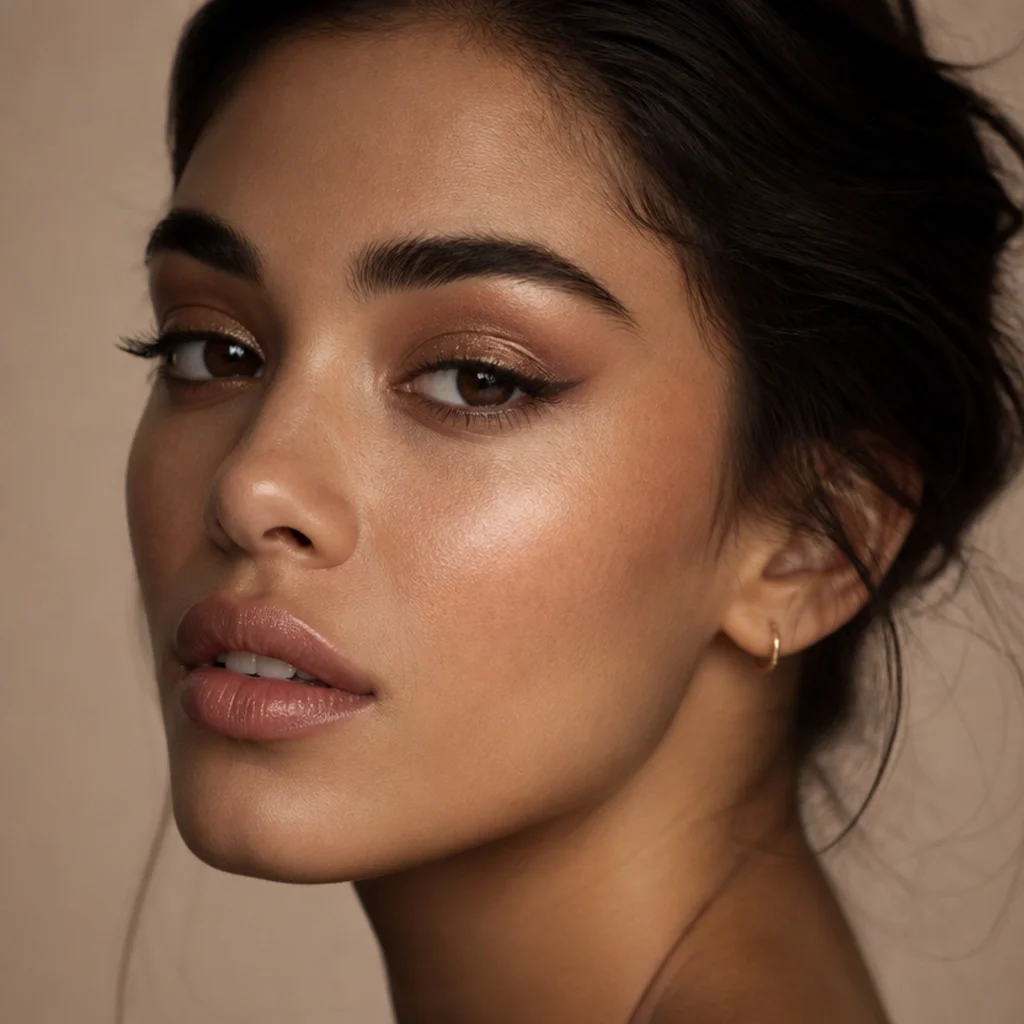
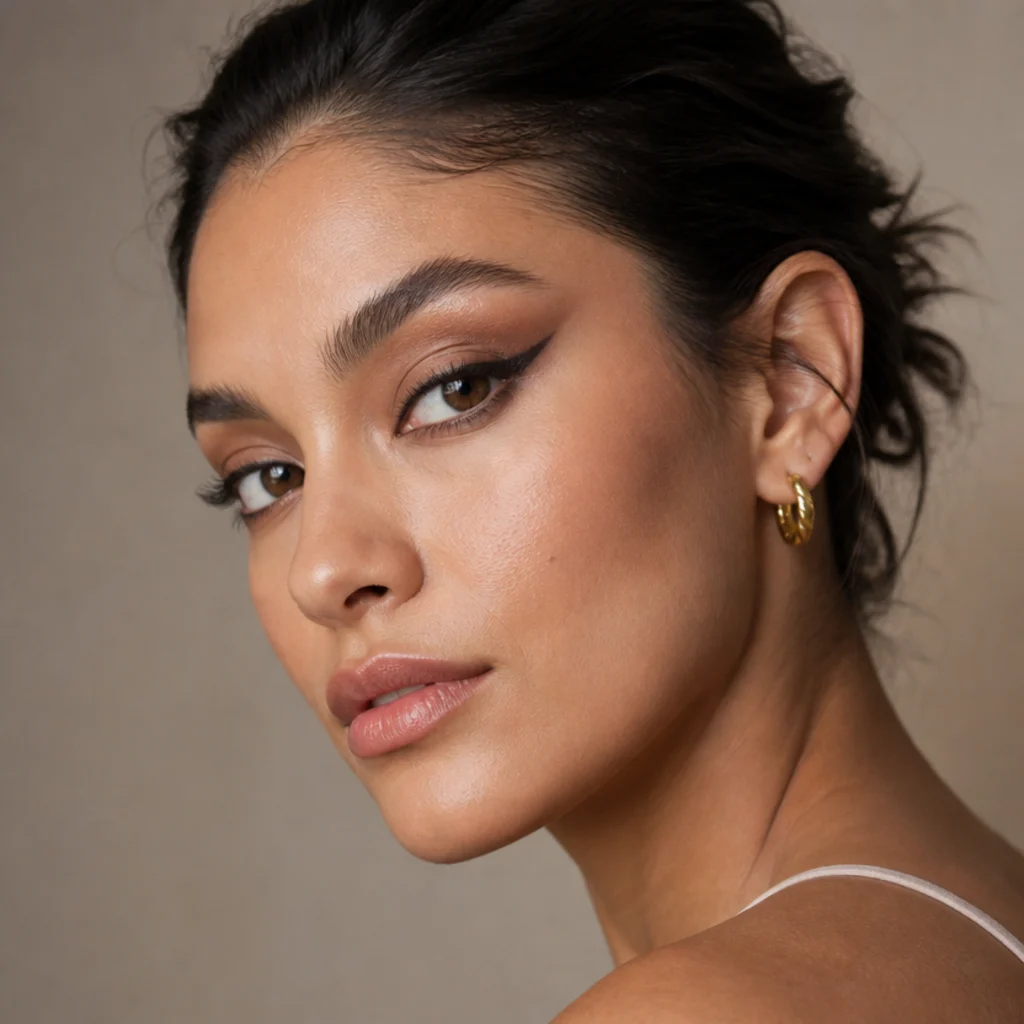
Foxy eyes redirect every line, blend, and lash toward the temple so the shape reads long, lifted, and quietly feline. These 20 numbered looks climb from two-shade daytime definition to foiled, glittered drama, each one an original illustrative progression rather than a real client photo, and each one mapped for a specific eye shape and skill level.
 Edited by Lena Rose · Published July 11, 2026 · 33 min read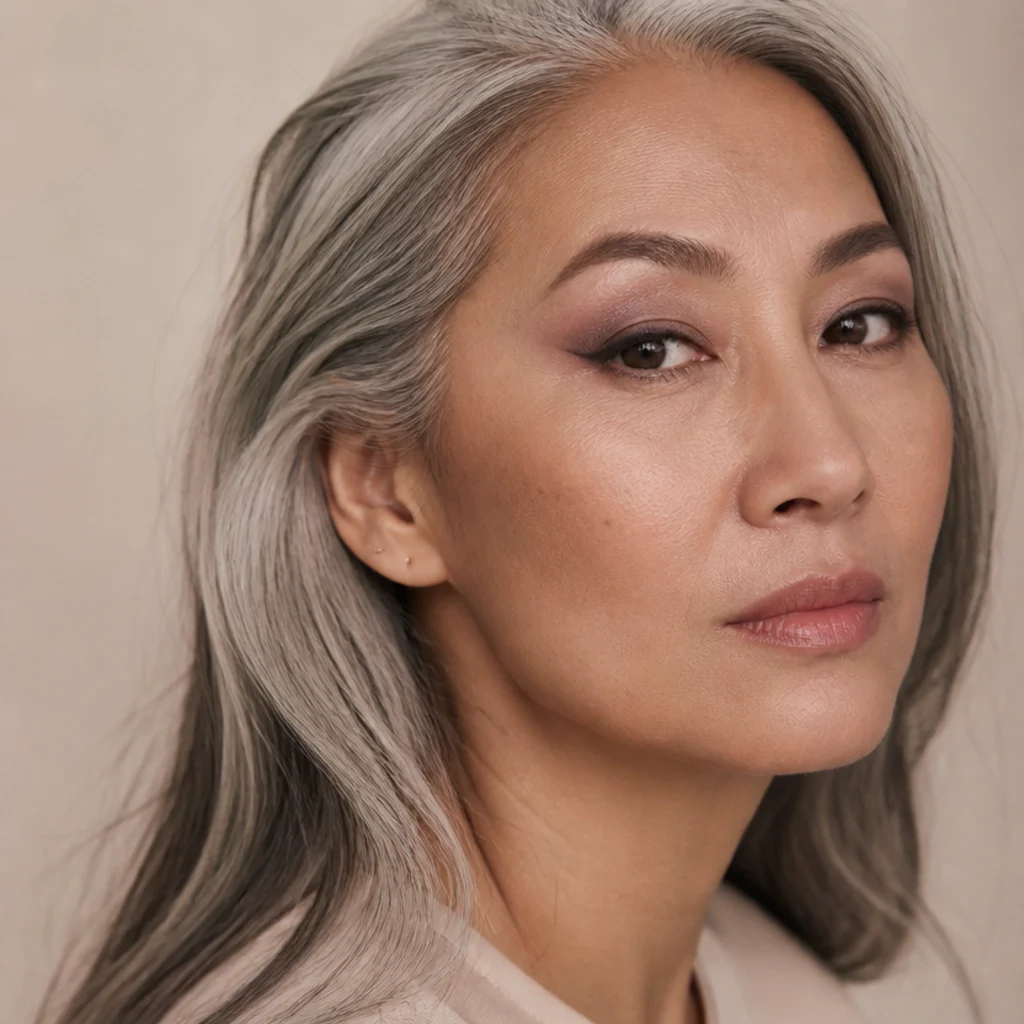
Quick Answer
- Best for: Almond, hooded, and downturned eyes that want an elongated, lifted corner without surgery or tape.
- Who might skip it: Very round or protruding eyes chasing a rounded, doe softness; the outward drag can read hard on them unless you keep the inner corner bright.
- Maintenance: Low for the soft washes (a blended taupe or bronze holds all day on primer); medium for sharp liner and glitter, which want a primer, a setting step, and an occasional outer-corner touch-up.
- Difficulty: Beginner to advanced across the 20 looks; the first six need one or two shades, the last few reward a steady hand and layering instinct.
- Cost: Achievable with a drugstore neutral quad and a felt-tip liner on the low end; a foiled lid, duochrome, or fine glitter with a dedicated glue sits at the higher, but still affordable, end.
- Wear time / longevity: 8 to 12 hours over eye primer and a setting step; glitter and foil last longest with a tacky glue base.
- Standout variation: Glitter foxy eyes (look 18), fine sparkle packed over a bronze base with the outer corner kept dark for lift.
- How to ask your makeup artist: Request "a lifted, elongated eye with an upward outer flick," then specify soft-and-smoked versus sharp-and-graphic, and whether you want glitter or a clean matte finish.
In This Guide
- Bare Prep and Groomed Brow Base
- Soft Taupe Wash Daytime Lift
- Warm Bronze Everyday Blend
- Subtle Tightline for Bigger Eyes
- Feathered Outer-V Definition
- Lifted Brown Liner Flick
- Matte Mauve Elongated Socket
- Foxy Eyeliner for Hooded Eyes
- Smoked Lower Lash Line
- Rose-Bronze Cut Crease Lite
- Sleek Black Winged Extension
- Big Foxy Eyes Doe Lift
- Copper Shimmer Center Pop
- Graphic Floating Liner
- Foil Champagne Lid Focus
- Siren Eyes vs Foxy Eyes Hybrid
- Deep Plum Smoky Fox
- Glitter Foxy Eyes Night Out
- Jewel-Tone Duochrome Drama
- Full Glam Bold Foxy Finish
Intro
Foxy eyes makeup is a study in direction. Instead of following the round curve of the eye, you pull every element (the shadow gradient, the socket line, the lash weight, the liner tail) up and out toward the temple, so the shape reads elongated and lifted rather than open and doe-like. It is the drawn-on version of the taped, pinned lift people chased a few years ago, minus the discomfort and the pull on delicate lid skin. Done with placement rather than tension, it flatters almond eyes instantly and gives hooded, downturned, and deep-set eyes a real lift.
This guide is built as a progression. The opening looks stay soft enough for a desk or a lecture hall, using one or two cool neutrals; as the numbers climb, the liner sharpens into a long foxy wing, metallics and foils arrive, and glitter foxy eyes take over for evening. Along the way you'll see how the shape sits next to siren eyes, how to map foxy eyeliner for hooded eyes so the flick doesn't vanish, and how to scale a look up for big foxy eyes. Read straight through for the logic, or jump to the number that matches tonight's plan.
01Bare Prep and Groomed Brow Base
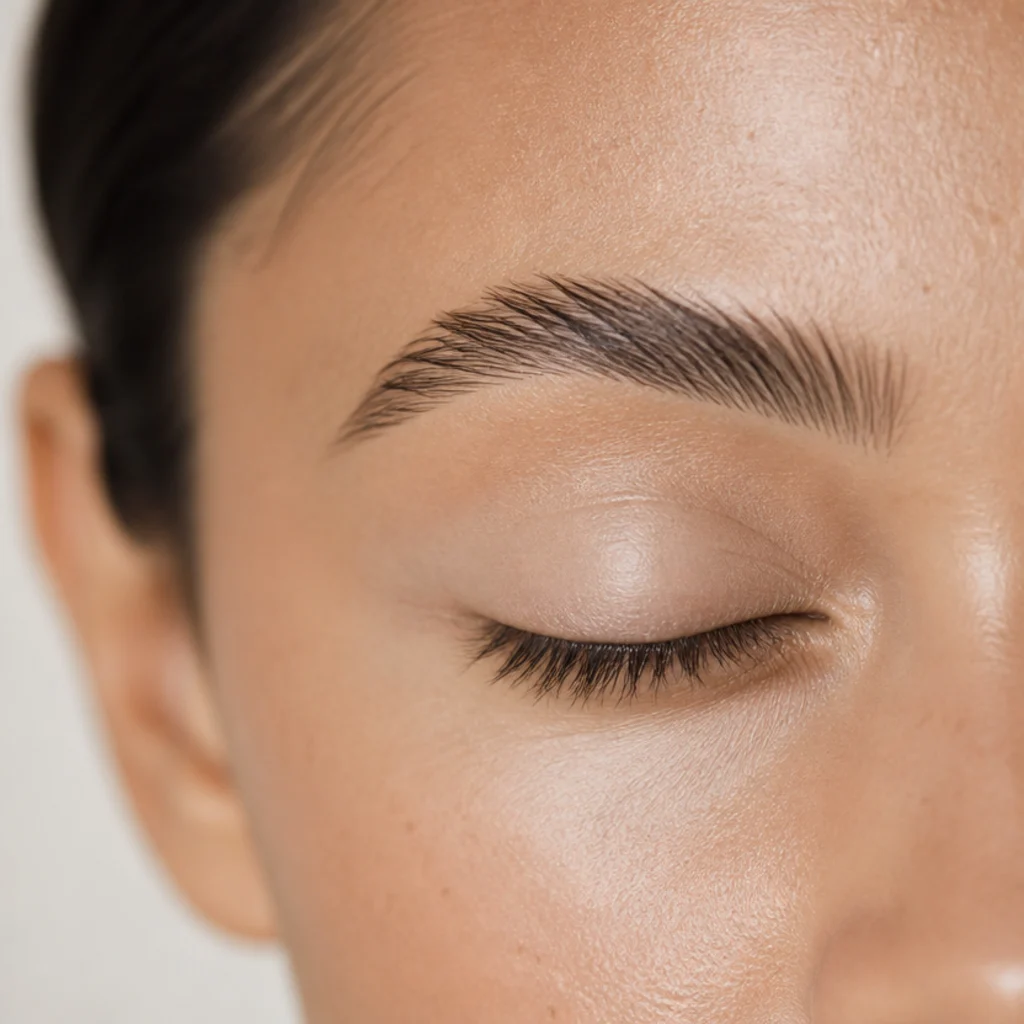
Every foxy eye is built on structure, and this is the true "before." Start with a clean lid, then press a thin, even layer of eye primer from lash line to just above the crease and let it get tacky before you touch shadow. Brush the brows up and slightly outward at the tail with a clear or tinted gel; that upward flare sets the lifted angle you're about to trace in shadow, so brow and eye pull in the same direction instead of fighting each other. If your lids run oily or your primer stays slick, sheer a translucent setting powder over it with a fluffy brush to lock the base and stop later blends from creasing by midday. This step suits every eye shape and skin tone and takes under a minute, yet skipping it is the single most common reason a look slides or fades before lunch. Pro tip: set your under-brow highlight lightly here too, so it doesn't muddy later shadow. Ask your brow tech for a "lifted tail" shape rather than a flat, straight brow.
02Soft Taupe Wash Daytime Lift
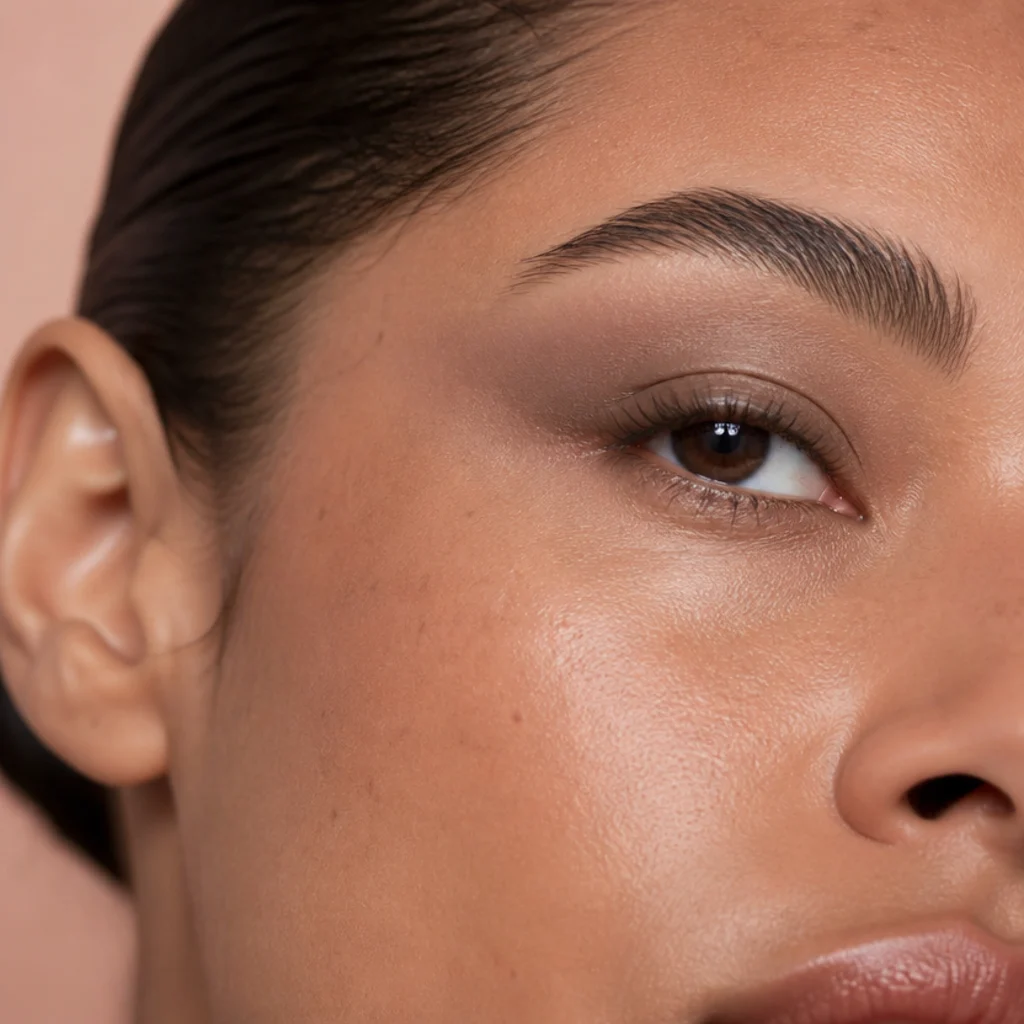
The gentlest lift comes from one cool, greige taupe swept over the lid and dragged up toward the brow tail rather than straight out to the side. That upward diagonal is the entire illusion. Load a fluffy blending brush lightly, tap off the excess, and build the color sheer, concentrating it on the outer third where the lift needs to register. Because a cool taupe reads as a natural shadow rather than obvious eyeshadow, it flatters every skin tone; on deep skin, reach for a slightly richer cocoa-taupe so it still shows. This is a two-minute beginner look: one shade, one brush, no liner. It also doubles as the transition layer under nearly every bolder look that follows, so it's worth drilling until the angle is muscle memory. Pro tip: place the brush handle so it points toward your temple before the first stroke; your hand naturally follows the angle you aim it. Ask your artist for a "soft matte lift, no shimmer" if you want this for daytime photos.
03Warm Bronze Everyday Blend
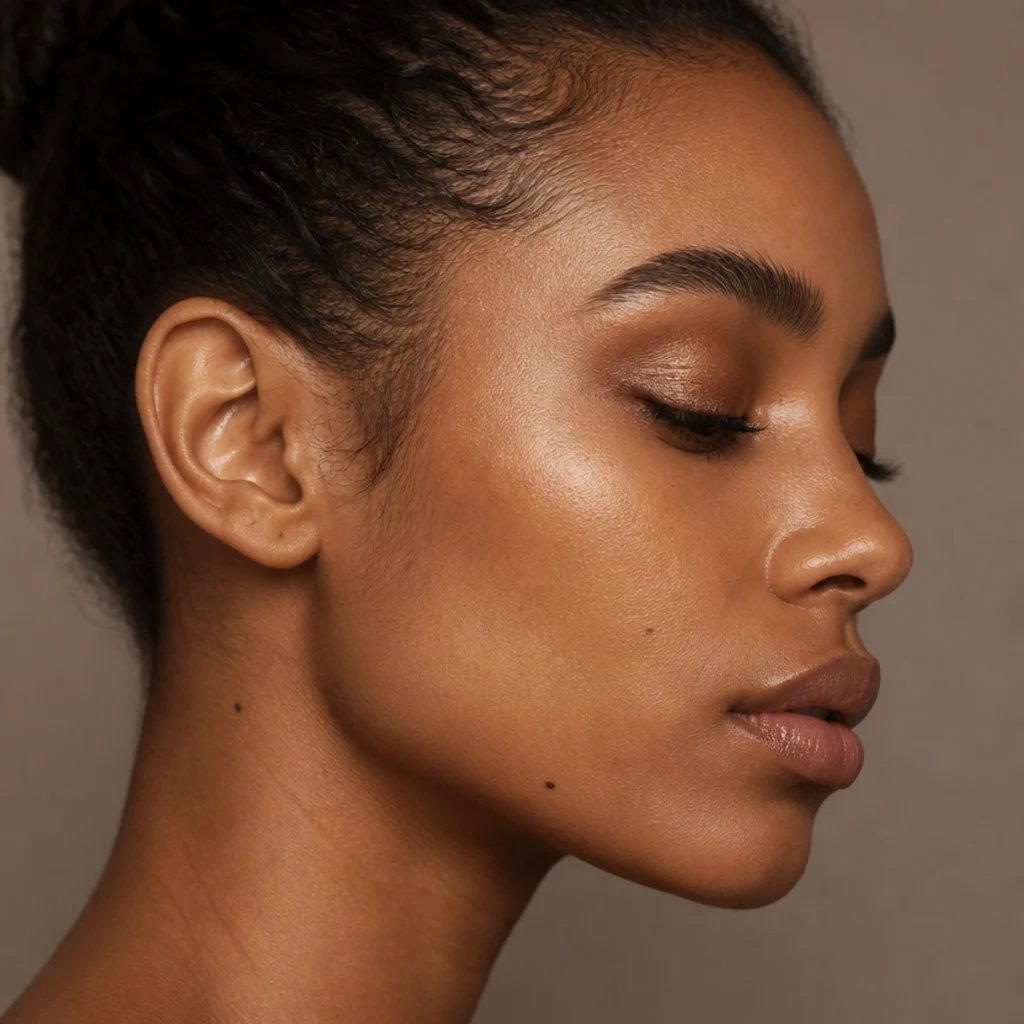
Swap the taupe for a warm, red-leaning bronze and the same placement turns sunlit and dimensional. Bronze catches light beautifully on medium and deep skin; on fair or cool complexions, drop to a soft honey-bronze so it warms rather than muddies. Pack the shade onto the outer half of the lid with a firmer shader brush, then switch to a clean fluffy brush to walk the edge up toward the temple until there is no hard stop. Echo a little of the same bronze under the outer third of the lower lash line to connect top and bottom and stretch the eye longer. Difficulty stays low, though the smooth transition takes a touch more patience than a single wash. This is the workhorse of foxy eyes makeup: polished, forgiving, hard to overdo. Pro tip: tap, don't sweep, the outer color, then blend only the edge, so the depth stays where you want it. Ask your artist for a "warm bronze halo, lifted at the outer corner" for an everyday elongated eye.
04Subtle Tightline for Bigger Eyes
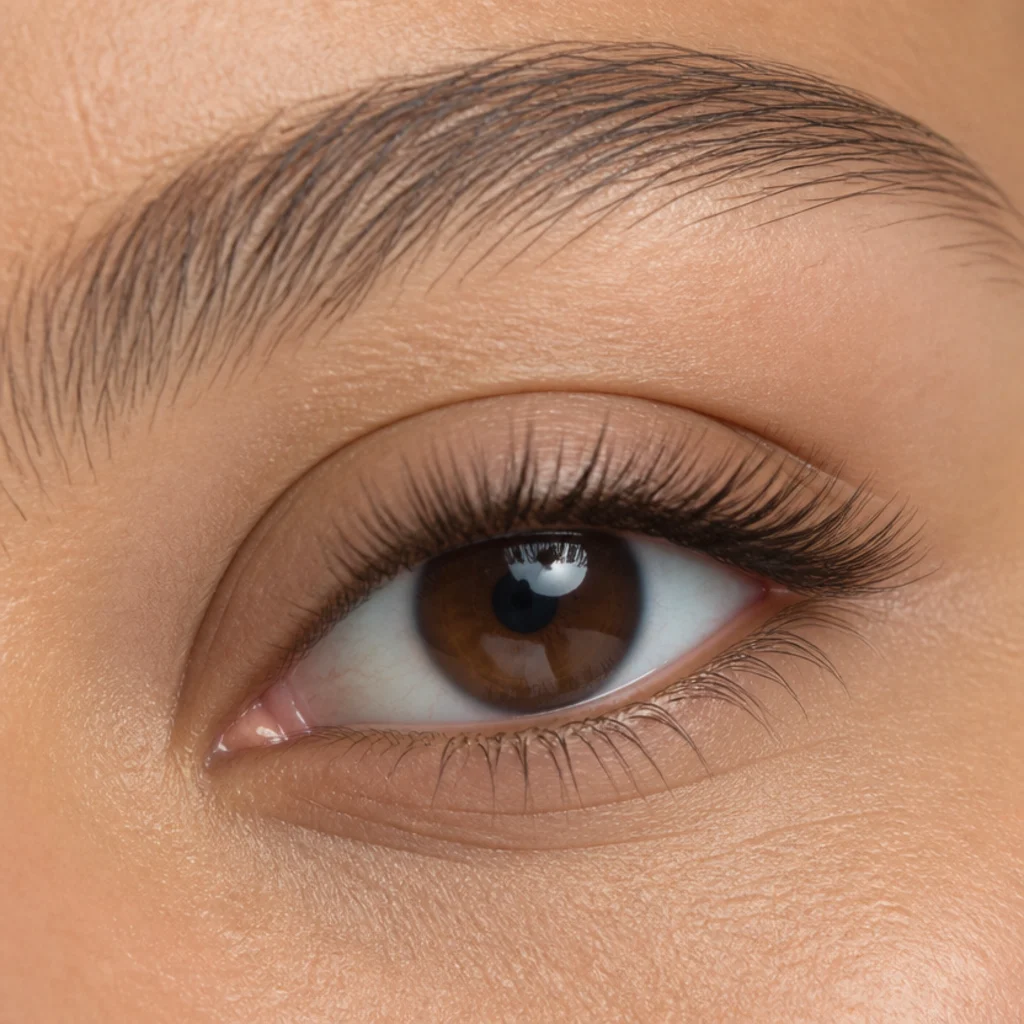
Tightlining means pressing liner into the upper waterline, right at the lash roots, so the lashes look denser and the lid stays clean and open. For anyone building big foxy eyes, this is the quiet workhorse: it deepens the lash base and fakes fullness without stealing lid space the way a thick top line would. Use a soft brown pencil for a natural, wide-awake finish or a black gel for punch, and choose a waterproof, smudge-proof formula — the waterline is warm and wet and will migrate an ordinary pencil within an hour. Concentrate the density toward the outer third to preserve the lifted feeling. This especially rescues smaller and deep-set eyes that a heavy top line tends to swallow. Rate it early intermediate: the technique itself is simple, but you'll need a close mirror and a steady, patient hand at the roots. Pro tip: look down into a mirror on the counter and gently lift the lid to expose the waterline cleanly. Ask your artist to "tightline the upper waterline, outer weighted" for definition without bulk.
05Feathered Outer-V Definition
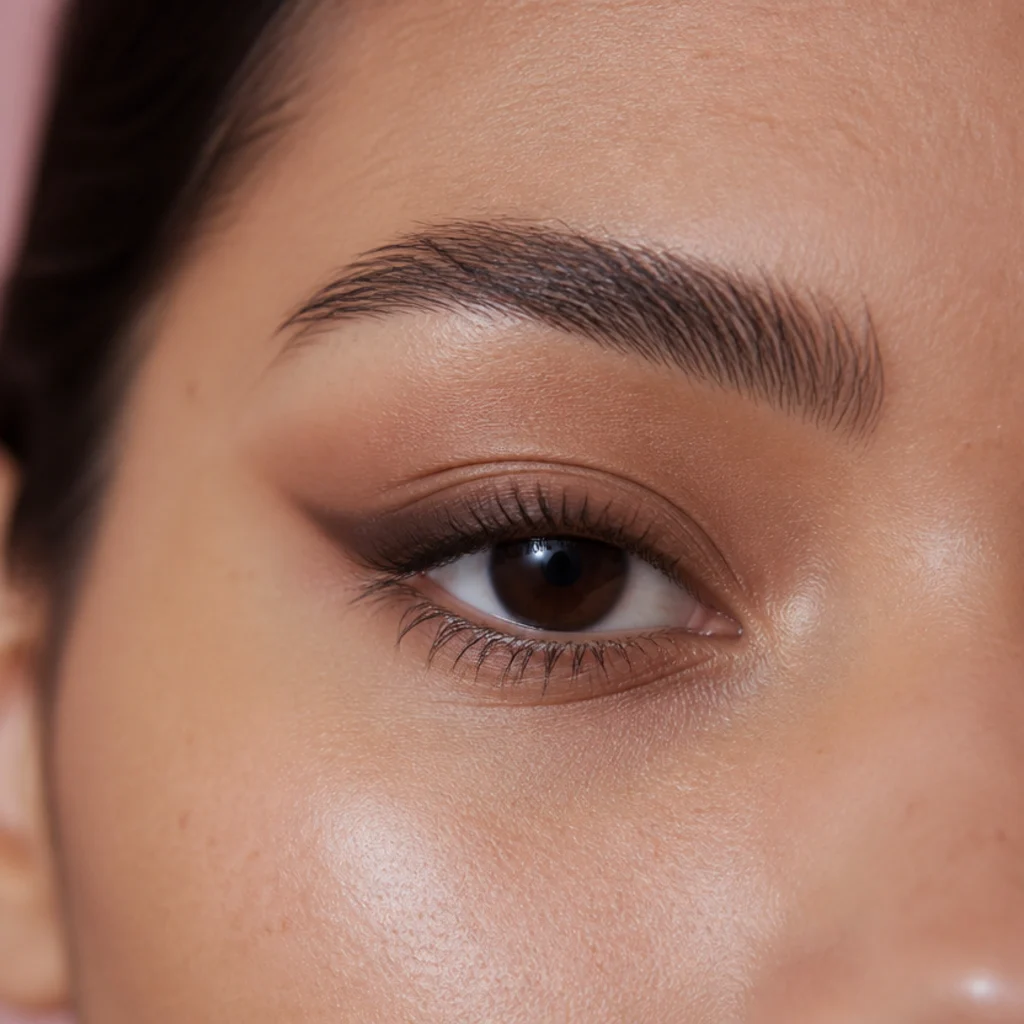
The outer-V is a small wedge of deeper shadow set into the corner where the upper and lower lash lines meet, and feathering it rather than packing it solid keeps the eye sculpted but soft. Reach for a cool, matte, ashy brown on a small tapered pencil brush, place the point of the V slightly higher than your natural corner, and blend inward toward the crease and upward toward the brow bone. That directional depth is exactly what separates a flat wash from a properly sculpted foxy eye. It flatters downturned eyes most, because lifting the corner counteracts the natural droop, and it gives almond eyes extra length. Difficulty is intermediate because placement matters far more than color choice here. Pro tip: keep the V shallow on your first pass; you can always deepen and re-blend, but an over-packed corner is much harder to soften back out. Ask your artist for a "diffused outer-V lifted above the natural corner" if you want structure without a hard line.
Save this to Pinterest to bookmark the soft, wearable half of the progression.
06Lifted Brown Liner Flick

Here the liner arrives, but gently. A short brown flick at the outer corner, aimed up toward the brow tail, adds the signature foxy angle without the commitment of a full black wing. Brown reads soft enough for daytime and forgives a line that isn't perfectly crisp, which makes it the ideal on-ramp to graphic looks. Begin the flick exactly where your lashes end and extend it only a few millimeters, following the invisible line that runs from your lower lash line up past the outer corner toward your temple. A gel or a firm pencil liner is far easier to steer here than a slippery liquid. This suits almond and slightly downturned eyes especially well and acts as the hinge between the soft looks above and the sharper ones ahead. Pro tip: rest your pinky on your cheekbone to steady the hand, and draw the flick first, then connect it back into the lash line. Ask your artist for a "soft brown lifted flick, daytime length" when you want the angle without the drama.
07Matte Mauve Elongated Socket
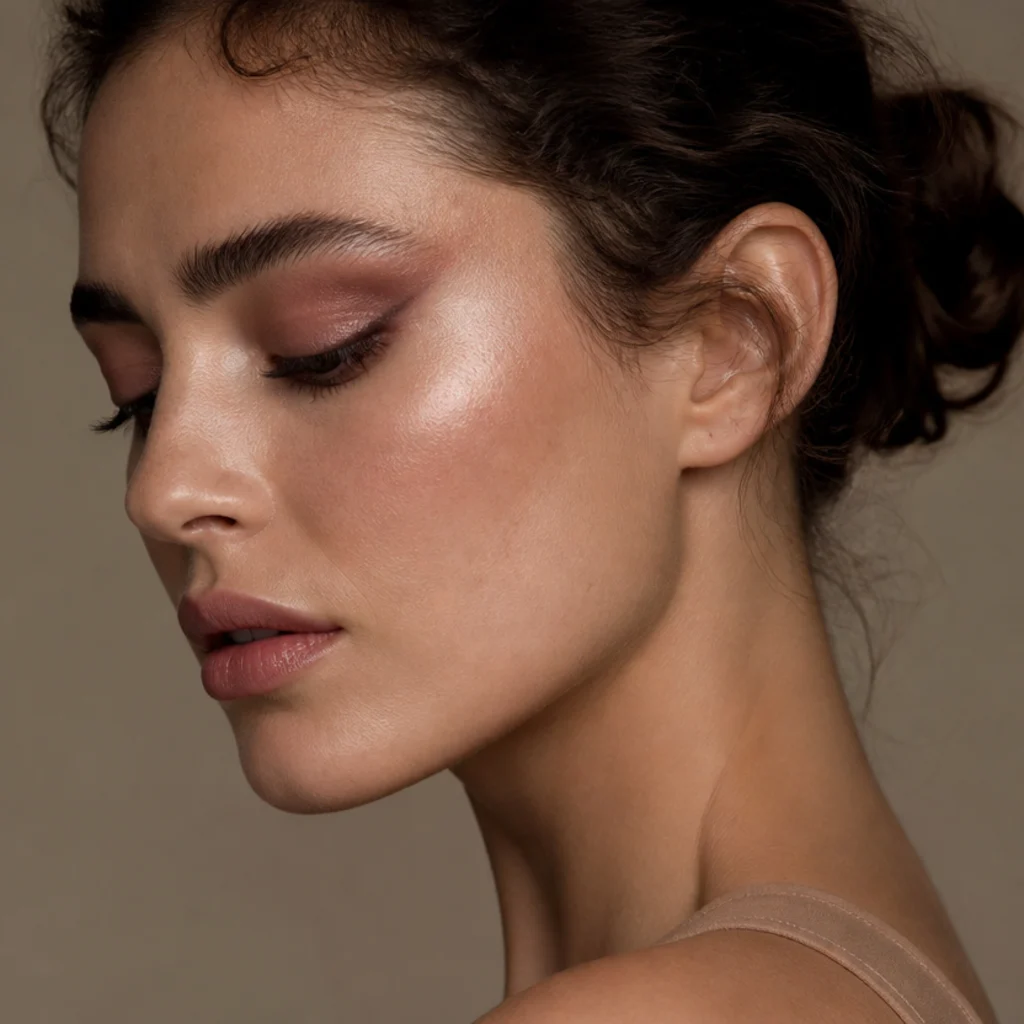
Drawing a slightly extended socket line is how you sculpt length without a speck of shimmer. Trace a matte mauve or rosy-brown along the crease, then carry it a few millimeters past the outer corner and up, so the resulting shadow reads as bone structure rather than makeup. Mauve is a clever in-between shade: it flatters cool and neutral undertones and gives fair to medium skin a soft, awake definition that a flat brown can lack. Blend the line upward with a clean fluffy brush so it dissolves into the brow bone with no visible edge. This look leans almost entirely on placement, which puts it at intermediate, but the payoff is a naturally elongated eye that holds up beautifully in photos. It's also the ideal matte base to smoke out into an evening look later. Pro tip: keep your eye open and look straight ahead as you extend the tail, so you place the elongation where it actually shows. Ask your artist for a "matte elongated socket, mauve tone" if you want length without sparkle.
08Foxy Eyeliner for Hooded Eyes
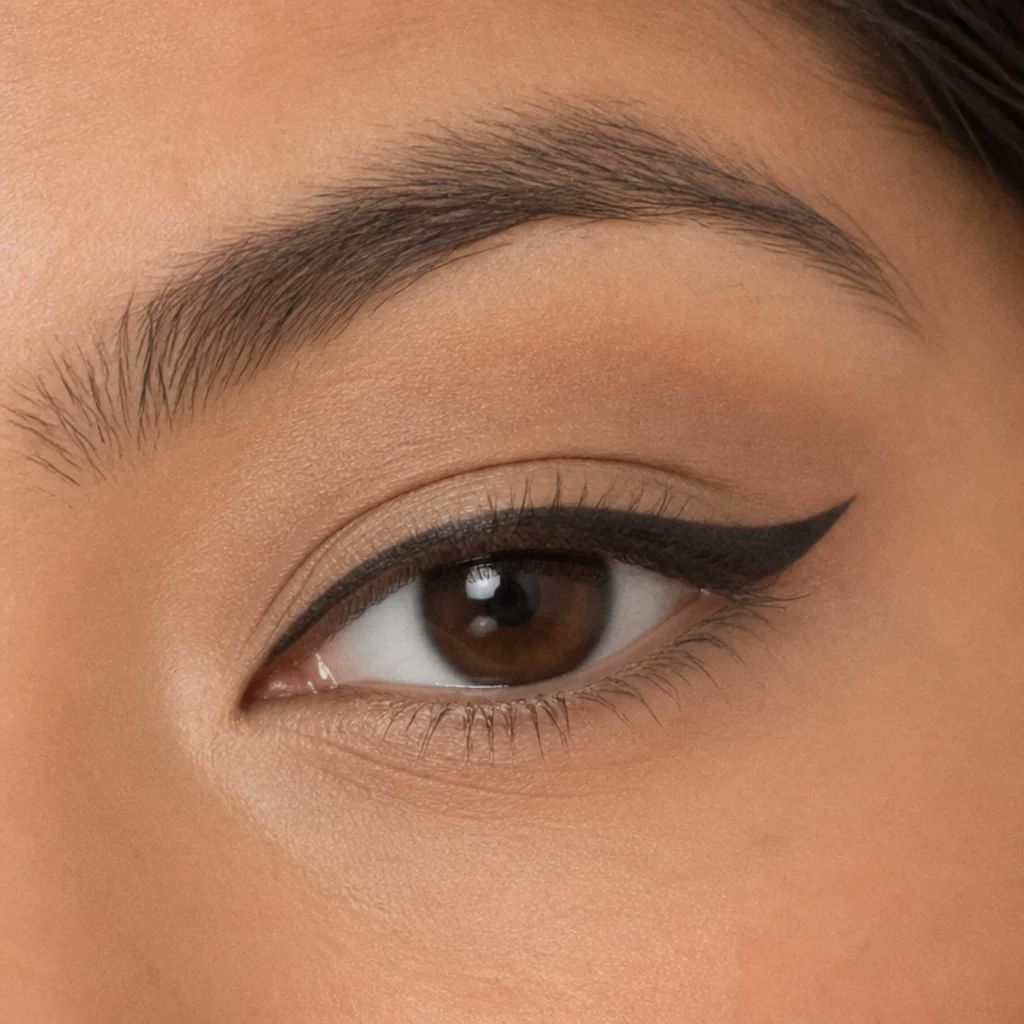
Foxy eyeliner for hooded eyes needs its own map, because a wing drawn with the eye closed vanishes the moment the hood folds over it. The fix is to work with your eyes open, looking straight ahead into a mirror, and mark where the flick actually stays visible. Keep the liner whisper-thin along the lash line and let it thicken only at the very outer corner, angled sharply up. A slightly tacky gel liner grips better and resists stamping itself onto the hood as the day goes on. Laying a matte shadow across the crease first gives the liner a dry surface to hold, which dramatically cuts transfer. This is one of the most searched foxy looks, and once the mapping clicks, one of the most satisfying. Rate it intermediate, almost entirely for the mapping. Pro tip: place three tiny dots with your eye open to mark the wing's start, peak, and tail, then connect them, so the shape reads correctly on the open eye. Ask your artist to "map the wing on the open eye for my hood."
09Smoked Lower Lash Line
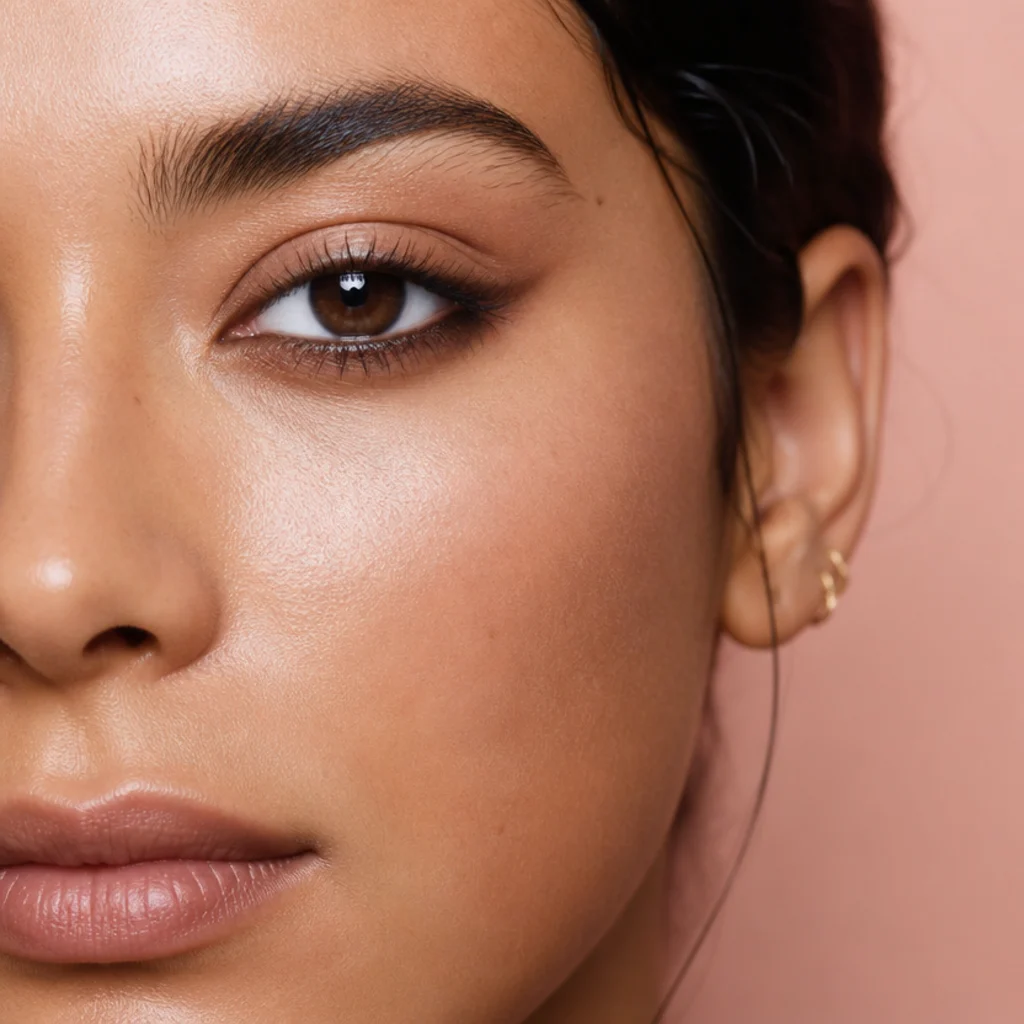
Smoking the lower lash line adds depth and, angled correctly, real length. Rather than ringing the whole eye (which shrinks it), concentrate a warm brown or bronze on the outer two-thirds of the lower line and drag the tail outward until it meets your upper liner flick, fusing top and bottom into one continuous lifted shape. Keep the inner third clean and bright so the eye still reads open and awake. A small pencil smudger, or a soft kohl you can blend within its first few seconds, gives the most control. This suits almond and round eyes that want more drama; very deep-set eyes should keep the smoke sheer and outer-only so it doesn't close the eye in on itself. Difficulty sits at comfortable intermediate. Pro tip: connect the lower smoke to the upper flick last, checking the join with the eye open, so the two lines meet cleanly at the corner. Ask your artist for a "smoked outer lower line that connects to the flick" for a wraparound lift.
10Rose-Bronze Cut Crease Lite
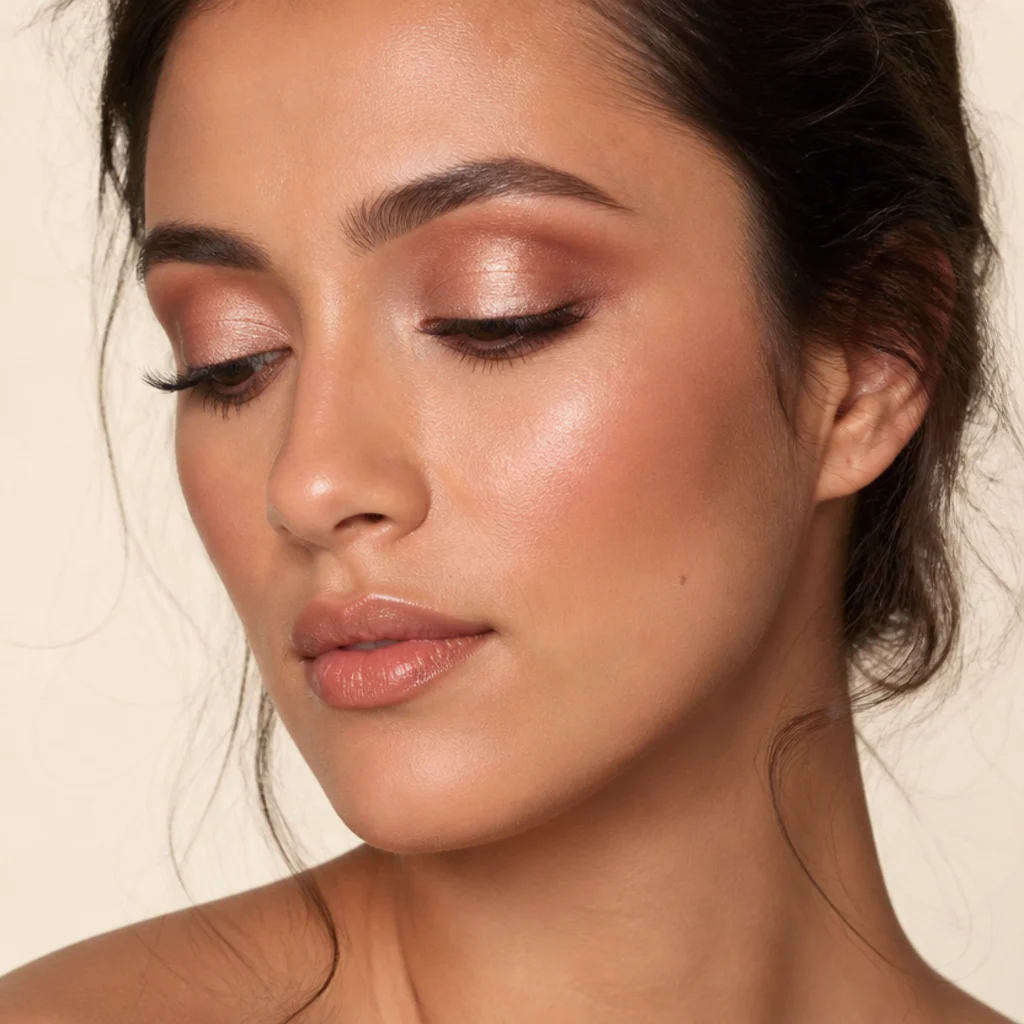
A "lite" cut crease delivers structure without the razor cut-out of full glam. Lay a thin layer of concealer or a sticky base over the lid to create a clean canvas, then press a rose-bronze shimmer on top so it pops against a matte crease shade that has been pulled up and out toward the temple. The contrast between the bright, reflective lid and the defined crease reads as instant dimension and lift. Because the crease edge is blended rather than knife-sharp, it forgives uneven or slightly hooded lids far better than a traditional cut crease, which needs a flat, visible lid to show. Rose-bronze flatters a wide range of skin tones, leaning warm and rosy on fair to medium skin, richer on deep skin. This is where the progression tips from soft into statement, so expect an intermediate-plus time commitment. Pro tip: press, don't swipe, the shimmer on with a flat brush and a fingertip backup to keep it dense and un-muddied. Ask your artist for a "soft cut crease with a lifted outer edge."
Save this to Pinterest to mark the midpoint where soft turns to statement.
11Sleek Black Winged Extension
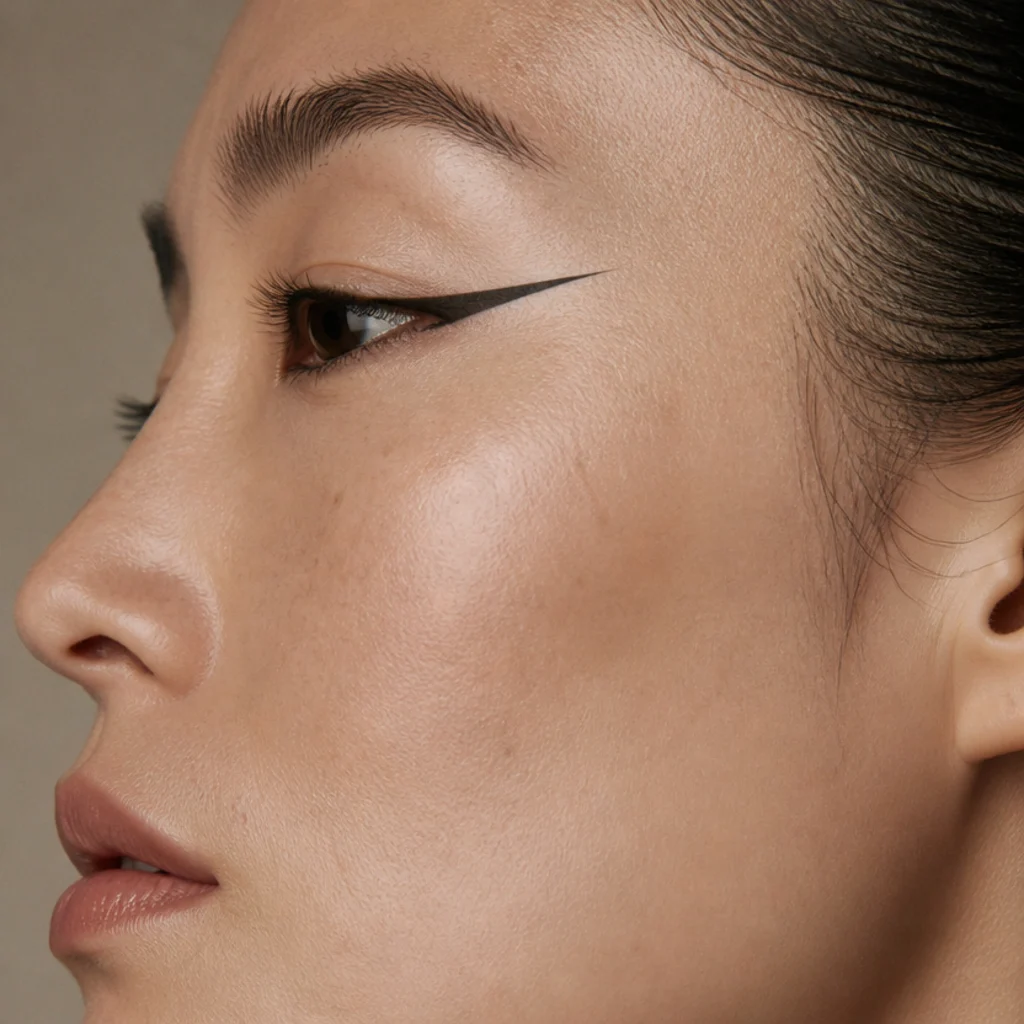
Here the full black wing takes the lead. Extend a crisp liquid line from the outer corner up toward the brow tail, keeping the wing longer and flatter than a classic cat eye so the angle stays foxy and elongated rather than curled and retro. Line the upper lash line thinly and let the wing itself carry the drama. A felt-tip or fine-brush liquid gives the sharpest control; anchor your elbow on the table and build the wing in short, connected strokes rather than one nervous swipe, which is where most wobbles come from. This bold, graphic shape suits almond and upturned eyes especially and photographs cleanly for Pinterest. Rate it intermediate, because a sharp wing takes reps, plain and simple. Pro tip: lay a strip of tape or a business card along the line from your lower lash line to your brow tail as a guide, draw against it, then peel it away for a clean edge while you learn. Ask your artist for a "long, flat foxy wing, not a curled cat eye."
12Big Foxy Eyes Doe Lift
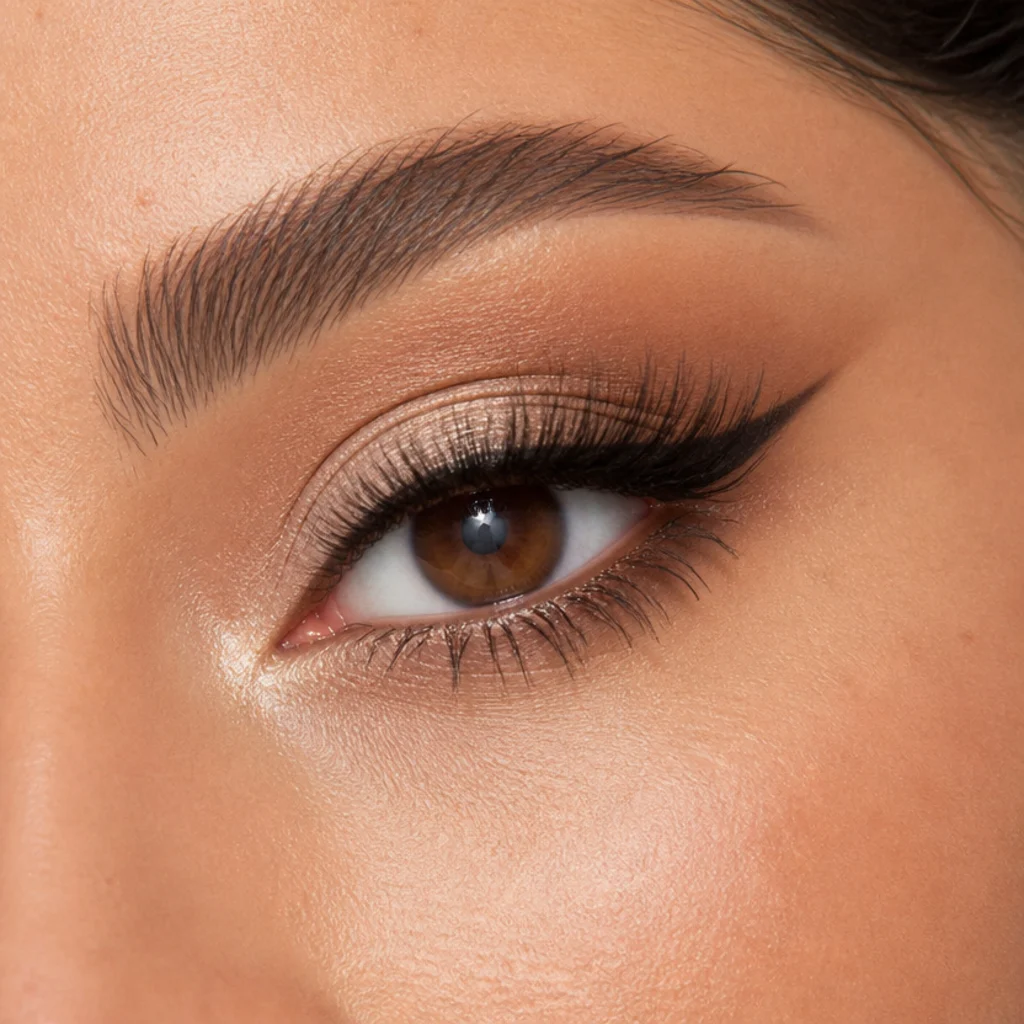
Big foxy eyes balance the slinky outward lift with real openness, so the eye looks elongated and wide awake at once. The recipe pairs the upward outer flick with a firmly curled lash, a coat of lengthening (not just volumizing) mascara, and a dab of light shimmer on the inner corner and lid center. That bright center pulls the eye open while the outer angle keeps it foxy, so the two forces balance instead of canceling out. False lashes with longer fibers weighted toward the outer corner exaggerate the effect if you want more. This suits smaller and round eyes that want size without heaviness, and downturned eyes that want lift without droop. Difficulty is moderate; the open-versus-lifted balance is the part worth rehearsing in the mirror. Pro tip: curl lashes at the base, middle, and tip in three gentle presses for a rounded, wide-awake curl rather than a single harsh bend. Ask your artist for "an open, lifted eye, inner corner bright, outer-weighted lashes."
13Copper Shimmer Center Pop
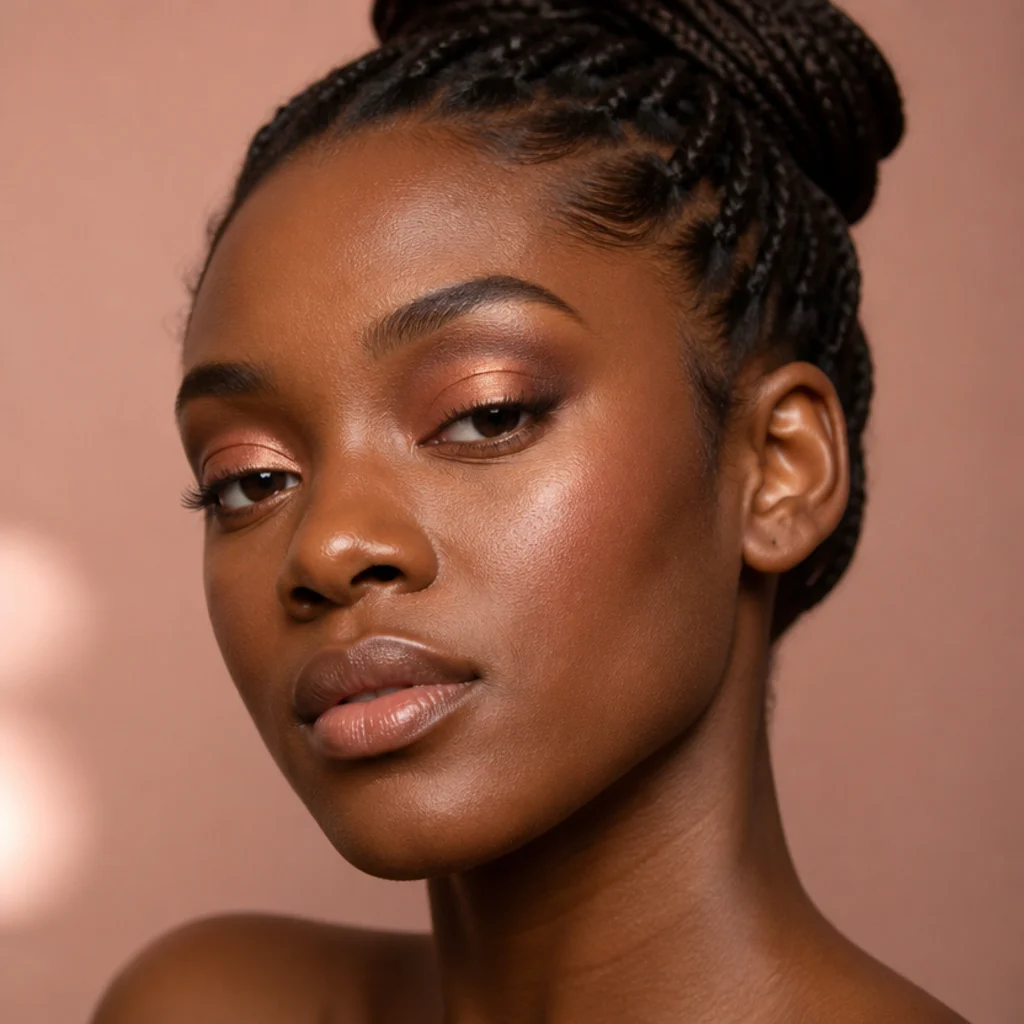
Pressing a metallic copper onto the center of the lid, over the earlier bronze blend, drops in a light-catching highlight that makes the whole eye look brighter and more three-dimensional. Use a flat shader brush with a slightly dampened tip so the shimmer grabs and stays vivid instead of sheering out into dust. Keep the copper contained to the center and let it melt into the bronze at the edges, while the outer corner stays deliberately darker to hold the lift. Copper flatters deep skin tones especially and gives brown and green eyes extra warmth and glow. Because it layers over a base you already know from look 3, it's a fast, low-risk way to take an everyday eye to dinner. Rate it approachable intermediate. Pro tip: spray your damp brush lightly rather than dunking it, and press the metallic on in two thin layers, letting each set, so the finish stays foiled, not patchy. Ask your artist for a "copper foil center over a warm base, dark outer corner."
14Graphic Floating Liner
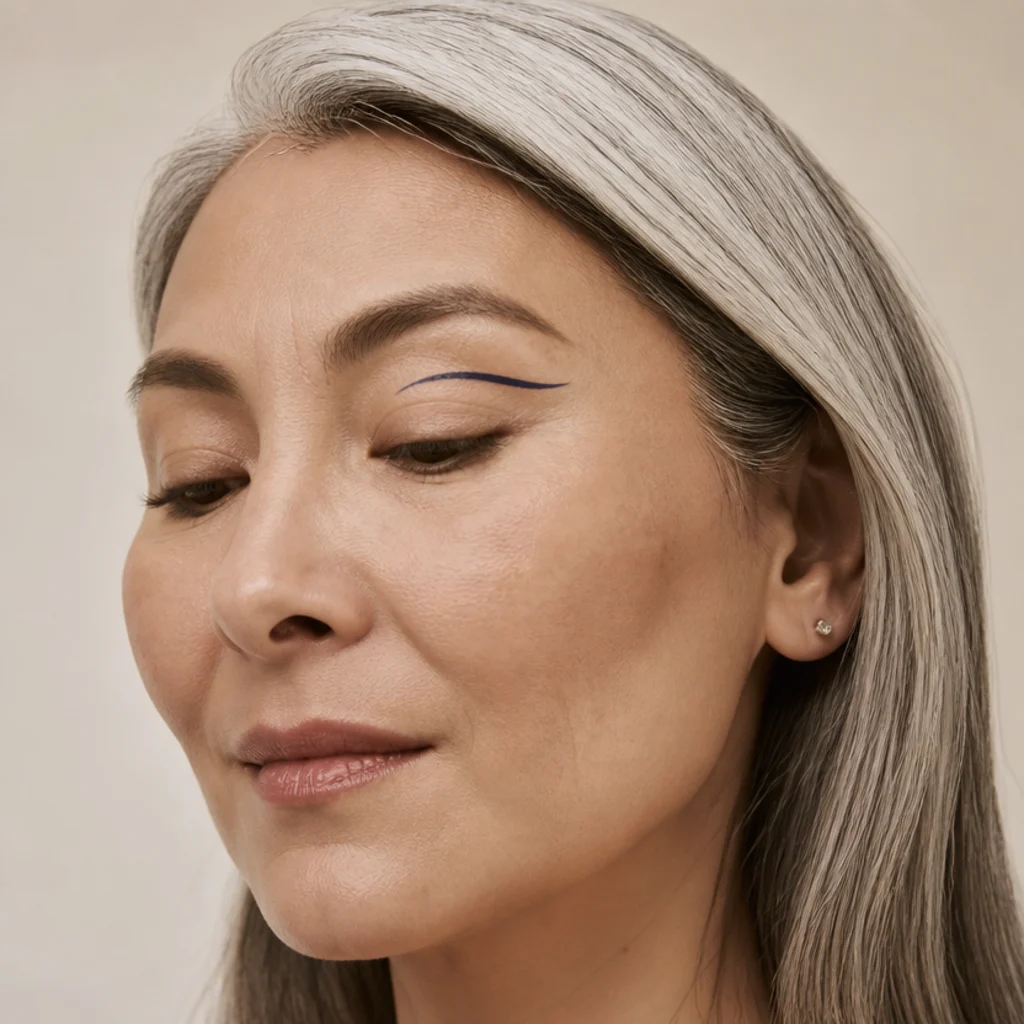
Floating liner sits above the natural crease rather than on the lash line, tracing a second lifted arc that reads as editorial and modern. Drawn to angle up at the outer corner, it exaggerates the foxy shape and works remarkably well on hooded eyes, because it lives on the part of the lid that stays visible when the eye is open, exactly where a lash-line wing would disappear. Use a fine liquid liner or an angled brush loaded with gel, and keep the line thin, clean, and consistent in width. Pair it with a bare or softly washed lid so the graphic line stays the clear standout. This is trend-forward and demands precision, so rate it intermediate to advanced. Pro tip: sketch the arc first in a light brown pencil with your eye open, check the symmetry against the other side, then trace over your guide in liquid once you're happy with the shape. Ask your artist for a "floating graphic liner lifted at the outer corner" if you want something camera-ready and current.
15Foil Champagne Lid Focus
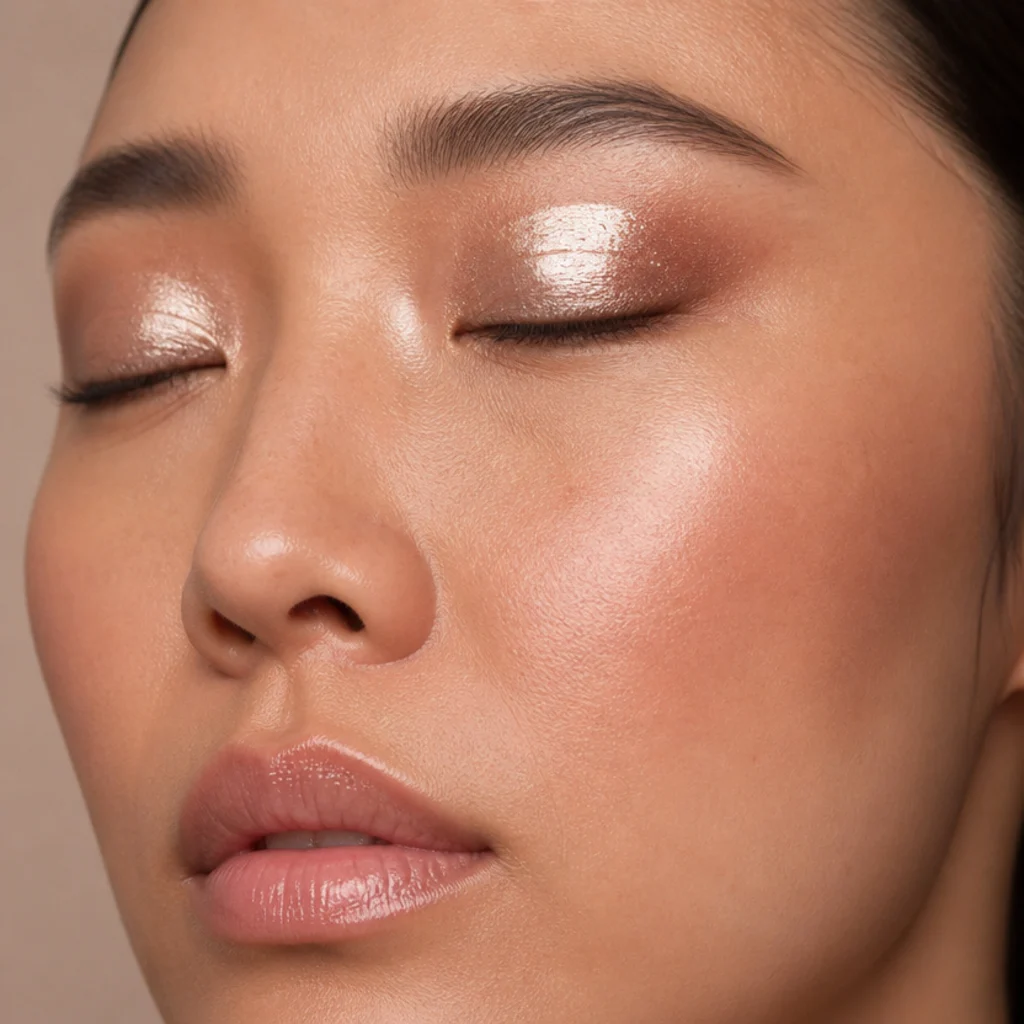
A foiled champagne lid is the bright, glamorous cousin of the copper pop. Pack a metallic champagne across the entire lid with a fingertip or a damp flat brush for maximum wet-looking shine, then hold a taupe or soft brown at the outer corner, lifted upward, so the eye still elongates instead of just glowing. The high-shine lid bounces light and makes the eye look larger and more awake, while the darker corner preserves the essential foxy angle. Champagne is close to universal across skin tones and pairs naturally with a warm blush and a glossy nude-pink lip for a cohesive evening face. This is a fast route to polished glam, and because all that shine forgives imperfect blending underneath, it stays comfortably intermediate. Pro tip: apply the metallic with a fingertip for the densest, most reflective payoff, then tidy the edges with a small brush; brushes scatter foil shades, fingers press them flat. Ask your artist for a "wet-look champagne lid with a lifted taupe corner."
16Siren Eyes vs Foxy Eyes Hybrid
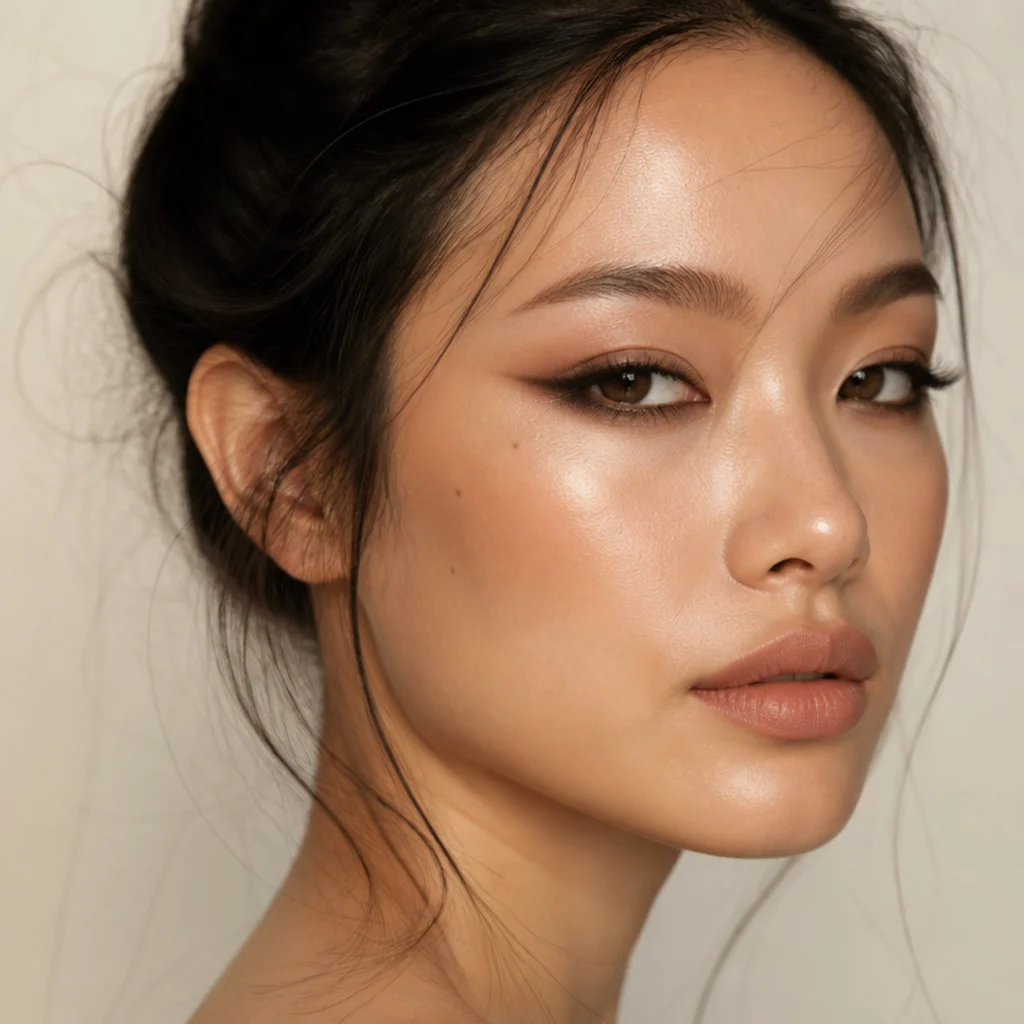
The siren eyes vs foxy eyes question comes up constantly, so this look blends the two on purpose. Foxy eyes lift everything up and out for a feline, wide-set effect; siren eyes elongate along the lash line with a smokier, sultrier drag that can angle straight out or even slightly down at the corner. The hybrid keeps the upward outer flick of a foxy eye up top but smokes the lower line outward like a siren below, landing on a shape that reads lifted yet sultry, playful yet a little sexy. It suits almond eyes best and is the fastest way to decide which side you prefer before committing. Rate it intermediate; it's really two techniques meeting in the middle. Pro tip: do the foxy flick first and let it set the upper angle, then build the siren smoke to meet it, so the sultry lower drag never overpowers the lift. Ask your artist for a "foxy-siren hybrid, lifted up top, smoked and elongated below."
17Deep Plum Smoky Fox
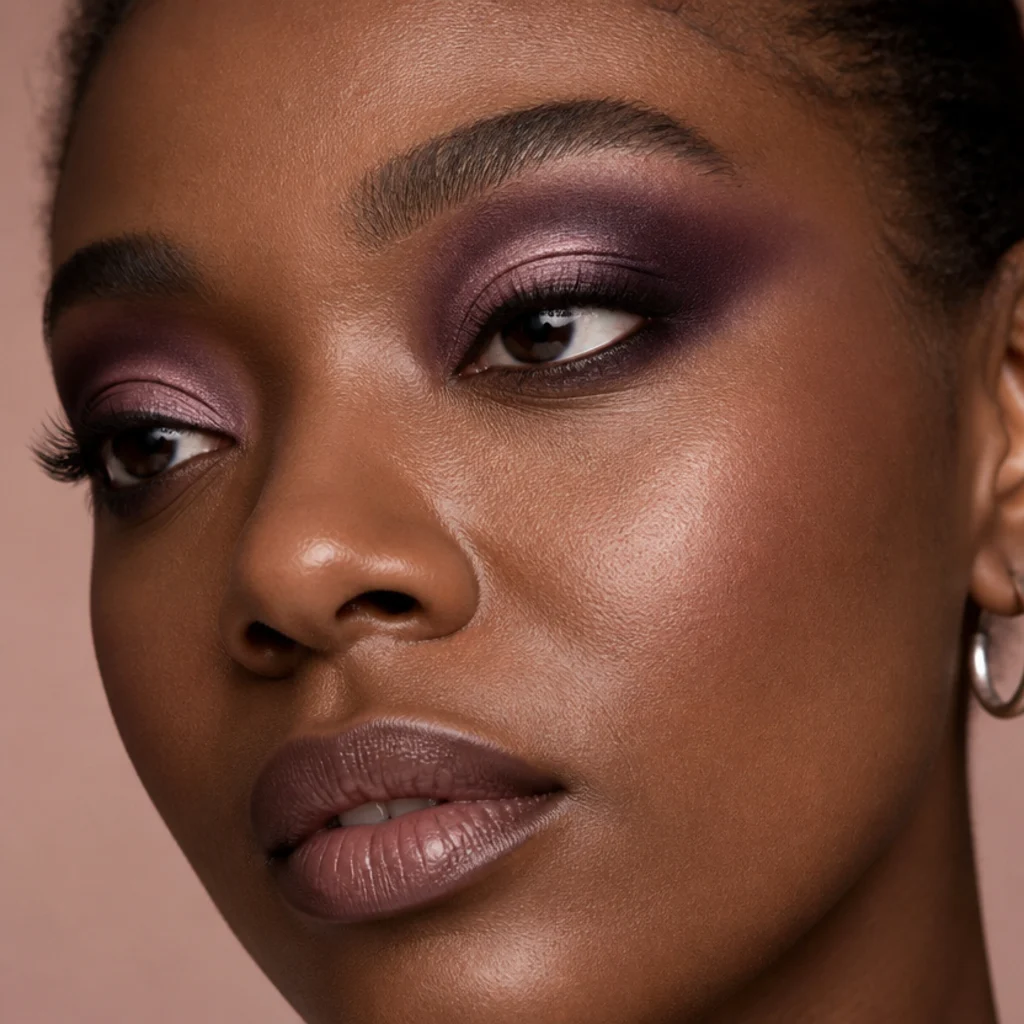
Plum is an underrated smoky shade that flatters nearly everyone and makes green and hazel eyes look especially vivid by contrast. Build a deep, slightly cool plum through the crease and outer corner, then blend it up toward the temple so the smoke lifts rather than rounding down. Keep the inner lid deliberately lighter, perhaps a soft pink or champagne shimmer, so the eye stays open and the plum reads as a directional shadow instead of a heavy halo. Because plum is softer and less severe than black, this smoky look feels rich rather than harsh, which makes it a smart pick for mature or crepey lids that want depth without hard edges settling into fine lines. It's a solid intermediate look. Pro tip: leave a small "windowpane" of the lighter shade on the center of the lid and blend the plum around it, so the eye never looks closed in. Ask your artist for a "lifted plum smoky eye with a bright center."
18Glitter Foxy Eyes Night Out
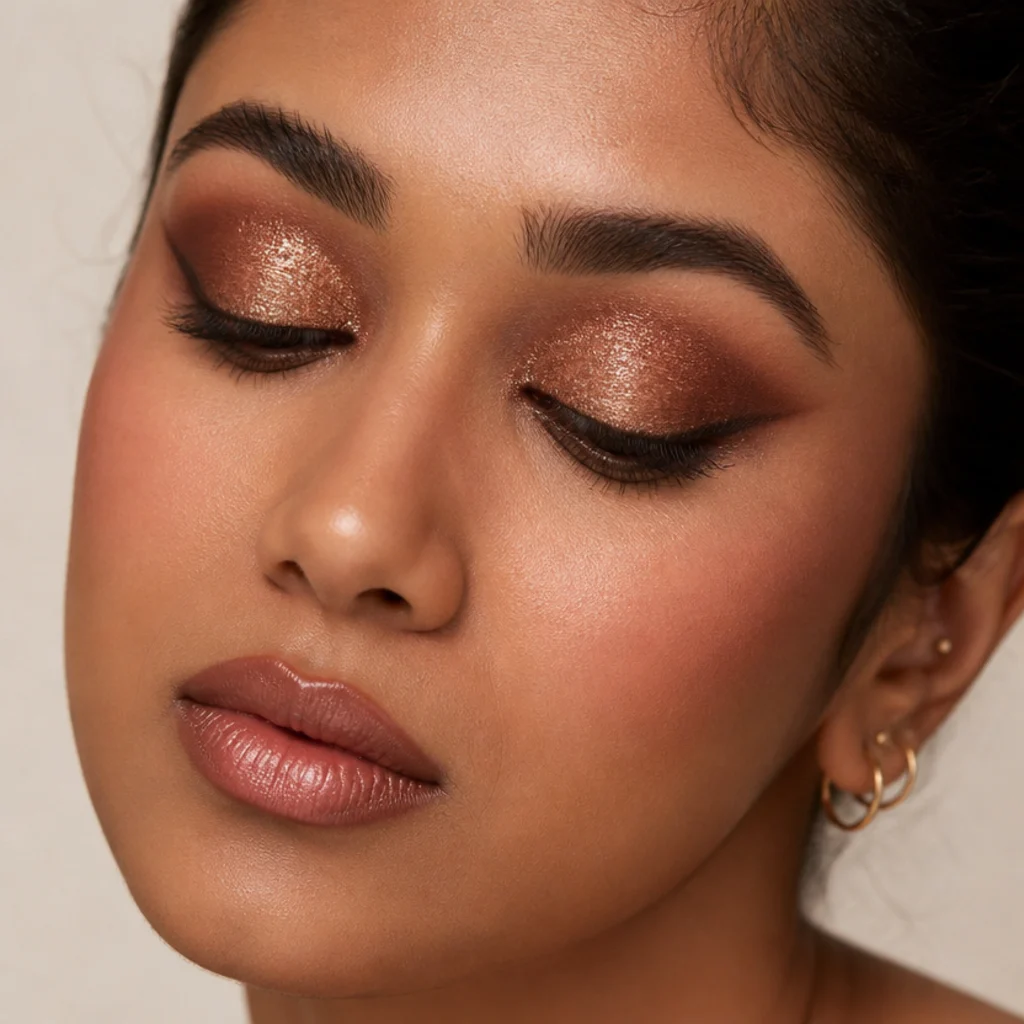
Glitter foxy eyes are the headline look for a night out. Over a bronze or plum base, pat a fine glitter or a glitter gel onto the center and inner lid with a flat brush or fingertip, keeping the outer corner darker and lifted so the sparkle amplifies the shape instead of flattening it into a shiny block. A dedicated glitter glue holds fallout down and locks the sparkle far better than shadow alone, which sheds by the second drink. Choose a fine-milled glitter for an elegant, allover shimmer or a chunkier flake for full drama, but avoid mixing three flake sizes, which reads messy. This suits any eye shape as long as the outer lift stays intact. Rate it intermediate, mostly for the patience of packing glitter cleanly. Pro tip: lay a generous "shelf" of loose powder under the eye first, do the glitter, then sweep the fallout away before you finish your base, so no sparkle sinks into concealer. Ask your artist for "fine glitter on the center, dark lifted outer corner."
19Jewel-Tone Duochrome Drama
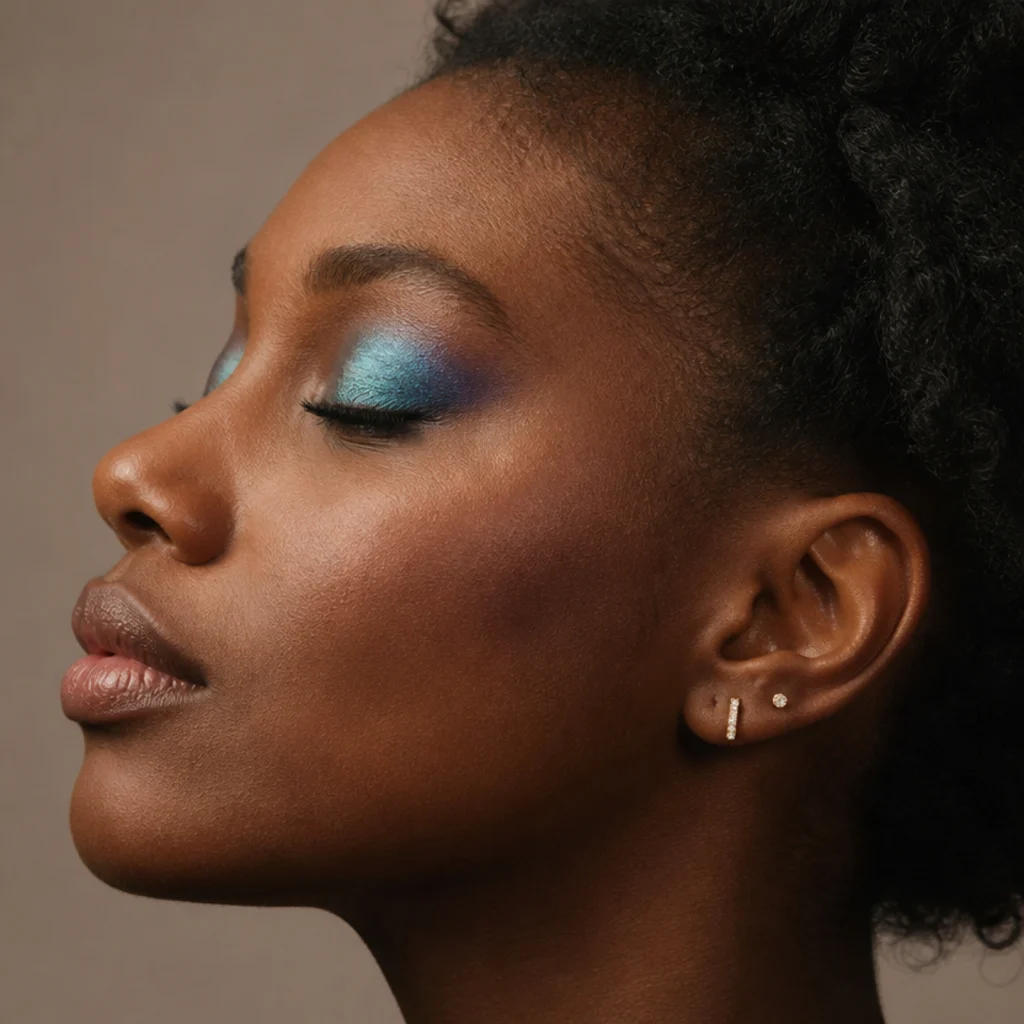
A duochrome shadow shifts between two colors as the light moves, so a teal-to-violet or green-to-gold shade turns a simple lifted lid into something that catches the eye across a room. Apply it damp over a sticky base or a colored cream underneath to make the shift read at full saturation; applied dry over bare skin, most duochromes look flat and grainy. Keep the placement foxy by concentrating the shade on the outer lid and dragging it up toward the temple, and ground the bright lid with a neutral matte in the crease so it never looks like a floating patch. Jewel tones flatter deep skin dramatically and give lighter skin a bold pop against neutral clothing. This is advanced-leaning, because the color payoff lives or dies on your base and your dampening technique. Pro tip: match the cream base to the shade's dominant flash (a teal base under a teal-violet) to intensify the shift. Ask your artist for a "duochrome lid over a matching cream base, lifted placement."
20Full Glam Bold Foxy Finish
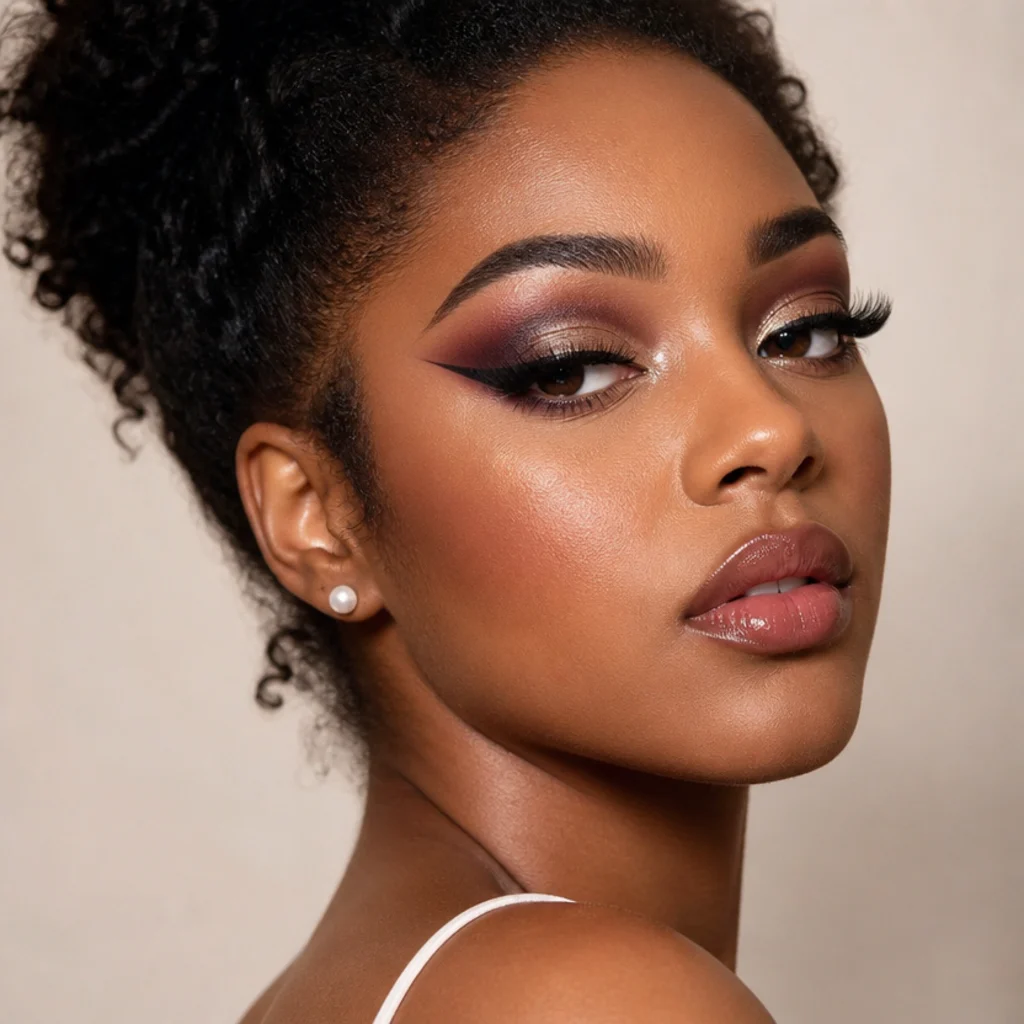
The finale layers everything the progression taught. Start with the taupe lift, build a bronze-and-plum blend through the crease and outer corner, sharpen a long, flat black wing, foil the center of the lid, press a little glitter at the inner corner, and finish with dramatic, outer-weighted lashes. The discipline that keeps it from turning muddy is direction: every element points up and out, so despite the density the eye still reads as lifted and foxy rather than heavy and closed. This is a full-event look for weddings, parties, and photoshoots, and it rewards exactly the steady hands and blending instincts the earlier numbers built. Rate it advanced, and give yourself real time. Pro tip: work in thin, buildable layers and set each step before the next, then carve the whole shape crisp at the end with a little concealer on a flat angled brush, which frames the eye and instantly makes the wing and lower line look sharper. Ask your artist for a "full-glam foxy eye, sharp wing, foiled center, dramatic lashes."
Pro Tips from the Editor
- Aim the brush, not just the color. Point the brush handle toward your temple before every stroke; your hand naturally follows the angle it is aimed at, which keeps the whole eye lifting in one direction.
- Keep the inner third bright on every look. A clean or shimmery inner corner is what stops the outward drag from making the eye look small or hard, and it's the difference between "lifted" and "downturned."
- Map graphic looks with the eye open. Wings and floating liner should be drawn and checked looking straight ahead, especially on hooded eyes, because a shape that looks perfect closed can fold and vanish open.
- Set before you sparkle. A dry matte shadow under liner, and a powder "shelf" under glitter, are the two steps that separate all-day wear from midday migration and fallout.
- Warm your pencils, chill your liquids. Rub a kohl or gel pencil tip on the back of your hand for a few seconds so it glides and grips; keep liquid liner strokes short and connected instead of one long drag.
- Balance depth with a lighter lid. Whenever a look leans smoky or dark (plum, siren hybrid, deep bronze), leave a small windowpane of lighter shade on the lid center so the eye stays open.
- Frame it last. A whisper of concealer on a flat angled brush along the outer corner and lower line cleans stray fallout and makes every edge, especially the wing, look sharper and more intentional.
Siren vs Foxy at a Glance
| Element | Foxy Eyes | Siren Eyes |
|---|---|---|
| Overall angle | Lifts up and out toward the temple | Elongates along the lash line, out or slightly down |
| Mood | Feline, wide-set, lifted, playful | Sultry, elongated, smoky, sensual |
| Liner tail | Long, flat flick angled upward | Elongated drag, softer or downward at the corner |
| Best eye shapes | Almond, hooded, downturned, round wanting lift | Almond, upturned, eyes wanting a bedroom-eye softness |
| Signature step | Upward outer flick plus shadow dragged to temple | Smoked, extended lash line, kept close to the eye |
How to Choose / Get the Look
Work through three quick decisions and the right look almost picks itself.
1. Start with your eye shape. For downturned or hooded eyes, the lifting techniques in the first half do the heaviest lifting: the feathered outer-V (5), the mapped hooded liner (8), and the floating line (14) that stays visible when the eye is open. For smaller or round eyes chasing big foxy eyes, lean on tightlining (4), a bright inner corner, and outer-weighted lashes (12) to add size without heaviness. Almond and upturned eyes can wear almost anything here, including the sharp wing (11).
2. Match difficulty to your time and occasion. A weekday needs only look 2, 3, or 6, all achievable in a few minutes. A dinner earns the copper or champagne (13, 15); a night out earns the glitter, duochrome, and full glam (18, 19, 20). Be honest about your minutes at the mirror, because a rushed sharp wing looks worse than a well-blended wash.
3. Decide soft-and-smoked or sharp-and-graphic. This single choice determines your formulas: smoked looks want blendable pencils and matte-to-shimmer shadows, while graphic looks want a felt-tip or fine-brush liquid and a tacky gel. Pick a lane before you sit down so you're not switching tools mid-look.
Booking a pro? Bring two saved images and ask for "a lifted, elongated eye with an upward outer flick." Say whether you prefer soft and smoked or sharp and graphic, name your eye shape (especially if hooded, so they map the wing on the open eye), and specify glitter versus a clean matte finish so they choose the right formulas and set a realistic wear time for your event.
Frequently Asked Questions
What is the difference between siren eyes and foxy eyes?
Foxy eyes lift the whole eye up and out for a feline, wide-set look, using upward liner and shadow dragged toward the temple. Siren eyes elongate along the lash line with a smokier, sultrier drag that can angle straight out or slightly down at the corner. Foxy reads lifted and playful; siren reads sultry and elongated. Many people, as in look 16, blend the two for a lifted-yet-smoky result.
Can I do foxy eyes on hooded eyes?
Yes, and they're one of the most flattering options for hooded eyes. The key is mapping the liner with your eyes open so the flick lands on the visible part of the lid rather than hidden in the fold. Floating liner above the crease (14) and a lifted outer-V (5) both work well, and a tacky gel formula resists transferring onto the hood as the day goes on.
Do foxy eyes make small eyes look bigger?
They can, when you pair the upward outer angle with tightlining, a bright inner corner, curled lashes, and outer-weighted falsies. That combination adds length and lift while keeping the center of the eye open, which is exactly how big foxy eyes read as both elongated and wide awake. Avoid ringing the whole eye in dark liner, which closes small eyes in.
How do I keep glitter foxy eyes from falling out?
Use a dedicated glitter glue or gel base rather than shadow alone, and press the glitter on with a flat brush or fingertip instead of sweeping it. Lay a "shelf" of loose powder under the eye first, complete the glitter, then dust the fallout away before you finish your base and concealer. Fine-milled glitter also sheds far less than chunky flakes.
What eyeliner is best for a foxy wing?
For a sharp graphic wing, a felt-tip or fine-brush liquid liner gives the crispest edge and the most control over the long, flat foxy angle. For a softer daytime flick, a gel pot or a firm pencil is more forgiving and easier to smudge into the lash line. On hooded eyes, choose a tacky gel that grips the lid and resists transferring onto the fold.
How do I make foxy eyes last all day?
Build on a tacky eye primer, set it with a sheer translucent powder, and lay a dry matte shadow under any liner so it has something to grip. Choose waterproof or smudge-proof formulas for the waterline and lower line, and keep glitter and foil on a dedicated glue base. With those steps, most of these looks hold eight to twelve hours with only a light outer-corner touch-up.
Which foxy eye look is easiest for beginners?
Start with the soft taupe wash (2) or the warm bronze blend (3): one or two shades, one or two brushes, and no liner precision required. Add the short brown liner flick (6) once the shadow angle feels natural. These three build the core foxy skills (upward placement, a blended outer corner, and a lifted flick) before you attempt a sharp black wing or glitter.
Are foxy eyes flattering on downturned eyes?
Very much so, because lifting the outer corner directly counteracts the downward droop. The feathered outer-V (5), the lifted brown flick (6), and the elongated mauve socket (7) all raise the corner visually. Keep the inner corner bright and the outer corner darker and angled up, and avoid dragging any liner or smoke downward, which would emphasize the droop you are trying to lift.
Are these before and after photos of real clients?
No. These 20 looks are original illustrative examples arranged as a soft-to-bold progression, not real client transformations. They show how foxy eyes makeup can build from a natural daytime lift to full glitter glam so you can pick the exact intensity, eye shape, and skill level that match your plans.