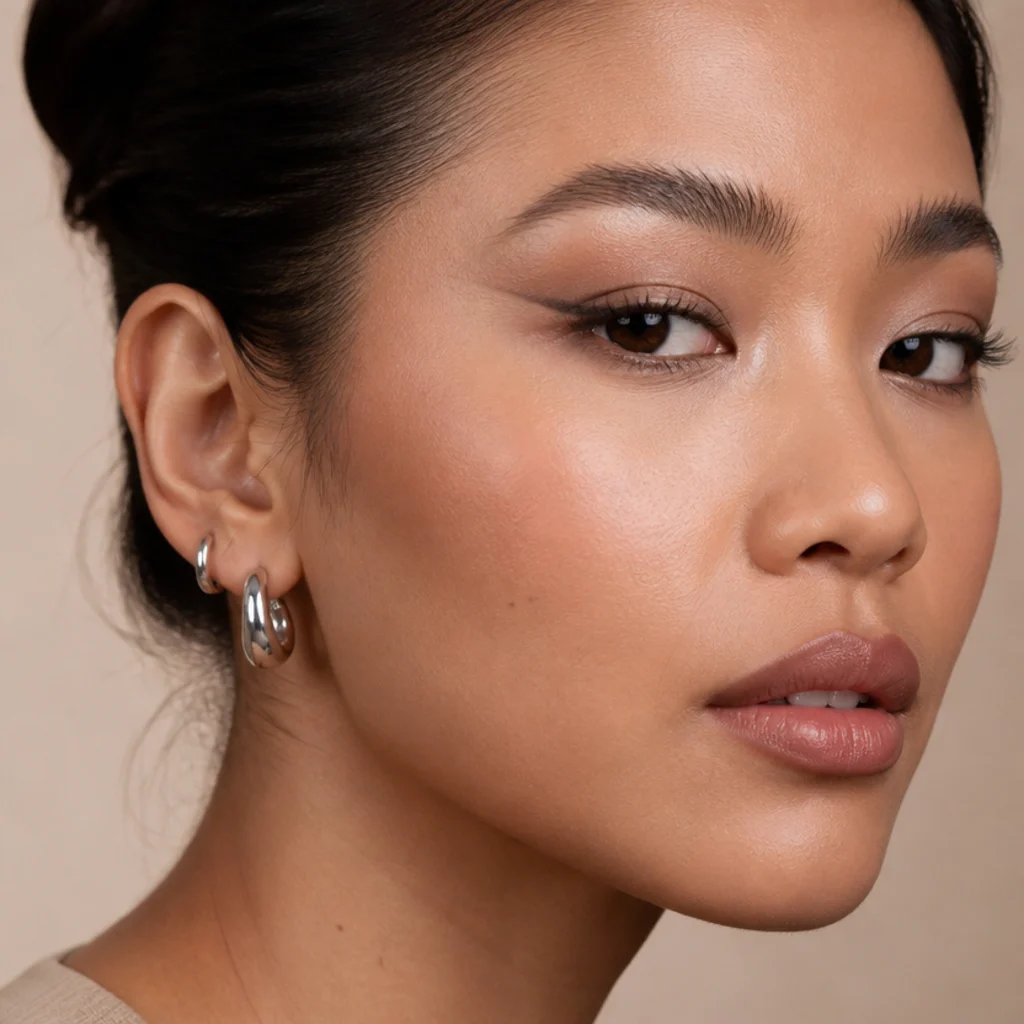
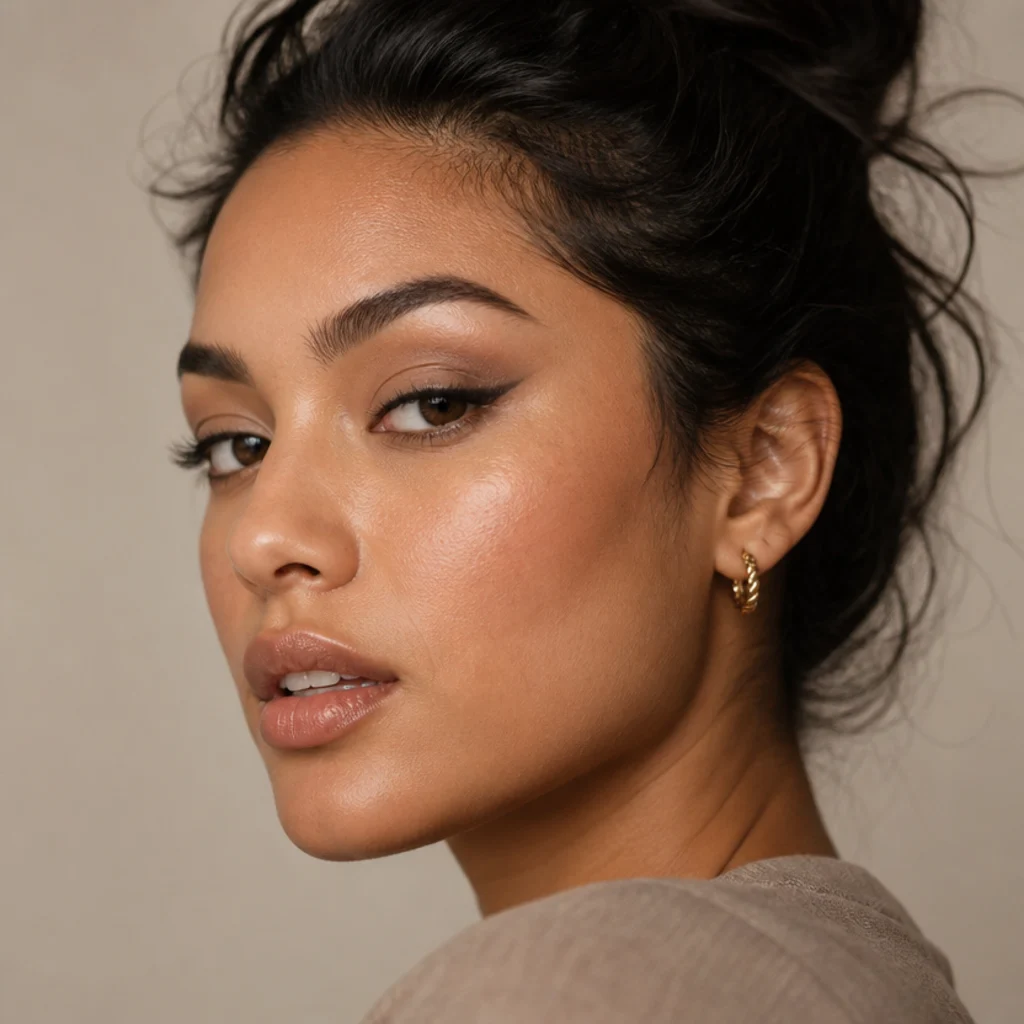
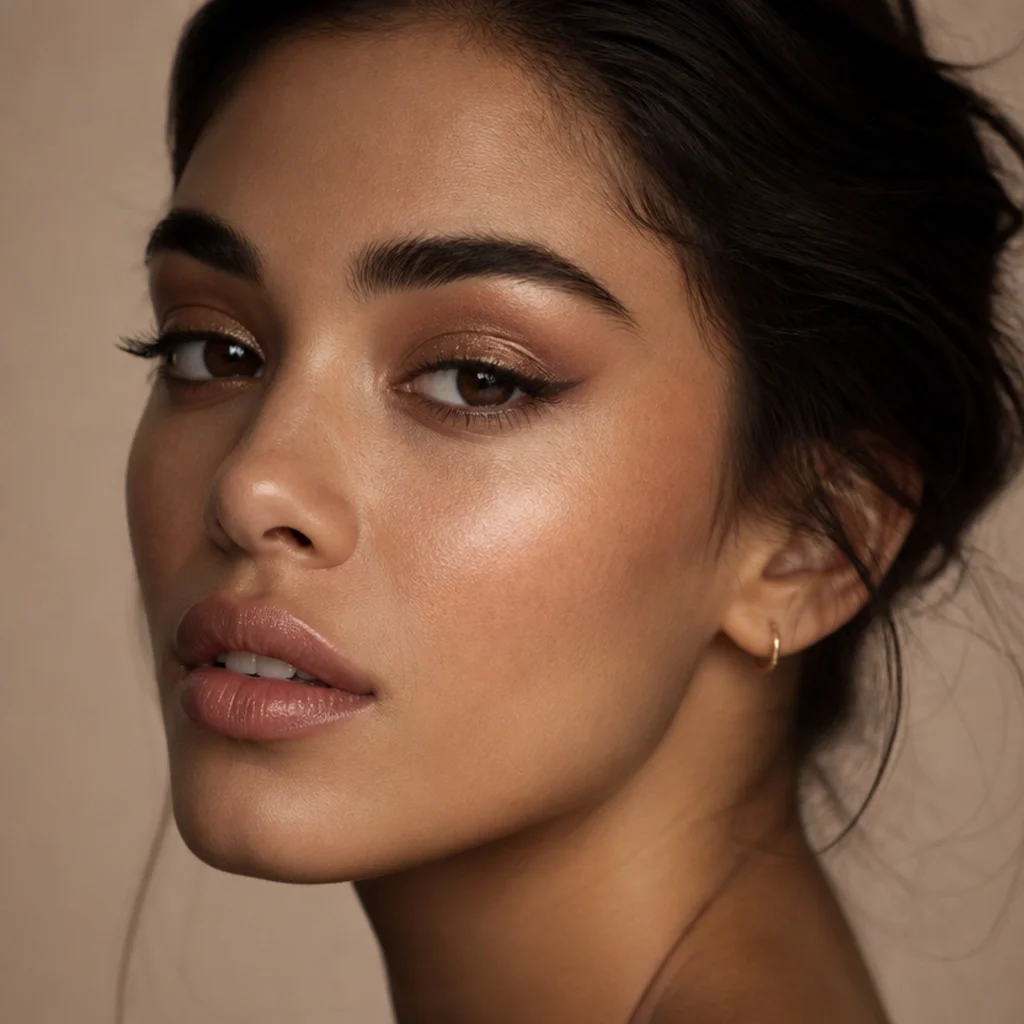
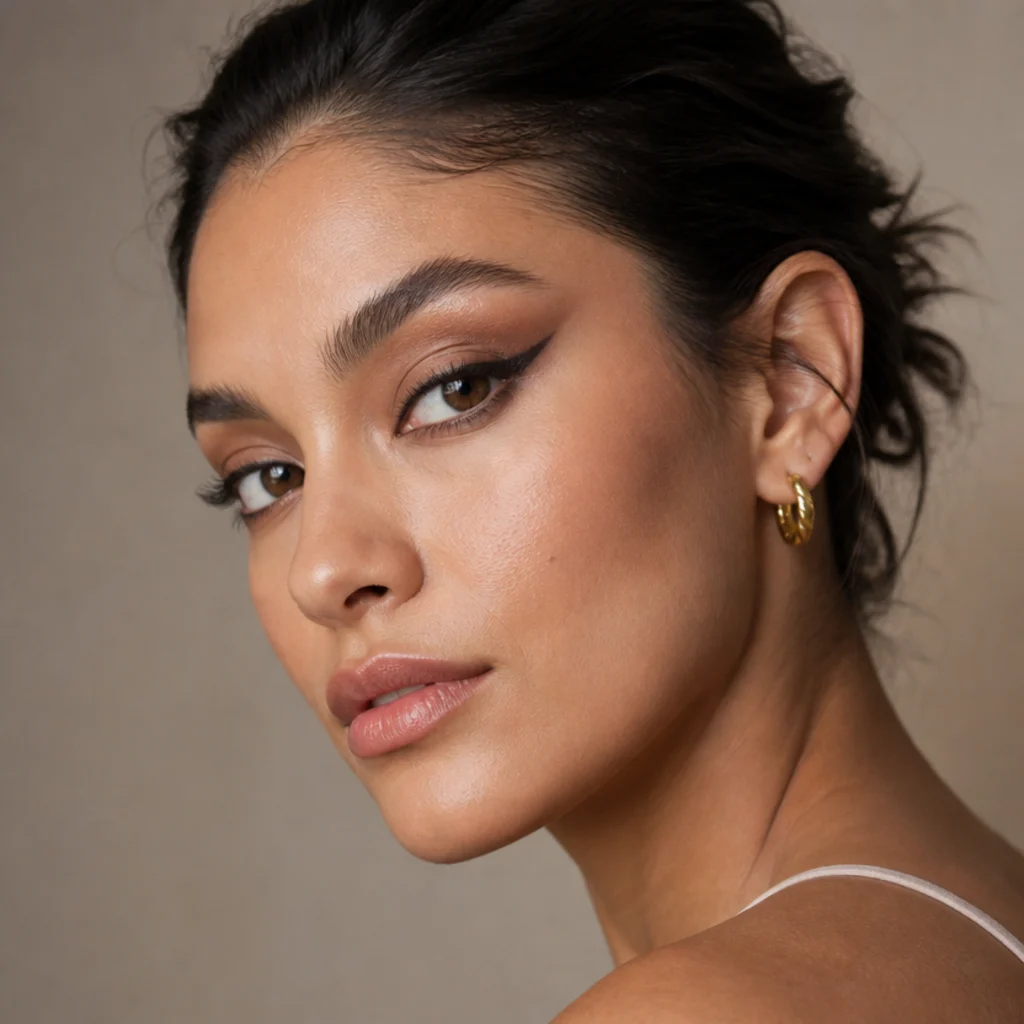
15 Easy Foxy Eyes Makeup Ideas for Beginners
Foxy eyes makeup lifts the outer corner into a slinky, upswept line that reads elegant on nearly every eye shape. These 15 beginner ideas break the look into precise, repeatable moves, with exact shades, angles, and upkeep so you can match one to your eyes instead of copying a photo.
 Edited by Lena Rose · Published July 11, 2026 · 26 min read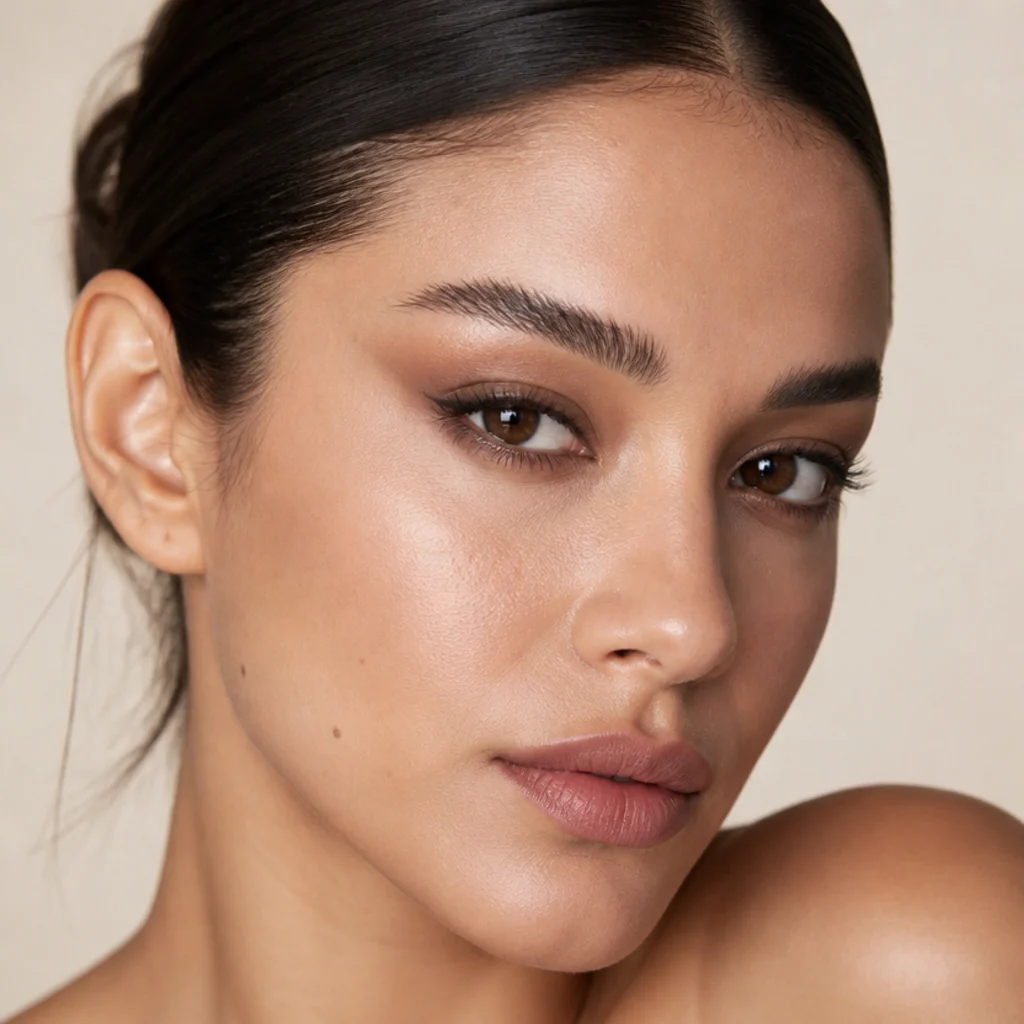
Quick Answer
- Best for: Anyone who wants a lifted, elongated eye; especially flattering on round, almond, hooded, and downturned shapes.
- Who might skip it: Very deep-set eyes where an upward tail can vanish into the socket, and anyone who prefers a rounded, doe-eyed finish.
- Maintenance: Low to medium; most looks need only a quick outer-corner touch-up midday, glitter and lower-smudge versions a little more.
- Difficulty: Beginner-friendly overall; glitter, floating line, and cut-crease-style tails ask for a steadier hand.
- Cost: Low. A single taupe or brown pencil and a neutral quad cover most looks; a fine liquid liner and a fine glitter add flexibility. Expect a modest drugstore-to-mid-range spend rather than a big palette haul.
- Wear time / longevity: Around 6 to 10 hours with primer and a powder set; pencil-only versions on oily or hooded lids run shorter.
- Standout variation: Soft taupe foxy liner with a feathered outer wing for everyday wear.
- How to ask your makeup artist: Request a "lifted outer wing that follows my brow tail," specify soft-and-diffused or crisp-and-graphic, and bring a saved reference photo.
In This Guide
- The One-Line Lifted Wing
- Soft Taupe Everyday Foxy
- Smoky Bronze Foxy Eyes
- Glitter Foxy Eyes for Night
- Foxy Eyeliner for Hooded Eyes
- Big Foxy Eyes with Lash Focus
- Warm Terracotta Foxy Look
- Minimal Brown Tightline Foxy
- Foxy Eyes with a Faux Lift
- Rosy Mauve Foxy Eyes
- Graphic Floating Foxy Line
- Foxy Eyes for Deep Skin Tones
- Golden-Hour Champagne Foxy
- Cool Grey Editorial Foxy
- Foxy Eyes vs Siren Eyes Blend
Foxy eyes makeup comes down to one thing: direction. Instead of rounding the eye, you pull shadow and liner up and out toward the temple, and that single upward vector is what makes the look feel lifted and quietly feline. The good news for beginners: you don't need graphic-liner skills or a 40-pan palette to pull it off. Most of these ideas run on one or two neutral shades, a soft pencil or a fine liquid liner, and a mascara you probably already own. What separates a foxy eye that works from one that reads muddy is placement discipline. The darkest or most concentrated point always lives at the outer corner, and the tail angle should mirror your own brow, not a stranger's. Since the trend sits next to siren eyes, doe eyes, and the fox-eye "lift," it helps to know how the shaping differs before you pick one. The 15 ideas below run from the simplest one-line wing to a considered blend of siren and foxy shaping. Each entry names who it flatters, the exact finish to reach for, a realistic upkeep window, and one pro move so you can adapt it to your own eyes.
01The One-Line Lifted Wing
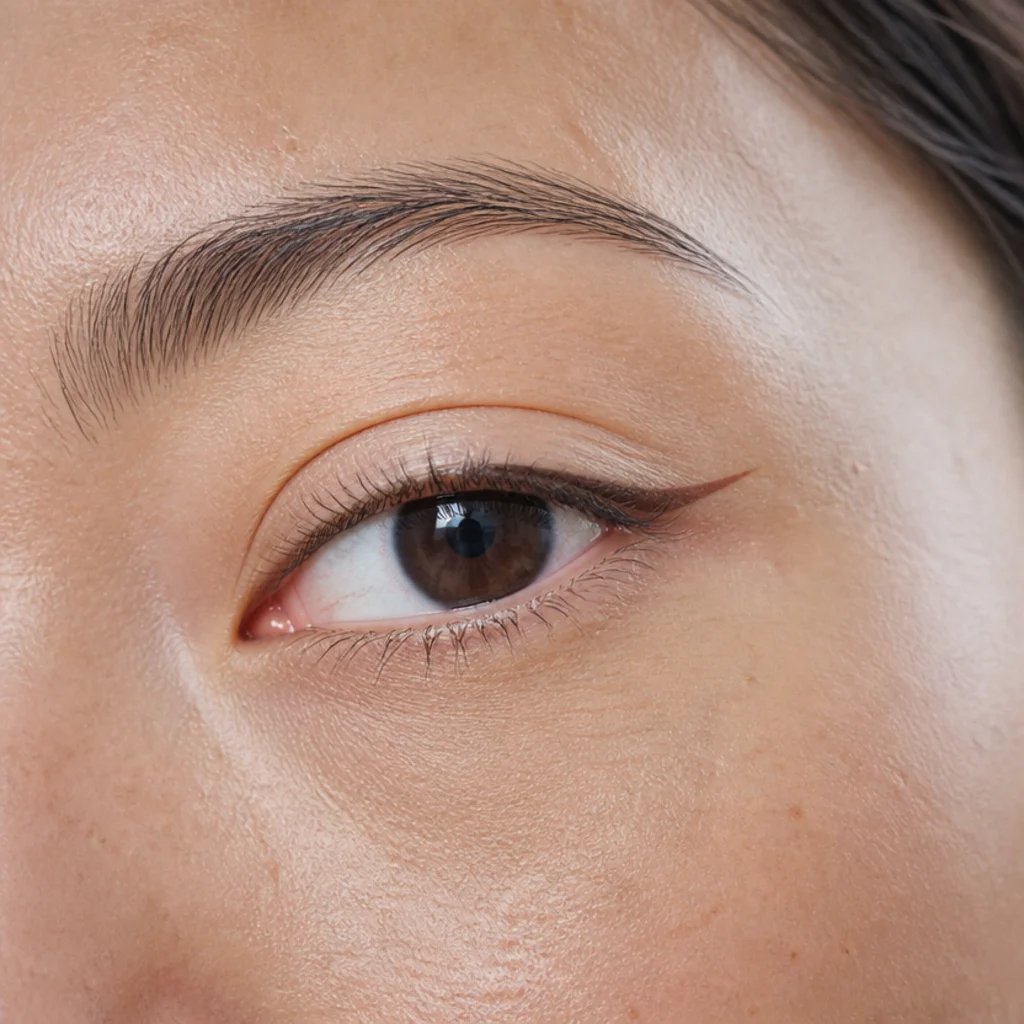
The cleanest entry point to foxy eyes makeup is a single lifted line, no shadow required. Start from the middle of your upper lash line and drag a soft kohl pencil or a fine-tip liner outward, angling up toward the tail of your brow and stopping three to five millimeters past the outer corner. Keep the tail thin and short so it reads as a lift, not a full 1960s cat eye. Because you own the angle, this works on nearly every eye shape: round eyes gain instant elongation, almond eyes get a subtle stretch, and downturned eyes look visually propped up. If you have fair or mature skin, choose a deep espresso brown over jet black. Brown keeps the line from looking harsh. Upkeep is minimal, but pencil migrates on hooded or oily lids, so press a matching matte powder shadow over it to lock the line in place. It's low difficulty, which makes this the ideal first-timer rehearsal. Pro tip: rest your elbow on a firm surface and draw the tail in two short strokes rather than one long swipe for a steadier angle. Ask your makeup artist for a "thin lifted flick that stops at my brow tail."
02Soft Taupe Everyday Foxy
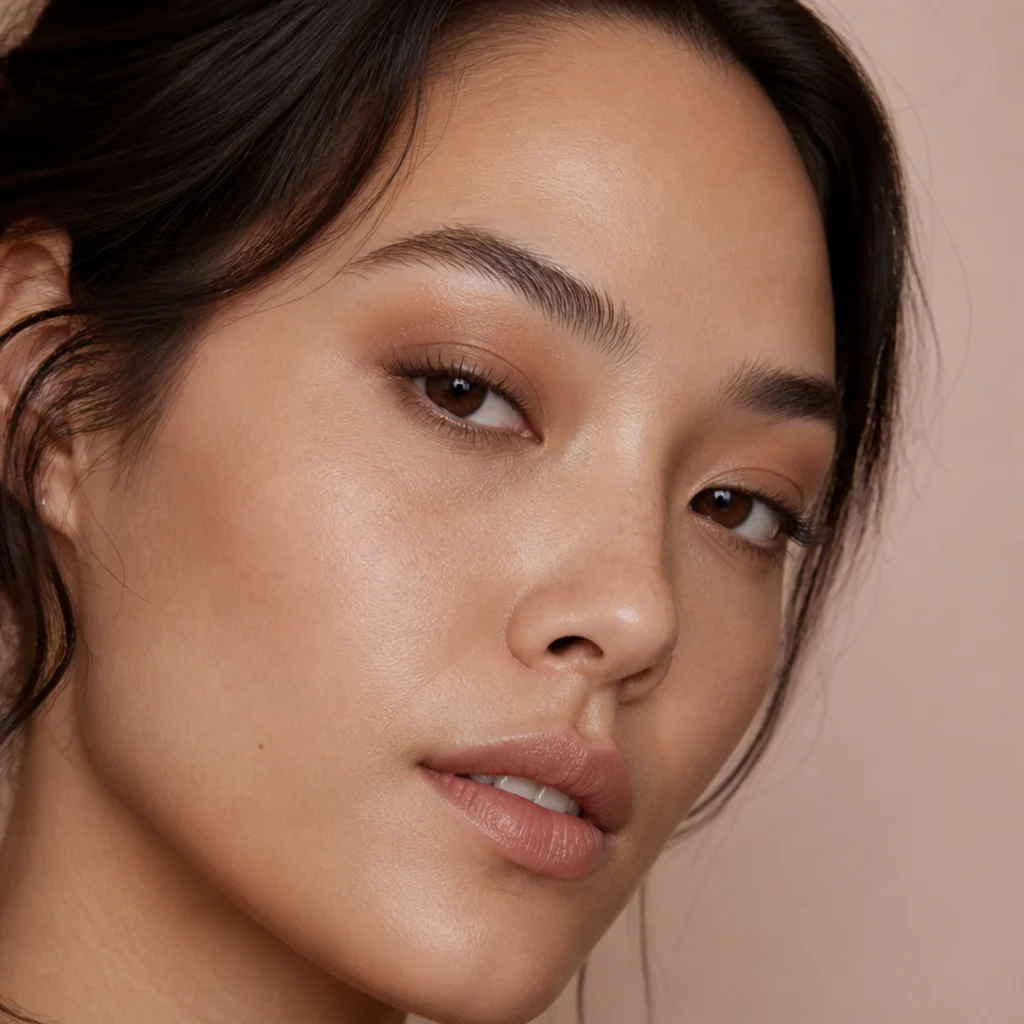
For a version you can wear to a meeting, trade black liner for a diffused matte taupe. Sweep the taupe along the outer third of the lid and pull it up toward the end of your brow with a fluffy blending brush held at the same upward angle. The soft, edgeless finish is forgiving, and that's exactly why it's a beginner favorite: there's no crisp line to smudge or reset. Cool and neutral undertones read best in a true grey-taupe, while a warmer greige or "mushroom" tone flatters deeper and olive skin. On monolids, extend the taupe slightly higher so it clears the lid when the eye is open. Maintenance is easy here, and it typically holds all day over primer. Add a single coat of brown mascara to keep the eye looking lifted but low-key, plus a wash of matte cream shade across the mobile lid for polish. Pro tip: tap excess off the brush and build in two light passes. Taupe looks dirty the moment you overload it. Ask your makeup artist for a "soft diffused daytime lift, no hard edges."
03Smoky Bronze Foxy Eyes
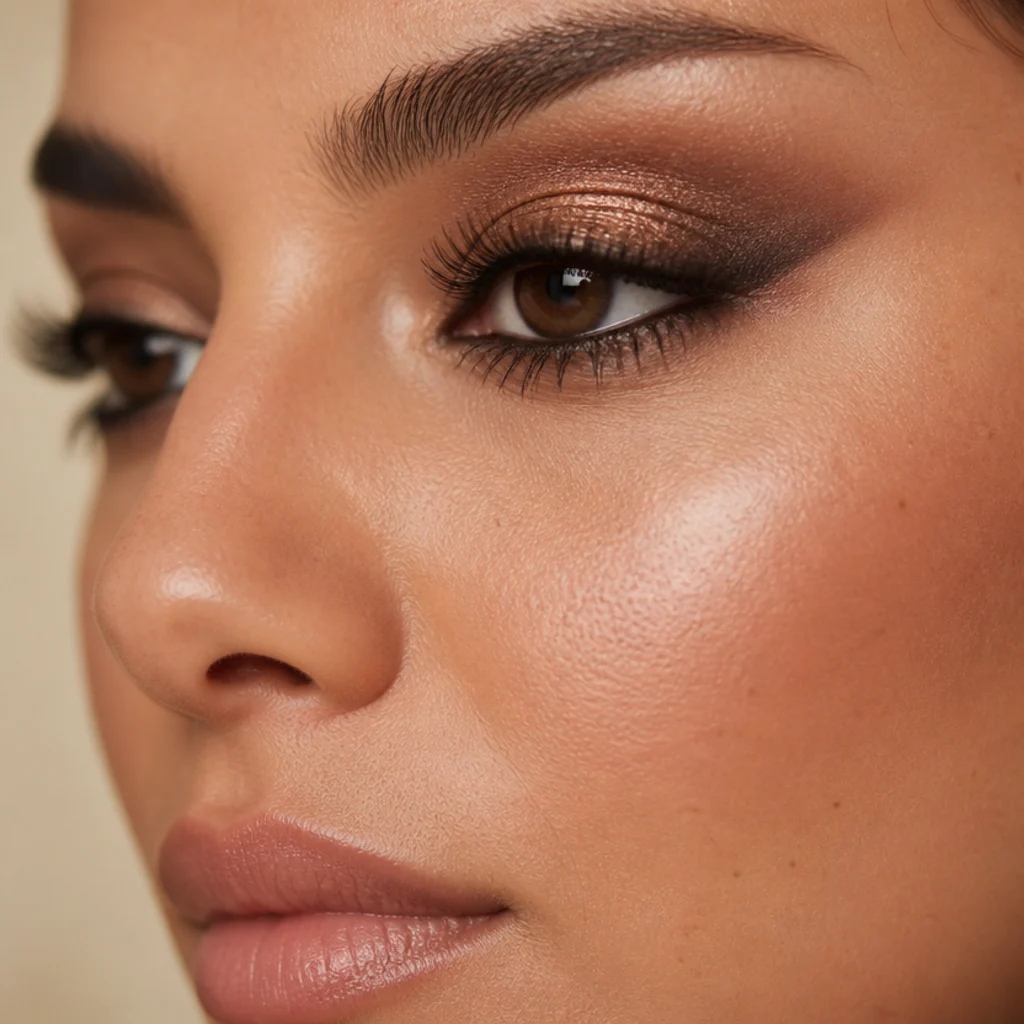
Bronze brings warmth and depth to foxy eyes makeup without tipping into a full smoky eye. Pack a shimmery antique or penny bronze flat onto the mobile lid with a dense brush and a pressing motion, then carve a matte cool-brown into the outer corner and drag it up and out along the foxy angle. The rule that saves this look: keep the darkest point pinned at the outer corner so the eye lifts instead of sinking. Warm, golden, and olive undertones wear bronze beautifully, and it makes green and brown irises glow by contrast. A thin layer of eye primer or a cream base under the shimmer stops bronze from creasing and traveling on hooded lids by midday. Upkeep is moderate, a quick outer-corner blend refreshes it after a few hours, and it stays beginner-approachable since the diffused smoke hides uneven edges. Pro tip: lay a cream bronze base first, then press the powder bronze on top for a foiled, higher-payoff finish. Ask your makeup artist for a "warm bronze smoke concentrated at the outer corner."
04Glitter Foxy Eyes for Night
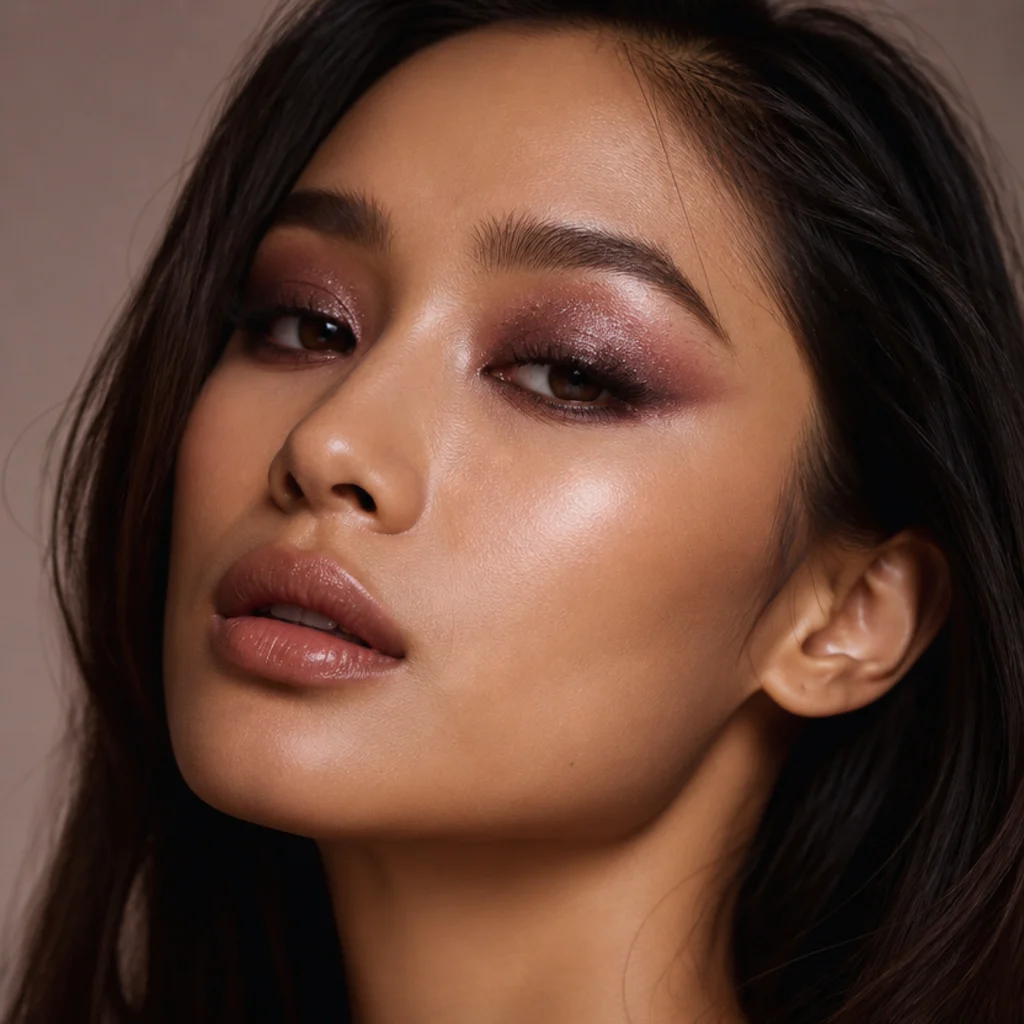
Glitter foxy eyes are the going-out upgrade. Build a soft bronze or plum base first so any gaps disappear into color rather than bare skin, then press a fine-milled glitter onto the center and outer third of the lid with a flat fingertip or a small packing brush. Concentrate the sparkle toward the outer corner so it travels along the upward foxy angle instead of rounding the eye. A thin swipe of glitter glue or a tacky cream base under the sparkle isn't optional if you want to control fallout. Anyone chasing drama should reach for this one; it photographs brilliantly under low, warm light. Fine glitter reads more elegant than chunky flakes for beginners because it clings evenly and is easier to remove. Maintenance runs higher since glitter migrates, so keep a dry cotton swab and a little pressed powder under the eye. Difficulty is medium here, mostly because placement, not precision, decides the result. Pro tip: apply glitter after your base but before mascara, and clean any fallout with a swab before it sets. Ask your makeup artist for "fine outer-corner sparkle, not an all-over glitter lid."
Save this to Pinterest to build your night-out look later.
05Foxy Eyeliner for Hooded Eyes
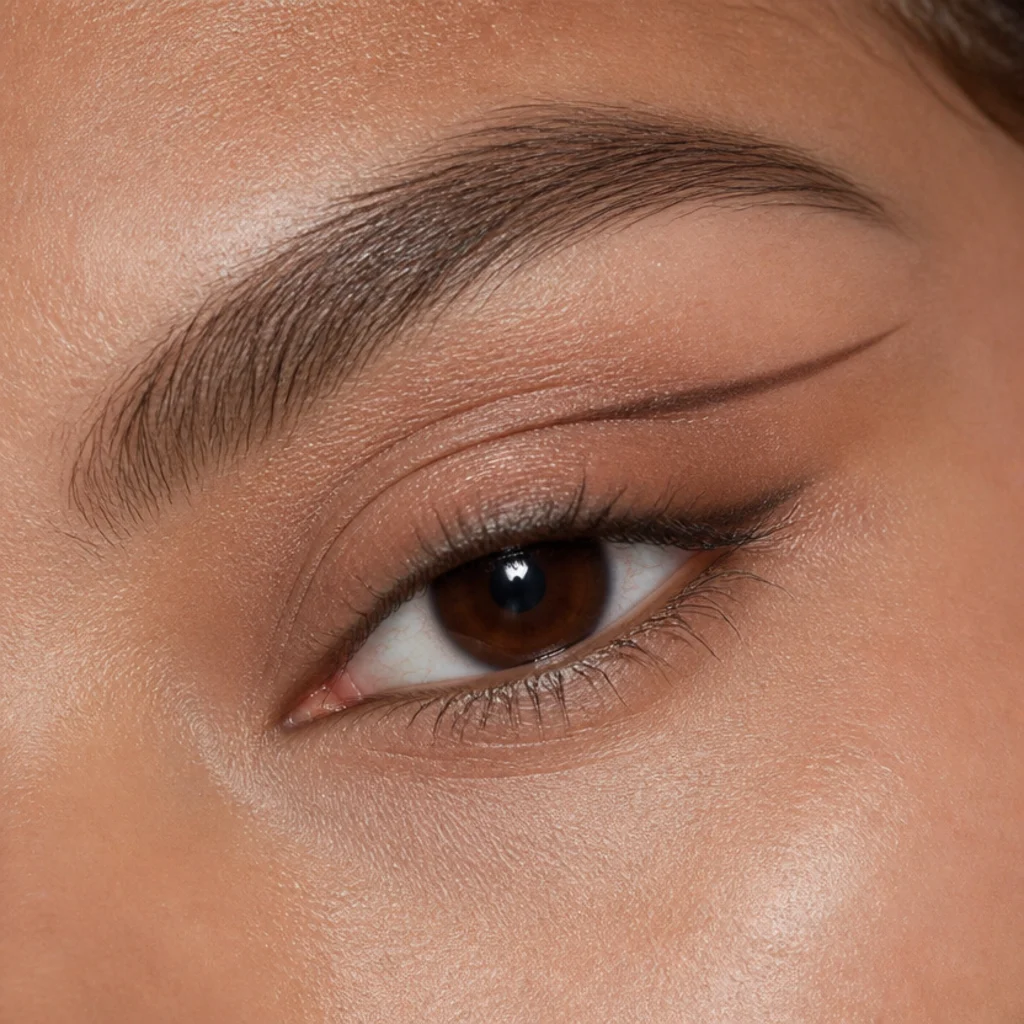
Foxy eyeliner for hooded eyes lives or dies by one rule: draw the shape with your eye open. Because the lid folds down and covers the lash line, a wing drawn while the eye is closed vanishes the moment you look ahead. Gaze straight into a mirror, mark with a dot where the hood hides your lash line, then extend a short lifted tail from that visible point up toward your brow end so it stays on show. Keep the line thin; a thick tail eats the limited lid space hooded eyes have. Tightlining the upper waterline with a waterproof gel adds definition without bulk, and a matte transition shade above the hood gives the tail somewhere to sit. For hooded and mature eyes, this is one of the most useful foxy techniques going. Upkeep is low once it's set, and a smudge-proof or tubing formula prevents transfer onto the crease. Pro tip: "stamp" the tail placement with your eye open, then connect it with the eye relaxed. Ask your makeup artist for a "hooded-friendly lifted wing that reads with my eyes open."
06Big Foxy Eyes with Lash Focus
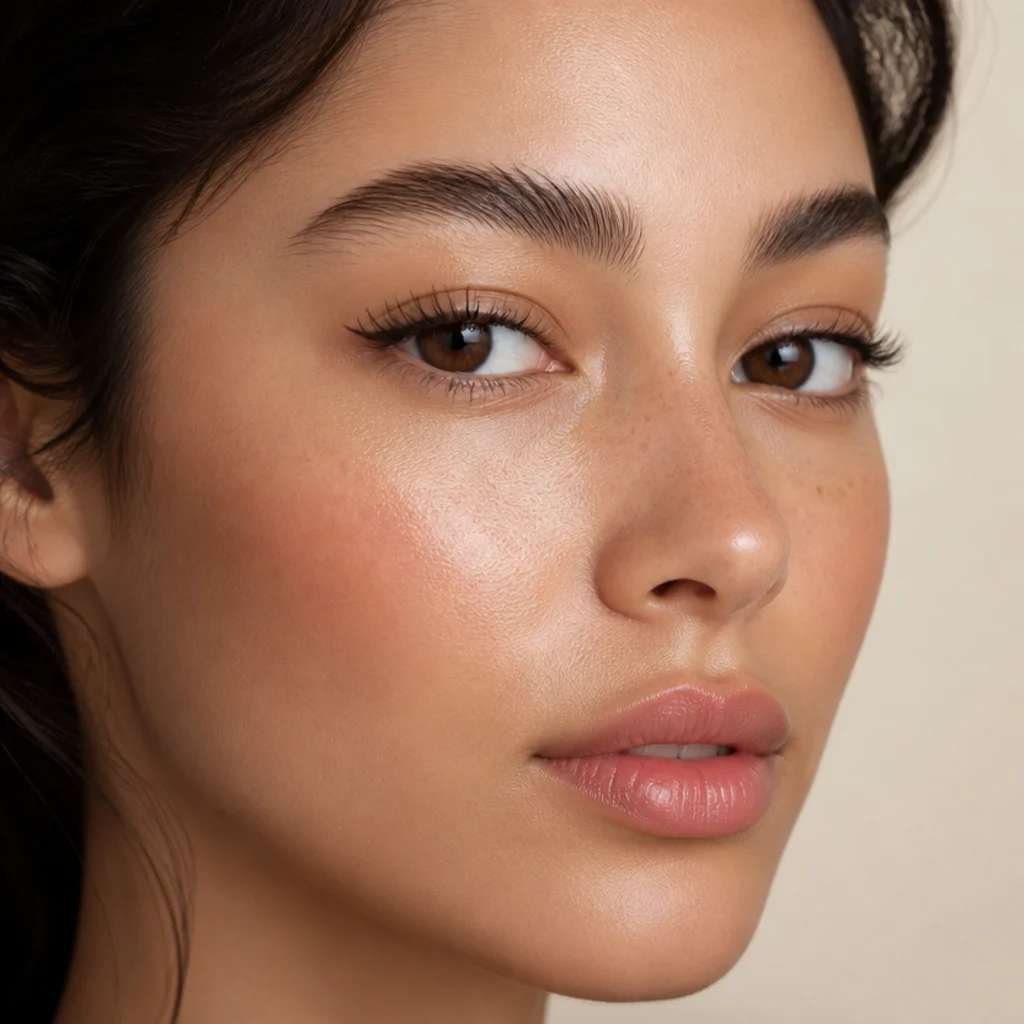
If you want big foxy eyes, let the lashes do the heavy lifting and keep the lid quiet. Wash a soft neutral shade across the mobile lid, line only the outer half of the upper lash line, then curl hard and coat the outer lashes so they fan up and outward rather than straight down. A few outer-corner cluster lashes or a half-strip exaggerate the lift without piling on liner, so the eye still looks open instead of weighted. Round and downturned eyes that want more length and openness respond well here, and it also keeps small eyes from looking closed-in. Maintenance depends on your lash choice: mascara-only versions are wash-and-go, while clusters need gentle oil-based removal to protect natural lashes. Difficulty sits at low to medium. A pale shimmer or matte cream shade on the inner two-thirds of the lid bounces light and makes the eye look bigger still. Pro tip: wiggle the curler in three positions, base, middle, tip, for a rounded lift that holds. Ask your makeup artist for "outer-corner lash drama with a clean, bright lid."
07Warm Terracotta Foxy Look
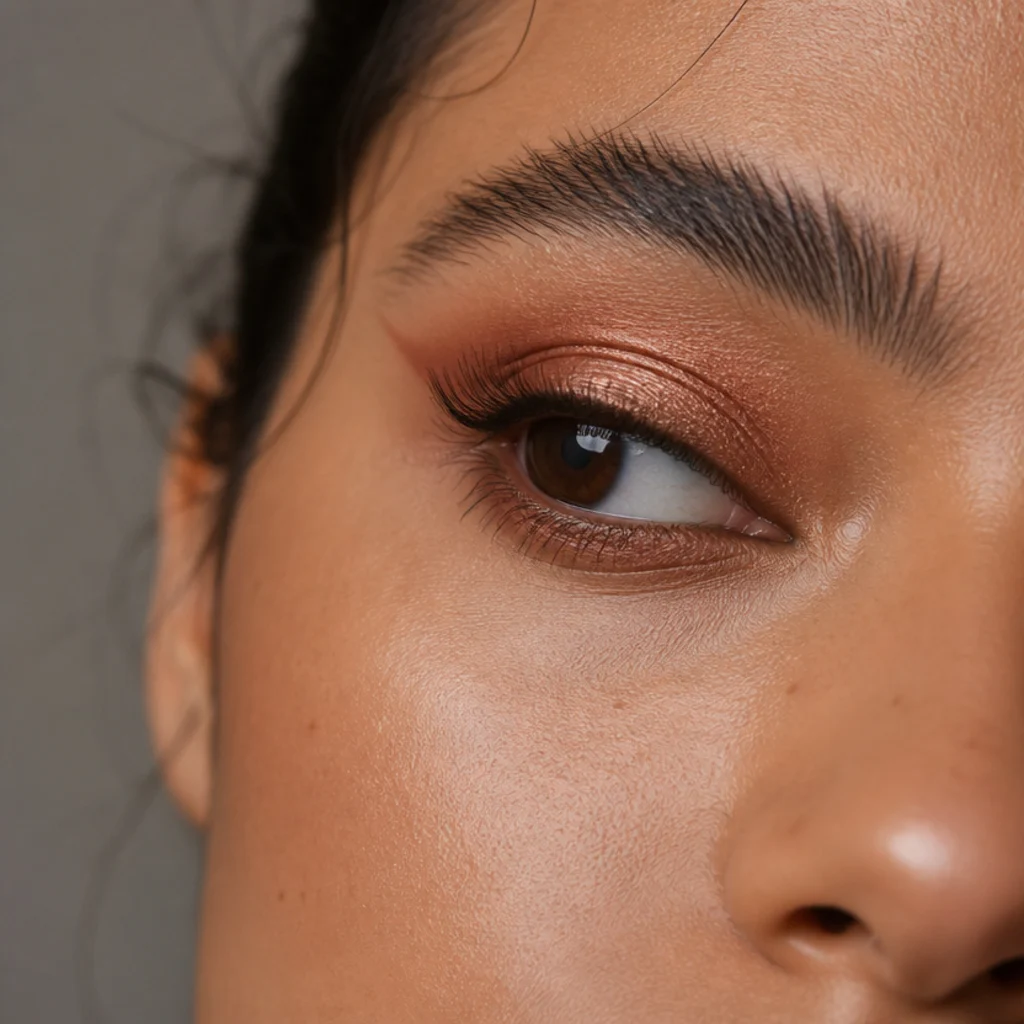
Terracotta sits between burnt orange and clay-brown and gives foxy eyes makeup a modern, sun-warmed feel that flatters more people than a straight orange does. Blend a matte terracotta through the crease, then pull it up and out at the outer corner and smudge a whisper along the outer third of the lower lash line to close the shape into a soft "V." Terracotta is striking on deep, tan, and olive skin and makes blue and hazel irises pop by complementary contrast. On very fair skin, keep the application sheer so it stays warm rather than sunburned. It reads soft rather than sharp, so it forgives uneven blending, and a matte version needs little upkeep beyond a lunchtime glance. Pro tip: tap a touch of gold or copper shimmer onto the center of the lid before you pull the terracotta outward, so the middle glows while the corners lift. Ask your makeup artist for a "warm terracotta wash lifted at the outer corner with a gold center."
08Minimal Brown Tightline Foxy
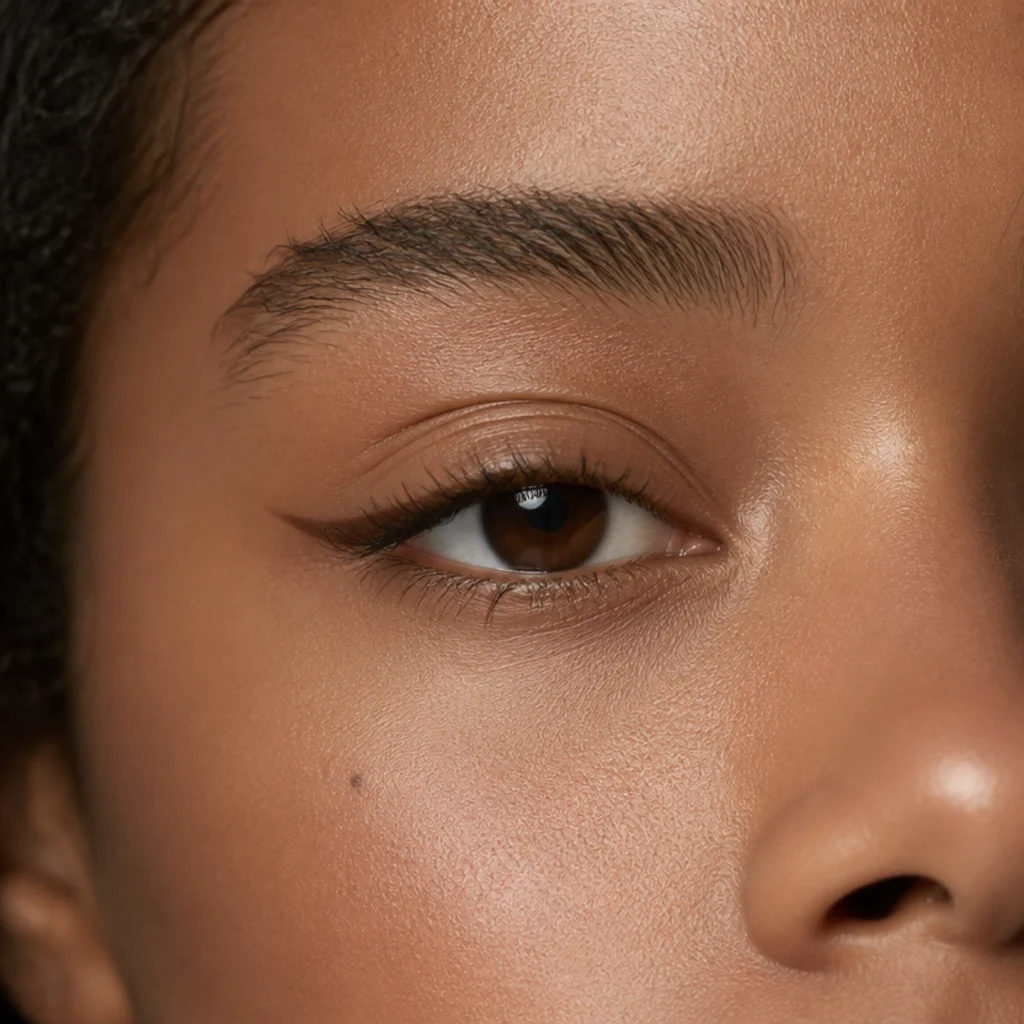
For the lowest-effort foxy shape, skip shadow entirely and tightline. Press a brown gel or a soft kohl pencil into the roots of the upper lash line so the color sits between the lashes, then extend a faint whisper of that brown up at the outer corner. The payoff is a defined, lifted eye that looks like your natural lash line, only denser and stretched, so you get the effect without the effort. Minimalists, oily lids, glasses-wearers, and anyone brand new to eye makeup will like this one since there's no blending to judge. Brown is softer than black and reads natural across most skin tones, while a deep aubergine flatters brown eyes and brightens tired ones. Maintenance is very low, though the waterline fades fastest, so choose a long-wear or waterproof formula and re-press it if needed. It's beginner-level difficulty, and the whole thing takes under two minutes once the motion is muscle memory. Pro tip: look down into a mirror and lift the lid gently to reach the very base of the lashes. Ask your makeup artist for a "subtle tightline with a barely-there lifted corner."
09Foxy Eyes with a Faux Lift

A faux-lift foxy look leans on brow and concealer geometry as much as on liner, which makes it a smart pick for eyes that sit low or lids that have softened over time. Brush your brow tails up and out with a spoolie and set them with a clear or tinted gel, then carve a clean line just under the outer third of the brow with a brightening concealer to visually raise the arch. Pair that lifted brow with a short liner tail angled to match, and the whole eye area looks drawn upward without heavy shadow. Mature and downturned eyes benefit most, and the concealer step doubles as under-brow brightening. Upkeep is low, and since you clean the concealer edge with a small flat brush, any liner wobble gets tidied in the same motion. It's an easy one. Pro tip: use a concealer one shade lighter than your base under the brow tail, then blend upward only, so the lift stays crisp on the bottom edge. Ask your makeup artist for a "brow-and-concealer lift paired with a soft liner tail."
10Rosy Mauve Foxy Eyes
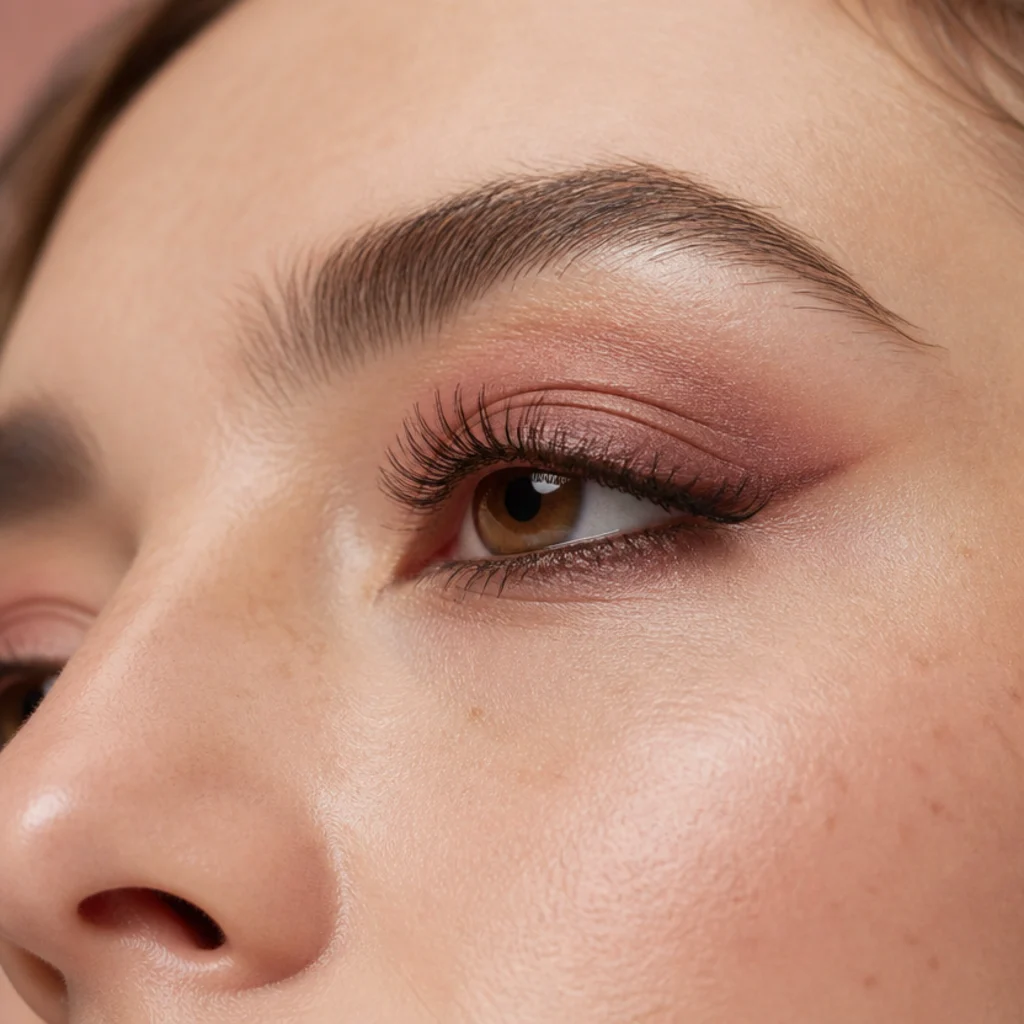
Mauve is a muted pink-brown that flatters nearly every eye color, and it's especially good on blue and grey irises, where it makes the color look deeper. Sweep a matte mauve across the mobile lid and lift it up and out at the outer corner for a romantic, diffused take on foxy eyes makeup. True mauve carries a brown undertone, so it sidesteps the puffy, irritated look that bright cool pinks can create around the eye. Fair to medium skin wears a soft rose-mauve beautifully; on deeper tones, reach for a richer berry-mauve or plum so the color still registers. Maintenance is easy over primer, and the shade pairs naturally with a rosy cream blush and a glossy neutral lip for a pulled-together, tonal face. It's a low-difficulty look. Pro tip: trace a fine line of cool brown liner into the outer corner and pull it along the same angle for definition when mauve alone looks too soft. Ask your makeup artist for a "rosy mauve lift with a touch of brown for structure."
11Graphic Floating Foxy Line
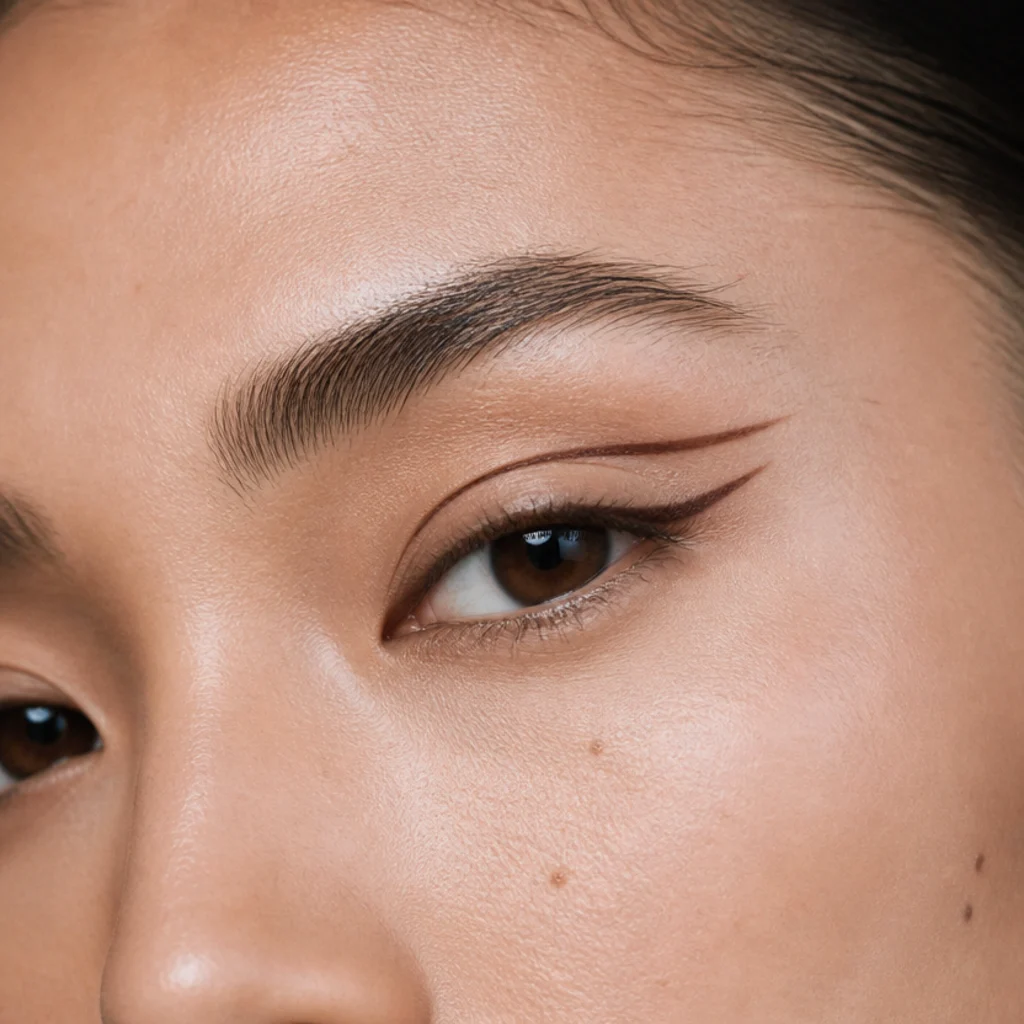
Once the basics feel easy, a floating foxy line delivers editorial polish. Instead of hugging the lash line, draw a thin lifted line in or just above the crease, following the same outward angle toward the brow tail, and leave a clean band of bare skin below so the line appears to float. Monolid, almond, and lightly hooded eyes with visible lid space show this off best; very hooded lids will cover a low float, so place it higher and check with the eye open. A liquid or gel liner with a fine brush gives the crispness this look depends on, and a nude or skin-tone shadow below keeps the "gap" clean. Upkeep runs medium, since a crisp line needs a proper set and can smudge if the lid is oily, and this is the hardest look on the list. Pro tip: sketch the path first with a light taupe pencil, live with the angle for a moment, then trace over it with liner once you're happy. Ask your makeup artist for a "floating graphic line that follows my foxy angle."
12Foxy Eyes for Deep Skin Tones
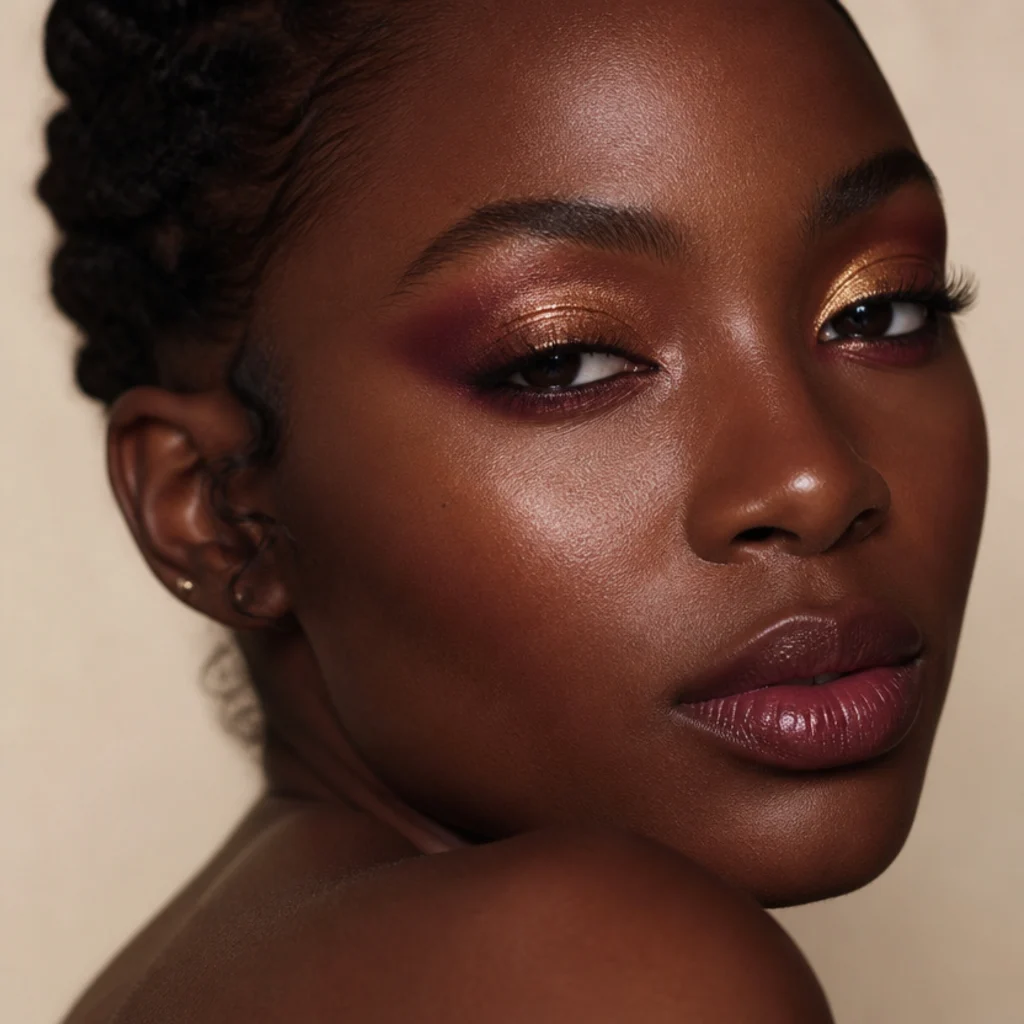
On deep skin, foxy eyes makeup comes alive with pigment-dense shades that show clearly against the lid. Warm coppers, molten bronzes, rich plums, deep teals, and true metallics read beautifully and hold their depth. Build intensity at the outer corner with a matte or satin base, lift it toward the temple, then press a shimmer or metallic topper on the lid center to catch light. Look for shadows labeled highly pigmented or foiled so you get full payoff in one or two passes instead of fighting for color. A cream base amplifies metallics and stops patchiness. Maintenance is moderate for shimmer finishes and low for mattes, and it's beginner-friendly overall since bold, saturated color hides small blending gaps that pale shades would expose. Pro tip: run a deep berry or bronze along the outer third of the lower lash line to anchor the "V" and reinforce the upward foxy direction. Ask your makeup artist for "rich, high-payoff pigment lifted and concentrated at the outer corner."
13Golden-Hour Champagne Foxy
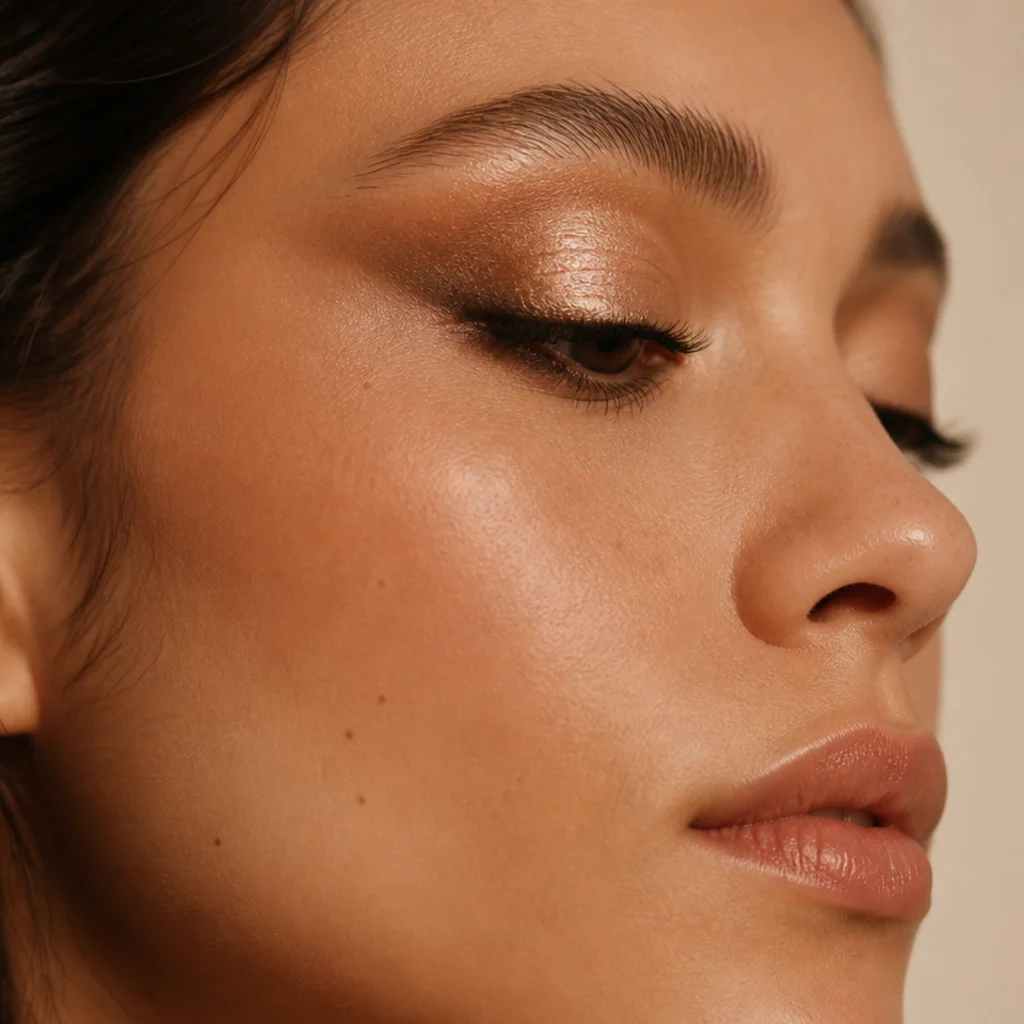
Champagne gives a lit-from-within glow that carries from day into evening. Wash a soft champagne or pale gold shimmer across the mobile lid, then anchor the outer corner with a warm mid-brown pulled up and out along the foxy angle. The pale, reflective center makes the eye look larger while the brown corner keeps the lift intact, a classic "halo" logic applied to a foxy shape. It flatters every skin tone and looks especially pretty on brown and green eyes, where the warmth brings out golden flecks. Upkeep is easy, though shimmer performs better and creases less over a thin primer or cream base, and difficulty stays low throughout. It's a reliable choice for weddings, photos, and events, since it reads polished and dimensional without looking heavy, and it plays well with almost any lip from nude to soft red. Pro tip: dampen your brush lightly before pressing on the champagne shimmer for a wet, foiled center that photographs brighter. Ask your makeup artist for a "champagne halo center with a warm brown outer lift."
14Cool Grey Editorial Foxy
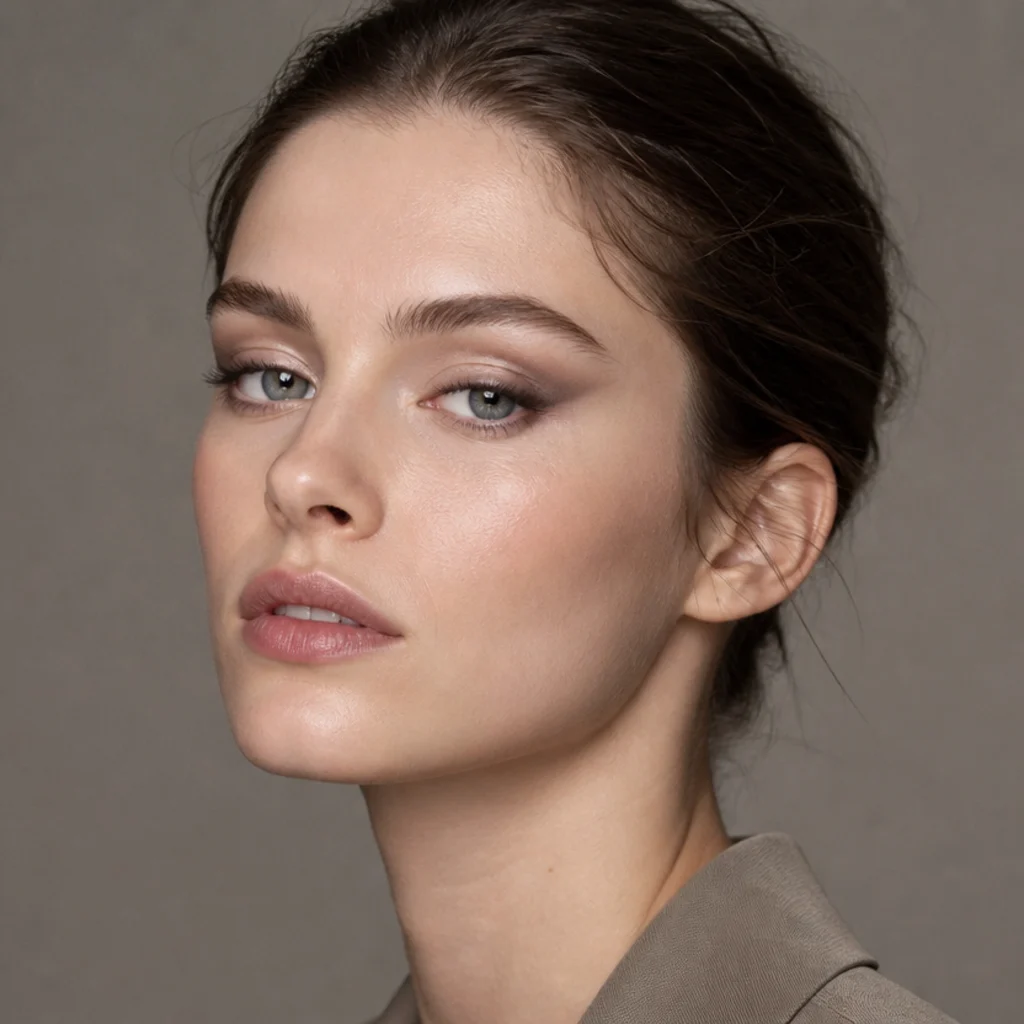
For something more fashion-forward, reach for a cool grey. Smoke a soft slate or dove grey through the outer corner and lift it up toward the brow, keeping the inner two-thirds of the lid clean and skin-like. Grey lends a modern, slightly undone edge that flatters cool undertones and makes blue and grey eyes look striking, and it feels unexpected next to the usual browns and bronzes. The one caution: grey turns muddy fast if over-worked, so use a light hand, build slowly, and blend with a clean fluffy brush to feather the edge rather than scrub it. A matte formula keeps it editorial; a hint of gunmetal shimmer at the very corner nudges it toward evening. Maintenance sits at moderate, and difficulty runs low to medium. Keep the rest of the face fresh, a skin-like base, groomed brows, a nude or rosy lip, so the cool grey eye stays the one thing people notice. Pro tip: pair grey with a single winter-cool undertone elsewhere, like a cool-toned blush, so the look feels intentional. Ask your makeup artist for a "soft cool-grey smoke lifted at the outer corner."
15Foxy Eyes vs Siren Eyes Blend
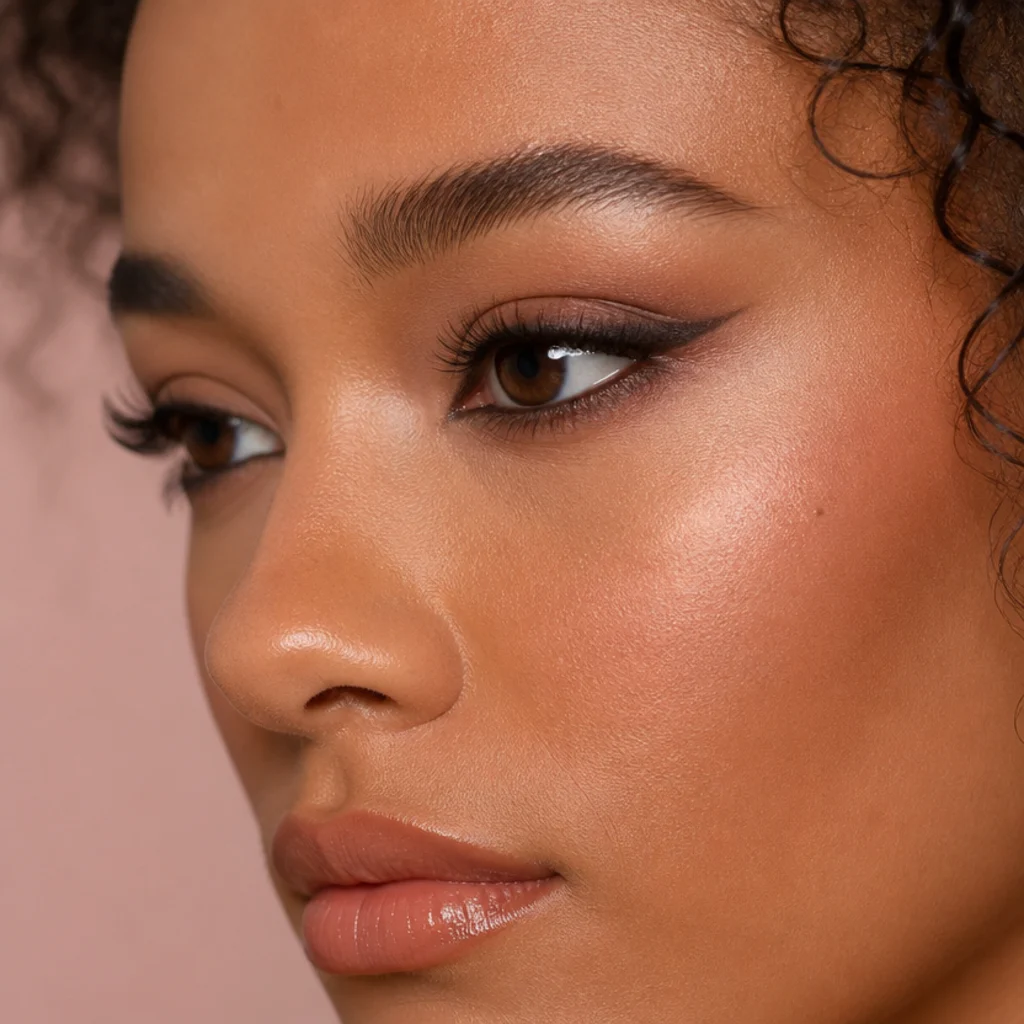
People constantly ask about siren eyes vs foxy eyes, and the honest answer is that they're cousins separated by direction. Siren eyes emphasize the outer corner with a longer, sultrier smudge that pulls slightly down and out for a heavy-lidded, come-hither effect, while foxy eyes lift up and out for a wide-awake stretch. You can blend the two into a single, wearable hybrid: keep the foxy upward liner on the top lash line, then add a soft siren-style smudge along the outer third of the lower lash line, connecting them just past the outer corner. The mix gives lifted, elongated shaping with a hint of sultry depth underneath, which is why it flatters almond and downturned eyes particularly well. Upkeep runs medium since the lower smudge is the first thing to fade or transfer, so set it with a matching powder. It's medium difficulty overall, a satisfying graduation once the one-line wing feels automatic. Pro tip: keep the top line matte-crisp and the bottom smudge soft and blurred, so the two directions read as one intentional shape. Ask your makeup artist for a "foxy top line with a soft siren smudge below."
Pro Tips from the Editor
- Read your eyes open, always. Draw and judge every foxy shape with the eye relaxed and looking forward, because a line that looks perfect closed can disappear into a hood or crease the second you open up.
- Match the tail to your brow, not the reference. Extend the liner along an invisible line from your lower lash line to the tail of your own brow; borrowing a stranger's angle is the fastest way to look off-balance.
- Guard the outer corner as the anchor. In every version, the darkest or most concentrated point stays at the outer corner. That placement, not the color, is what creates the foxy lift.
- Primer plus powder set beats touch-ups. A thin eye primer under shadow and a matching powder pressed over pencil roughly doubles wear time on oily and hooded lids and stops the tail from smudging up into the crease.
- Brown before black for most people. Espresso and cool-brown liners give lift without the harsh, heavy edge black can bring to fair, mature, or downturned eyes; save true black for high-contrast or evening looks.
- Tape and cards are training wheels, not crutches. A light card held at your brow angle helps you find the line while you learn, but lift it and blend the edge by hand so the finish never looks stamped-on.
- Patch test glitter and adhesives 24 hours ahead. Any new glitter, lash glue, or liner going near the eye before an event should be tested on the inner arm first to rule out irritation.
How to Choose / Get the Look
Start by reading your eye shape in the mirror with your eyes open, since that's how the world actually sees them, then work outward from there. Use the quick guide below to match shape and undertone to a starting point, and let skill level decide how graphic you go.
| Your eye / feature | Best foxy approach | Shade to start with |
|---|---|---|
| Round | Strong lifted tail to elongate | Espresso liner or taupe lift |
| Hooded | Tail drawn above the crease, eye open | Smudge-proof brown gel |
| Almond / downturned | Longer, more dramatic angle | Bronze or foxy-siren blend |
| Monolid | Higher placement so it clears the lid | Floating line or bold pigment |
| Mature / low-set brow | Faux lift with brow and concealer | Soft brown plus concealer carve |
| Cool undertone | Grey, mauve, or taupe | Slate grey or rose-mauve |
| Warm / deep undertone | Terracotta, copper, rich metallics | Terracotta or deep berry |
Next, choose by skill. Neutrals like taupe, bronze, and brown are the most forgiving because their soft edges hide mistakes, so begin there; glitter, cool grey, and the floating line are worth trying once your angle is steady. Whatever you pick, keep the outer corner as the darkest or most concentrated point, because that single placement rule is what separates a foxy lift from a flat wash. If you're booking a pro, bring a saved photo and use precise language: ask for a lifted outer wing that follows your brow, and say clearly whether you want it soft and diffused or crisp and graphic. Finally, patch test any new glitter or adhesive on your inner arm the day before an event so nothing surprises you on the day.
Frequently Asked Questions
What is foxy eyes makeup?
Foxy eyes makeup uses shadow and liner drawn upward and outward from the outer corner to create a lifted, elongated, subtly feline eye shape. The defining element is the upward angle toward the brow tail, not any single color, which is why it works in neutrals, brights, or glitter alike.
Do foxy eyes suit hooded eyes?
Yes, with one adjustment. Draw foxy eyeliner for hooded eyes with your eye open so the tail sits above the crease and stays visible when you look ahead. Use a thin, smudge-proof or tubing liner, angle it toward the brow tail, and tightline the upper lash line to add definition without stealing lid space.
What is the difference between siren eyes and foxy eyes?
Siren eyes vs foxy eyes comes down to direction. Siren eyes smudge longer and slightly downward for a sultry, heavy-lidded effect, while foxy eyes lift up and out for a wide, elongated, wide-awake shape. You can blend both by keeping a lifted line on top and a soft siren smudge on the outer lower lash line.
Are glitter foxy eyes hard for beginners?
Glitter foxy eyes are medium difficulty, and placement matters more than precision. Lay a colored base first, press fine-milled glitter over glitter glue onto the outer third of the lid, and keep a dry cotton swab nearby to lift fallout. Fine glitter is far more beginner-friendly and easier to remove than chunky flakes.
How do I make big foxy eyes look bigger?
For big foxy eyes, keep the lid center light and reflective, line only the outer half of the upper lash line, and curl and coat the outer lashes so they fan up and out. A pale shimmer at the center and a couple of outer-corner cluster lashes exaggerate the lift while keeping the eye open.
What colors work best for foxy eyes on my undertone?
Cool and neutral undertones look best in taupe, grey, and rose-mauve, while warm, olive, and deep tones come alive in bronze, terracotta, copper, and rich berry. Match the intensity to your skin depth: sheer and soft on very fair skin, highly pigmented on deep skin so the shade reads clearly.
How long do foxy eyes makeup looks last?
With an eye primer and a powder set over any pencil, most foxy looks hold around 6 to 10 hours. Pencil-only versions on oily or hooded lids fade faster, glitter and lower-lash smudges need the most upkeep, and a tubing mascara plus waterproof liner will stretch wear through a long event.
Can foxy eyes work on mature or deep-set eyes?
Yes. For mature eyes, lean on the faux-lift method, brushed-up brows and a concealer-carved arch, paired with a soft brown tail rather than heavy shadow. Deep-set eyes should keep the tail slightly higher and lighter so it doesn't vanish into the socket, and a light lid center helps bring the eye forward.
Do I need liquid liner, or can I use pencil?
You don't need liquid liner to start. A soft pencil or gel is more forgiving and ideal for diffused, everyday foxy looks, and setting it with a matching powder shadow makes it last. Save fine liquid liner for crisp, graphic versions like the floating line, where a sharp edge is the whole point.