20 Creative Foxy Eyes Makeup Looks for Black Women
The foxy eye is engineered lift: length, a raised outer corner, and a knowing tilt toward the brow tail. These 20 looks are mapped for how the technique actually reads on deep and rich skin, with exact shades, undertone matching, and open-eye placement, from a five-minute smudged wing to graphic liner built to stay visible on hooded lids.
 Edited by Lena Rose · Published July 11, 2026 · 39 min read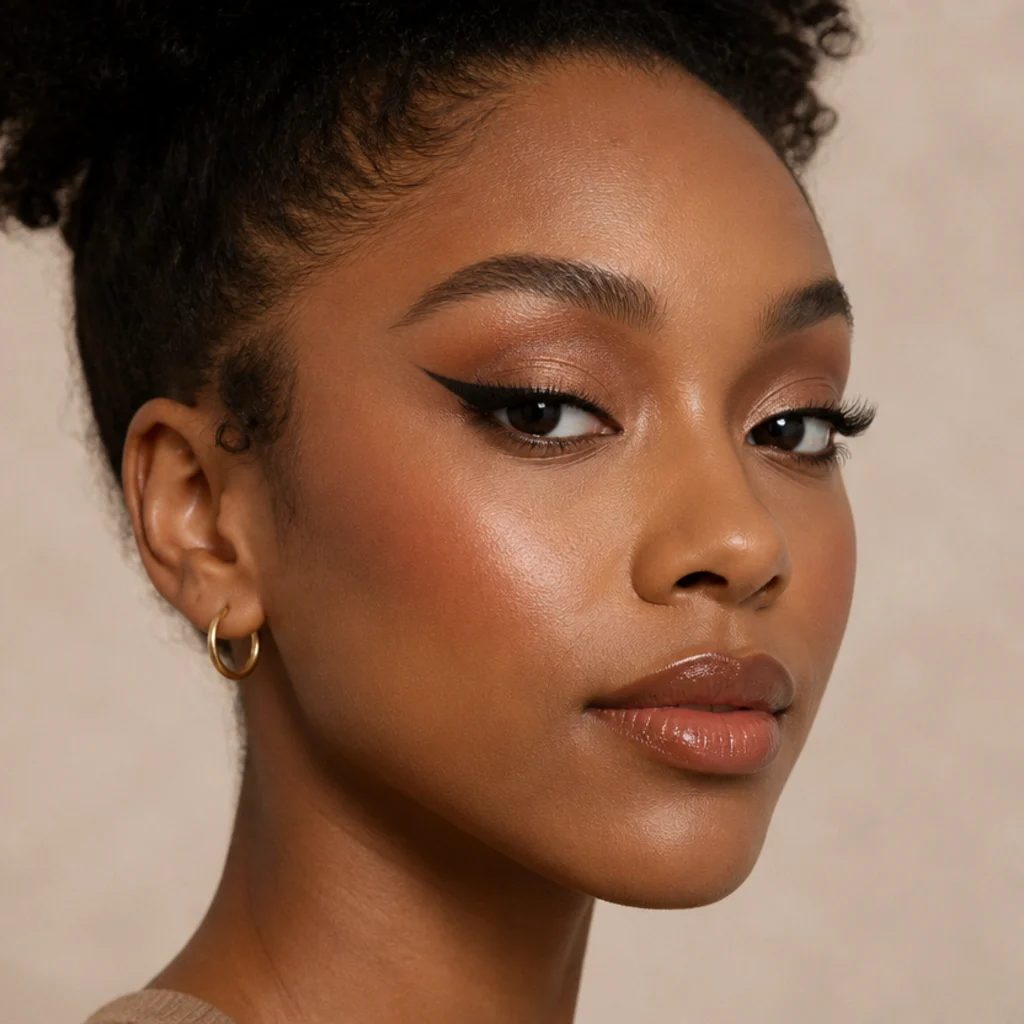
Quick Answer
- Best for: Anyone who wants a lifted, elongated eye. It flatters almond, round, downturned, and hooded shapes across deep skin tones, and rewards warm undertones with bronze, copper, and berry pigment. It's especially kind to downturned corners because the upward tail visually reverses the droop.
- Who might skip it: Very prominent or protruding lids where a hard upward wing can look heavy, and anyone who wants a rounded doe-eye rather than an elongated one. Both can still borrow the soft blended versions built on shadow instead of a sharp line.
- Maintenance: Low to medium. Soft blended looks last a full day over primer and setting; liner-forward versions need a steadier hand and an occasional outer-corner touch-up around hour six.
- Difficulty: Beginner to advanced, scaling with how sharp and graphic you take the wing. Blended smoke forgives; carved crease and glossy metal punish every uneven edge.
- Cost: Low to high. A single brown pencil starts around $8-14; a bronze-to-berry palette, gel liner, primer, and a fine synthetic liner brush runs roughly $60-120. A pro application typically lands in the $60-150 range depending on market and complexity.
- Wear time / longevity: 8-12 hours with primer plus a waterproof or gel liner. Loose foils and glossy metallics are the first to move, so expect a light refresh by evening; matte and satin finishes hold longest.
- Standout variation: Soft foxy eyes with a smudged brown wing, which lift hooded lids without heavy product and read polished on camera without harsh flashback.
- How to ask your makeup artist: Request a "diffused, lifted foxy eye angled toward the brow tail," name your color family and whether you want soft or graphic, specify matte versus foil finish, and bring one reference photo taken with your eyes open in even light.
In This Guide
- Soft Brown Foxy Wing
- Bronze Halo Lift
- Graphic Black Fox Liner
- Copper Smoked Corner
- Everyday Taupe Tightline
- Plum Foxy Smoke
- Gold Foil Inner Corner
- Foxy Liner for Hooded Eyes
- Terracotta Sunset Blend
- Cut-Crease Fox Eye
- Deep Green Foxy Smoke
- Nude Glow Bridal Fox
- Navy Elongated Liner
- Warm Mauve Daytime Fox
- Metallic Bronze Editorial
- Rust and Gold Festival Fox
- Monochrome Berry Eye and Lip
- Floating Fox Crease
- Smudged Kohl Rocker Fox
- Champagne Shimmer Soft Fox
Intro
The foxy eye, sometimes called the fox eye, runs on one idea: draw the eye up and out so it reads longer and lifted, with the outer corner angled toward the tail of the brow instead of straight to the side. That angle is the whole trick, and it's why the same technique can look elegant or dragged depending on a few millimeters of placement. The reference point is a diagonal line drawn from the outer edge of the nostril through the outer corner of the eye; the tail should travel along it, never below it. On deep skin tones the lift becomes a canvas for pigment that pays off: warm bronzes and coppers catch light against rich melanin, plums and berries make brown irises look deeper by contrast, and jewel greens and navy read as considered color rather than costume. Creative foxy eyes makeup isn't one formula so much as a set of placement decisions: where you set the wing, how far you tail the liner, whether the lid stays bare or glows, where a shimmer lands to open the eye. This guide walks through 20 distinct interpretations, each mapped to eye shape, lid space, undertone, and occasion, with a realistic maintenance timeline for each. Some are soft foxy eyes you can finish before coffee; others are graphic and built for a camera. The hooded-eye and foxy eyeliner versions matter most because they keep the lift visible when your eyes are open, the exact detail that defeats most tutorials.
01Soft Brown Foxy Wing
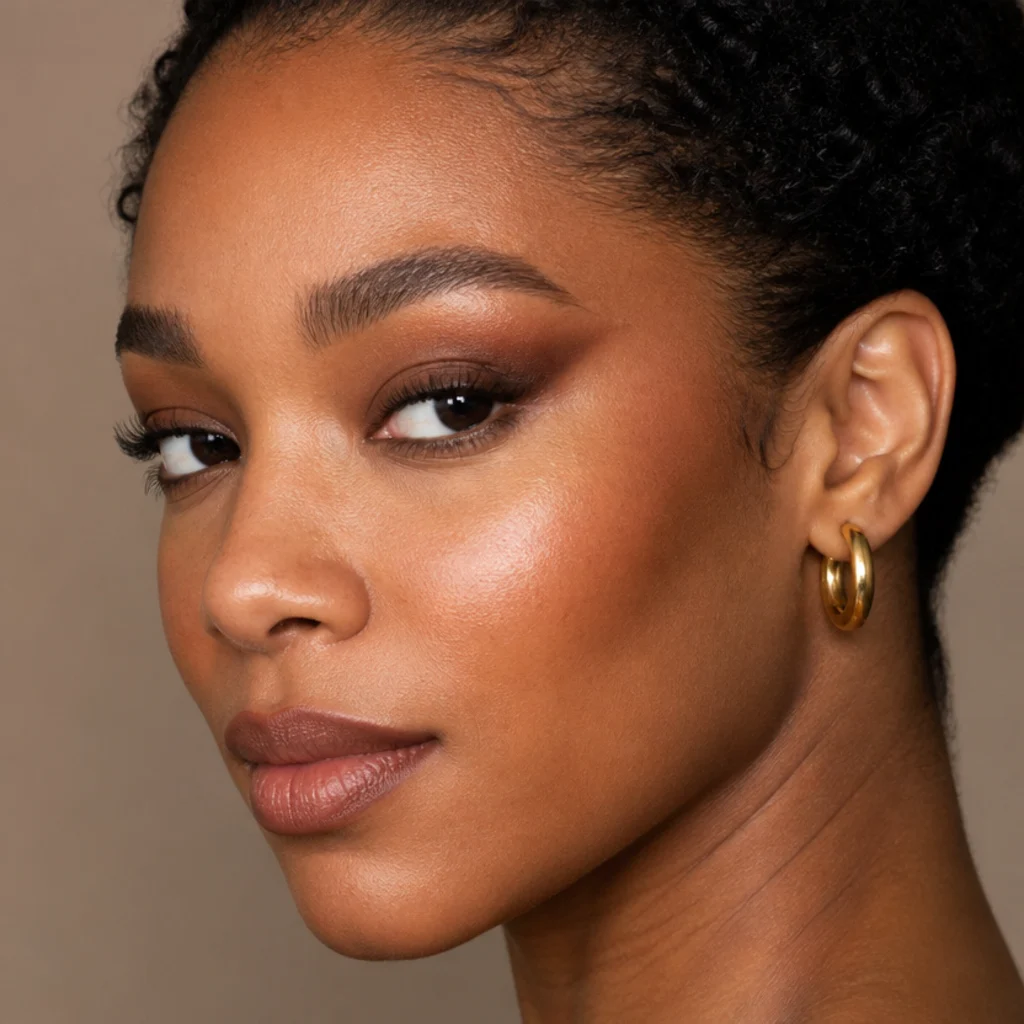
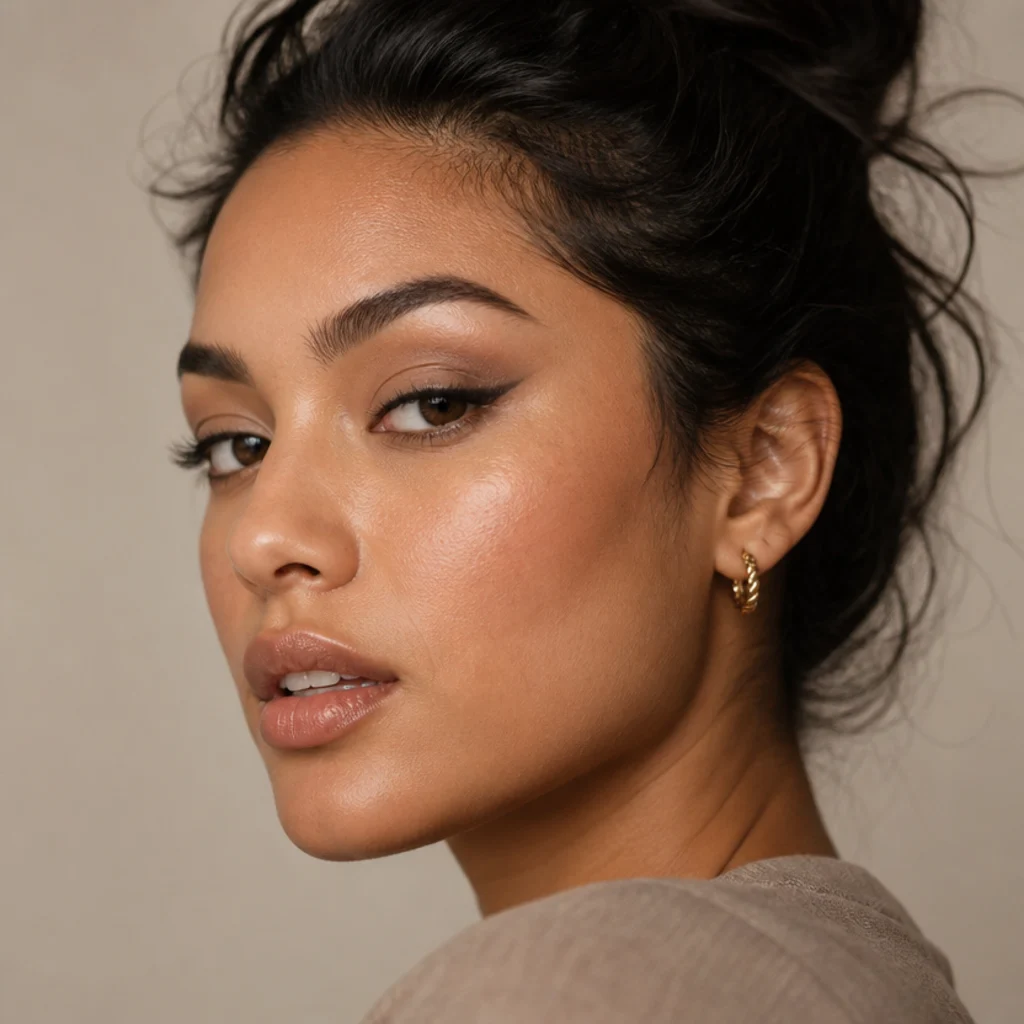
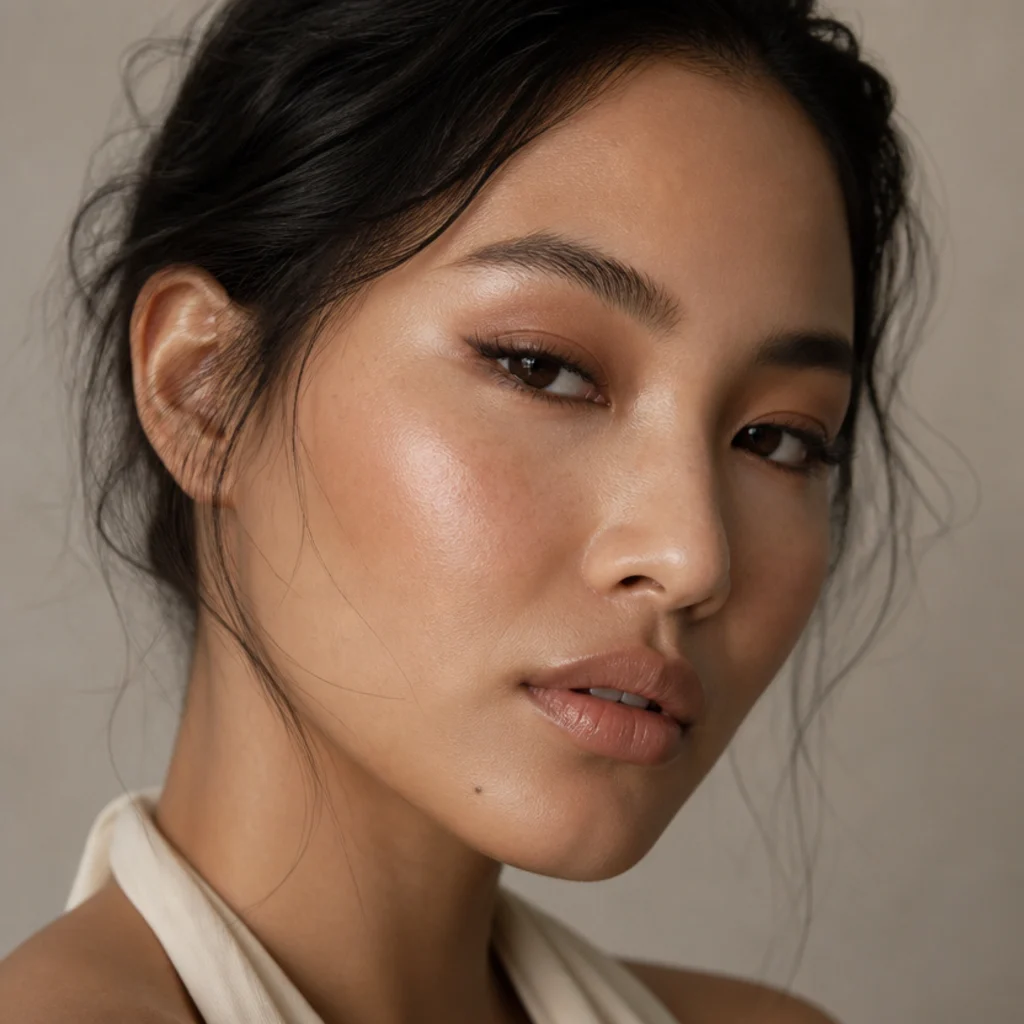
The gentlest entry point, and the one to master first. Reach for a red-brown or espresso pencil with a warm base, not an ashy taupe, so it flatters deep skin instead of going grey. Work it into the upper lash line, drag it up and out toward the temple along the nostril-to-corner diagonal, then buff the edge with a small tapered pencil brush until no hard boundary remains. This is the literal definition of soft foxy eyes: lift without severity. It suits almost every eye shape and forgives hooded and downturned lids especially well, since there's no crisp line to fold away, and it stays office-appropriate through a long day. Lock it by pressing a matching matte brown shadow over the pencil so oils can't break it down — that's the difference between an all-day smudge and a noon smear. Difficulty is low; realistic wear is 8-10 hours once set, with no touch-up needed for most. Pro tip: stop the smudge a hair short of where you think it should end, because blending always drags the color a couple of millimeters further. Ask your makeup artist for a diffused foxy wing in warm brown, matte finish, not a graphic line.
02Bronze Halo Lift
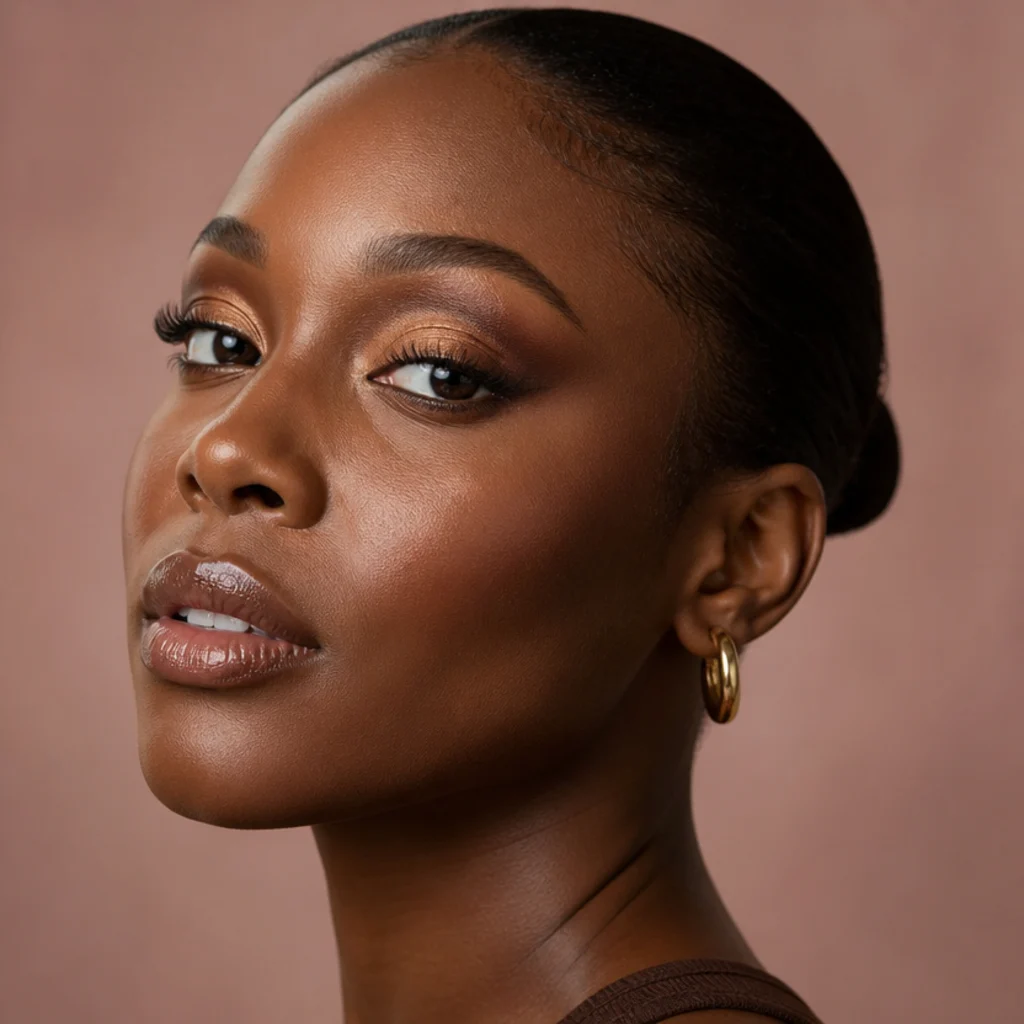
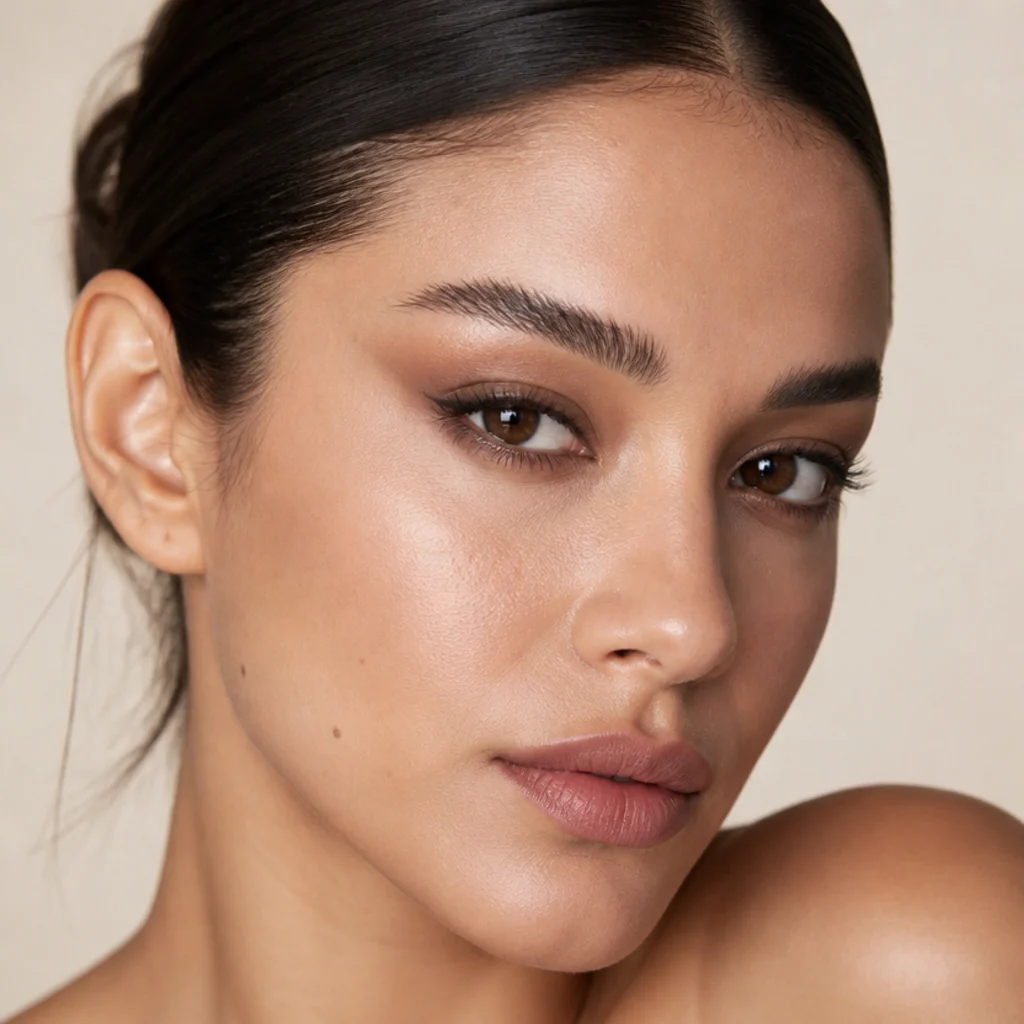
Here the lift comes from shadow gradients rather than liner, a good choice if winged liner intimidates you. Pack a light, reflective champagne-bronze on the center of the lid, deepen the outer third with a warm cocoa or chestnut brown, and pull that depth up toward the brow tail so the corner elongates. The luminous center makes the eye look rounder and more awake while the drawn-out corner holds the foxy tilt, a contrast that photographs with real dimension on deep skin. It flatters round and almond eyes especially, and the bright center is a reliable way to fake width on close-set eyes. Maintenance is medium because shimmer travels, so a tacky cream base or dedicated eye primer underneath isn't optional; expect 8-10 hours before the center dulls slightly. Pro tip: apply the shimmer center with a flat brush and a patting motion, and the outer depth with a fluffy brush in a windshield-wiper motion. Never cross the two brushes, so the glow stays clean and the depth stays diffuse. Pair it with a warm nude or caramel lip so the face stays balanced. Ask your artist for a halo placement with a lifted, elongated outer corner.
03Graphic Black Fox Liner
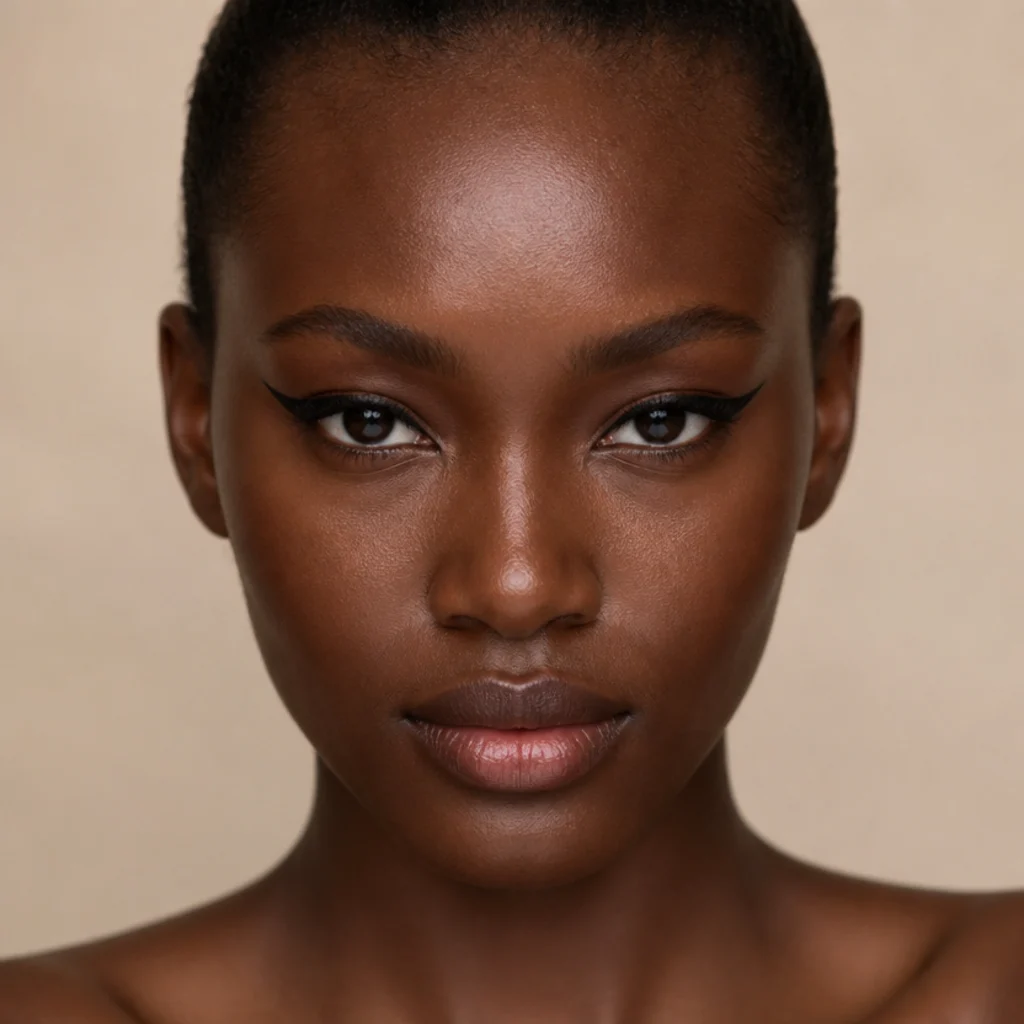
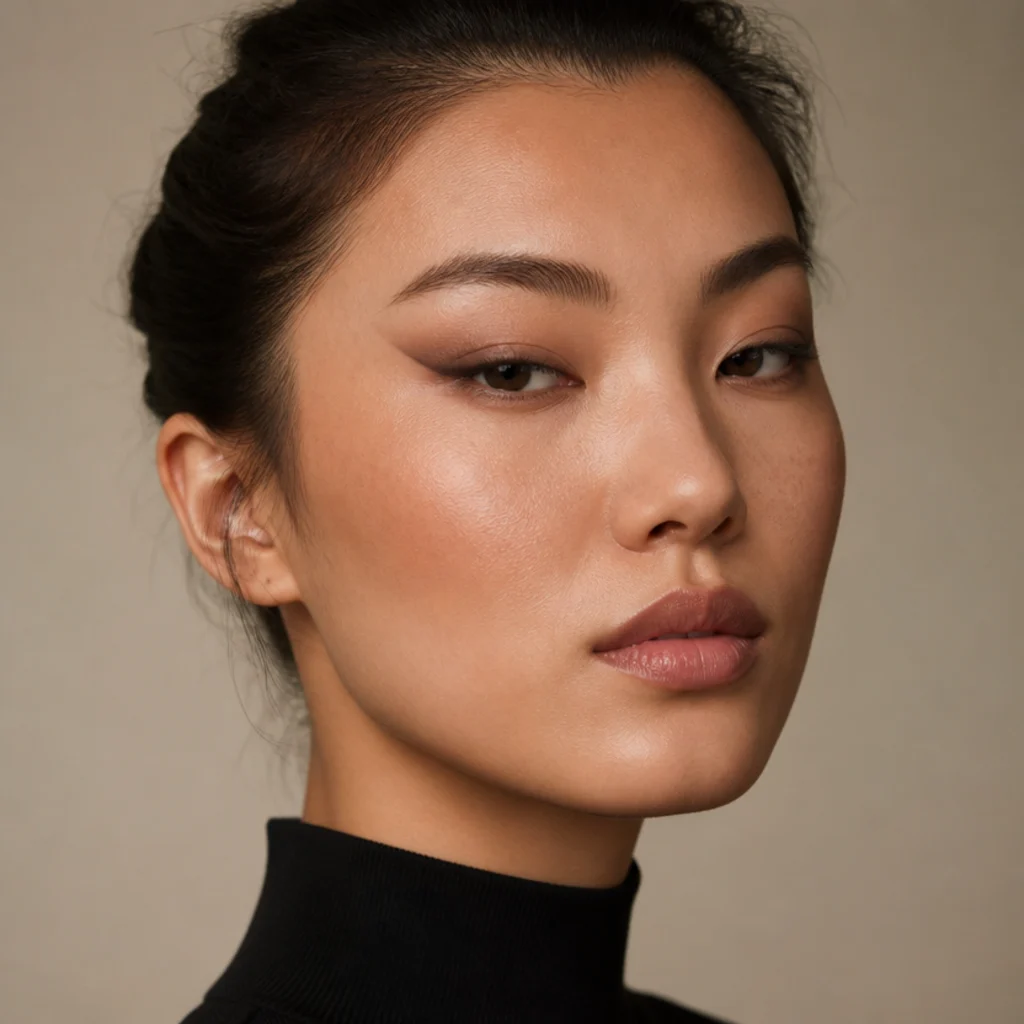
The signature statement. A crisp jet-black wing starts hair-thin at the inner corner, hugs the lash line, and shoots up and out in one long, deliberate tail. The make-or-break detail is the angle: aim the tail at the end of your brow, following the imaginary line from the outer edge of your nostril through the outer corner, so the eye lifts instead of droops. This reads bold, graphic, and event-ready, and it favors eyes with visible mobile-lid space, though a thin, high-set version can work almost anywhere. Difficulty is higher here because symmetry is unforgiving and black shows every wobble. Pro tip: map both tails first with light dots before you connect anything, then build the wing as a filled triangle rather than a single stroke — lay the outline first and fill inward so the edges stay razor-sharp. A long-wear liquid or gel formula holds the point; steady your elbow on the vanity and work with the eye almost closed but not stretched, since pulling the lid distorts the line when you release. Expect 10-12 hours from a waterproof formula, with a possible outer-corner tidy at hour six. Ask your artist for a symmetrical elongated wing angled toward the brow tail, not straight out to the side.
04Copper Smoked Corner
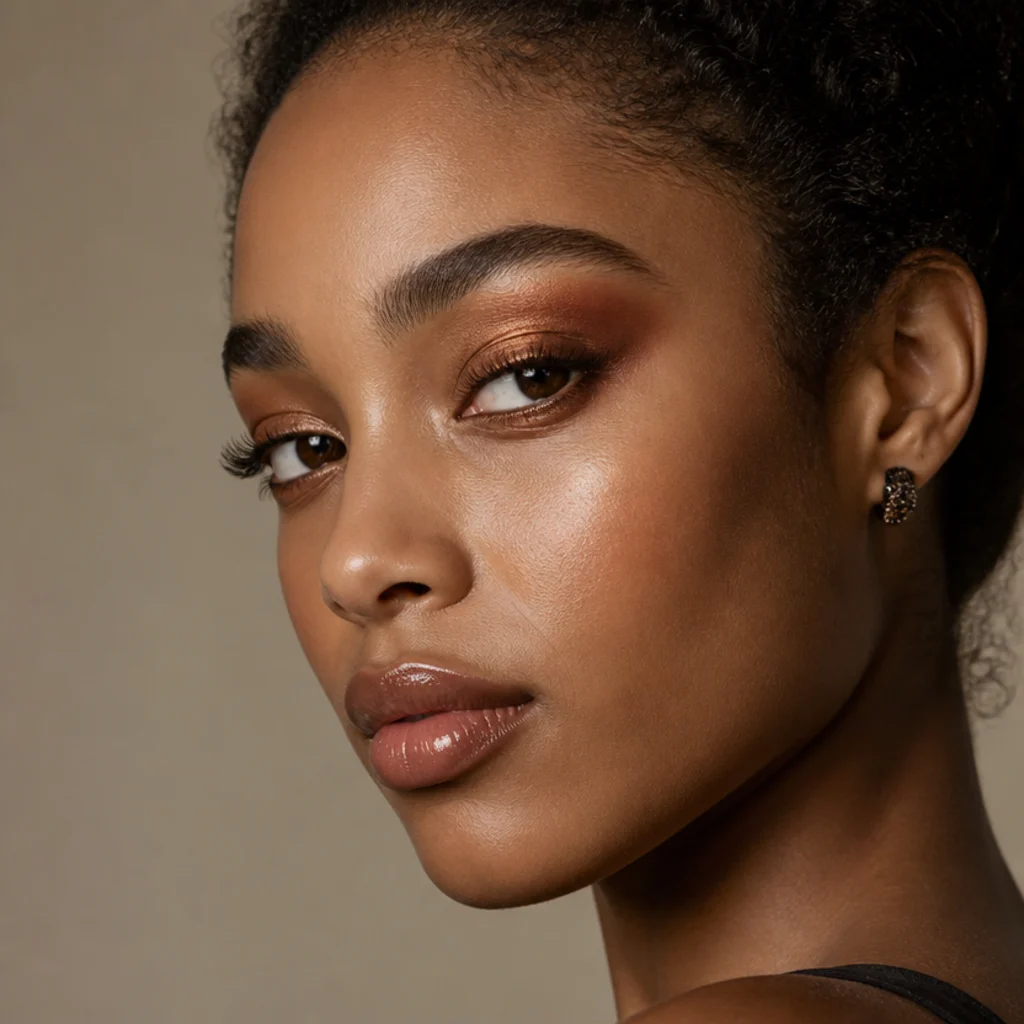
Copper is arguably the most flattering metallic on deep skin, and here it earns its keep twice. Concentrate a warm copper shadow at the outer corner, smoke it upward into the crease along the fox angle, then mirror a soft touch along the outer third of the lower lash line to frame and balance the eye. The result glows warm and lifted with no hard liner required — forgiving for beginners, but still deliberate-looking. It suits evening plans, golden-hour events, and warm-toned wardrobes in rust, olive, and cream, and it wakes up brown and hazel eyes. Upkeep is medium since metallics can crease around hour seven, so press a coordinating cream copper or a neutral eye base underneath for grip and payoff. Pro tip: apply copper with a damp flat brush to intensify the foil, then blend only the top edge with a dry fluffy brush so the corner stays metallic while the transition softens. Keep the two brushes separate so you never dull the shine. A caramel or brick lip completes it without competing. Ask your artist for a smoked, lifted copper corner with a soft lower-lash echo.
05Everyday Taupe Tightline
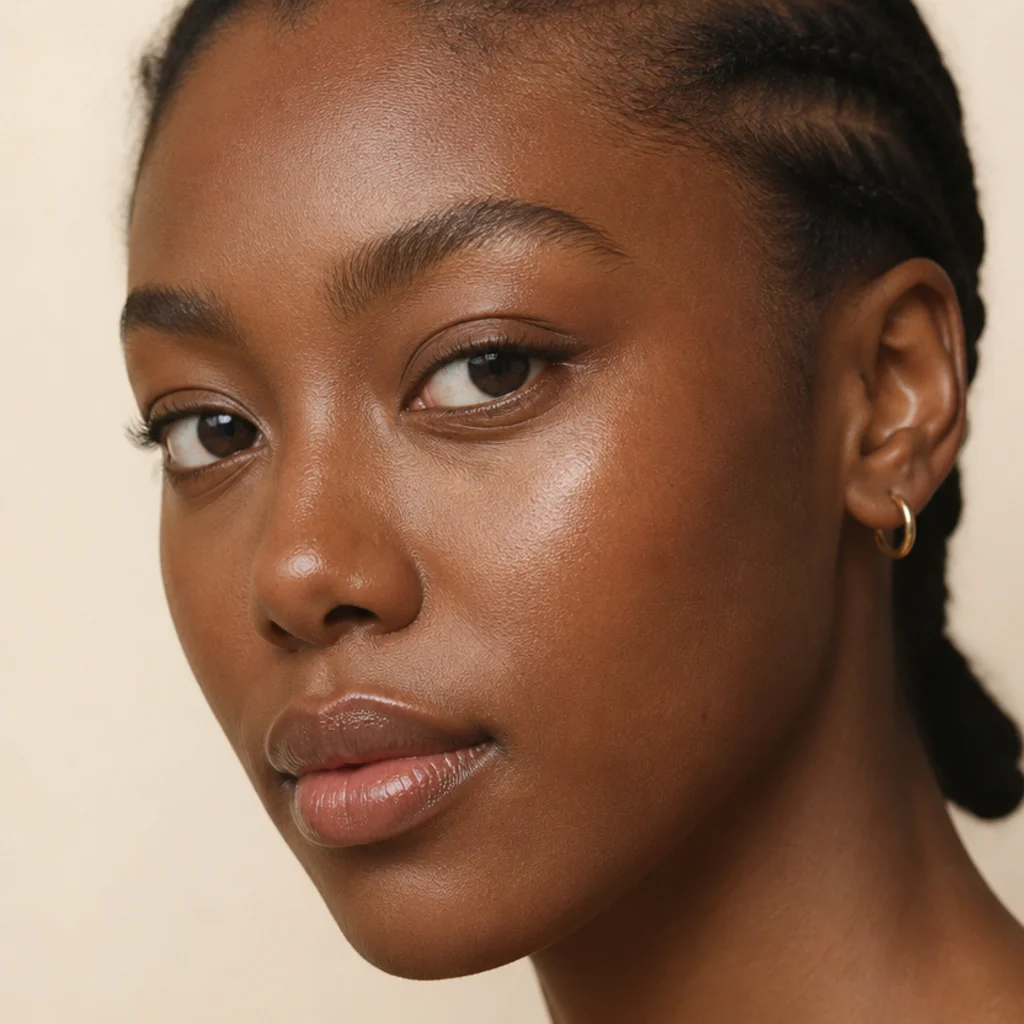
The most wearable look in the set, and a genuine five-minute option. Tightline the upper waterline in a soft warm-brown or deep taupe so lashes look denser from the root, then add the faintest lifted flick at the outer corner along the fox diagonal. With almost no shadow on the lid, it's ideal for hooded or mature eyes that reject product settling into the crease, since there's nothing to crease. It reads polished but undone — exactly right for daily wear, offices, and video calls, where a graphic wing would overpower the frame. Difficulty is low, and a waterproof or gel pencil holds it through heat and long days for a solid 8-10 hours. Pro tip: lift your chin and look down into a mirror to reach the upper waterline, and let the pencil warm against the back of your hand for a second so it grips the lash roots instead of skidding. A hard, cold pencil drags and skips. Choose a warm-leaning taupe over a grey one so it doesn't cast ashy. Ask your makeup artist for an invisible tightline with a soft lifted finish and no visible wing.
Save this to Pinterest to build your everyday foxy eye starter kit.
06Plum Foxy Smoke
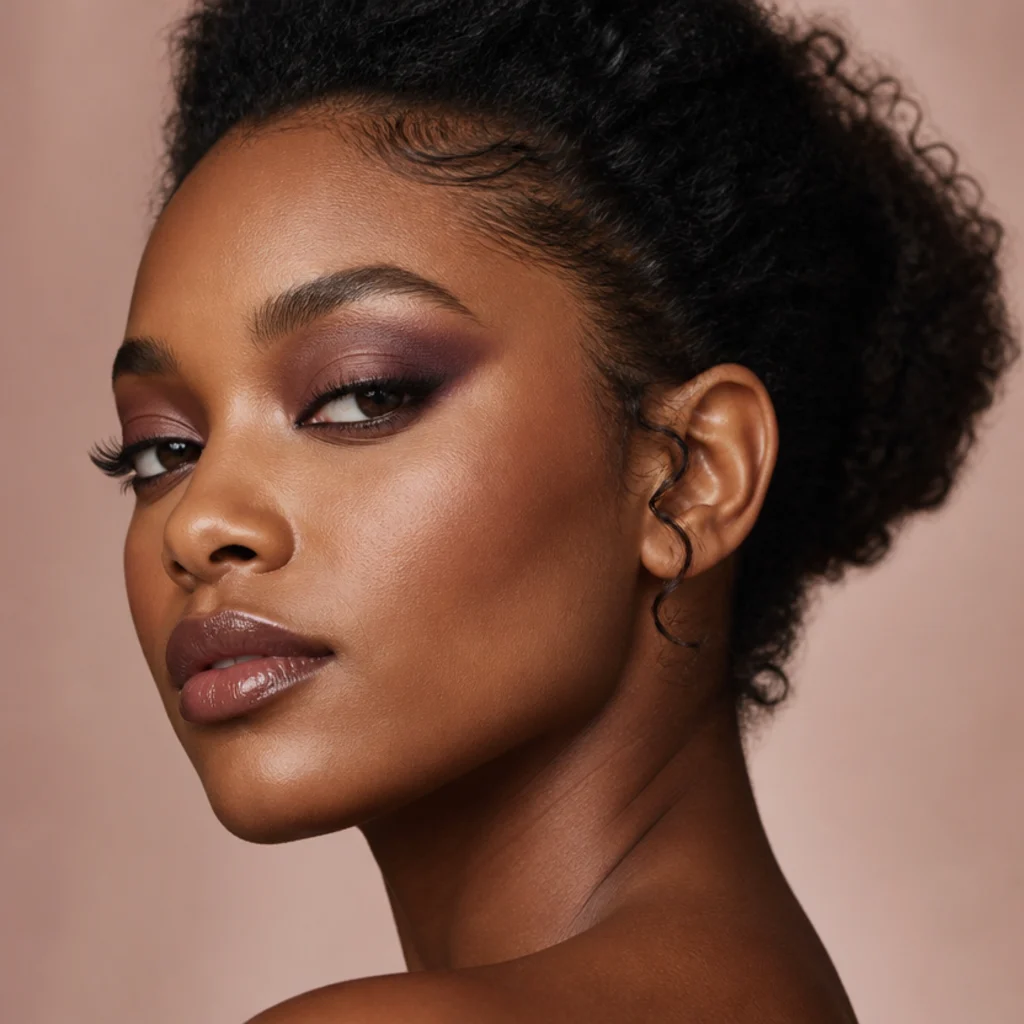
Plum and deep berry are quiet overachievers on brown eyes, because the cool violet undertone makes the iris look richer by contrast. Smoke a deep plum or aubergine shadow along the upper lash line, lift it up and out along the fox angle, and deliberately leave the inner corner and inner third clean so the eye still opens rather than closing in. It's moody without turning heavy, and it flexes from desk to dinner depending on how far you carry the smoke toward the crease. It flatters round and almond eyes and softens a downturned corner when you keep the lift high. Maintenance is medium because deep matte pigments can fade or go patchy by hour eight, so build in thin, layered passes over a base rather than one heavy load. Pro tip: tap a whisper of warm bronze or antique gold at the center of the lid to keep the plum from reading flat or bruised, and lay a neutral matte transition shade above the plum so the top edge stays crisp instead of muddying into brown. A rosy-brown or berry-tinted lip ties it together. Ask your artist for a lifted plum smoke with a clean inner corner and a warm center.
07Gold Foil Inner Corner
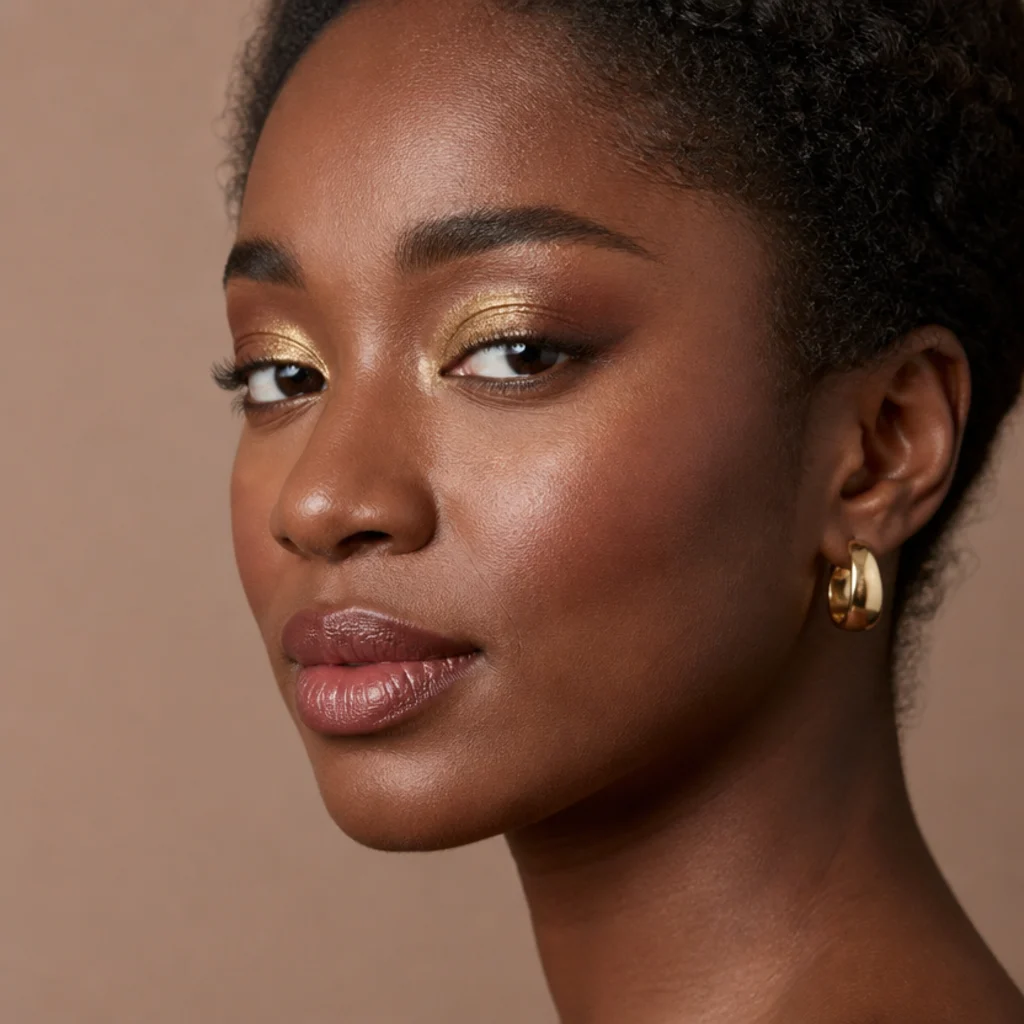
This pairs a soft brown foxy wing with a bright pop of true gold foil at the inner corner and center of the lid. The gold brightens and widens the eye while the lifted brown tail preserves the fox shape — a high-low contrast that reads expensive on deep skin and catches every light source, and a favorite for photos and events because of it. Apply the foil with a damp fingertip or a flat synthetic brush and press rather than sweep for maximum reflectivity, since dragging breaks the foil into a dull wash. It flatters close-set and deep-set eyes especially, because the inner-corner light visually pushes the eyes apart. Upkeep is medium because loose foils shed, so tap off excess and lay a sticky base first; expect the shine to soften slightly by hour eight. Pro tip: mist a little setting spray onto the brush before the final press to glue down fallout and boost shine at once, and choose true gold over champagne if you want the strongest pop against rich skin. Keep the rest of the face soft with a nude lip. Ask your artist for a gold inner-corner accent with a lifted warm-brown wing.
08Foxy Liner for Hooded Eyes
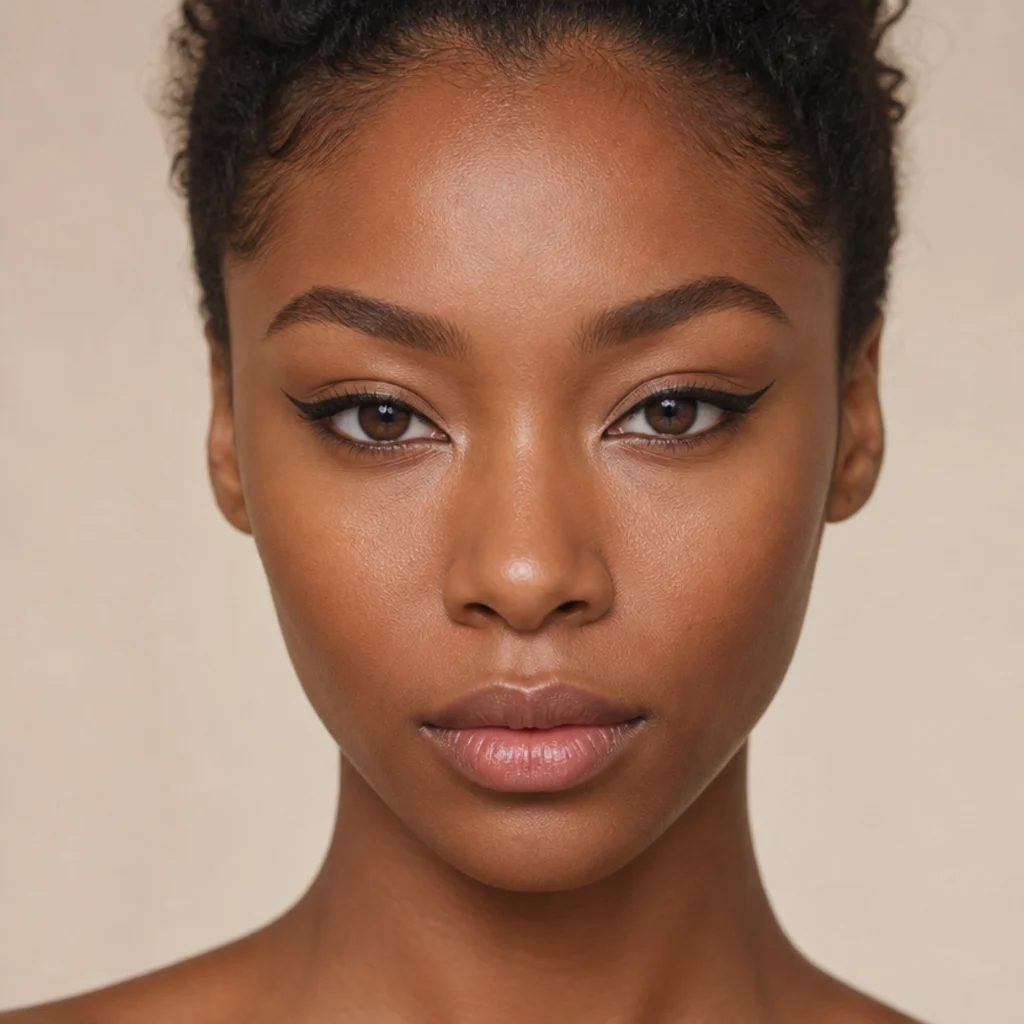
The look most people search for, and the one that defeats the most tutorials. On hooded eyes a conventional wing vanishes under the fold the moment you open your eye. The fix for foxy eyeliner on hooded eyes is to map and draw the tail with your eye open, so the lifted line lands above the hood and stays visible in resting position, then keep the liner whisper-thin along the lash line so it doesn't eat your limited lid space. Let the outer flick do all the lifting, and tightline the upper waterline to add density without bulk. Because the geometry is personal, expect two or three mapping passes before the two sides match, and check the result in a straight-ahead mirror, not a tilted one. Medium difficulty, with a realistic 8-10 hours from a waterproof gel or liquid. Pro tip: with your eye open and looking straight ahead, mark where the hood creases and start the wing just outside that point, so the tail rests on skin that shows rather than skin that folds away. Then close the eye only to connect the line to the lash root. A soft brown shadow stamped over the tail deepens it without adding a hard edge. Ask your artist specifically for a hooded-friendly lifted wing mapped with your eyes open.
09Terracotta Sunset Blend
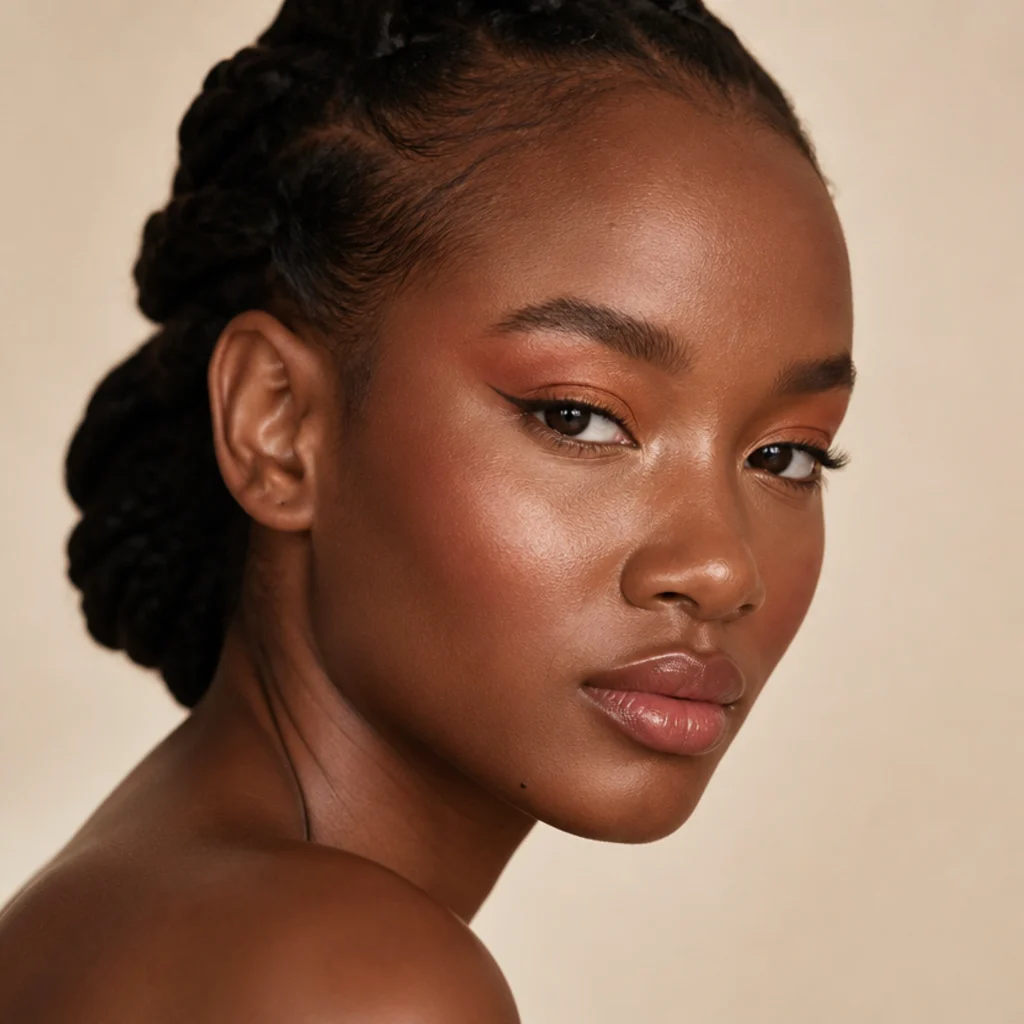
A warm gradient that travels from soft terracotta in the crease to a deeper burnt sienna at the outer corner, every layer pulled upward for lift. Sunset tones glow against deep skin and feel seasonally fresh from late spring through fall, and they pair naturally with olive, denim, and cream wardrobes. Keep the center of the lid a shade brighter with a peachy gold or bare shimmer so the eye still looks open under all that warmth. Because this is a blended look rather than a graphic one, it forgives an unsteady hand and is a good place to practice the fox angle before you attempt liner. Medium upkeep over a primer, holding 8-10 hours before the brightest center softens. Pro tip: lay the lightest shade first and the darkest last, wiping your fluffy blending brush clean between colors and feathering only the seams — never scrub — so the transition looks like a true sunset rather than three stacked stripes. Build the outer sienna in thin passes so it lifts without turning to a hard block. It works well for festivals, brunches, and golden-hour photos. Ask your artist for a warm terracotta gradient lifted at the outer corner with a bright center.
10Cut-Crease Fox Eye
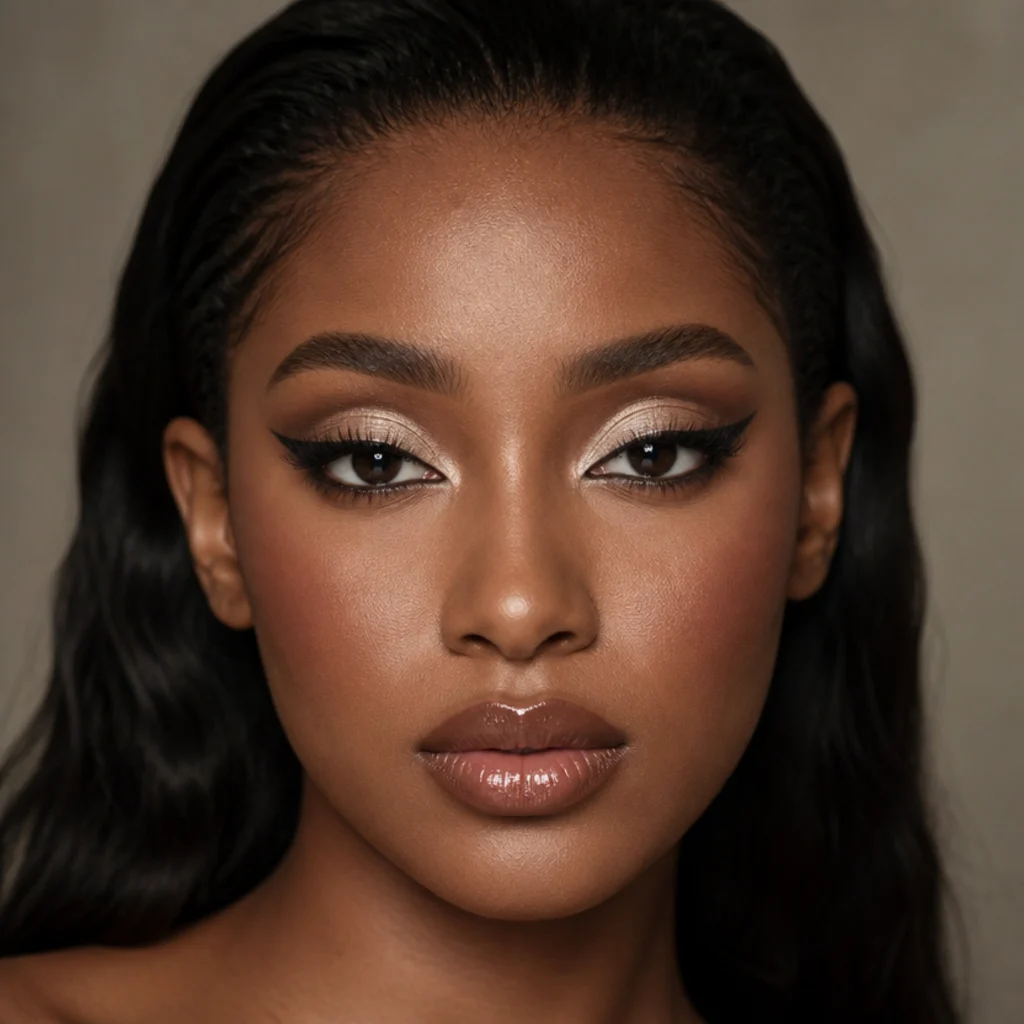
A cut crease carves crisp separation between a bright, saturated lid and a deeper crease, and here that carved line is angled up and out to reinforce the fox lift. Sculpt the crease with a small flat synthetic brush and a bright concealer or a matte shade, press a shimmer or foil onto the lid below it, then deepen the outer corner into a lifted point that continues the crease line toward the brow tail. This is high-glam territory for events, weddings, and shoots. It shows off mobile-lid space, so it favors almond and round eyes, though a smaller, higher carved crease can work on hooded eyes with careful open-eye mapping. Advanced difficulty, because the carved edge is unforgiving and reveals any wobble. Pro tip: carve the crease with your eye open to place the line where it will actually read, then clean the edge with a flat brush dipped in a little concealer for a laser-sharp finish, working in short overlapping taps rather than one long drag. Set the concealer base with a translucent powder before pressing shimmer so the lid doesn't go patchy. Expect touch-ups over a very long day. Bring a reference photo and ask your artist for a lifted, elongated cut crease.
11Deep Green Foxy Smoke
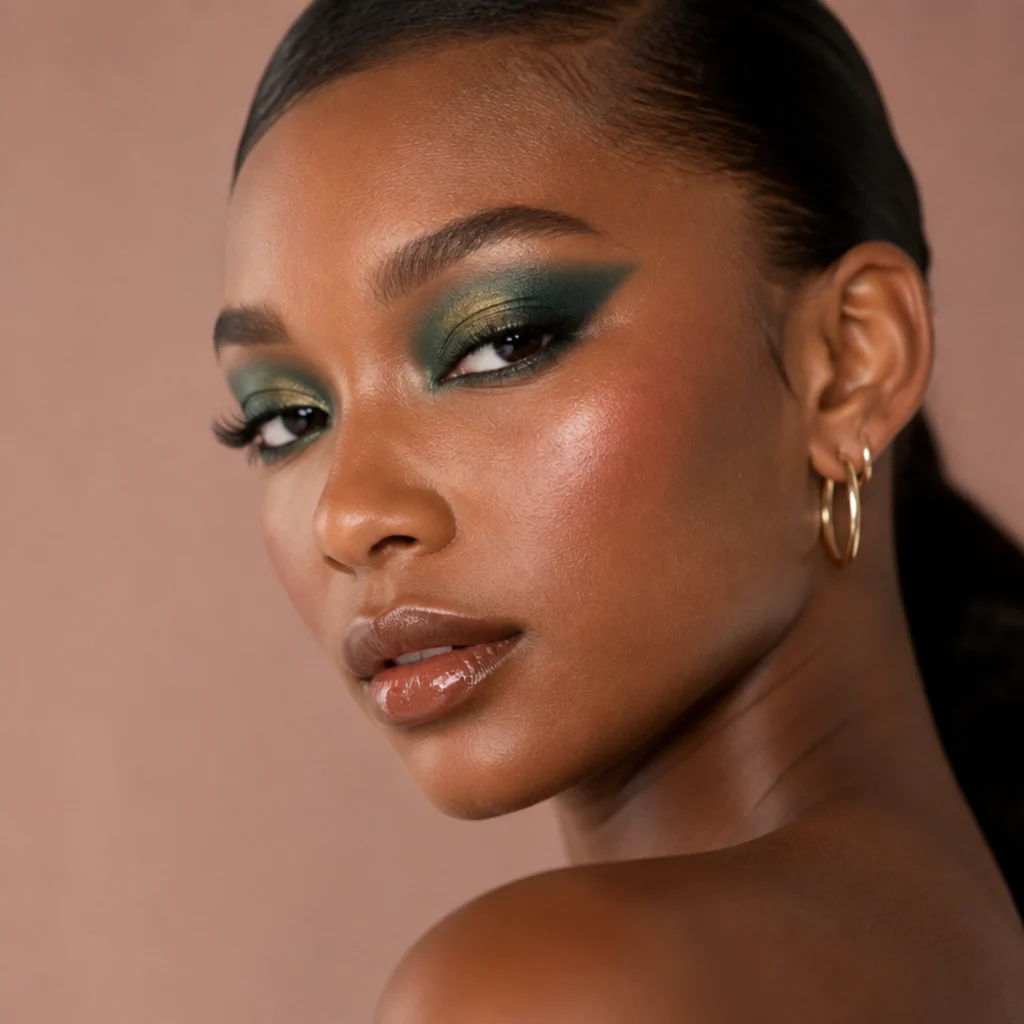
Jewel greens are underrated on deep skin and read striking rather than costumey when you keep them smoked instead of graphic. Work a deep emerald or forest green along the upper lash line, lift it out along the fox angle, and leave the inner half lighter so the eye stays balanced and open. A touch of antique gold at the center warms the cool green and stops it from going flat or one-note. This suits evenings, holiday parties, and anyone who wants color that's bold but grounded, and it looks especially rich against warm brown eyes. Maintenance is medium because dark greens can go patchy or sheer out, so anchor them over a cream base in a coordinating shade or apply with a dampened flat brush for full payoff, expecting 8-10 hours of wear. Pro tip: deep greens can pull muddy over warm skin, so lay a neutral matte transition shade above the green to keep the edge crisp and stop it reading brown where it blends, and build the color in two thin passes rather than one heavy deposit. Keep the lip neutral so the eye leads. Ask your artist for a smoked emerald corner lifted toward the brow with a warm-gold center.
12Nude Glow Bridal Fox
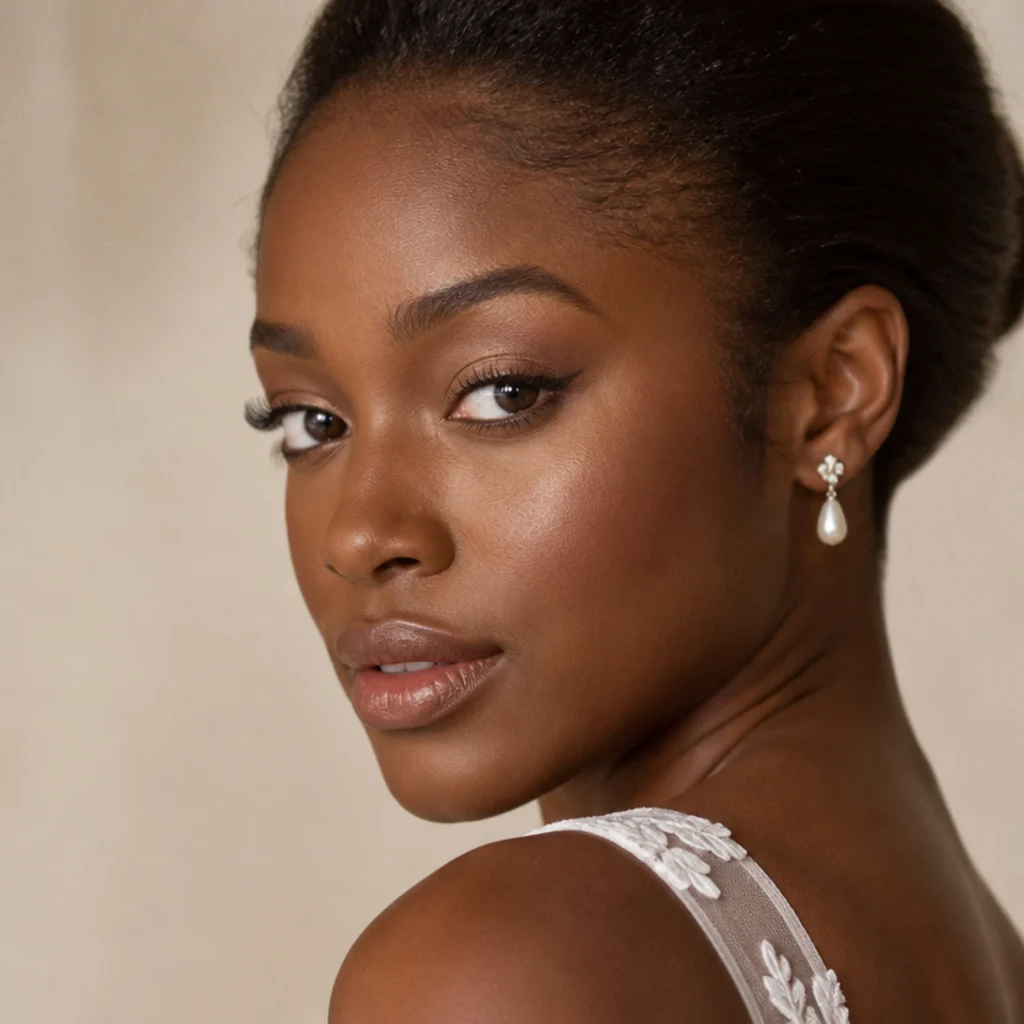
A romantic, camera-durable option built for weddings and milestone days. Warm champagne and soft nude shadows glow across the lid, with a delicate lifted brown liner standing in for black so the framing stays soft in close-ups and doesn't photograph harsh under flash. A few individual lashes clustered at the outer corner extend the fox shape without adding weight across the whole line. This look has to survive a long, emotional day, so waterproof formulas, a flexible lash adhesive, and a final setting spray are worth every step; realistically it holds 10-12 hours with a light powder blot. Pro tip: choose a satin champagne rather than a chunky glitter, because fine shimmer reads as lit-from-within skin in photos while large particles can flash back as white specks under a camera flash. Prime, layer thin, and set, and do a test run before the day so you know exactly how the lashes and liner photograph. Pair with a soft rose or nude-berry lip that also survives tears and toasts. Ask your makeup artist for a soft glowing foxy eye in neutral tones with a lifted brown corner and no harsh liner, and mention that it needs to last through photos and tears.
13Navy Elongated Liner
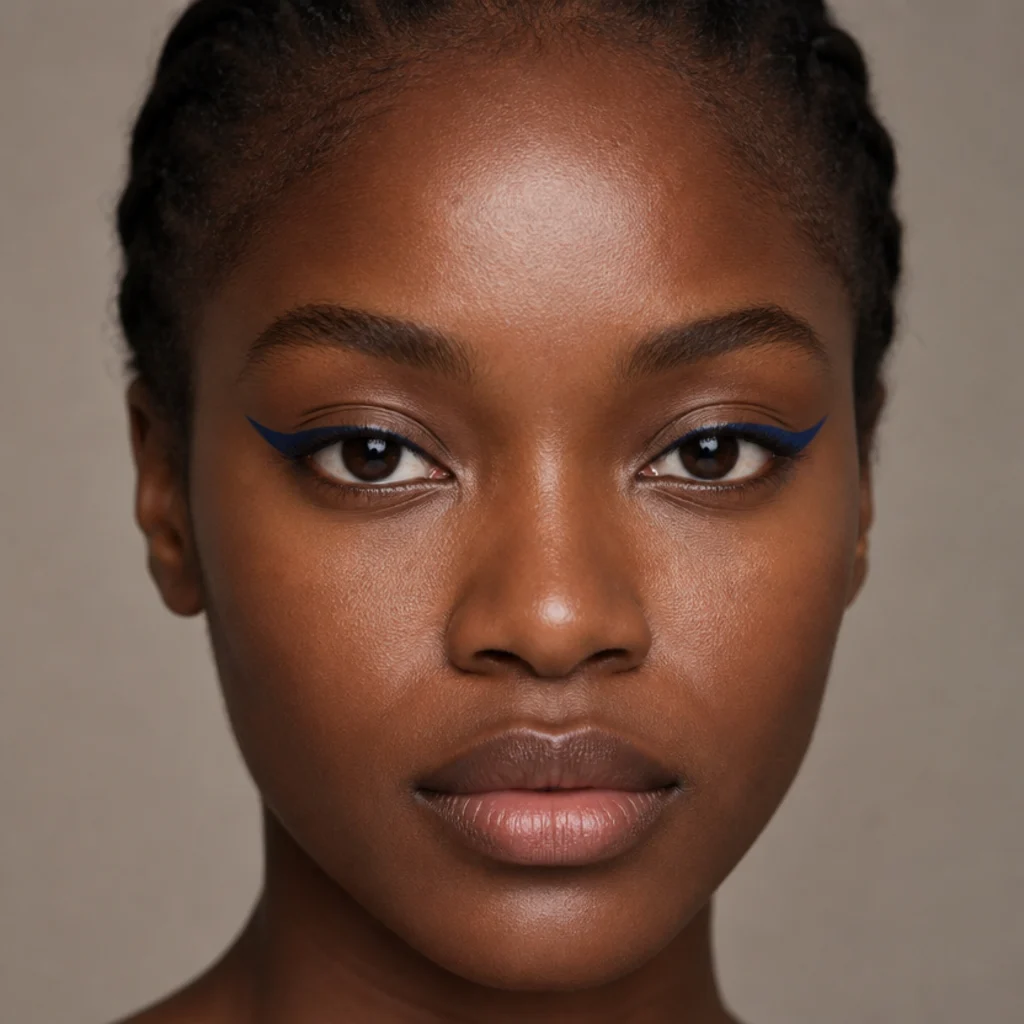
Navy is the quietly sophisticated alternative to black: dark enough to define strongly, cool enough to make warm brown eyes pop by contrast, and unexpected enough to feel considered rather than default. Draw a smooth navy line along the upper lashes and extend a lifted tail up and out along the fox angle, keeping the same nostril-to-corner diagonal you'd use for black. Because navy still reads as a deep neutral from a normal distance, it keeps the graphic effect while feeling fresher than jet black — a natural office-to-dinner swap. Medium difficulty for the wing symmetry; upkeep is low with a gel or waterproof formula, holding 10-12 hours cleanly. Pro tip: to intensify a navy that can photograph thin, stamp a matching navy shadow over the dried liner with a damp angled brush. That deepens the color and locks the wing in one step. Choose a true navy over a brighter cobalt if you want it to stay wearable for day rather than tipping electric. A soft berry or brown lip keeps it grown-up. Ask your artist for an elongated navy wing angled toward the brow tail.
14Warm Mauve Daytime Fox
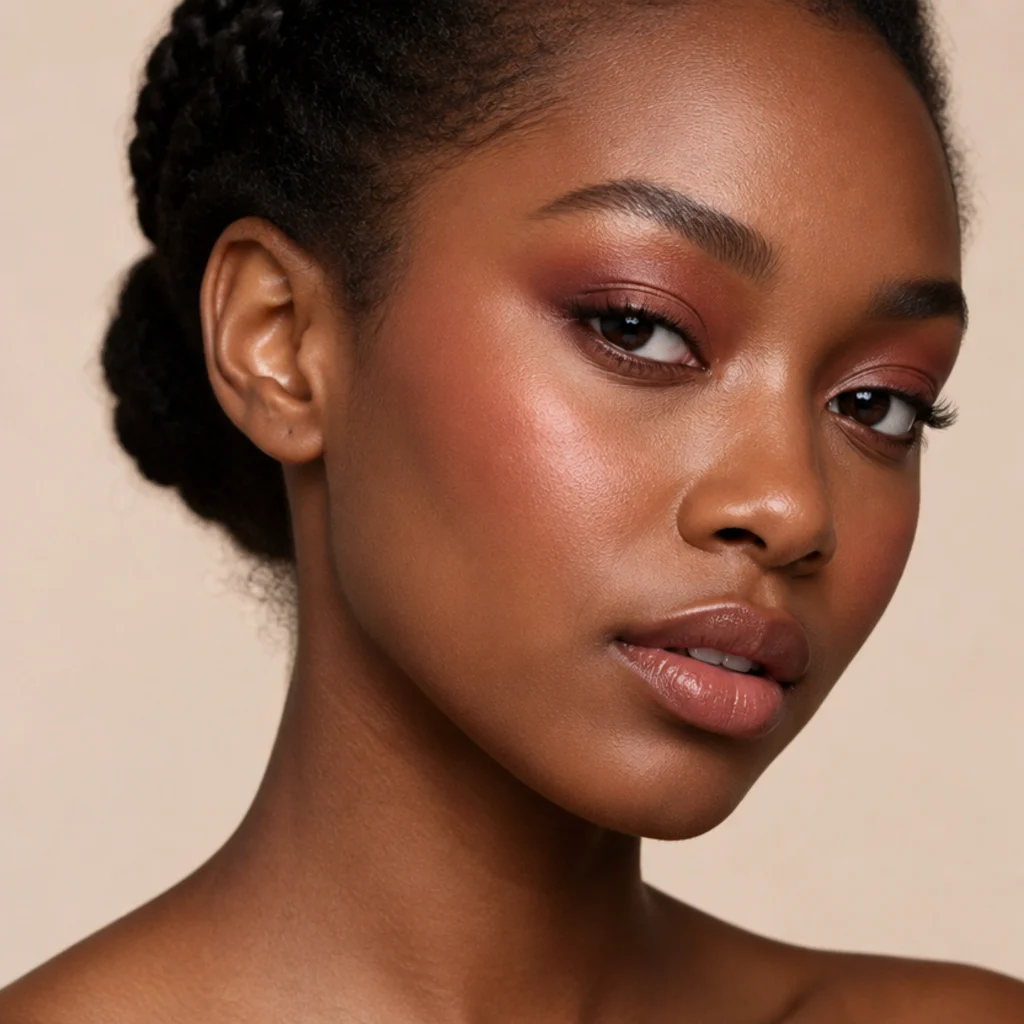
Mauve lives between neutral and colorful, a shrewd daytime pick when bare skin feels like too little and a statement eye feels like too much. Blend a warm rosy-brown across the lid, deepen it a touch at the outer corner, and lift along the fox angle. The result looks intentional without announcing itself, and because it stays soft and blended it's especially kind to hooded lids, where sharper looks tend to fold away, and to mature eyes, where heavy product settles into fine lines. Low difficulty and low maintenance, this is the reach-for-it option on busy mornings, with a comfortable 8-10 hours of wear. Pro tip: pick a mauve with a brown base rather than a pink or grey base, since brown-leaning mauve harmonizes with deep undertones and avoids the ashy cast that cool mauves can leave. Swipe a test stripe on the back of your hand in daylight to confirm it warms rather than greys. Pair it with a my-lips-but-better nude or soft rose to keep the whole face harmonious. Ask your makeup artist for a warm rosy-brown lid softly lifted at the outer corner, brown-based not pink.
15Metallic Bronze Editorial
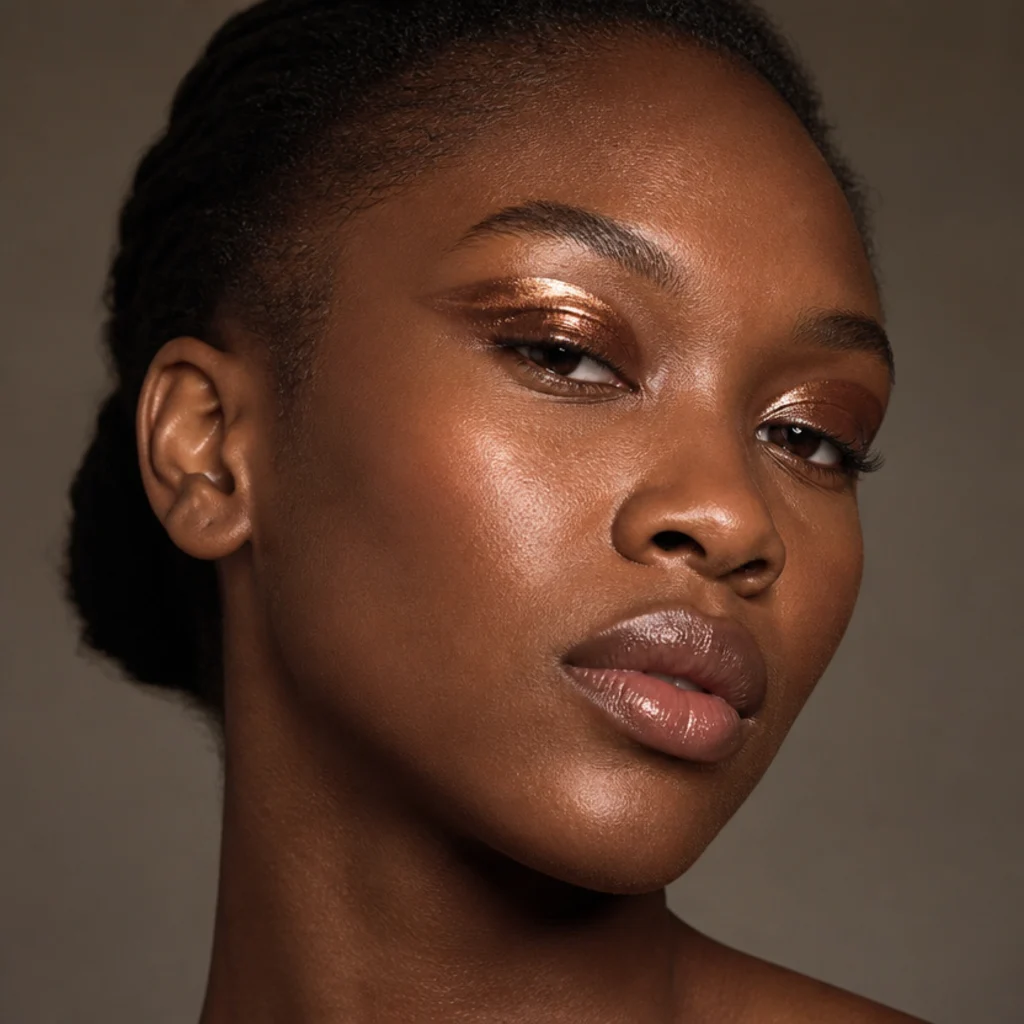
A magazine-grade take with a wet-look metallic bronze washed across the lid and lifted hard at the outer corner. The finish is glossy, almost liquid, and built for strong lighting and extreme close-ups rather than a quick coffee run. To get that mirror shine, press a metallic pigment or a foil-finish shadow over a coordinating cream base with a flat brush, patting rather than sweeping so the particles lie flat and reflect as a single sheet instead of a scattered shimmer. It's unapologetically bold, best reserved for shoots, red-carpet nights, or any moment you want the eye to be the entire look. Advanced-leaning because the wet finish shows every imperfection, and higher maintenance since glossy metallics migrate, so check the outer corner every couple of hours through the night. Pro tip: keep a clean flat brush and a scrap of the base color on hand for touch-ups, and blot the under-eye lightly before you start, because reflective bronze exaggerates any fallout that lands on prepped skin. Do the eyes before foundation so you can sweep away fallout cleanly. Ask your artist for a pressed wet-look bronze lid with a sharply lifted corner.
16Rust and Gold Festival Fox
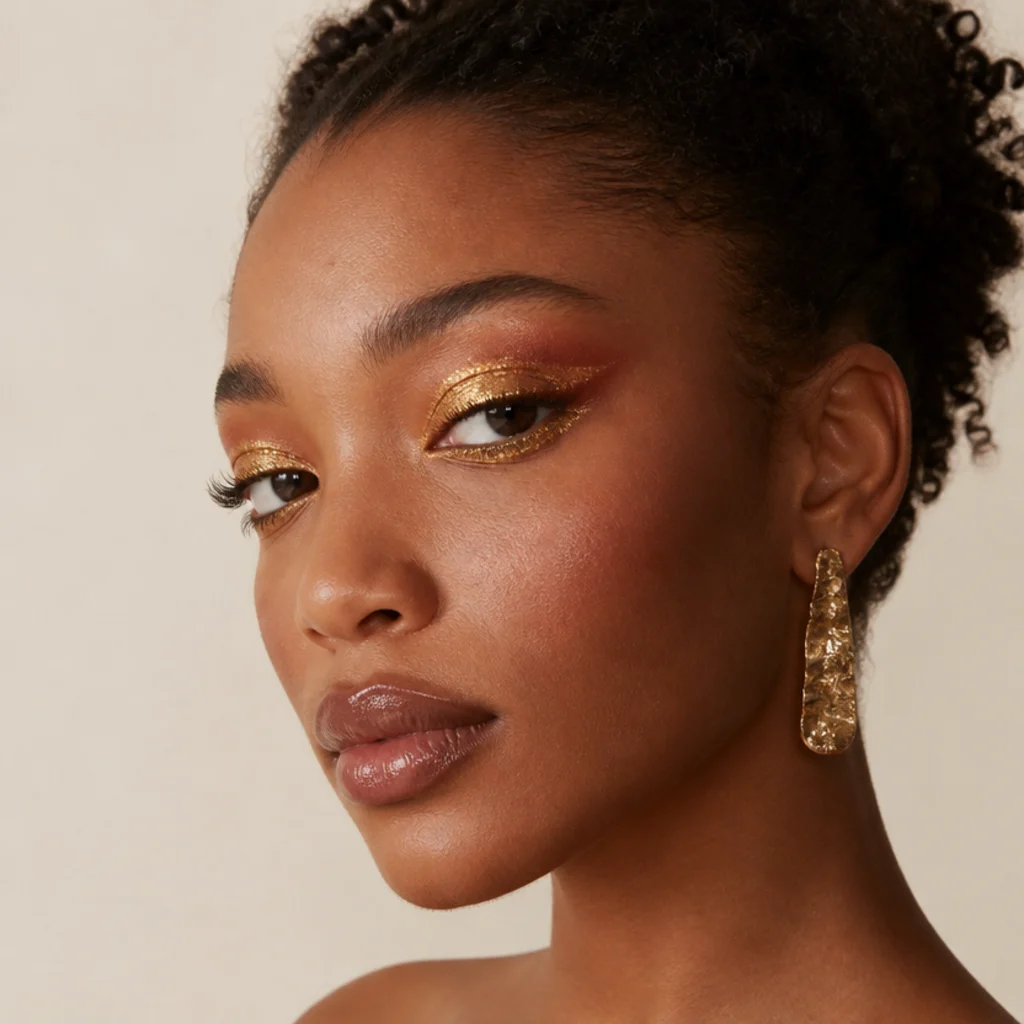
Playful, warm, and forgiving, this pairs a rust-toned blended crease with scattered gold flecks across the lid for an unmistakable festival mood. The outer corner lifts up and out as always, and a little gold traced under the lower lash line ties the top and bottom together for a framed, finished eye. Because the blended rust base hides small errors, it's expressive without demanding precision — a great group-getting-ready look and a friendly introduction to color. Medium upkeep because loose gold can fall, so tap off excess, work over a sticky base, and lock everything with setting spray; realistically it holds a full day of outdoor wear with an occasional flake to brush away. Pro tip: apply the gold flecks with a flat, slightly damp brush and place them only where you want light to hit, usually the center third of the lid, so the sparkle looks intentional rather than dusted on at random. Press, don't sweep, and mist the brush with setting spray to cut fallout. Pair with a warm gloss and sun-kissed cheeks. Ideal for festivals, concerts, and warm-weather celebrations. Ask your artist for a lifted rust crease with a gold-fleck lid and lower-lash accent.
17Monochrome Berry Eye and Lip
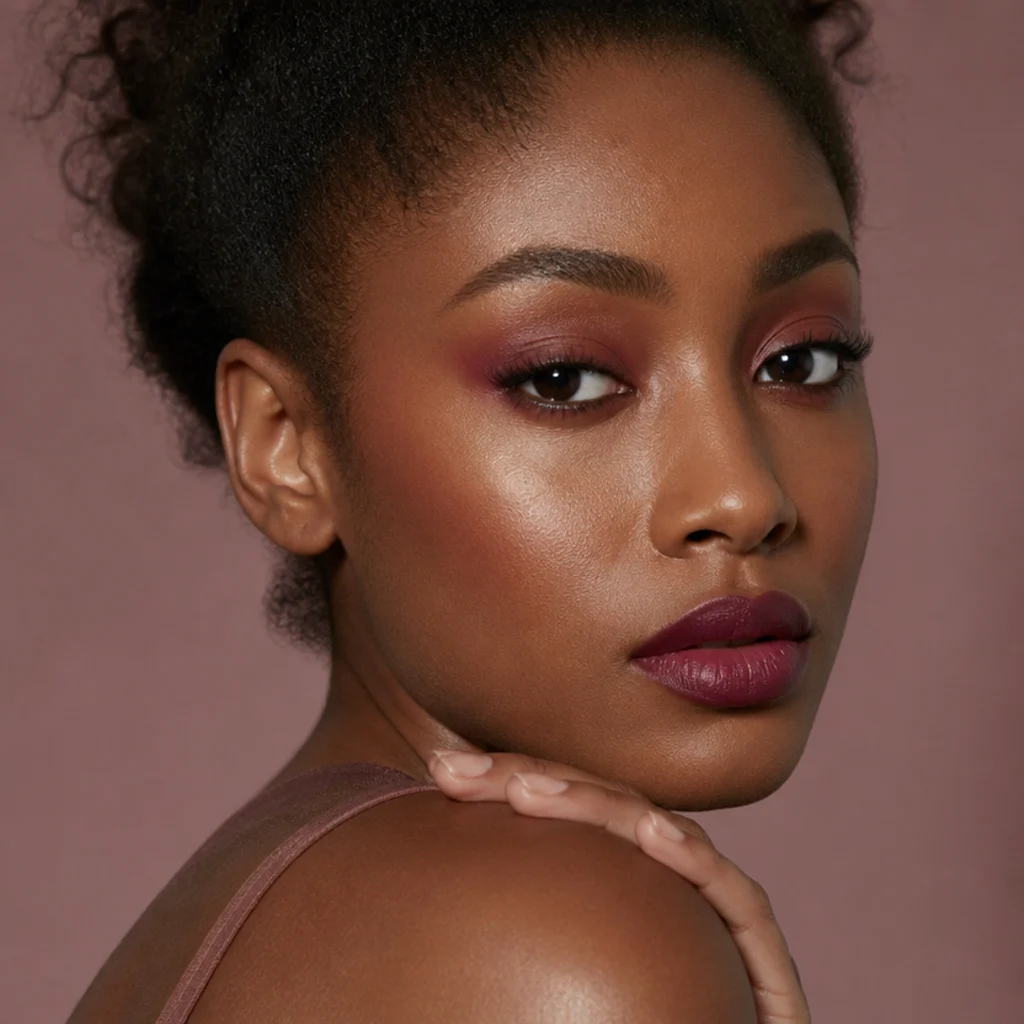
A cohesive, styled look where a berry shadow on a lifted foxy eye is echoed by a berry-stained lip, so the whole face reads as one deliberate palette. Monochrome makeup feels modern and pulled-together, and berry tones are rich, balanced between cool and warm, and work on nearly any deep skin tone. Keep the eye blended and lifted rather than sharp, let the color rather than a hard line do the talking, and match the intensity of the lip to the eye so neither competes for attention. This is a strong date-night or event choice that needs only a coordinating berry or plum blush to finish the story. Medium difficulty, mostly in the color coordination rather than the technique, with an easy 8-10 hours of wear. Pro tip: anchor the lip with a berry pencil first and blot to a stain so it survives dinner and drinks, then dab the same shade lightly at the center of the lid to link the two without reaching for extra products. Keep the eye a touch deeper than the lip so the lift still reads. Ask your artist for a matching berry eye and lip with a soft lifted corner.
18Floating Fox Crease
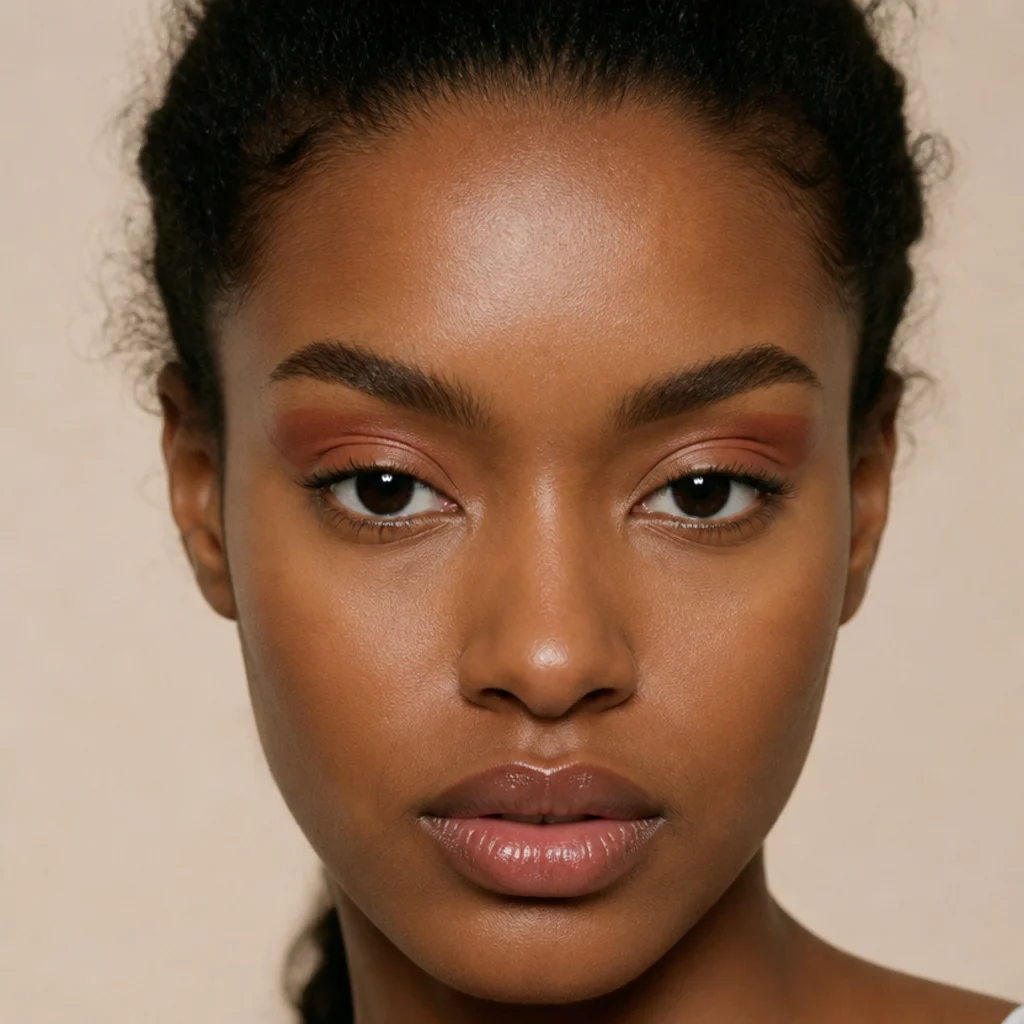
A modern, graphic idea in which a band of color floats in the crease and lifts up and out while the lid itself stays bare, glossy, or lightly shimmered. The floating line does all the lifting, and it's a clever solution for hooded eyes specifically, because the color sits above the fold and stays visible when the eye is open, unlike a lash-line wing that disappears the moment you look ahead. Choose a warm brown for a subtle version or a bright shade for a statement, and keep the band a touch thicker at the outer end so it lifts rather than droops. Advanced difficulty, because the floating line lives or dies on clean edges, though it uses less product overall than a full smoky eye. Pro tip: map the arc with your eyes open using a few light dots, then connect them with a small precise pencil or synthetic brush, keeping the outer end higher than the inner so the band reads as lift rather than a flat stripe. Clean the underside with a concealer-tipped flat brush for a sharp lower edge. Expect 8-10 hours; a gloss-topped lid may need a light re-press. A great look for creative shoots and anyone bored of standard liner. Ask your artist for a floating lifted crease that reads with the eyes open.
19Smudged Kohl Rocker Fox
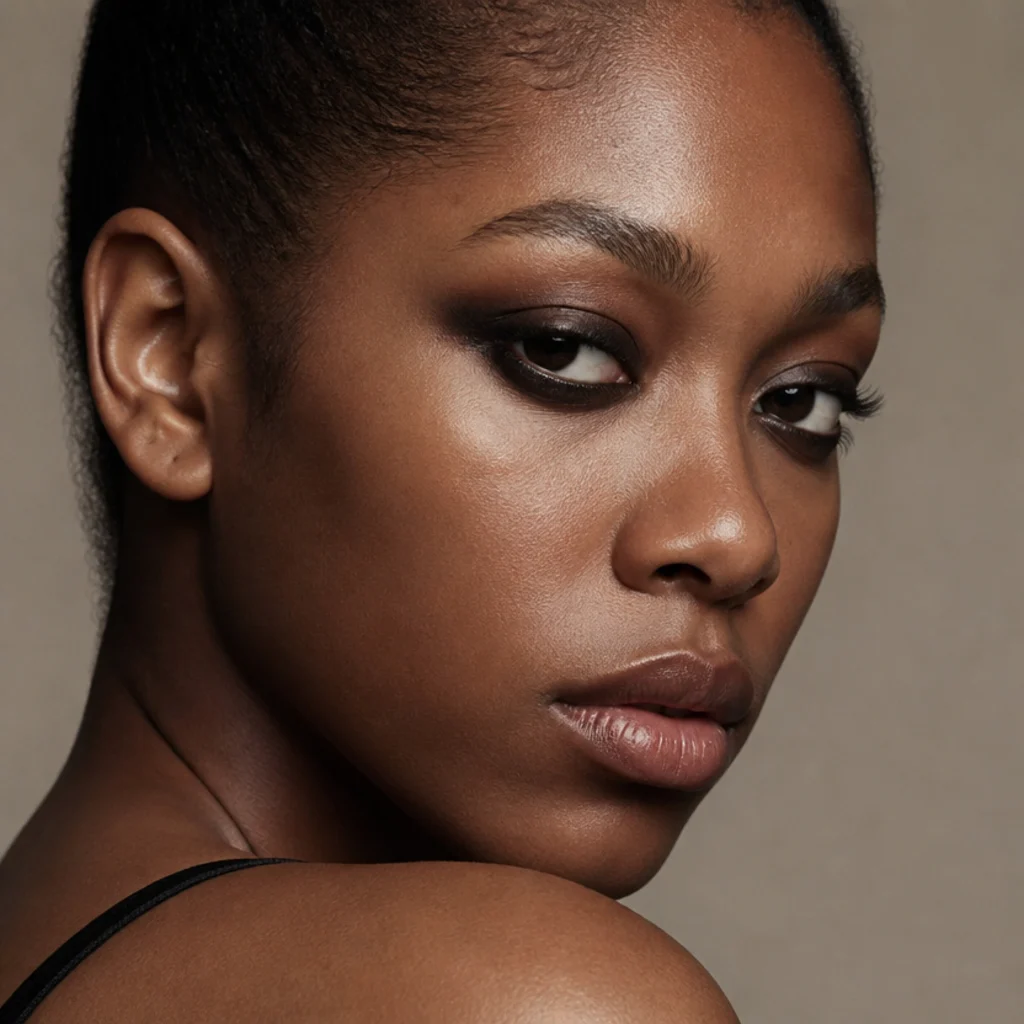
Edgy and deliberately undone. Line the upper and lower lash lines with a soft black kohl, smudge everything into a lived-in smoke with a smudger brush or fingertip, then pull the outer corner up and out so the whole thing lifts rather than sags into a raccoon. Unlike the razor-clean graphic wing, this version is meant to look a little rough and rock-and-roll, which is exactly why it forgives imperfect symmetry and rewards a heavier hand. It suits nights out, concerts, and anyone who loves a smoky eye with attitude. Medium difficulty in controlling where the smudge lands, and medium upkeep, since kohl migrates and can transfer to the lower lid over four to six hours. Pro tip: set the smoked kohl with a matching black matte shadow pressed over the top to lock it and stop it sliding, and keep the lower line smoked only along the outer two-thirds so the eye still lifts instead of rounding down into a droop. Tightline the upper waterline to fill any gaps at the roots. Keep the rest of the face bare with just a nude lip so the eye owns the look. Ask your artist for a smudged, lifted black smoke, not a sharp wing, with the drama concentrated at the outer corner.
20Champagne Shimmer Soft Fox
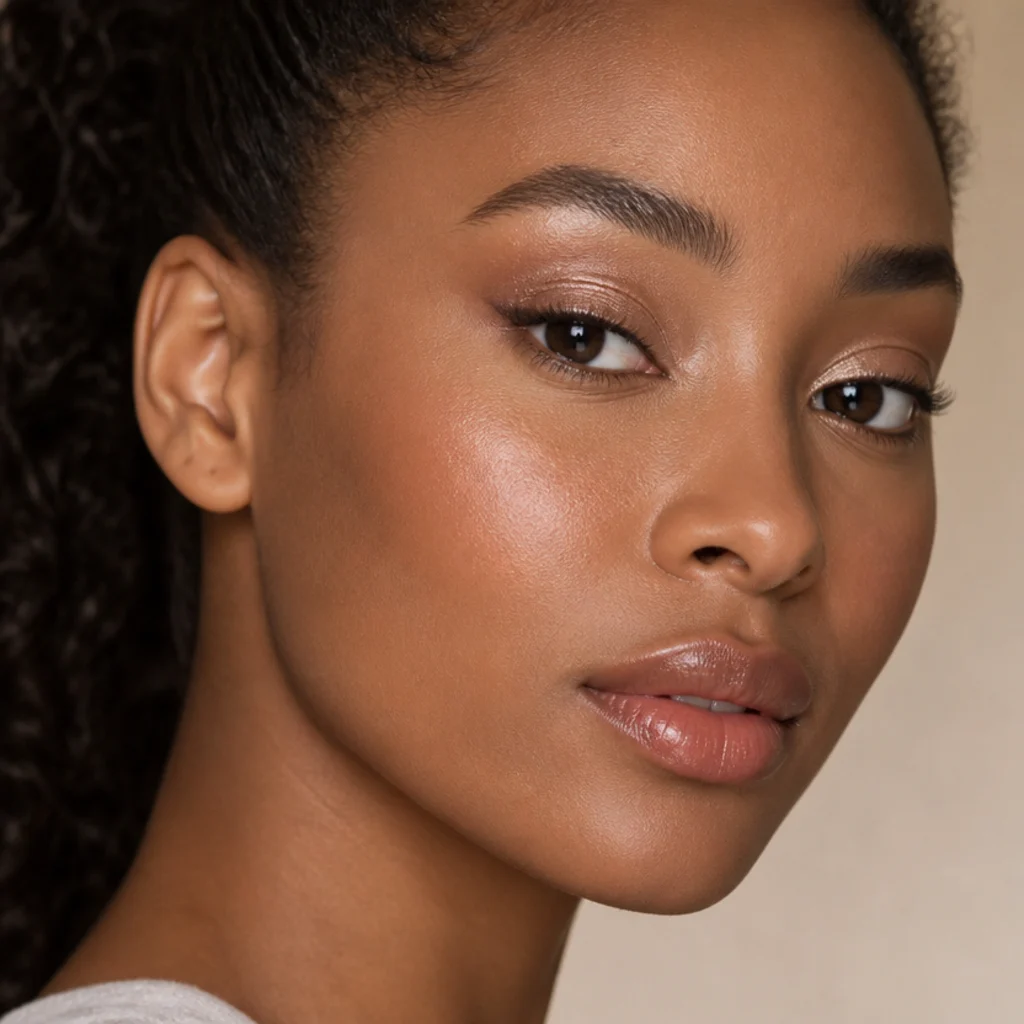
A luminous, forgiving finish to close the list. A satin champagne shimmer glows across the lid to brighten the whole eye, while a soft warm-brown lifts the outer corner into the fox shape with the lightest possible hand. It flatters every skin depth and looks especially fresh on tired mornings, since the reflective lid fakes brightness and lift at once, quietly counteracting a heavy or downturned corner. This is soft foxy eyes at their most polished, easy, and repeatable, and it holds a comfortable 8-10 hours over a base. Low difficulty, low maintenance, and endlessly wearable from desk to dinner. Pro tip: press the champagne on with a flat brush or a fingertip over a dab of concealer or eye base, because a sticky surface holds shimmer flat and stops it from dusting down onto your cheeks by midday. A dry brush over dry skin is what causes glitter fallout. Choose a satin over a glitter for daytime so it reads as glow, not sparkle. Pair with a coat of mascara and a lip balm for a five-minute face, or add a few outer-corner lashes to dress it up for evening. Ask your makeup artist for a champagne-shimmer lid with a soft, lifted brown corner.
Save this to Pinterest so your easiest glow look is always one tap away.
Pro Tips from the Editor
- Angle beats thickness. The fox effect comes from the direction of the lift, not the boldness of the line. Aim every tail at the end of your brow along the imaginary line from your outer nostril through your outer corner, and even a thin wing reads lifted. Drop the tail below that diagonal and the eye reads dragged instead of raised.
- Map with your eyes open, always. Placement that looks right on a closed lid can vanish or droop when you open up, especially on hooded and downturned eyes. Dot your start and end points looking straight into a level mirror before you commit, then close the eye only to connect the line.
- Prep decides longevity. An eye primer or a thin layer of concealer set with translucent powder gives pigment something to grip. Skip it and metallics crease by hour seven, deep mattes fade patchy, and liner travels by lunch. Prep is the single biggest factor in whether a look lasts eight hours or four.
- Dampen the brush for payoff. A lightly misted flat brush turns bronze, copper, gold, and deep jewel tones foil-bright on deep skin. Use a dry fluffy brush only to soften the top edge, never to lay the color, and keep your wet and dry brushes strictly separate.
- Build in thin layers. Deep plums, greens, and blacks look richest applied in two or three sheer passes rather than one heavy load. That also cuts down on fallout, patchiness, and the flat, bruised look deep mattes can take on.
- Warm-lean your neutrals. Red-brown, cocoa, and mauve with a brown base flatter deep undertones; ashy taupes and grey-mauves can cast dull. When in doubt, choose the warmer twin, and test the stripe in daylight, not bathroom light.
- Set the wing, not just the shadow. Stamp a matching powder shadow over gel or kohl liner with a damp angled brush to lock the tail and deepen the color at once. It's the single best trick for a wing that survives heat, humidity, and a long day.
- Do your eyes before foundation. Working eyes-first means you can sweep away shadow and glitter fallout without wrecking a finished base, which matters most for foils, festival gold, and any deep matte smoke.
How to Choose / Get the Look
Start with two questions: how much mobile-lid space do you have, and what's the occasion? Lid space drives technique. If your eyes are hooded or downturned, skip sharp lash-line wings that fold away and reach for the floating crease (18), the hooded-friendly lifted liner (8), the taupe tightline (5), or any soft blended version where the lift sits high enough to show with your eyes open. If you have generous lid space, graphic liner (3) and cut creases (10) read clean and dramatic. Round and almond eyes can wear nearly everything, so let occasion and color lead. Close-set eyes benefit from an inner-corner light (7), while deep-set eyes do well with the bright center of a halo (2).
Next, pick your energy by color family. Browns, taupe, mauve, and champagne are your everyday neutrals; bronze, copper, and gold deliver warm glow for evening; plum, emerald, navy, and berry add rich color that specifically flatters brown eyes by contrast. Then match the finish to the setting: matte and satin for daylight and photos under flash, foil and gloss for strong stage or studio lighting. Undertone is the final filter: warm-leaning shades (red-brown, copper, terracotta, antique gold) harmonize with deep undertones, while cool jewel tones (plum, emerald, navy) work best when you keep the inner corner clean so they contrast rather than dull.
Use this quick reference to narrow it down.
| If you want… | Best pick | Difficulty | Wear window |
|---|---|---|---|
| Fastest everyday lift | Taupe Tightline (5) | Low | 8-10 hrs |
| Hooded-eye visibility | Floating Crease (18) / Hooded Liner (8) | Medium-Advanced | 8-10 hrs |
| Warm glow for evening | Copper Smoked Corner (4) / Bronze Halo (2) | Beginner-Intermediate | 8-10 hrs |
| Rich color, still flattering | Plum Smoke (6) / Deep Green (11) | Intermediate | 8-10 hrs |
| Camera-ready glam | Cut-Crease (10) / Metallic Bronze (15) | Advanced | Touch-ups likely |
| Wedding or milestone | Nude Glow Bridal (12) | Low-Medium | 10-12 hrs, waterproof |
For a fast finish-to-formula guide, this spec table maps the technique to the tools and skin-prep that make it hold.
| Look style | Key product | Finish | Best skin prep |
|---|---|---|---|
| Soft blended smoke | Warm-brown pencil + matte shadow | Matte | Primer, set with powder |
| Graphic liner | Waterproof gel or liquid liner | Satin-matte | Primer at outer corner |
| Metallic / foil | Foil shadow over cream base | Wet-look | Sticky cream base |
| Loose glitter / flecks | Gold pigment + adhesive base | Sparkle | Tacky base, set spray |
| Cut crease | Concealer + saturated shadow | Sharp | Concealer set with powder |
Placement is the whole trick regardless of look. Always angle your lift toward the tail of your brow, never straight out to the side, so the eye reads raised rather than dragged. Prime your lids first, especially for metallics and deep mattes, and build color in thin layers. When you book a professional, name the exact version, the wing shape, whether you want soft or graphic, the finish, and the color, then bring a reference photo shot with your eyes open in even light. That one step alone gets you far closer than the words "fox eye" ever will.
Frequently Asked Questions
What are foxy eyes makeup exactly?
Foxy eyes, or fox eyes, are a makeup effect that makes the eye look longer, lifted, and tilted up at the outer corner. You create it purely with liner placement and shadow that pull up and out toward the brow tail, along an imaginary line from the outer nostril through the outer corner, plus optional lash and brow shaping. It's a visual illusion built with product, not a surgical change, and you can dial it from barely-there soft smoke to graphic liner depending on how sharp and dark you take the tail.
How do I do foxy eyeliner on hooded eyes?
Map and draw the lifted tail with your eye open so the line lands above the fold and stays visible in resting position, and keep the liner thin along the lash line to protect your limited lid space. Floating-crease placement and high-set wings work far better than standard wings, which tend to disappear into the hood the moment you open your eye. Tightlining the upper waterline adds lash density without bulk, and stamping a matching shadow over the tail locks it in place for the day.
Which colors flatter foxy eyes on Black women?
Warm bronzes, copper, and gold glow on deep skin, while plum, berry, emerald, and navy add rich color that makes brown eyes pop by contrast. Browns, taupe, warm mauve, and champagne are the most wearable neutrals for daily foxy eyes. As a rule, lean warm: red-brown and cocoa flatter deep undertones, while ashy taupes and grey-based shades can read dull. For cool jewel tones, keep the inner corner clean so the color contrasts against the iris rather than muddying the whole lid.
Are soft foxy eyes good for beginners?
Yes, they're the ideal starting point. Soft foxy eyes rely on smudging and blending rather than sharp lines, so small mistakes diffuse away instead of showing. A smudged brown wing (1), a warm mauve wash (14), or a champagne shimmer lid with a lifted corner (20) are the most forgiving places to learn the fox angle before you try graphic liner. Practice the nostril-to-corner diagonal with a pencil first, since the angle transfers directly to every harder look later.
How do I keep a foxy eye from creasing or fading?
Use an eye primer or set concealer with translucent powder, press cream and metallic products with a matching powder shadow, and build deep colors in thin layers. Waterproof and gel liners hold the wing longest through heat and long days, and a final mist of setting spray locks foils and loose shimmer. Skipping primer is the most common reason a foxy eye creases by midday. On oily lids, a dedicated primer plus a light powder set is the difference between four hours and ten.
How is a foxy eye different from a cat eye?
A cat eye emphasizes a bold, often thick winged liner that flicks out and slightly up from the lash line, keeping the eye looking sultry and defined. A foxy eye is about overall elongation and lift: the whole eye draws up and out toward the brow, frequently with shadow and a higher, straighter tail rather than a curved flick. Foxy leans lifted and elongated; cat leans defined and flicked. In practice, a foxy tail sits higher and points at the brow tail, while a cat-eye flick sweeps more horizontally toward the temple.
Do I need lash extensions or false lashes for a foxy eye?
No, the effect comes entirely from placement, so mascara alone works. That said, a few individual lashes clustered at the outer corner reinforce the elongation and are a favorite finishing touch for bridal and evening looks. Keep any falsies concentrated at the outer third rather than across the whole lash line — even, all-over lashes can round the eye and fight the lift. Choose a wispy, longer-at-the-outer-edge style so the lashes echo the fox angle instead of working against it.
Will a foxy eye suit downturned or mature eyes?
Yes, and it can be quite flattering, because the upward lift counteracts a downturned corner. The key is keeping the tail high and soft: choose blended versions like the mauve wash (14), the soft brown wing (1), or the taupe tightline (5), and avoid heavy product in the crease that can settle into fine lines. Map the lift with your eye open so the raised corner actually shows in resting position, and set any cream products with a light powder so nothing gathers in texture over the day.
How long does a foxy eye take to do?
The soft, blended looks take about five minutes once you know the angle, while graphic liner, cut creases, and editorial metallics can run 15 to 30 minutes, because symmetry and clean edges take patience. Beginners should budget extra time for mapping both sides before committing, and it helps to do your full eye look before foundation so you can clean up fallout without redoing your base. A pro application typically runs 30 to 45 minutes and is worth it for a first attempt at the graphic and cut-crease versions.