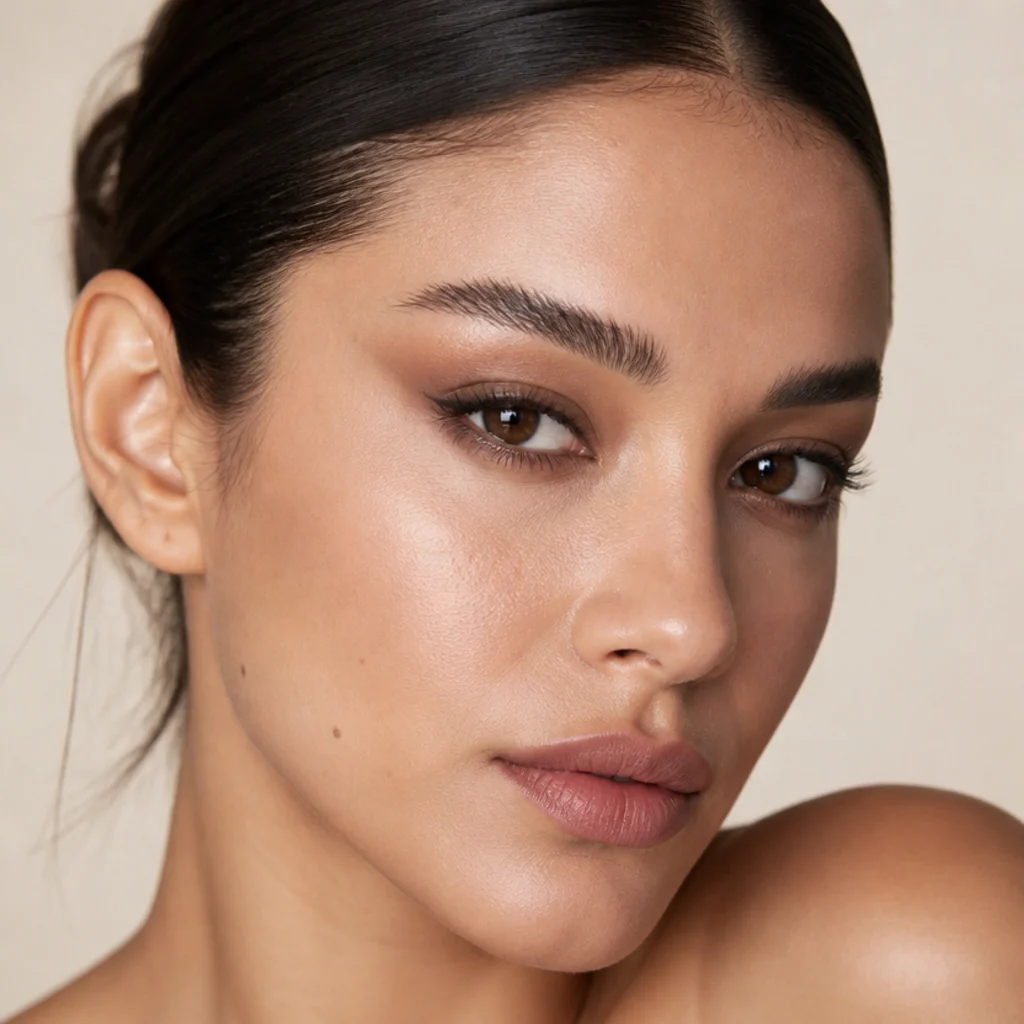
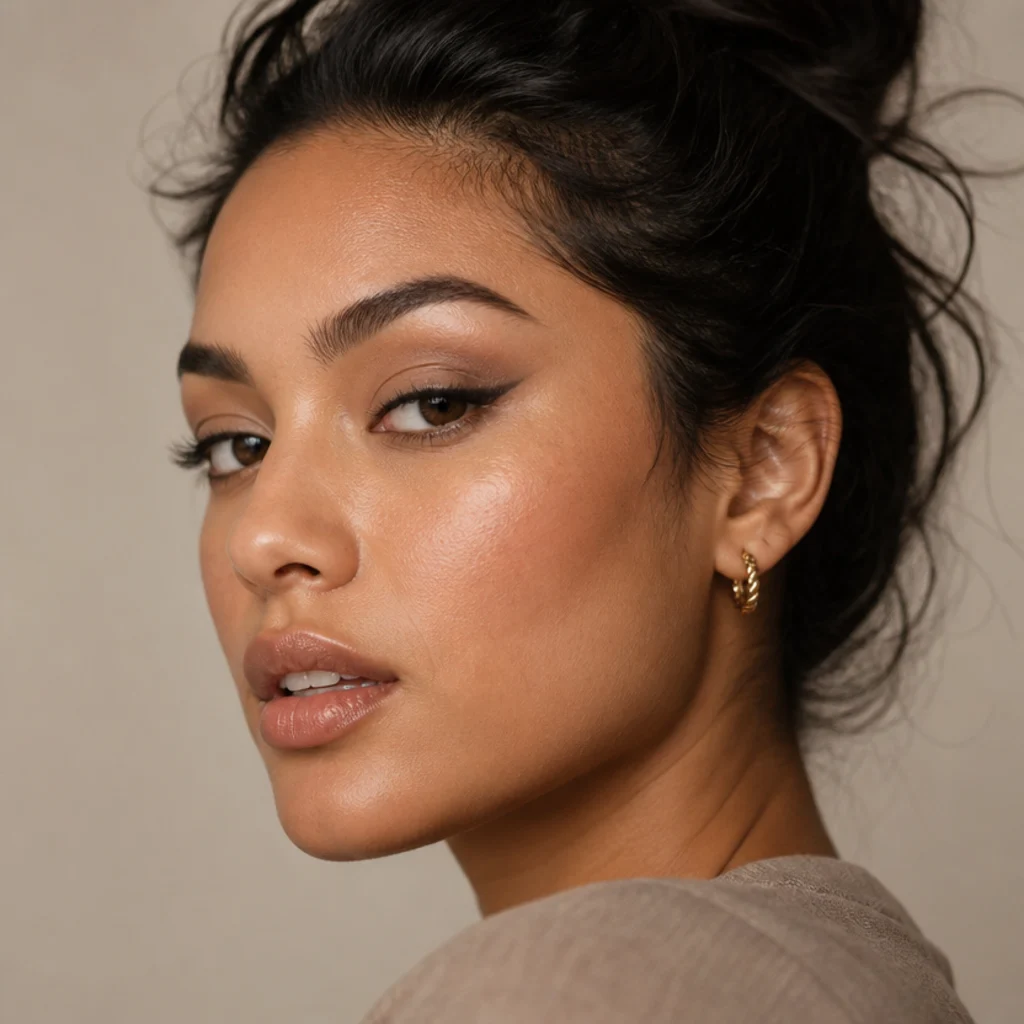
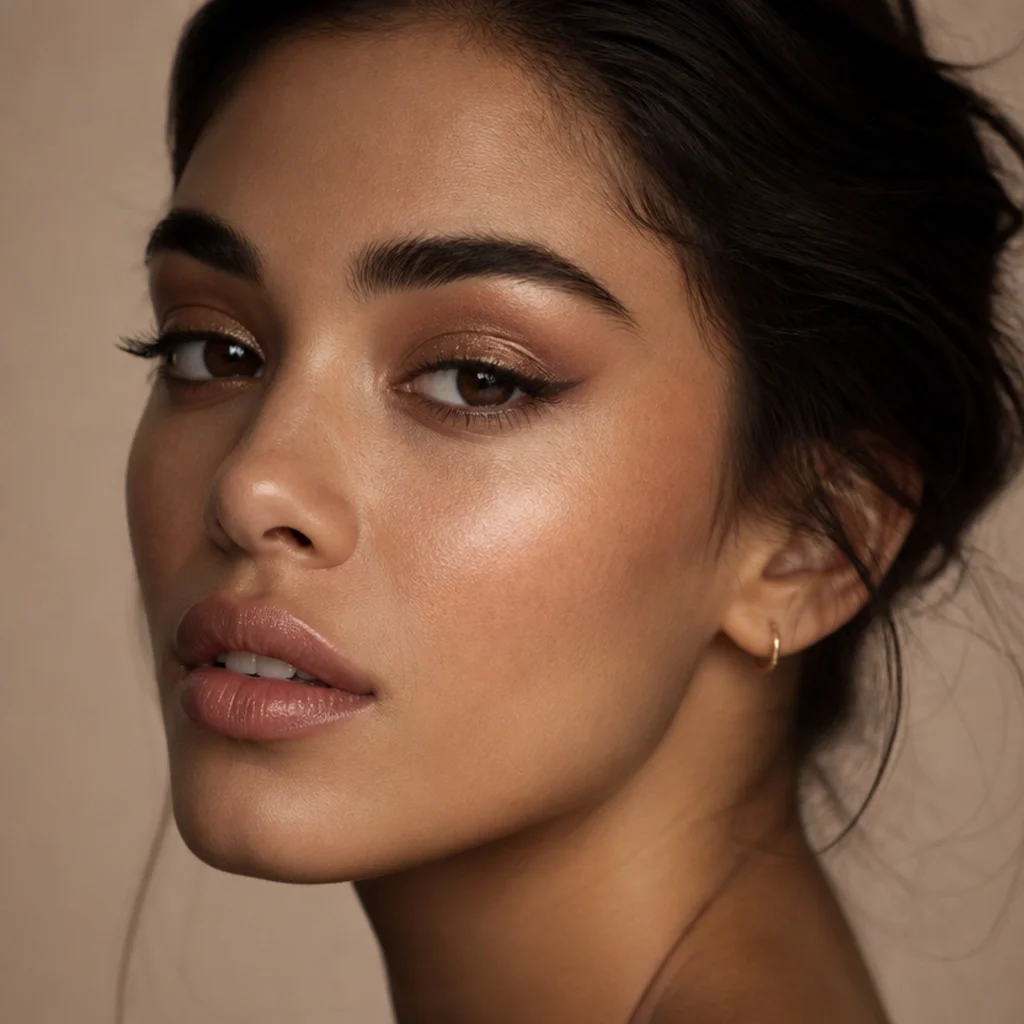
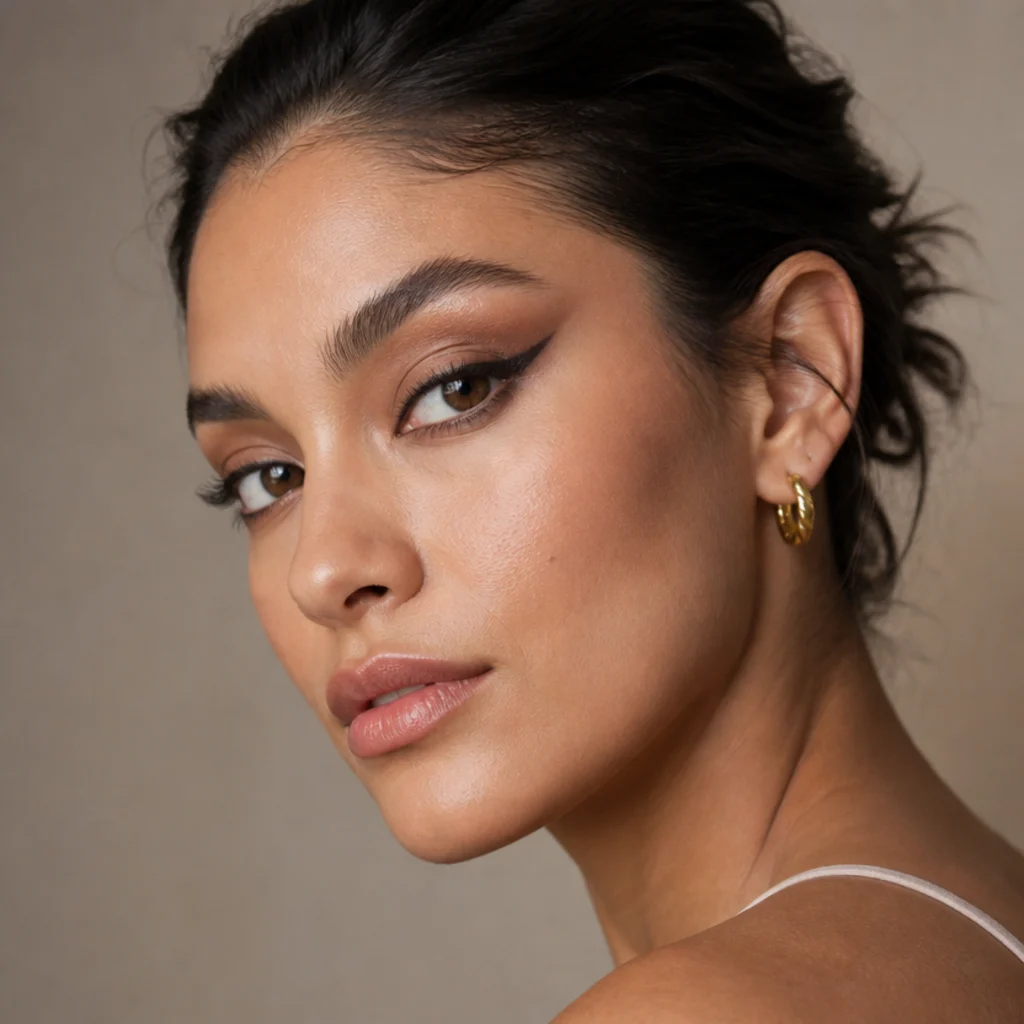
20 Big Foxy Eye Makeup Ideas for Beginners
The foxy eye trades pigment for geometry: one precise upward pull at the outer corner that lengthens, opens and lifts the whole eye. These 20 beginner-friendly looks break that angle down shade by shade and eye shape by eye shape, so you can copy the one built for your face.
 Edited by Lena Rose · Published July 11, 2026 · 31 min read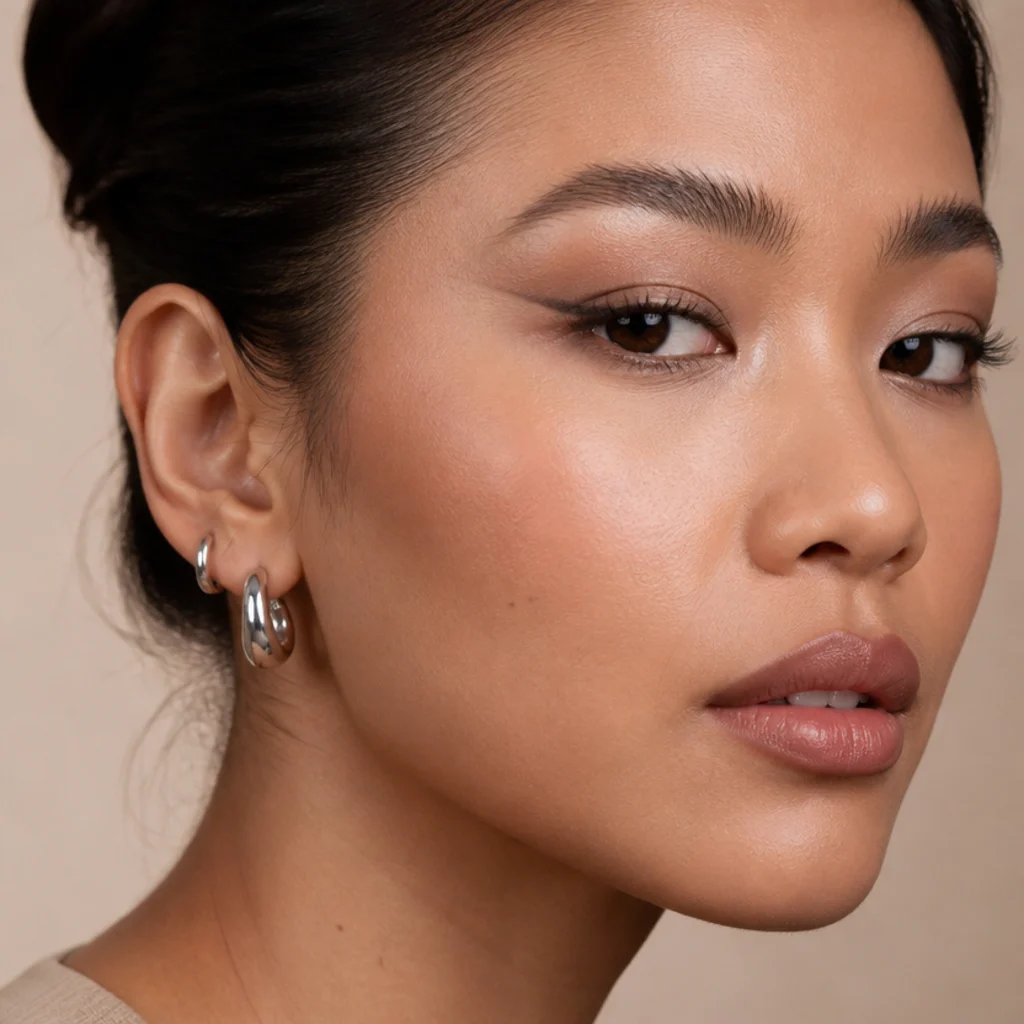
Quick Answer
- Best for: Anyone who wants a lifted, elongated, awake-looking eye; adapts to almond, round, hooded, monolid and downturned shapes once the angle is tuned.
- Who might skip it: Very upturned eyes that already lift naturally (a strong foxy flick can tip into severe) and anyone who prefers a rounded, doe-eyed effect.
- Maintenance: Low to moderate. A powder or gel version holds all day; pencil and glitter versions want a mid-day tail check.
- Difficulty: Beginner for washes and smoked liner; intermediate to advanced for liquid wings, floating lines and double wings.
- Cost: Low-entry. One brown pencil, one neutral shadow and a fluffy brush cover most looks; glitter, gel liner and cosmetic tape add a bit more.
- Wear time / longevity: Roughly a full day (8–12 hours) with a primer and powder set; unset cream or gloss versions soften after 4–6 hours.
- Standout variation: The soft smoked foxy liner (idea 3) forgives shaky hands and still delivers the lift, and it's the fastest confidence builder in the set.
- How to ask your makeup artist: Ask for "a lifted outer corner angled toward the tail of my brow, blended soft not sharp," name your shade family, and bring a saved photo so you're on the same page about the angle before the brush touches your lid.
In This Guide
- Soft Lifted Liner Starter
- Taupe Wash Foxy Eye
- Smoked-Out Foxy Liner
- Fox Eye With a Cut Crease Hint
- Glitter Foxy Eyes for Night
- Bronze Halo Foxy Look
- Foxy Eyeliner for Hooded Eyes
- Warm Terracotta Lift
- Graphic Floating Line
- Smudged Pencil Foxy Eye
- Rosy Foxy Eye
- Double Wing Foxy Look
- Copper Shimmer Big Foxy Eyes
- Deep Plum Evening Foxy
- Minimal Skin-Finish Fox Eye
- Foxy Eye With Lower Lash Lift
- Siren Eyes vs Foxy Eyes
- Soft Matte Everyday Foxy
- Bold Black Elongated Wing
- Foxy Eye With Face Taping
The foxy eyes makeup look took over Pinterest because it's a rare trend that rewards restraint. At its core it's a single vector: the outer corner pulled up and out along an imaginary line drawn from the tip of your nostril, through the outer corner, to the tail of your brow. Follow that line and the eye reads longer, more open and gently lifted; ignore it and the same liner just looks like a crooked cat eye. Because the effect lives in shape rather than saturated color, a foxy eye needs far fewer products than a full smoky eye, which is good news if you're still building confidence with a brush.
This guide covers 20 distinct takes on foxy eyes makeup, from a barely-there taupe wash to glitter foxy eyes built for a night out, plus a clear breakdown of siren eyes vs foxy eyes so you never mix the two up. Each look notes the exact shade family and finish, who it flatters by eye shape and undertone, how much upkeep it takes, and how to describe it to a makeup artist in words they'll understand. Whether you have hooded lids, round eyes, monolids or classic almonds, there's an angle here that works, no steady liquid-liner hand required.
01Soft Lifted Liner Starter
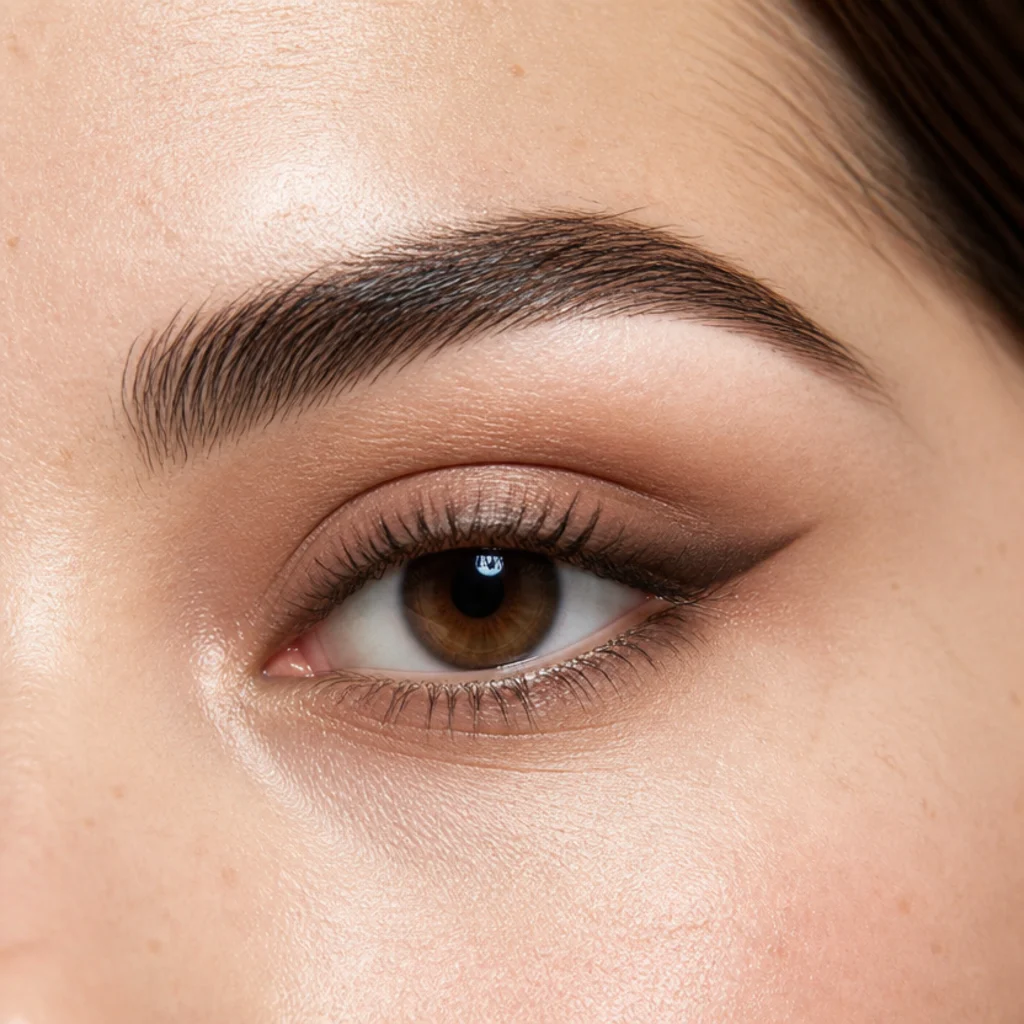
Start here if liner intimidates you. Skip liquid and reach for a soft, waxy brown pencil in a warm cocoa or taupe-brown rather than stark black; the muted tone hides small wobbles and keeps the lift looking like your eye just woke up that way. Rest your elbow on a firm surface, look straight into a mirror, and draw a short flick from the outer corner toward the tail of your brow, keeping it under about six millimeters at first. Because you control the length, this works on every eye shape: short and close to the lash line for round eyes, a touch longer for almond and upturned. Pencil migrates, so press a matching matte brown shadow over the top to lock it in, and expect a light tail touch-up by evening. Difficulty is low, which is exactly why this is the rep worth mastering before you move on to gel or liquid. Pro tip: draw the line as a dotted guide first, then connect the dots, so you've decided on the angle before you commit. Ask your makeup artist for "a soft pencil flick, not a sharp wing."
02Taupe Wash Foxy Eye
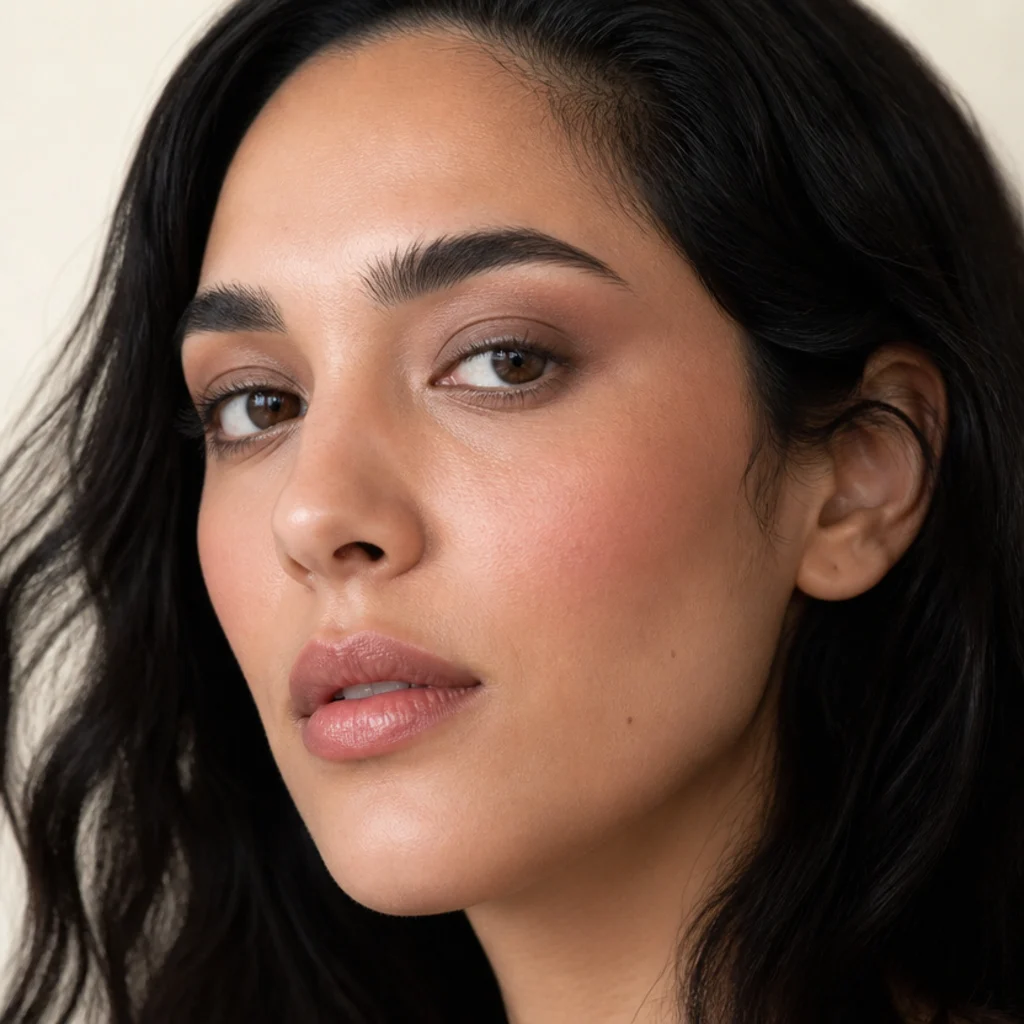
This look skips liner entirely and lets a single mid-tone taupe do all the lifting. Choose a soft matte taupe with a grey-brown undertone rather than a warm bronze, sweep it across the mobile lid with a flat shader, then switch to a clean fluffy blending brush and drag only the outer third up and out toward the temple in windshield-wiper motions. That diffused outer edge is the whole trick; there are no hard lines to get right. Grey-leaning taupe flatters cool and neutral undertones especially well, while a warmer greige version suits olive and deep skin. It works as a polished everyday eye for the office, commutes and daylight events, and because powder rarely creases or smudges, wear time stretches across a workday over primer. Difficulty is beginner-level, since blending forgives far more than lines do. Pro tip: tap excess off the brush before that final upward sweep so the edge stays feathery, not muddy. Ask your makeup artist for "a soft taupe wash lifted at the outer corner, no liner."
03Smoked-Out Foxy Liner
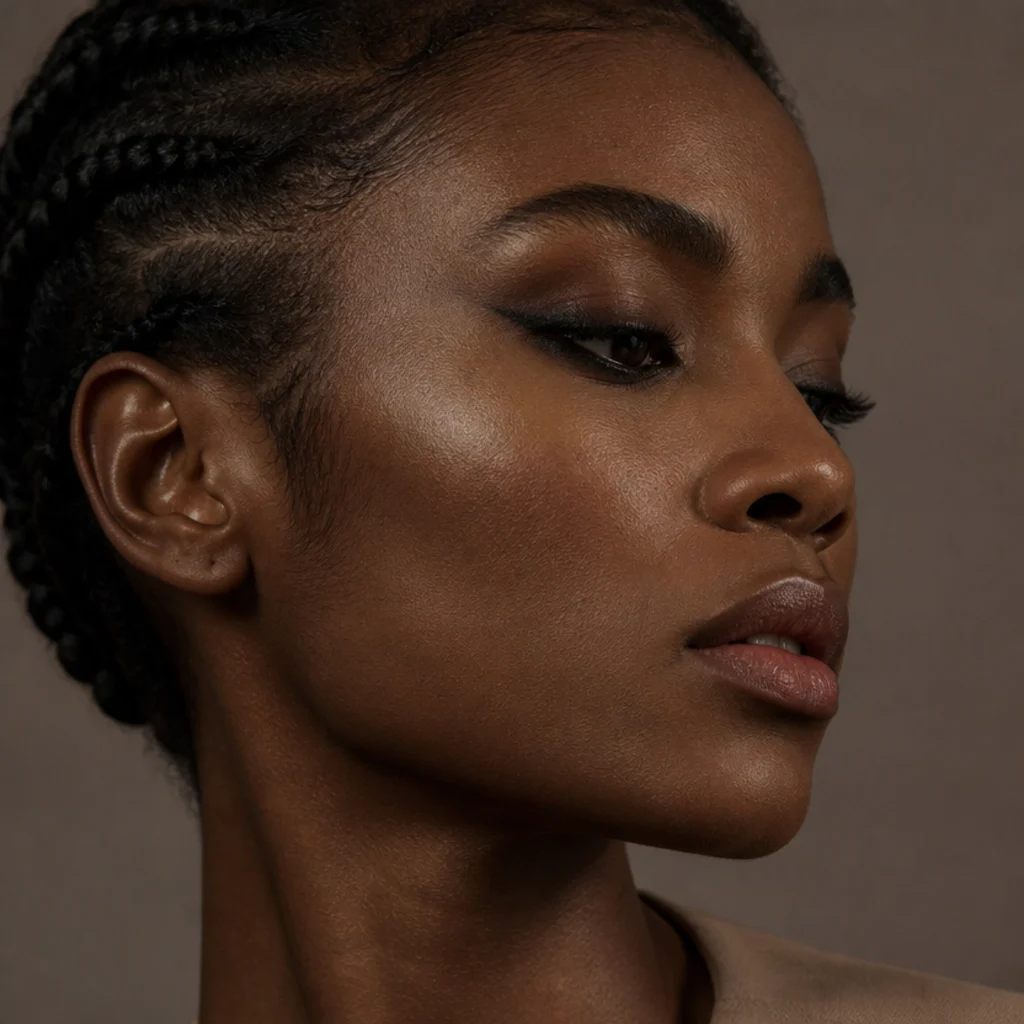
Want more definition than a wash but less commitment than a crisp wing? Smoke your liner out. Lay a soft charcoal or espresso pencil along the outer half of the lash line and up into a short flick, then, before it sets, blur the top edge with a small pencil brush so it melts into the crease. That soft haze hides unevenness, which is exactly why it forgives shaky hands and beginner angles. It suits deep-set and mature eyes too, since a diffused edge doesn't fight lid texture or settle into fine lines the way a sharp one can. Work fast: creamy pencils turn immovable within a minute, so shape the tail with a cotton swab while it's still pliable. Difficulty sits at low to medium, and the payoff is a sultry, lifted eye that photographs well in low evening light. Pro tip: build it in thin passes rather than one heavy stroke, so you control exactly how smoky it gets. Ask your makeup artist for "a smoked-out lifted liner, diffused edges."
04Fox Eye With a Cut Crease Hint
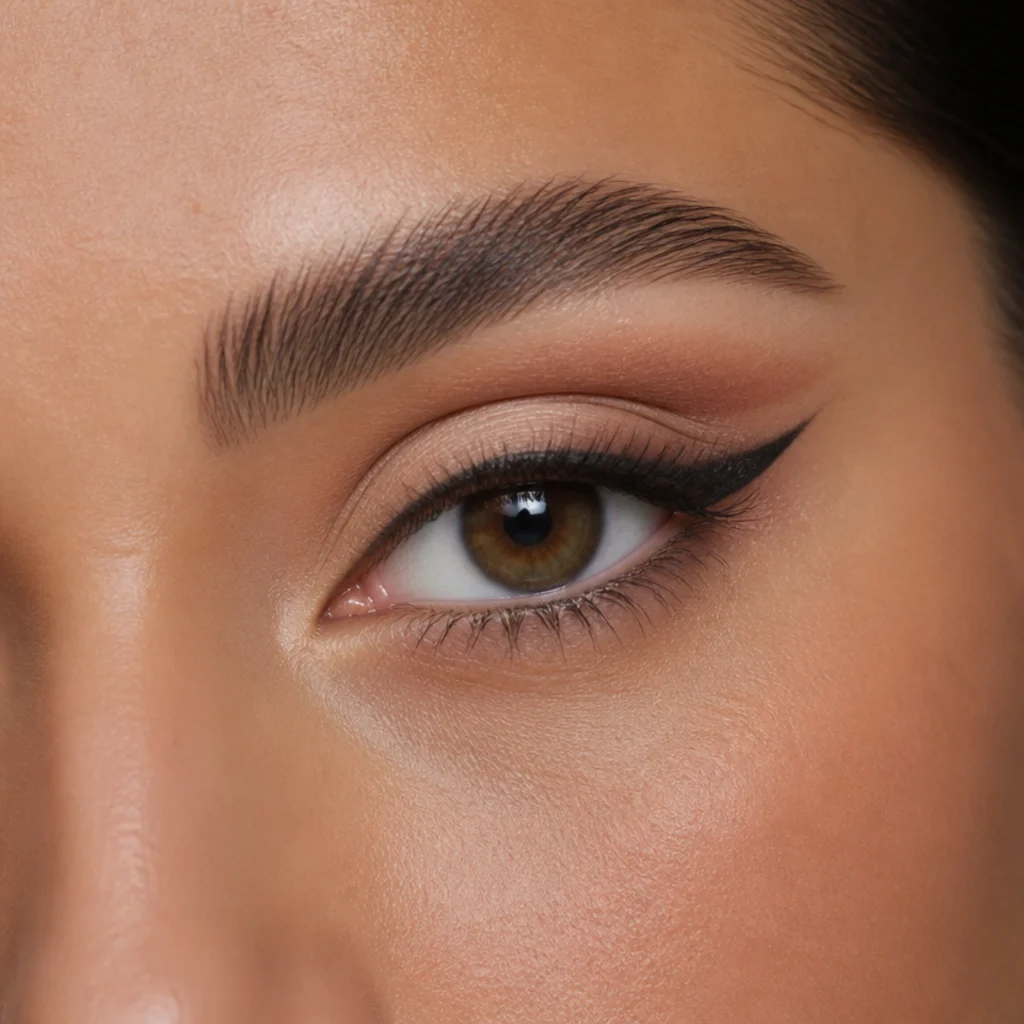
A whisper of cut crease adds structure without tipping into full glam. With your eyes open, use a small flat brush to carve a soft line just above your natural crease with a pale concealer or a light matte shadow, following that same nose-to-brow-tail vector, then set your foxy liner along the outer third of the lash line beneath it. The clean strip between line and lid catches light and makes the lift read sharper and the eye look more open. This one's especially good for monolids and hooded eyes, where a shallow or hidden fold means a carved crease adds dimension the natural anatomy doesn't give you. It takes more patience than a wash, so budget a few extra minutes and a steady base. Difficulty is medium. Pro tip: set the concealer with a translucent powder before adding shadow, so the crease line stays crisp instead of folding in on itself by mid-morning. Ask your makeup artist for "a soft cut crease with a lifted outer line, kept wearable."
05Glitter Foxy Eyes for Night
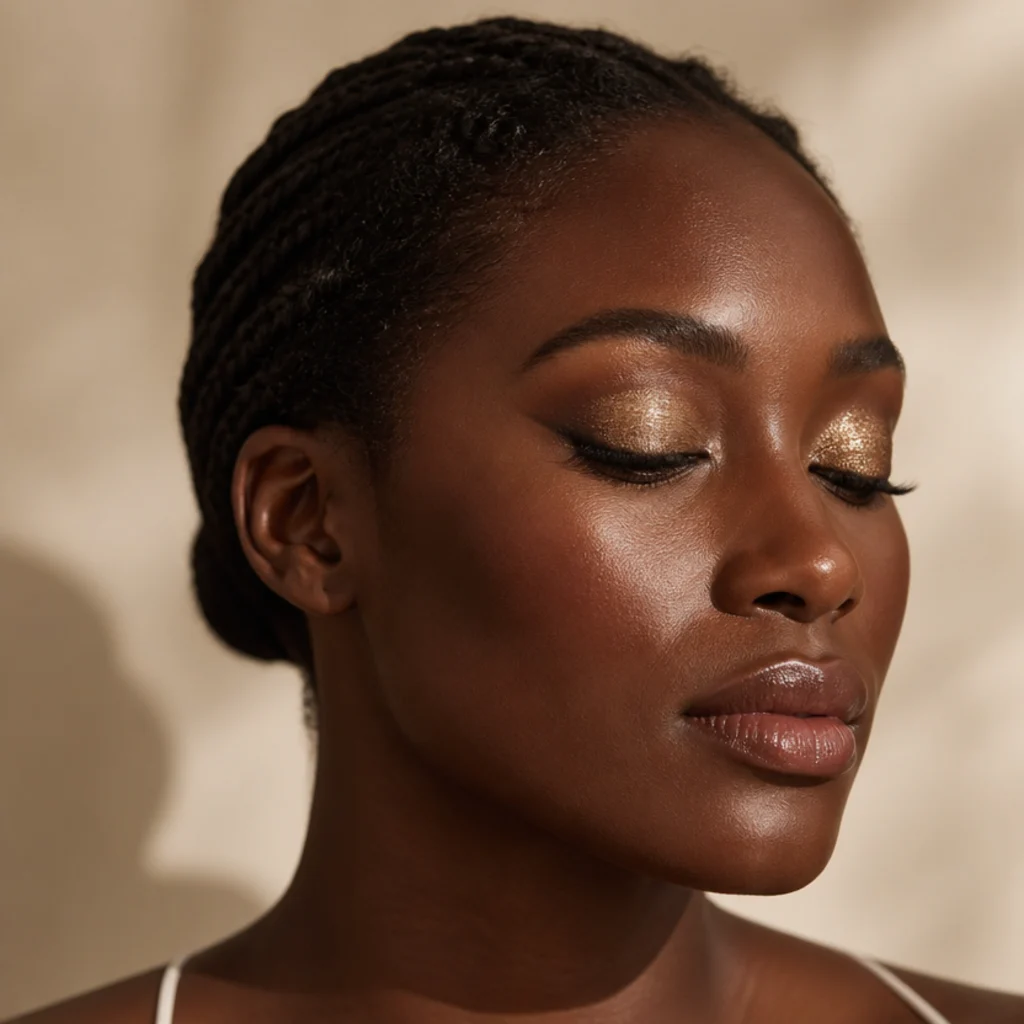
For evenings out, glitter foxy eyes turn the shape itself into the statement. Build your lifted base first with shadow or a soft liner, then press a fine gold or champagne glitter onto the center of the mobile lid with a flat synthetic brush or a fingertip, over a tacky glitter glue or a dab of aloe gel. Press, don't swipe, so the flakes anchor instead of scattering. Keeping the sparkle concentrated on the center of the lid lets it catch light while the matte outer corner holds the foxy angle. Warm golds flatter deep and olive skin, champagne suits neutral tones, and icy silver pops on cool complexions. Upkeep means doing eyes first (or shielding with a folded tissue) so fallout doesn't wreck your under-eye work. Difficulty is medium, mostly because glitter demands that careful press. Pro tip: seal the edge with a clean fingertip once it tacks, to stop travel. Ask your makeup artist for "pressed glitter on the lid center over a lifted base."
Save this to Pinterest to build your own foxy eye lookbook.
06Bronze Halo Foxy Look
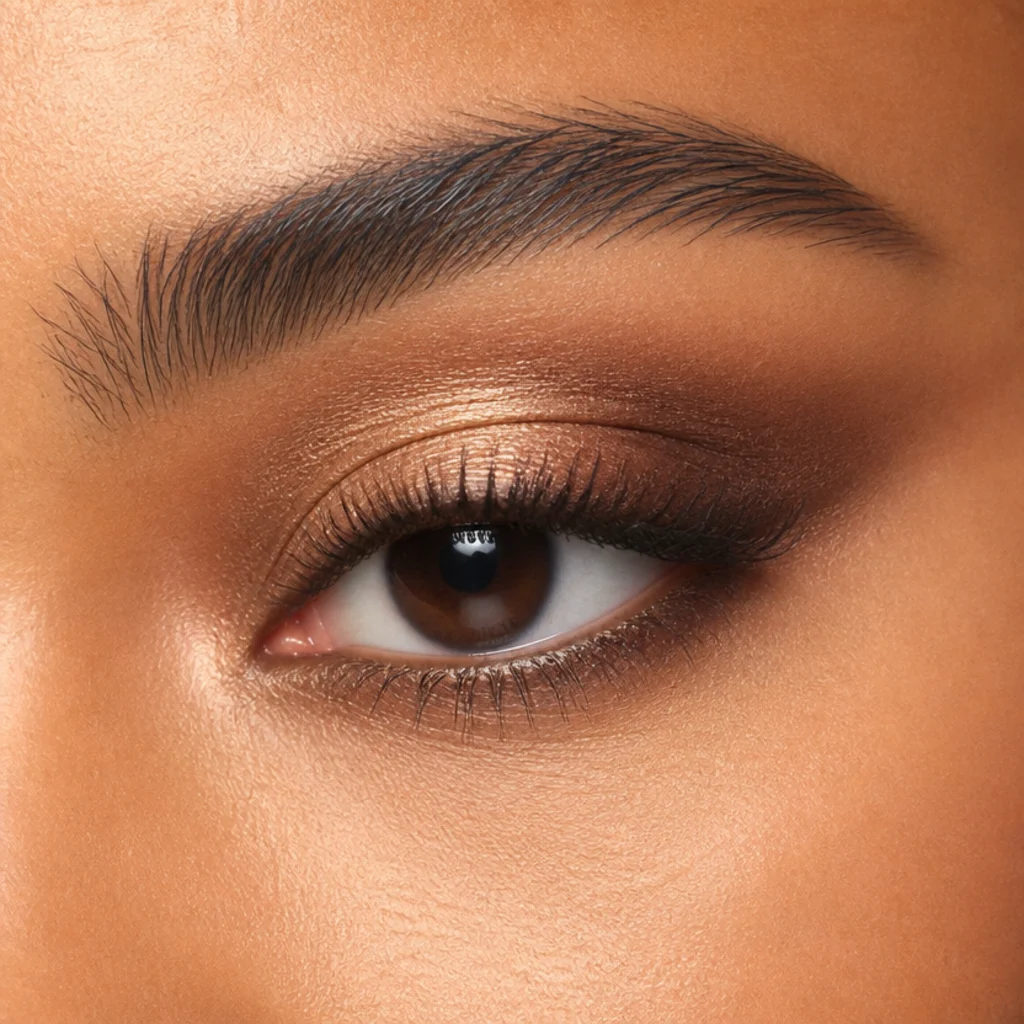
The halo technique parks a lighter shimmer in the very center of the lid, banks deeper color at the inner and outer corners, then drags that outer depth up into the foxy angle, so the eye looks rounder and bigger while still lifting at the tail. Use a warm matte brown to set the corners and a bronze or gold metallic through the middle; that central spotlight is what creates the wide, open effect. Bronze reads best on warm, olive and deep skin, where it brightens the lid instead of greying it out. Blend the meeting points of light and dark until there are no hard stops, and press the shimmer in with a finger for the best payoff. Difficulty is medium, since you're managing two placements, but halo work forgives easily because the transitions are meant to be soft. Pro tip: place the shimmer slightly toward the inner half of the lid to fake extra width. Ask your makeup artist for "a bronze halo lid with a lifted outer corner."
07Foxy Eyeliner for Hooded Eyes
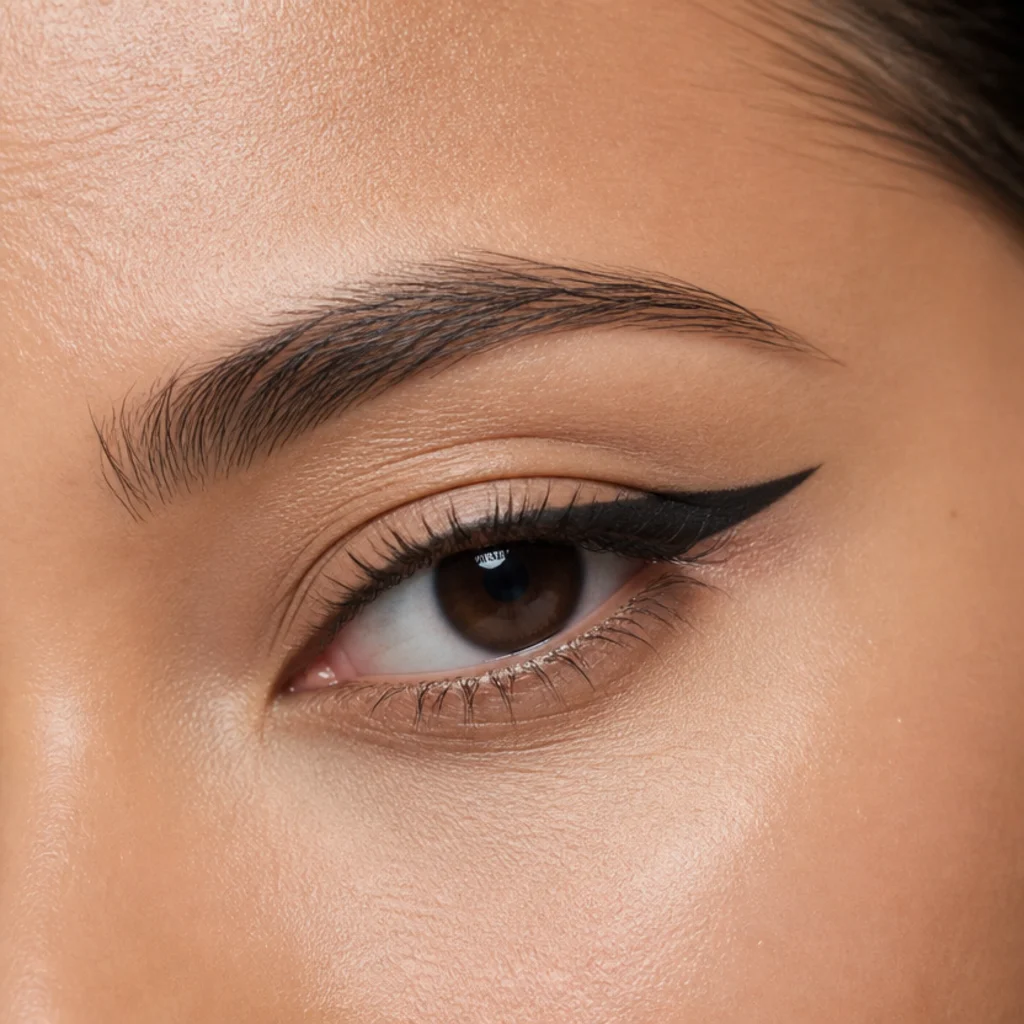
Foxy eyeliner for hooded eyes comes down to one adjustment: map the wing with your eyes open, not closed, so it doesn't vanish into the fold. Look straight ahead, mark a small dot where the hood meets the outer corner, then draw the flick from the lash line up to that dot and onward toward the brow tail, floating the tail a hair above the natural crease so it stays visible. Reach for a waterproof gel or a smudge-proof liquid, because hooded lids press against product all day and transfer easily; a formula that's tacky then sets outlasts a slick one. Keep the angle gentle, since an over-steep pull can drag the eye downward once the hood settles over it. Difficulty is medium, but once you learn your own placement this becomes the most flattering foxy method for hooded and deep-set eyes. Pro tip: tightline the upper waterline first so no skin gap shows when you blink. Ask your makeup artist to "keep the wing visible with my eyes open."
08Warm Terracotta Lift
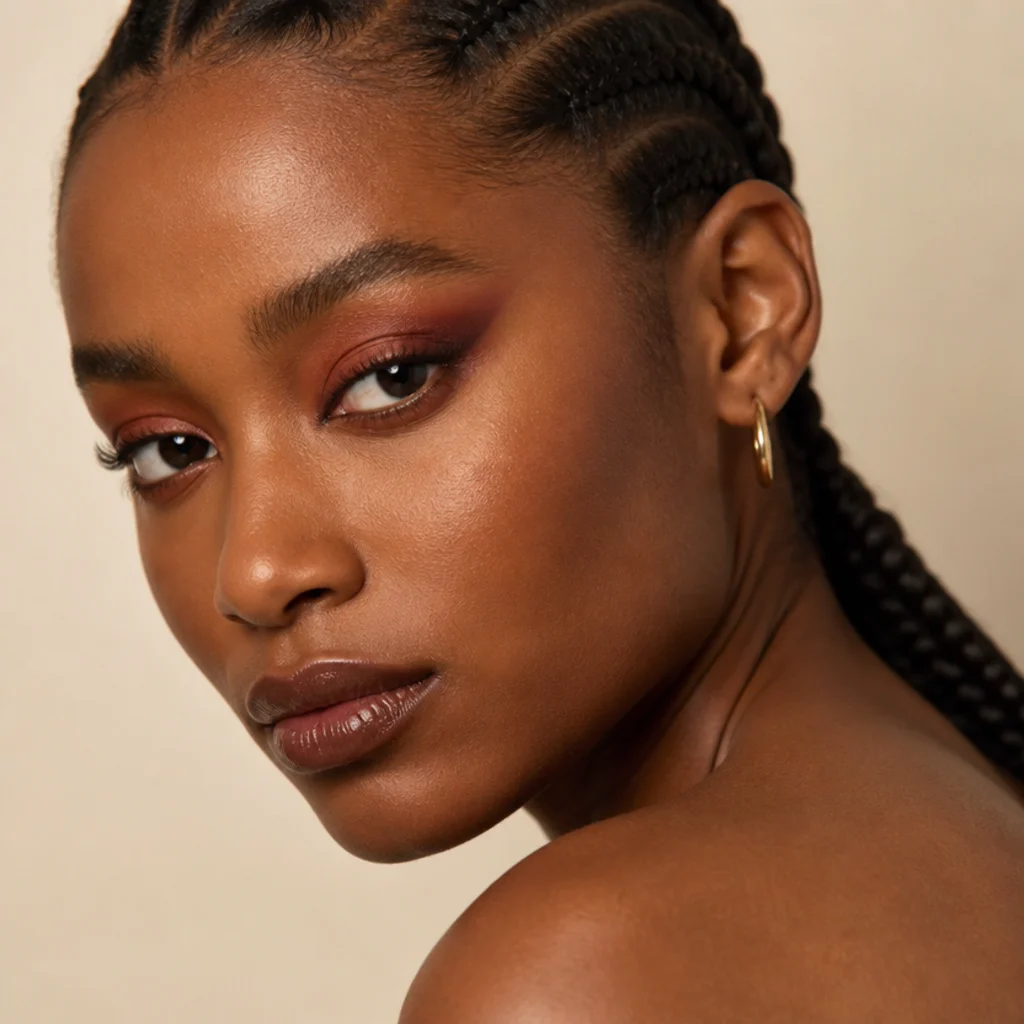
Terracotta and rust bring warmth without the hard edge of black liner, a cozy, autumn-leaning route into the foxy shape. Sweep a burnt-orange matte across the lid, lift the outer edge toward the temple, then deepen just the outer corner with a second pass of pigment or a touch of brick brown so the lift stays anchored. This shade family is a color-theory win for brown, hazel and green eyes: warm orange sits opposite those tones on the wheel and makes the iris look brighter and clearer. It flatters medium and deep skin richly, while a sheer, tapped-on version keeps it wearable on fair skin without tipping into sunburn territory. Powder formulas keep maintenance low across a full day. Difficulty is beginner-friendly, since the whole look is really one shade, blended well. Pro tip: dust a little of the same terracotta along the outer lower lash line to wrap the warmth around the eye. Ask your makeup artist for "a warm terracotta wash lifted at the corner."
09Graphic Floating Line
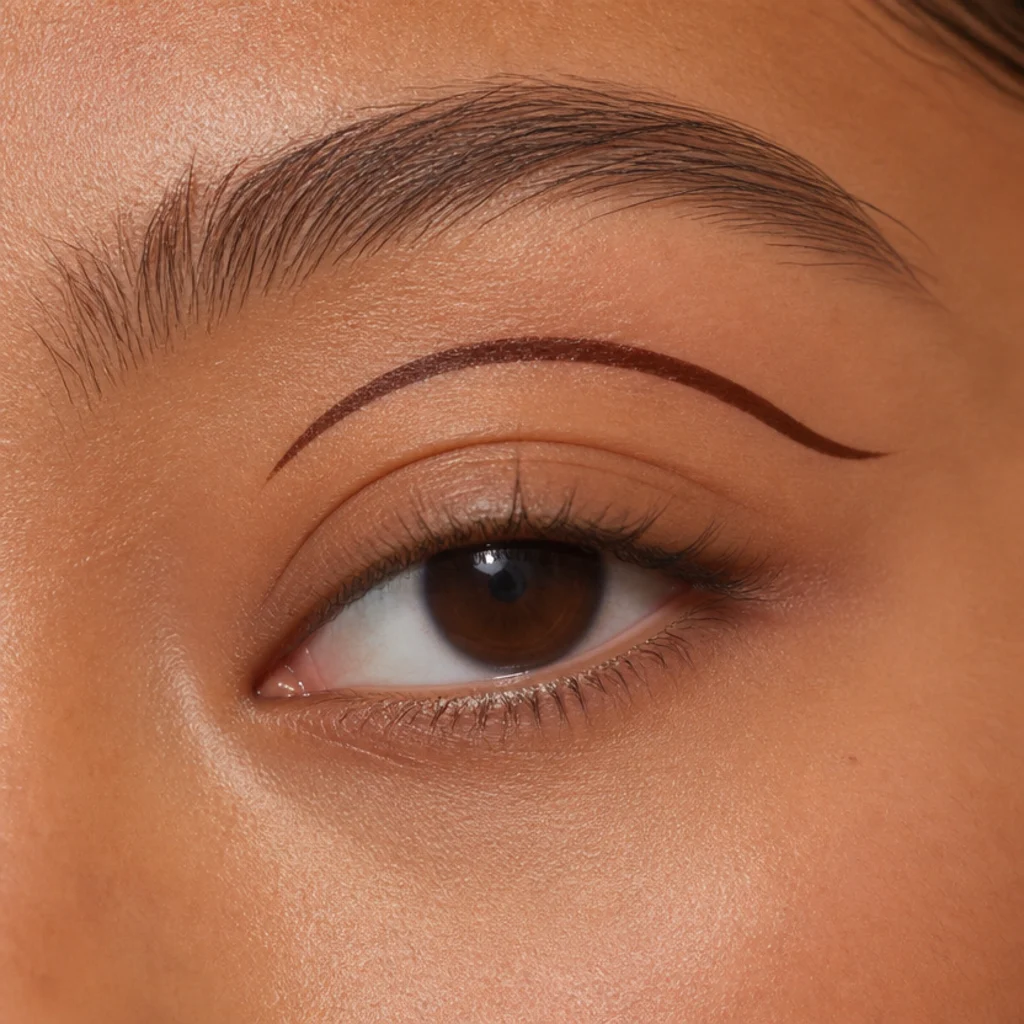
A floating line skips the lash line entirely and traces an arc above the natural crease, lifting sharply at the outer corner for an editorial, runway-adjacent spin on the foxy eye that reads bold with almost no product. Keep the rest of the eye near-bare, maybe a single coat of mascara, so the line is unmistakably the point. It suits eyes with visible mobile-lid space; hooded and monolid eyes can adapt by drawing the arc higher and checking it with the eyes open so it doesn't disappear. Use a fine-tip liquid or a gel with an angled brush, and steady your working hand against your cheekbone. Difficulty is medium to high; there's no blending to fall back on, so patience and a stable hand matter more than technical skill. Pro tip: sketch the arc lightly in pencil first, correct the shape with a flat concealer brush, then trace over it in liquid. Ask your makeup artist for "a floating graphic line lifted at the outer corner."
10Smudged Pencil Foxy Eye
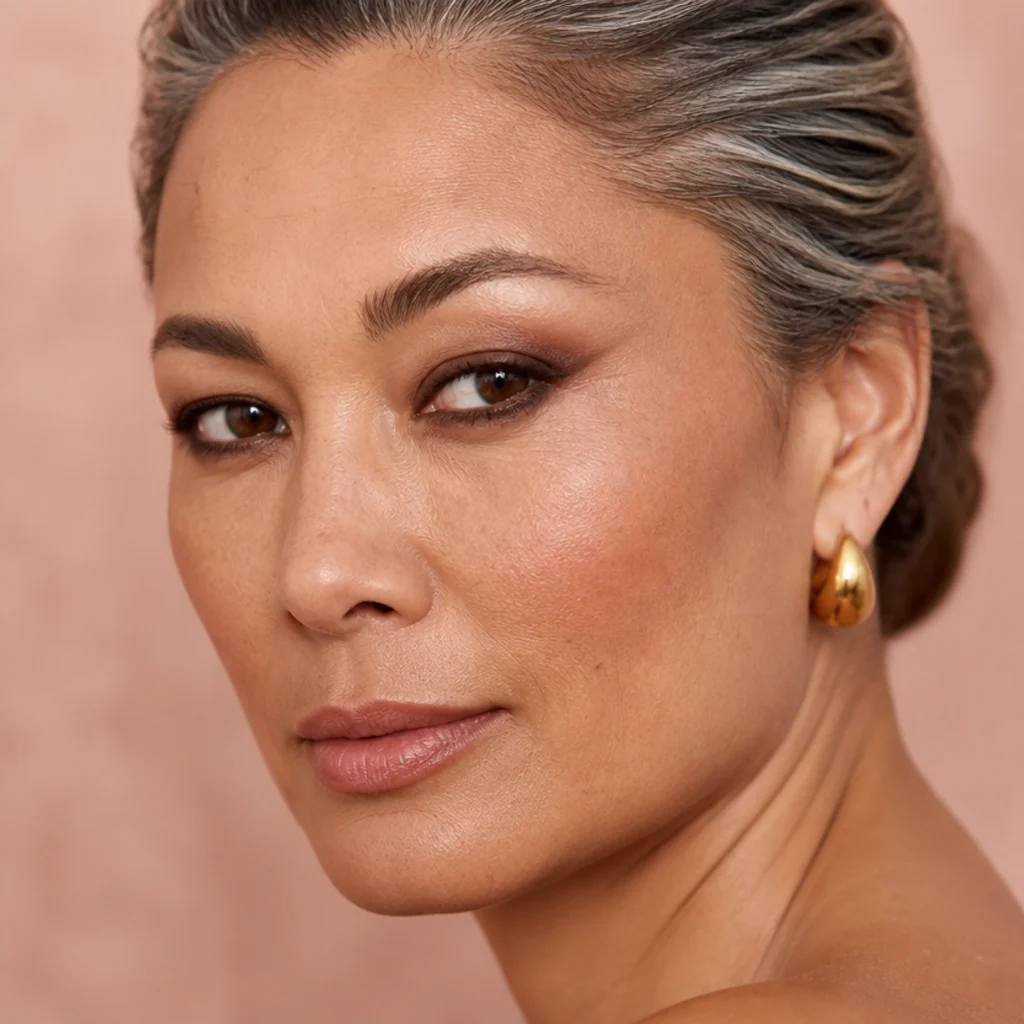
For an undone, lived-in version, smudge a creamy brown or bronze pencil along both the upper and lower lash lines, then drag the outer corners up and out with a small smudger or a stubby pencil brush until the two lines meet in a soft, lifted point. The faint imperfection is the whole appeal: it looks like yesterday's liner, softened just enough, and that diffusion is kind to the whole face. It's a good pick for anyone who finds crisp liner too severe, and it works especially well on mature eyes, since a blurred edge never catches in fine lines the way a sharp one does. Set it with a dusting of matching powder shadow so the creaminess doesn't travel. Difficulty is low, and once you know your angle the whole look takes barely two minutes. Pro tip: choose a pencil one or two shades deeper than your lash line so the smudge adds depth without reading grey. Ask your makeup artist for "a smudged, lived-in liner lifted at the corner."
11Rosy Foxy Eye

Rosy tones give the foxy eye a soft, romantic feel that pairs well with a monochrome blush-and-lip look. Wash a muted rose or mauve across the lid and lift the outer edge along the usual vector, keeping the finish matte or lightly satin so it stays polished rather than puffy. One caution on undertone: cool, cotton-candy pinks and heavy shimmer can read tired or irritated around the eye, so steer toward a mauve-leaning, slightly brown-based rose and keep the edges blended clean. It flatters fair to medium skin and makes green and grey eyes pop through complementary contrast. Difficulty is low, since it's essentially a one-shade blend. Pro tip: bank a whisper of warm brown into the outer corner so the rose has an anchor instead of floating. It's the gentle option for days when bronze or black feels like too much. Ask your makeup artist for "a soft mauve-rose lid lifted at the outer corner."
12Double Wing Foxy Look
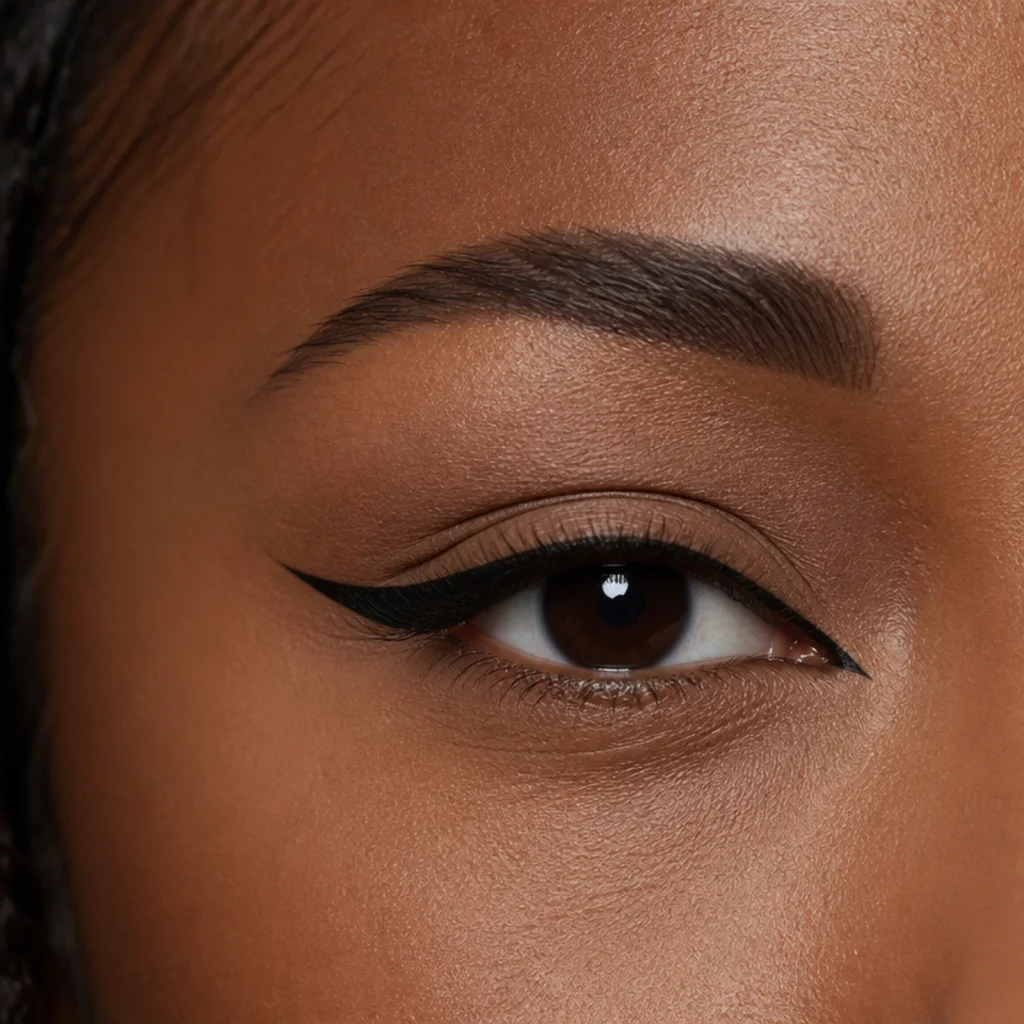
The double wing adds a tiny mirrored flick at the inner corner to frame the eye on both ends, which exaggerates the horizontal stretch. Draw your main foxy wing first and let it dry, then add a short, subtle line at the inner corner angled along the same upward diagonal so the two read as a matched set. That inner detail is what visually draws wide-set eyes inward and elongates the shape. Use a fine-tip liner and keep the inner flick small, just a couple of millimeters, so it frames the tear duct instead of crowding it. Difficulty is medium to high given the precision, and matching the two eyes is the real challenge. Pro tip: do both outer wings, then both inner flicks, working eye to eye rather than finishing one side at a time, so they stay in sync. It's a striking, editorial-leaning effect, best for days when you want the shape itself to be the whole look. Ask your makeup artist for "a double wing with a small mirrored inner flick."
13Copper Shimmer Big Foxy Eyes
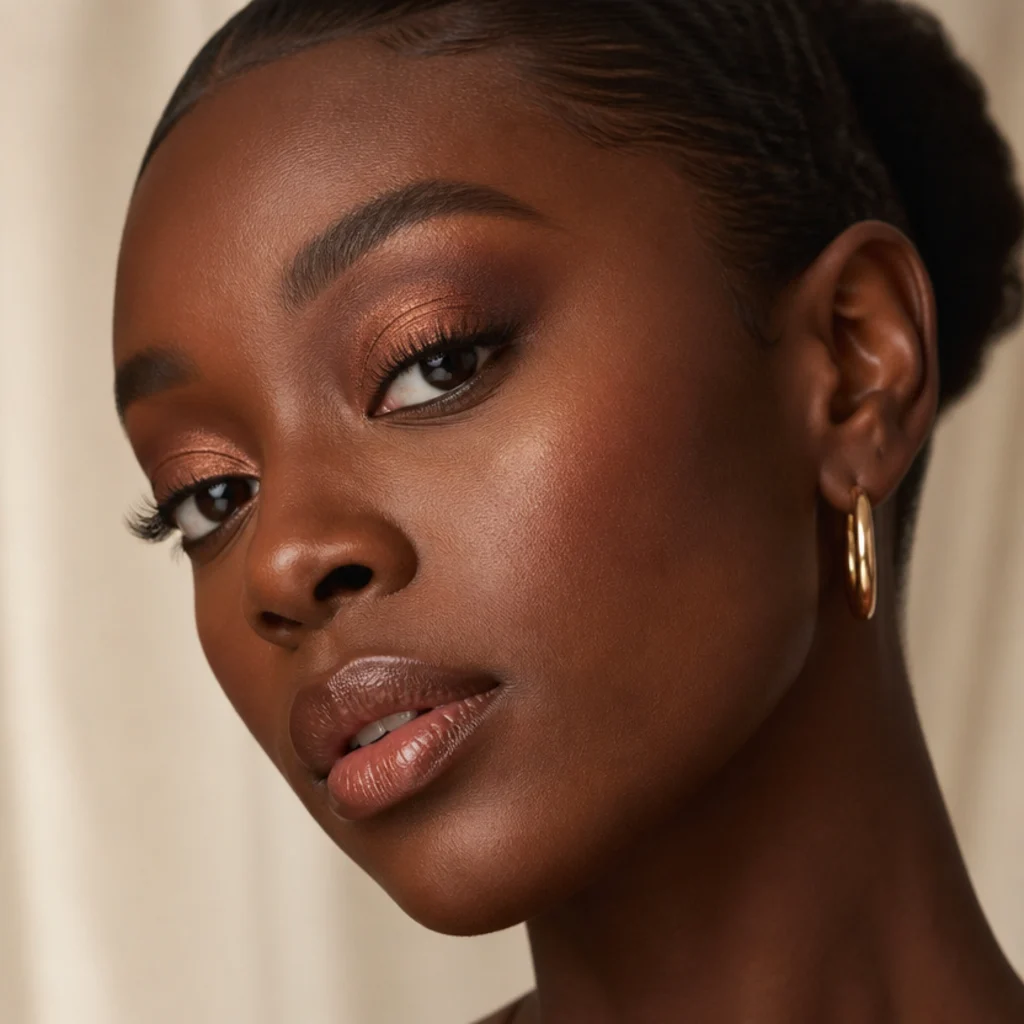
Big foxy eyes want reflective color, and copper delivers instant brightness and apparent size. Pat a metallic copper onto the center of the lid with a flat fingertip, which lays the shimmer denser and more mirror-like than any brush can, then blend a matte brown up and out at the outer corner to hold the foxy shape. The metallic bounces light so the eye looks larger, while the matte anchor keeps the lift defined instead of dissolving into all-over sparkle. Copper flatters nearly everyone but hits peak luminosity on deep, olive and tanned skin. One maintenance note: metallics crease without help, so press them over a tacky cream base or a dab of eye primer. Difficulty is low to medium, since finger-packing beats brush-blending a metallic evenly. Pro tip: dampen your fingertip with a mist of setting spray before pressing, for an even glassier, more foiled finish. Ask your makeup artist for "foiled copper on the lid with a lifted matte corner."
14Deep Plum Evening Foxy
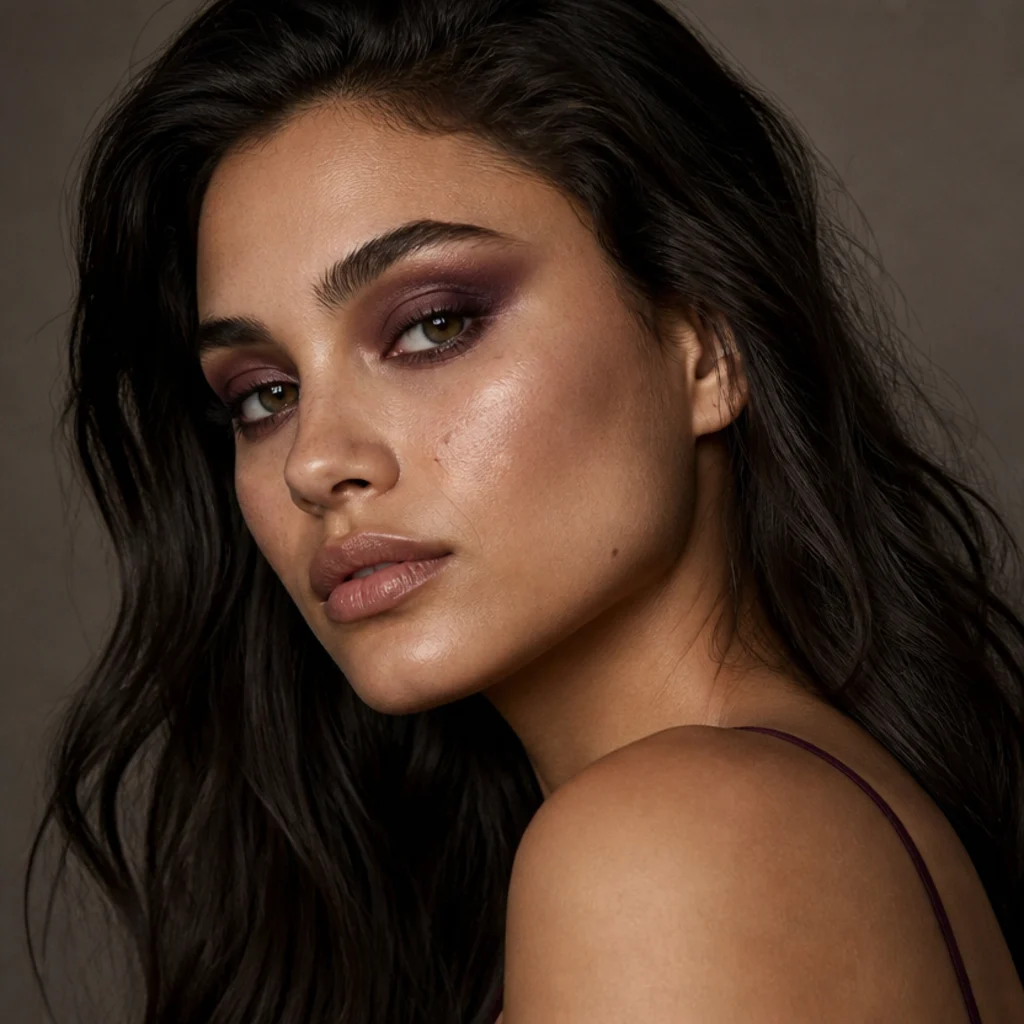
Plum is the foxy eye's dressiest neutral, richer than black without the same harshness against the skin. Build a smoky wash of deep purple across the lid, concentrate the depth at the outer corner, and lift toward the brow tail for a sultry evening finish that still photographs soft. Plum is a color-theory match for green, hazel and brown eyes, where its cool depth amplifies the warm flecks in the iris. It suits every skin tone once you adjust saturation: sheer and blurred on fair skin, built up fully on deep skin. Because deeper shades transfer more readily, set your lid with a primer and consider a waterproof base for a long night. Difficulty is medium, mostly in keeping the outer corner deep while the inner lid stays clean. Pro tip: pair it with a nude or soft-berry lip so the eyes stay the clear focus. Ask your makeup artist for "a smoky plum eye lifted and deepened at the outer corner."
15Minimal Skin-Finish Fox Eye
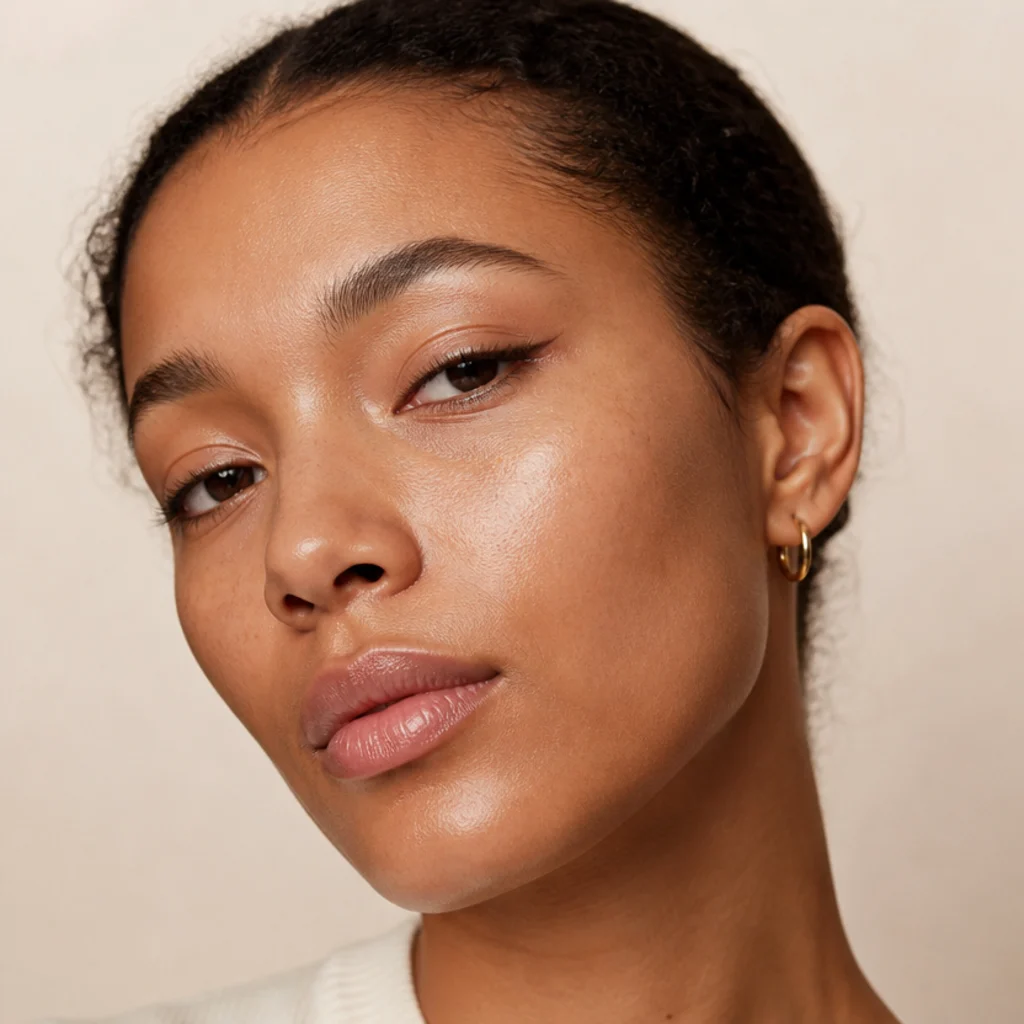
For the no-makeup-makeup crowd, the skin-finish fox eye leans on contrast rather than color: dewy complexion, bare or lightly balmed lids, and the single thinnest lifted flick you can manage in soft brown or muted black. That deliberate tension between fresh, glowy skin and one intentional line is what keeps it looking finished rather than unfinished. It suits every eye shape and undertone and works well for warm weather, travel and anyone who wants to look put-together in under three minutes. Upkeep is low, though a glossy lid balm slips and gathers over time, so blot and refresh as needed, and keep the liner itself waterproof so it survives the slip. Difficulty is low; the whole thing comes down to restraint, not technique. Pro tip: use a clear or tinted lid gloss sparingly, only on the center of the lid, so it doesn't migrate into the liner. Ask your makeup artist for "one thin lifted line over glossy, bare-looking lids."
16Foxy Eye With Lower Lash Lift
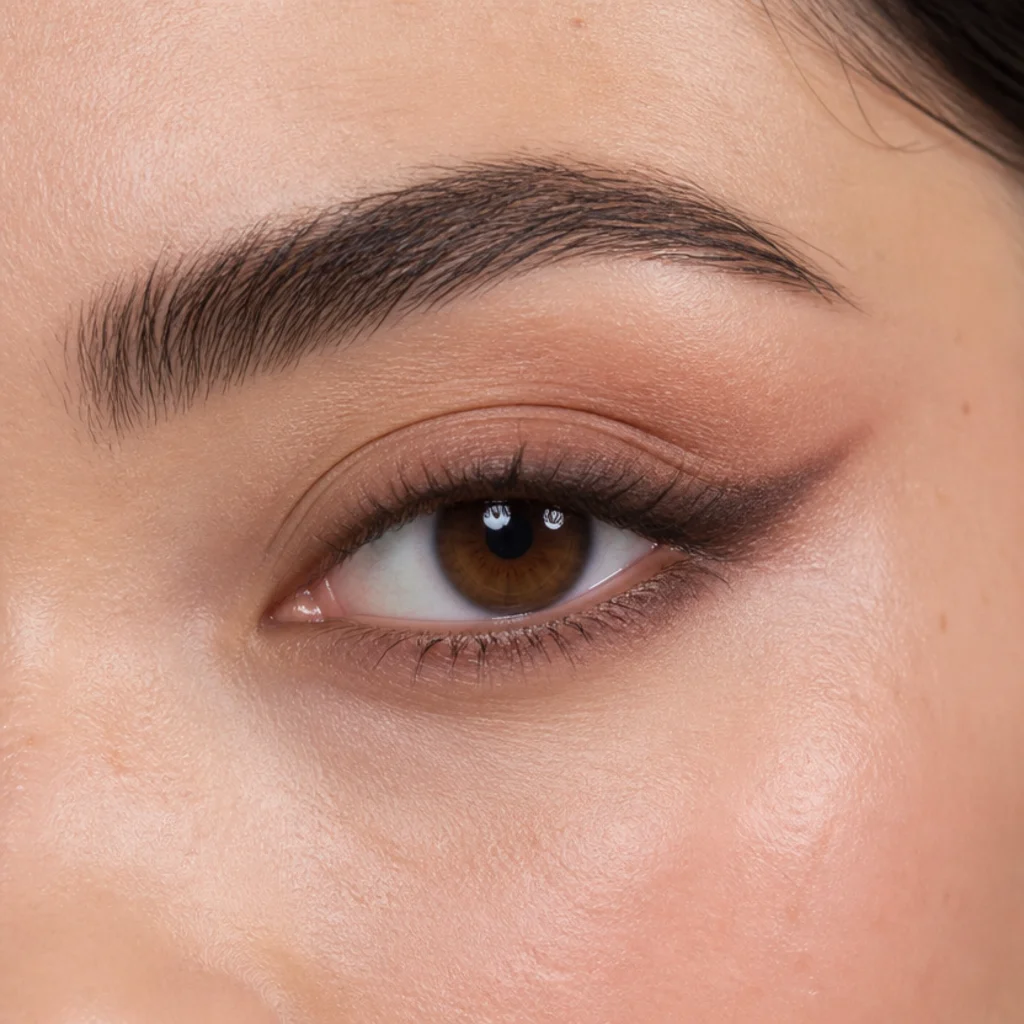
Carrying the foxy angle onto the lower lash line intensifies the horizontal stretch and is one of the most effective corrective tricks in the set. After your upper lift, smudge a little of the same shade along only the outer third of the lower lash line and connect it up to the outer corner so the two lines close into a soft V. That wrap pulls the whole eye outward and counteracts droop, which is why it's the standout choice for round and downturned eyes that want more length and lift. Keep the lower line short, diffused and matte; shimmer under the eye draws attention to texture and puffiness, while matte recedes and reads clean. Difficulty is medium, mostly in stopping the lower line before it drags the eye down. Pro tip: never take the lower shadow past the outer half of the lash line, or you flip the lift into a heavy, closed-in look. Ask your makeup artist for "a soft lower-lash extension meeting the outer corner in a V."
17Siren Eyes vs Foxy Eyes
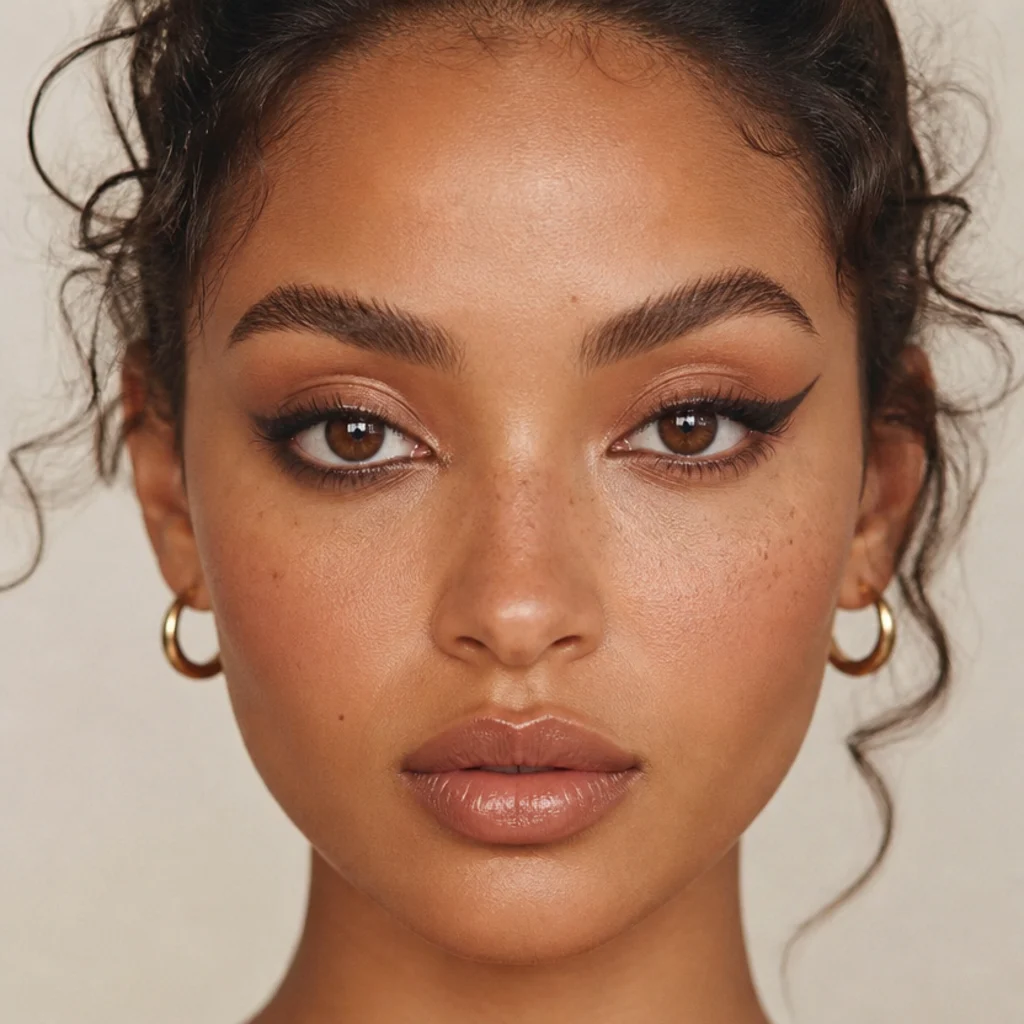
Understanding siren eyes vs foxy eyes is what lets you turn one liner into two completely different moods, and it's the most common mix-up beginners bring to the chair. A foxy eye pulls the outer corner up and out toward the brow tail for a lifted, alert, wide-awake look; a siren eye smudges the corner down and out, elongating and slightly dropping the eye for a sultry, heavy-lidded effect. Same real estate at the outer corner, opposite direction, opposite mood: foxy reads fresh and open, siren reads smoky and languid. Foxy tends to flatter anyone wanting lift and a bright, snatched shape, while siren suits those chasing bedroom-eye drama or softening an over-upturned eye. Difficulty is comparable between the two; only the direction of the smudge changes. Pro tip: test both on the same day with the same pencil and photograph each, since the more flattering one isn't always the one you'd expect. Ask your makeup artist directly for "foxy for lift" or "siren for a downturned, sultry corner."
Here is a quick side-by-side to keep the two straight before you pick up a pencil:
| Feature | Foxy Eye | Siren Eye |
|---|---|---|
| Outer-corner direction | Up and out toward brow tail | Down and out, slightly dropped |
| Overall mood | Lifted, alert, snatched | Sultry, smoky, languid |
| Best for | Round, hooded, downturned eyes wanting lift | Upturned or almond eyes wanting drama |
| Typical finish | Sharp or soft-blended line | Smudged, diffused, elongated |
| Beginner difficulty | Low to high by variation | Low to medium |
18Soft Matte Everyday Foxy

This is the workhorse, worth mastering first because every bolder look here is built on top of it. Blend a matte neutral shade up and out along the foxy vector, then add a thin brown liner just at the outer third for quiet definition: no shimmer, no glitter, just a clean lifted shape suited to professional settings and daily wear. Matte finishes are the safe choice for mature and hooded eyes, since they never draw attention to texture or fine lines the way shimmer can. Pick a transition shade a few tones deeper than your skin so you get natural dimension rather than a flat stripe of color. Maintenance is minimal, since matte powder over primer holds all day without creasing. Difficulty is low, and that's the point. Pro tip: once this angle is muscle memory, you can lay any glitter, copper or plum look over it in seconds, because the shape is already correct. Ask your makeup artist for "a soft matte neutral lifted at the corner for everyday."
19Bold Black Elongated Wing
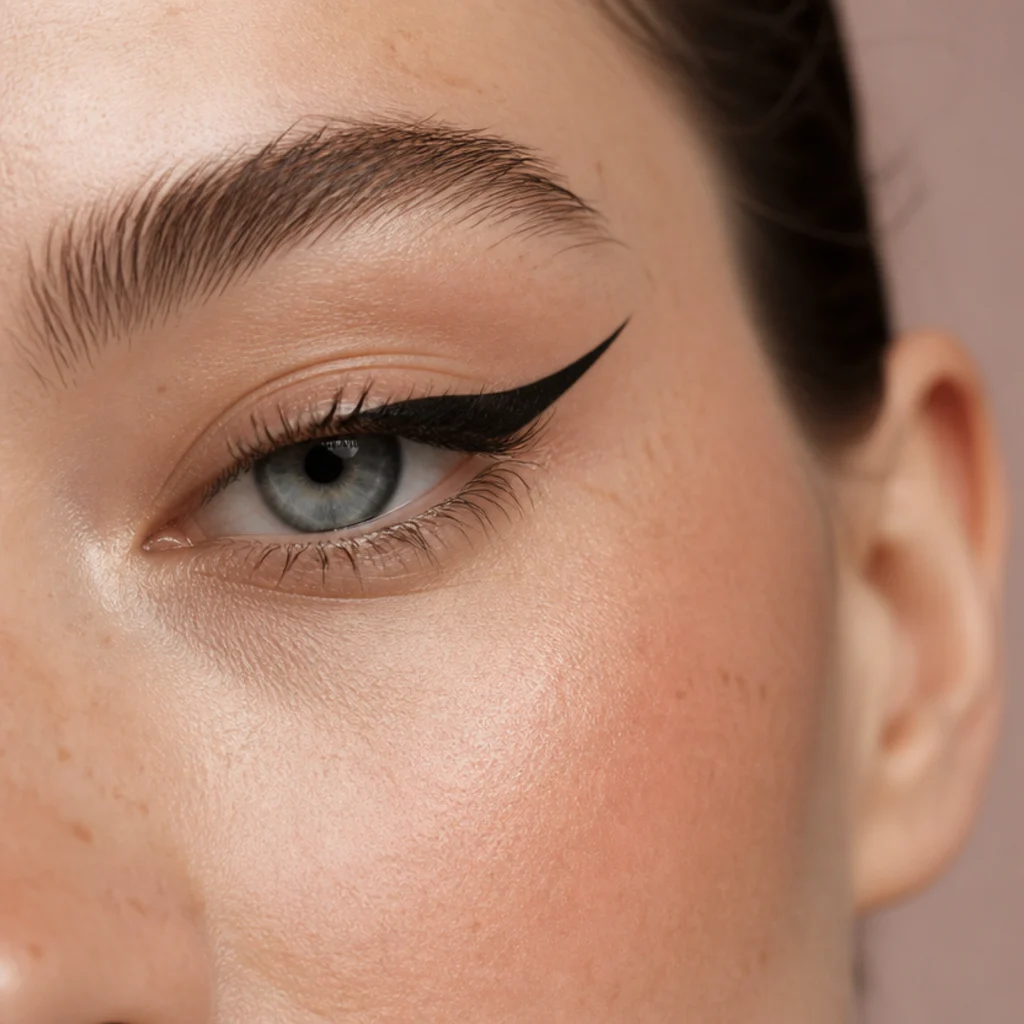
The most dramatic foxy eye is a long, sleek black liquid wing that extends further than a classic cat eye and drives hard toward the brow tail. Lay a thin line along the lash line, keep it slim rather than thick, then flick the tail up and out along the vector, and only once the shape is set, refine the underside with a second clean pass for a razor edge. This is high-impact and best suited to almond and upturned eyes, which the elongation flatters naturally; hooded eyes should float the wing higher and check it with the eyes open so it stays visible. Use a piece of tape or the edge of a card as a straight-edge guide if your hand shakes. Difficulty is high, and a smudge-proof, quick-drying liquid or a felt tip is non-negotiable here. Pro tip: build the wing in three short strokes, outer angle, then top line, then fill, rather than one nervous swoop. Ask your makeup artist for "a long, sharp black wing lifted toward the brow tail."
20Foxy Eye With Face Taping
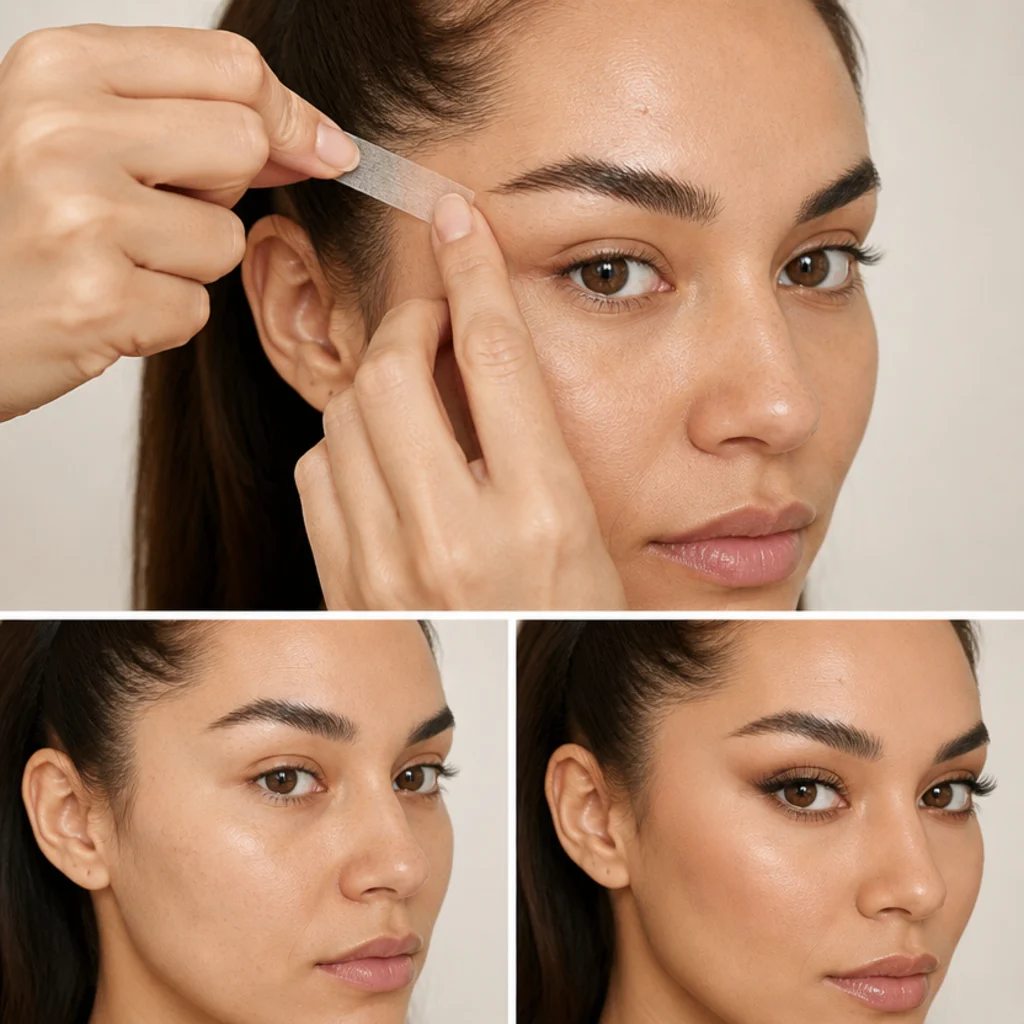
Face taping is the makeup-only lift technique where small cosmetic tapes and threads go at the temples and tuck under the hairline, physically pulling the outer eye and brow upward before any product goes on, so you're working on a temporarily lifted canvas for the foxy shape. It's the most involved look here and honestly not for everyone: it takes practice to hide the tape convincingly, it can feel tight for hours, and it's better saved for photos and special occasions than daily wear. Use only gentle, skin-safe cosmetic tape made for the face, patch-test first if your skin is reactive, and remove it slowly, ideally with a little oil cleanser, so you never drag delicate temple skin. Difficulty is high. Pro tip: apply your foundation and shadow around the tape, then style your hair to fully hide the anchor point. If taping isn't for you, every other look here gets real lift from shape and angle alone. Ask your makeup artist whether "a taped lift" suits your event or whether liner placement alone will get you there.
Pro Tips from the Editor
- Find your vector once, reuse it forever. Hold a pencil from the outer edge of your nostril past the outer corner to the tail of your brow. That diagonal is your foxy angle for every single look here; trace it lightly, then commit.
- Dot before you draw. For any winged or floating version, place small guide dots with your eyes open, step back, check symmetry between both eyes, then connect. It fixes 90 percent of beginner unevenness before it happens.
- Match the finish to the skin, not the trend. Matte and soft-satin flatter hooded, mature and textured lids; save dense shimmer and glitter for smooth, taut lids or the center of the lid only.
- Set cream and pencil, always. Press a matching powder shadow over any pencil or cream liner so the lift survives the day; unset cream is what smudges into the crease by lunch.
- Steepen the angle to correct droop, soften it to avoid severity. Downturned and round eyes want a stronger upward pull; already-upturned eyes want a gentler one, or they tip into harsh.
- Do eyes first when glitter or deep shades are involved. Fallout from copper, plum and glitter is far easier to sweep away before concealer than after.
- Waterproof the tail, not the whole eye. Hooded and watery eyes only need the lifted tail to be transfer-proof; a smudge-proof gel or liquid there outlasts a waterproof formula everywhere.
How to Choose / Get the Look
Start by identifying your eye shape, since it sets the angle of your lift more than any product choice does. Almond and upturned eyes can more or less follow the natural line for an easy foxy flick, and they're the natural home for the bold black wing. Round eyes benefit from a longer outer extension plus the lower-lash V to stretch them horizontally. Hooded and monolid eyes should draw and check the line with the eyes open, floating it slightly above the natural crease so it never disappears, and can lean on the cut-crease hint for extra dimension. Downturned eyes want the strongest upward pull of all, since the lift is doing corrective work against the natural droop.
Next, pick your intensity and finish by occasion and undertone. For daytime and work, reach for the taupe wash, soft matte everyday or skin-finish looks in cool taupe, neutral brown or warm terracotta. For evening, layer on glitter, copper, plum or the elongated black wing. Cool and neutral undertones tend to glow in taupe, plum and mauve-rose; warm, olive and deep undertones come alive in bronze, copper and terracotta. Beginners should get real practice on the soft brown starter and the matte everyday look before trying liquid wings, floating lines or double wings, since those reward practiced hands, not first attempts. Whatever you build, prime the lid and set cream or pencil with a matching powder so the lift holds.
When you get to a makeup artist's chair, use precise language and bring one reference photo. Say you want a lifted outer corner angled toward the tail of your brow, name your shade family (for example "warm terracotta" or "cool taupe"), specify soft-blended versus sharp-graphic, and say foxy (up) versus siren (down) out loud so there's no confusion. Then show the photo and agree on the angle before the first stroke, because angle, not color, is where these looks succeed or fail.
Frequently Asked Questions
What is a foxy eye makeup look?
A foxy eye is a technique that lifts and elongates the outer corner of the eye toward the tail of the brow, for an alert, upswept, snatched shape. You can build it with liner, shadow, or both, and the defining feature is the upward-and-outward angle, not how much color you use.
Is foxy eye makeup good for hooded eyes?
Yes, and it's one of the most flattering options for hooded eyes when placed correctly. Draw and check the liner with your eyes open, floating the lifted tail slightly above the natural fold so it stays visible, and use a waterproof or smudge-proof formula on that tail so it doesn't transfer onto the hood through the day.
What is the difference between siren eyes and foxy eyes?
They use the same outer-corner area but pull in opposite directions. Foxy eyes lift the corner up and out for a fresh, open, alert look, while siren eyes smudge the corner down and out for a sultry, elongated, slightly downturned effect. Foxy flatters eyes that want lift; siren suits anyone chasing smoky drama or softening an over-upturned shape.
Do I need liquid liner for a foxy eye?
No. Beginners get the same lift from a soft pencil or a blended shadow wash, and both are far more forgiving. Liquid liner gives you the sharpest graphic wing and floating line, but pencil, gel and powder versions are just as flattering and much easier to fix while you're still learning your angle.
How do I keep glitter foxy eyes from falling out?
Press glitter onto a tacky base, glitter glue or a dab of aloe or eye primer instead of swiping it on, and keep it concentrated on the center of the lid. Do your eye makeup before your under-eye concealer, or shield the cheek with a folded tissue, so any fallout is easy to brush away.
Which foxy eye look is best for beginners?
Start with the soft brown pencil starter (idea 1) or the soft matte everyday foxy (idea 18). Both lean on blending and a short, forgiving line rather than precise liquid work, so you can groove the signature angle before trying wings, floating lines or double wings.
What shade of foxy eye suits my skin tone?
Cool and neutral undertones tend to look best in grey-based taupe, plum and mauve-rose. Warm, olive and deep undertones glow in bronze, copper and terracotta. When in doubt, a warm neutral brown flatters nearly everyone; just build it sheerer on fair skin and fuller on deep skin.
How long does a foxy eye last through the day?
With a lid primer and cream or pencil set under a matching powder, expect a comfortable full day, roughly 8 to 12 hours. Unset cream, gloss-lid and pencil-only versions soften sooner, around 4 to 6 hours, so carry the pencil or a cotton swab for a quick tail touch-up.
Can I do a foxy eye without makeup, using tape or lifts?
You can create a temporary lifted canvas with skin-safe cosmetic face tape at the temples (idea 20), but it's best kept for photos and special occasions, since it can feel tight and takes practice to hide well. For everyday lift, the shape and angle of liner and shadow alone are gentler, quicker and just as effective.