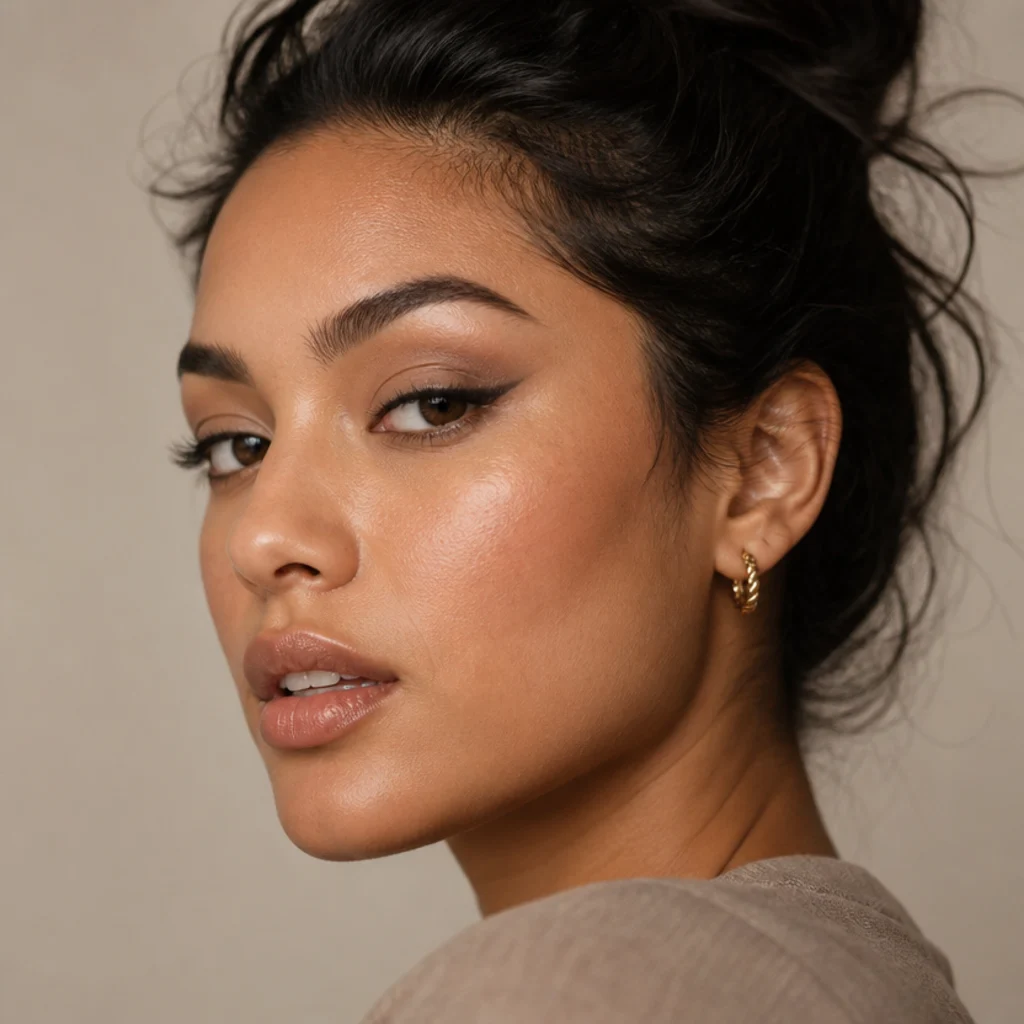
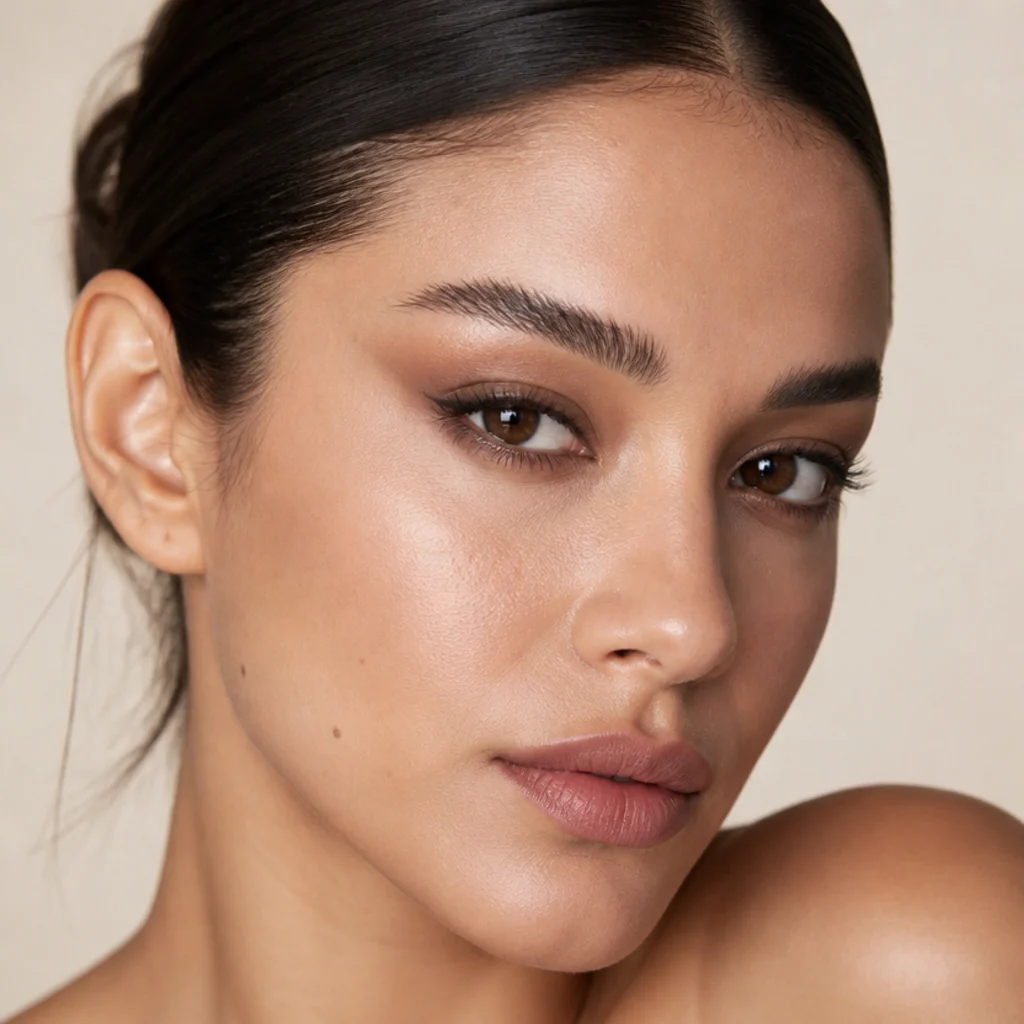
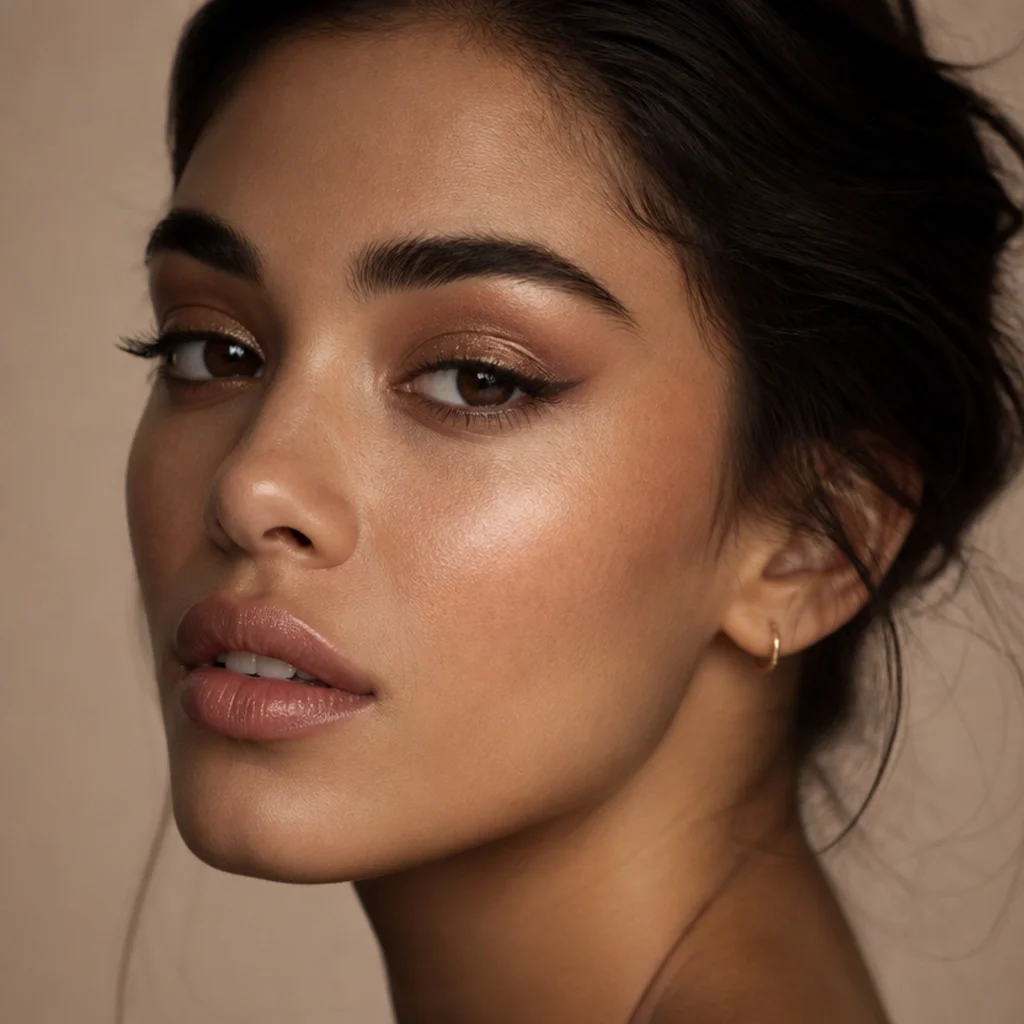
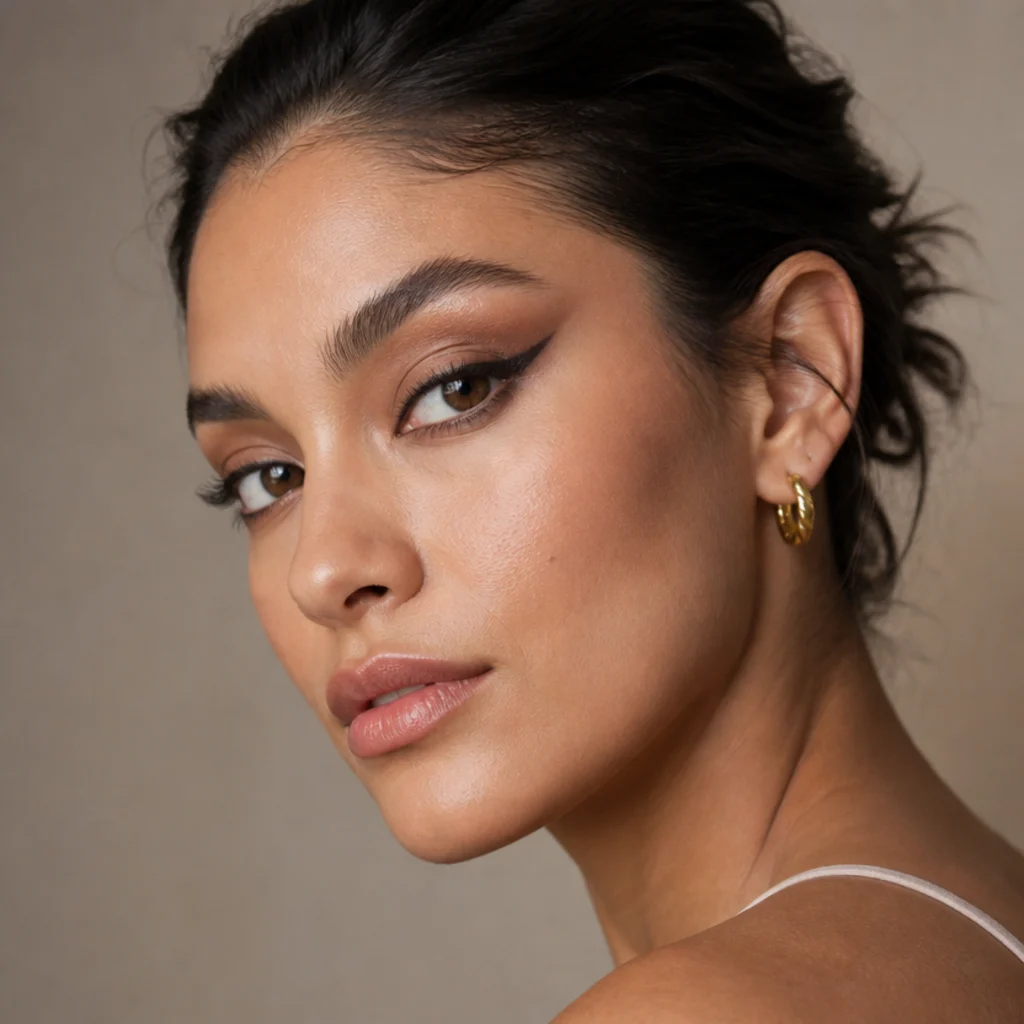
15 Steps to Perfect Foxy Eyes Makeup at Home
Foxy eyes are engineered lift: an elongated, upturned shape that redraws the eye on a diagonal toward the brow tail. This guide breaks the look into 15 precise moves, with shade logic, brush choices, and eye-shape adjustments so it holds whether you've got hooded, round, almond, or monolid eyes.
 Edited by Lena Rose · Published July 11, 2026 · 26 min read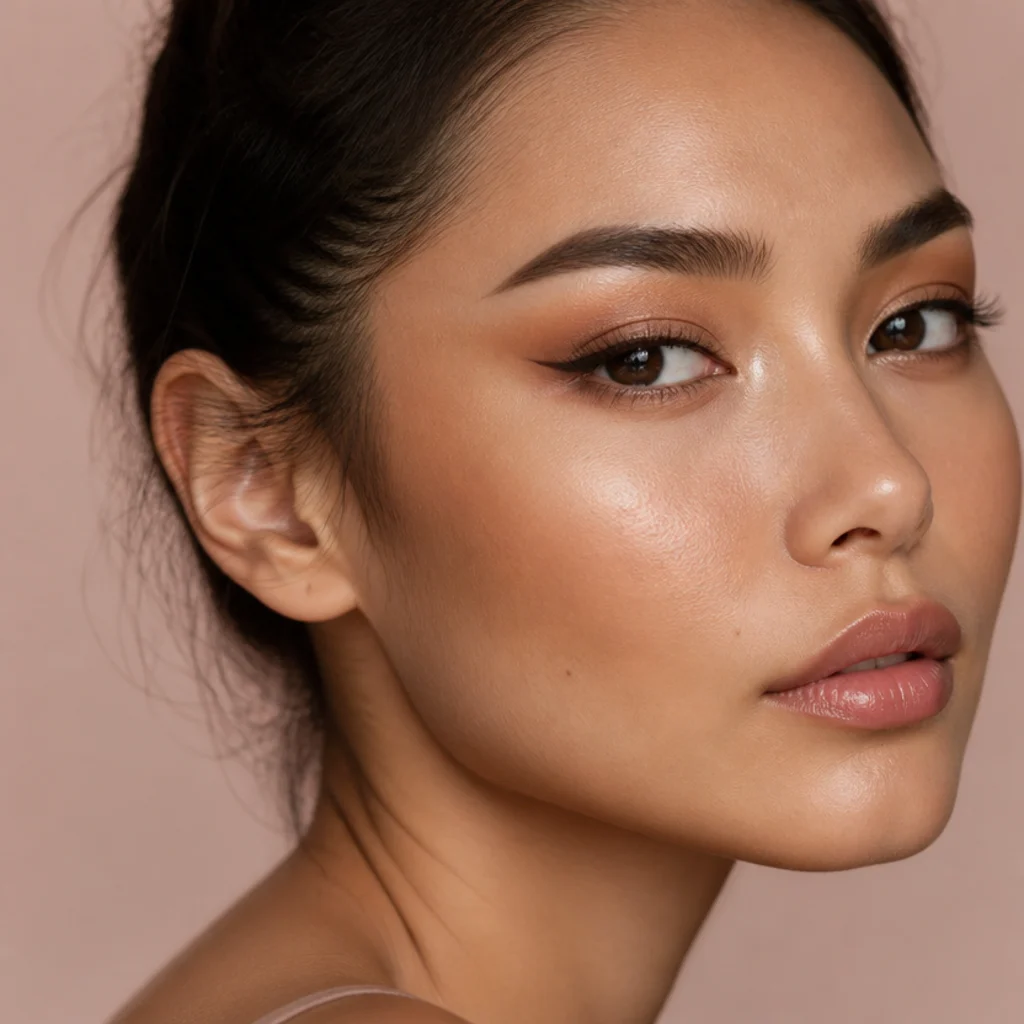
Quick Answer
- Best for: Almond, round, hooded, and monolid eyes wanting a lifted, elongated shape; works across every skin tone with shade swaps.
- Who might skip it: Anyone whose outer eye already turns up sharply (a downturned or straight eye is where foxy shaping pays off most) or anyone wanting a soft, rounded doe-eye rather than a stretched one.
- Maintenance: A single-wear look. Matte, long-wear formulas hold 8-10 hours; a fine shimmer or glitter may need a mid-day press-back with a fingertip.
- Difficulty: Beginner to intermediate. Everything is forgiving except the wing angle, which rewards mapping over freehand.
- Cost: Low to moderate. A neutral matte quad, one gel liner, curler, and mascara cover it; expect roughly a drugstore-to-mid-range spread, with false lashes and a shimmer topper as optional add-ons.
- Wear time / longevity: All day over primer; glitter foxy eyes hold best with an eye-safe adhesive base.
- Standout variation: Glitter foxy eyes, a fine wash of gold or champagne sparkle pressed into the lid center for evening.
- How to ask your makeup artist: Ask for a "lifted, elongated eye on a 30-to-45-degree diagonal, deep in the outer third, bright and open through the center, with a short steep wing," and specify matte for day or glitter-topped for night.
In This Guide
- Prep and Prime the Lids
- Map Your Foxy Angle
- Set the Base with Skin-Tone Shadow
- Build a Soft Transition Shade
- Lift the Outer Corner
- Elongate Along the Lower Line
- Draw the Foxy Wing
- Tightline the Upper Lash Line
- Add Depth to the Outer V
- Sharpen with Concealer
- Brighten the Inner Corner
- Curl and Coat the Lashes
- Consider a Lifted Lash Strip
- Add Glitter or Shimmer (Optional)
- Set, Groom Brows, and Finish
Foxy eyes makeup takes the natural line of your eye and stretches it outward and up, into the elongated, feline shape that's moved from runways to Pinterest boards. What separates it from a heavy smoky eye is restraint: the look runs on angle and placement, not pigment volume, so it photographs clean and editorial instead of muddy. The whole illusion rests on contrast — more depth in the outer third, more light through the center — so the eye reads as pulled toward the temple. If you've wondered about siren eyes vs foxy eyes, the distinction is directional: siren eyes drop the lower line long and low for a sultry, elongated squint, while foxy eyes lift every element upward toward the brow tail. The engineered lift is especially good on downturned and round eyes, since it counteracts their natural drop or width, and it modernizes hooded eyes when you keep the work high and visible. There's no tape, cosmetic surgery, or skin-pulling involved, just mapping, shadow, and a steady hand. Work the 15 steps in order the first few times; once the shape lives in muscle memory, you can compress or reorder them.
01Prep and Prime the Lids {#prep}
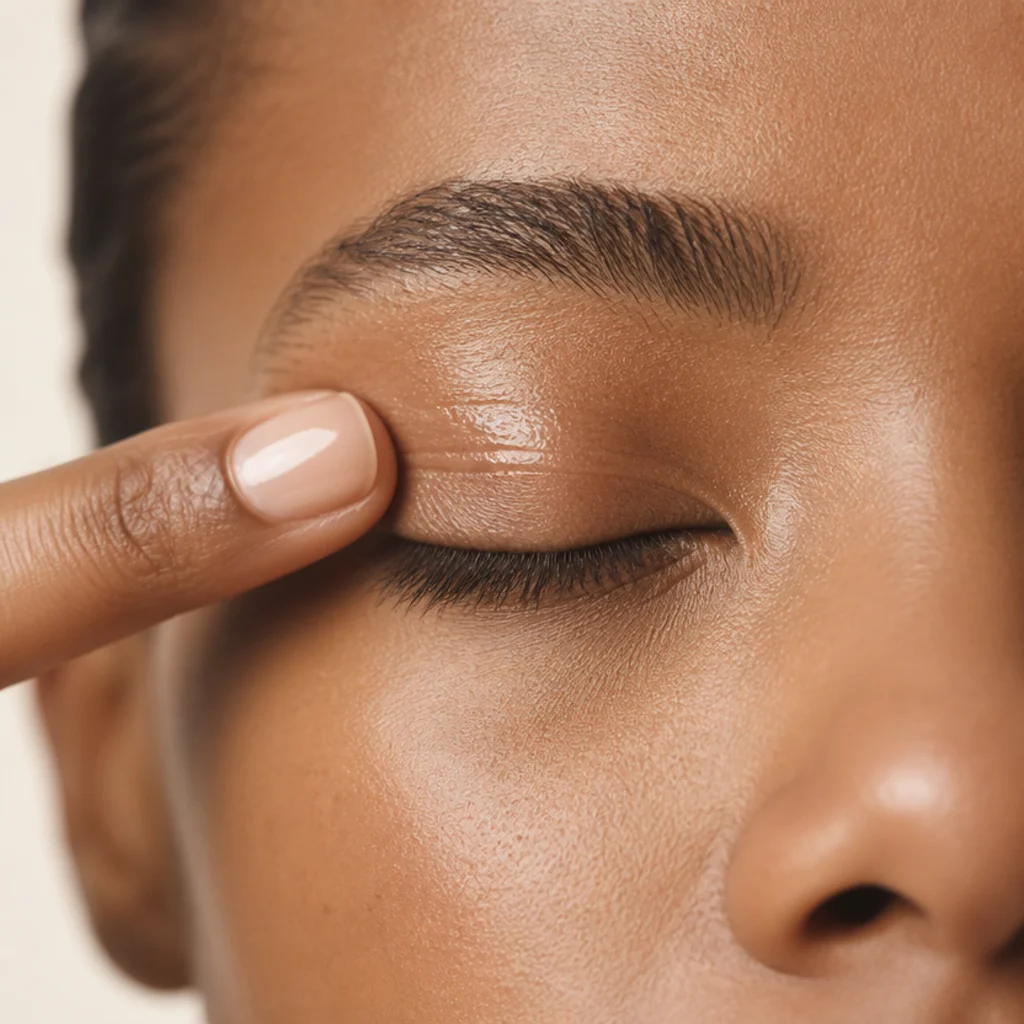
Start on clean, moisturized skin and let eye cream absorb fully; wet skin dilutes primer and invites creasing. Sweep a thin layer of eyeshadow primer or a hair of concealer across the mobile lid and a few millimeters above the crease, then set it with a translucent powder pressed in, not swept. Primer does two jobs: it neutralizes natural lid discoloration so transition shades read true rather than sallow, and it gives powder something to grip so the lifted angle holds without sliding into the crease. If your lids run oily or hooded, reach for a mattifying, silicone-based primer, because the upturned outer angle is the first thing to smudge downward once the fold moves. On very dry or mature lids, use the sheerest possible layer so shadow doesn't catch in fine lines. A smooth, matte, uniform canvas is the single strongest predictor of a crisp foxy shape, so ask your makeup artist for a "gripping matte primer" if you shop in person and never rush this base.
02Map Your Foxy Angle {#map}
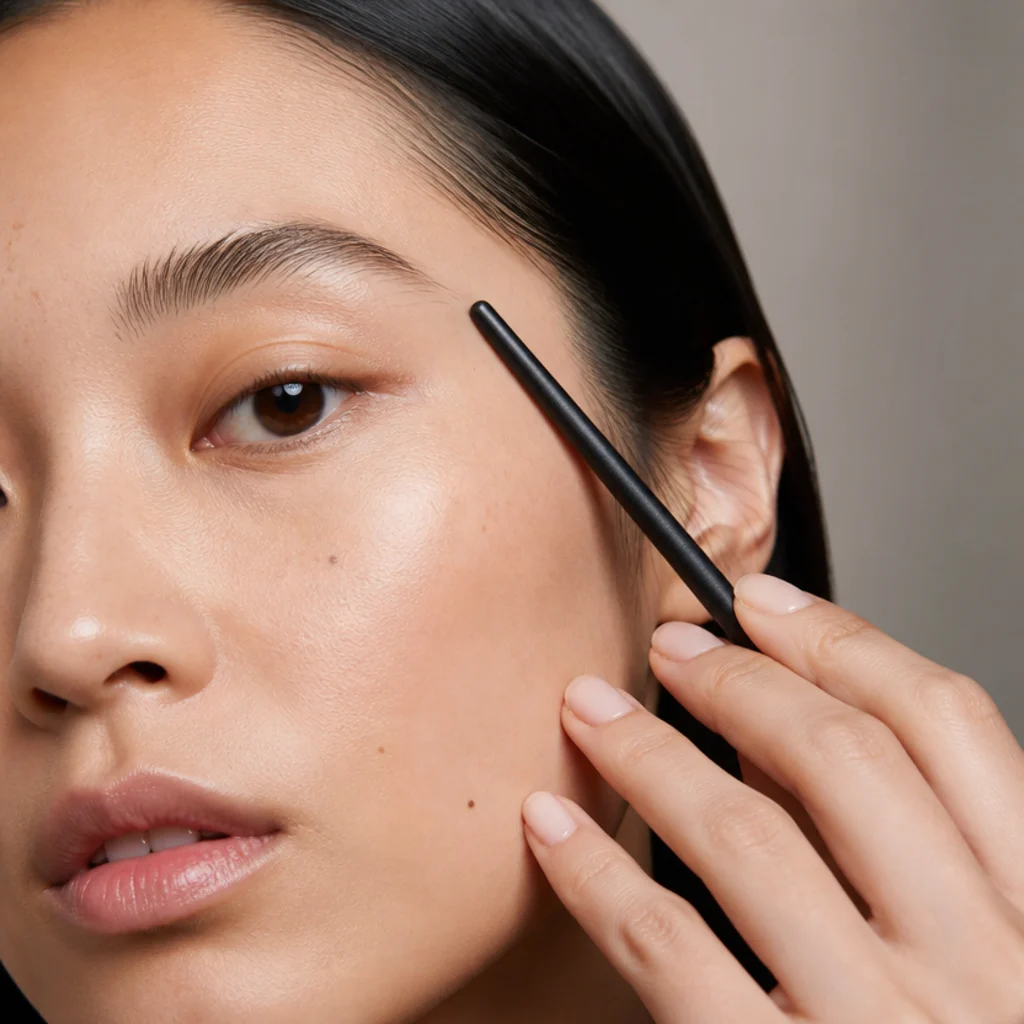
Before any color goes down, commit to your angle, because every later step follows it. Hold a slim brush handle flat against the skin, running from the outer corner of the eye up toward the tail of the brow; that diagonal is your foxy line. Aim for roughly 30 to 45 degrees of lift: nearer 45 reads dramatic and editorial, nearer 30 reads soft and everyday. Match the steepness to your eye shape: downturned and round eyes can take a steeper line, while very hooded eyes usually want the flatter end so the angle still shows when the lid folds. Mapping first prevents the most common failure, laying shadow horizontally and erasing the lift entirely. Lightly dot the endpoint with a nude or taupe pencil so both eyes finish at symmetrical points; uneven endpoints are the usual reason wings end up mismatched later. This is the architecture of big foxy eyes, so give it real attention, and ask your makeup artist to map both endpoints first if you're learning the shape in a chair.
03Set the Base with Skin-Tone Shadow {#base}
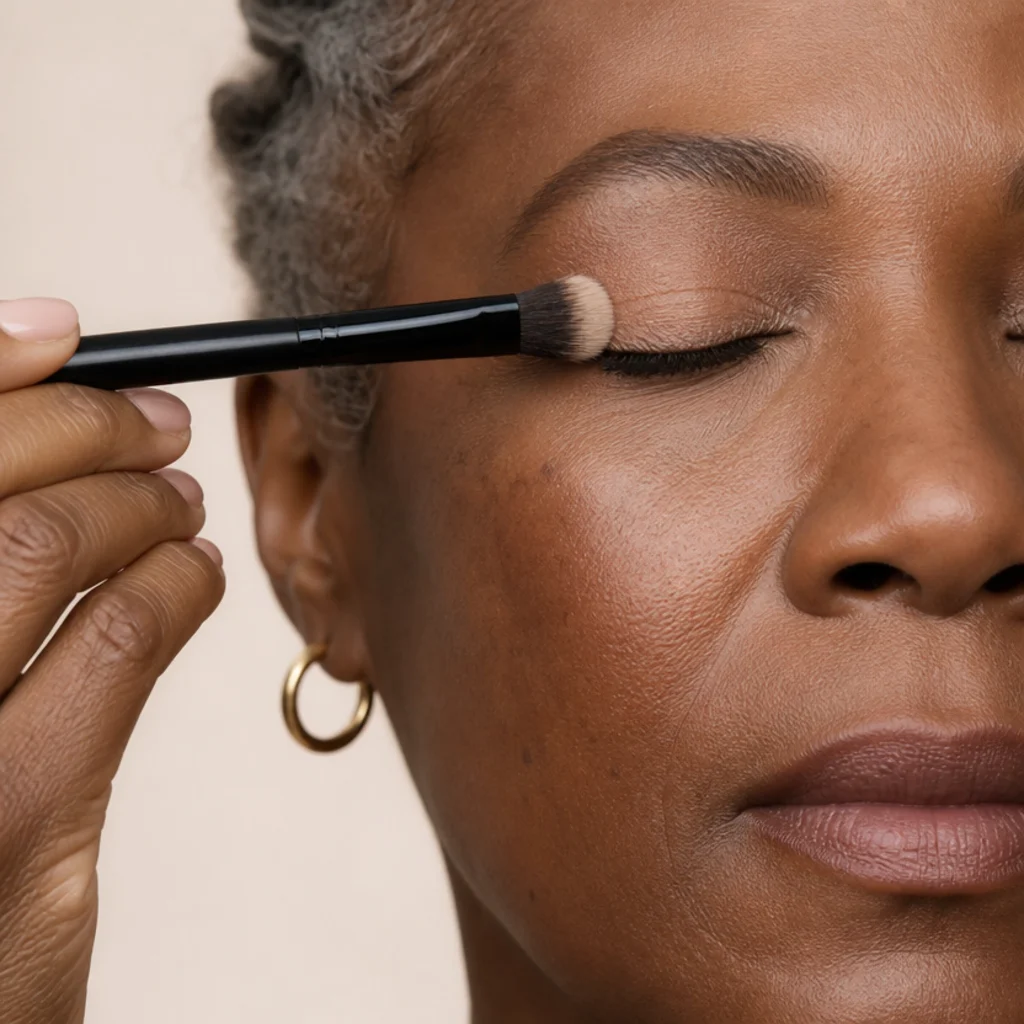
Sweep a matte shade one or two steps deeper than your skin across the whole lid and just into the crease. This base unifies tone and gives later colors a velvety surface to move over, which is what prevents patchy, grabby blending. Undertone is the deciding factor: warm beige or soft tan flatters fair to medium skin, honey and caramel suit medium to tan, and a rich cocoa or warm bronze keeps deep skin looking neutral rather than ashy or washed out. Use a fluffy blending brush, tap off the excess against your hand, and build in thin layers, since light deposits blend cleaner than one heavy load. Keep the base matte here; shimmer at this stage fights the sculpted contrast you're about to build. Think of this as scaffolding, not the statement, and if you're matching a palette in store, ask your makeup artist for a "transition-friendly matte neutral" one shade past your skin.
04Build a Soft Transition Shade {#transition}
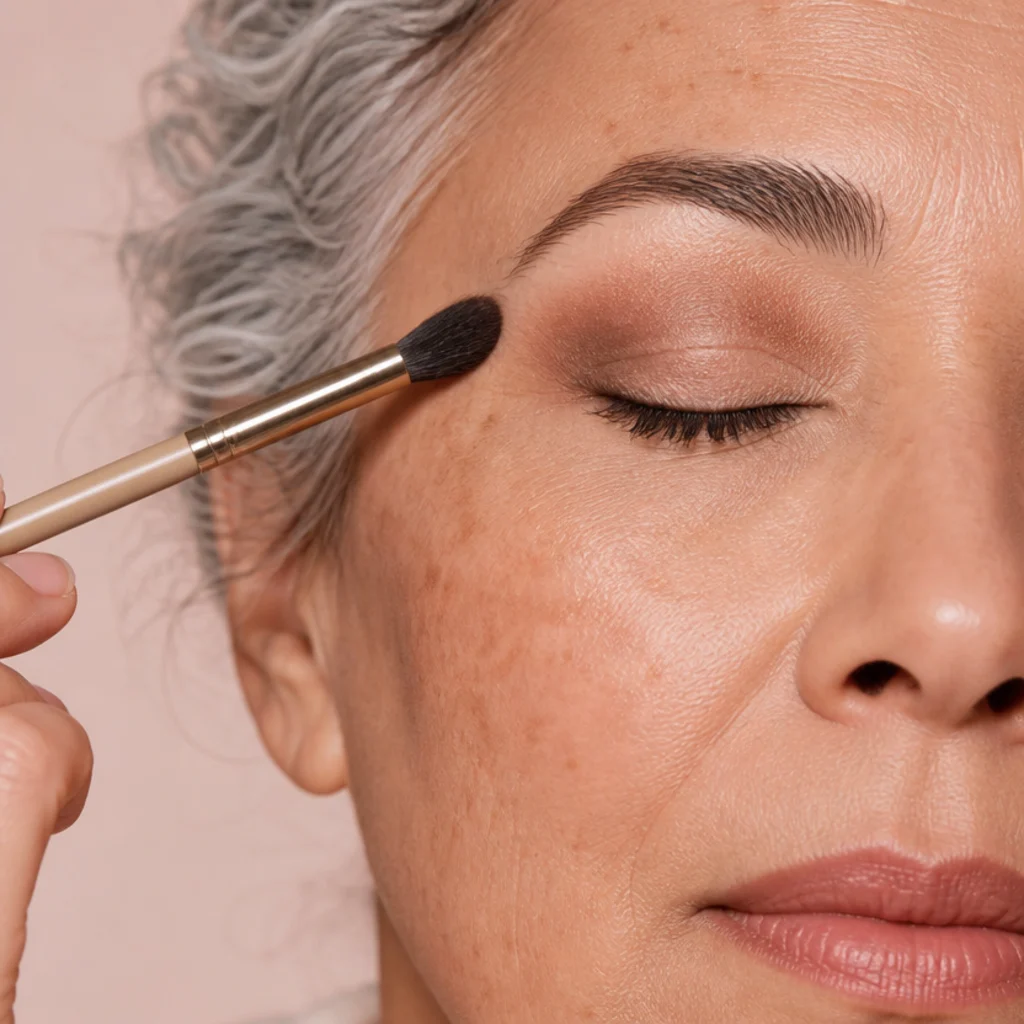
Now add dimension. With a clean tapered fluffy brush, work a medium warm-brown or taupe into the crease using small windshield-wiper motions, concentrating toward the outer third. This transition shade is what makes the eye look sculpted rather than flat, and it feathers the edge where your deeper outer color will land, so there's never a hard stop. Blend along the foxy diagonal you mapped, pushing color up and out toward the brow tail rather than straight across, since a horizontal crease flattens the lift instantly. Cool-toned skin often looks cleaner with a greige or soft mauve-brown transition, while warm skin glows under caramel and terracotta. Build gradually and keep the brush moving in the same direction; over-blended, muddy color means starting the eye again. One pro tip: hold your blending brush at the very end for a lighter, more diffused touch, which is the difference between a polished gradient and a heavy smudge. Ask your makeup artist to "keep the crease diffused and lifted, not round."
05Lift the Outer Corner {#outer-corner}
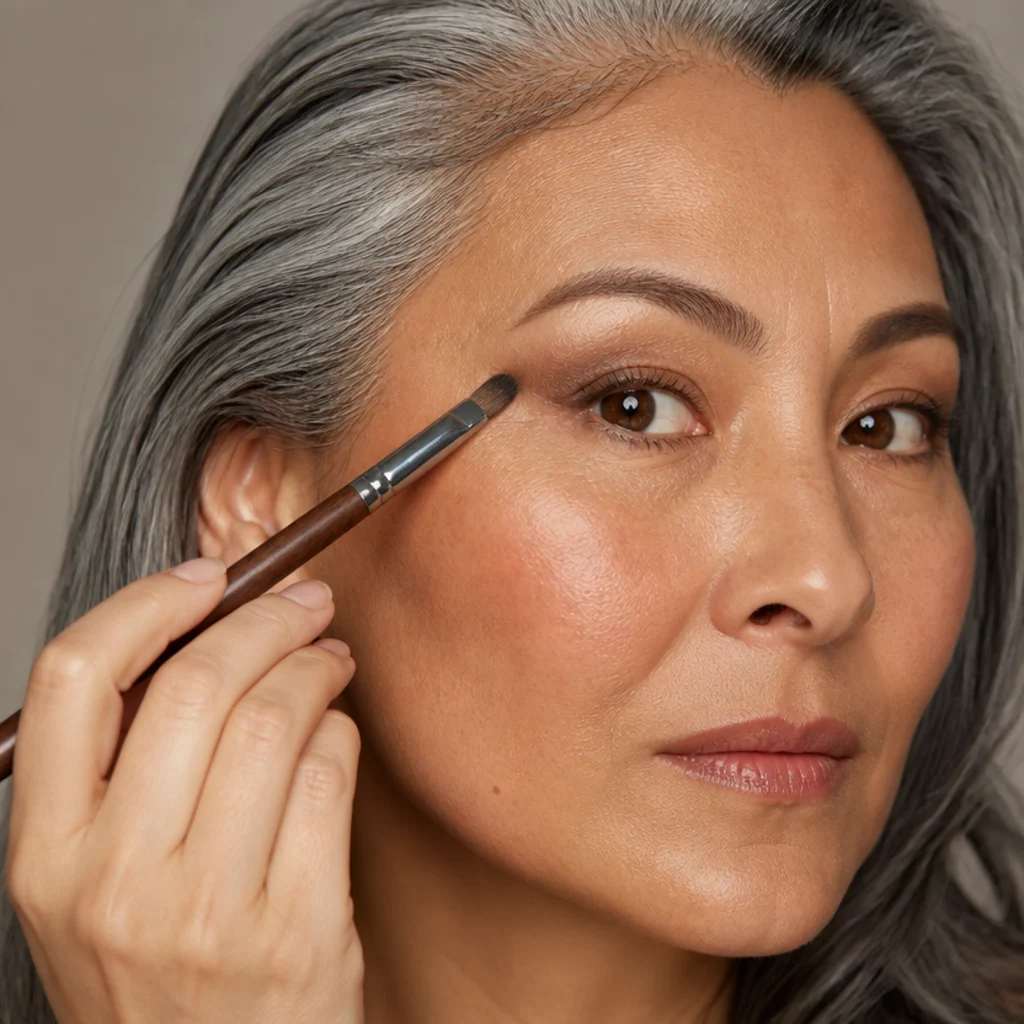
This is where the foxy shape actually appears. Load a smaller, denser brush with a deeper version of your transition color, press it into the outer corner, then sweep up and out along your mapped diagonal, picturing a soft triangle whose point aims at the brow tail. Deliberately leave the inner two-thirds of the lid clean and light so the eye looks stretched rather than enclosed, that asymmetry, dark outside and open inside, is the entire engine of the elongated effect. Press color on first, then blend, rather than swiping, so pigment lands exactly where you want it. Blend only the top edge into the transition shade, keeping the lower edge along the lash line crisp so the lift stays graphic. For round eyes, extend the triangle a touch longer to add length; for already-long eyes, keep it compact so you elongate without dragging. Ask your makeup artist for "depth concentrated in the outer third, feathered up toward the tail."
Save this to Pinterest so you can revisit the outer-corner lift, which is the heart of the look.
06Elongate Along the Lower Line {#lower-line}
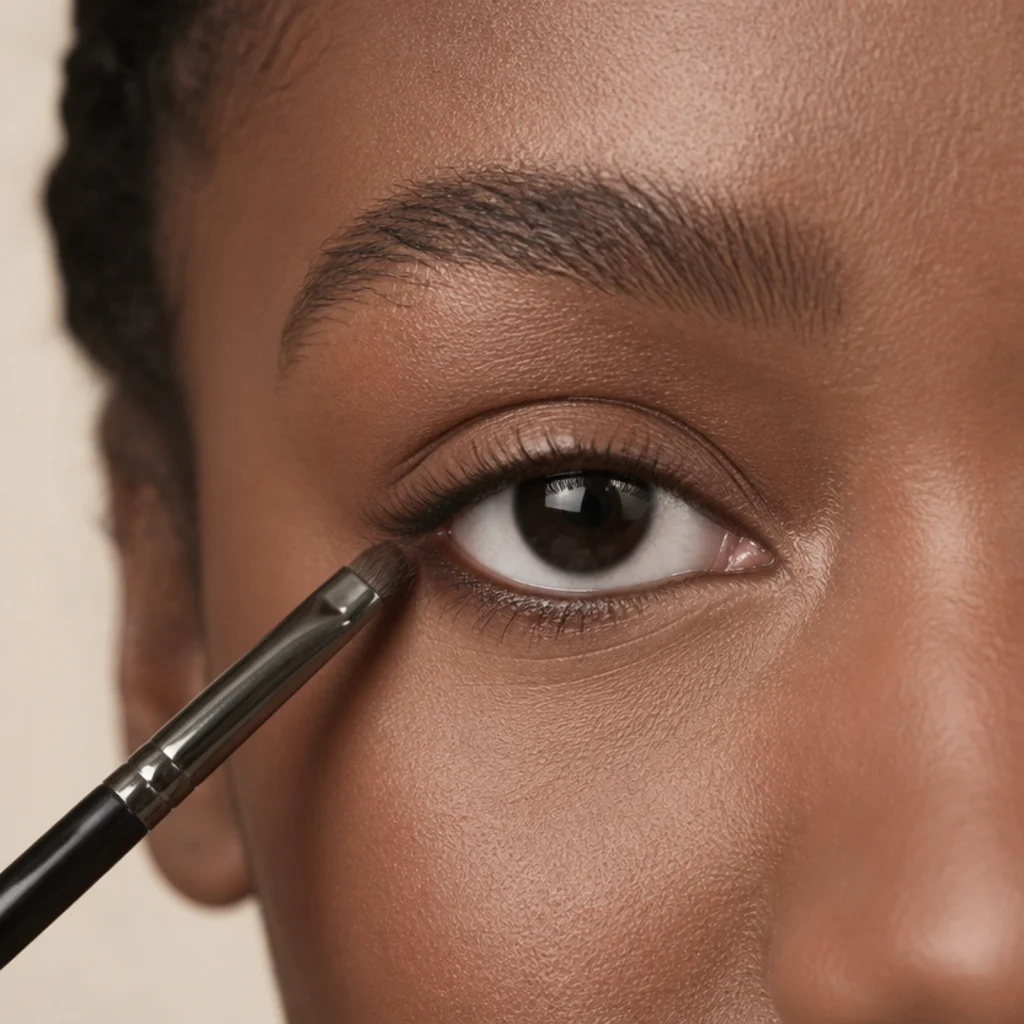
Foxy eyes need top-and-bottom balance, or the upper work floats. Take a small pencil brush with a hint of your transition shade and smudge it along the outer third of the lower lash line, then angle it up to meet your outer-corner triangle so the upper and lower elements converge in one upturned point. Stop well before the inner corner; carrying color inward drags the eye down and cancels the lift you just built. This is exactly where siren eyes vs foxy eyes diverges in practice: sirens pull the lower line long and low for a dropped, sultry squint, while foxy keeps the lower shadow short, soft, and angled upward. Keep the finish diffused and smoky with no harsh edge, and connect the lower smudge to the outer triangle rather than leaving a gap, which is the common tell of an unfinished eye. Ask your makeup artist to "kick the lower liner up to meet the outer corner, not straight along."
07Draw the Foxy Wing {#wing}
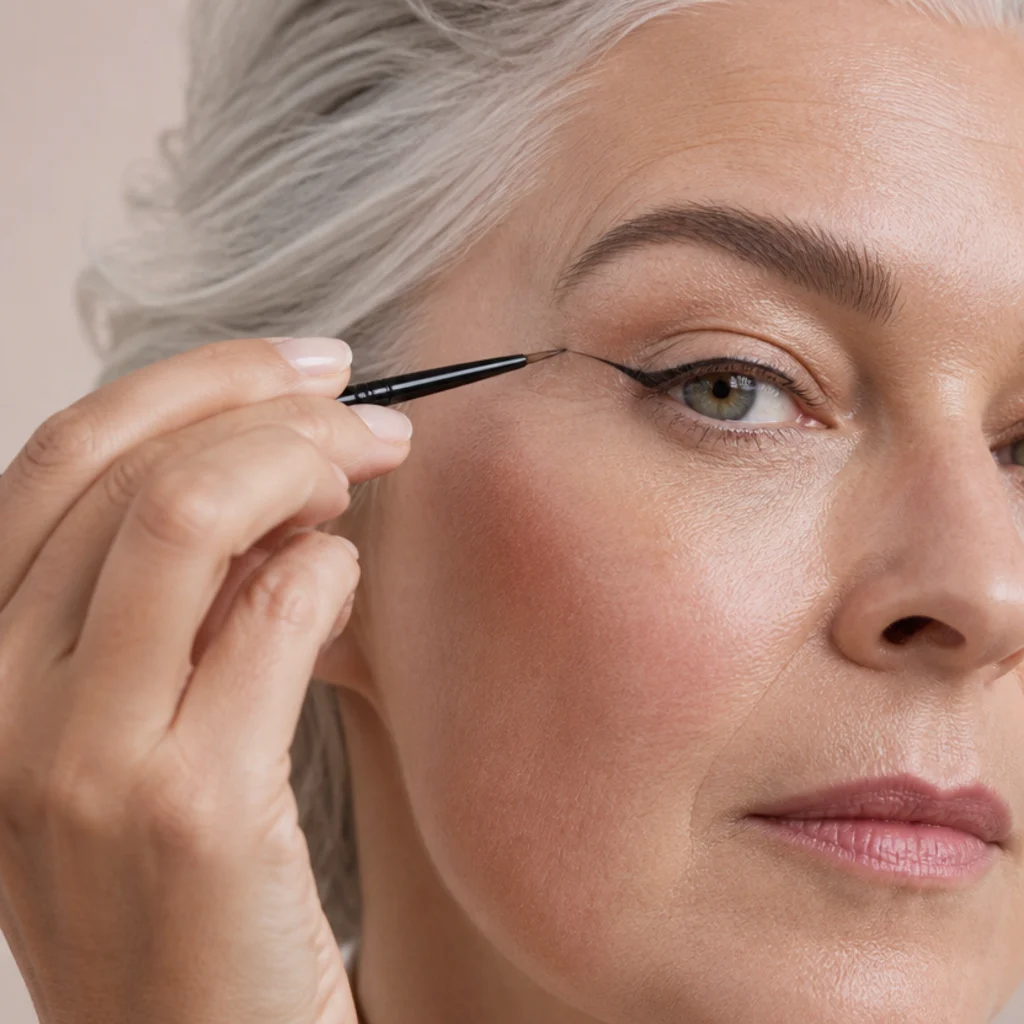
The wing seals the shape. With a gel or liquid liner, start thin near the middle of the upper lash line, thicken gradually toward the outer eye, then flick up along your mapped diagonal toward the brow tail, keeping the tail sharp and lifted rather than long and drooping. Draw the flick first as a faint guideline, then fill it in, so you commit to the angle before adding pigment. For foxy eyeliner on hooded eyes, this step is make-or-break: draw and check with your eye open so you can see where the fold sits, and set the wing high enough that it stays visible looking straight ahead, otherwise the hood swallows it. A short, steep flick almost always flatters hoods and downturned eyes more than a long, low one, which reads as a droop. Anchor your elbow on a hard surface and take small strokes rather than one nervous sweep. Ask your makeup artist for a "short, steep wing that reads with the eye open."
08Tightline the Upper Lash Line {#tightline}
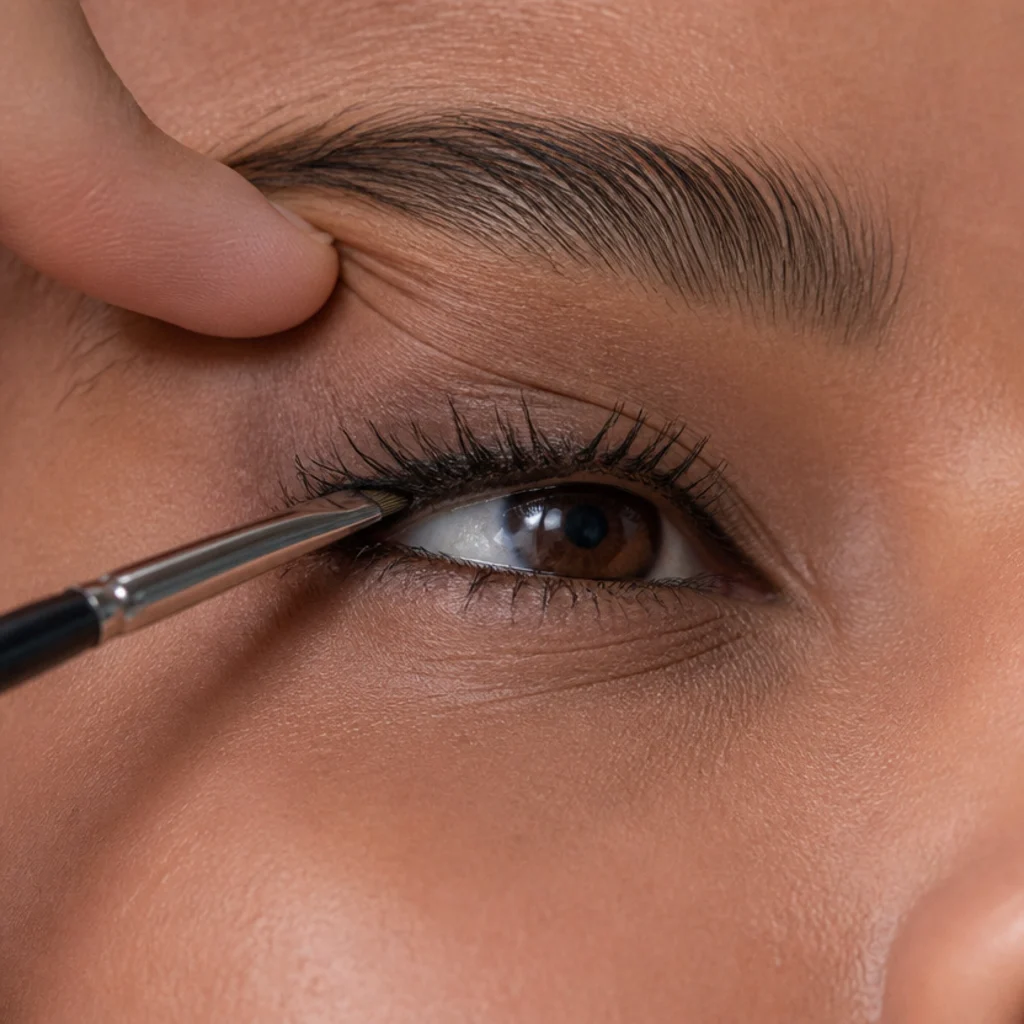
Tightlining fills the pale gaps at the roots of the upper lashes, making the lash line look dense without adding visible thickness above it. Gently lift the lid and press a fine, stiff brush or a waterproof gel pencil along the upper waterline, wiggling into the lash base rather than dragging, so color deposits between the roots. This quietly anchors the whole eye and makes the wing look intentional instead of floating on bare skin. Because it lives so close to the lashes, tightlining still gives definition on days you want a softer, no-visible-liner version of the look. That's what makes it the most versatile step here. Always choose a waterproof or smudge-proof formula, since the upper waterline is warm and prone to transfer onto the lid. If your eyes water easily, set the pencil with a touch of matching dark shadow pressed over it. Ask your makeup artist to "tightline the upper waterline only, not the lower, so the eye stays open."
09Add Depth to the Outer V {#outer-v}
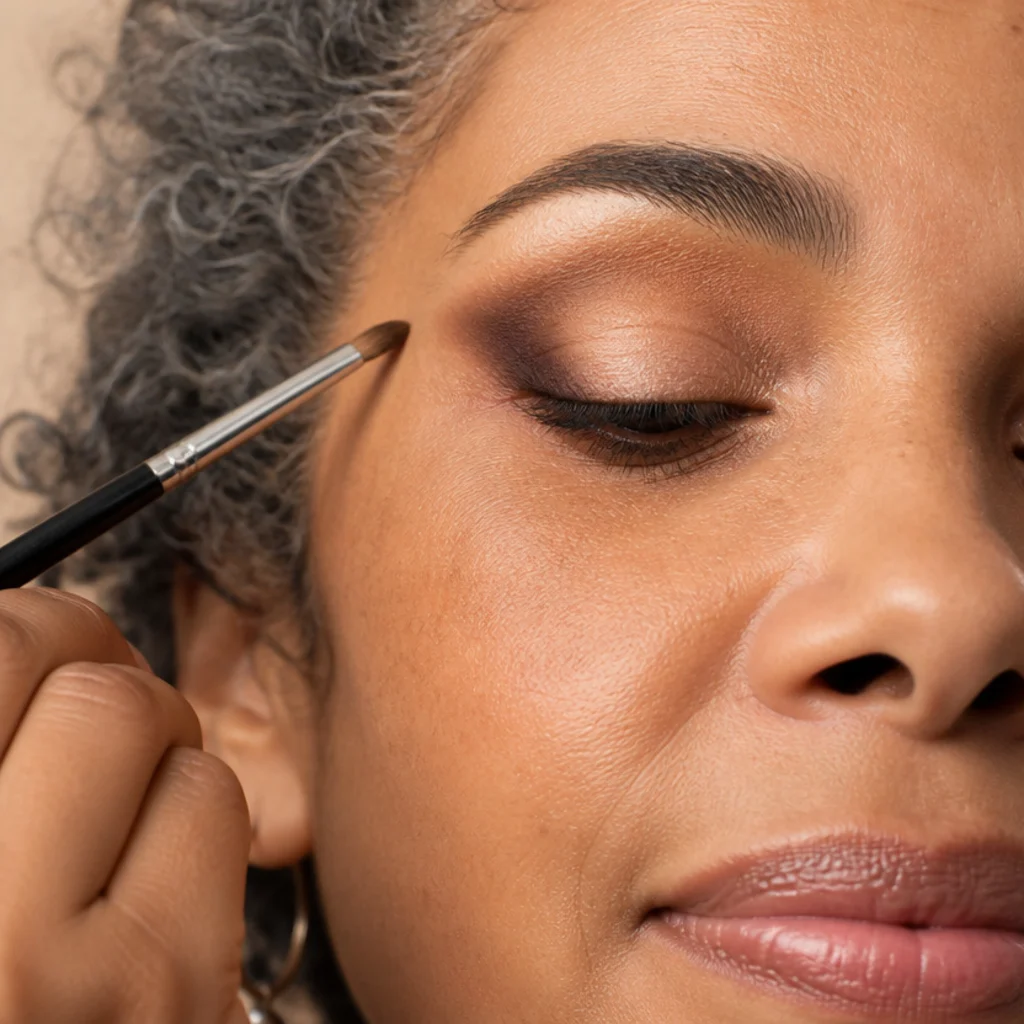
For more drama, or bigger foxy eyes, deepen the outer V, the wedge where your crease meets the outer lash line. Use a small pointed detail brush and your deepest matte shade, placing it as a compact sideways V and blending only the inner edge, so the outer edge stays crisp along your angle. This concentrates the darkest pigment exactly where it amplifies lift while keeping the lid center open and reflective. This shade is the most pigmented on your eye, so tap off hard before you touch the lid and build in whispers; one heavy tap here can close the whole eye in. If it starts to look heavy or hooded, blend upward toward the brow tail rather than outward, which reopens the shape and preserves the diagonal. Deep-set eyes should keep the V lighter so the eye doesn't recede further. Ask your makeup artist to "keep the outer V tight and lifted, blended up, not down."
10Sharpen with Concealer {#sharpen}
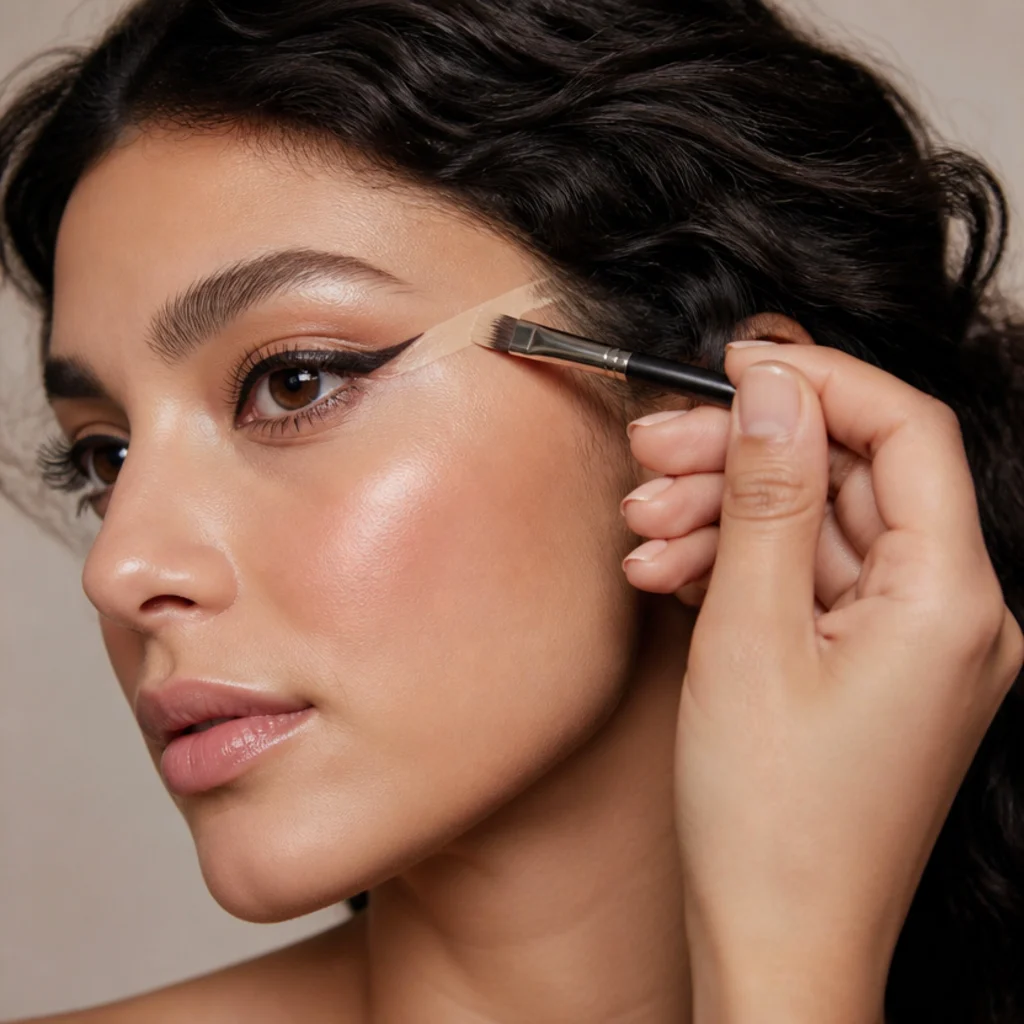
To make the wing and outer angle read razor-clean, carve beneath them with concealer. Load a small flat synthetic brush with a little concealer or foundation and run it right along the bottom edge of the wing, following the same diagonal you've used throughout. That crisp line erases stray fallout and creates a sharp light-against-dark contrast that makes the lifted shape snap into focus. Blend the outer edge of the concealer down into the skin so there's no visible block or halo. It's a favorite editorial trick because it delivers a graphic finish without demanding a flawless liner hand: the concealer, not your steadiness, defines the edge. Use a shade that matches your skin exactly; too light draws a stripe, too dark muddies the carve. Set it with a whisper of translucent powder so it doesn't slip or crease into the outer corner. Ask your makeup artist to "carve under the wing and blur only the outer edge."
Save this to Pinterest, the concealer carve is the step most people skip and later wish they had not.
11Brighten the Inner Corner {#inner-corner}
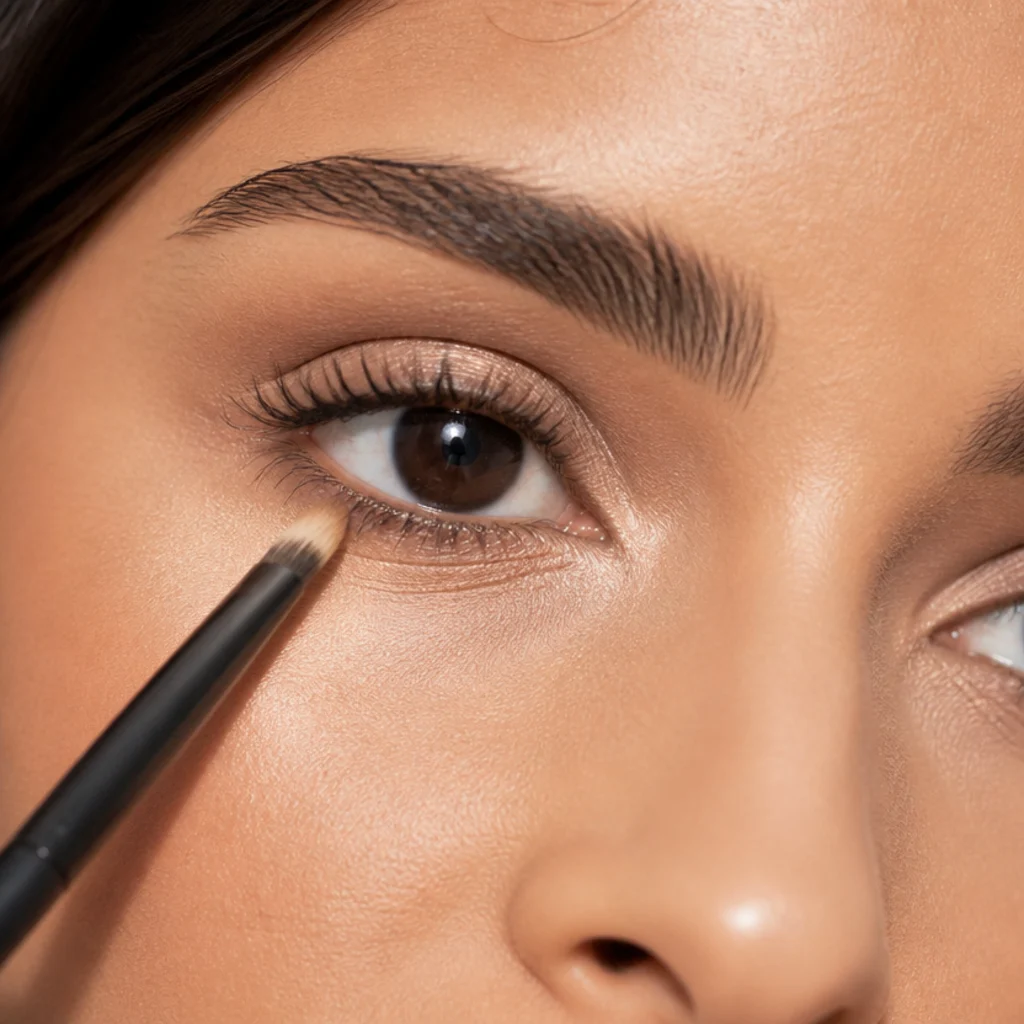
Balance all that outer depth by lighting up the inner corner, which is what sells the stretched contrast. Dab a light champagne, pearl, or soft-satin highlight into the inner corner and along the first third of the lower lash line, tapping it in with a small flat brush or fingertip so it stays concentrated. This reflects light, wakes the eye up, and heightens the outer-to-inner gradient that defines the foxy look. Choose fine, non-chunky particles so the shimmer flatters rather than magnifies texture, especially on mature lids. Undertone matters: cool skin glows under icy pearl and pink-champagne, while deep and warm skin often reads more luminous with gold or rose-gold than with a stark white, which can look chalky. A tiny amount goes far, so start with a bare tap and build. For a soft daytime version, a matte cream-toned highlight brightens without any sparkle. Ask your makeup artist for an "inner-corner pop that matches your undertone, not a flat white."
12Curl and Coat the Lashes {#lashes}
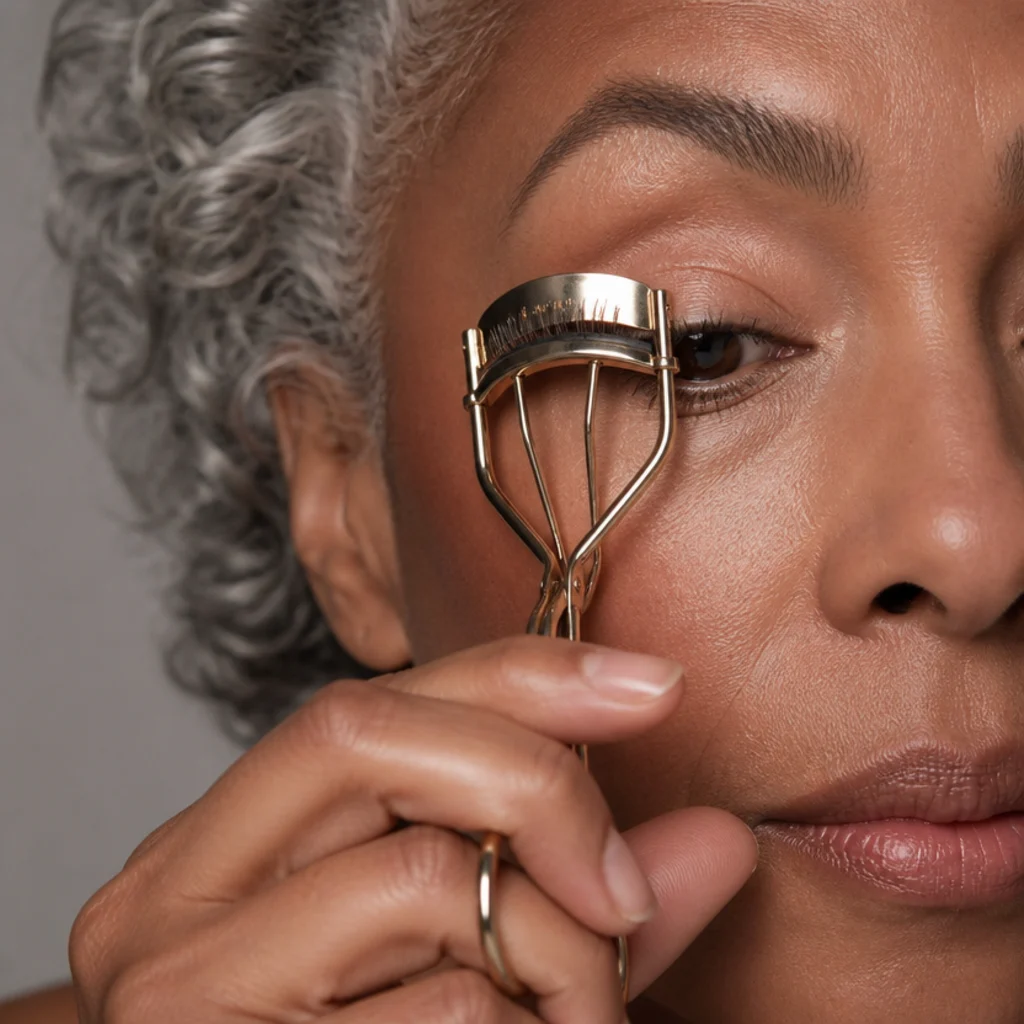
Lashes reinforce the lift, so curl them first from the very root, holding the curler a few seconds and adding a second squeeze at mid-length for a rounded, lasting bend. Then apply a lengthening mascara, directing the wand to sweep the outer lashes up and outward toward the brow tail rather than fanning them straight down, which echoes the wing and extends the elongation. Wiggle at the base for density, then comb through the tips so they stay separated. That directional coating makes even modest lashes look like they're being pulled toward the temple, which reinforces the whole shape. For extra outer drama, add a second coat only to the outer third of lashes, mirroring where your shadow is deepest, so the eye stays visually weighted outward. If your lashes drop fast, a lash primer or a waterproof formula holds the curl longer. Ask your makeup artist to "fan the outer lashes up and out to match the wing."
13Consider a Lifted Lash Strip {#lash-strip}
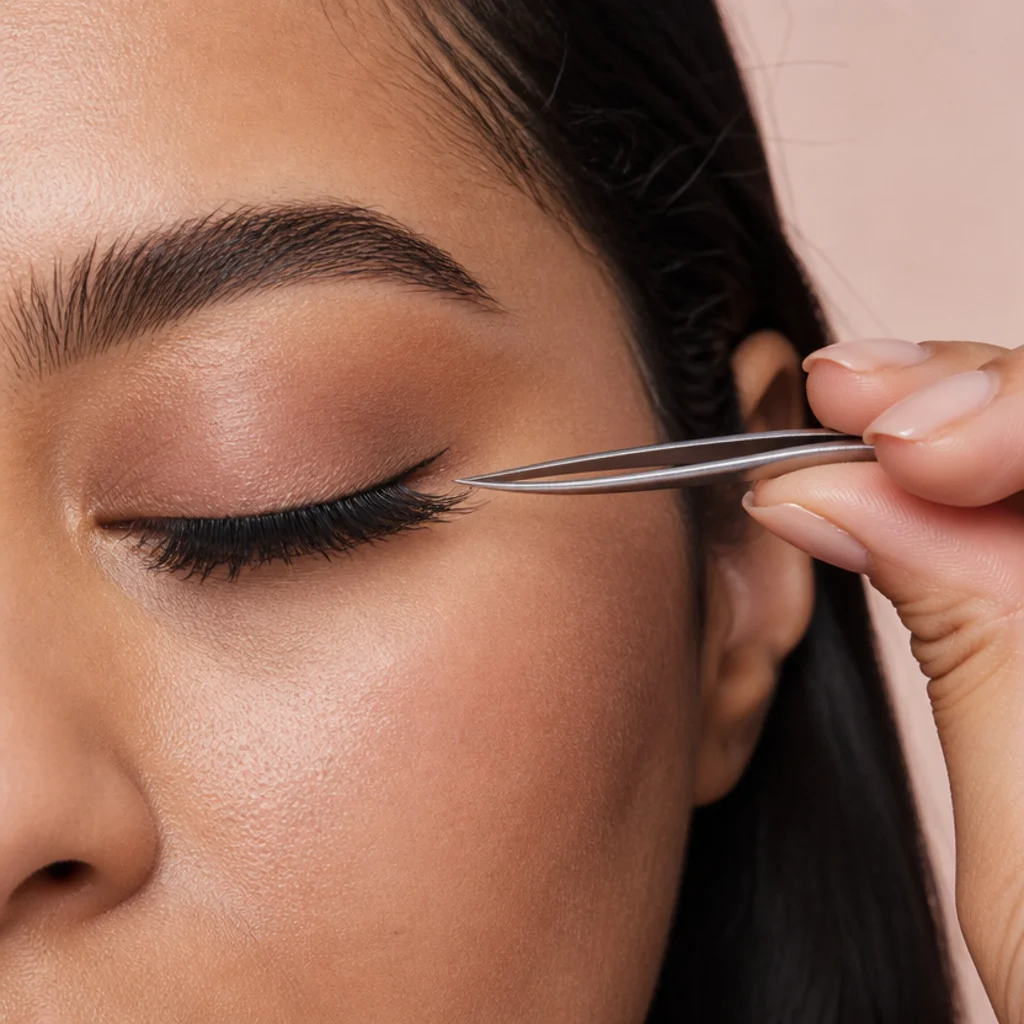
For evening or photos, a winged false-lash strip amplifies the foxy effect more than any single powder step. Choose a "cat-eye" or "winged" style that stays short and sparse at the inner corner and lengthens dramatically toward the outer edge, which reinforces the upward angle instead of rounding the eye. Trim the band to fit from the outer end so the graduated lengths stay intact, add a thin line of adhesive, and wait until the glue turns tacky and clear before placing it. Set the strip slightly above your natural lash line at the outer corner to boost the lift, then pinch your natural and false lashes together at the base. Half-lashes or outer-corner clusters are a lighter, more forgiving alternative that still stretches the eye and suit hooded lids that press on full strips. Skip this entirely for a soft daytime look; the shape holds on its own. Ask your makeup artist for a "winged strip, weighted to the outer third."
14Add Glitter or Shimmer (Optional) {#glitter}
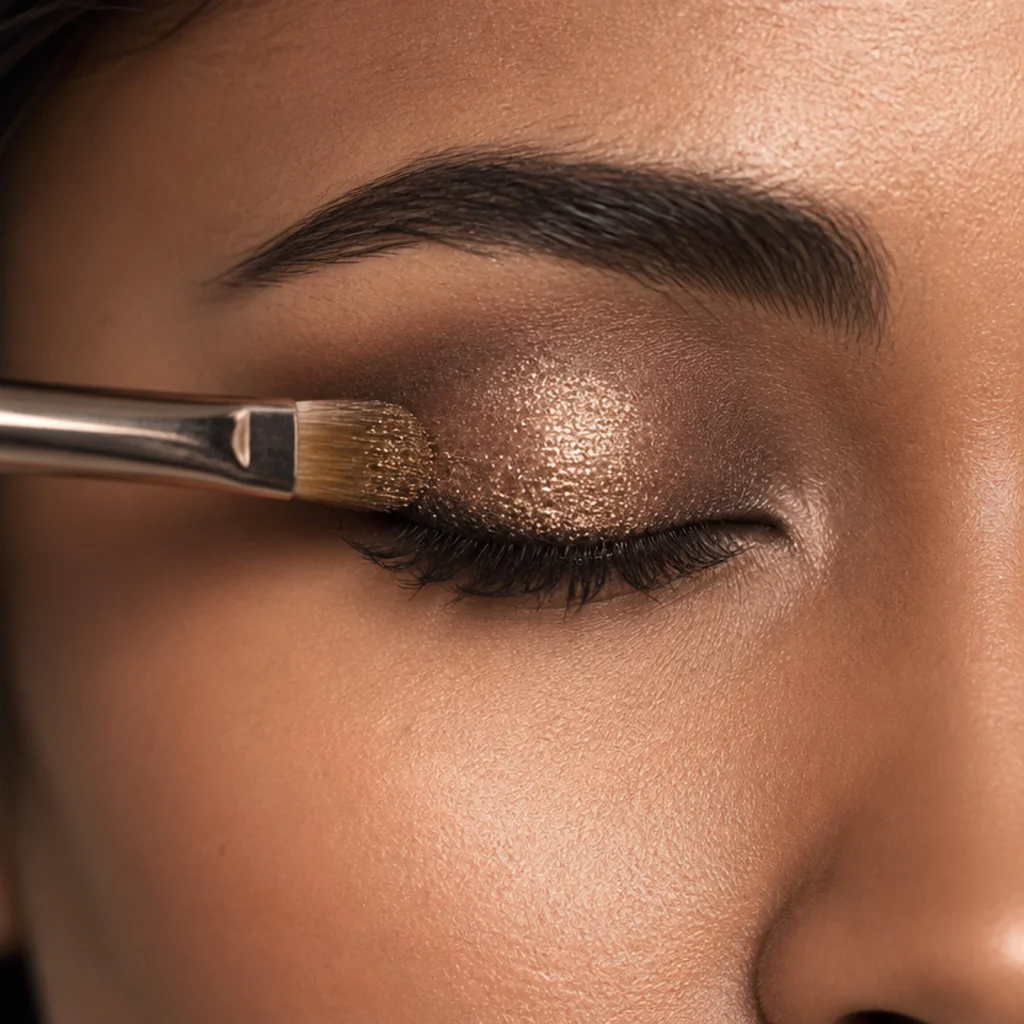
To push the look into night-out territory, glitter foxy eyes are the go-to upgrade. Press a fine cosmetic-grade glitter or a shimmer topper onto the center of the lid with a flat brush or clean fingertip, patting rather than sweeping so particles bed down instead of scattering. A dampened brush or a thin base of eye-safe glitter adhesive helps the sparkle grip and dramatically cuts fallout. Keep the glitter concentrated through the lid center and let it fade before the outer V, so the sculpted angle stays legible instead of drowning under uniform sparkle. Gold and champagne read warm and universally flattering; a soft duochrome adds dimension without color-committing. Do your eye makeup before your foundation on a glitter night, so any fallout wipes away before you set the face. Only use products formulated for the eye area, and keep glitter well off the waterline. Ask your makeup artist to "keep the glitter centered and eye-safe, away from the tear line."
15Set, Groom Brows, and Finish {#finish}
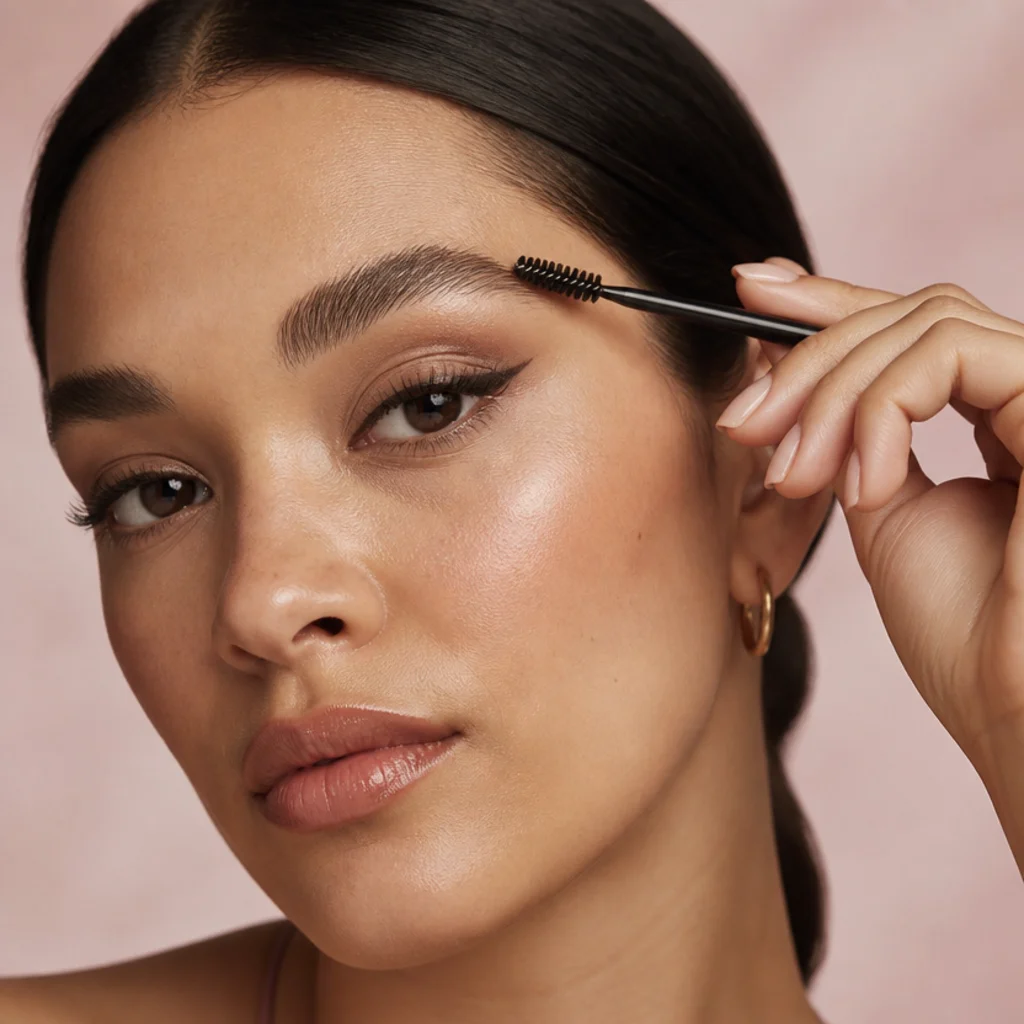
Lock everything in and frame the eye. Brush your brows up and slightly outward, extending the tail a touch to echo the foxy lift, then set them with a clear or tinted gel, since a raised brow tail visually lifts the whole eye area and completes the diagonal you built. Tidy any migrated shadow under the eye with a cotton swab dipped in a little micellar water, cleaning back to a sharp lower edge. Finish with a fine mist of setting spray held at arm's length to meld the powders and add hours of longevity without disturbing the shape. Then check symmetry in flat, even light: the two wings should match in angle and endpoint, the outer triangles should mirror in depth, and the inner corners should read equally bright. Fixing a slightly uneven flick now, while everything is still workable, saves you from spotting it in every photo later. Ask your makeup artist to "brush the brow tails up to reinforce the lift" before the final set.
Pro Tips from the Editor
- Map endpoints on both eyes before you touch shadow. The overwhelming majority of "uneven wings" trace back to endpoints placed at different heights, not to shaky liner. Dot both, check them straight-on, then build.
- Work the outer third dark and the center light, always. If the eye ever looks flat or closed-in, the fix is almost never more product. It's more contrast: deepen the outer V and lighten the lid center.
- Hold your blending brush at the very tip. Less pressure equals more diffusion. A death-grip on the ferrule is why crease color goes muddy.
- Waterproof everything that touches a waterline or fold. Tightliner, lower smudge, and wing on hooded eyes all transfer within hours in regular formulas; smudge-proof versions are non-negotiable for all-day hold.
- Angle mascara and lash choice to match the shadow. Straight-down lashes fight the lift you spent ten steps building. Push outer lashes up and out, and weight false lashes to the outer corner.
- For hooded eyes, build with the eye open and the wing high. Anything placed on the hidden fold vanishes when you look forward. Short and steep beats long and low every time.
- Do glitter-night eyes before foundation. Fallout is inevitable; sequencing lets you wipe it away before it embeds in your base.
How to Choose / Get the Look
Start from your eye shape, because it sets the angle. Almond eyes are the easiest fit and can carry the steepest flick, up to 45 degrees, without looking forced. Round eyes benefit most from the elongation: lengthen the outer triangle, keep the center bright, and resist rounding the crease so you stretch rather than widen. Downturned eyes are the look's ideal candidate, since the engineered lift directly counteracts the natural drop, so commit to a firm upward wing. For hooded eyes, keep shadow and liner high and visible with the eye open, favor a short, steep wing, and stick to matte, long-wear formulas that resist creasing on the fold. Monolid eyes should build the whole shape slightly higher than the lash line so it reads when the eye is open, with a bolder wing that carries above the flat lid. Deep-set eyes want a lighter outer V so the eye doesn't recede further.
| Eye shape | Wing angle | Outer-V depth | Best formula |
|---|---|---|---|
| Almond | Steep (40-45°) | Medium-deep | Any; matte or satin |
| Round | Medium-steep, elongated | Medium | Matte, extended triangle |
| Downturned | Firm upward | Medium-deep | Long-wear matte |
| Hooded | Short, steep, high | Medium, blended up | Waterproof, matte |
| Monolid | Bold, above lash line | Deep, lifted | Long-wear, buildable |
| Deep-set | Moderate | Light | Satin, avoid heavy dark |
For color, warm taupes and browns flatter nearly everyone; soft plums and mauve-browns suit cool undertones, terracotta and caramel glow on warm skin, and bronze reads luminous on deep skin. Keep daytime versions matte and soft, and save glitter and false lashes for evening. When you're weighing siren eyes vs foxy eyes, pick foxy for a lifted, awake eye and siren for something longer and smokier. A steady hand and patient, directional blending matter more than an expensive palette.
Frequently Asked Questions
What is the difference between siren eyes and foxy eyes?
Both elongate the eye, but the direction is opposite. Foxy eyes lift every element up toward the brow tail for a fresh, feline, awake effect, with depth concentrated in the outer corner and the center kept bright. Siren eyes extend the lower line long and low for a sultrier, dropped, bedroom-eye look. Foxy is lifted and clean; siren is elongated and smoky. Many people suit both and just switch the lower-line direction depending on the mood.
Can I do foxy eyes makeup on hooded eyes?
Yes, and it's one of the most flattering looks for hoods when placed correctly. The rule for foxy eyeliner on hooded eyes is to draw and check with the eye open, since the fold hides anything mapped on the closed lid. Keep the wing short and steep so it stays visible looking straight ahead, build the shape slightly higher than usual, and use waterproof, long-wear formulas so nothing transfers onto the hood. Long, low flicks disappear into the fold and read as a droop.
Do I need tape or any extreme techniques?
No. This is a makeup-only look built entirely from angle mapping, shadow placement, and liner direction. There's no need for tape, temple adhesives, or anything that pulls on the skin. Those tricks can irritate delicate eye-area skin and aren't required to get the lift. If any product or method stings or causes irritation, remove it and stop.
How do I keep glitter foxy eyes from falling onto my cheeks?
Press glitter on with a flat brush or fingertip instead of sweeping, and lay down a thin base of eye-safe glitter adhesive or dampen the brush so particles grip. Concentrate the sparkle in the lid center where it moves least. Most importantly, do your full eye makeup before your foundation, so any inevitable fallout wipes away cleanly without disturbing your base. Keep glitter off the waterline entirely.
What products do I need to start?
A neutral matte shadow quad, one gel or liquid liner, a lash curler, and a lengthening mascara give you a complete daytime look. Concealer for the under-wing carve and a fine shimmer for the inner corner are helpful upgrades but not essential. Waterproof formulas are worth prioritizing for the tightliner and wing, especially on hooded or watery eyes. False lashes and a glitter topper are evening extras.
How long does foxy eyes makeup take, and how do I make it last?
Budget about 20 to 30 minutes the first several times, dropping toward 15 once the sequence is in muscle memory. Longevity comes from the base: a gripping primer set with powder, waterproof liner, and a final mist of setting spray will hold the look 8 to 10 hours. Glitter and shimmer last longest over an eye-safe adhesive, with a quick fingertip press-back if any migrates through the day.
Which eyeshadow colors suit my skin tone for foxy eyes?
Warm taupe and soft brown are the safe universal choice. Cool or fair skin looks clean in greige, mauve-brown, and soft plum with an icy or pink-champagne inner corner. Warm and medium skin glows in caramel, honey, and terracotta with a gold pop. Deep skin reads richest in cocoa, warm bronze, and copper, with rose-gold or gold brightening the inner corner instead of a chalky white. Keep the base matte so the contrast that creates the lift stays visible.
Can I make foxy eyes look bigger or more dramatic?
Yes. For big foxy eyes, deepen and slightly enlarge the outer V, extend the outer triangle a touch longer along your diagonal, and add a winged false-lash strip weighted to the outer corner. Keep the lid center bright and reflective, either with a matte highlight or a fine shimmer, so the eye still reads open rather than closed-in. The trick is more contrast, not more overall darkness; flooding the whole lid with deep shadow shrinks the eye instead of stretching it.
Is foxy eyes makeup suitable for beginners?
It's very beginner-friendly with one caveat: spend your effort on mapping. Every step except the wing is soft, blendable, and easy to correct, and even the wing becomes reliable once you draw a faint guideline along a mapped diagonal before filling it in. The concealer carve in step 10 is a forgiving safety net that cleans up an imperfect edge. Start with matte neutrals and a pencil or gel liner, which are far more controllable than a fine liquid brush while you learn the shape.