5 Jumbo Box Braids First-Time Mistakes to Avoid
Jumbo braids read as effortless, but a first appointment tends to turn up the same five avoidable slip-ups. Here's exactly where first-timers lose cleanliness, comfort, and longevity, plus the consultation language that fixes each one before the parting comb touches your scalp.
 Edited by Lena Rose · Published July 11, 2026 · 15 min read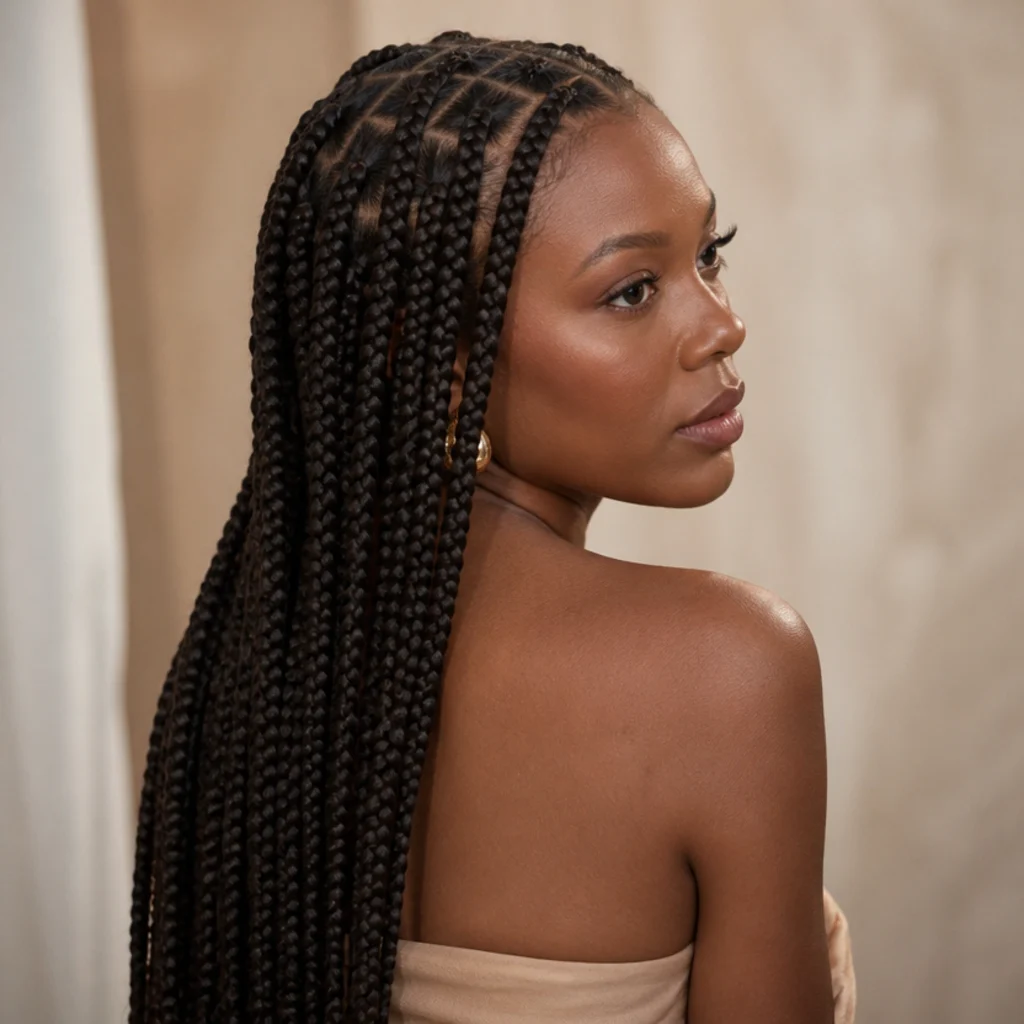
Quick Answer
- Best for: First-timers who want a bold, low-count protective style with a fast install and a lightweight feel relative to knotted jumbo braids
- Who might skip it: Anyone with a fragile, previously over-braided hairline, actively shedding edges, or very fine density that cannot anchor large sections without visible scalp
- Maintenance: Moderate; edges sealed nightly, scalp cleansed weekly, roots refreshed with light oil, satin bonnet or scarf every night, mid-style check-in around week three
- Difficulty: Easy to book and sit for; hard to DIY cleanly on the back and crown sections
- Cost: Variable, typically mid-range for braid services and rising with length, added beads, or curly ends; jumbo sizing often costs less than small or micro sizing because the count is lower
- Wear time / longevity: Roughly 4 to 6 weeks; the back half of that range depends on gentle tension and consistent night care
- Standout variation: Medium jumbo knotless box braids, which keep the drama while spreading weight more evenly than full jumbo
- How to ask your braider: "I'd like medium jumbo knotless, mid-back length, sized to my density, with soft tension at the hairline and a planned square parting grid."
In This Guide
Intro
Jumbo knotless box braids are one of the easiest protective styles to fall for: fewer braids across the head, a noticeably faster install than small or medium sizing, and a big, sculptural finish that photographs well. That low count is exactly why first-timers gravitate toward them, and it's also why small missteps carry more visible weight. With only forty to sixty braids on the whole head, one oversized part or one over-tight row shows immediately. The scale reads as confidence, and it flatters most face shapes when the parting grid is clean and the perimeter is soft. Round and heart shapes gain length from a mid-back drop; square and oblong shapes balance well with face-framing pieces left slightly finer. Most knotless installs now use a feed-in base that starts with your own hair, which is gentler on the hairline than the knotted method it replaced. Whether you're booking jumbo knotless box braids for a vacation, a reset between relaxers, or your first real protective style, the five fixes below should help you leave the chair with a crisp part, a comfortable scalp, and a style that still looks fresh at week four.
01Choosing Sections That Are Too Big
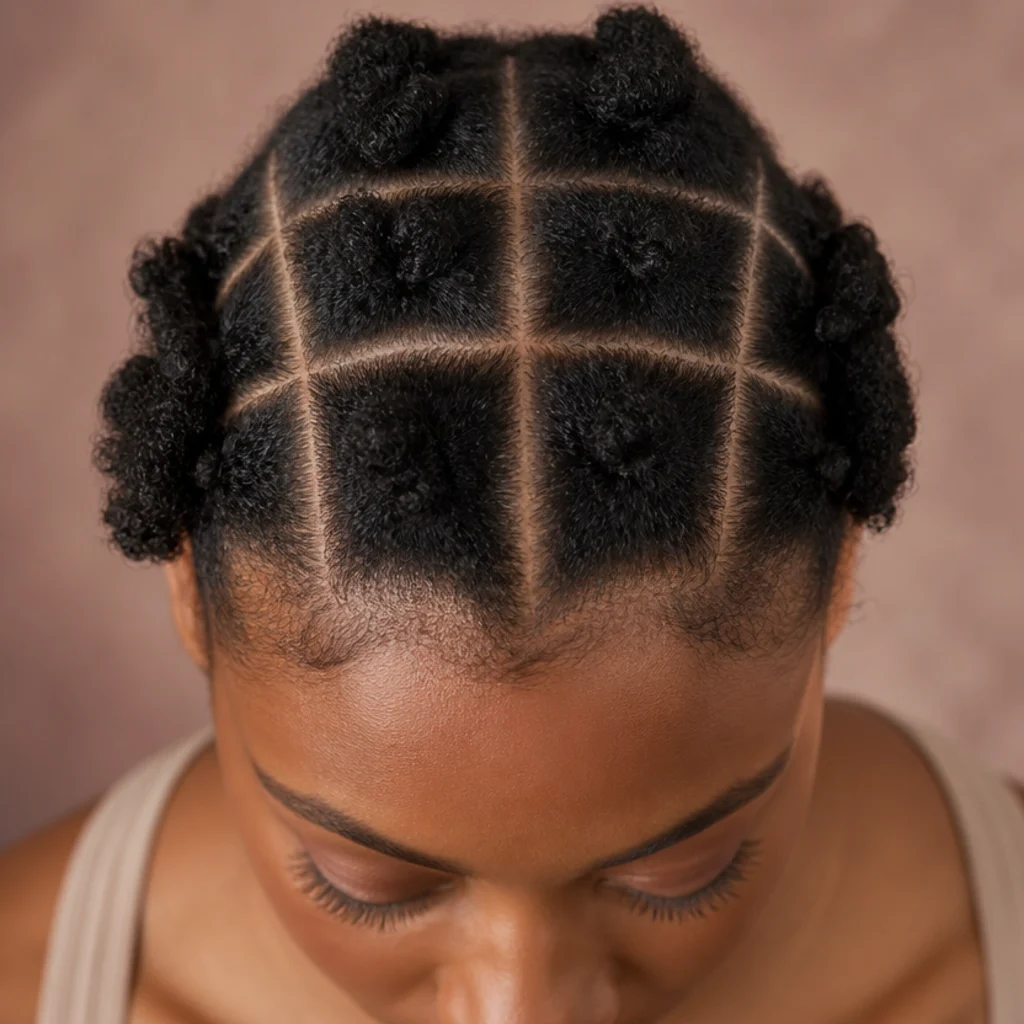
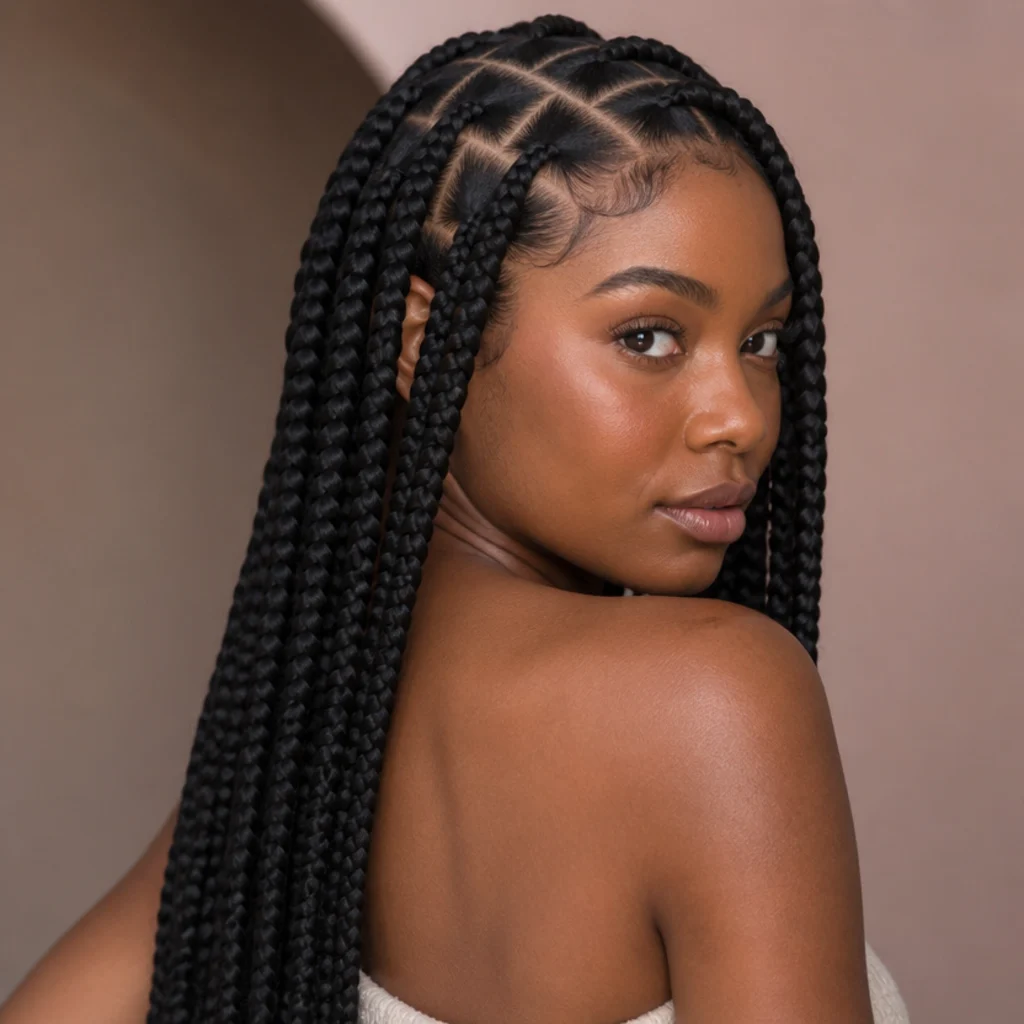
The word "jumbo" tempts first-timers into the largest sections possible, but oversized parts create braids so heavy they tug at the follicle and slide loose within days, especially on fine or type 4C hair that can't grip a wide base. Too few braids also expose more scalp than most people want, so the style reads sparse instead of full. A safer starting point is a section roughly the width of two fingers, or medium jumbo knotless box braids, which hold the bold scale while spreading weight far more evenly. Density matters more than any inspiration photo: high-density hair can carry true jumbo, while fine or low-density hair looks fuller and lasts longer at medium jumbo. Expect the install to sit cleanest for two to three weeks before the crown starts to loosen. Pair a mid-back medium jumbo with a deep side part for instant movement and asymmetry. Pro tip: ask for slightly smaller squares at the crown and perimeter, where tension and friction concentrate, and full-size sections through the back. Ask your braider to map the parting grid and size it to your density before a single extension goes in.
02Letting Tension Get Too Tight at the Roots
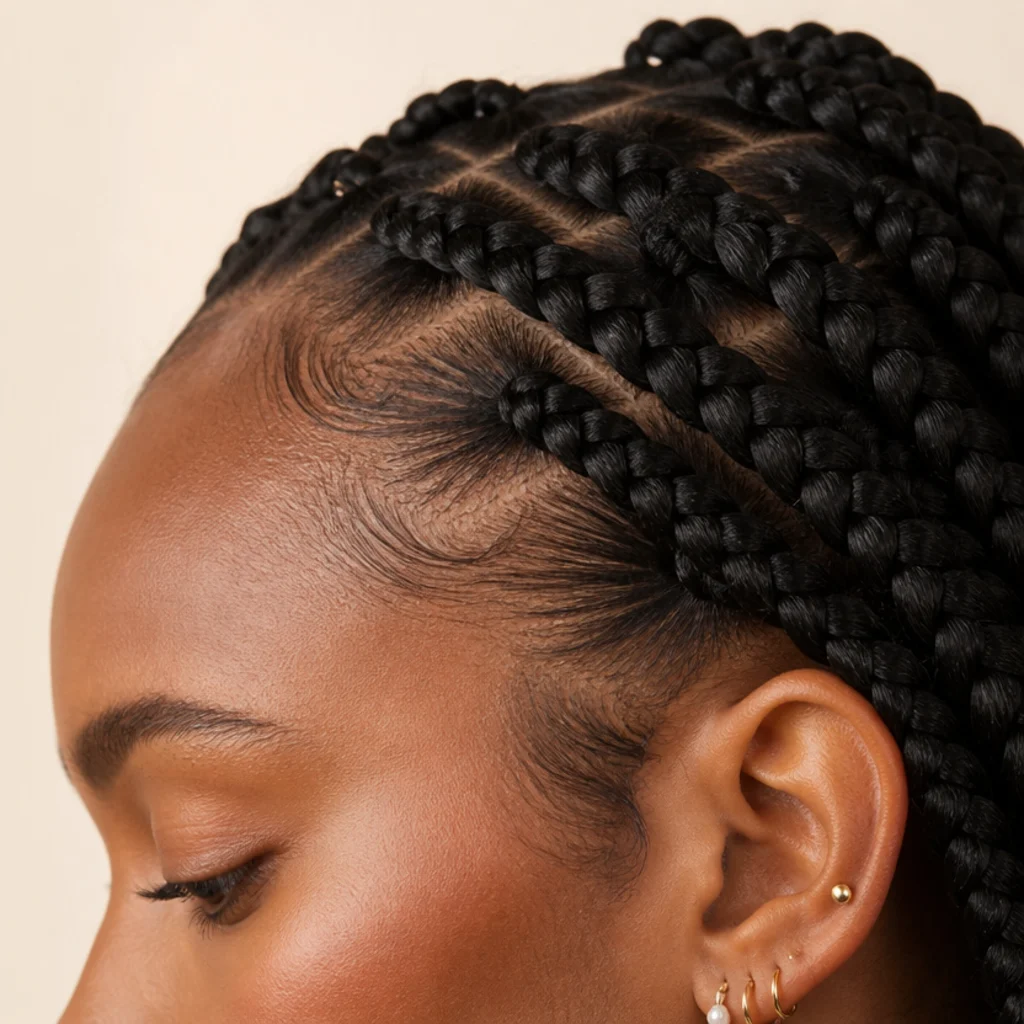
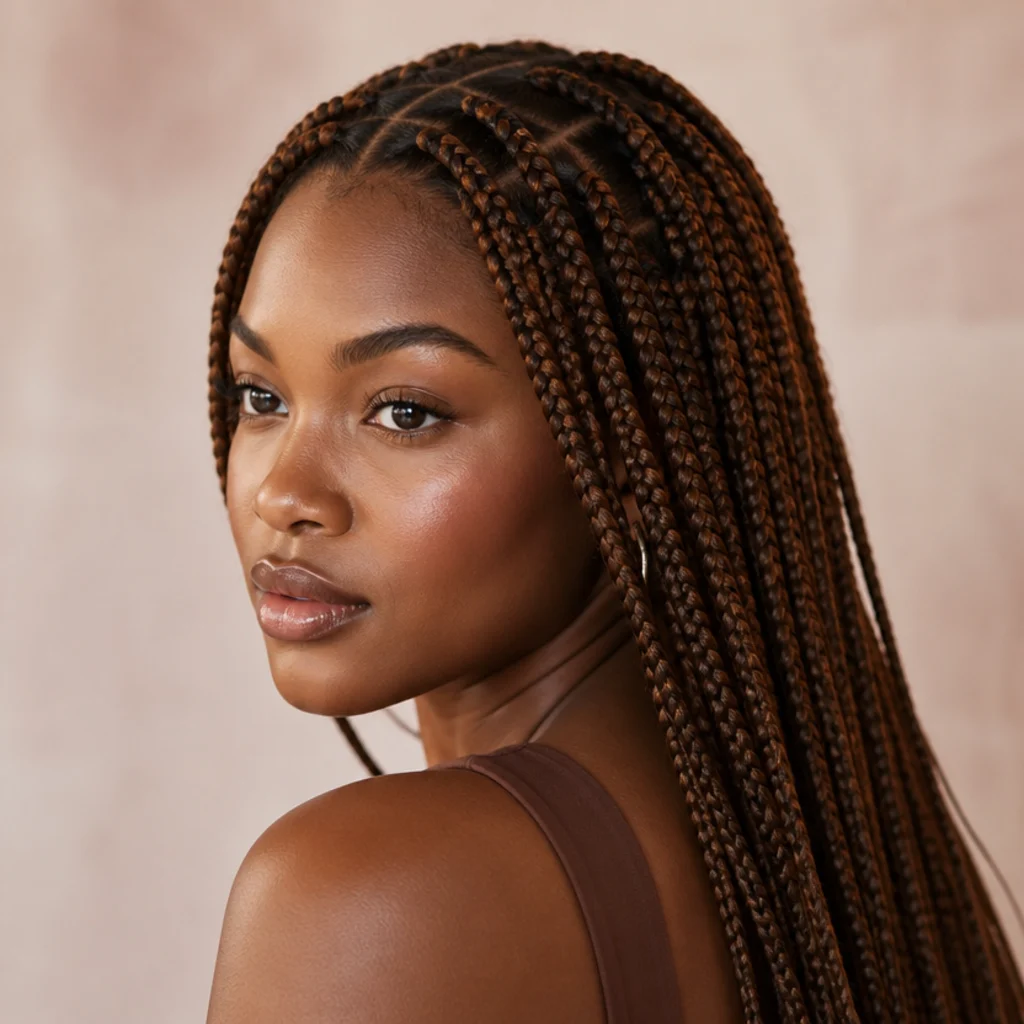
The most common regret after a first install is tightness, and it's almost always preventable. Knotless braids are gentler than knotted styles because they begin with your natural hair and feed extension in gradually rather than clamping a knot at the root, but a braider moving quickly can still pull too hard at the base. Tension that stings, raises small white bumps around the follicle, or drags at the corners of your eyes isn't a sign the braids will last longer — it's early traction stress on the hairline, and repeated too often it thins the edges for good. A correctly tensioned knotless base feels secure but movable: you should be able to press a fingertip to your scalp without soreness and slide the braid slightly at the root. Speak up during the appointment, not in the parking lot afterward. Pro tip: if your temples throb that first night, a warm (not hot) shower and gentle scalp massage ease surface tension, but real pain means a row needs to be redone. Ask your braider for deliberately softer tension along the hairline and nape, where the finest, most fragile hairs live.
03Picking the Wrong Length for Your Lifestyle
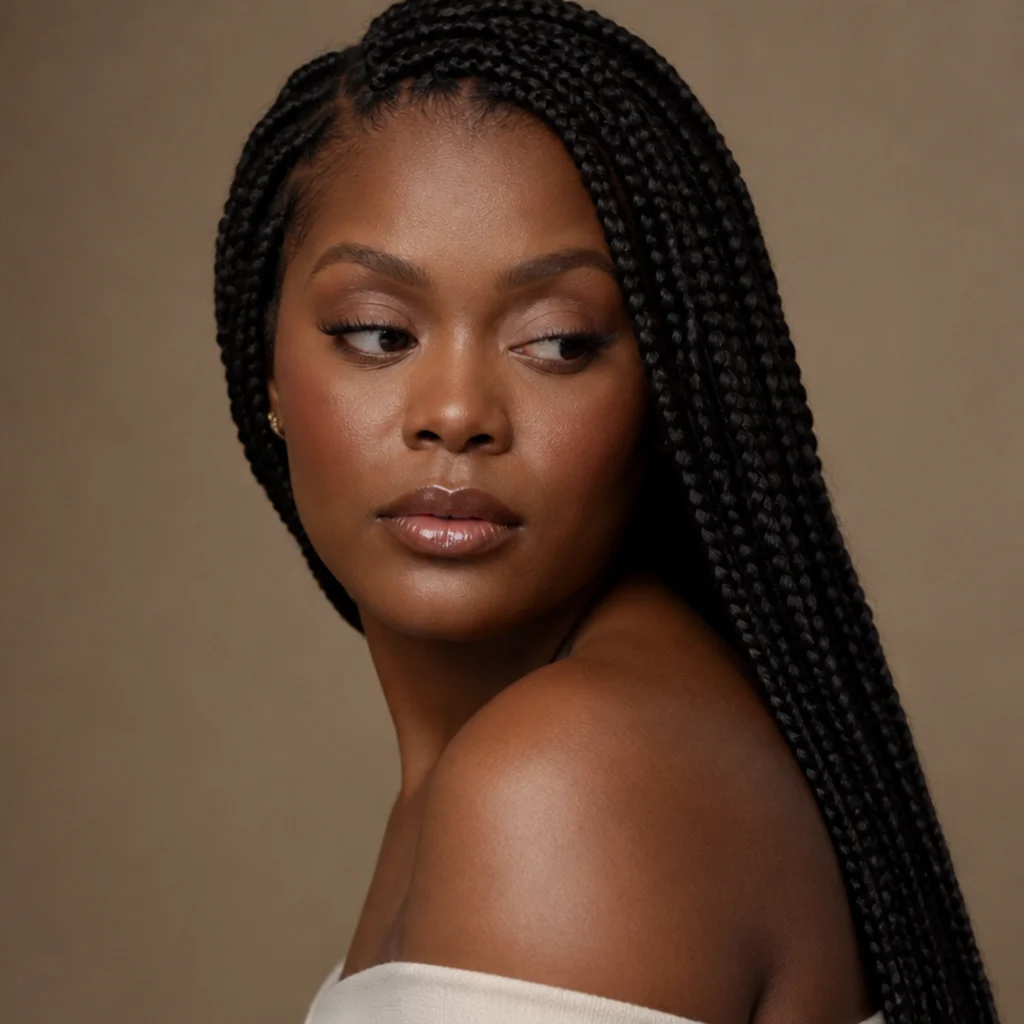
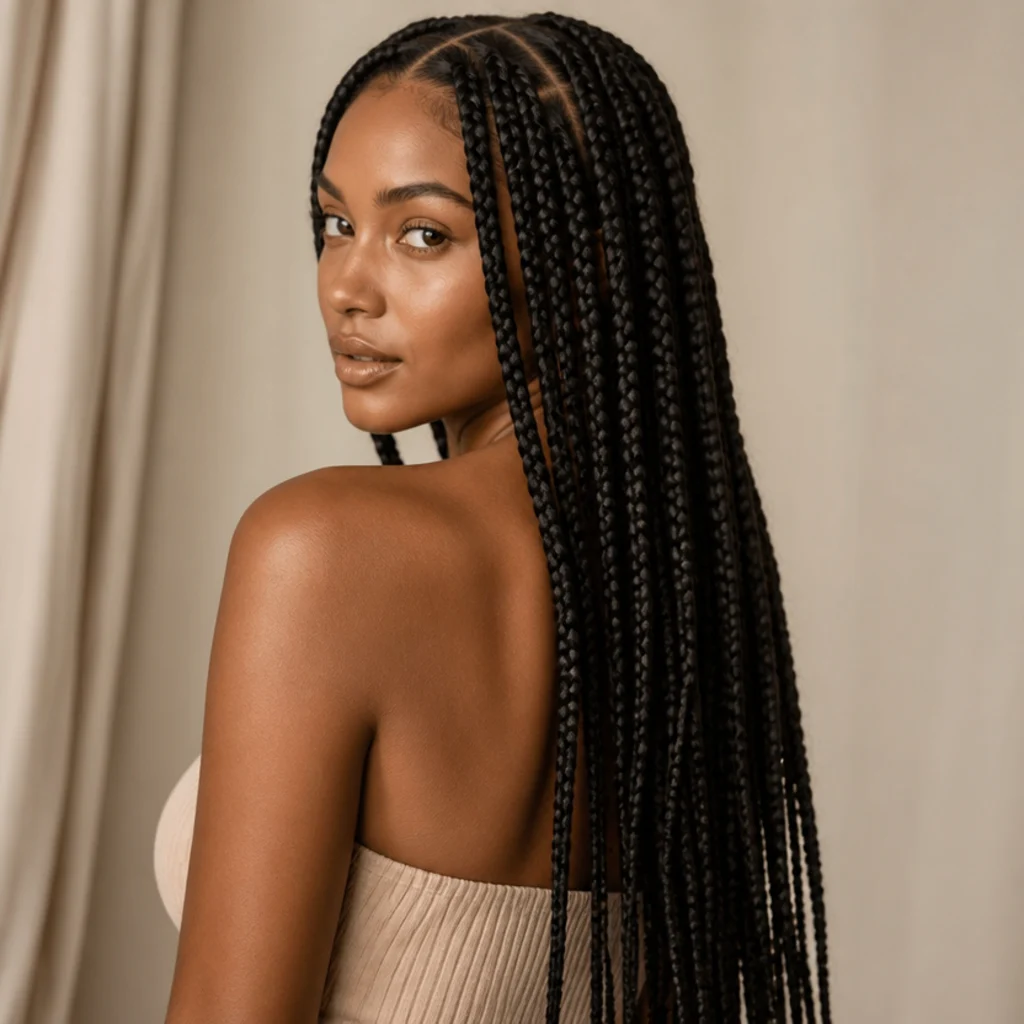
Waist-length jumbo braids photograph beautifully, but length reshapes daily life more than first-timers expect. Every extra inch adds weight that pulls on the roots, and longer braids take considerably longer to dry, which invites mildew and scalp odor if you wash and rush. They also catch under crossbody bags, seatbelts, gym benches, and your own shoulder as you sleep. If you work with your hands, train several times a week, or move a lot at night, a shoulder-grazing to mid-back length delivers the full jumbo effect with a fraction of the upkeep. Length also drives both cost and chair time, so lock it in before you book rather than deciding under the dryer. A reliable gut check: picture your busiest, most physical day and ask whether you'd want to tie everything up in one quick motion. If the answer is yes, size down a length. Pro tip: mid-back braids clear a low ponytail and a high bun without strain, which makes them the most versatile first-timer length. Ask your braider to show you where a given length actually falls on your frame before committing, since bra-strap on a model may hit differently on you.
04Skipping Prep and Edge Protection
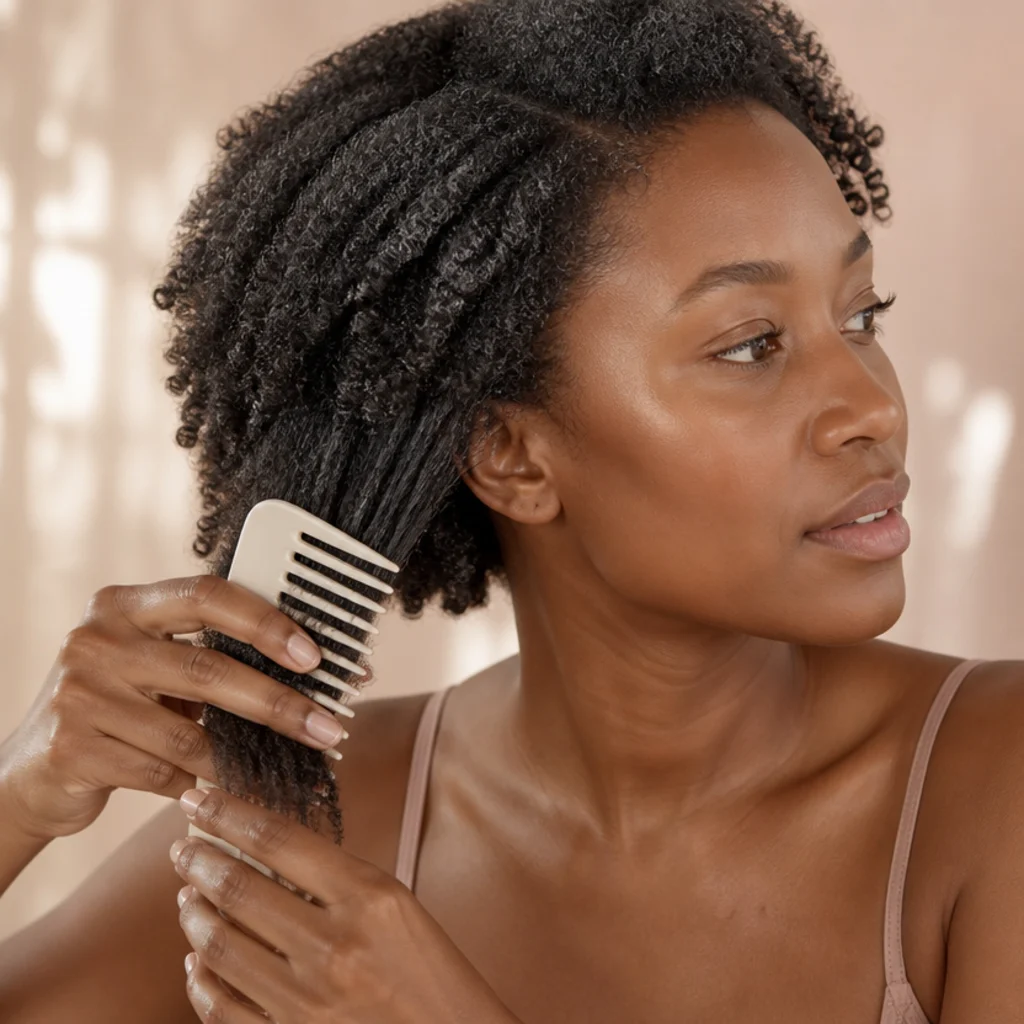
Braids are only ever as clean as the hair underneath them, and the base you arrive with sets the ceiling for how long the style holds. Product buildup, tangles, or day-old gel make sectioning uneven and shorten how long parts stay crisp. Cleanse, deep condition, and fully detangle one to two days before your appointment, then let hair dry completely — braiding damp roots traps moisture and breeds that sour, mildewy smell within a week. Skip heavy butters and gels on install day, since slippery strands are harder to grip and can cause braids to slide. Once installed, the perimeter needs ongoing protection: a light edge cream or oil, a satin scarf or bonnet nightly, and loose daytime styling that spares the hairline. Resist the daily tight high bun, which loads the exact spots most prone to traction thinning. Pro tip: on wash day, dilute a gentle shampoo in an applicator bottle, aim it at the scalp only, and follow with a leave-in mist so you cleanse without frizzing the lengths. Ask your braider whether your edges look strong enough for your chosen size, or whether leaving your baby hairs out would protect them.
05Overloading Beads and Accessories Too Soon
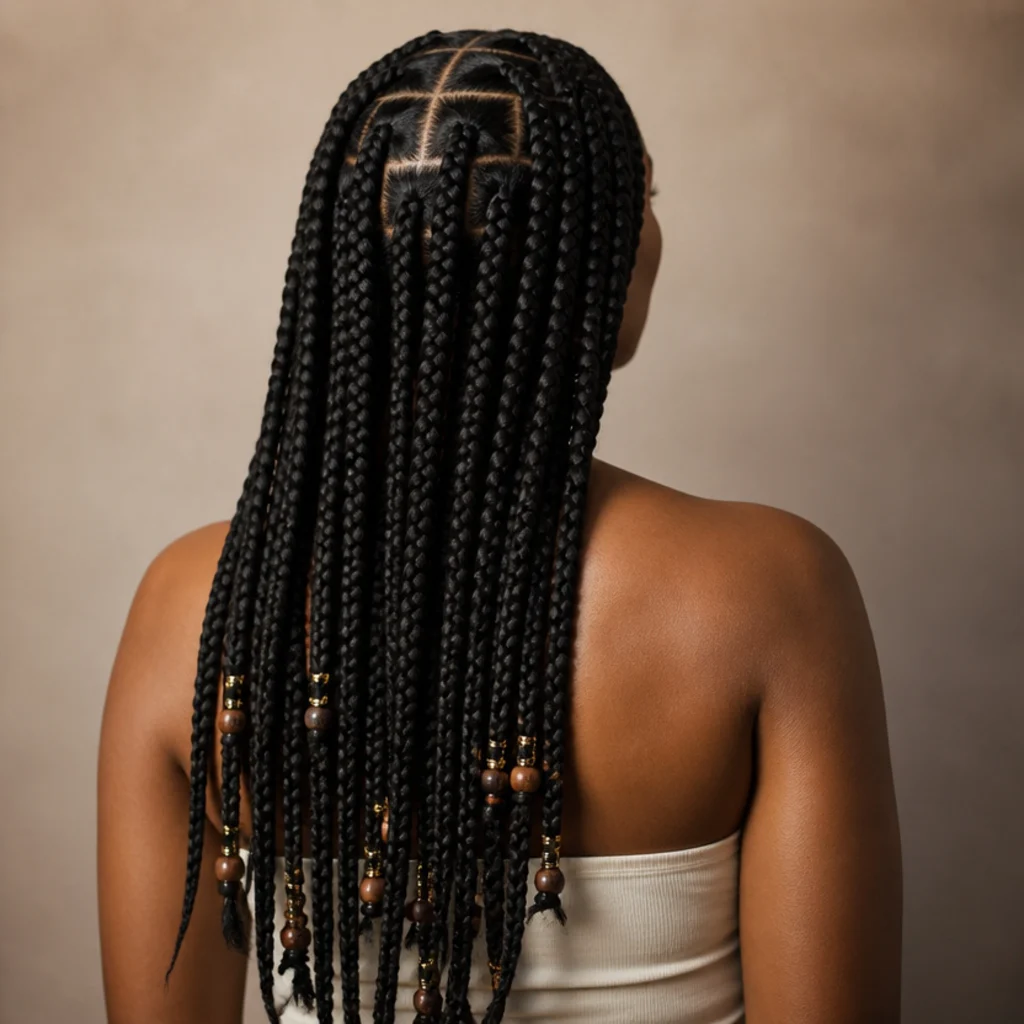
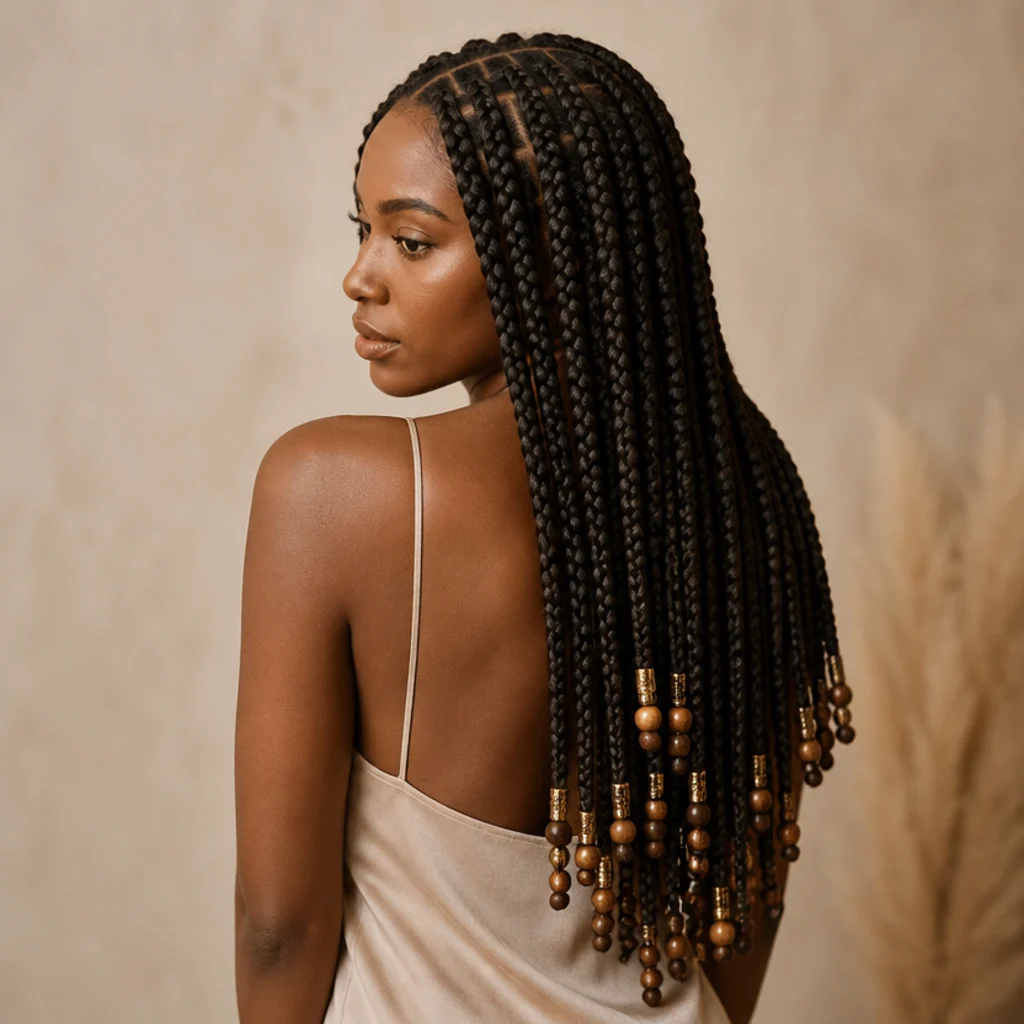
Jumbo box braids with beads are a beautiful finishing detail, but first-timers routinely add too many, too high, too soon. Beads concentrated near the roots multiply the downward pull on an already heavy braid, straining both the extension and the follicle it hangs from. Start restrained: cluster a handful of beads toward the last few inches of each braid, mix warm wooden tones with a little metallic gold or silver for contrast, and keep every heavier piece well away from the hairline. Lightweight cuffs and thread wraps let you experiment with color and texture at a fraction of the weight while you learn how your braids actually move. Once you're comfortable with how to style jumbo box braids, half-up looks, loose low buns, and a single face-framing accent braid show off accessories without stressing the base. Pro tip: silicone-lined cuffs grip without a rubber band and slide off cleanly at takedown, so they're the gentlest way to add sparkle on a first install. Ask your braider to bead only the back and sides at first, leaving the front braids clean so your face stays the focus and your edges stay unburdened.
Save this to Pinterest and pull it up right before you book.
Pro Tips from the Editor
- Bring your extension hair pre-stretched and separated into bundles; it speeds the install, reduces how long your arms are up, and lets your braider keep tension consistent from the first braid to the last.
- Pre-wrap or "dip" curly ends only after you confirm the braid style, since curly-end sealing shortens usable length and can't be undone without cutting the extension.
- Sleep on a satin or silk pillowcase in addition to your bonnet for the first week; doubling the slip surface is what keeps the crown from frizzing while everything settles.
- Treat week three as a decision point, not a deadline: a quick mid-style check-in lets your braider tighten any slipping crown braids before regrowth makes the parts look messy.
- Watch the total weight, not just the length; a very long braid in a lightweight extension can feel gentler than a mid-back braid packed with heavy beads.
- Keep takedown gentle and unhurried, working oil or conditioner through each braid from the ends up, because most so-called "braid damage" actually happens in a rushed removal.
- Give your scalp at least a week of rest and a clarifying wash between protective styles so follicles recover before the next round of tension.
How to Choose / Get the Look
Start by matching the style to your hair and your calendar, not to the inspiration photo alone. Bring two or three references to your consultation and be candid about your density, your length goals, and how physical your average week is. Use this quick framework to land on the right combination.
| Your priority | Size | Length | Beads | Tension note |
|---|---|---|---|---|
| Lowest upkeep, most comfort | Medium jumbo | Shoulder to mid-back | A few, ends only | Soft at hairline |
| Maximum drama for photos | Full jumbo | Mid-back to waist | Sparse, lightweight | Extra soft, denser hair only |
| Fine or fragile edges | Medium jumbo | Shoulder to mid-back | Minimal or none | Baby hairs left out |
| First protective style ever | Medium jumbo | Mid-back | None on install day | Movable base, no sting |
For most first-timers, medium jumbo knotless box braids at a mid-back length are the sweet spot: bold enough to feel like a statement, light enough to live in without regret. Confirm install time and total cost up front, since jumbo pricing swings widely with length, curly ends, and bead work. If you want jumbo box braids with beads, request them spaced, lightweight, and mostly in the back. After install, protect edges nightly with a satin bonnet, cleanse the scalp weekly with a diluted shampoo, and refresh roots with a light oil. Book that week-three check-in to catch any slipping braids early and keep the whole look neat.
Frequently Asked Questions
Are jumbo knotless box braids good for first-timers?
Yes. The lower braid count and gradual, knotless feed-in base make them faster to install and gentler on the scalp than knotted or small-sized styles, which is why they're one of the most popular first protective looks. The main caution is density: very fine or fragile hair usually does better at medium jumbo than at full jumbo.
How long do jumbo box braids usually last?
Most people keep them in for four to six weeks. Clean prep, soft tension, and consistent nightly satin protection push them toward the longer end, while heavy beads, skipped scalp washes, and daily tight buns pull them toward the shorter end. Past six weeks, regrowth at the roots makes the parts look untidy and adds matting risk at takedown.
Do jumbo braids damage your hair?
They shouldn't when installed with comfortable, movable tension and taken down on time. Real damage comes from three avoidable places: roots pulled too tight, braids left in past six weeks, or a rushed, dry detangle at removal. Protecting your edges nightly and oiling each braid before takedown keeps breakage minimal.
Should I choose medium jumbo or full jumbo braids?
Medium jumbo knotless box braids balance drama and comfort, which makes them the smarter first choice for most hair types. Full jumbo is bolder and lighter to install because the count is even lower, but each braid is heavier and needs denser natural hair and often a shorter length to sit securely without sliding.
Can I add beads to jumbo box braids myself?
Yes, but start with a few lightweight beads on the last few inches of each braid and keep heavier pieces away from the roots and hairline. Silicone-lined cuffs are the most beginner-friendly option because they grip without a rubber band and slide off cleanly at takedown. Add more only once you know the braids feel settled.
How much do jumbo knotless box braids cost?
Pricing is variable and set by your braider's rate, your region, and the details you choose. Jumbo sizing often costs less than small or micro sizing because the braid count is lower and the install is faster, but length, curly or wavy ends, and bead work all add to the total. Always confirm the full price, including add-ons, before you book.
What length is best for a first-timer?
Shoulder-grazing to mid-back is the most forgiving range. It delivers the full jumbo effect, dries reasonably fast, clears both a low ponytail and a high bun, and stays out of seatbelts and gym equipment. Save waist-length for a second appointment once you know how the weight and upkeep fit your routine.
How do I stop jumbo braids from frizzing so quickly?
Frizz is mostly friction plus moisture. Sleep in a satin bonnet over a satin pillowcase, avoid heavy gels on install day, and refresh the crown with a light mist rather than re-wetting the whole head. A mid-style edge-and-crown smoothing around week two or three resets the look without a full reinstall.
Can I wash jumbo box braids, and how often?
Yes, and you should about once a week. Dilute a gentle shampoo in an applicator bottle, target the scalp rather than scrubbing the lengths, rinse thoroughly, and let the braids dry completely before bed. Trapped moisture at the roots is the usual cause of that sour, mildewy smell, so drying matters as much as washing.